Changing Belts
No matter what engine you have, a number of your essential systems will be powered by pumps running off the engine power, and these pumps are driven by belts. Over time, these rubber bands wear down, perish and break, and when that happens you'll be stranded. So it pays to do a bit of preventative maintenance and replace them after a certain time, as part of a Service.
The E30 has up to three accessory belts, powering the Steering, Charging and Aircon systems. All three are covered in this article.
Parts
Below is the list of belt sizes for official BMW belts. You can use third-party belts from a known manufacturer, but avoid anything that says "Made in China".
All sizes are in millimetres (mm).
| Engine | Fan/Alternator | Steering | Aircon |
|---|---|---|---|
| M10 | 9.5 x 875 | 10 x 813 | 12.5 x 810 |
| M20 | 10 x 965 | 9.5 x 825 | 12.5 x 823 |
| M40 | 9.5 or 10 x 1013 | 10 x 800 | 12.5 x 840 |
| M42 | 10 x 1025 | 10 x 800 | 12.5 x 885 |
Procedure
For this article we are working on the mighty M42 engine. However, the procedure is exactly the same for the M10, M20 and M40 engines.
First, remove the fan cowl. It's held on by two 10mm bolts. Once out of the way, you can see what you're working on.
Get under the car and also remove the underbody panel. This job is easier with lower access. I'm sure it can be done without removing this panel, but I think it makes the job easier and removing the panel isn't tough.
If any old belts are still on the car, cut them or remove them and save them as spares. Let's begin with the alternator belt.
To start with, loosen the bolts that the pump or alternator hinge on, or slacken slightly the bolt at the other end of the adjuster rack. All these need to be undone slightly, and also tightened afterwards. Very important in the case of the alternator, since all the current it generates passes through these points.
There's a very high chance that you will find the toothed adjuster wheel and/or rack is damaged, and this is because a someone previously has either failed to slacken off these various fixing points, or slackened the bolt holding the adjuster wheel too much, allowing the teeth of the cog to slide off the side of the rack teeth. This bolt must only be slackened just enough to allow it to turn and the strap to slide.
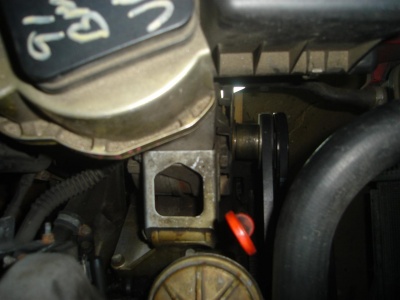
Now loosen the tensioner nut (the one on the opposite side as the oil level dip stick). Use a wrench and turn the tensioner bolt to crank down the tension so you can remove the old belt and but a new one on. Use the wrench to retighten it. I found that I can't really crank up the tension as the teeth on the tensioner bolt slip so I took the butt of a large hammer and wedged it in the hole in the top of the alternator bracket and pried the alternator tighter. Then retighten the nut.
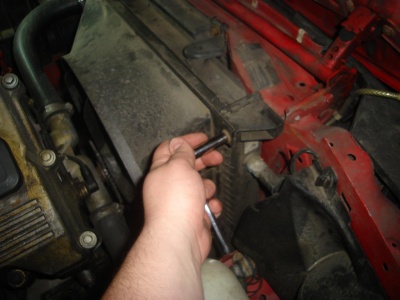
Now add the AC belt. This one has a pulley type tensioner (it's the middle pulley that hangs lowest). To loosen the pulley tensioner, you need to pry off the center cap (mine was already missing) and loosen the bolt). Then use an allen wrench to loosen the screw that is mounted vertically. Replace the belt and retighten everything. (Note I had the power steering belt on the middle pulley - the middle pulley where the AC belt goes.)
The power steering belt is tightened using a similar tooth and bracket method as the alternator. Simply turn that nut and it'll push the power steering pump farther away or closer. (Please note that in this picture, I accidentally put the power steering belt on the wrong pulley.. it should go on the outermost pulley from the engine - I forgot to retake a picture with the belt on the correct pulley)
When it's all done, remember to retighten the alternator and pump hinge bolts, and with that, you should be done!


