I have the same spoiler on mine, if I sent it over could you have a go with it ???
Mine is dented, bent, undulating but it`s original and will stay that way.(past recovery.lol.)
Mart.

Moderator: martauto


Aw dunno Mart.

Mart - it's the small details that I tend to notice.


Cheers Mart - I was pretty fortunate as I started with a car that was in good condition to begin with.
Yep, until I did this I was wondering why people buy new roundels - now I understand - it's the satisfaction!


Thanks for the encouragement George.


Just the handles and door pockets - they were in much worse shape than everything else. The pictures below aren't great, but show the before and after.Tzantushka wrote: ↑Thu Oct 08, 2020 4:09 amCool.
- did you do the handles and door pockets, or the whole lot?
Make sure you update some pics in your thread!


Sorry big fella - I don't have any video editing skills - let alone a camera tripod or selfie stick.


That will do fine mateTzantushka wrote: ↑Mon Dec 21, 2020 8:56 amSorry big fella - I don't have any video editing skills - let alone a camera tripod or selfie stick.
I could only wish I could document the restoration process as best as others on this site.
What I can give you is pics, descriptions and a whole lot of inspiration
Yes, after your attempted break-in you have other priorities.
No worries - old school updates it is then...


From what I understand, a quick visual with R12 was to check for bubbles in the sight glass.


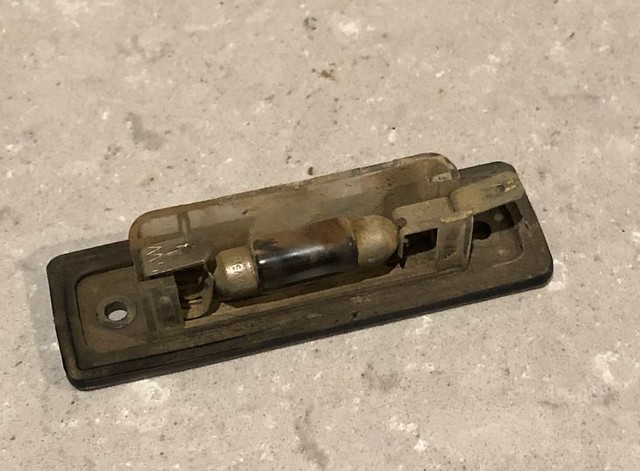
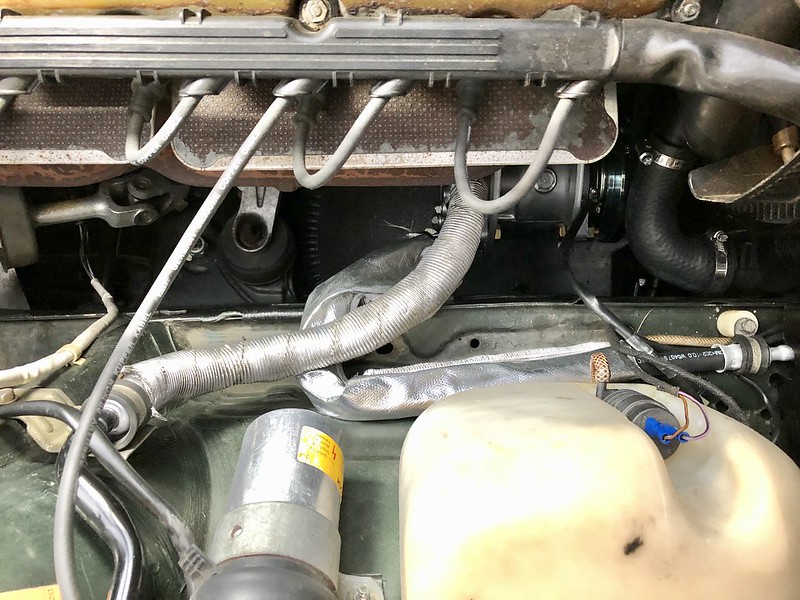
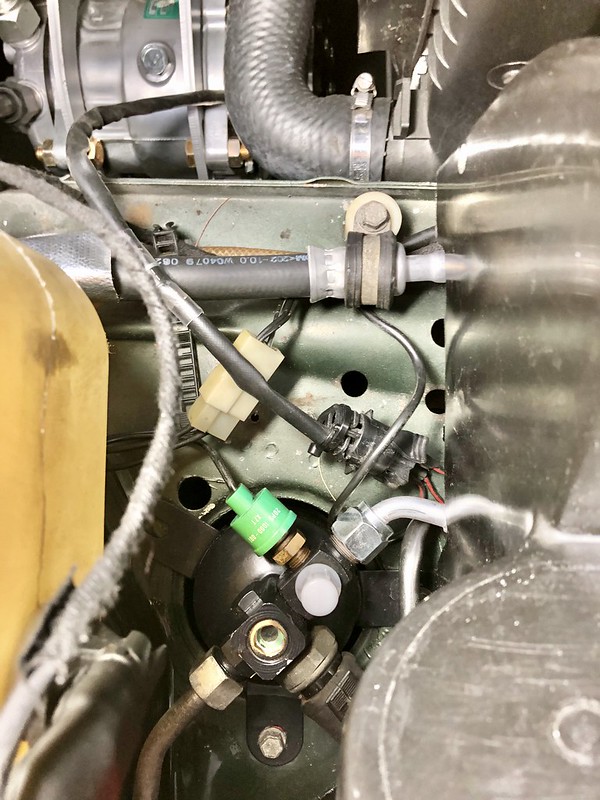
I'm loving my new remote central locking (thanks btw!). I thought I'd add a picture of what I found whilst I was digging around under the dash - it might bring back happy memories! Aftermarket alarm (disabled), old RCL, and a mystery box (garage door sensor?). Lots and lots of scotch locks and electrical tape. There were a few more bits and pieces not in the picture that I removed on a second pass.Tzantushka wrote: ↑Wed May 13, 2020 11:41 amAs a further update...
While I had the LH kick-panel out for the speaker upgrade, I may as well run the wires for the remote central locking kit.
Sure enough, I came across every E30 owner's nightmare - THE DREADED AFTERMARKET ALARM INSTALL
The Scotch Lock / Snap Lock splice connectors & mis-matched wire sizes were the first clue.
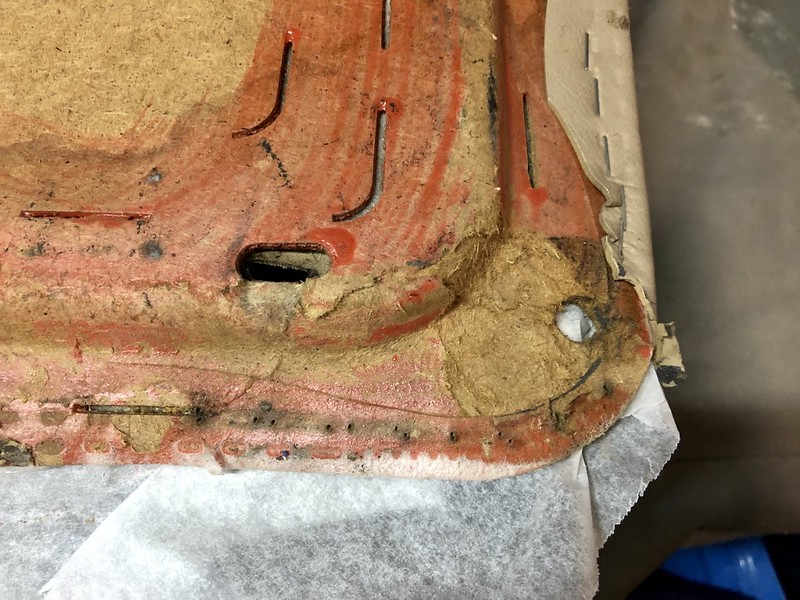
Out came the glove box.
Signs of water ingress - thanks to no seal on the alarm loom going trough the firewall.
More loom splice goodness hidden by PVC electrical tape.
It's a Repeller.
The only thing this installation has repelled is 2 hours of my life I can't get back.
After proper re-splicing, soldering & heat shrinking, good riddance.


