So after a lot of time and my money wasted I decided to just M52 the car and later on decide if I want more power.
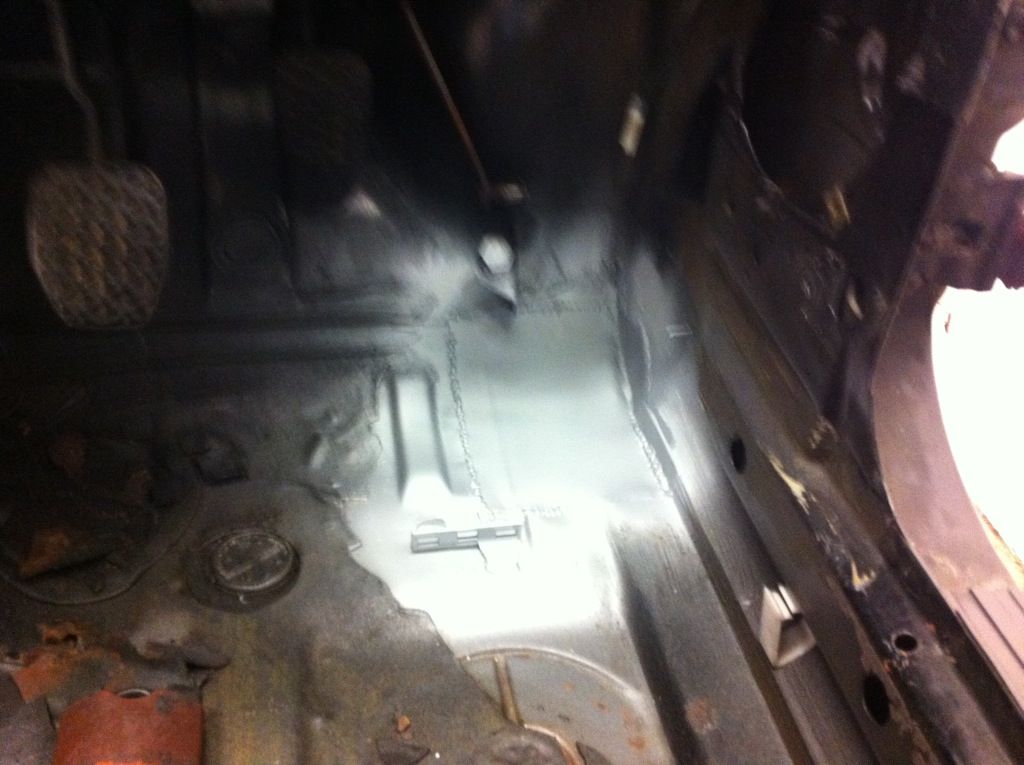
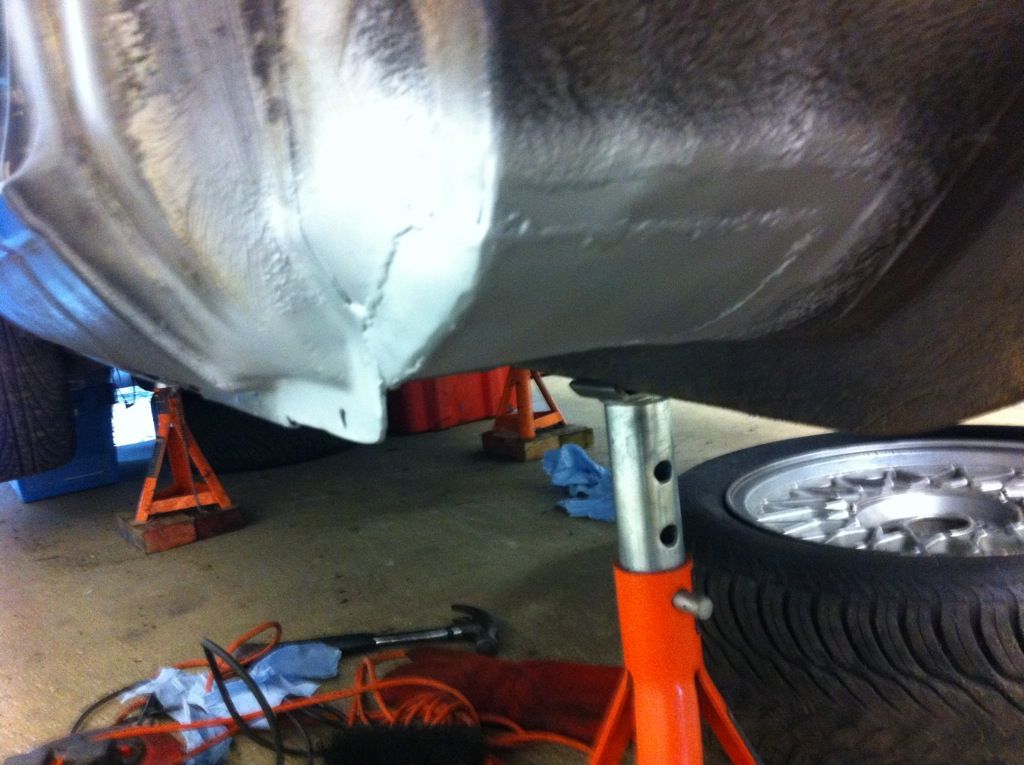
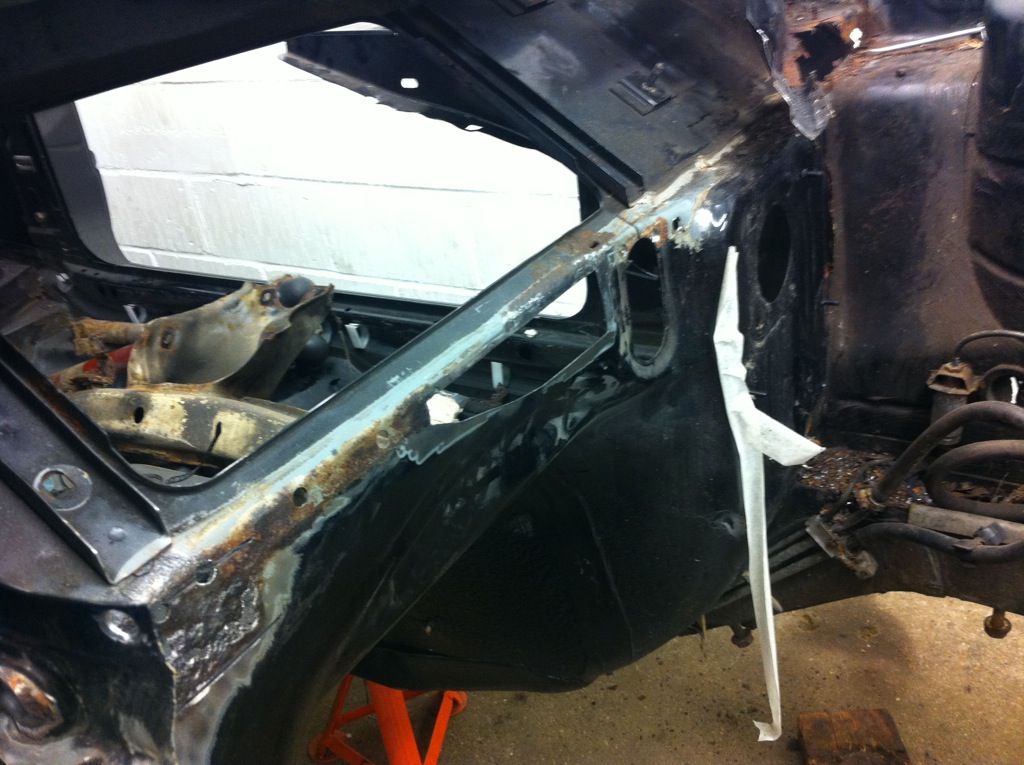
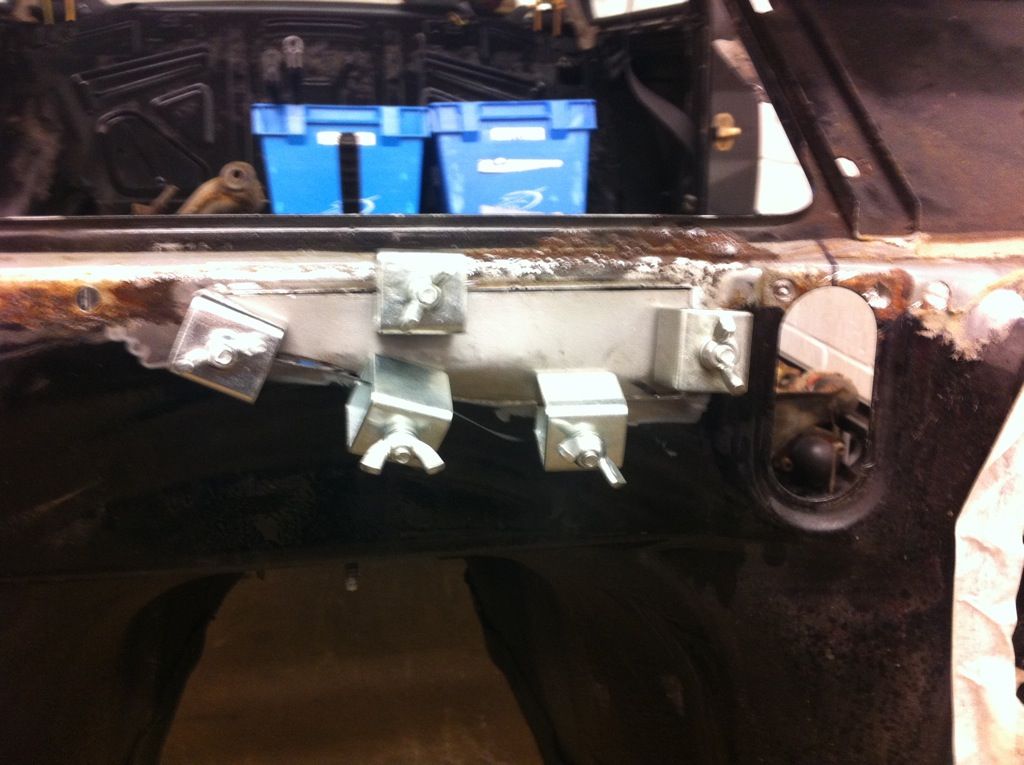
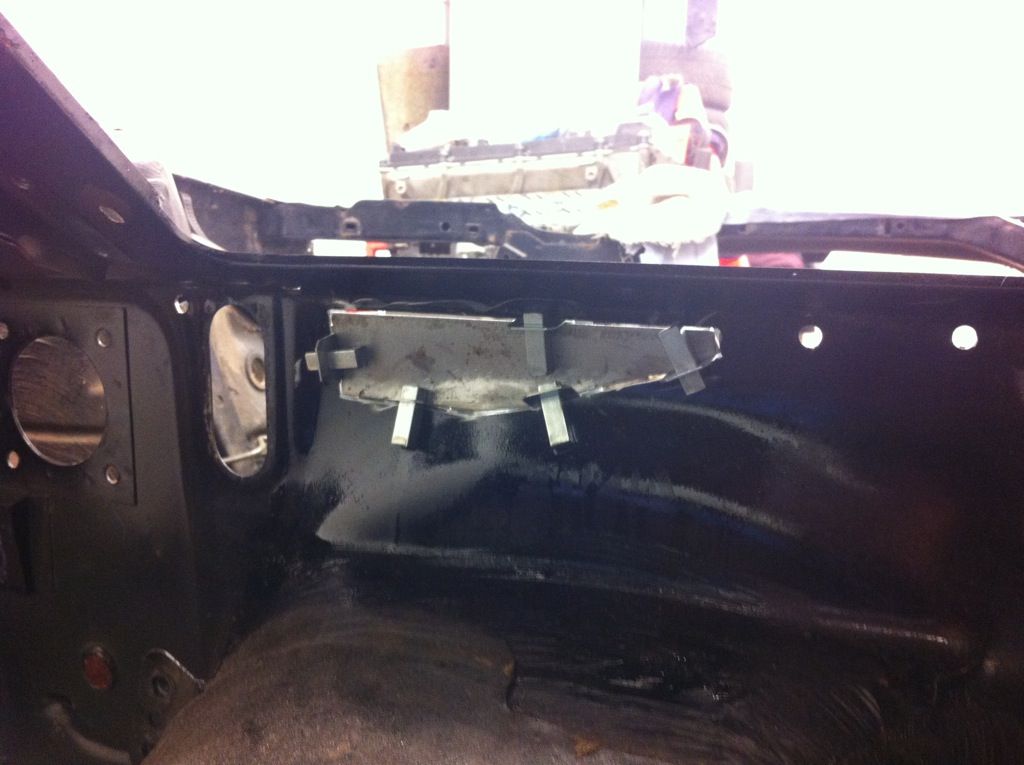
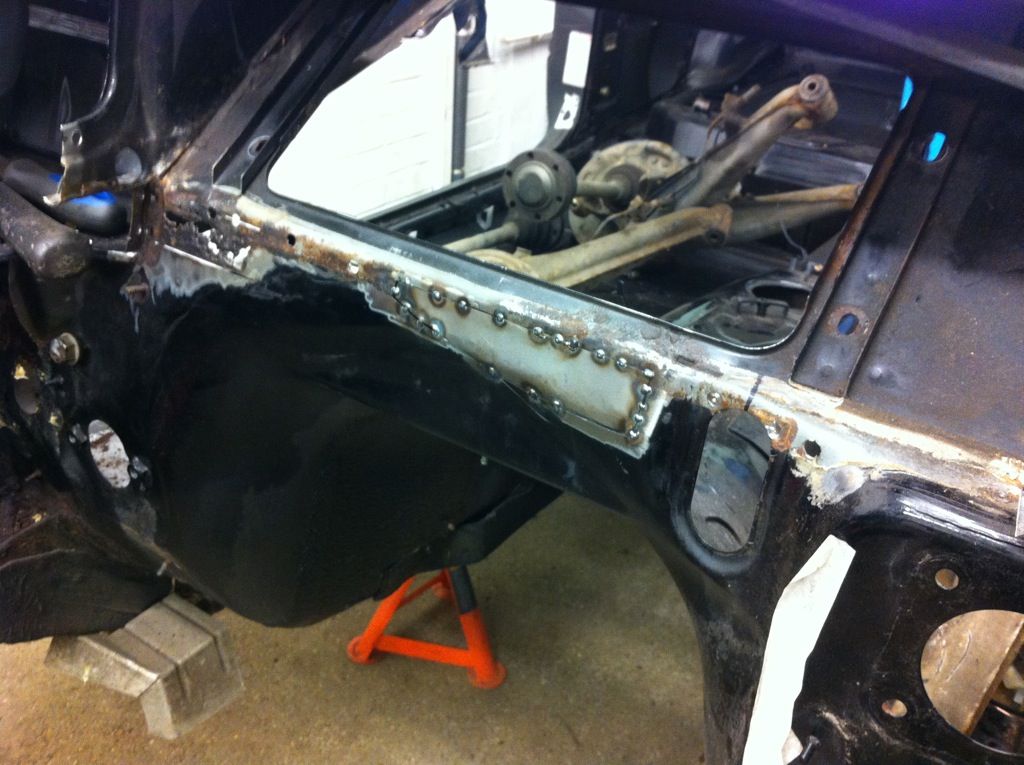
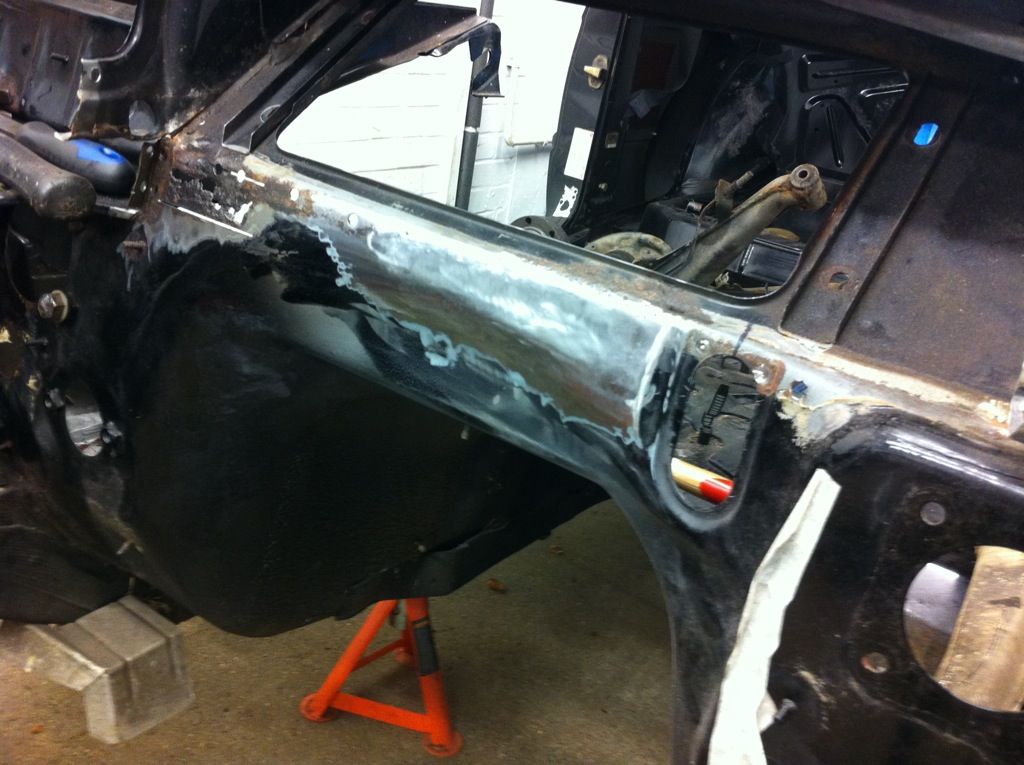
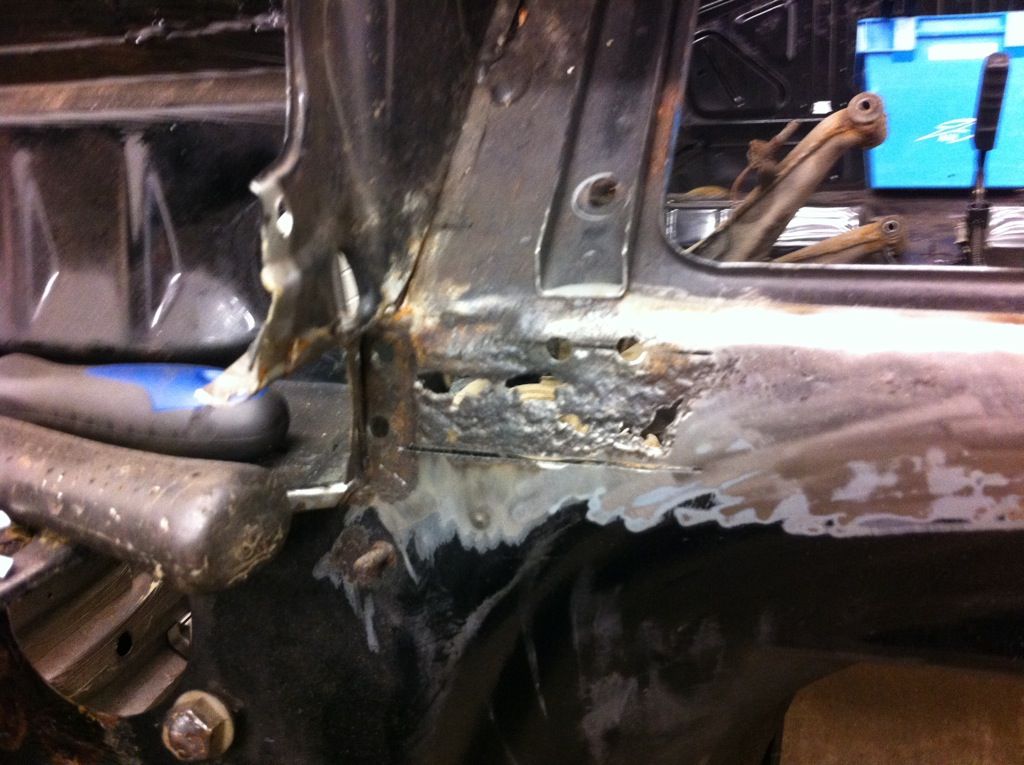
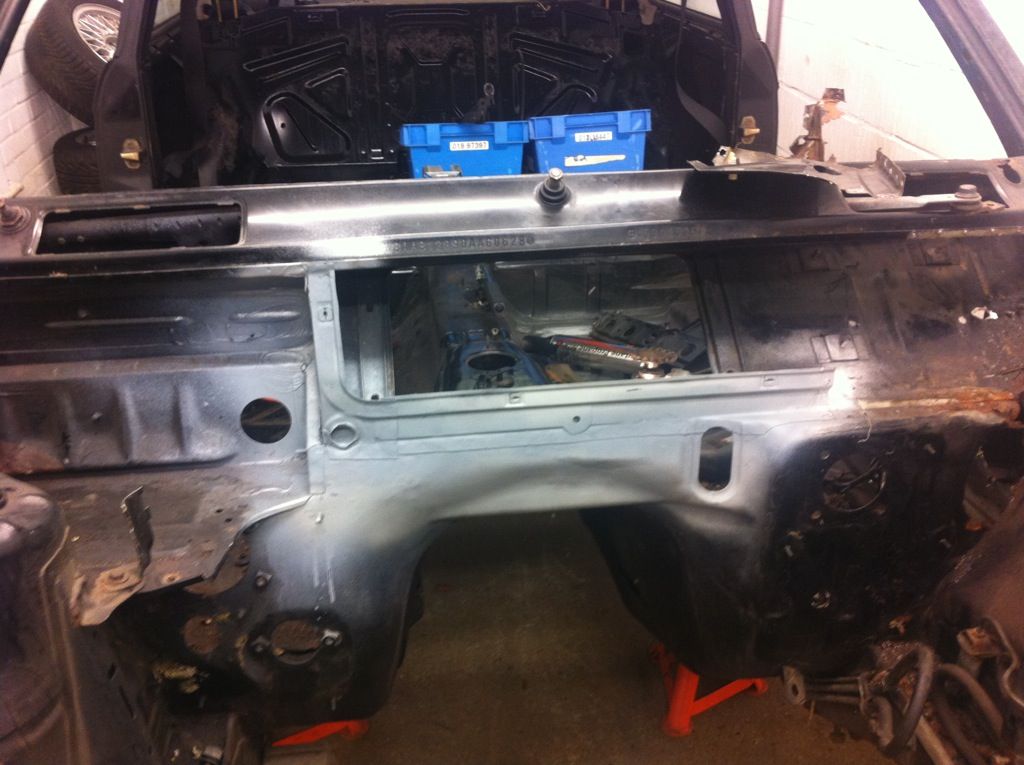
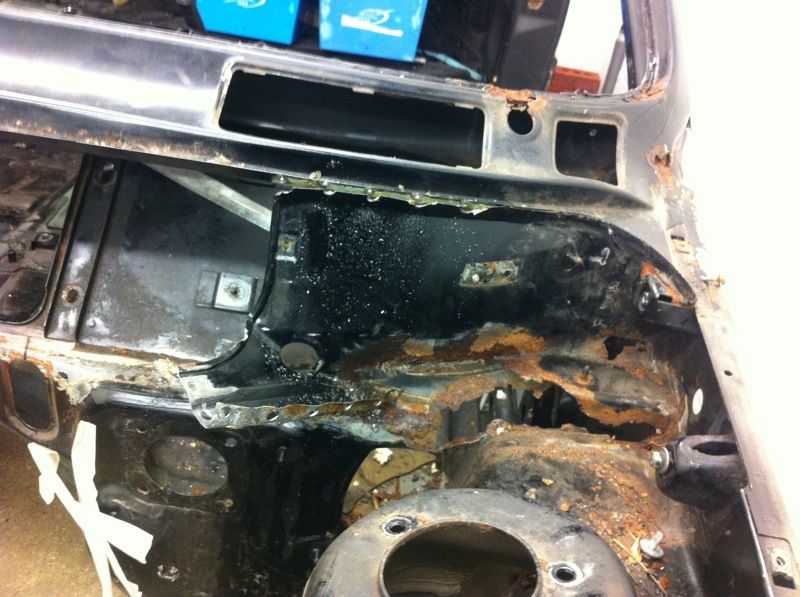
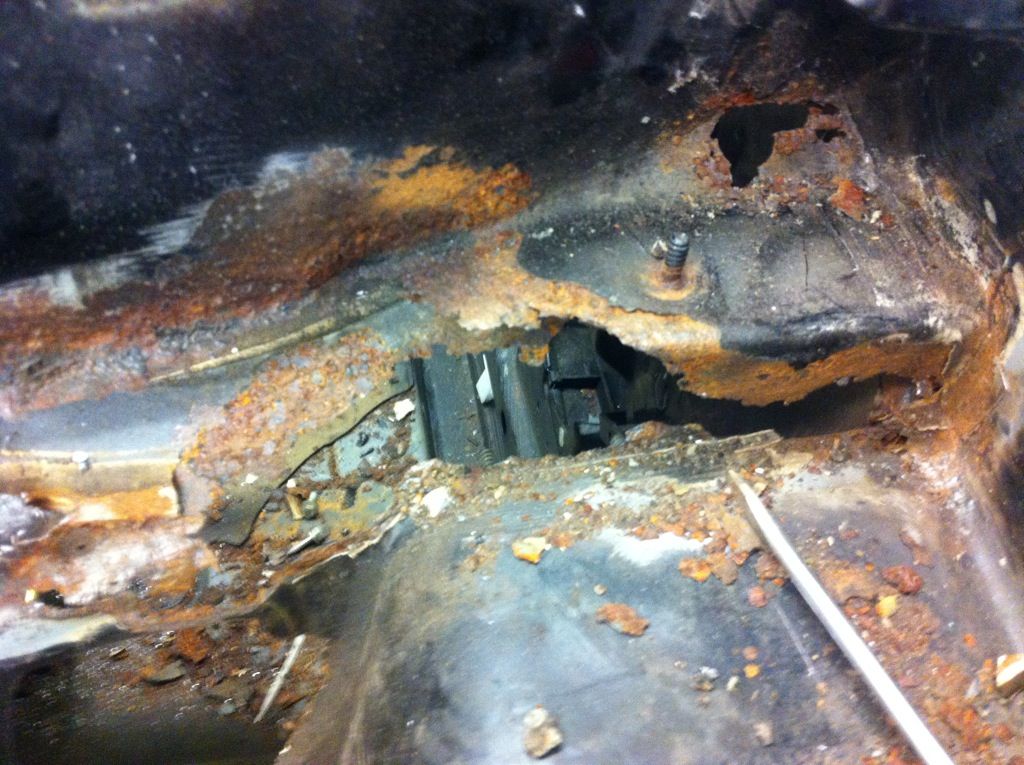
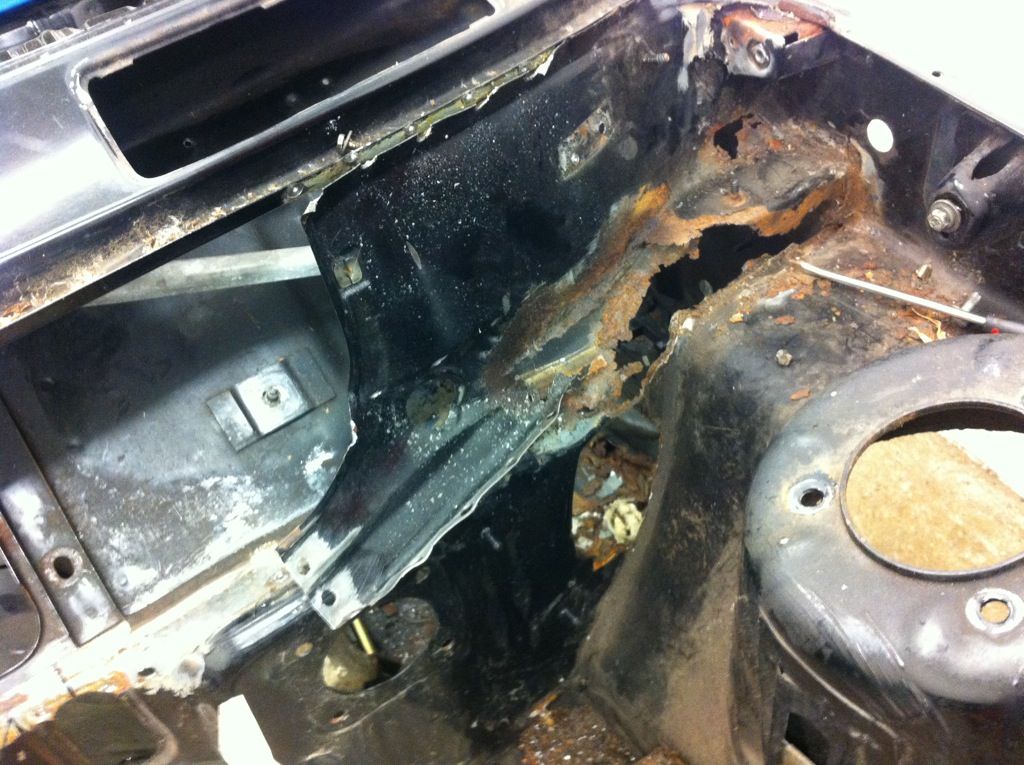
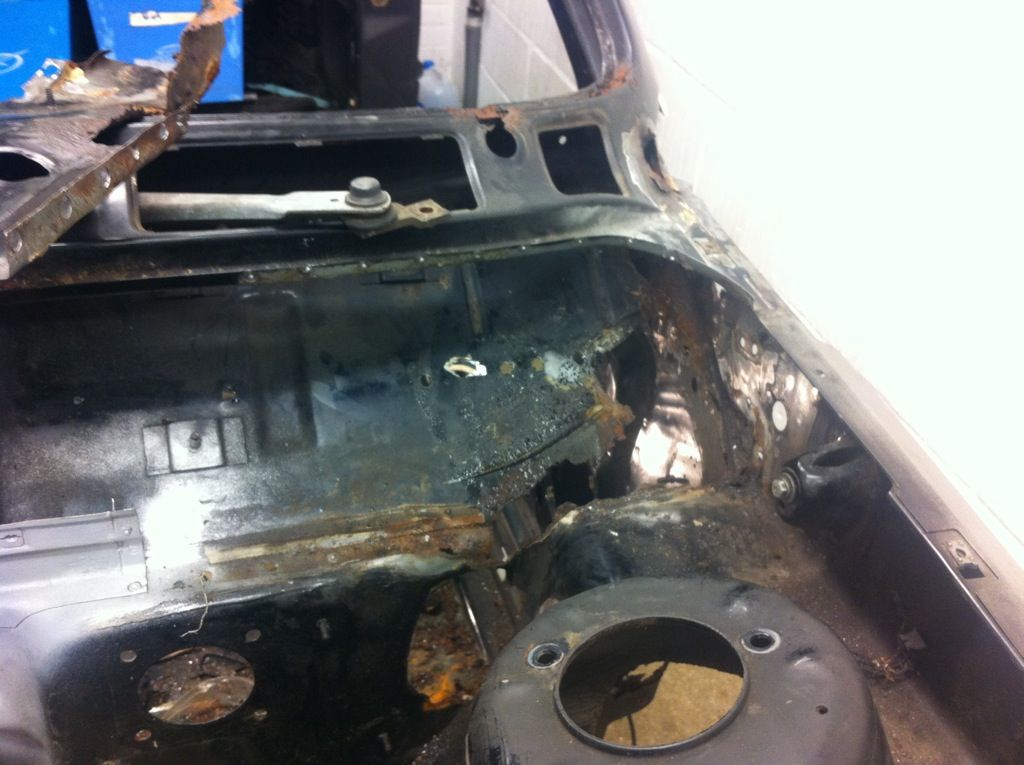
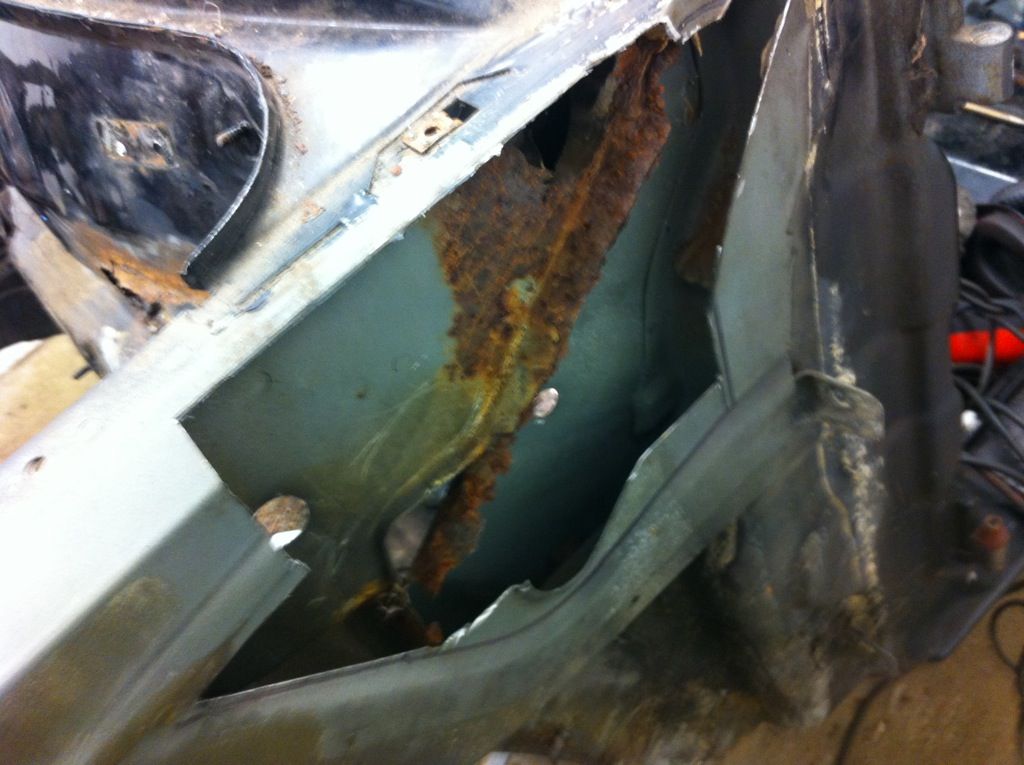
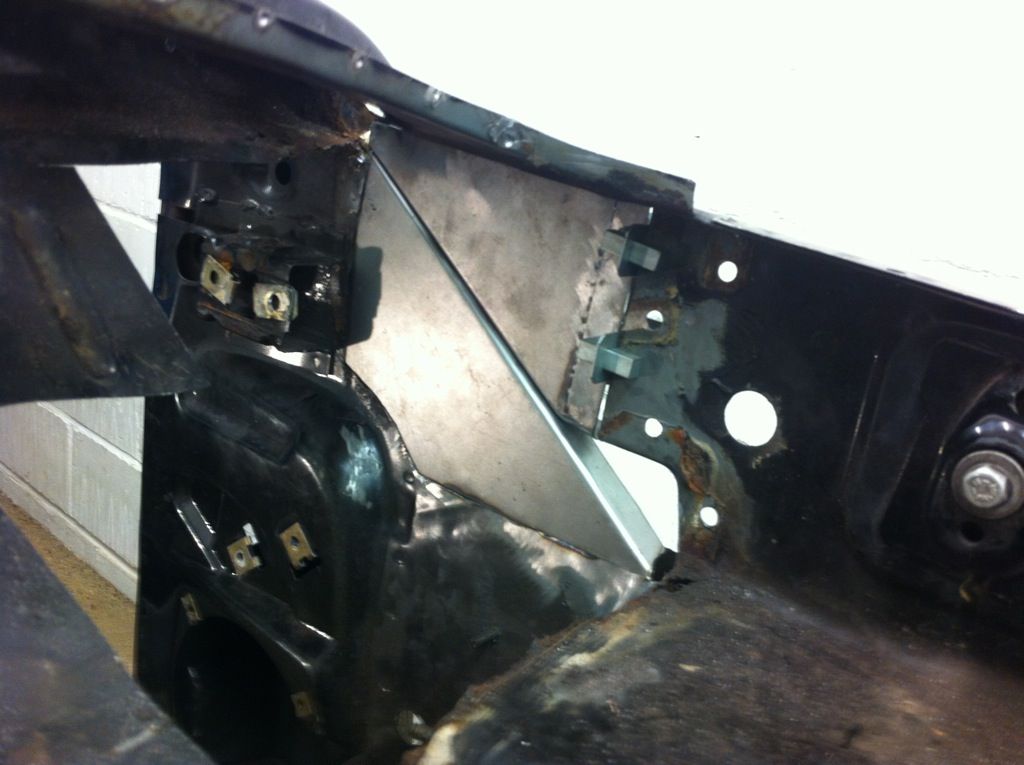
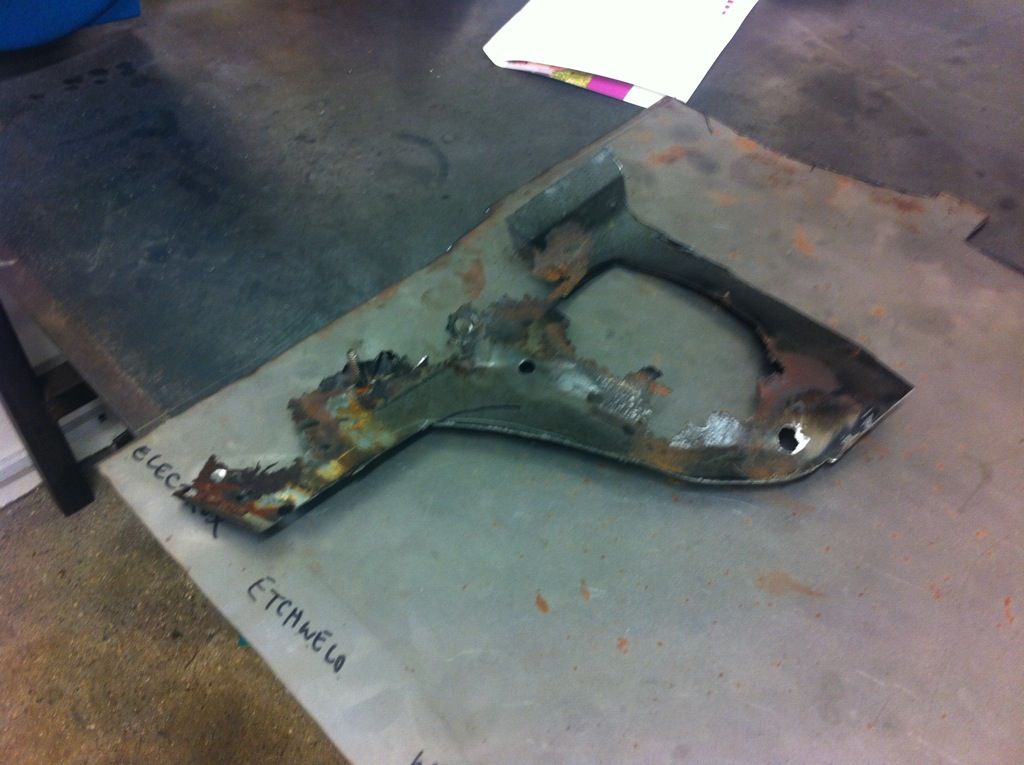
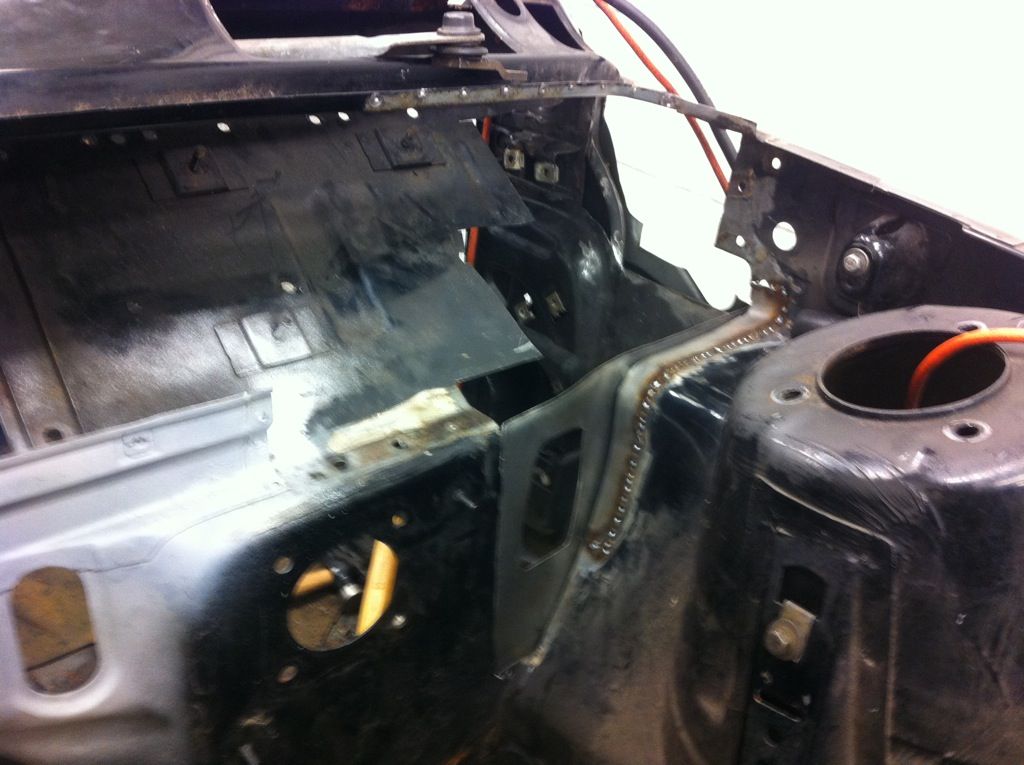
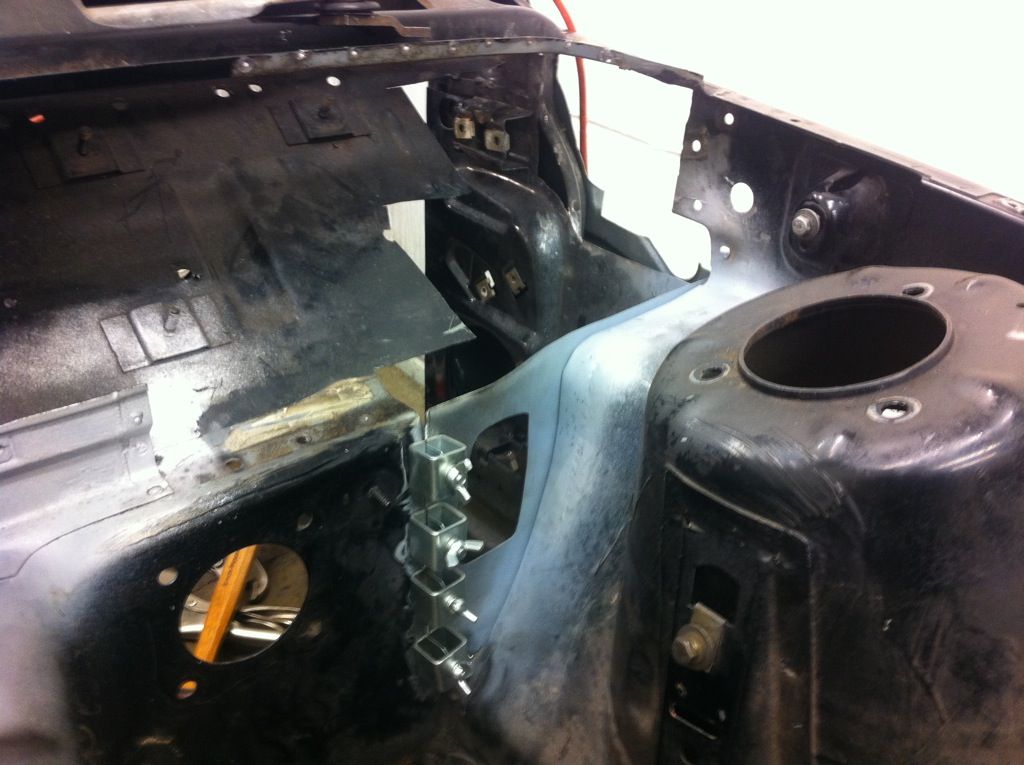
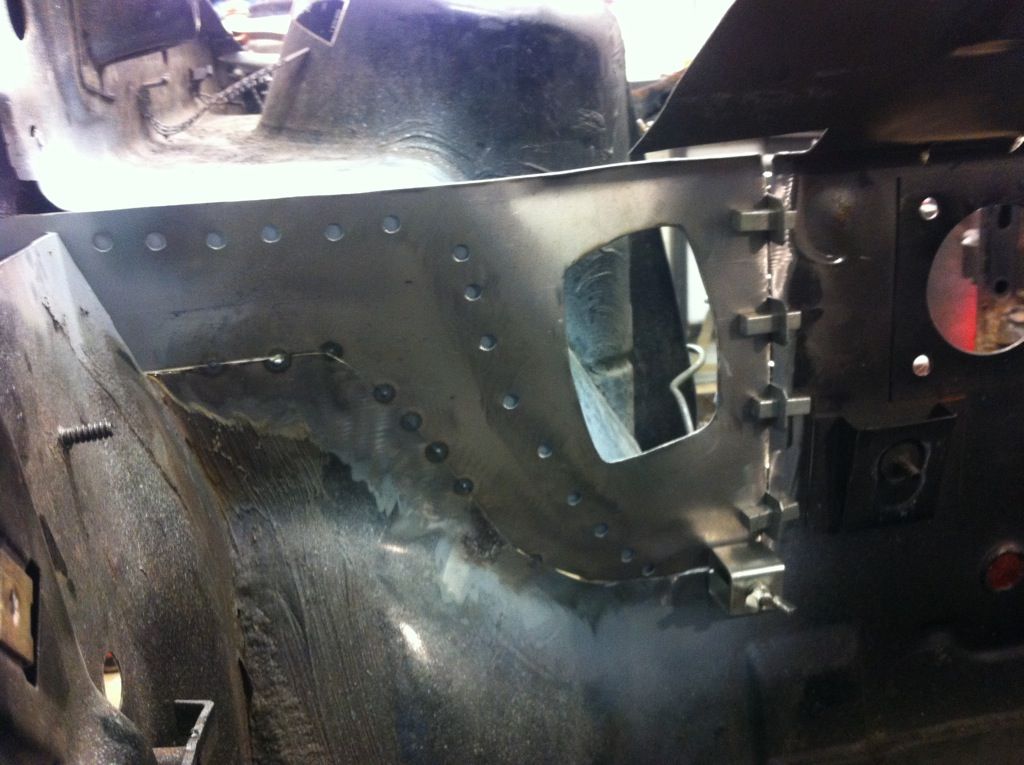
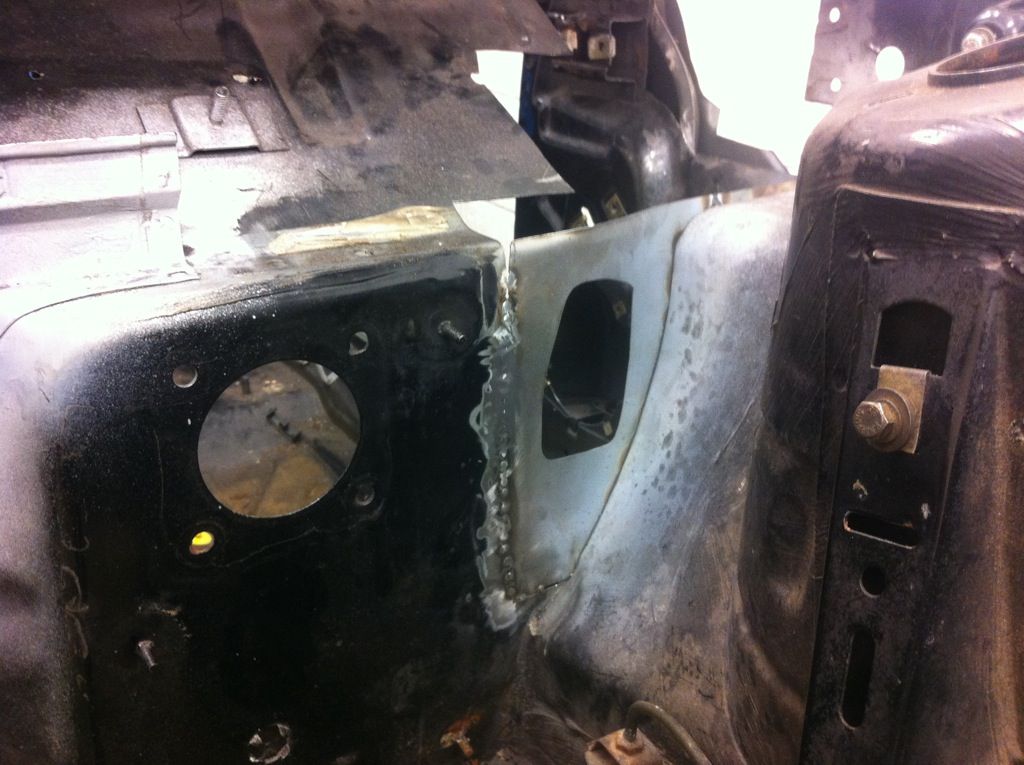
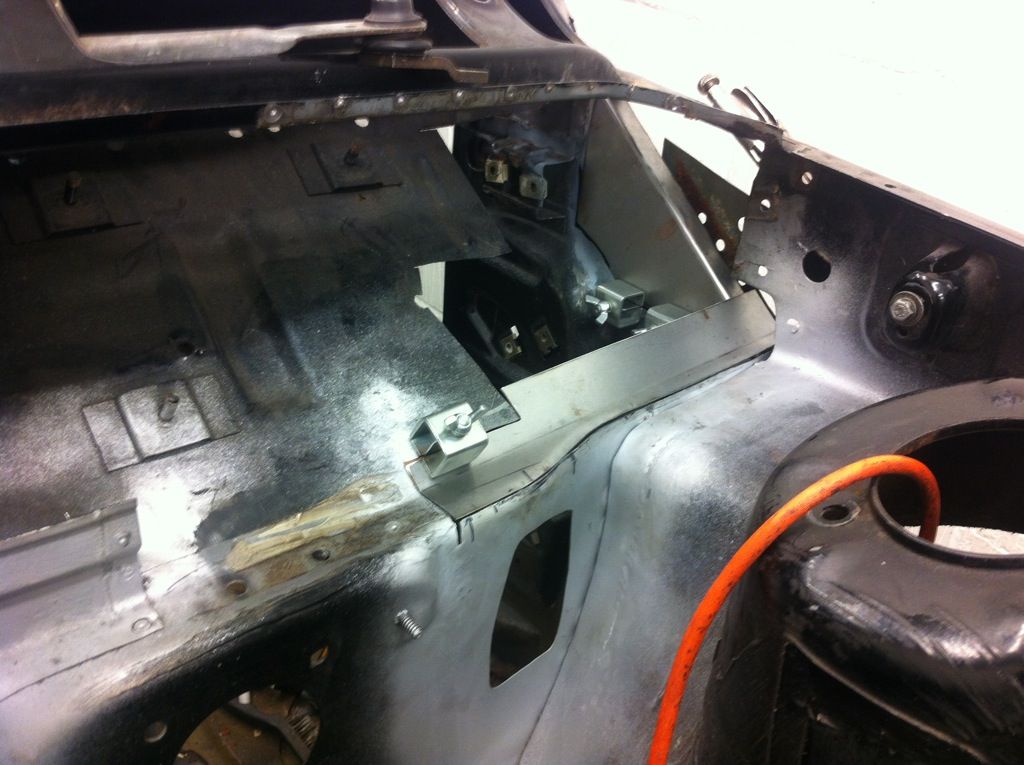
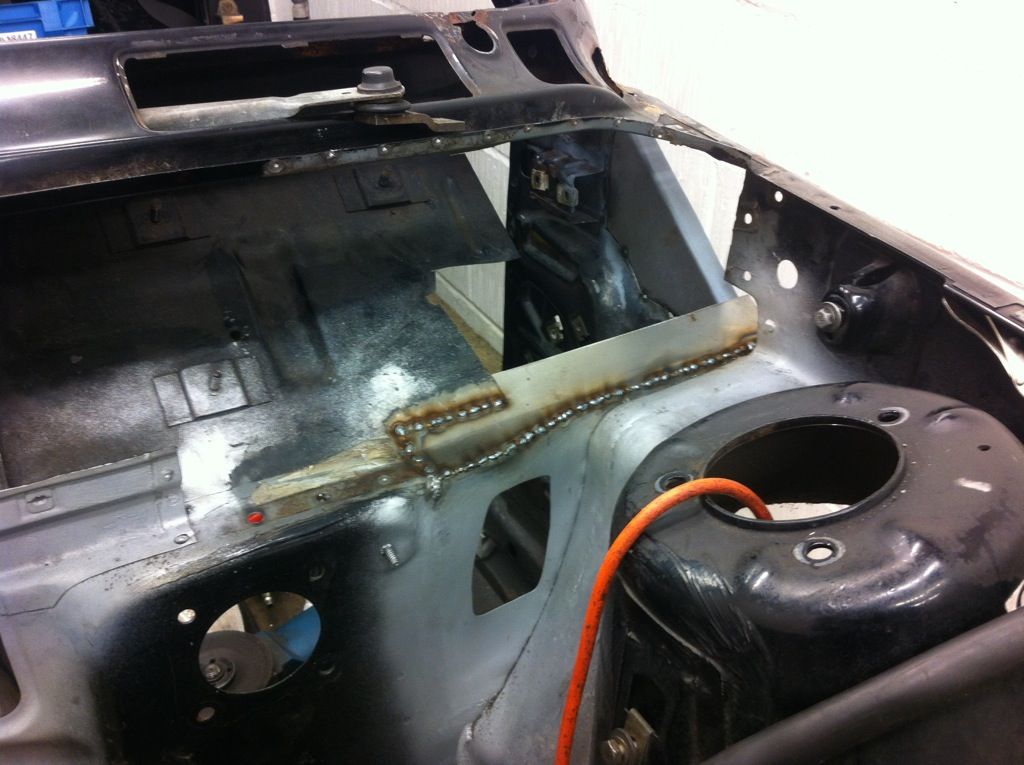
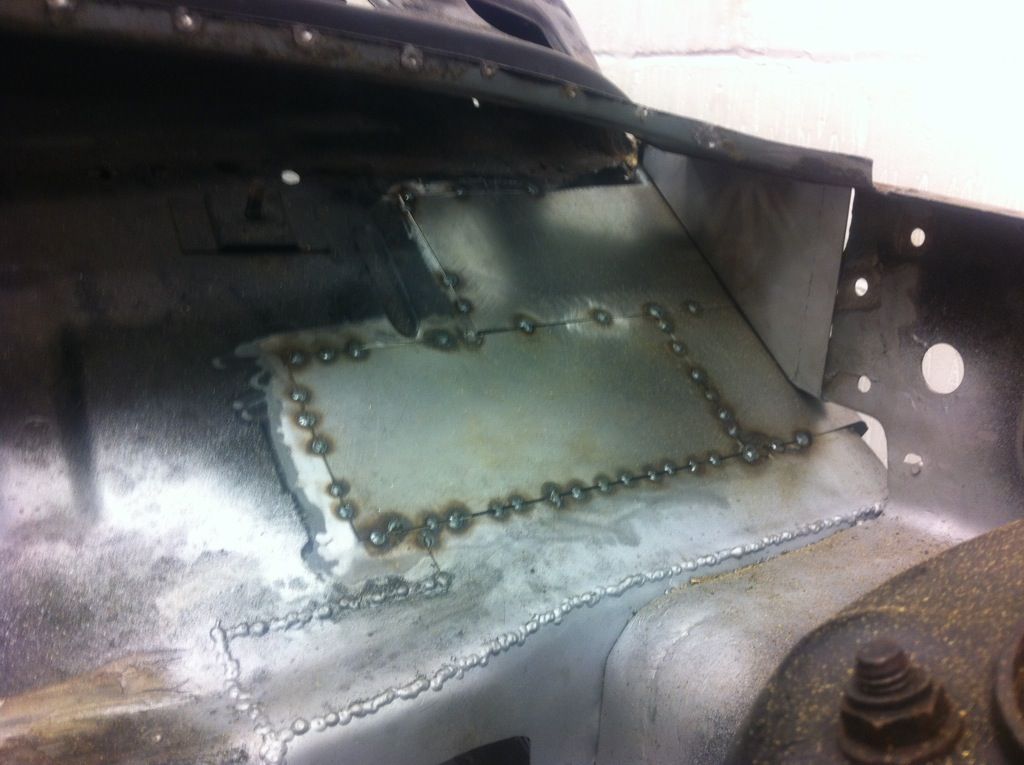
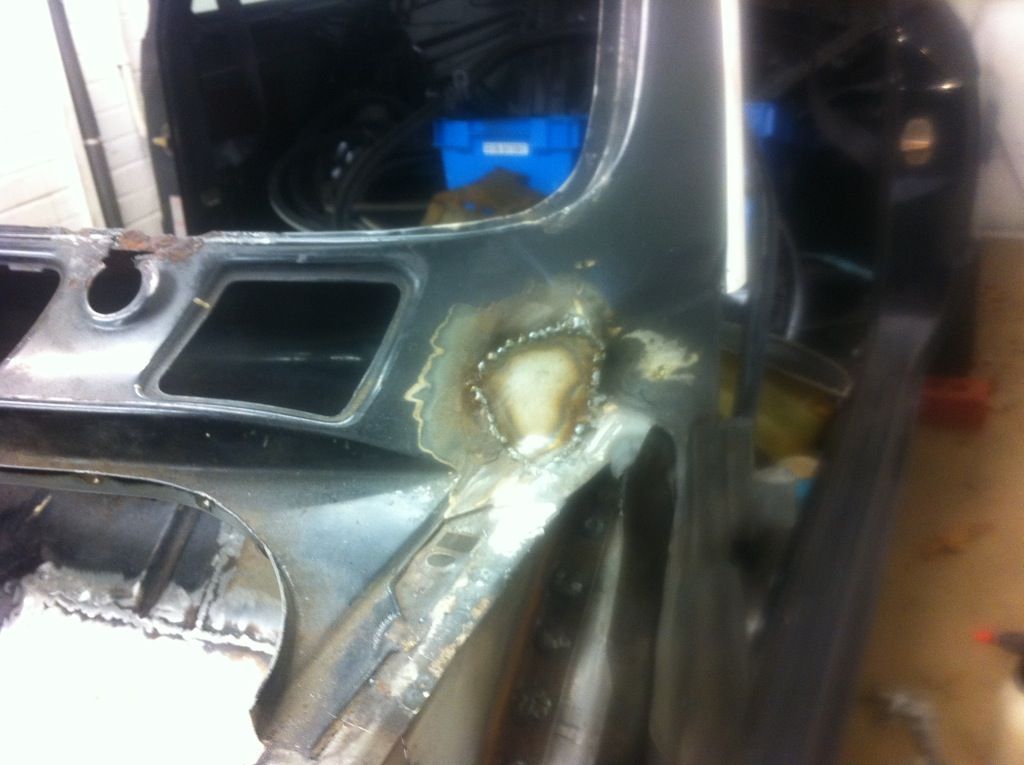
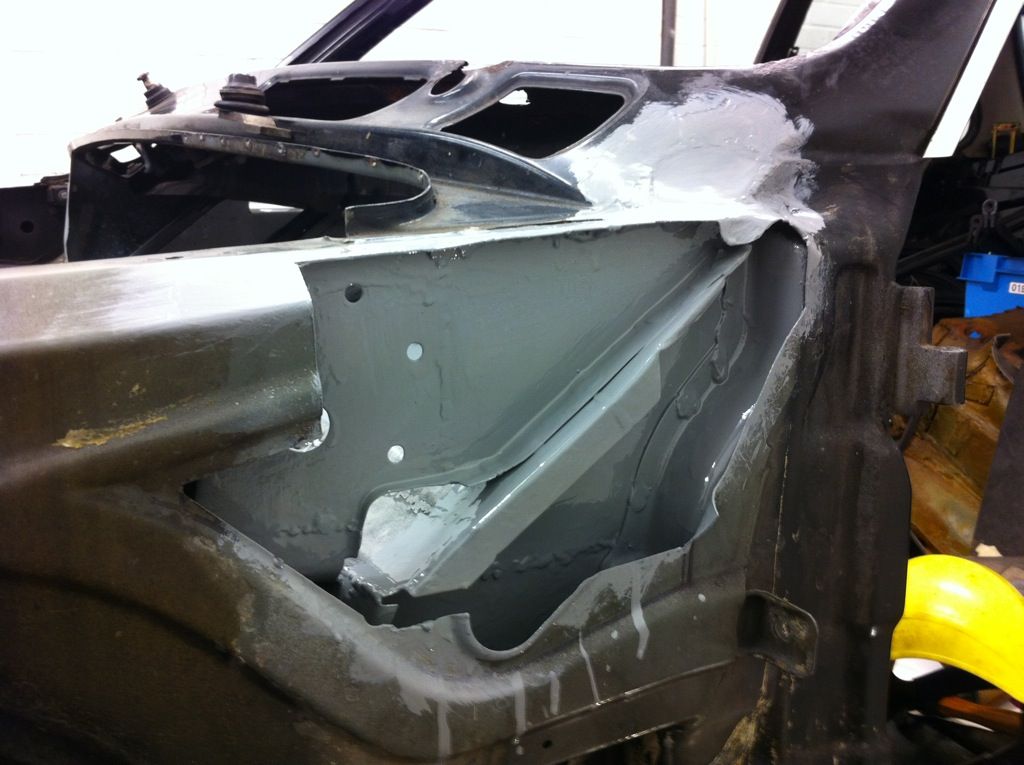
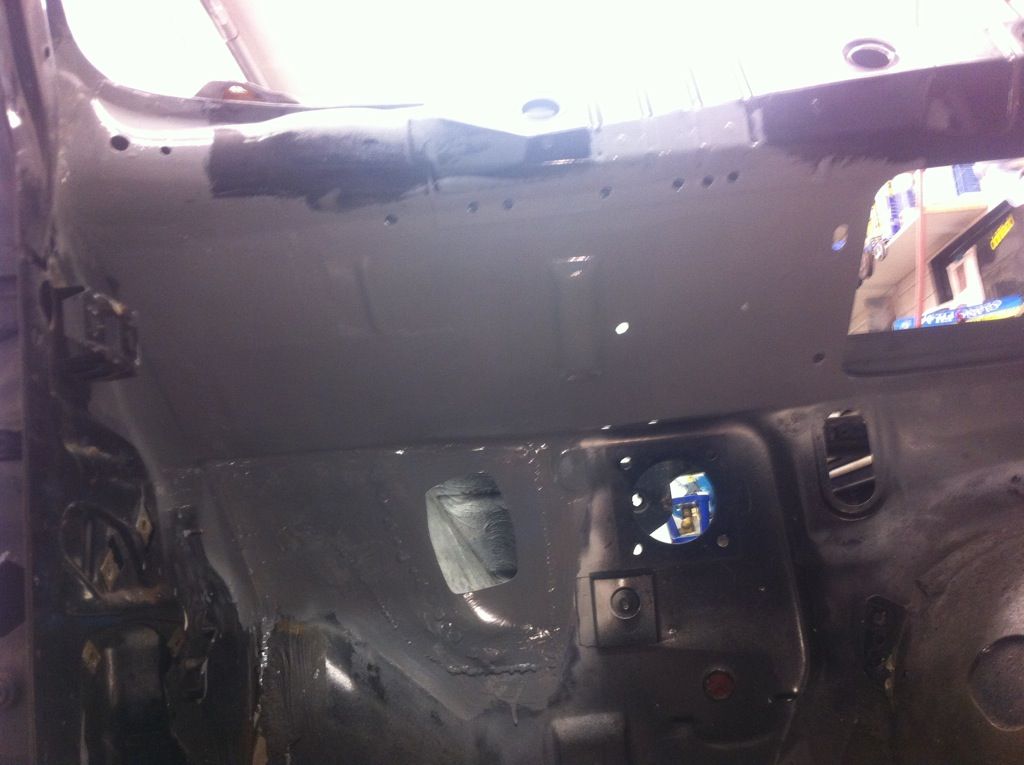
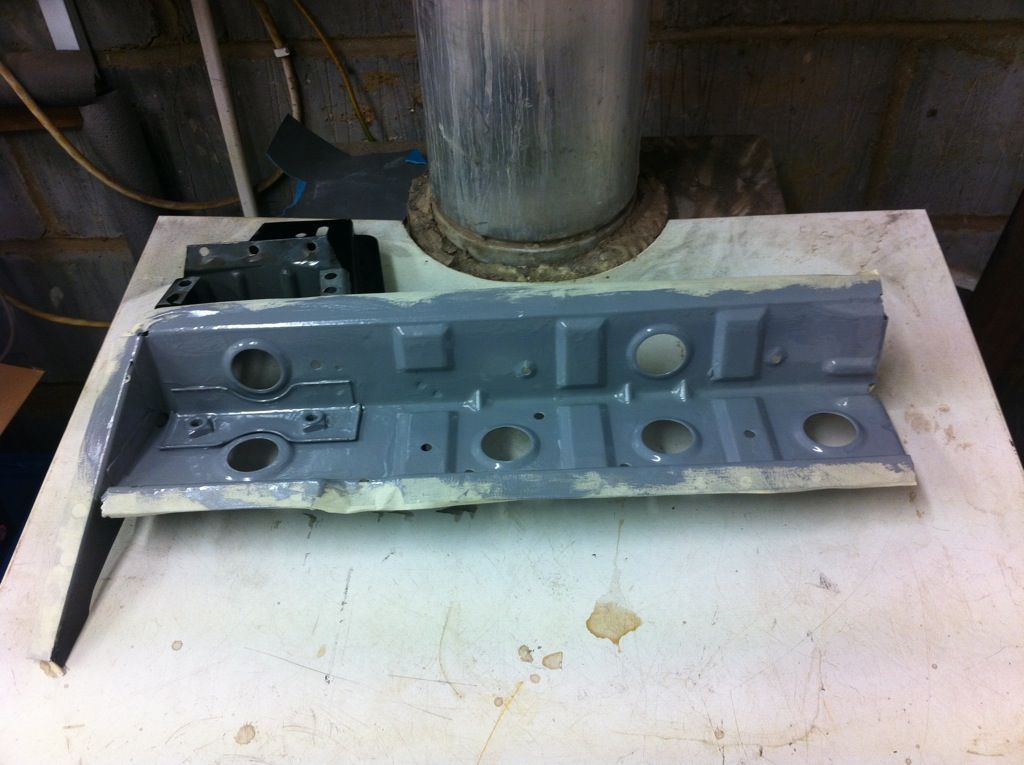
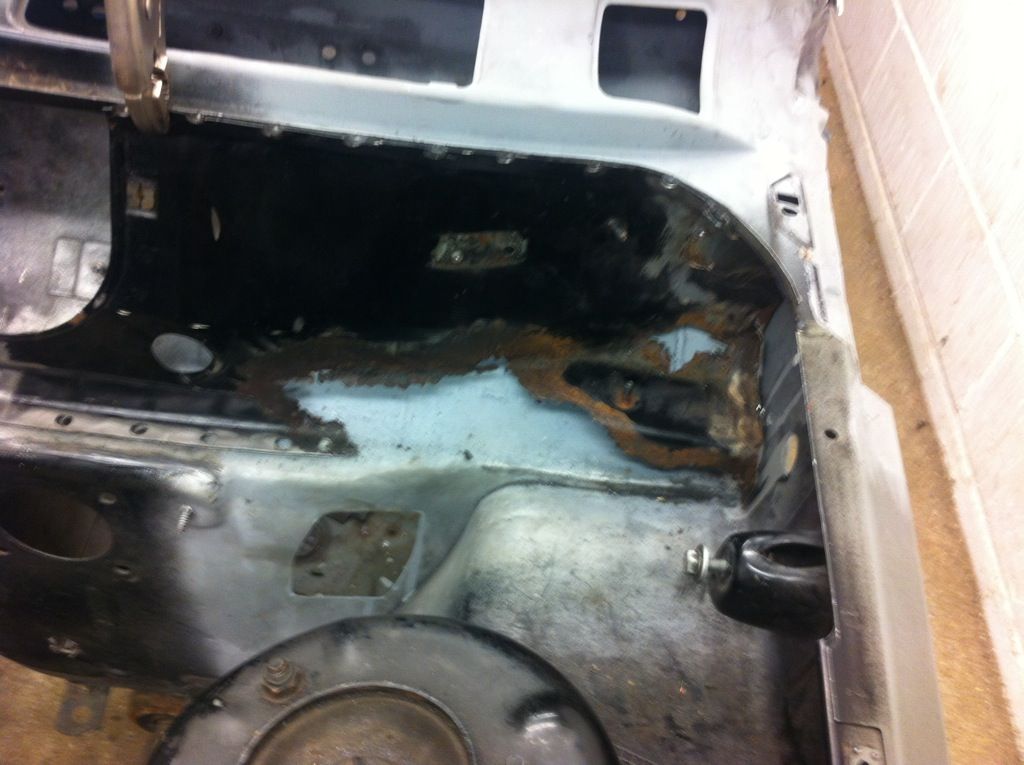
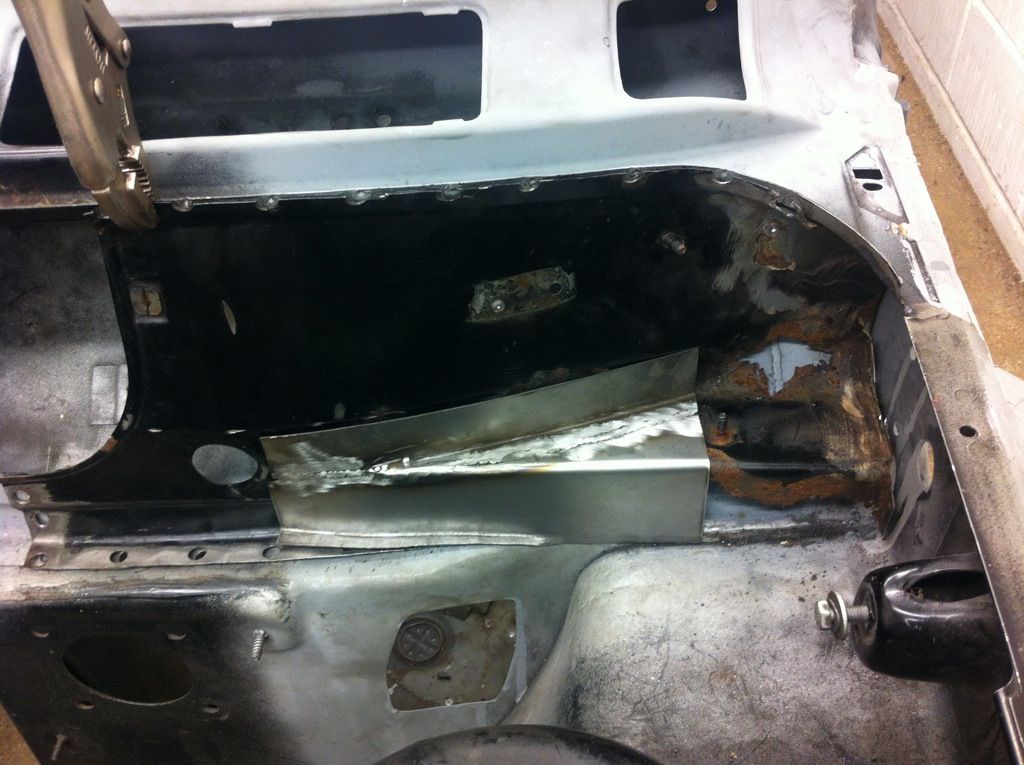
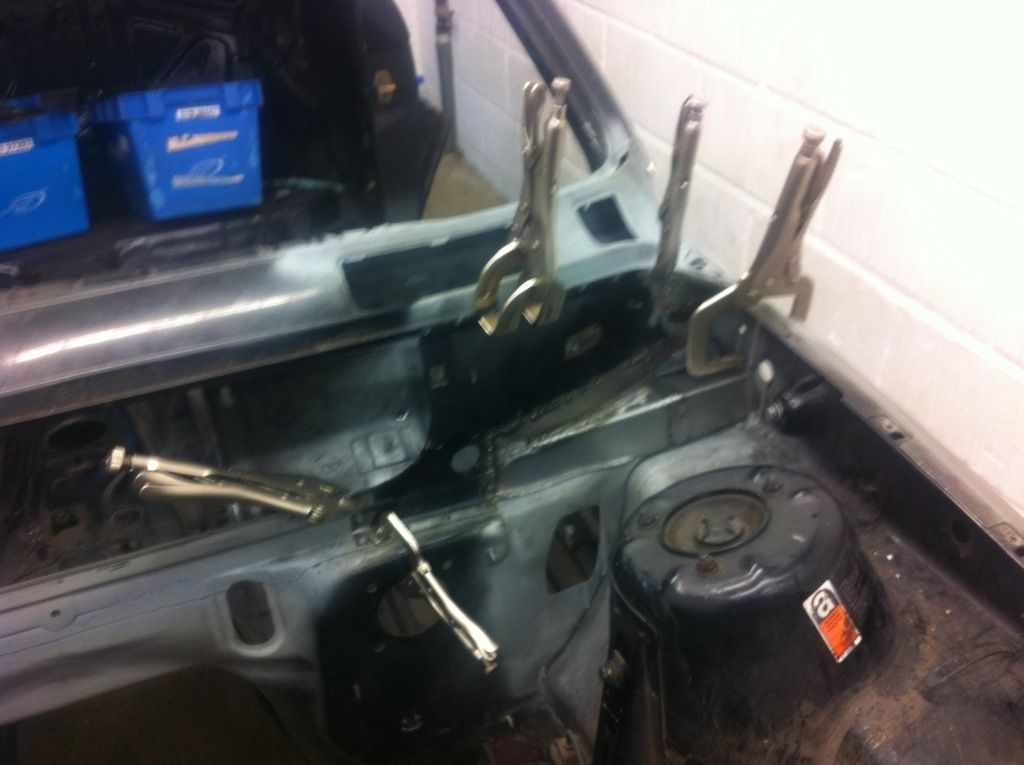
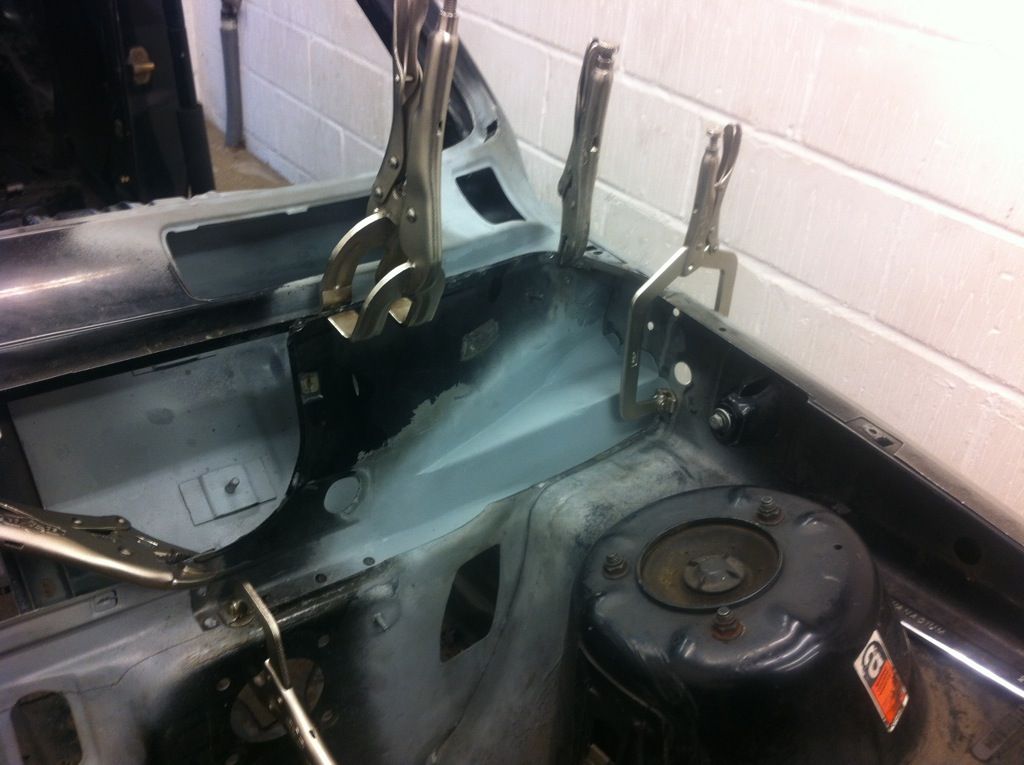
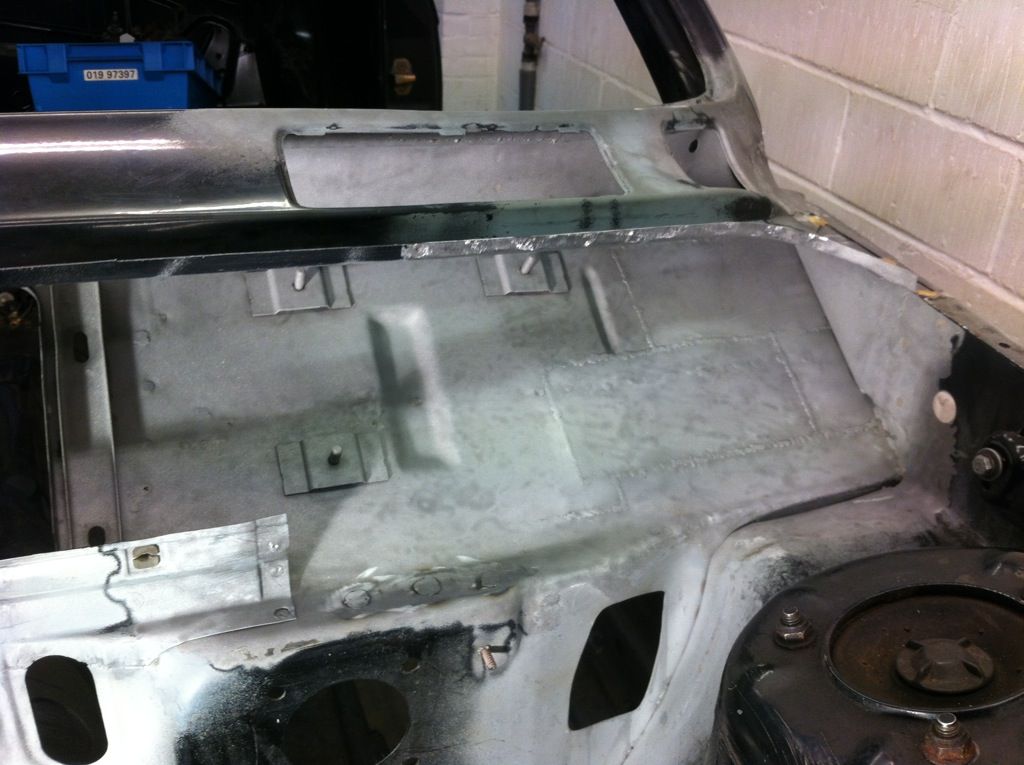
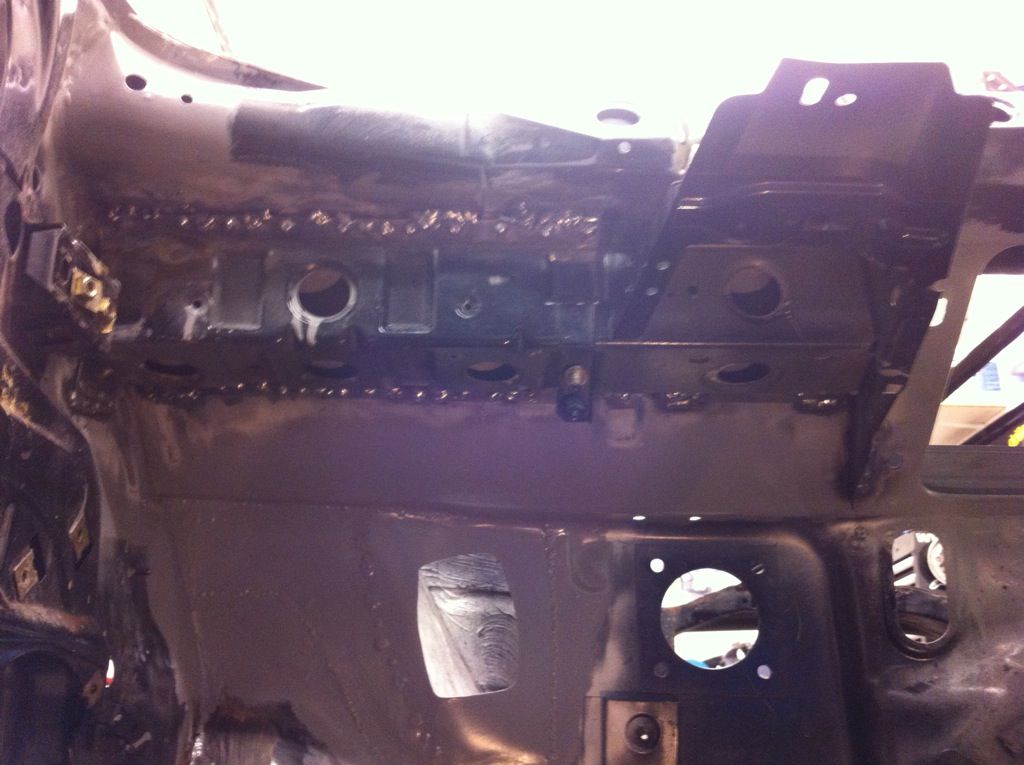
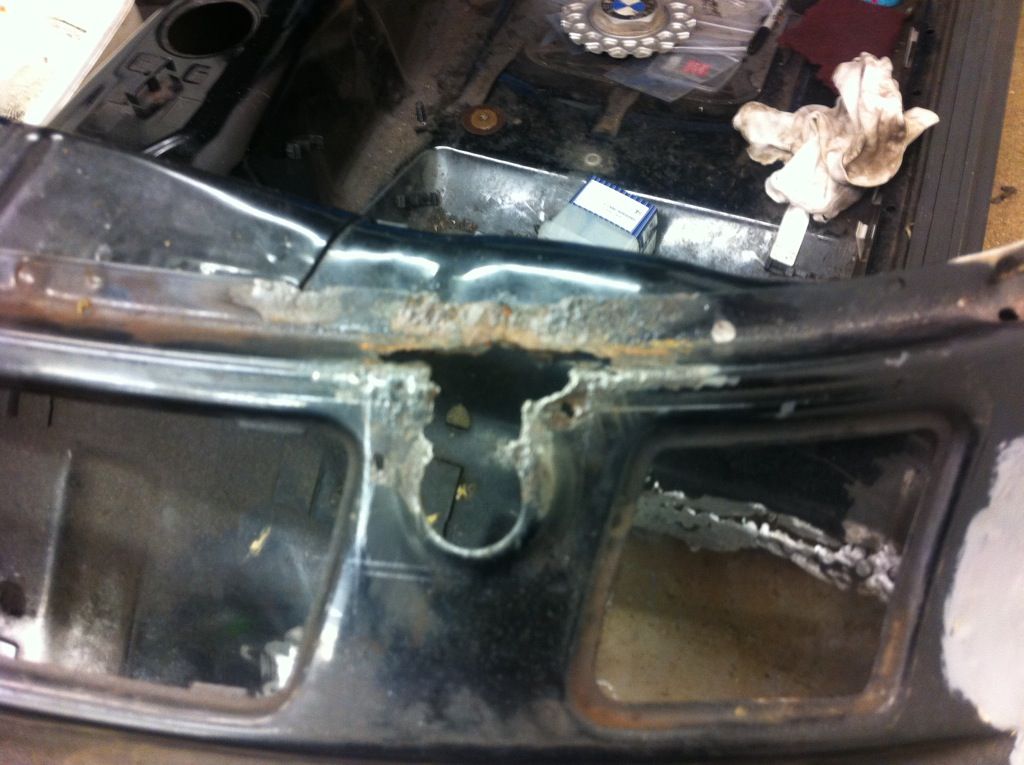
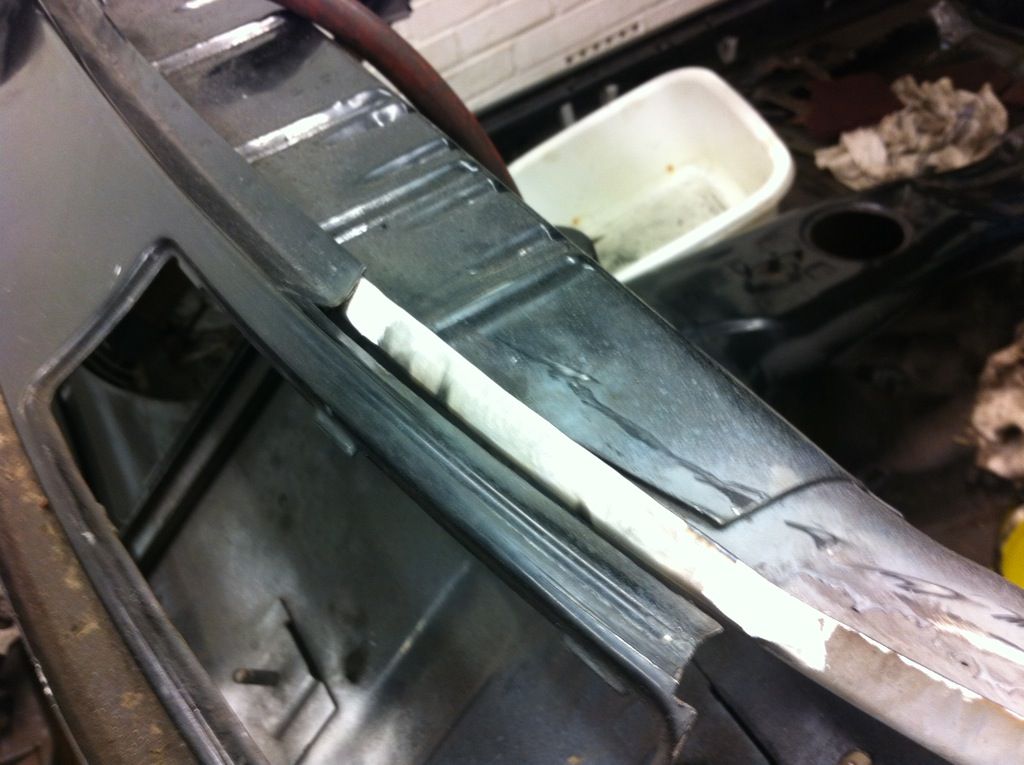
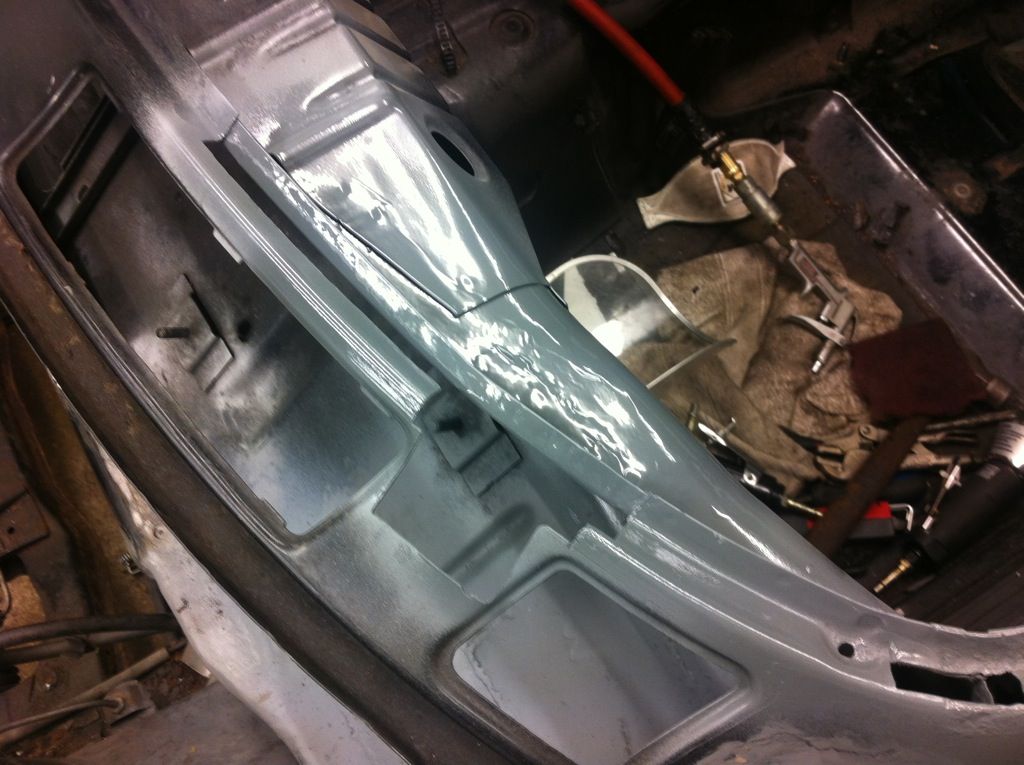
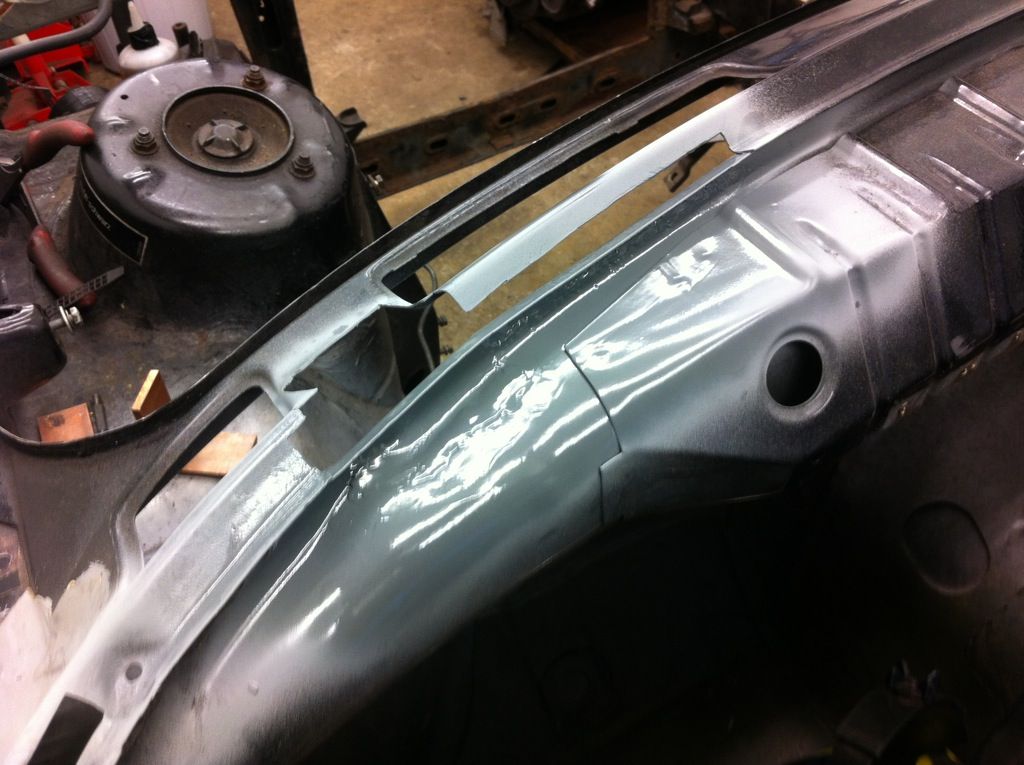
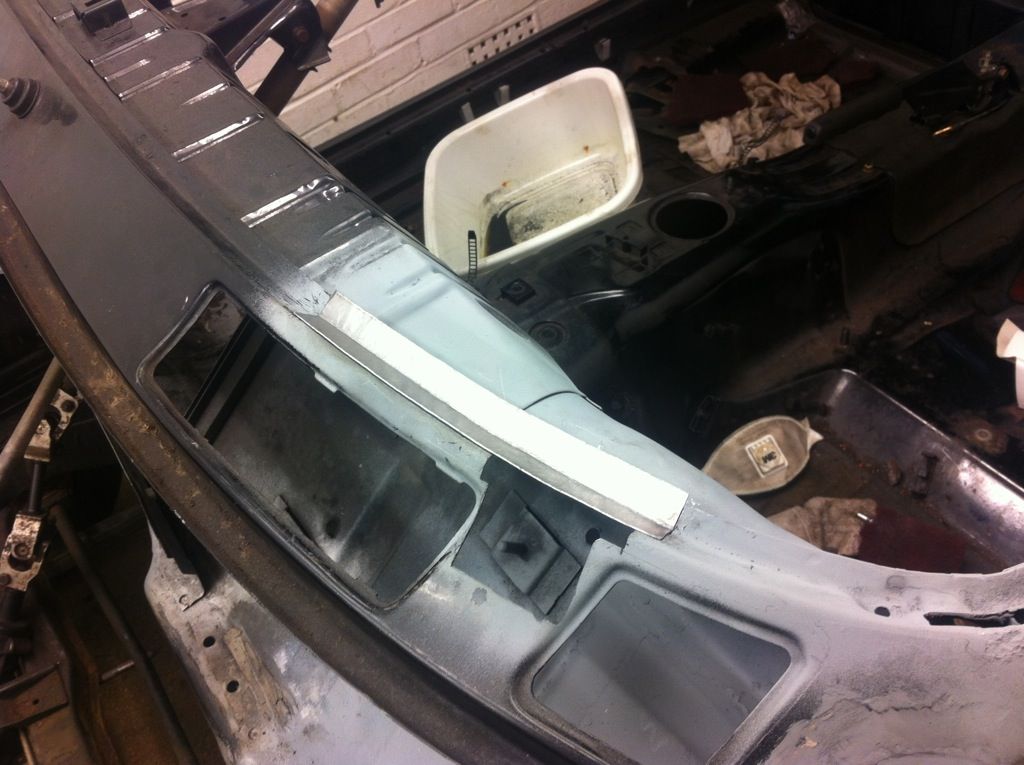
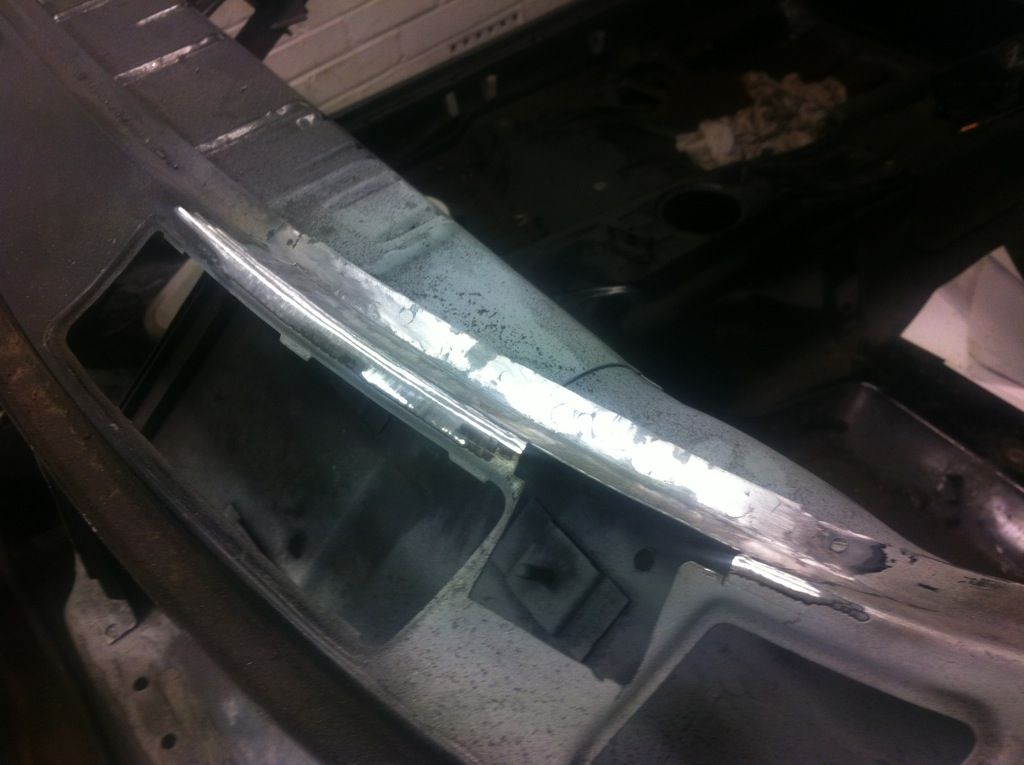
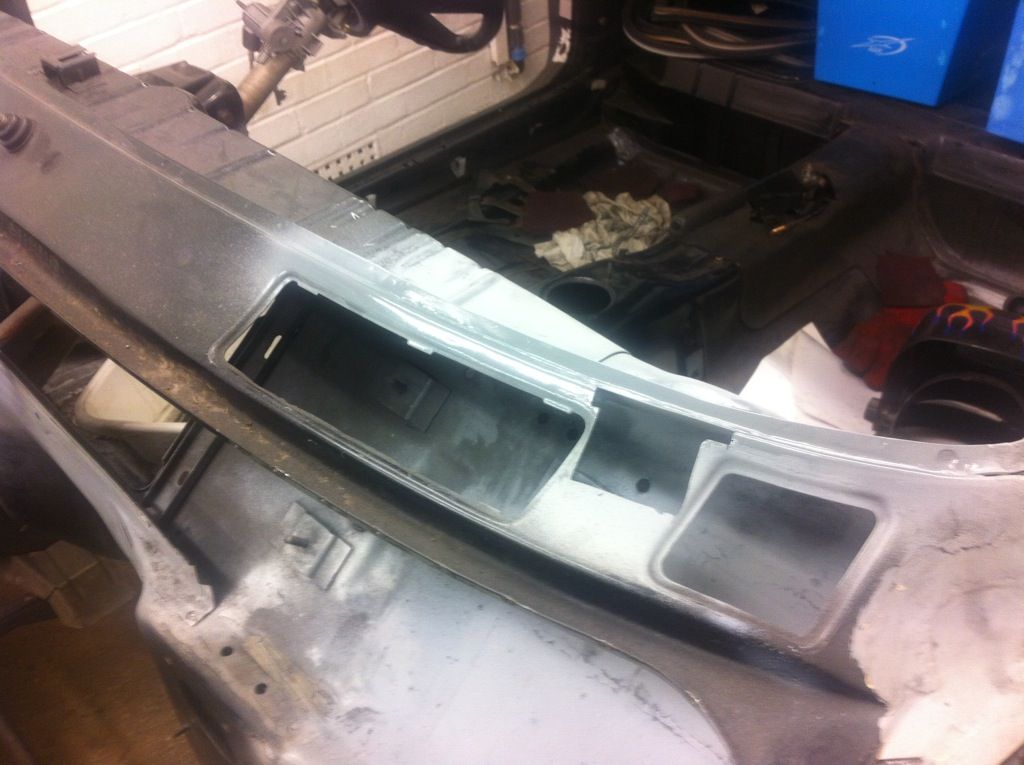
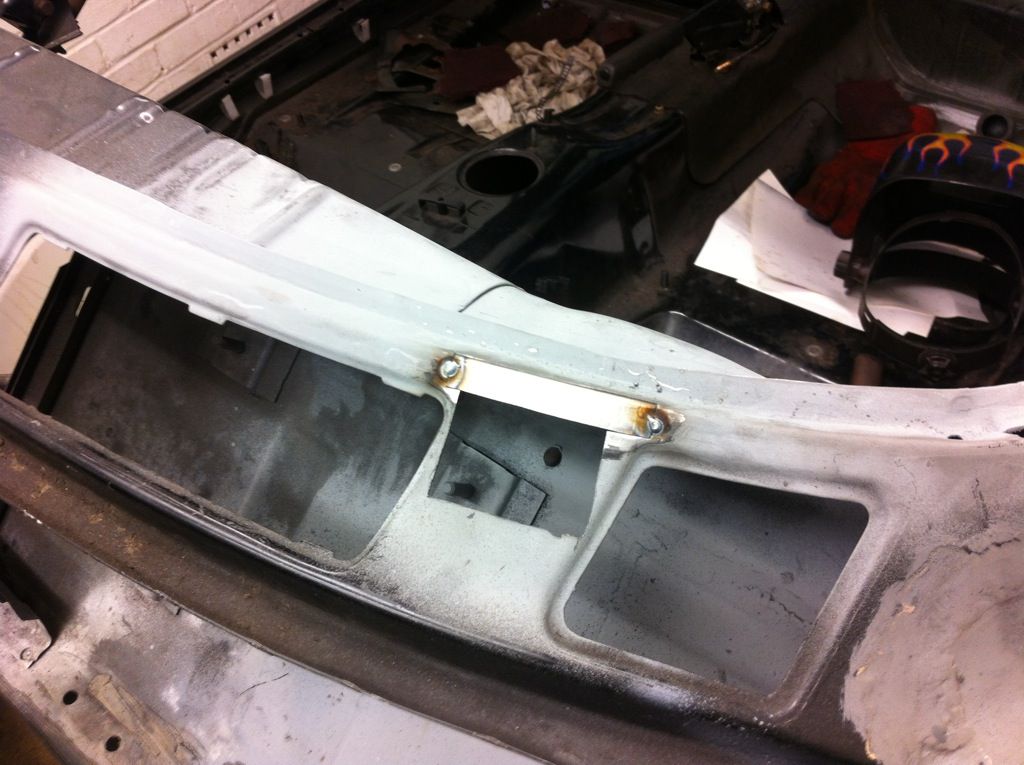
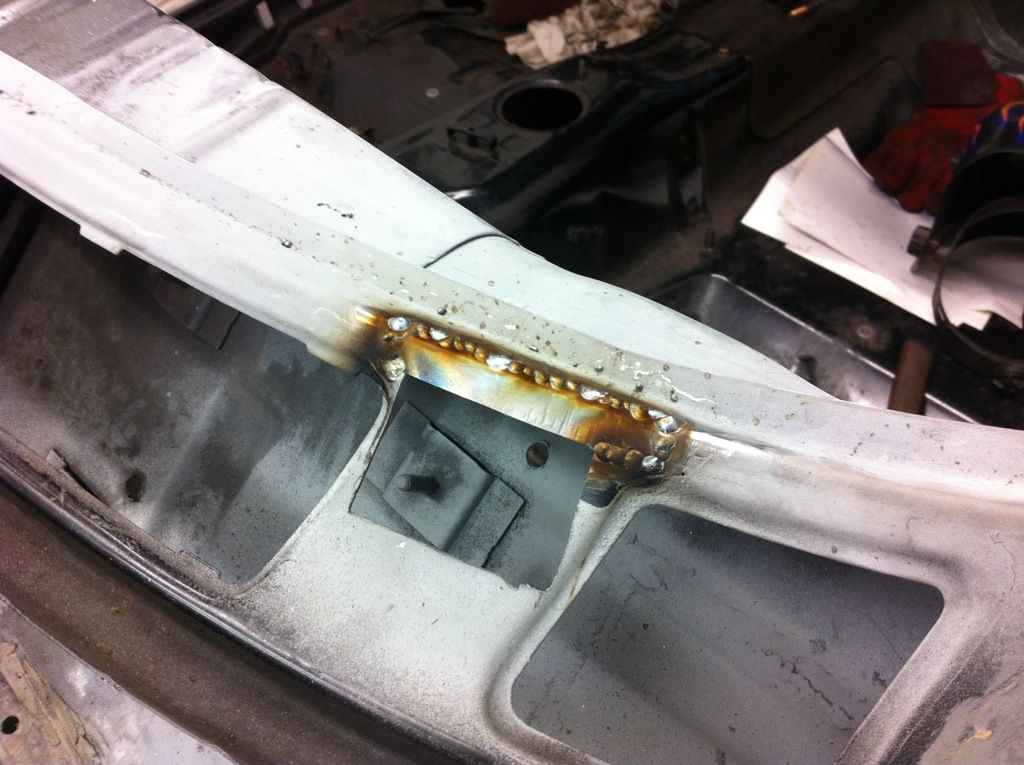
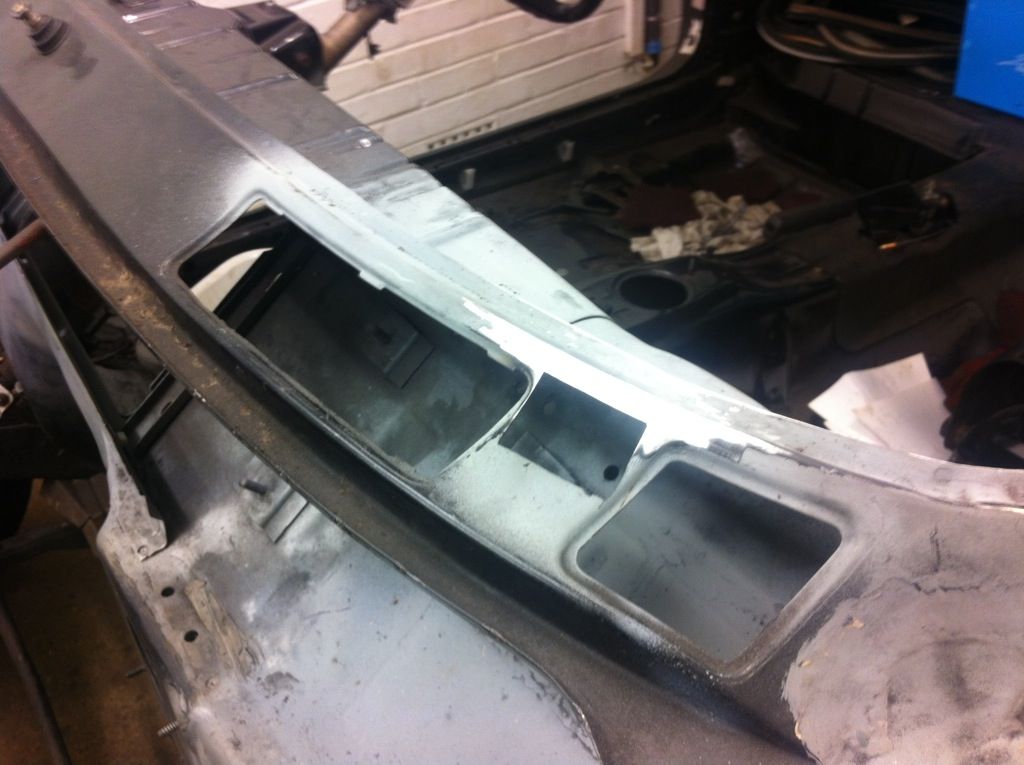
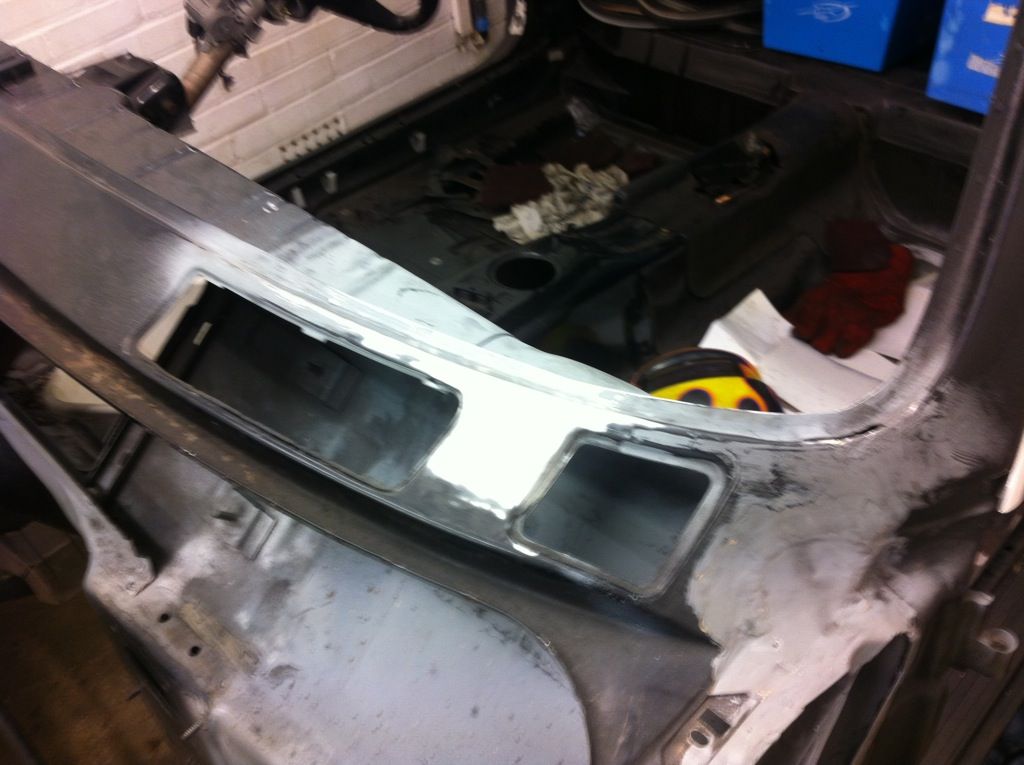
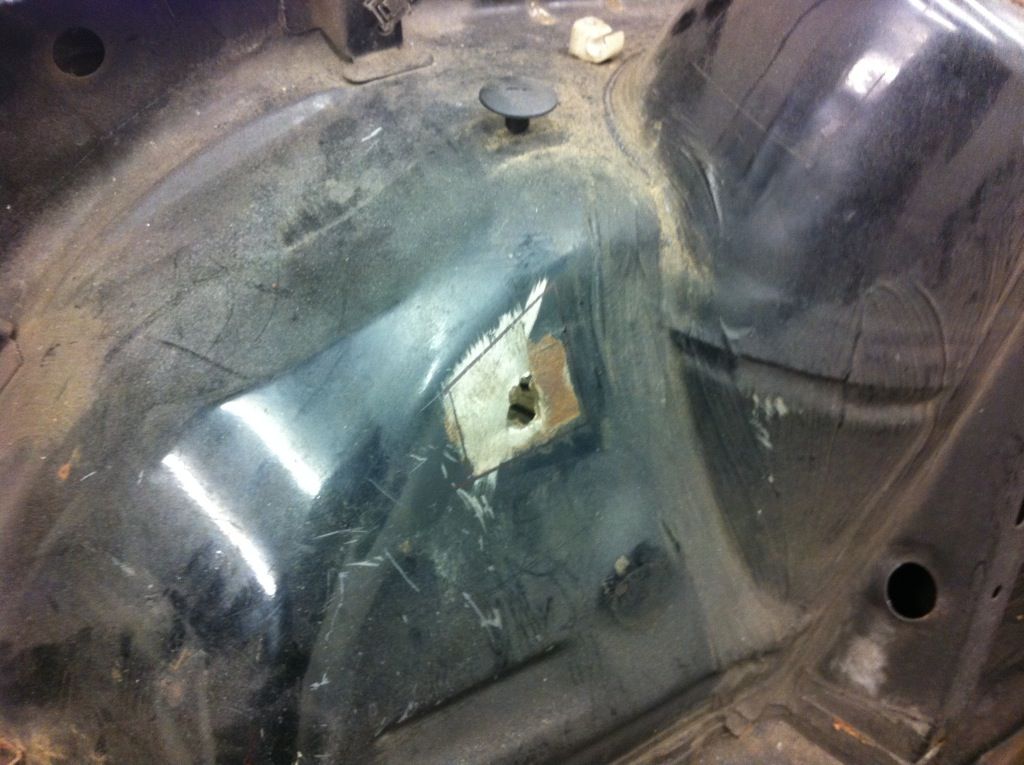
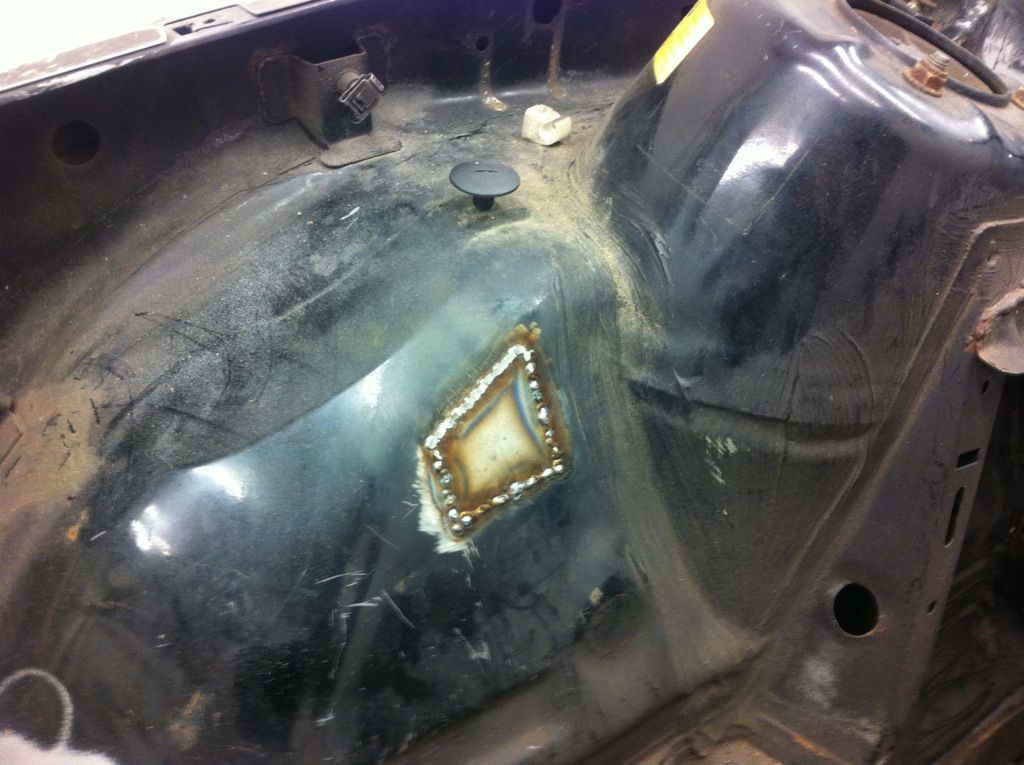
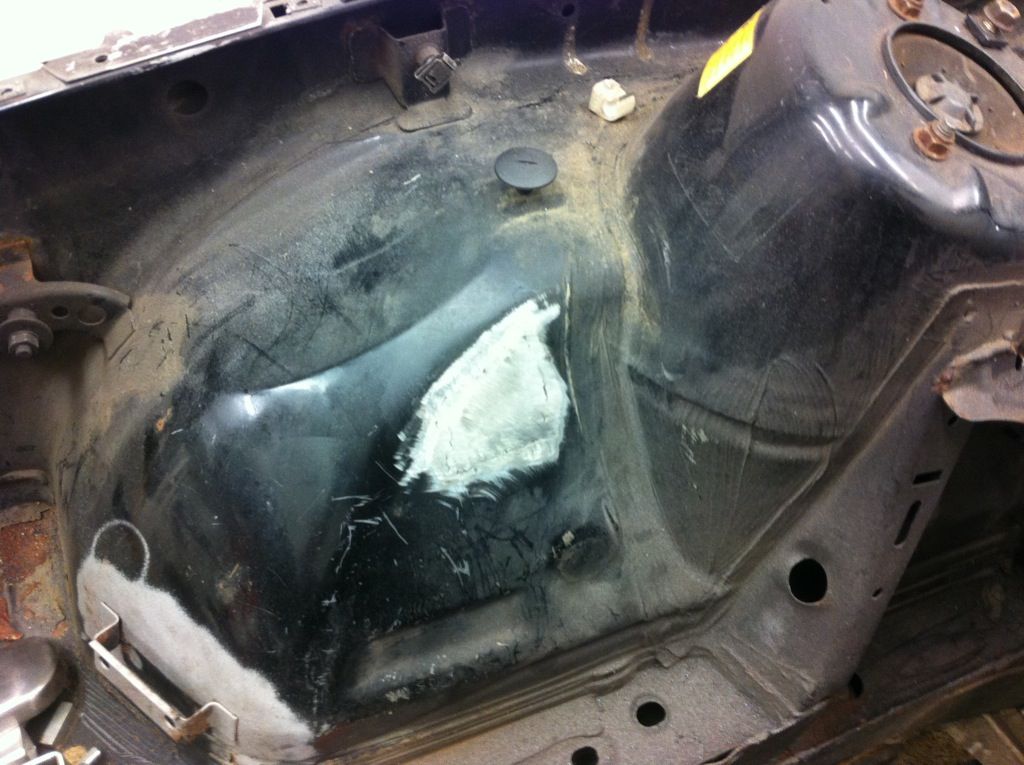
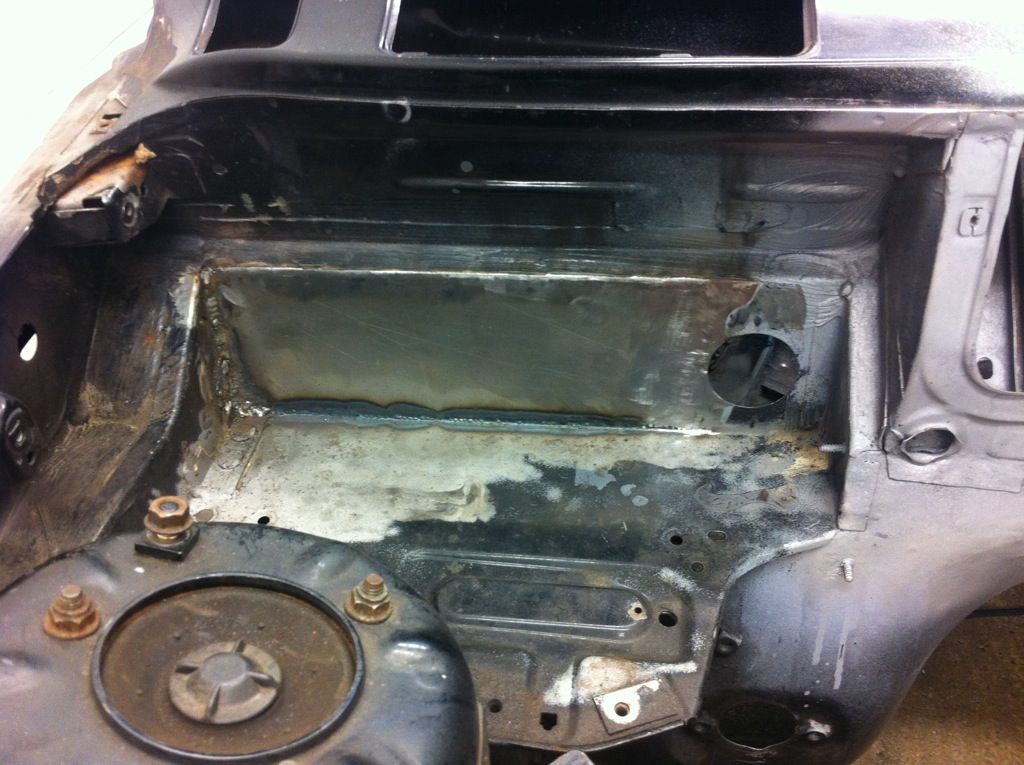
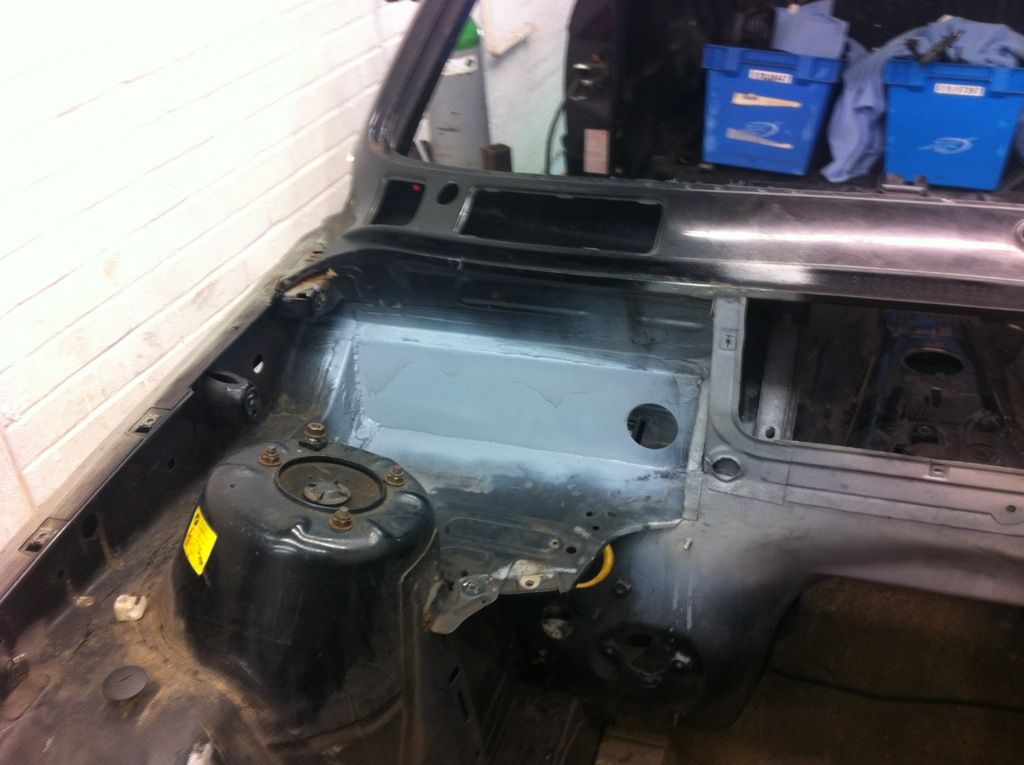
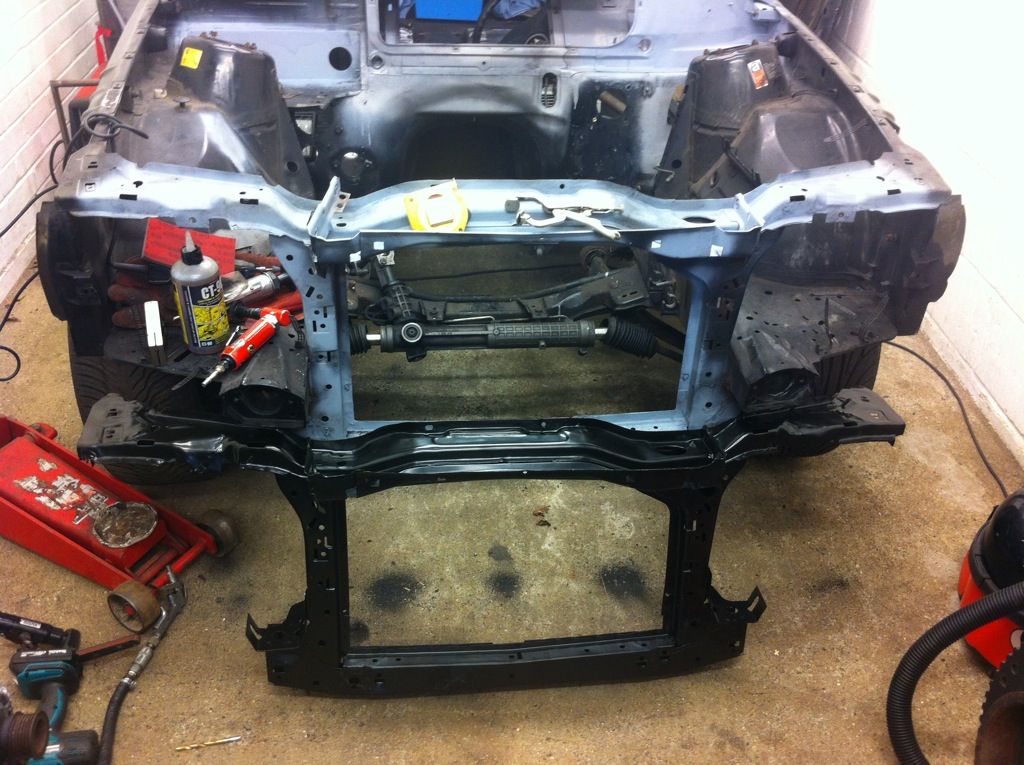
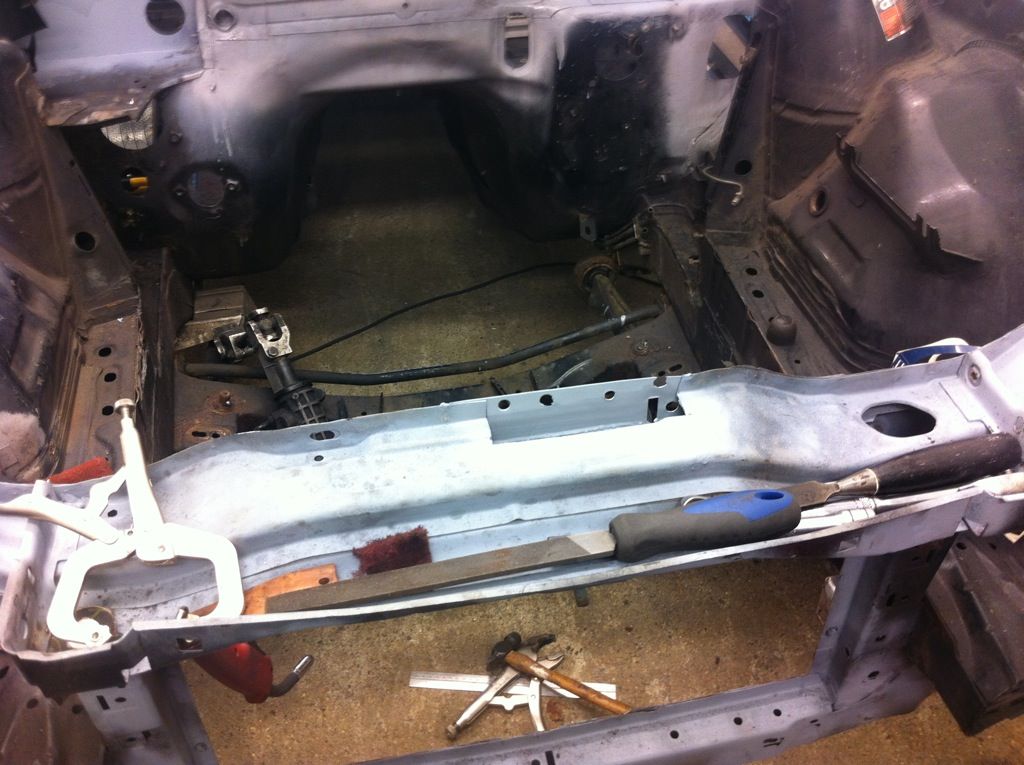
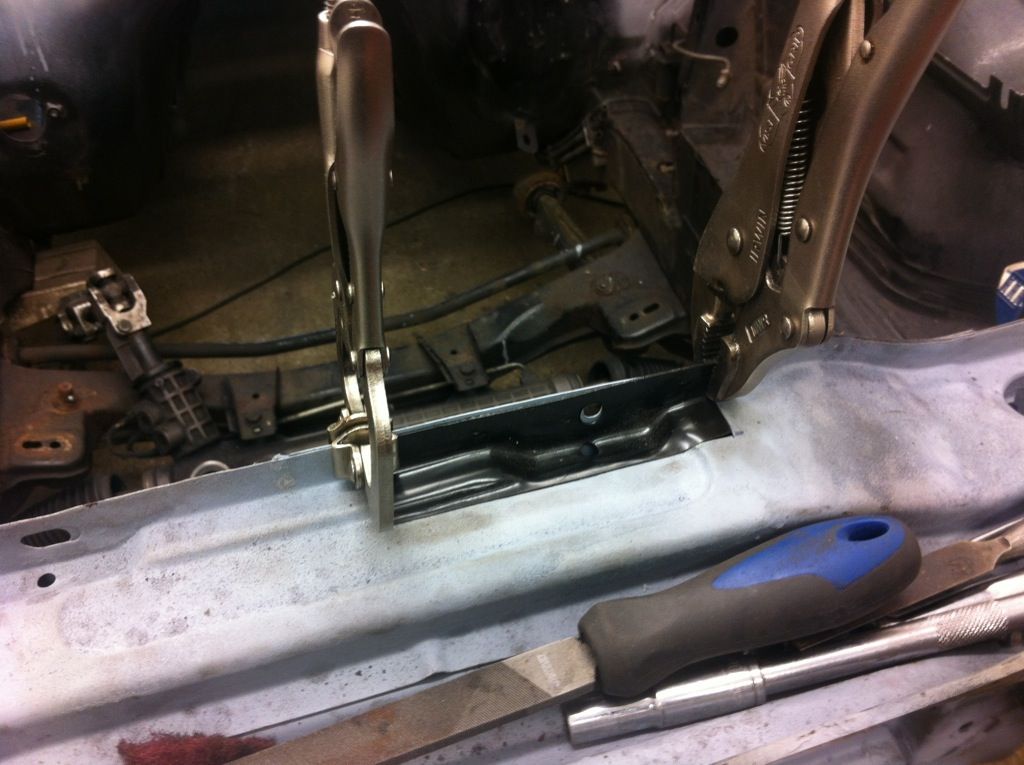
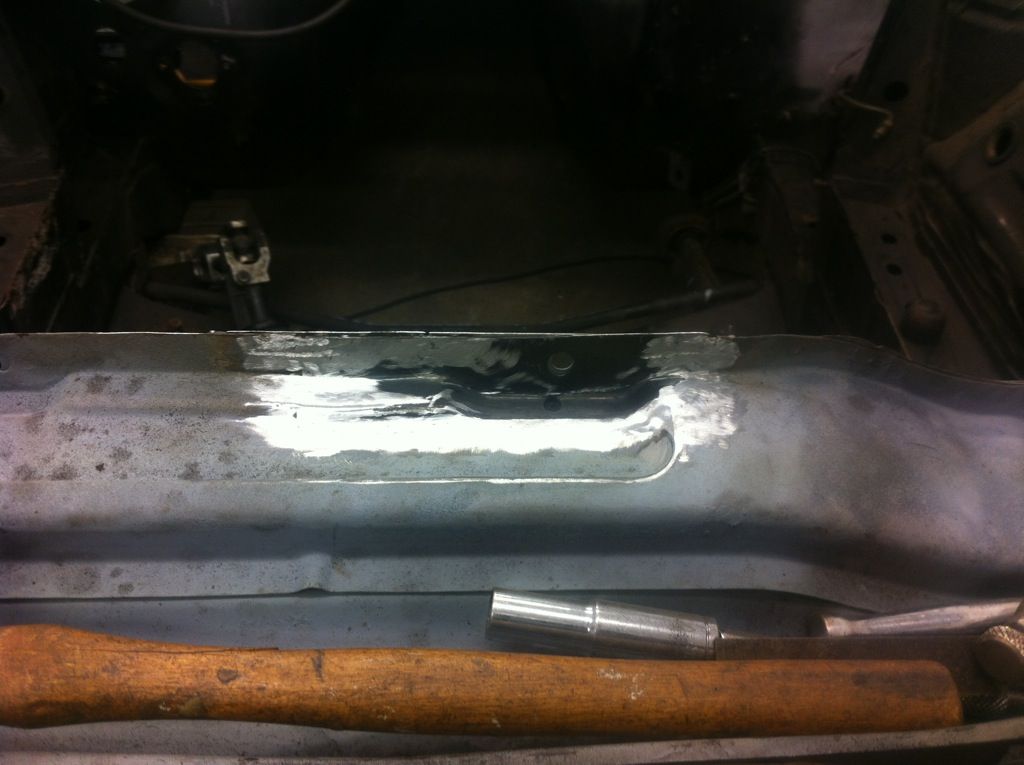
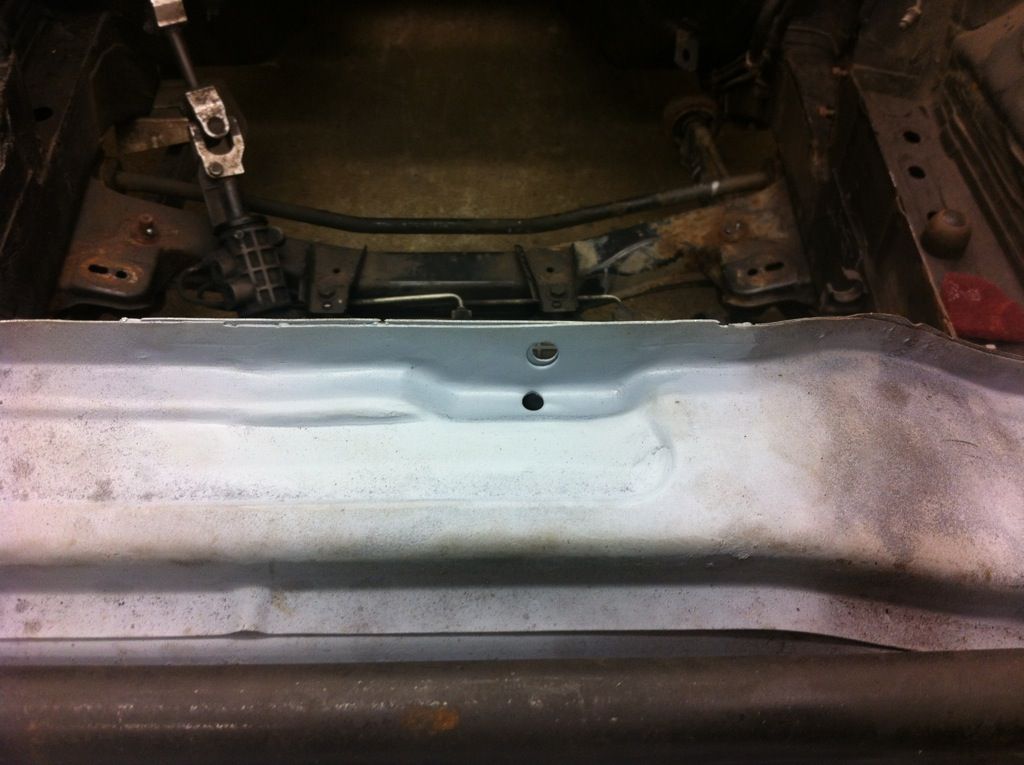
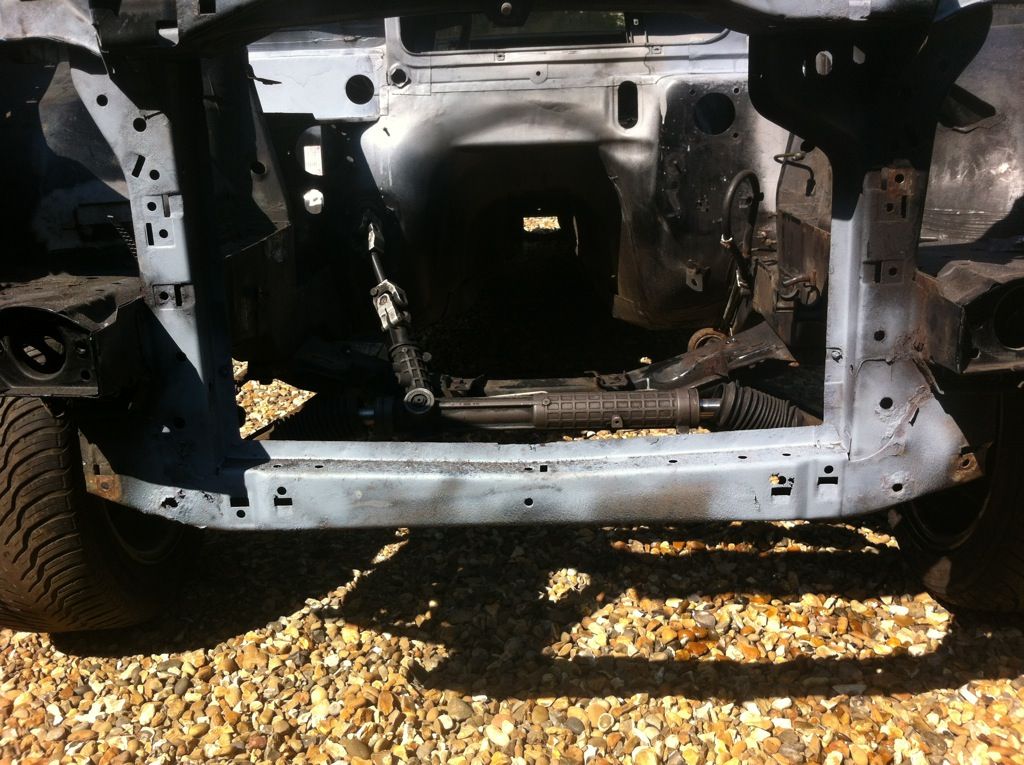
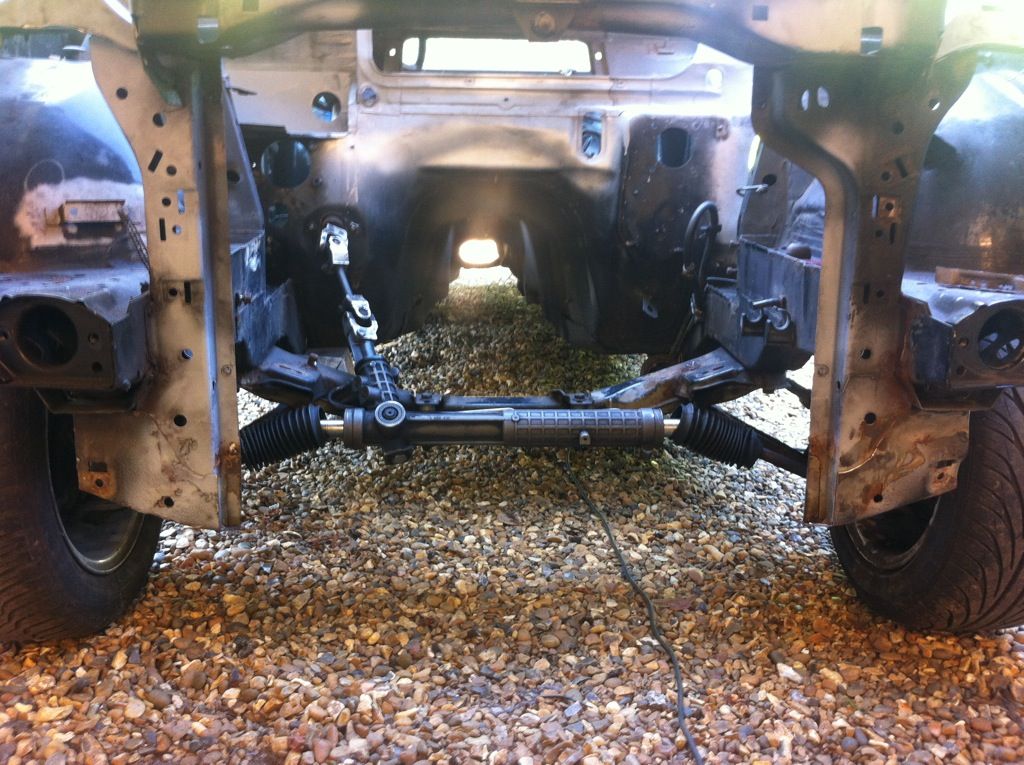
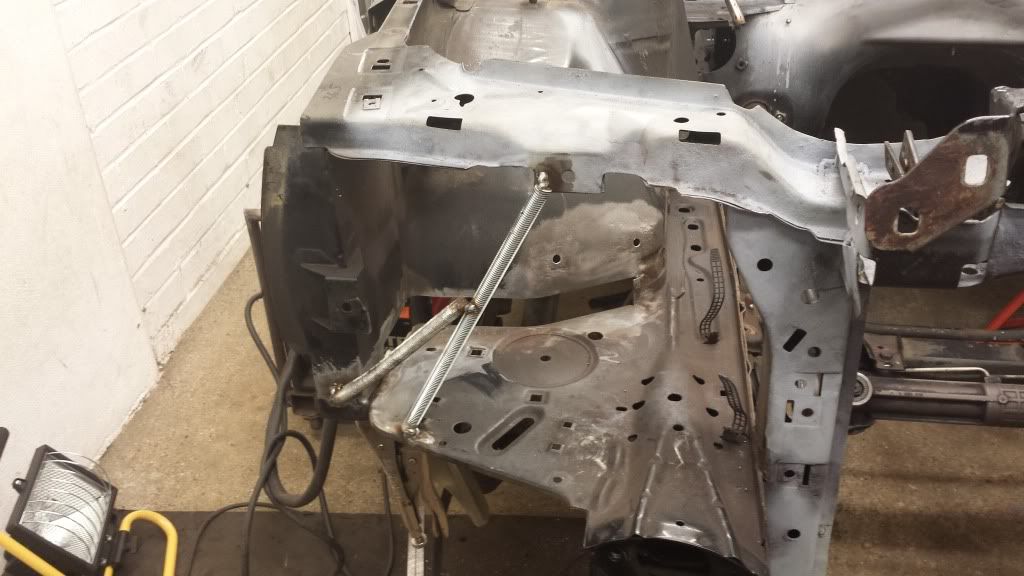
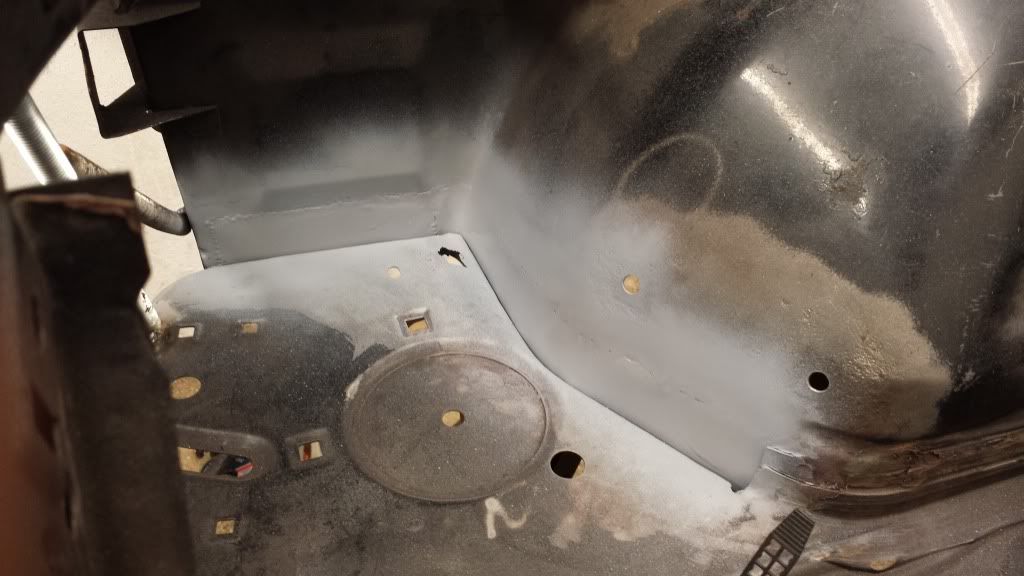
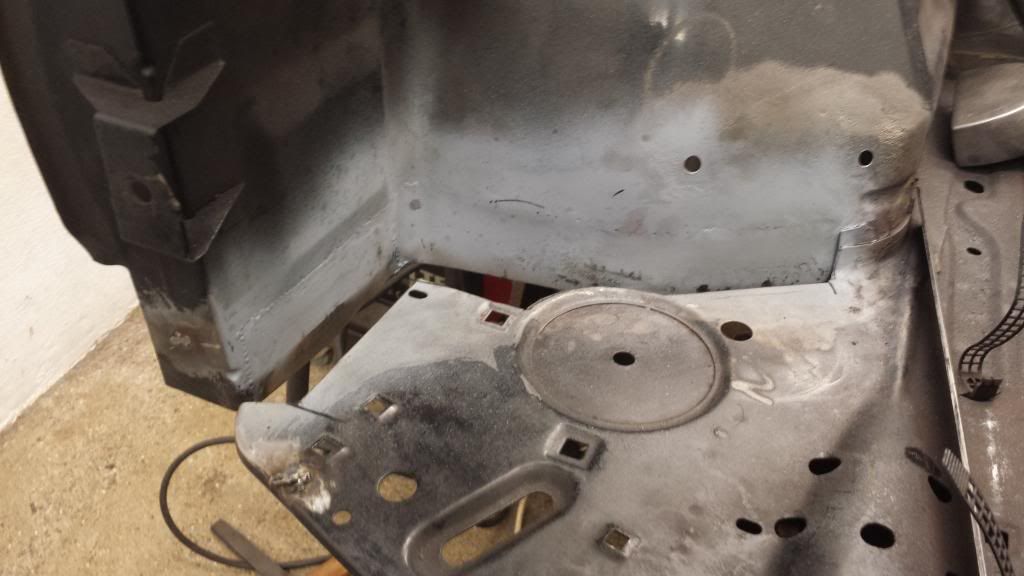
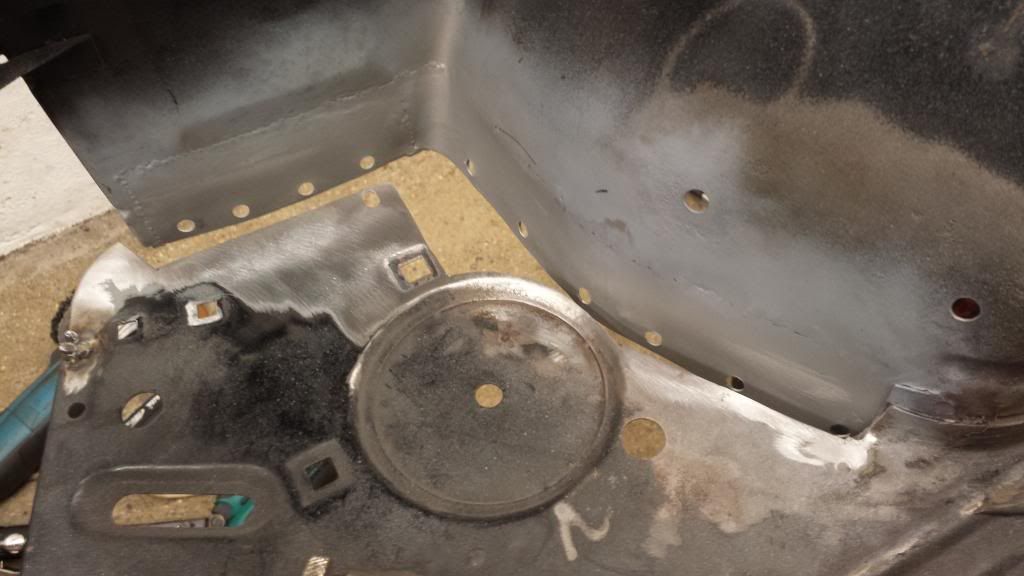
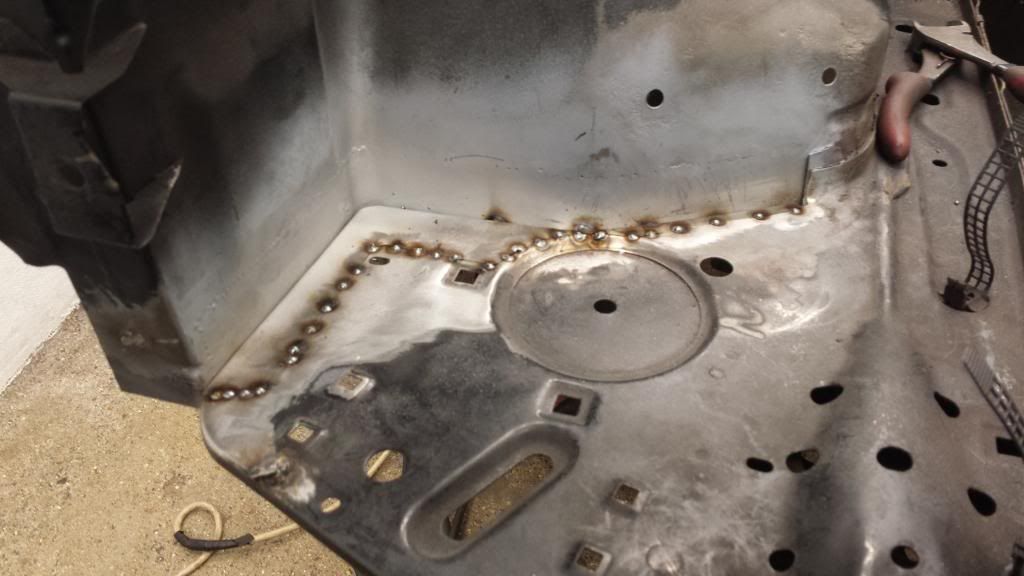
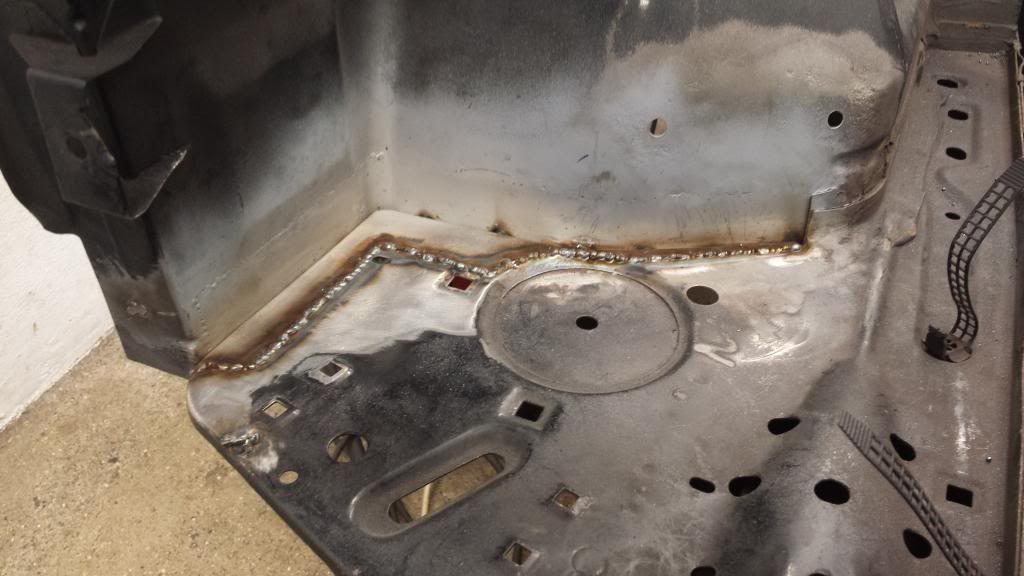
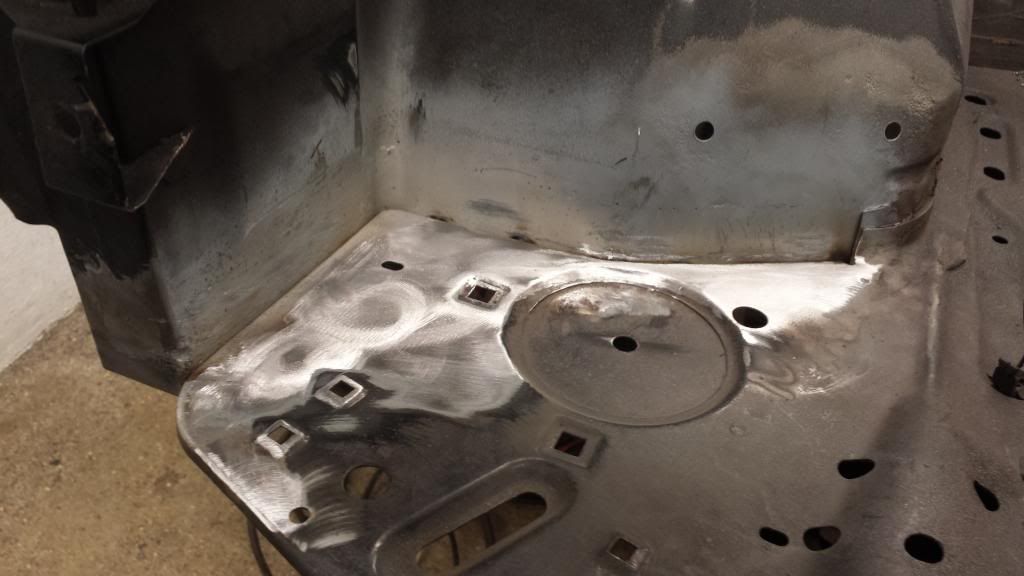
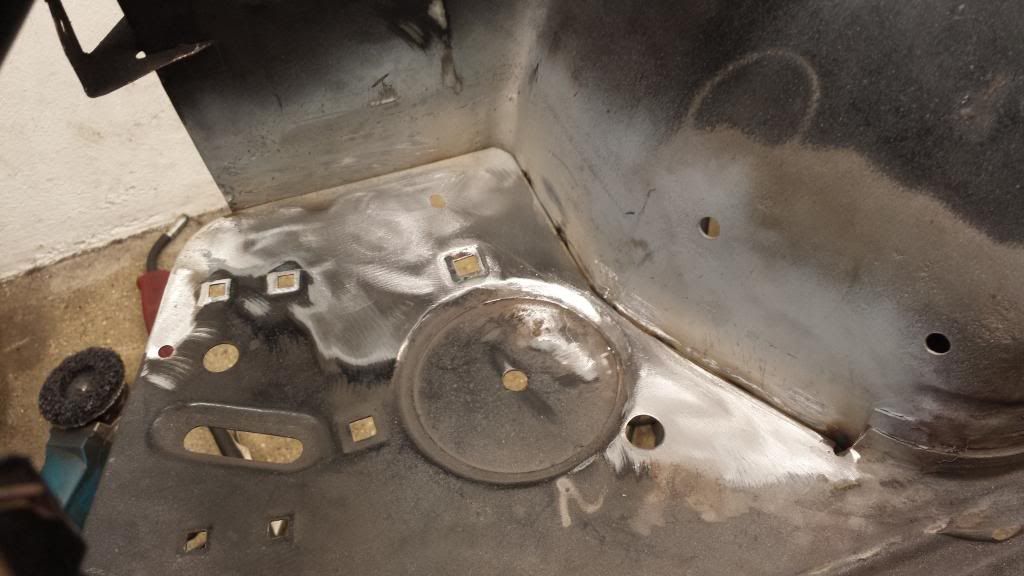
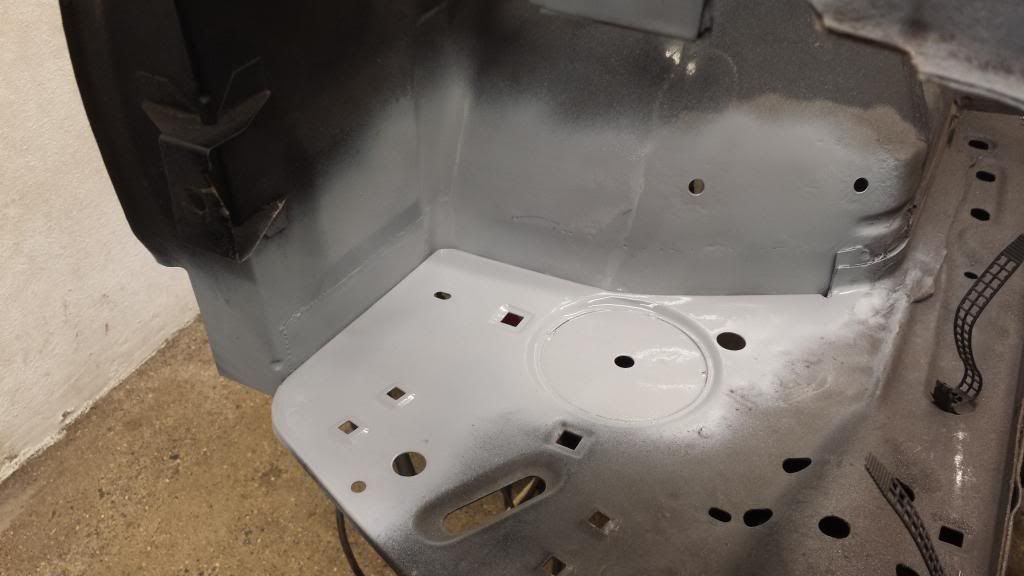
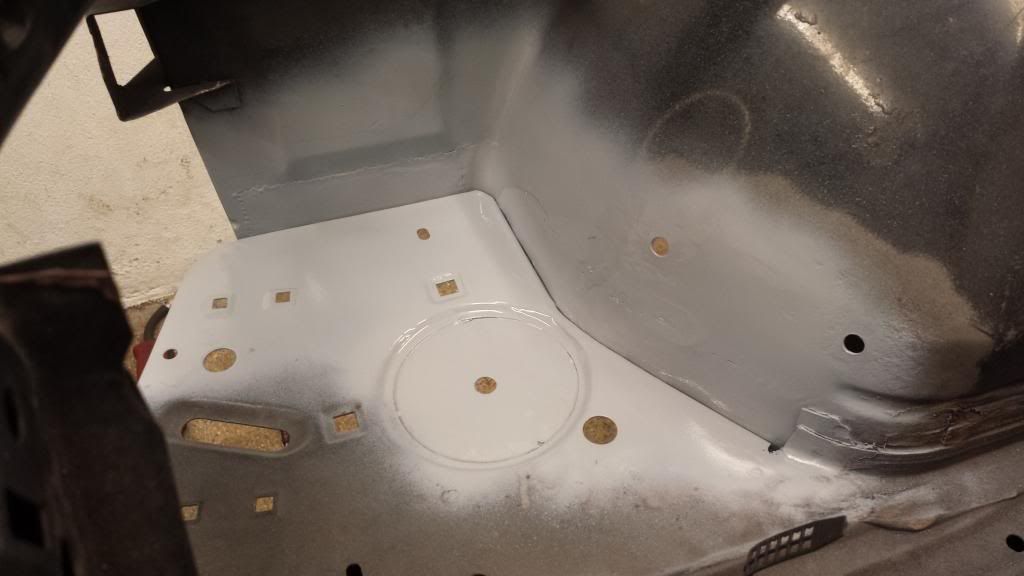
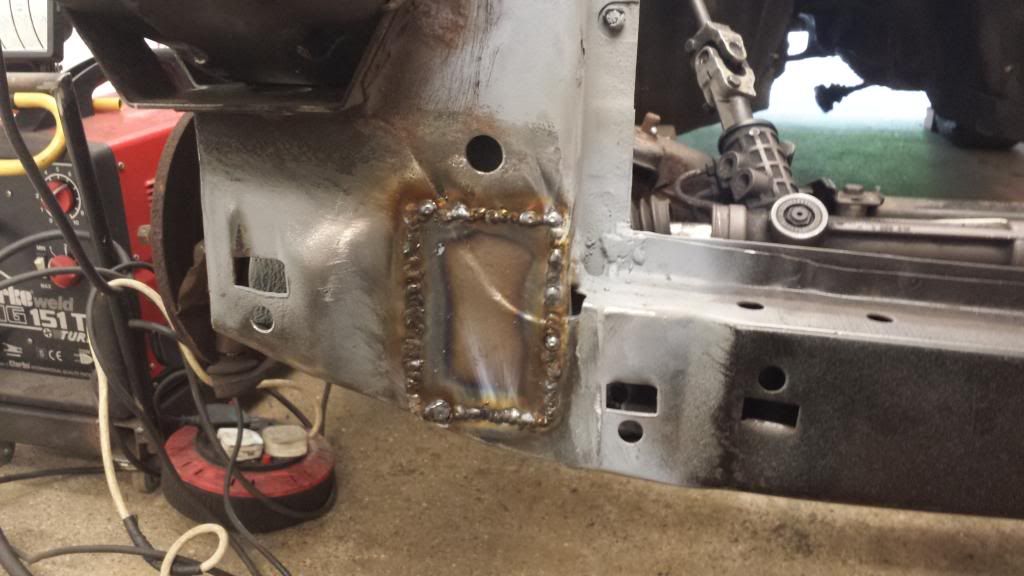
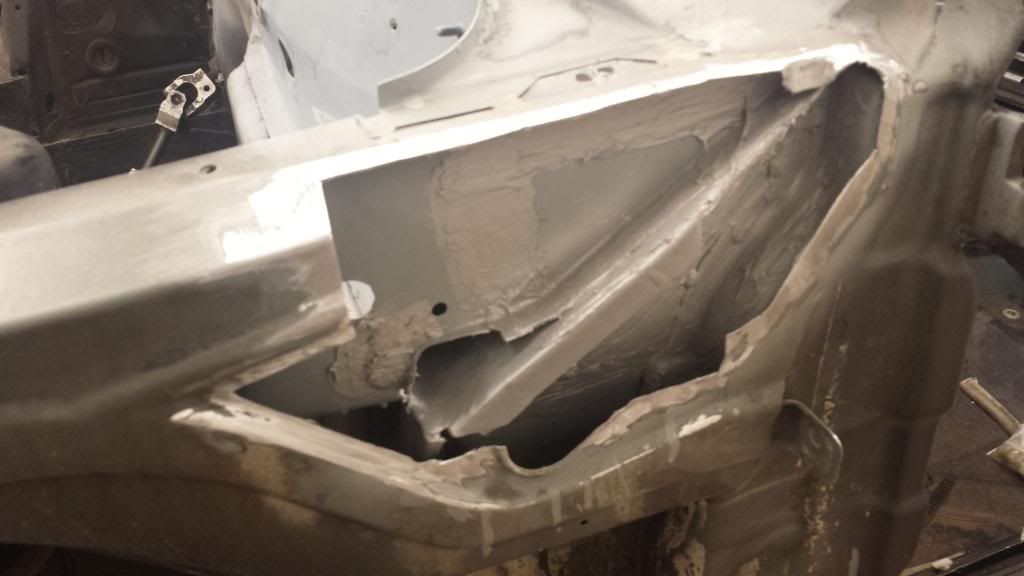
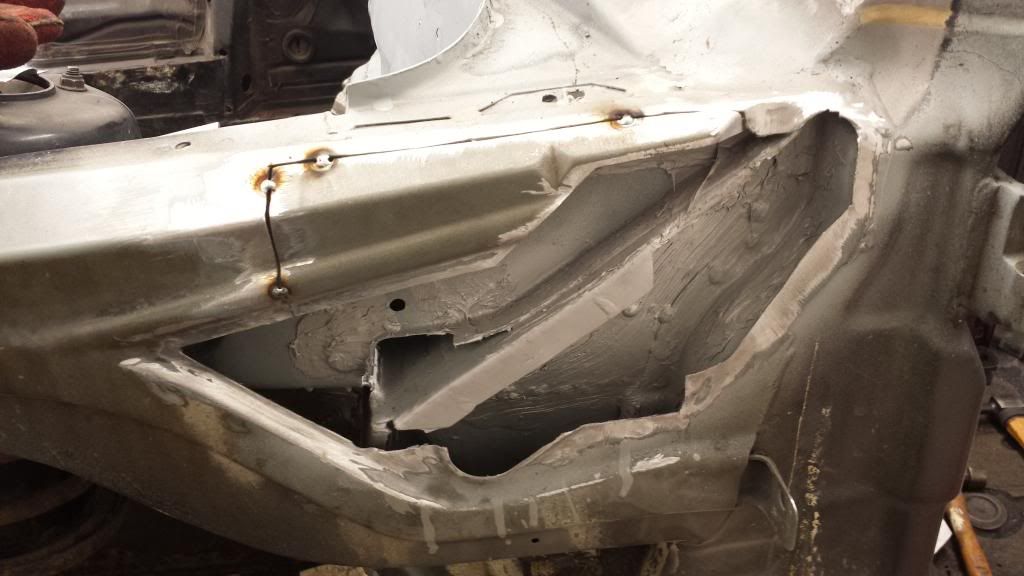
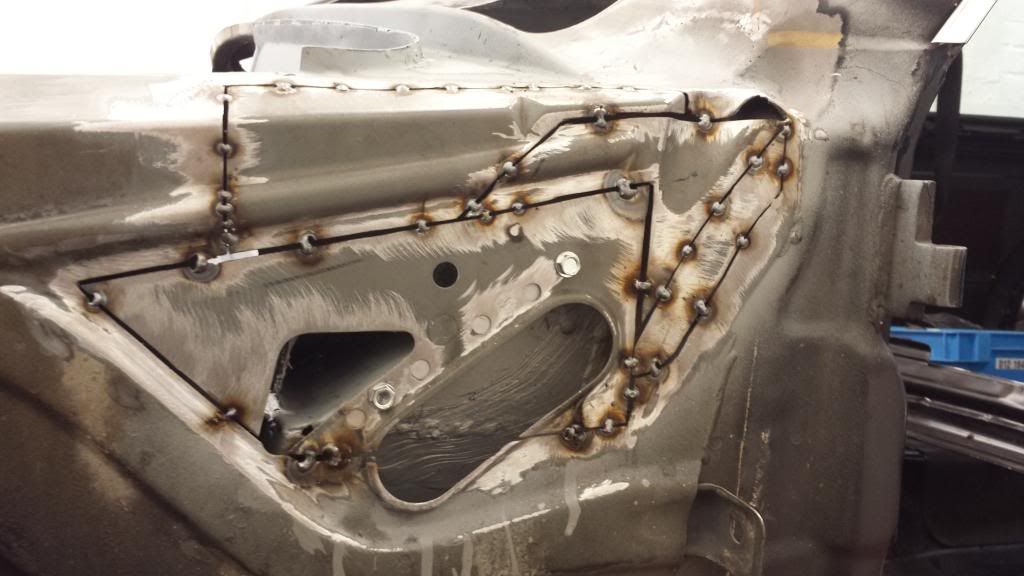
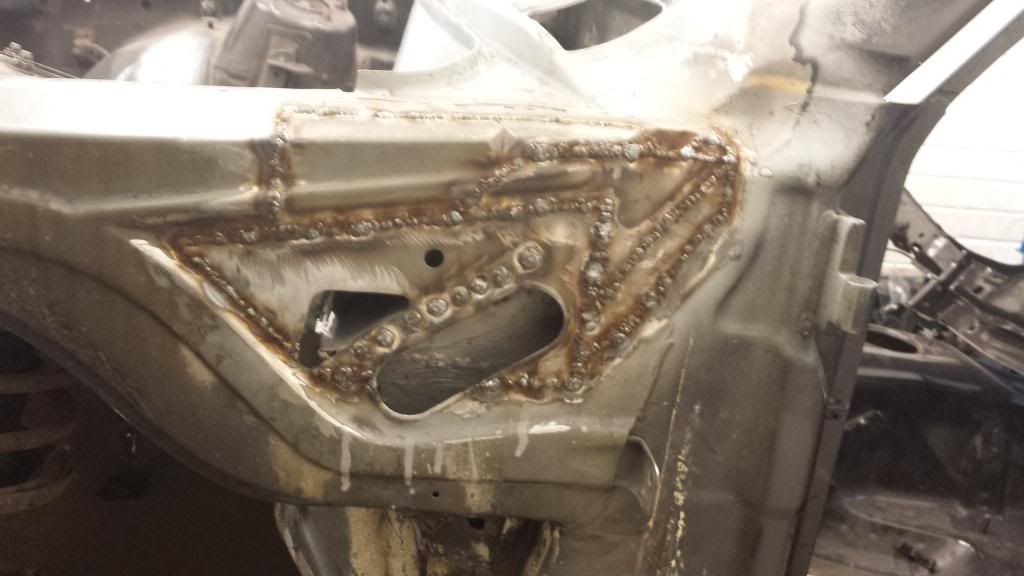
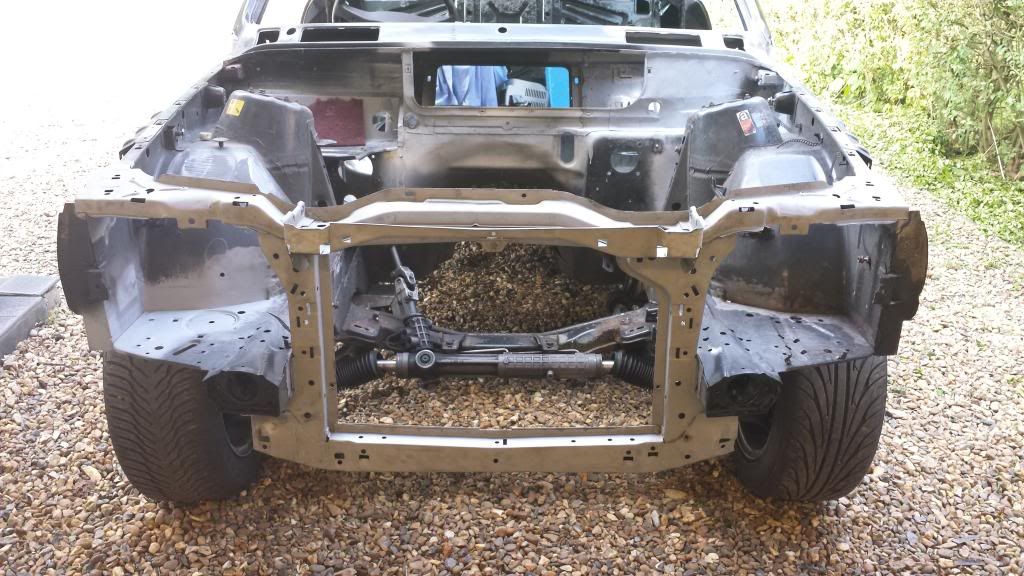
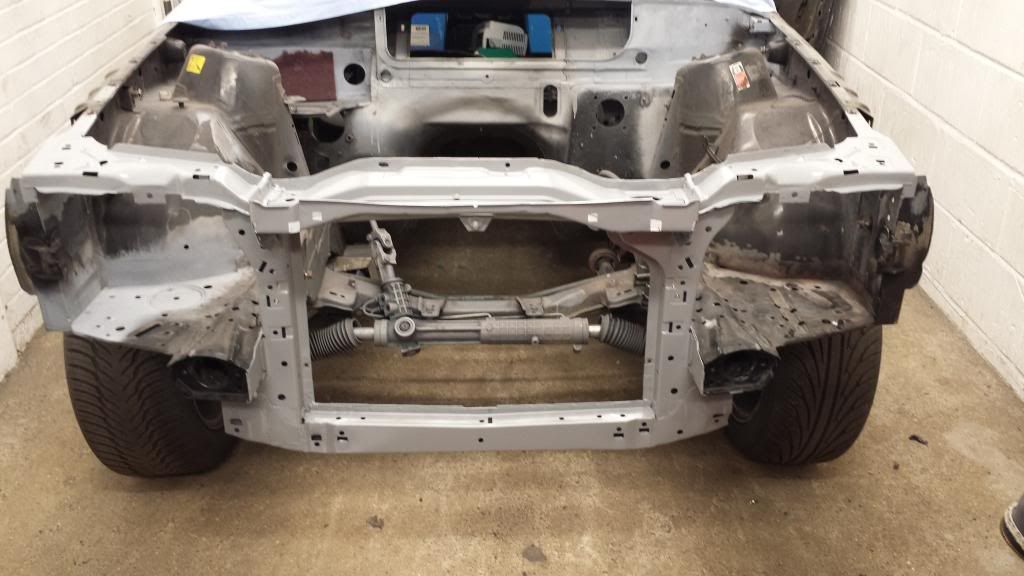
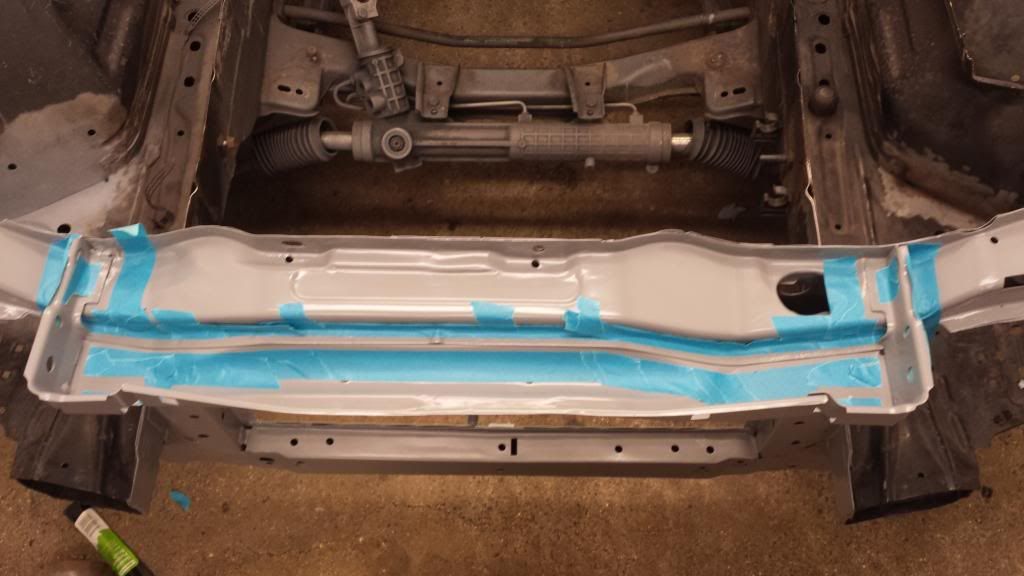
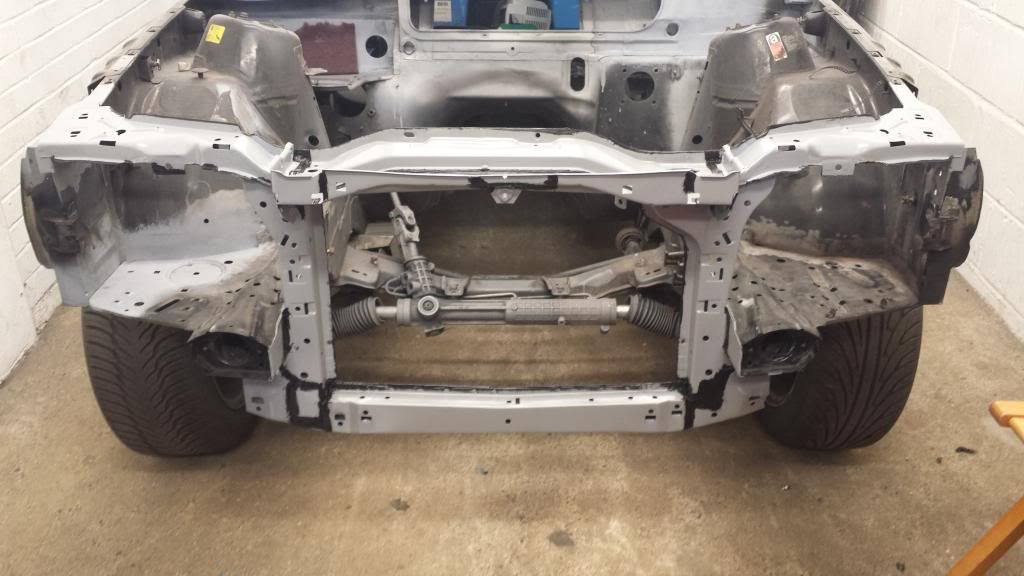
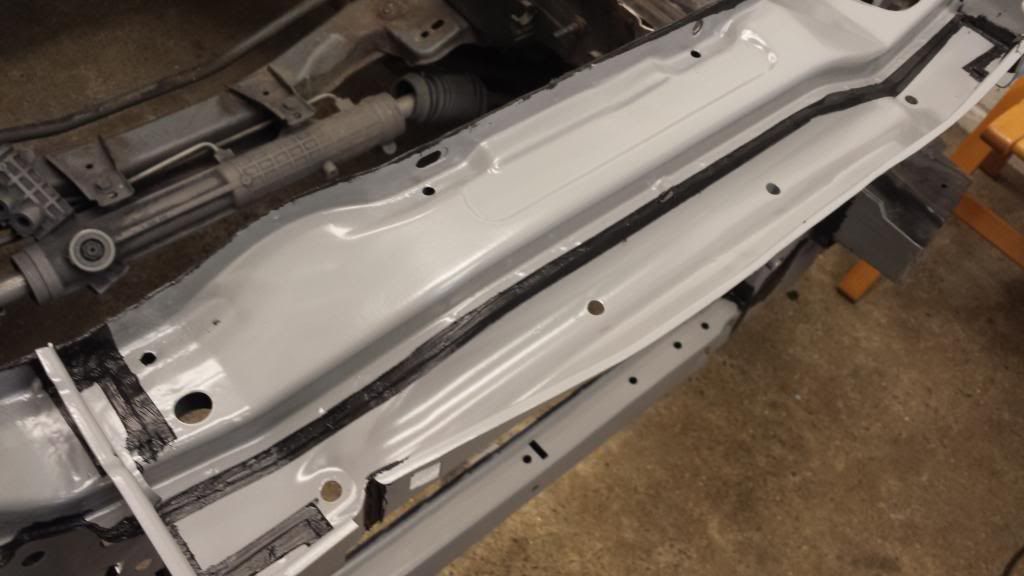
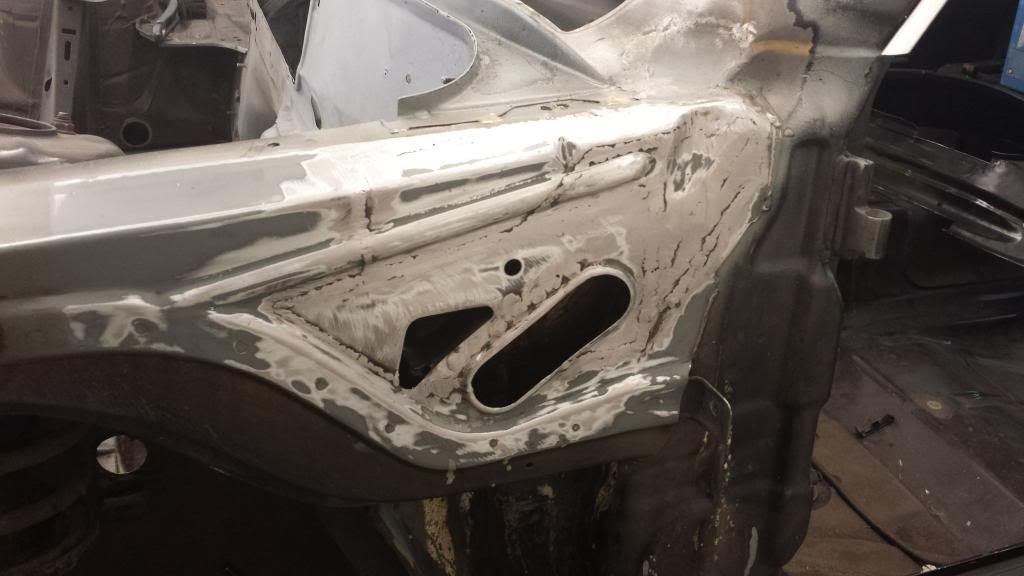
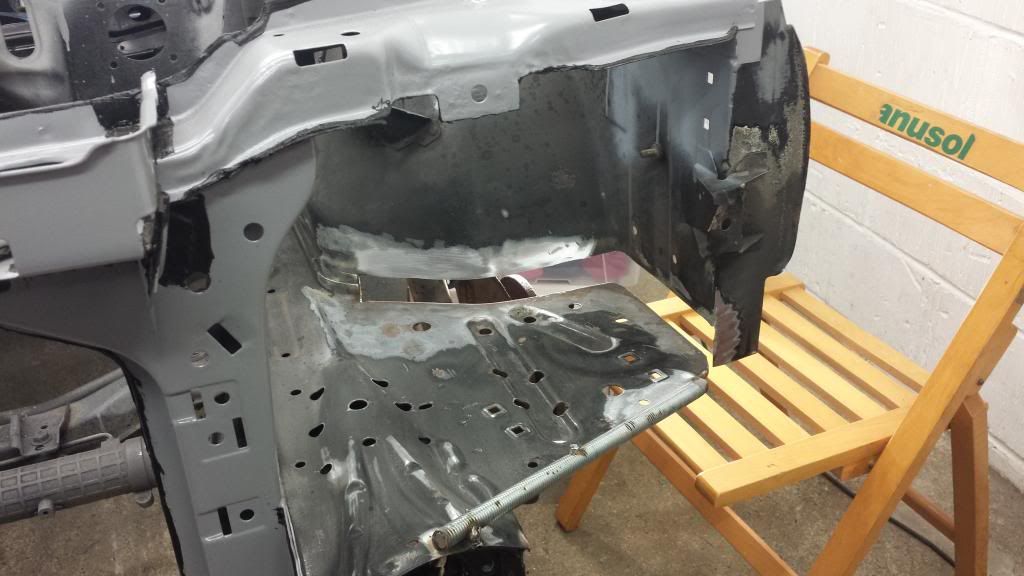
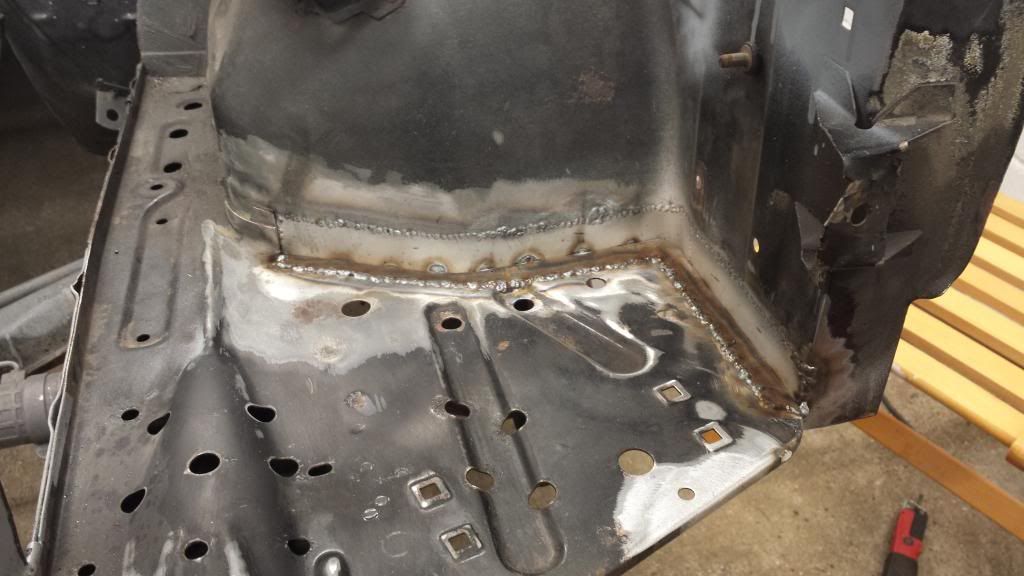
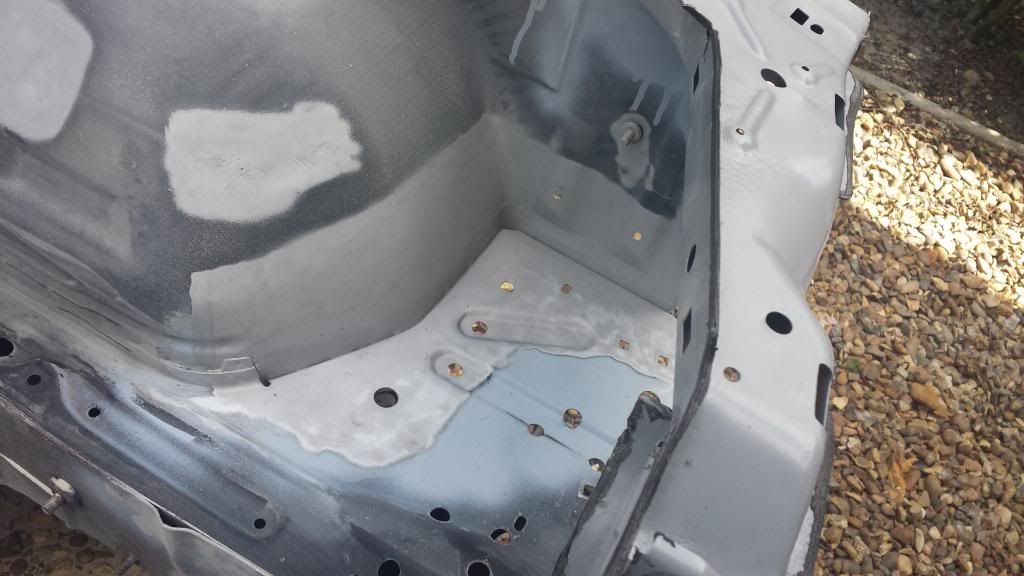
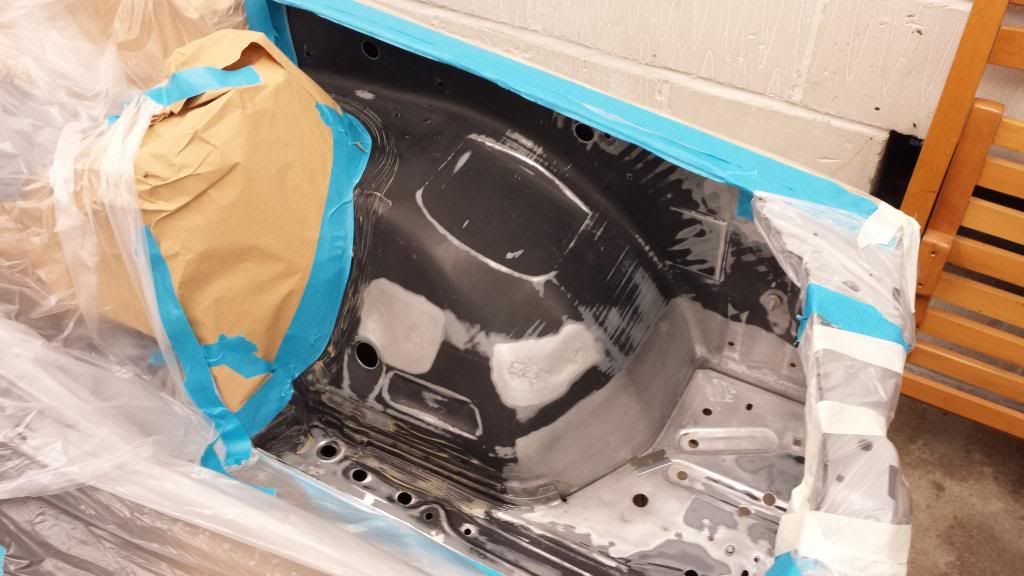
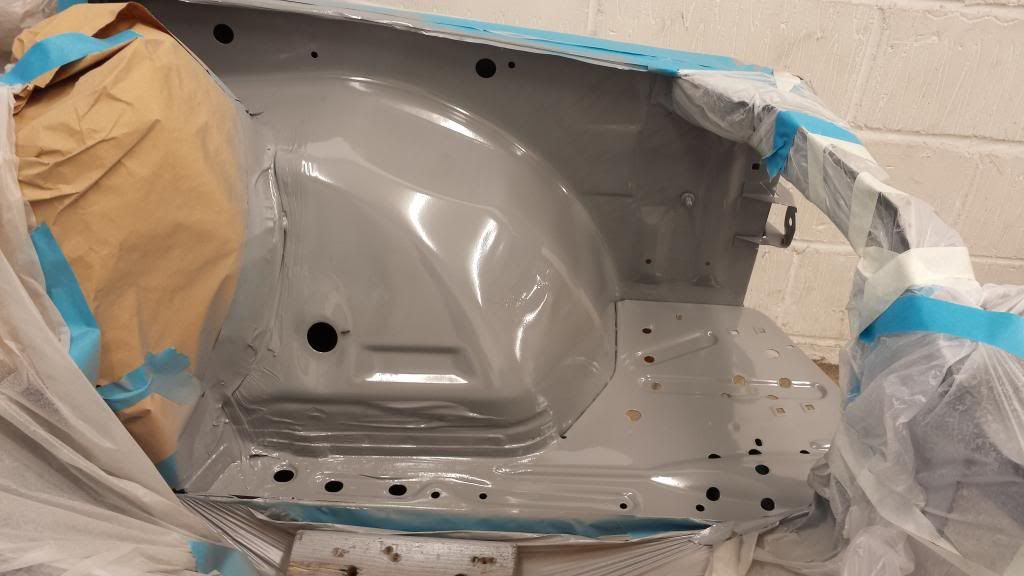
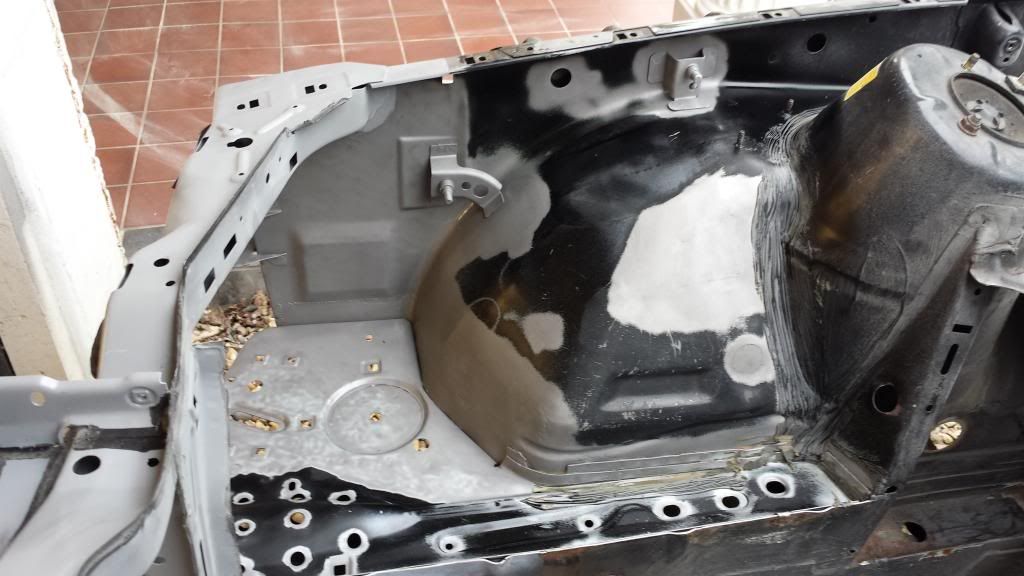
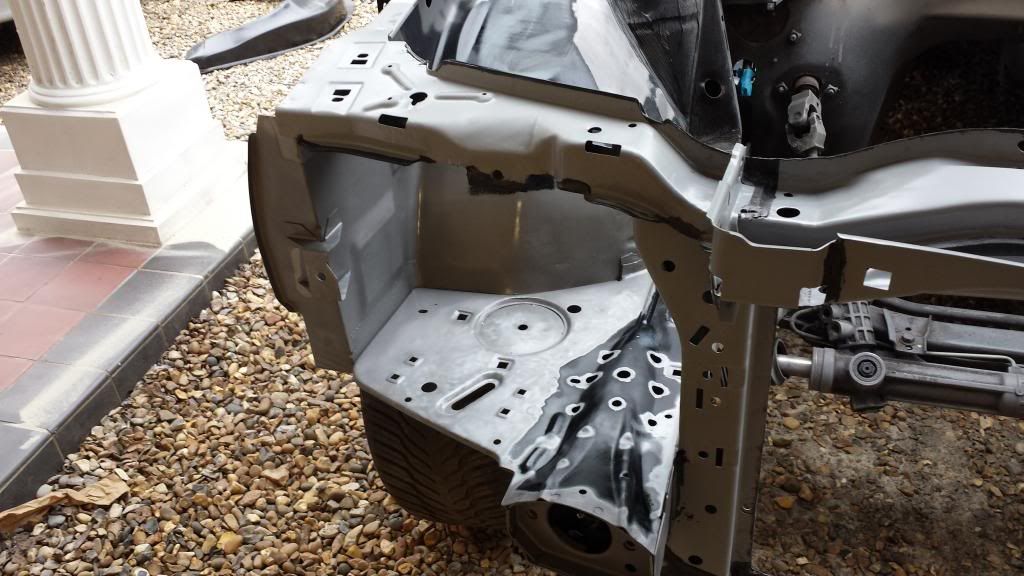
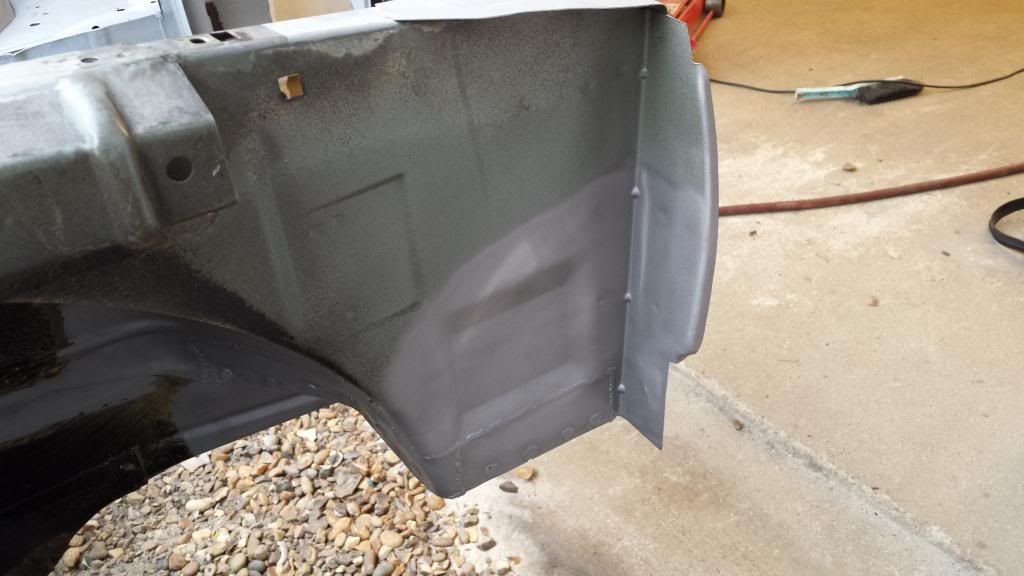
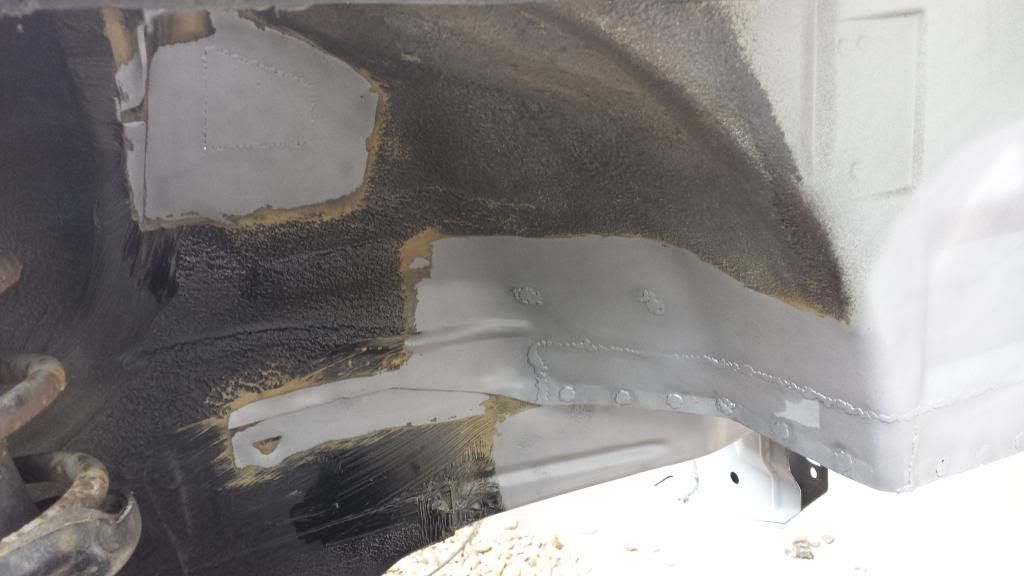
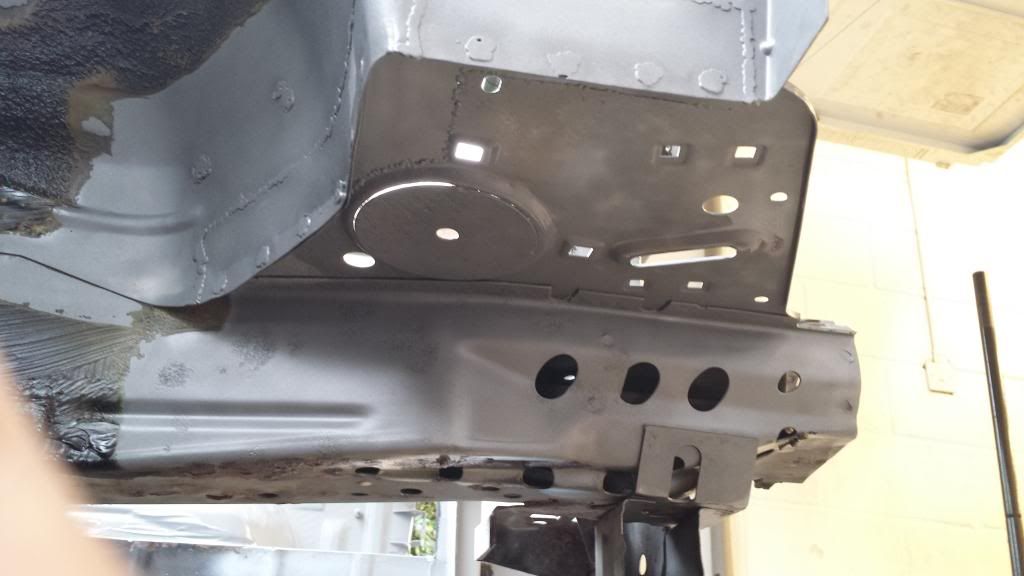
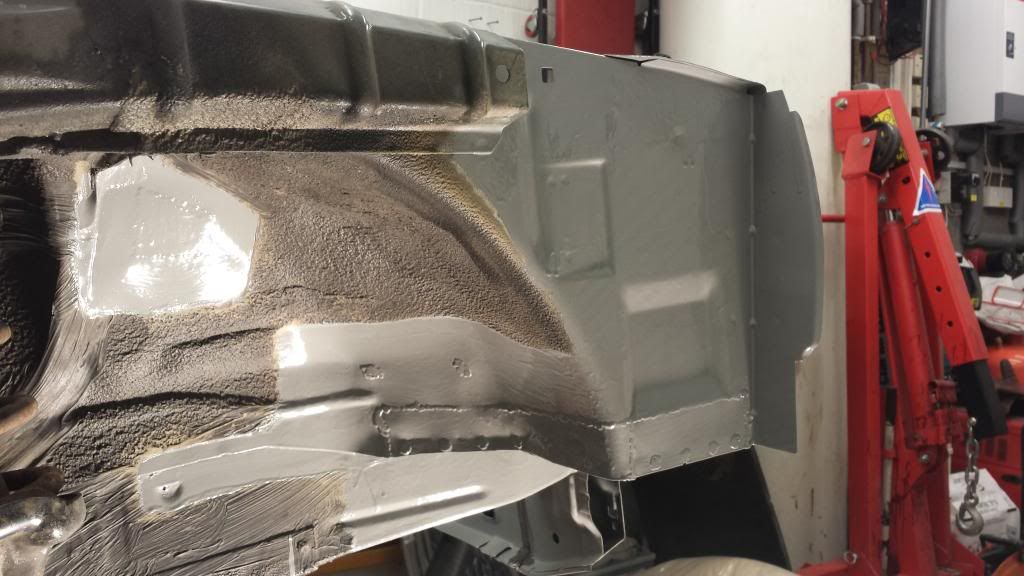
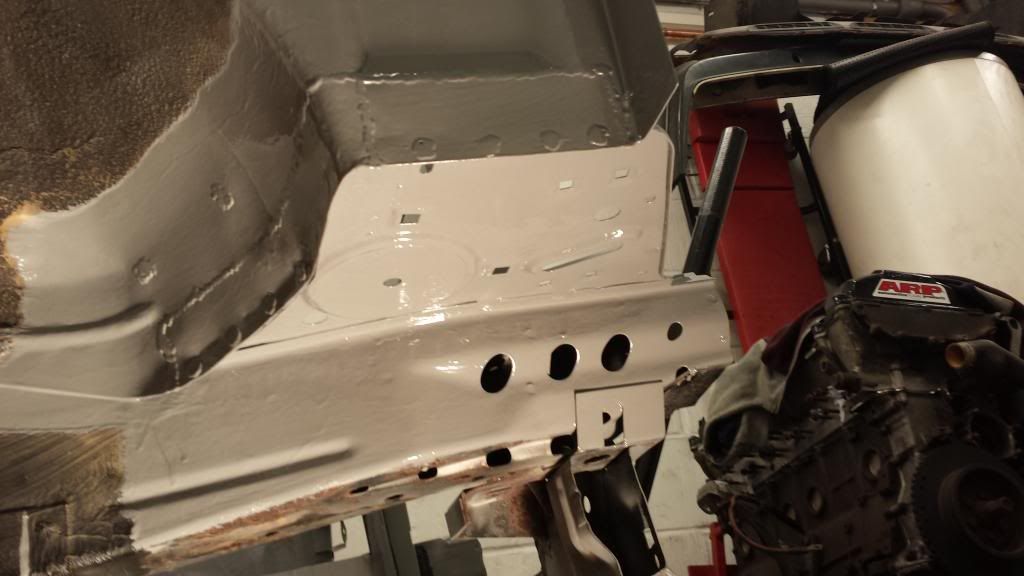
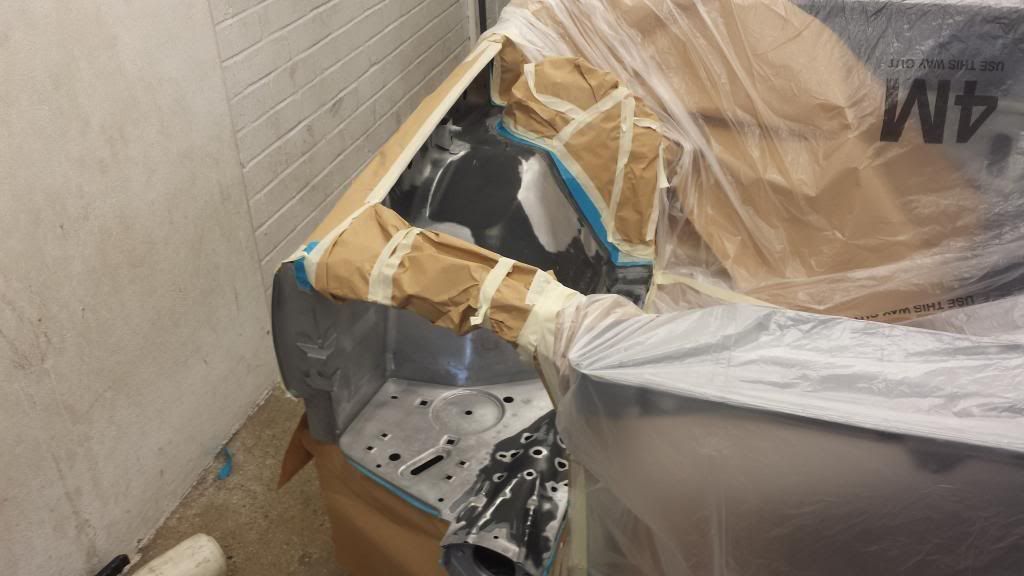
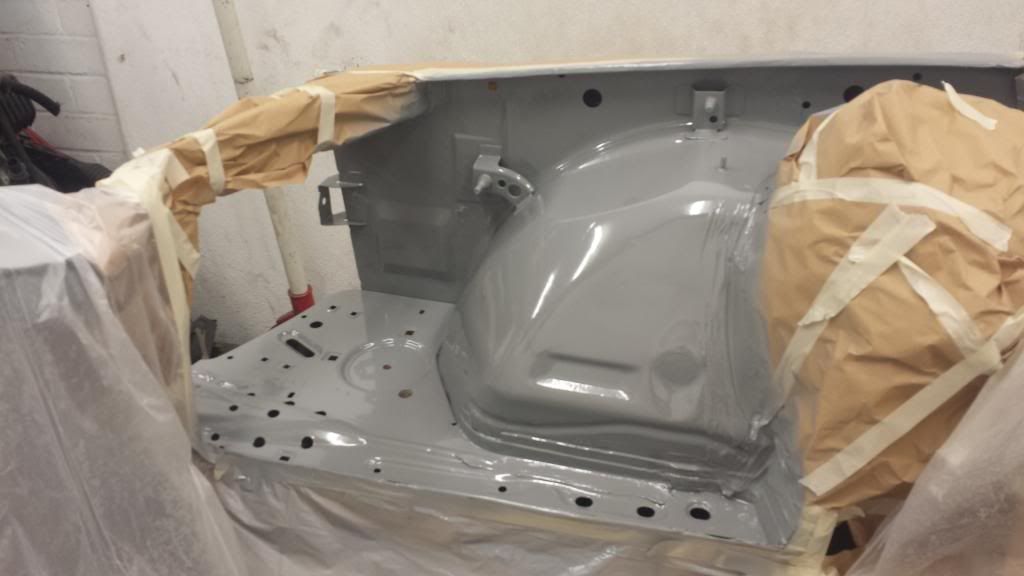
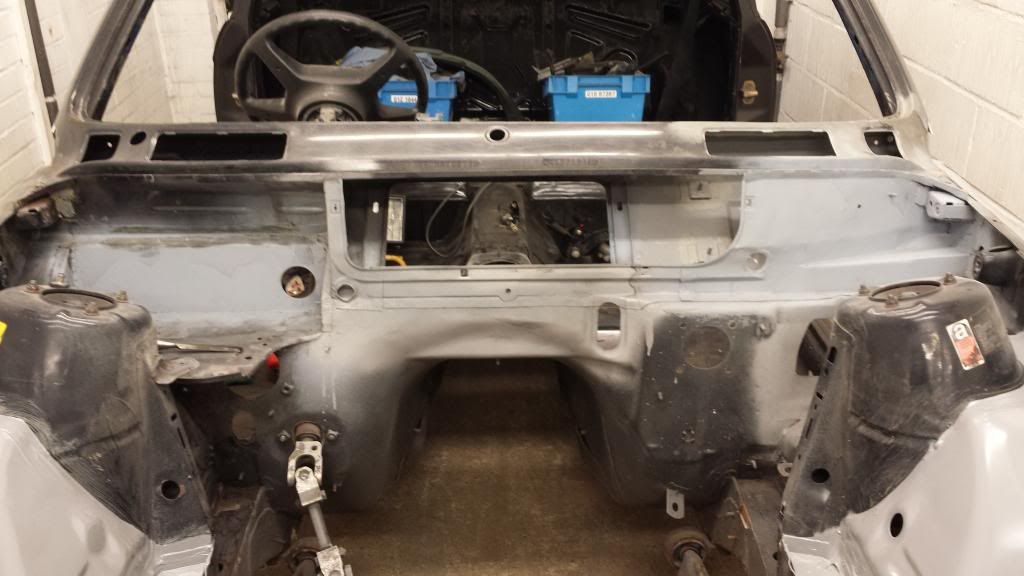
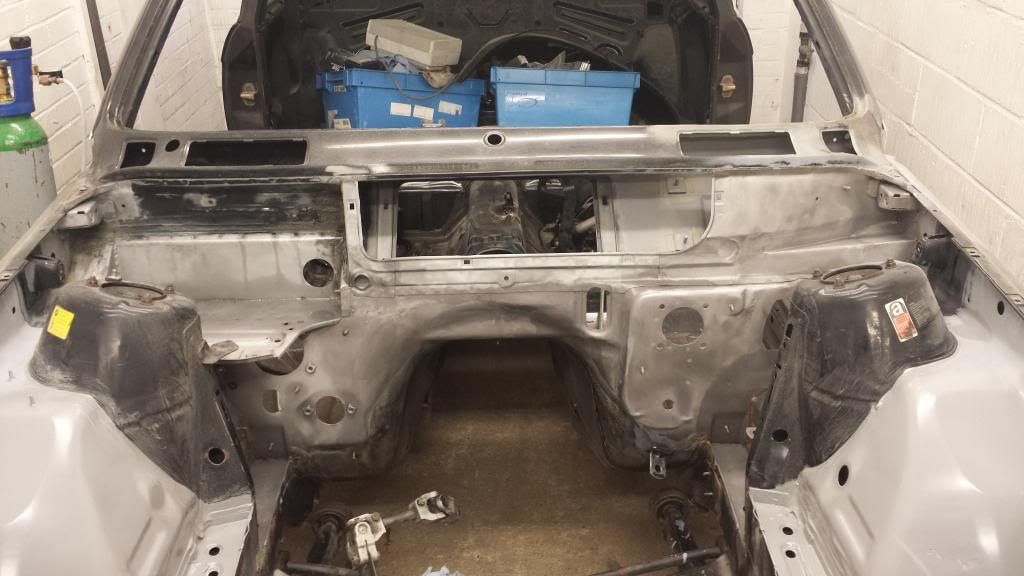
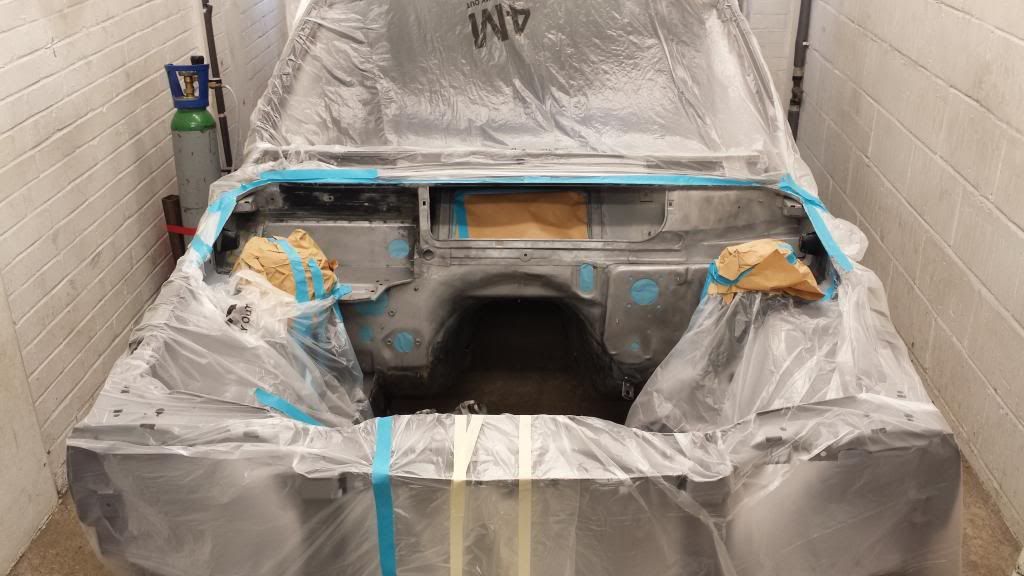
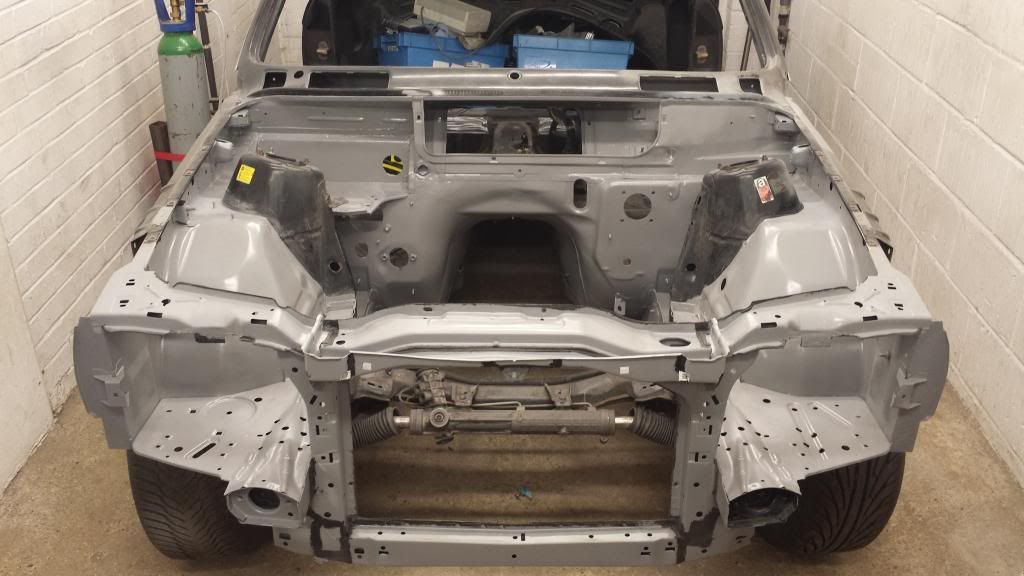
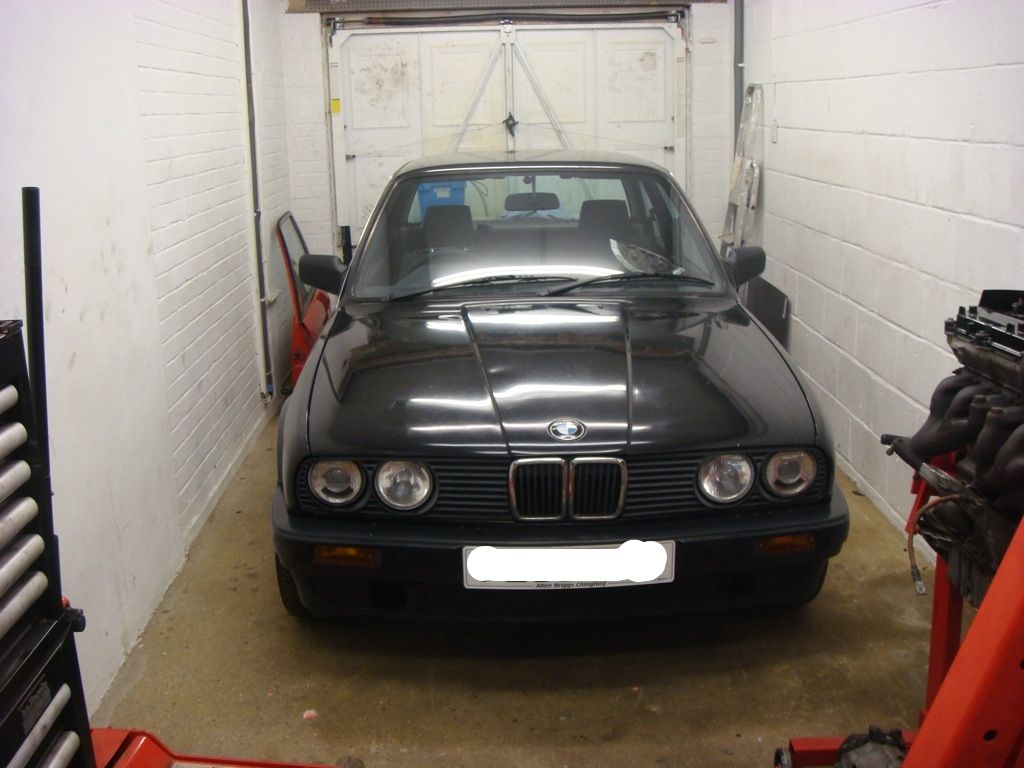
Onto the car! It’s a bog standard 1989 E30 316i in Schwarz. I bought it and didn’t realise that there was a lot of hidden rust. So rather than this being a simple engine swap, its turned into a bit of a restoration.
The turd:
 [/URL]
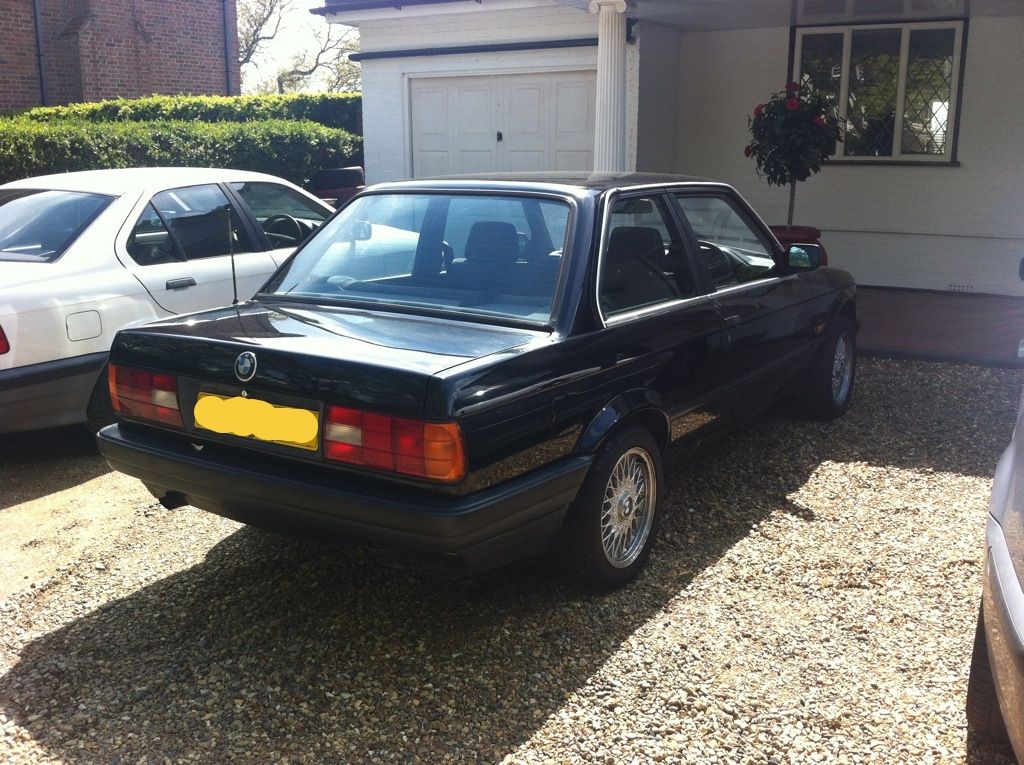
 [/URL]
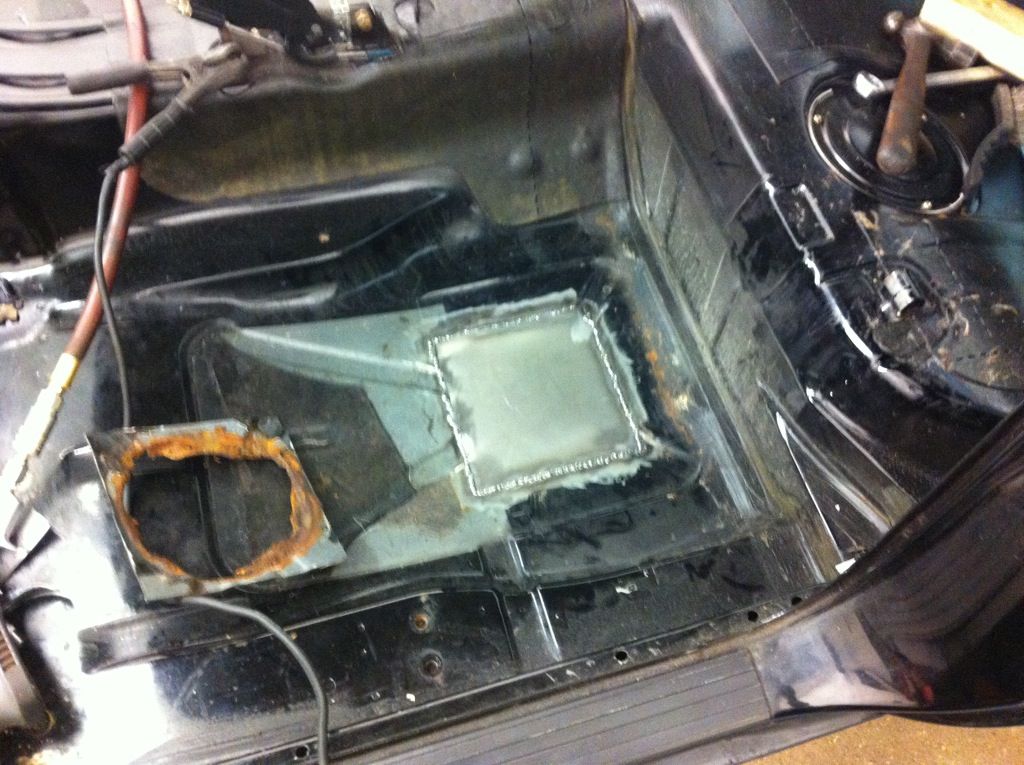 [/URL]
 [/URL]
 [/URL]
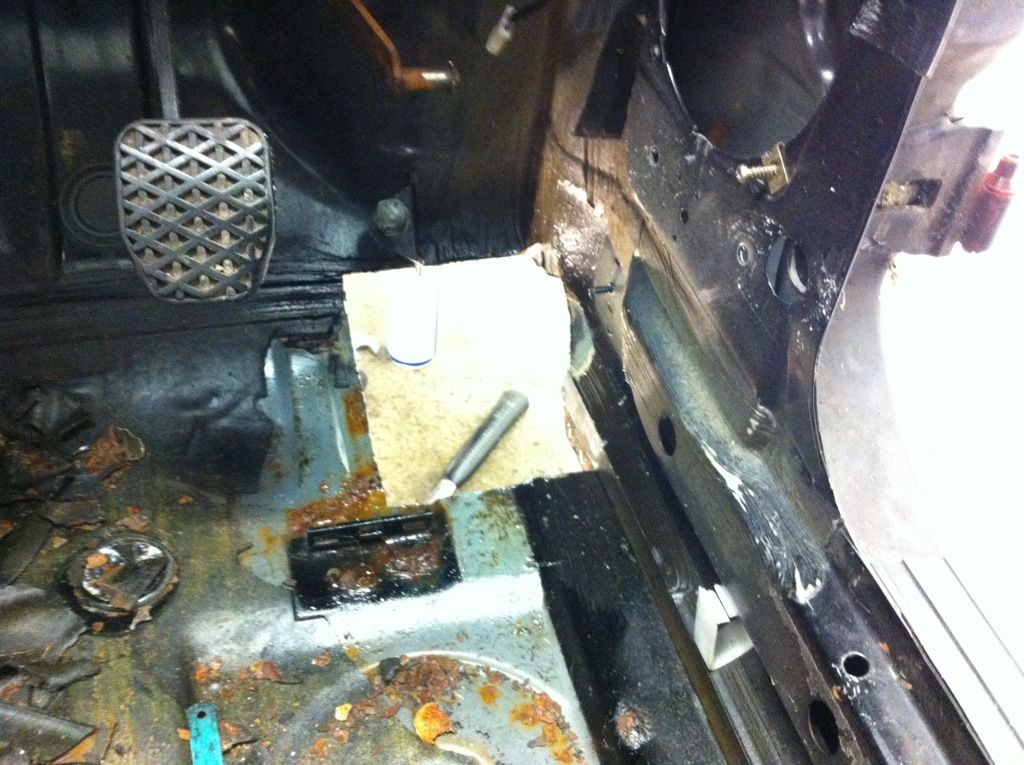 [/URL]