
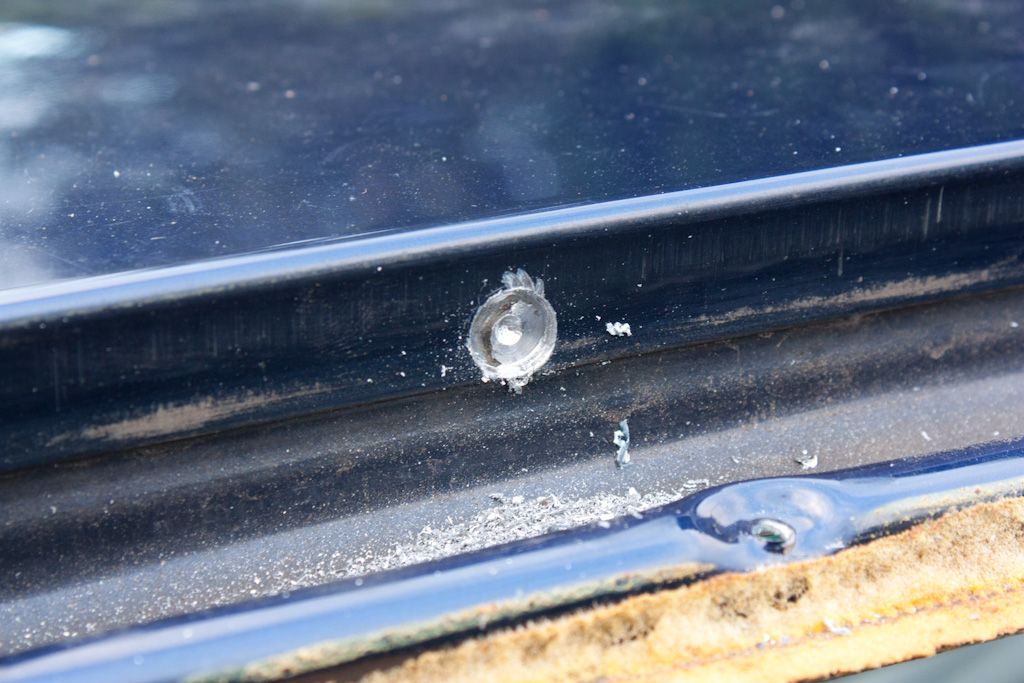
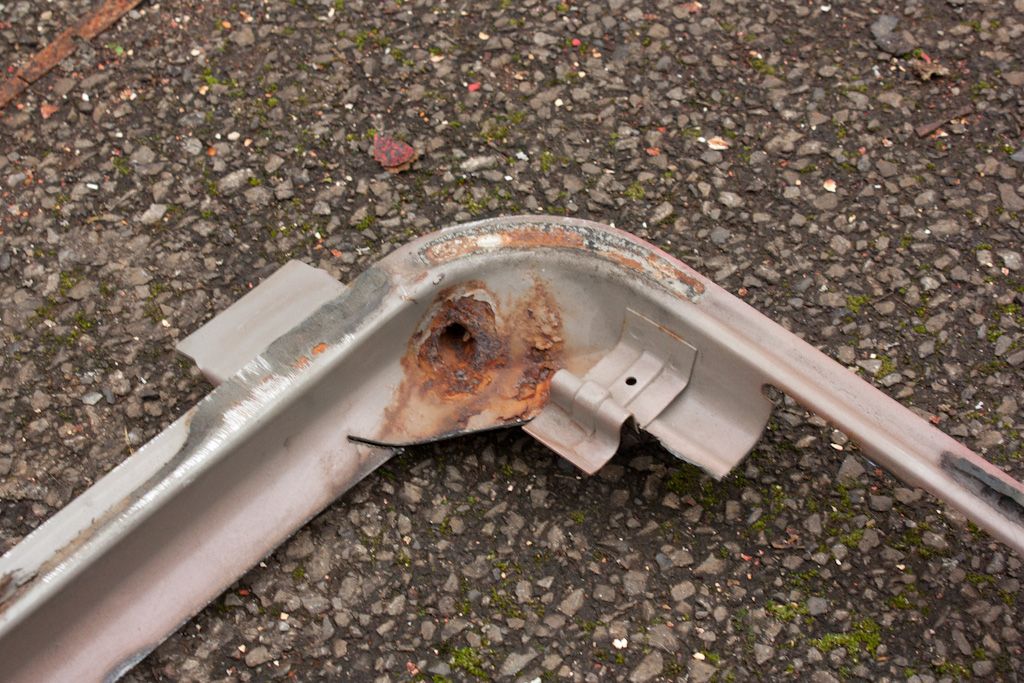
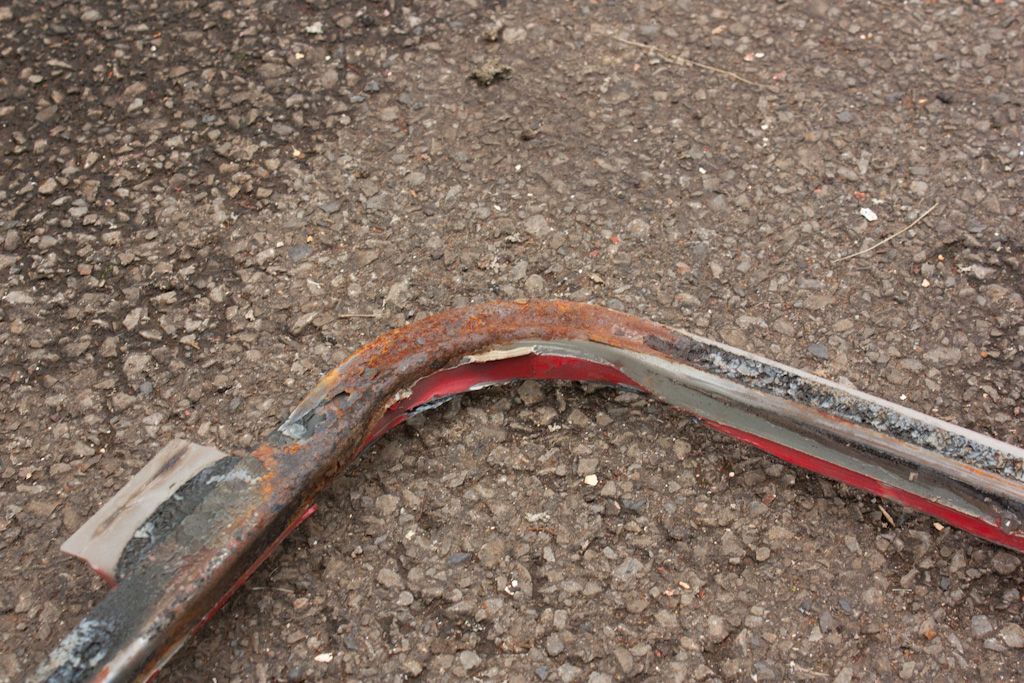
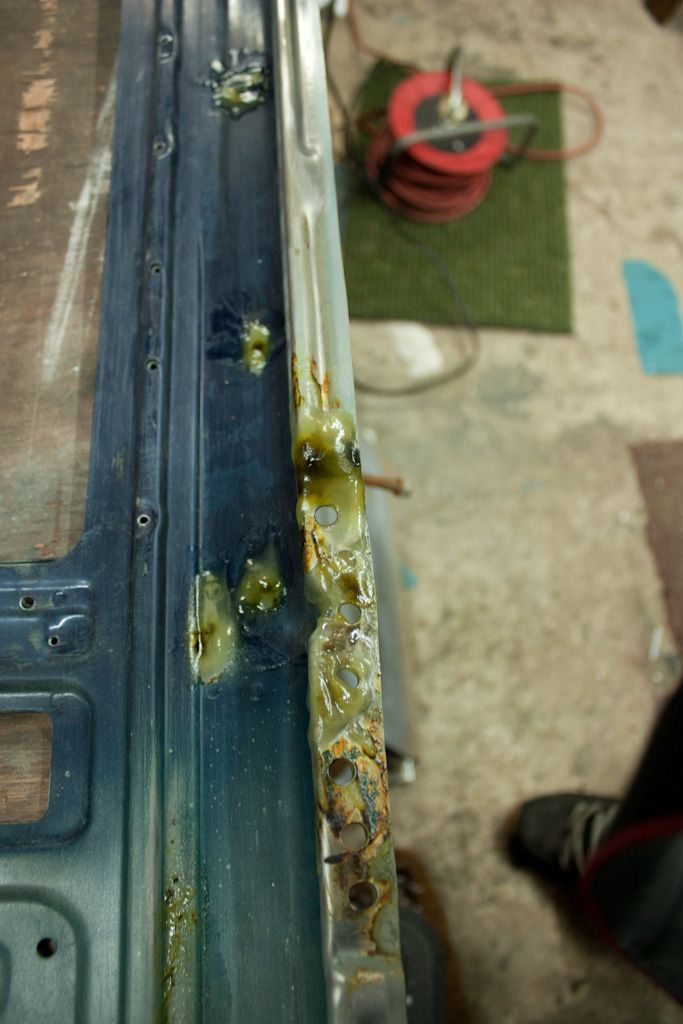
Had trouble as well, the bits where existing good panel or fresh cut metal was exposed was fine, but had trouble where is was direct to pipeJozi wrote:Not sure if it was just me, make sure the are around the pipe is good and clean, I found it didnt weld to well for some reason (some of it looked brazed?).
Jozi's m52 touring - Rebuilding has started
Moderator: martauto
-
TouringMatt
- E30 Zone Camper

- Posts: 1188
- Joined: Mon Jan 10, 2005 11:00 pm
- Location: Not where i should be

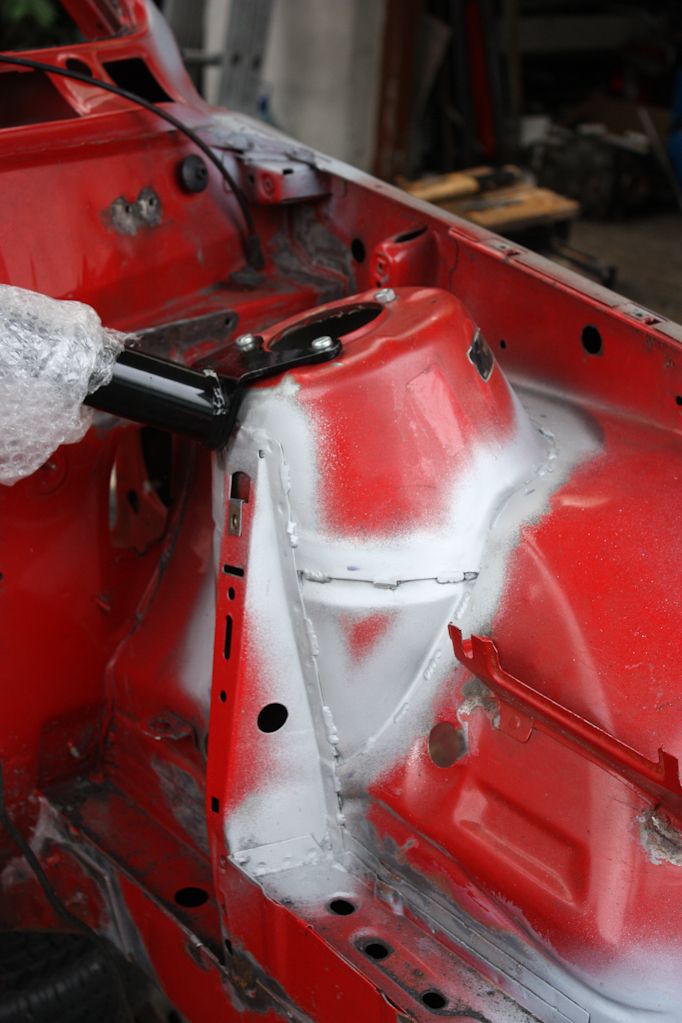
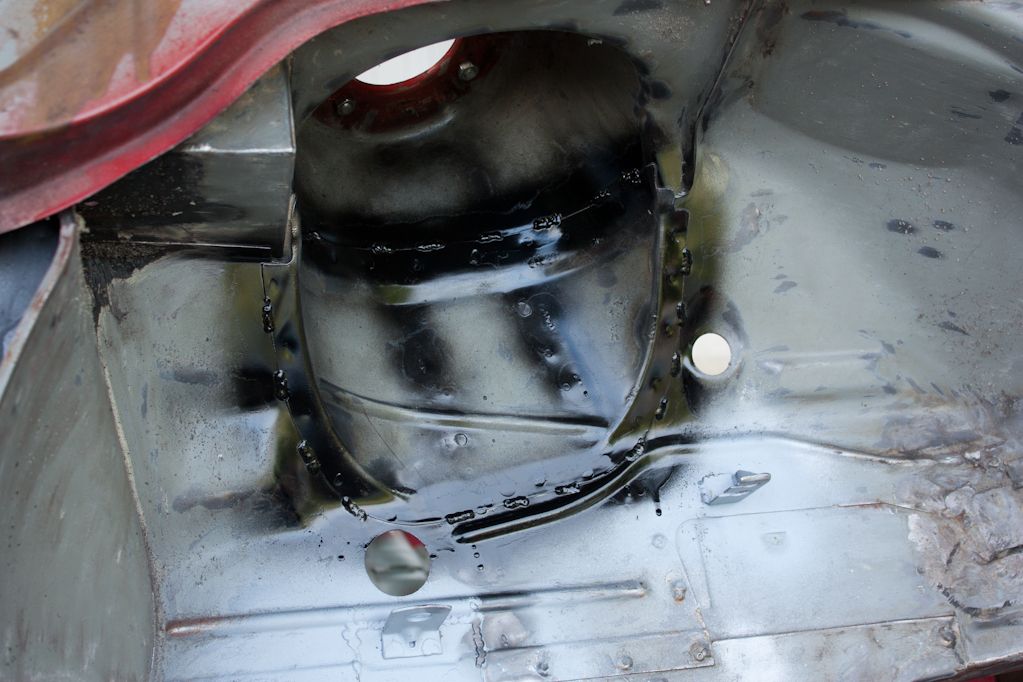
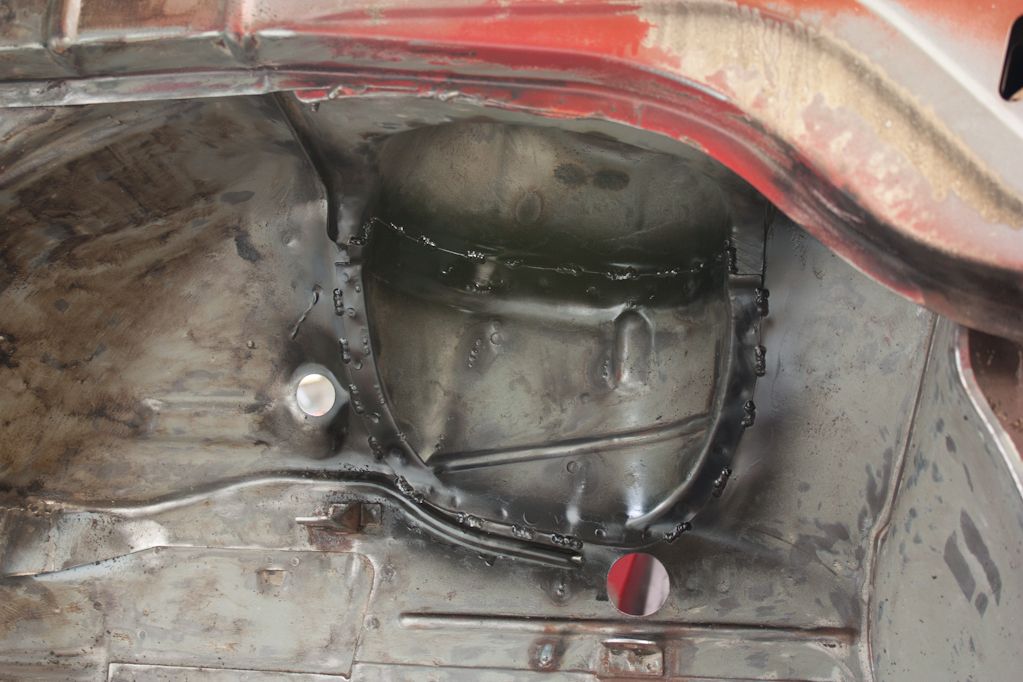
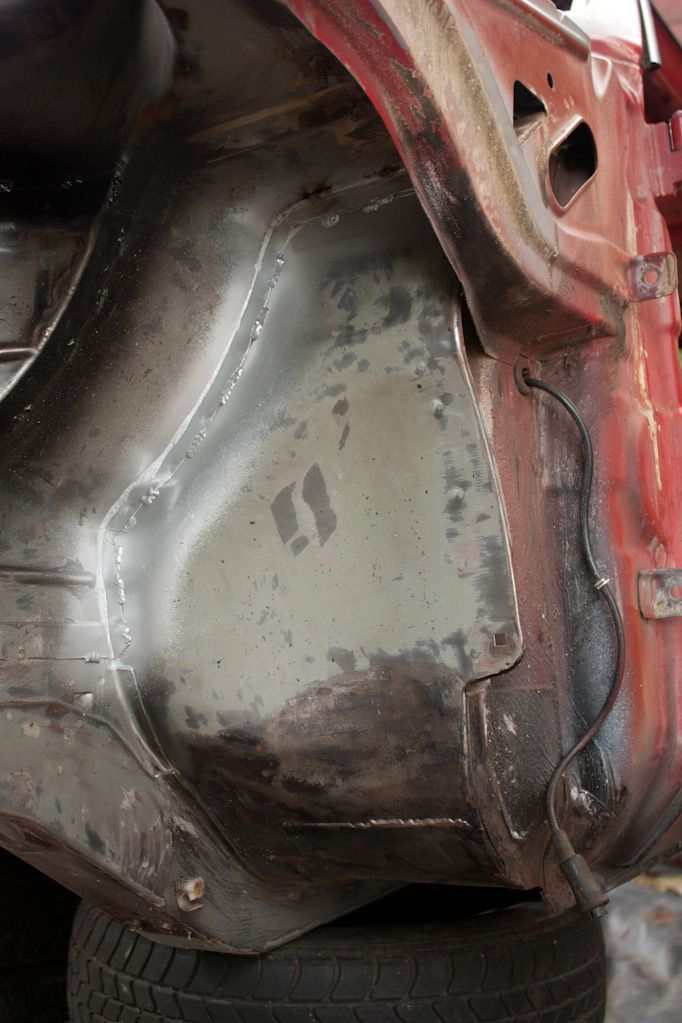
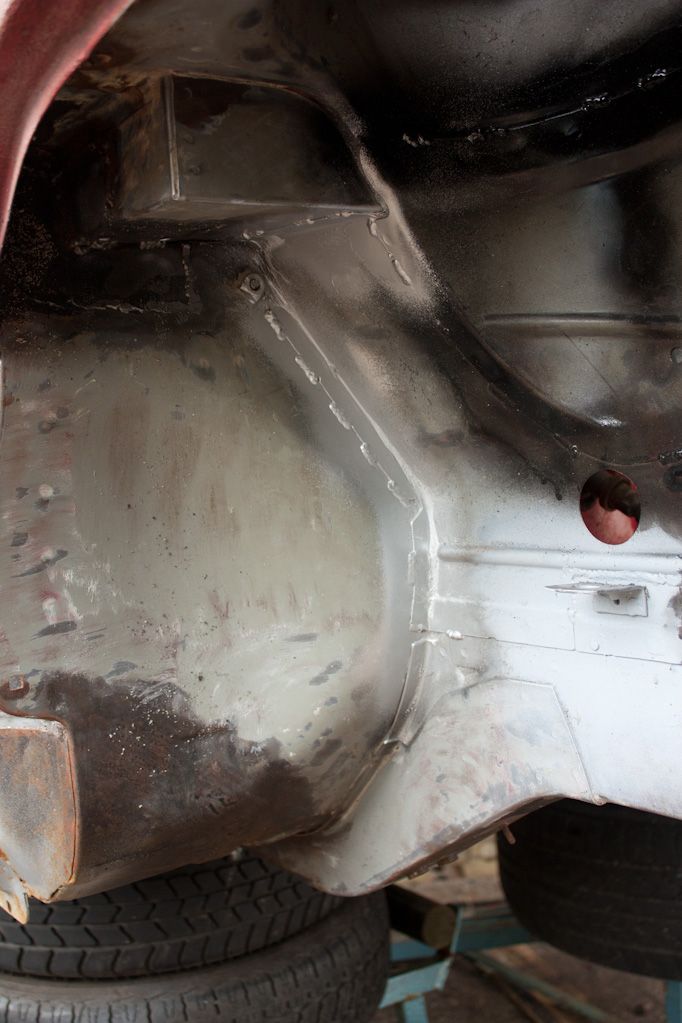
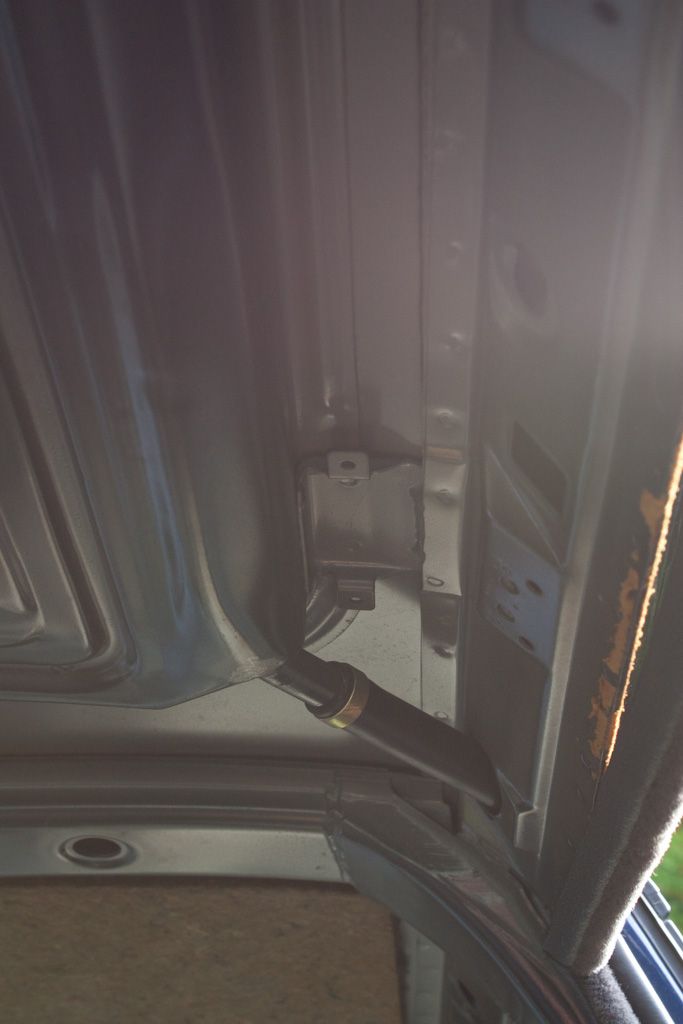
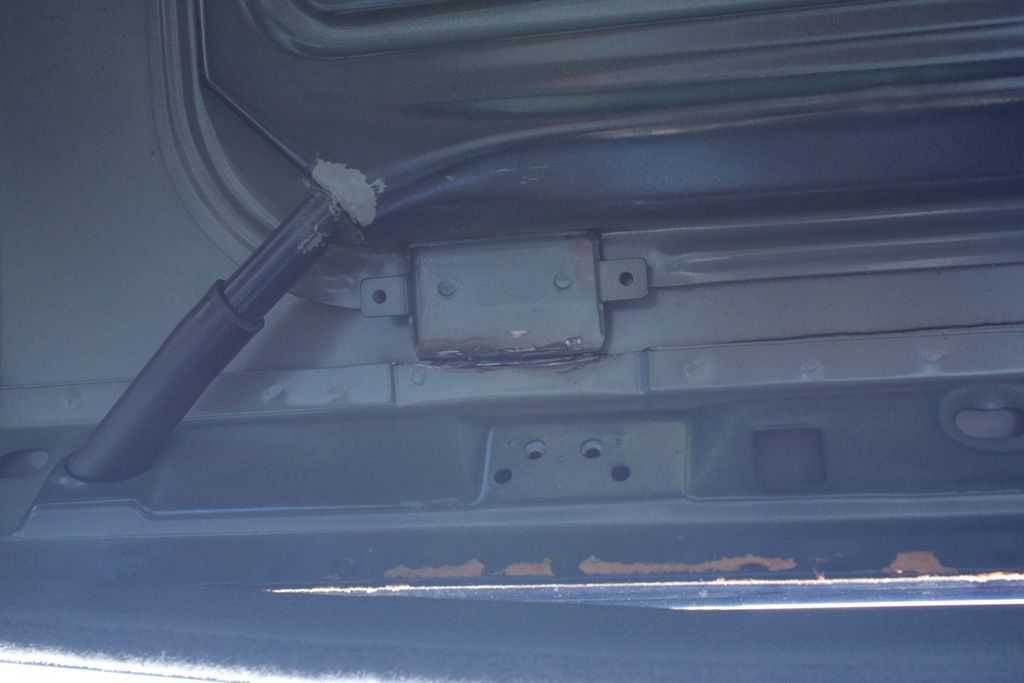
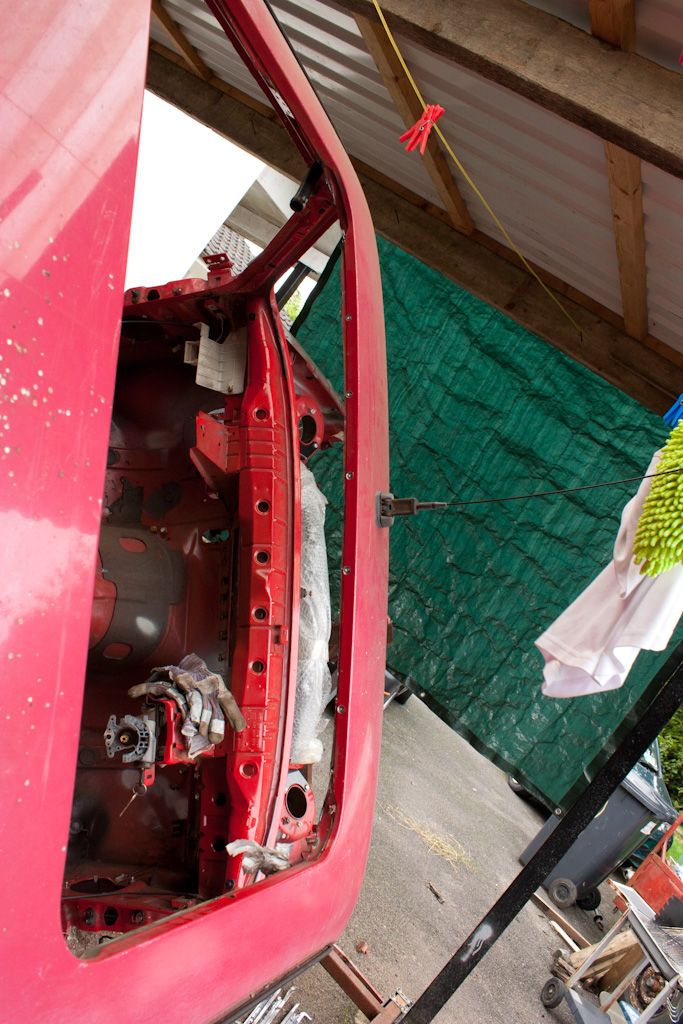
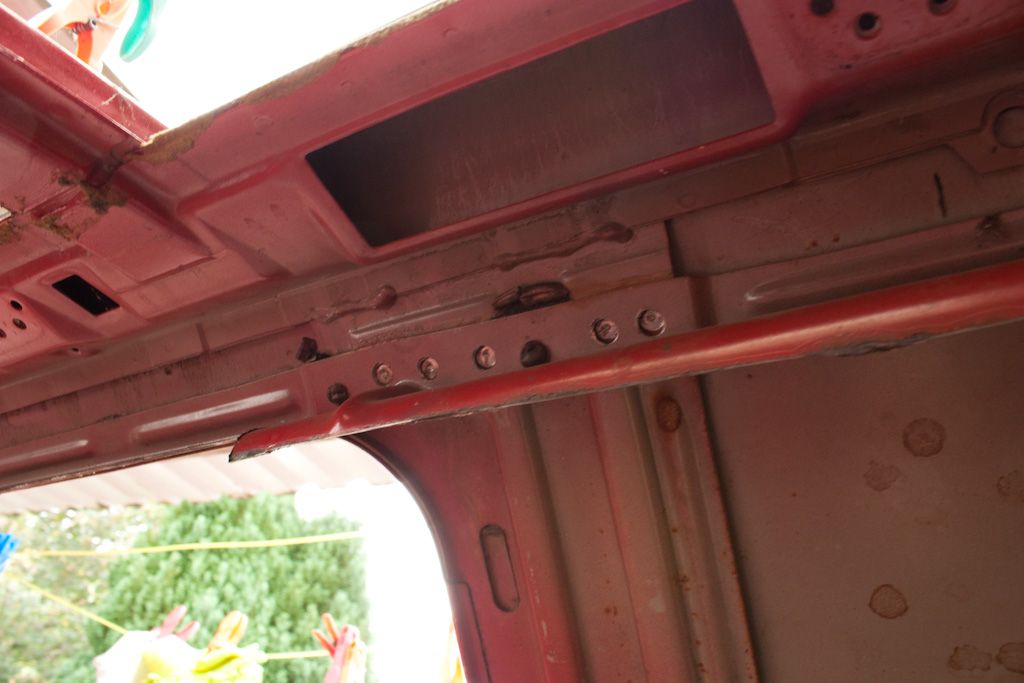
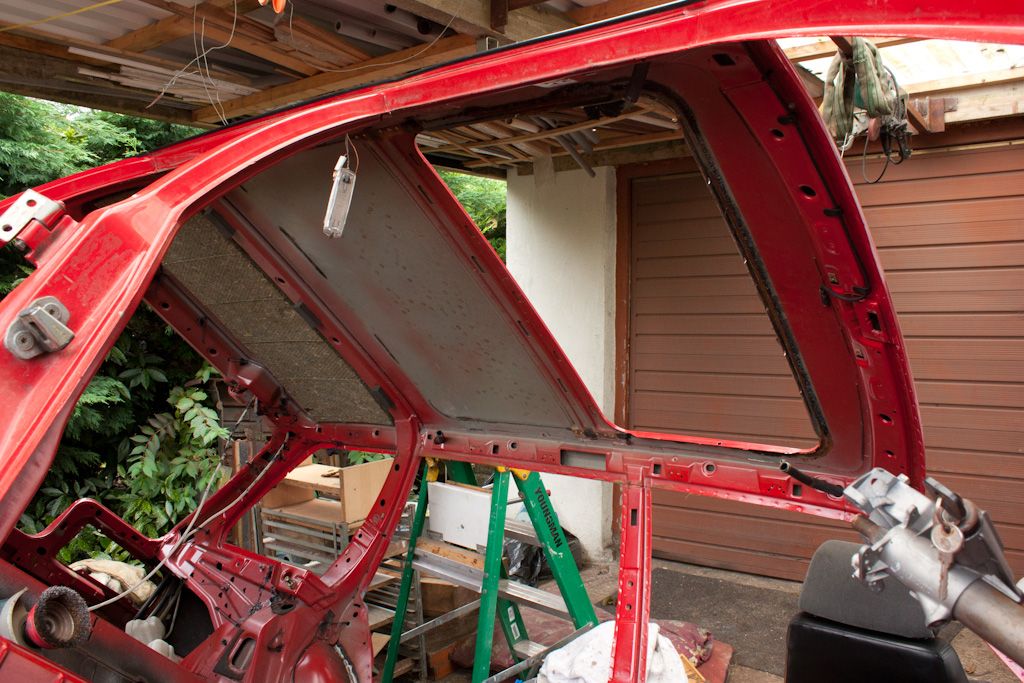
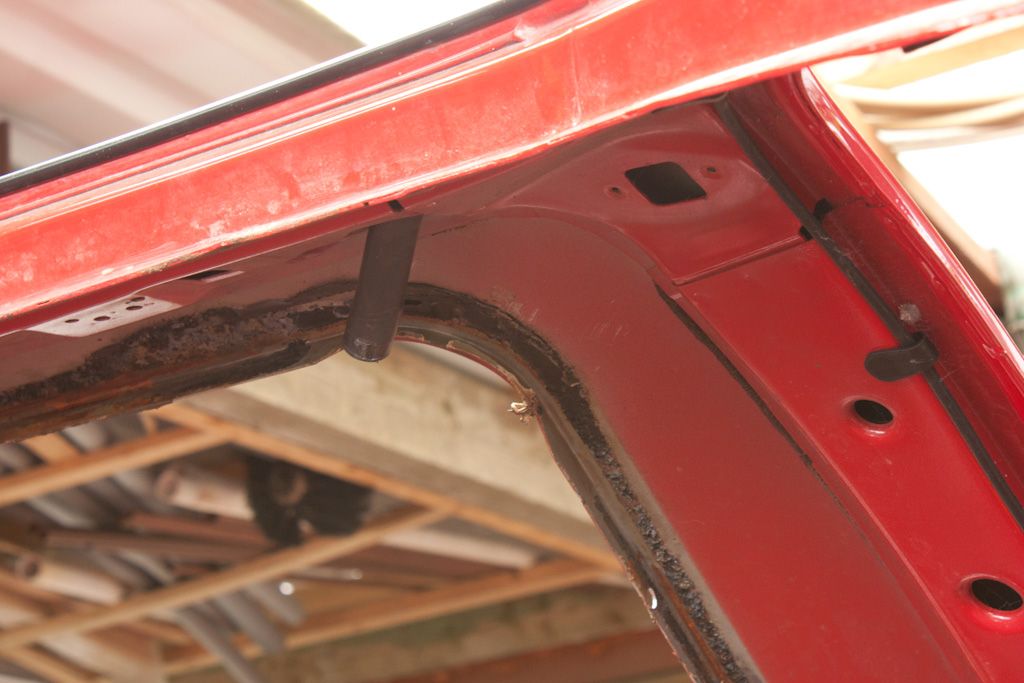
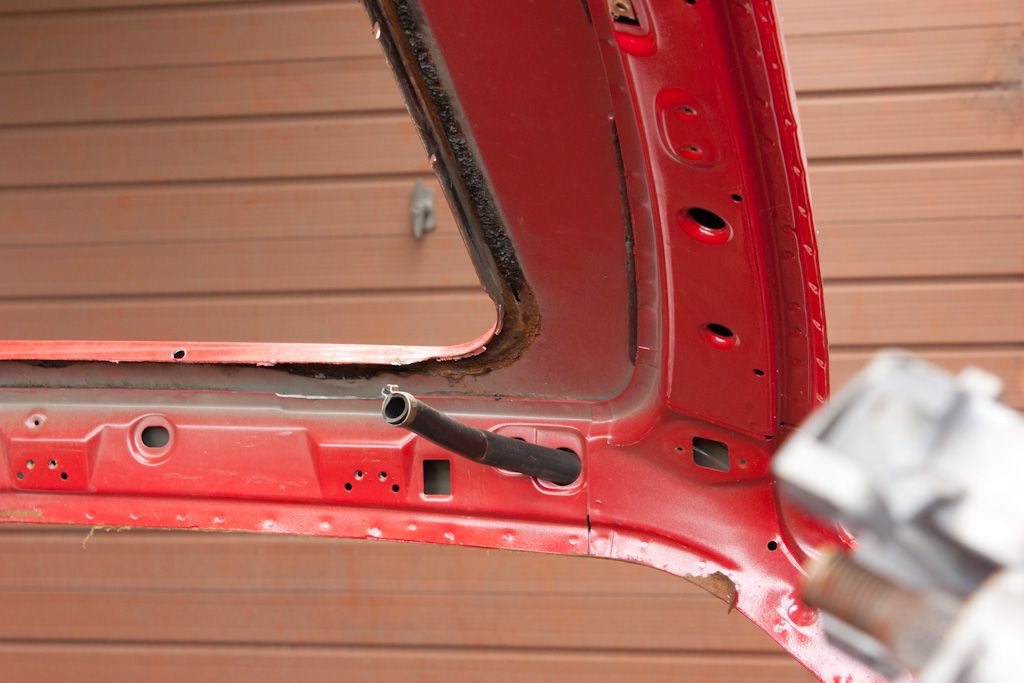
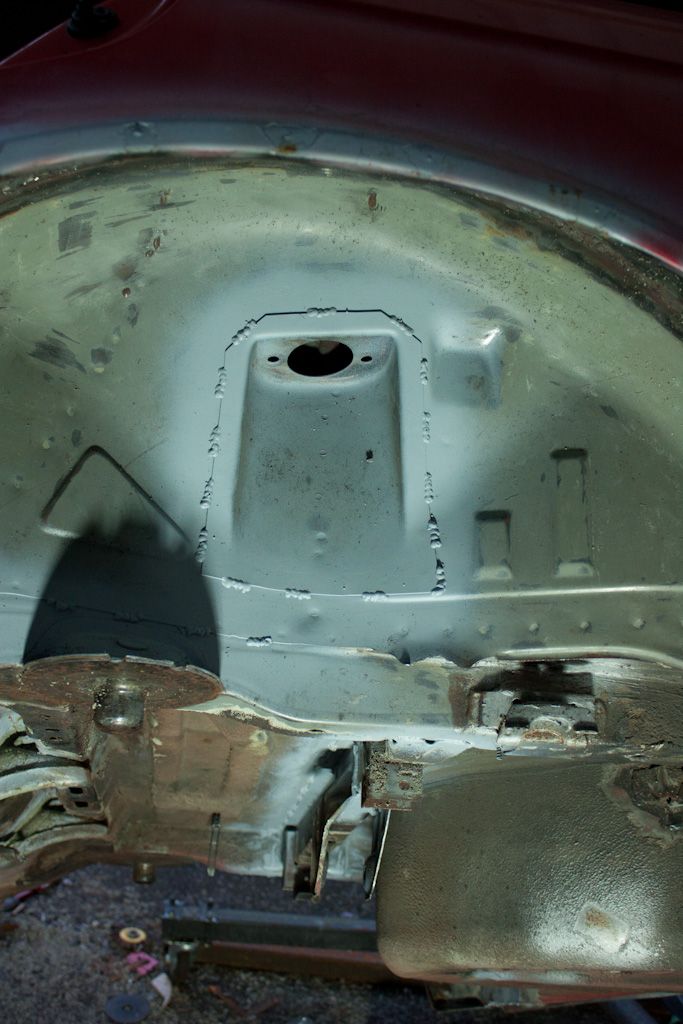
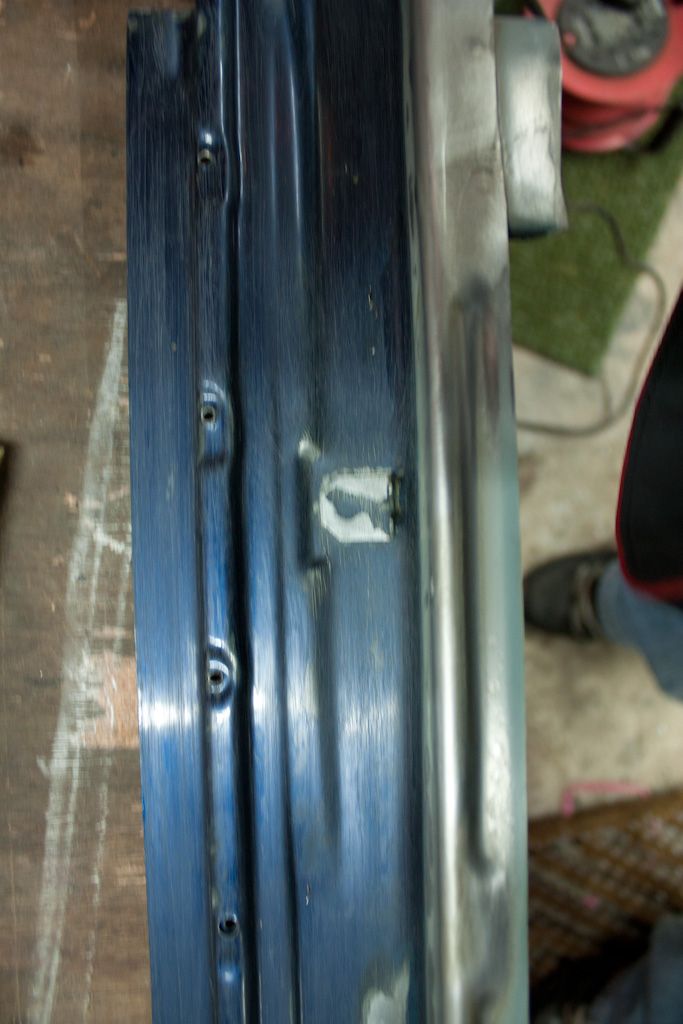
Have all 4 arches cleaned from underseal since my last post. Front of the car is of the spit for the time being while I weld the seams around the engine bay. I've so far done the 2 front turrets on the engine bay side, spent a bit of time grinding back some bad welds today so I can weld them again (with gas this time  )
)
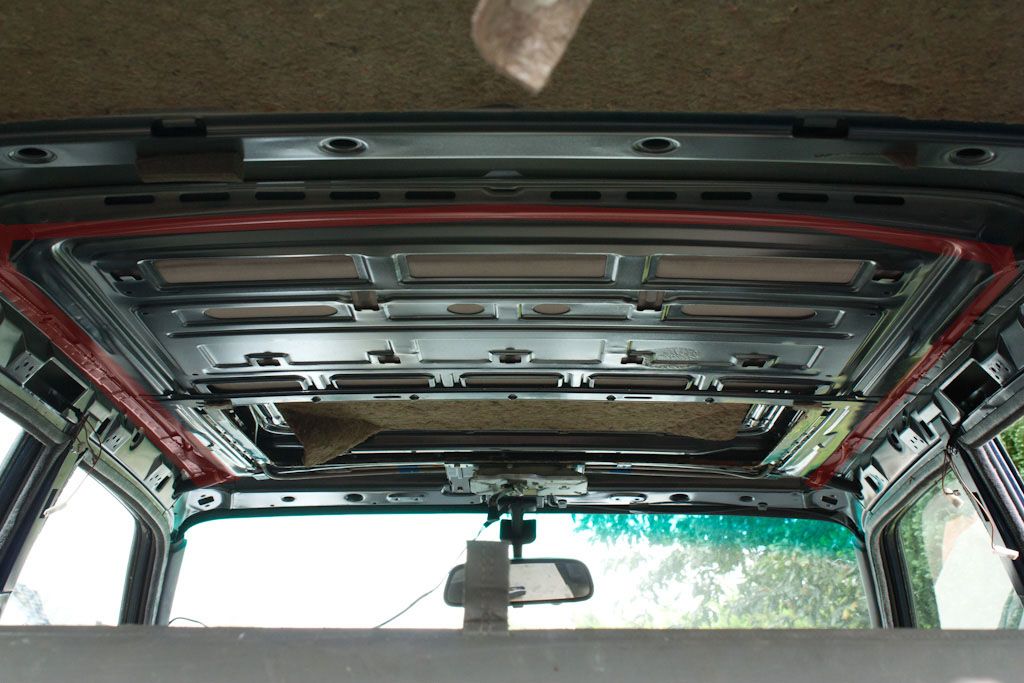
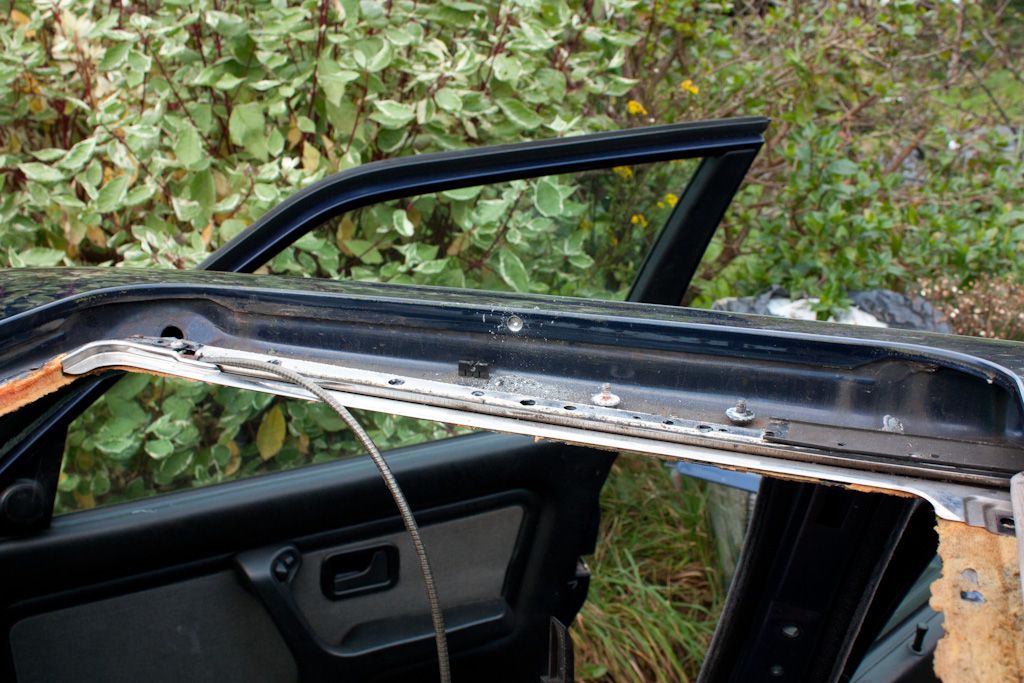
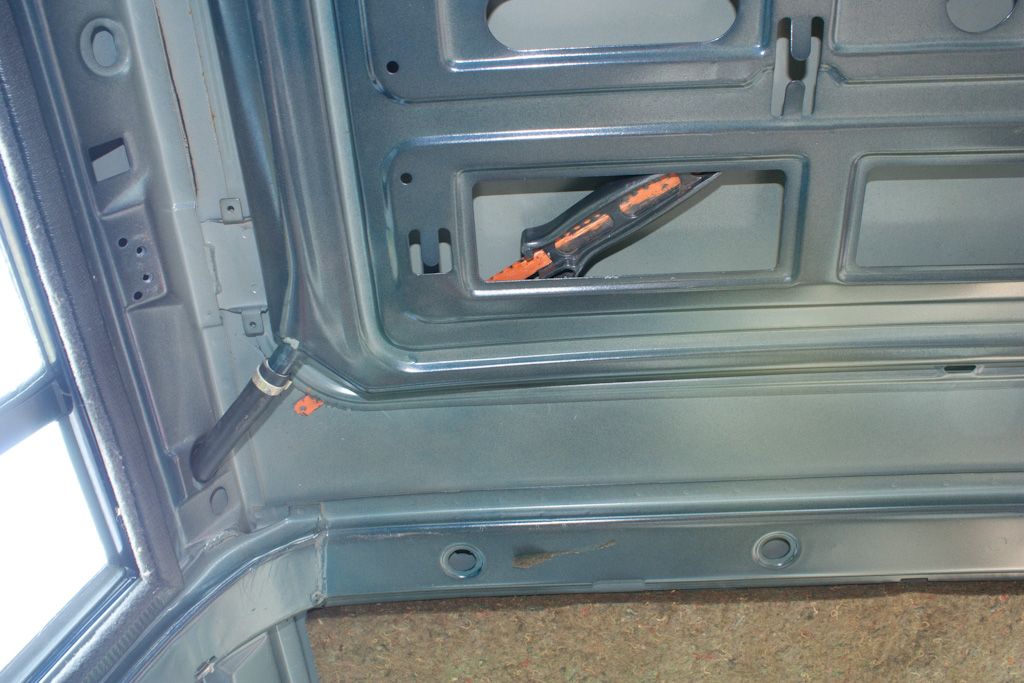
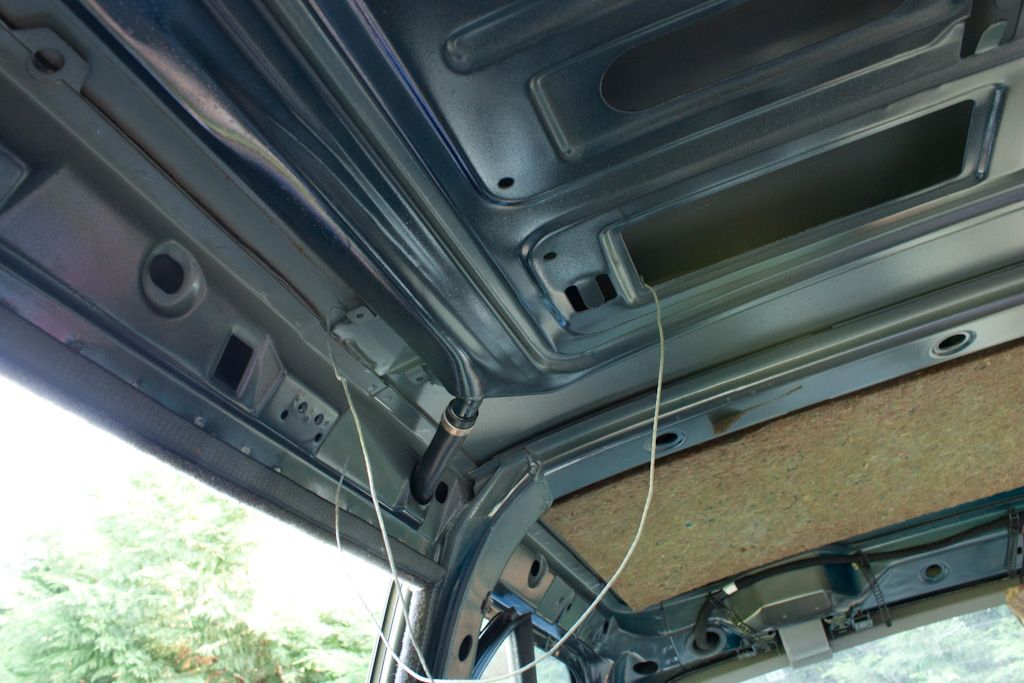
Started removing the headlining from the blue shell, should get this out tomorrow, if the rain holds of, which will mean I can cut repair patches of the sunroof tray for the red shell.
Probably won't get at the car much over the next 2-3 weeks as I got a few weeks work in Dublin
Started removing the headlining from the blue shell, should get this out tomorrow, if the rain holds of, which will mean I can cut repair patches of the sunroof tray for the red shell.
Probably won't get at the car much over the next 2-3 weeks as I got a few weeks work in Dublin

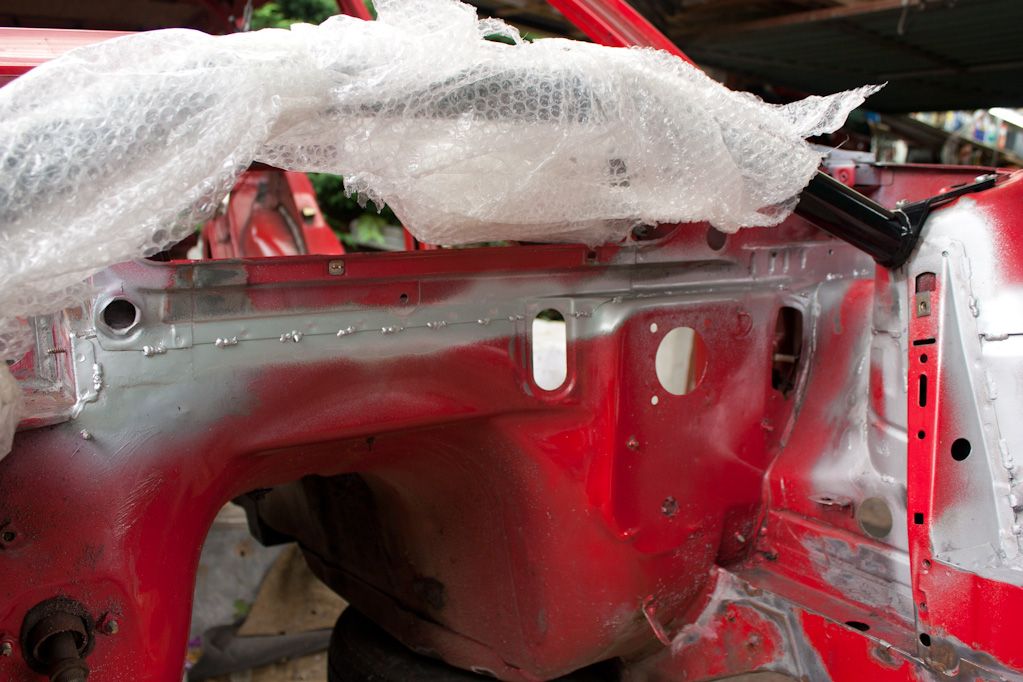
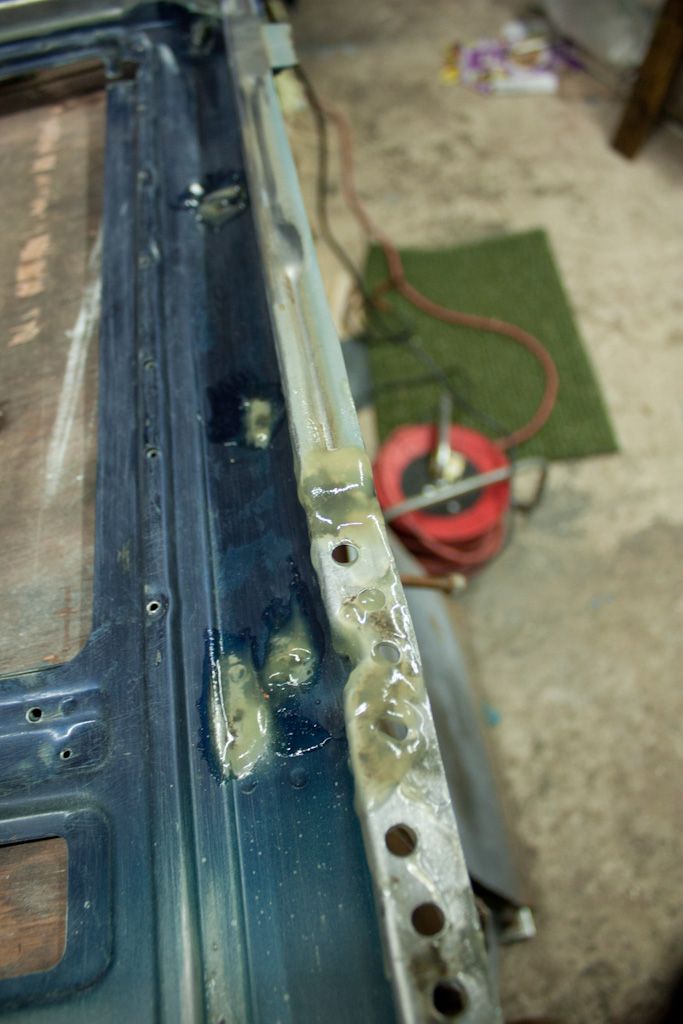
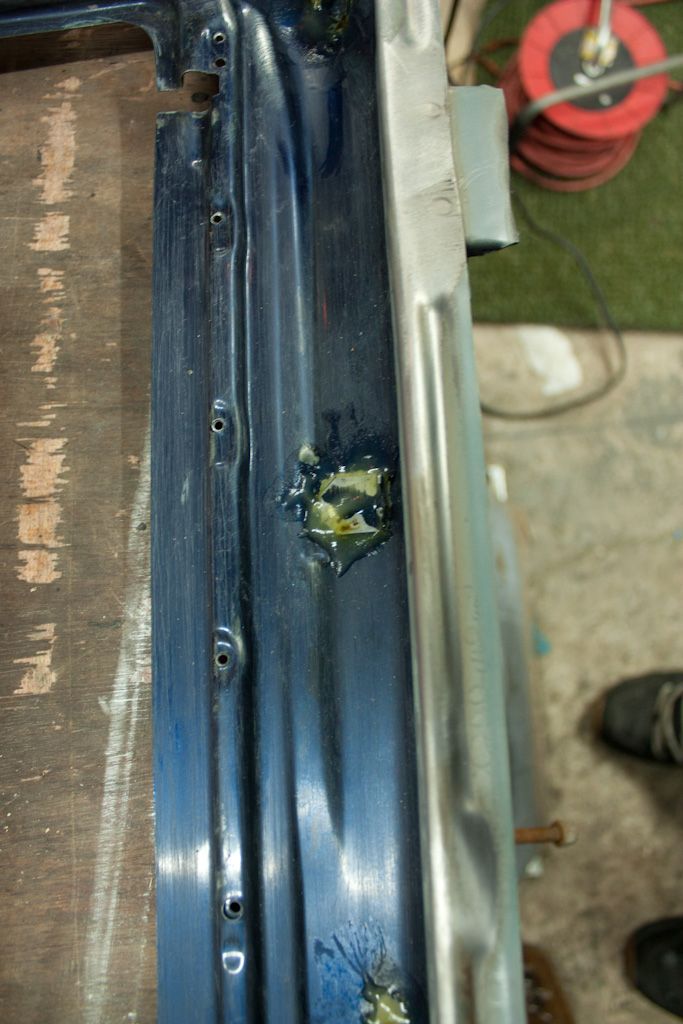
Quick pics of the seam welding.

I'll probably grind the ones visible from the engine bay side down fairly flat so they wont be visibly through seam sealer. The welds on the other side of the panel joints I'll just flat a little so they don't stick out to much, haven't done these yet.
I'll probably grind the ones visible from the engine bay side down fairly flat so they wont be visibly through seam sealer. The welds on the other side of the panel joints I'll just flat a little so they don't stick out to much, haven't done these yet.
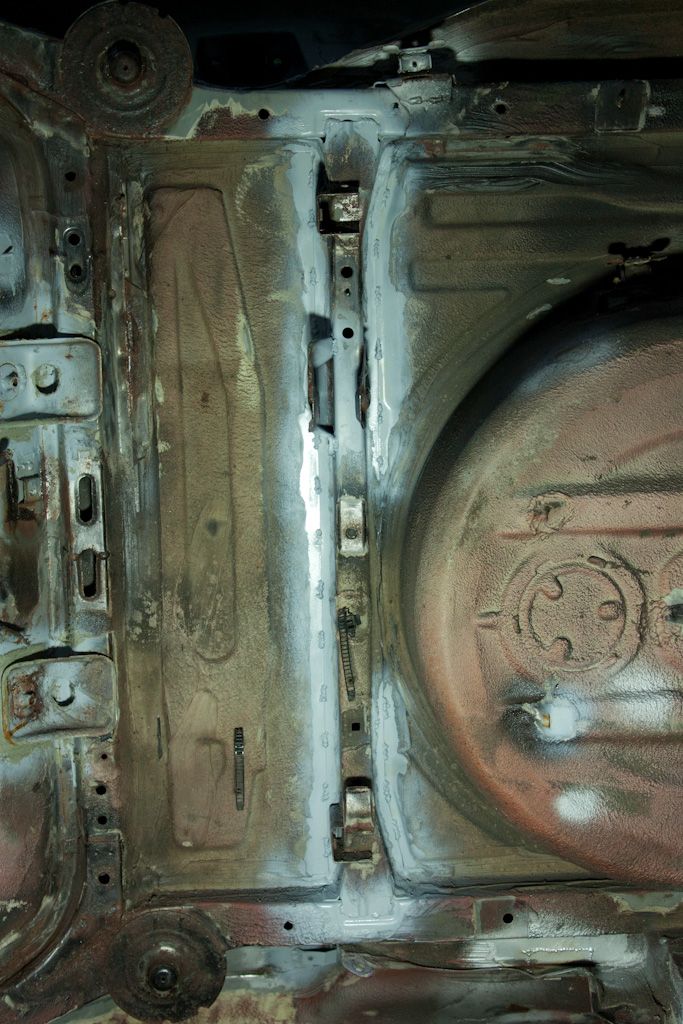
No progress this week with me having some work in Dublin, not planned on doing anything at all this weekend but I got bored earlier so did some more welding of seams
Anyone know should I do the inner arch to firewall junction and around the battery tray as well?
Anyone know should I do the inner arch to firewall junction and around the battery tray as well?
Little bit done today
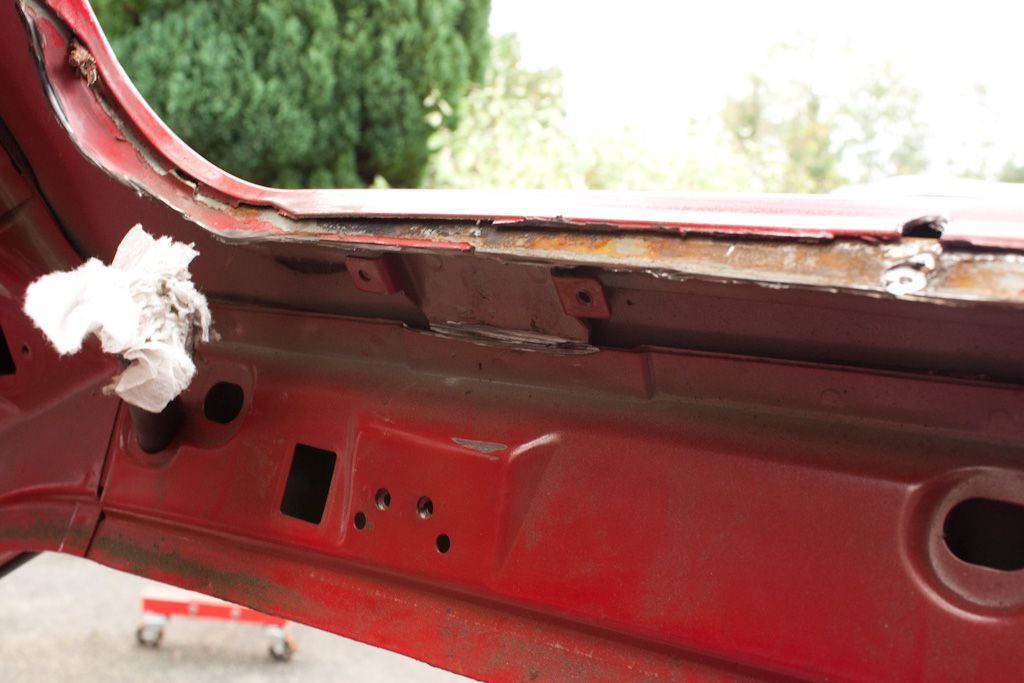
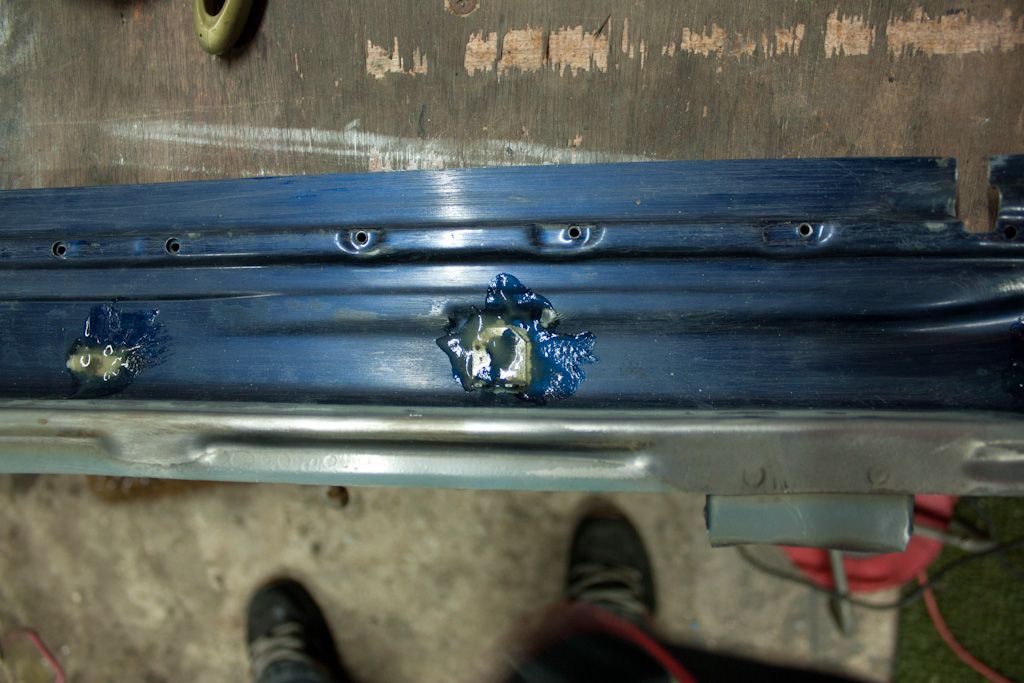
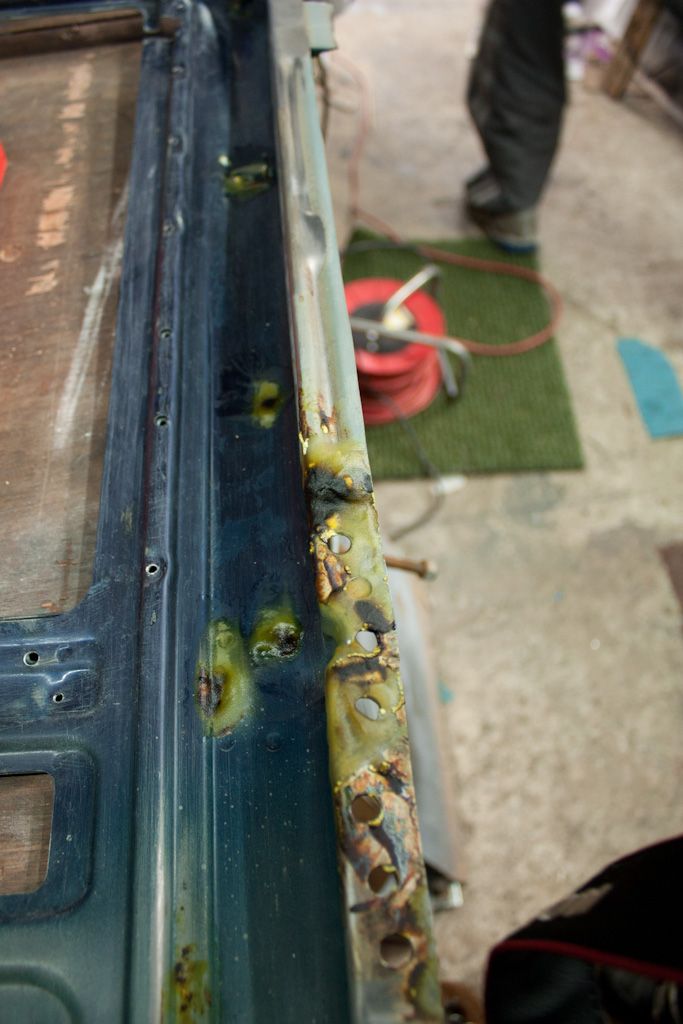
Welding on the firewall isn't so pretty, seamsealer?
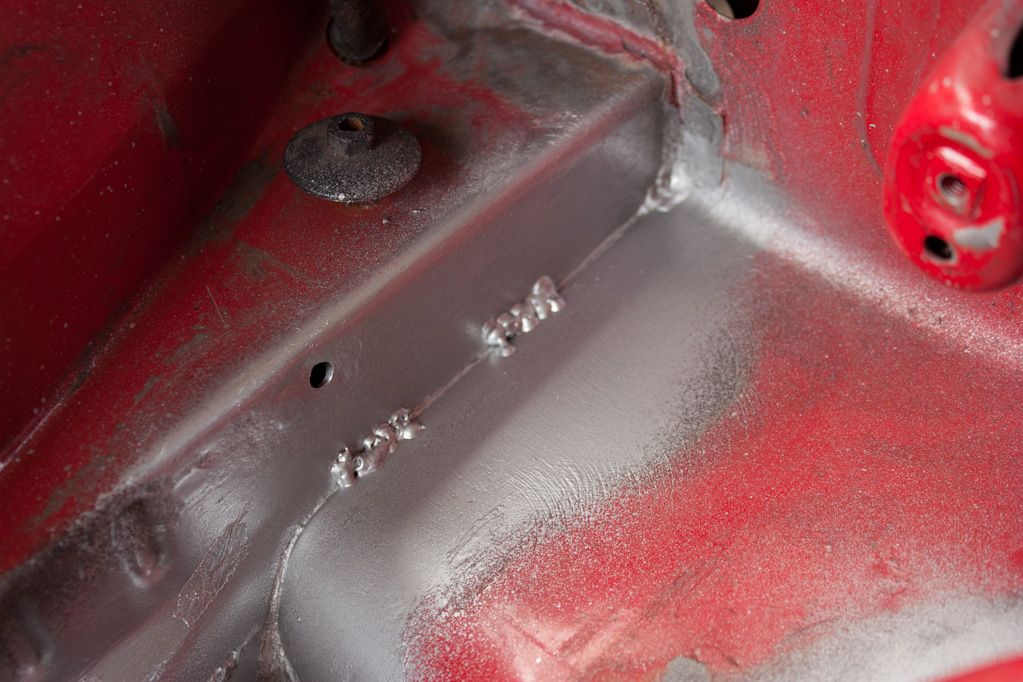
Welding on the firewall isn't so pretty, seamsealer?
-
TouringMatt
- E30 Zone Camper
- Posts: 1188
- Joined: Mon Jan 10, 2005 11:00 pm
- Location: Not where i should be
Hides all your welding sinsJozi wrote:seamsealer?
Did all my patches today, turned into a right messy job, even got it in my hair
Good work mate
Hehe, I kinda meant was it seamsealer that cause the bad welds because of it being between panels  It's messy stuff alright! Looking forward to it
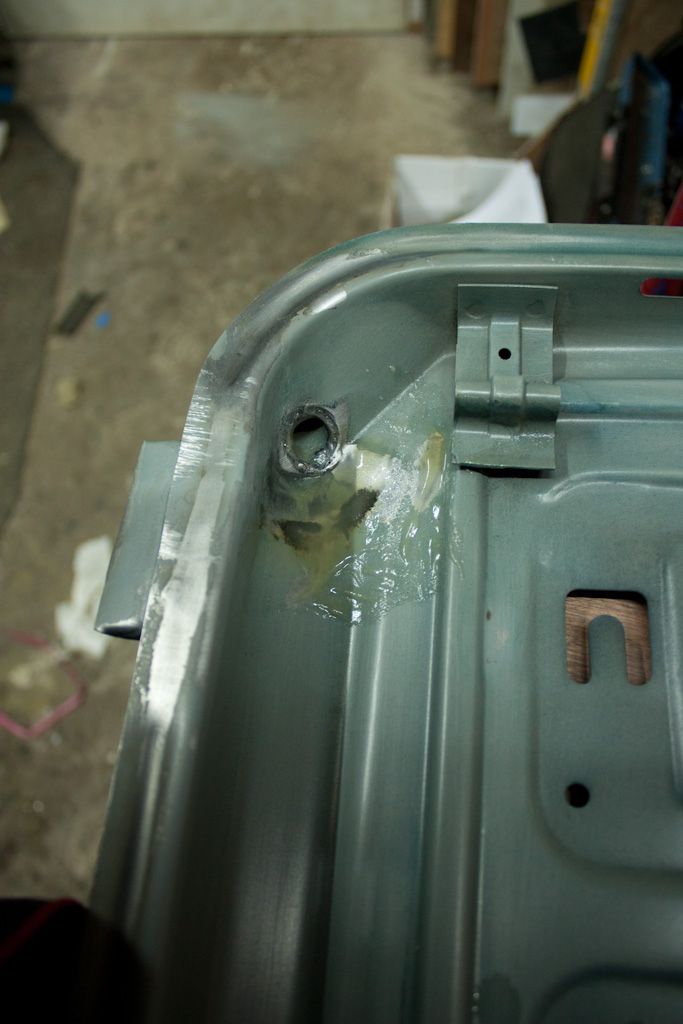
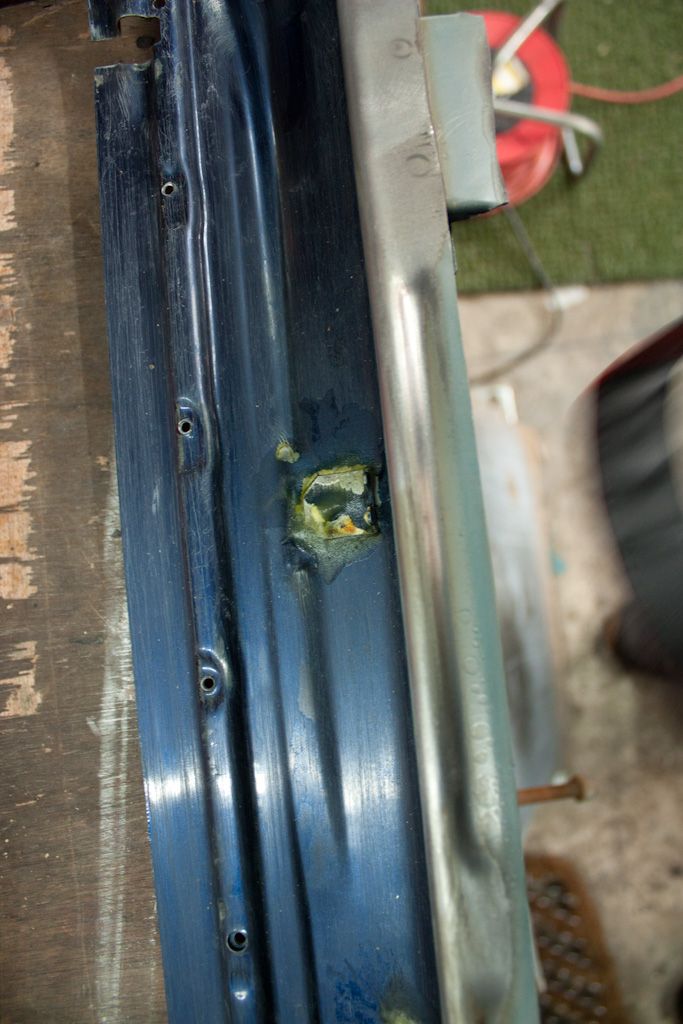
I'll be grinding it down a bit so it doesn't look welded, maybe weld it again if it's very bad.
I'll be grinding it down a bit so it doesn't look welded, maybe weld it again if it's very bad.
-
mercdriver

- E30 Zone Regular

- Posts: 814
- Joined: Mon May 30, 2011 11:00 pm
- Location: Derby
Jozi you are mad!
You'll have to make a tidy job of the seamsealer dude, good luck!
In your hair?! It does get everywhere... But thats a new one!
You'll have to make a tidy job of the seamsealer dude, good luck!
In your hair?!
I'll check with the manager
-
TouringMatt
- E30 Zone Camper
- Posts: 1188
- Joined: Mon Jan 10, 2005 11:00 pm
- Location: Not where i should be
I was checking i hadnt missed any under the arch, but my hair is on the large scruffy cunt/homeless sidemercdriver wrote:In your hair?!
-
mercdriver
- E30 Zone Regular
- Posts: 814
- Joined: Mon May 30, 2011 11:00 pm
- Location: Derby
If I were you, I would say i'm too busy with my car to get a ponsey haircutTouringMatt wrote:I was checking i hadnt missed any under the arch, but my hair is on the large scruffy ****/homeless sidemercdriver wrote:In your hair?!
I'll check with the manager
Time for an update!
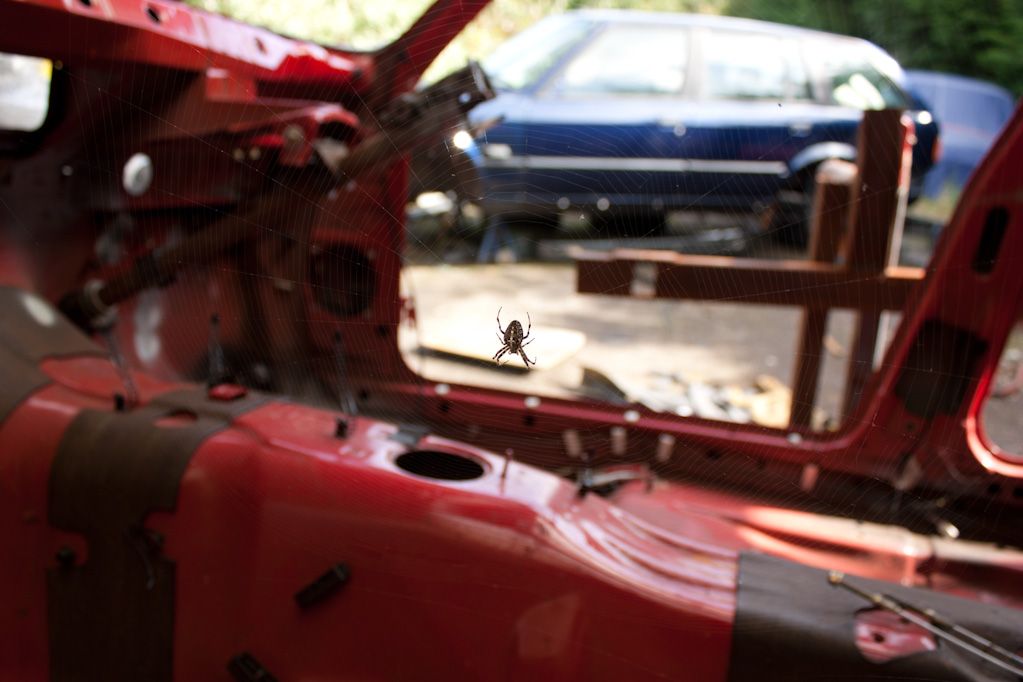
While I was away earning a few quid this little fella was watching over the shell (he had a few friends as well but none this big)
Got back home last weekend full of enthusiasm to get stuck into the shell, which in reality ended up meaning I done f-all this week
Initially I was going to cut out the 2 rusty roof drains at the back of the sunroof frame. Having looked at it and decided it would be very hard to make sure that the welded area's are clean and painted over with and would just rust again down the line. That and the fact the sun roof tray on the blue touring was mint, couldn't see any rust on it worth mentioning with it fitted to the car.
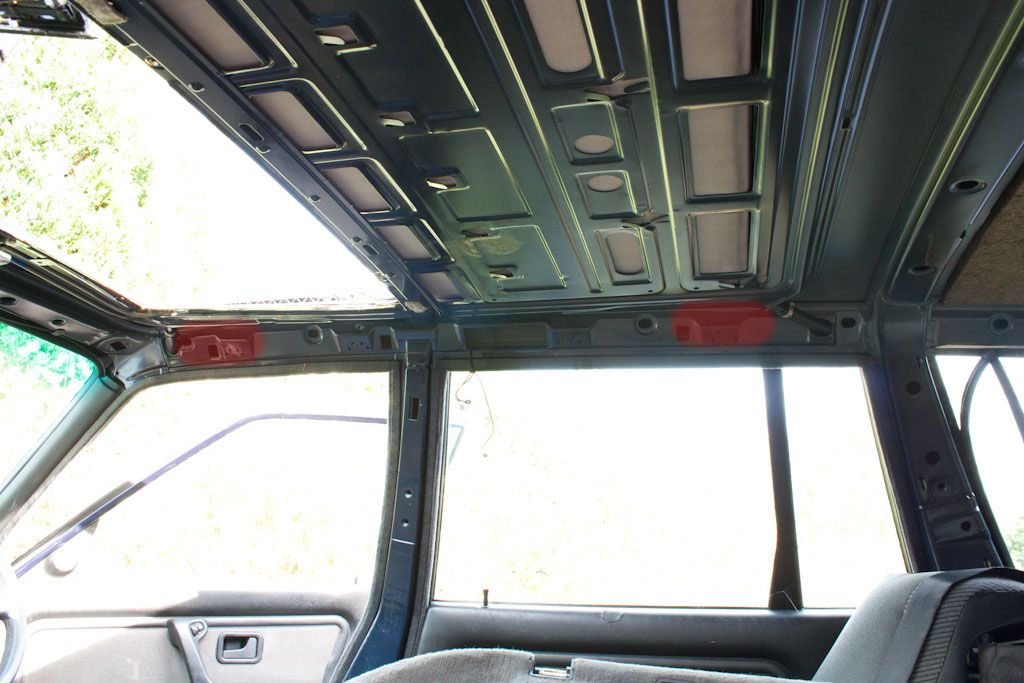
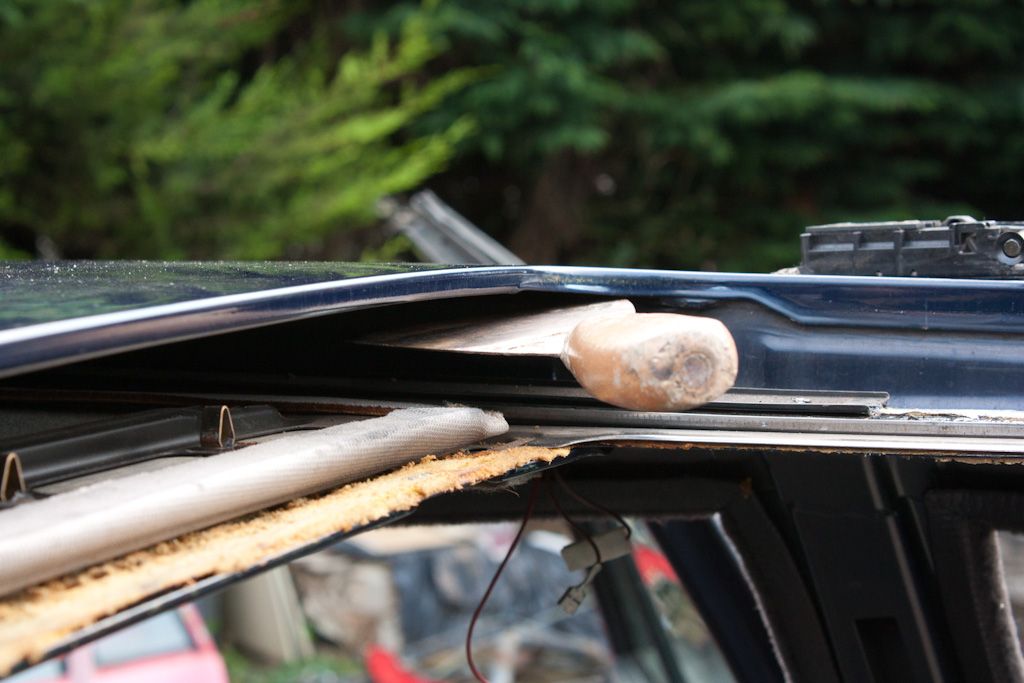
So removing the sunroof frame began with figuring out how it's held in place, which looked to be just glue. A bit of googling and some questions later and I realised it was bonded on all a round the frame edge and the sunroof opening on the car, red in the below picture:
There are 5 spot welds to the front edge of sun roof opening where the frame is welded to the roof skin:
and 1 either side of the opening again welding the frame and roof skin:
And here they are drilled out with a spot weld drill bit
Next up there are 4 brackets welded to the frame and a seam under the roof skin, roughly in the area's highlighted red:
Bracket near the front of the panel:
And the rear of the panel:
These were carefully cut with the angle grinder and a cutting disc making sure to be careful not to let the grinder slip or cut to deep as that would mean your cutting your roof skin
Finally there's 5 spot welds either side of the frame where the B-pillar is
Drilled with a spot weld bit:
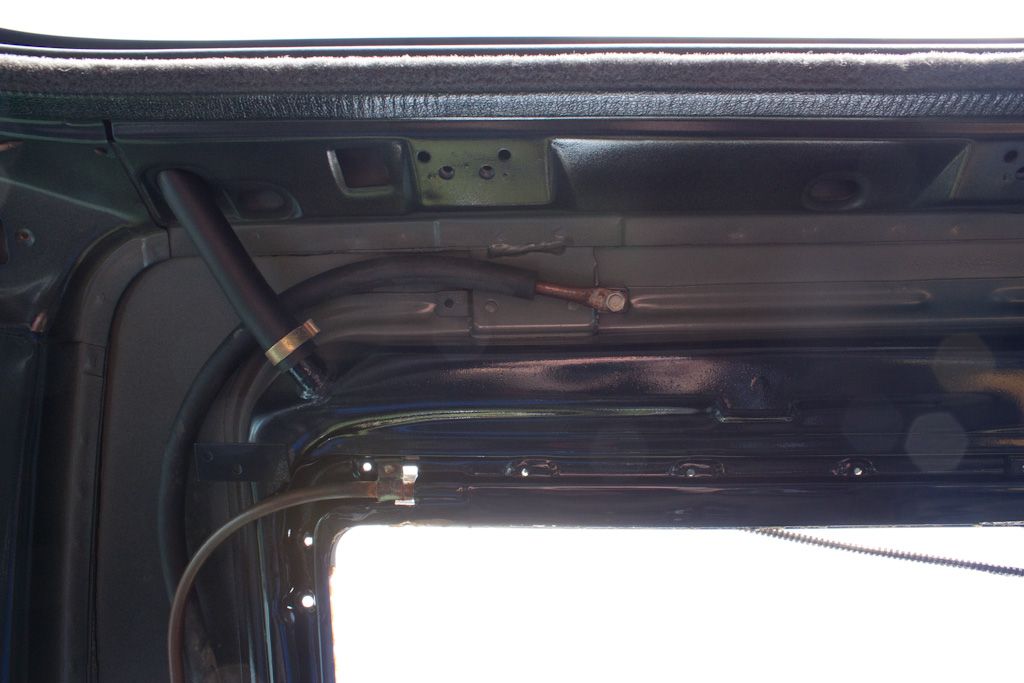
I left the drain pipes attached but cut the hose clip of them and made sure they could be easily removed.
Next up I tried to break through as much of the sealer as I could, first at the rear of the frame using a hack saw blade:

And the sides:
Which was easier done using a steel wire:
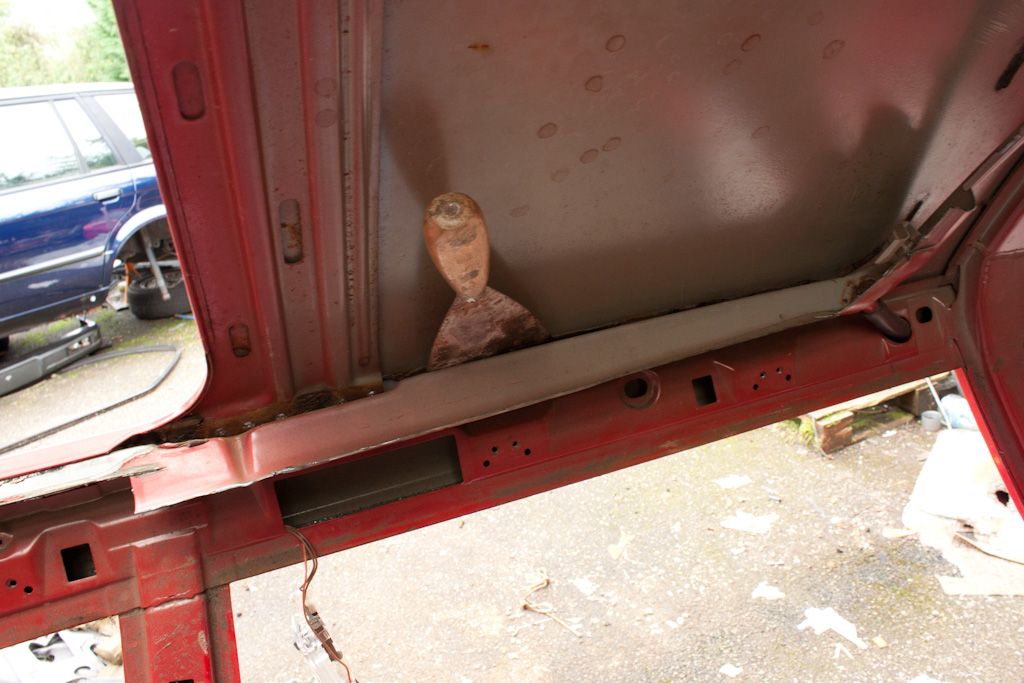
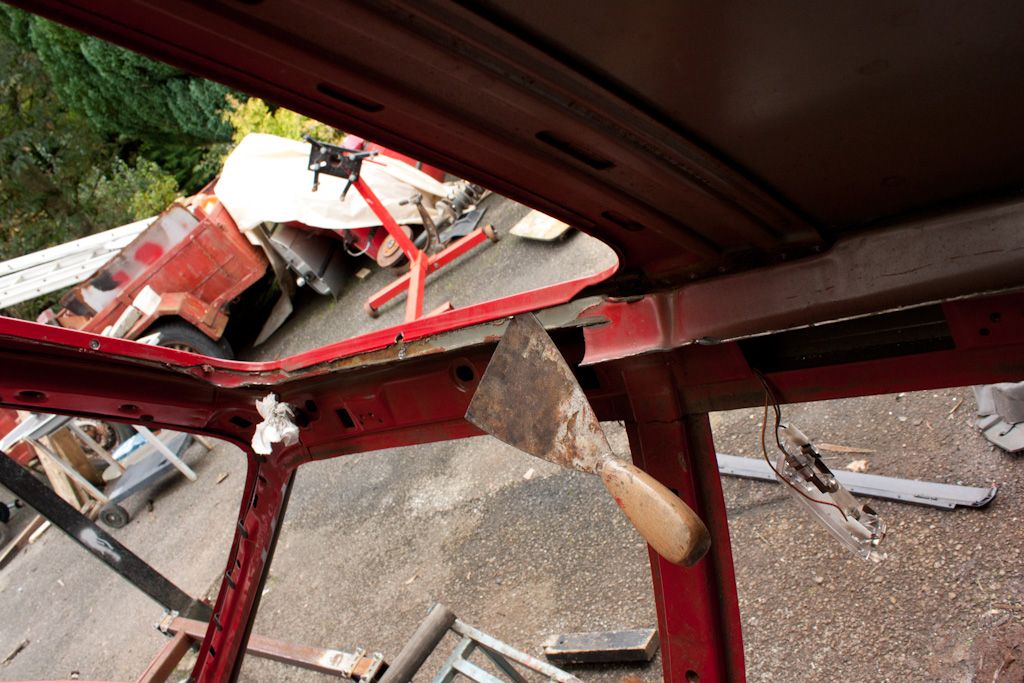
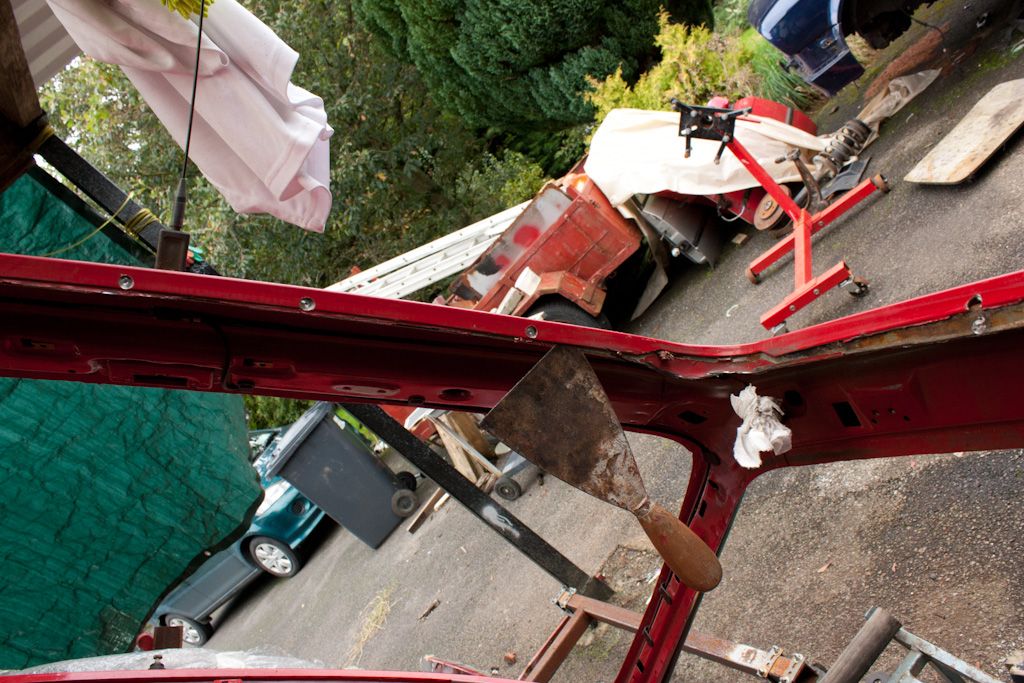
All the way as far as where the panel was welded by the B-pillar, to break the sealer here you need to get a spatula and force it in from the sunroof opening, like so:
You want to try as much as you can to get the spatula to break the bond around the spot welds. Make sure at this point to wear gloves as the sunroof tracks are very sharp, unless you like chopping of knuckles pulling the spatula out like I did (sorry no pics).
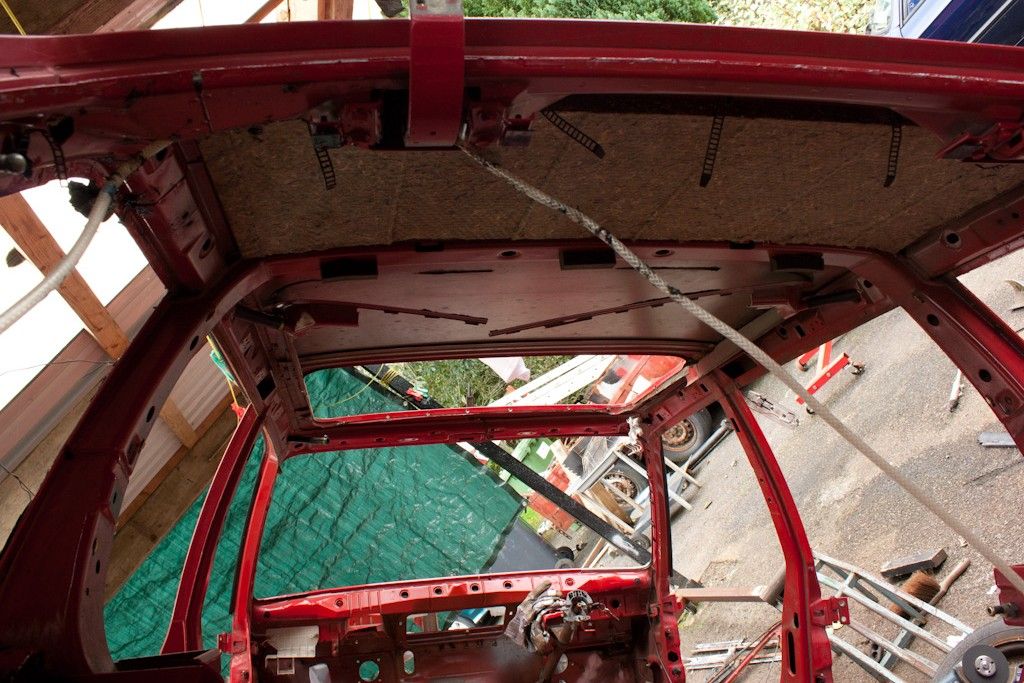
The only thing holding the frame in place now it the 4 drain pipes and the area around the sunroof opening, best to support the frame ar the back to prevent it from falling down. ***I don't recommend removing the panel from your own car how we did as you can make a balls of the roof skin, use this method on the donor car offering it's sunroof frame up*** What we (I had to call in a 2nd pair of hands) did was heat the area with a heat gun where the roof skin and frame are bonded together, both from the sunroof opening side and from underneat where the frame is bonded to the roof skin. Take your time here to get it nice and hot! We then got a piece of timber, working from the B-pillar round the opening, and tapped (not quite battered but close) the frame down until the panel stared coming lose, stopping the odd time to heat the area some more, and worked our way round until the panel was completely lose and your left with this:

Which was in much better shape than the one in the red shell with only a little bit of rust that will need treating.
Now back to the red shell, I took a slightly more destructive approach on removing it from the car With angle grinder I cut the frame along the edges leaving only a few cm of metal and part of it attached to the roof.
As before, 5 spot welds to the front of the opening and 1 either side
5 spot welds at the B-pillars:
4 brackets cut of:
And then with some heat carefully start breaking the bond around the frame:
And here's the reason for undertaking this unnecessary sunroof frame swap:
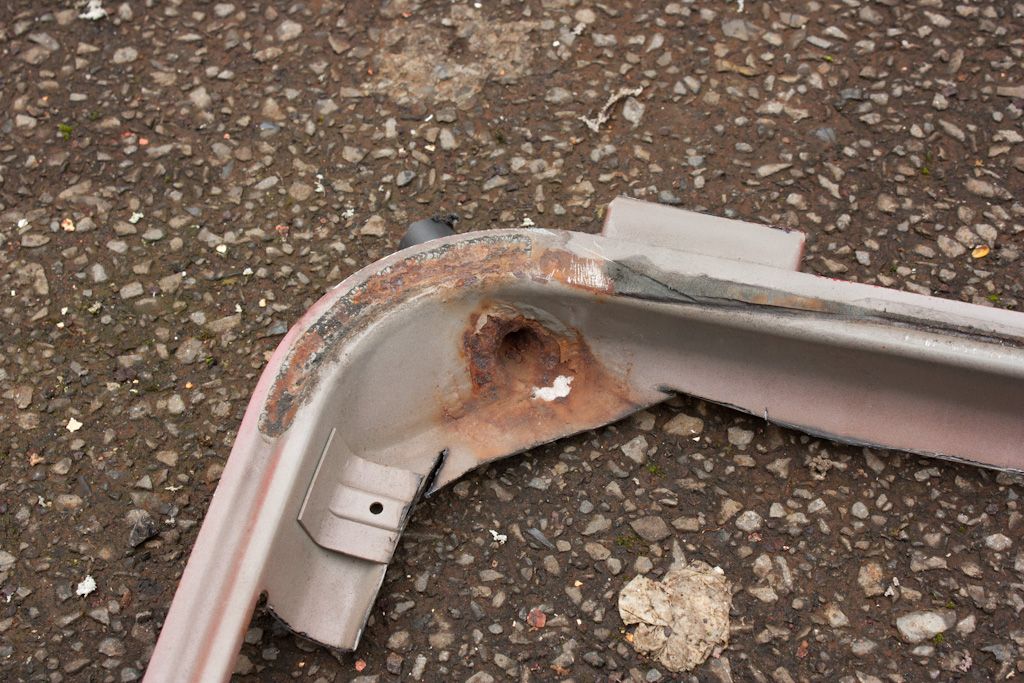
And the reason the roof skin starts to rot around the sunroof opening
Just as well I removed it as at some point in the future the roof skin would have started rotting because of the above. The underside looks like I might have caught it in time, although hard to tell with the sealer still stuck on
If like me the donor car serves as a storage space you can close up the sunroof opening using the old frame

Thats all for this week! I need to get some stuff for removing all the rust around the car and then clean up the frame and roof skin before painting both and re-fitting.
While I was away earning a few quid this little fella was watching over the shell (he had a few friends as well but none this big)
Got back home last weekend full of enthusiasm to get stuck into the shell, which in reality ended up meaning I done f-all this week
Initially I was going to cut out the 2 rusty roof drains at the back of the sunroof frame. Having looked at it and decided it would be very hard to make sure that the welded area's are clean and painted over with and would just rust again down the line. That and the fact the sun roof tray on the blue touring was mint, couldn't see any rust on it worth mentioning with it fitted to the car.
So removing the sunroof frame began with figuring out how it's held in place, which looked to be just glue. A bit of googling and some questions later and I realised it was bonded on all a round the frame edge and the sunroof opening on the car, red in the below picture:
There are 5 spot welds to the front edge of sun roof opening where the frame is welded to the roof skin:
and 1 either side of the opening again welding the frame and roof skin:
And here they are drilled out with a spot weld drill bit
Next up there are 4 brackets welded to the frame and a seam under the roof skin, roughly in the area's highlighted red:
Bracket near the front of the panel:
And the rear of the panel:
These were carefully cut with the angle grinder and a cutting disc making sure to be careful not to let the grinder slip or cut to deep as that would mean your cutting your roof skin
Finally there's 5 spot welds either side of the frame where the B-pillar is
Drilled with a spot weld bit:
I left the drain pipes attached but cut the hose clip of them and made sure they could be easily removed.
Next up I tried to break through as much of the sealer as I could, first at the rear of the frame using a hack saw blade:
And the sides:
Which was easier done using a steel wire:
All the way as far as where the panel was welded by the B-pillar, to break the sealer here you need to get a spatula and force it in from the sunroof opening, like so:
You want to try as much as you can to get the spatula to break the bond around the spot welds. Make sure at this point to wear gloves as the sunroof tracks are very sharp, unless you like chopping of knuckles pulling the spatula out like I did (sorry no pics).
The only thing holding the frame in place now it the 4 drain pipes and the area around the sunroof opening, best to support the frame ar the back to prevent it from falling down. ***I don't recommend removing the panel from your own car how we did as you can make a balls of the roof skin, use this method on the donor car offering it's sunroof frame up*** What we (I had to call in a 2nd pair of hands) did was heat the area with a heat gun where the roof skin and frame are bonded together, both from the sunroof opening side and from underneat where the frame is bonded to the roof skin. Take your time here to get it nice and hot! We then got a piece of timber, working from the B-pillar round the opening, and tapped (not quite battered but close) the frame down until the panel stared coming lose, stopping the odd time to heat the area some more, and worked our way round until the panel was completely lose and your left with this:
Which was in much better shape than the one in the red shell with only a little bit of rust that will need treating.
Now back to the red shell, I took a slightly more destructive approach on removing it from the car
 With angle grinder I cut the frame along the edges leaving only a few cm of metal and part of it attached to the roof.
As before, 5 spot welds to the front of the opening and 1 either side
5 spot welds at the B-pillars:
4 brackets cut of:
And then with some heat carefully start breaking the bond around the frame:
And here's the reason for undertaking this unnecessary sunroof frame swap:
And the reason the roof skin starts to rot around the sunroof opening
Just as well I removed it as at some point in the future the roof skin would have started rotting because of the above. The underside looks like I might have caught it in time, although hard to tell with the sealer still stuck on
If like me the donor car serves as a storage space you can close up the sunroof opening using the old frame
Thats all for this week! I need to get some stuff for removing all the rust around the car and then clean up the frame and roof skin before painting both and re-fitting.
Last edited by Jozi on Sat Oct 15, 2011 7:08 pm, edited 1 time in total.
No update really, Saturday was spent tidying up the "parts room" and getting it organised a bit better than it was.
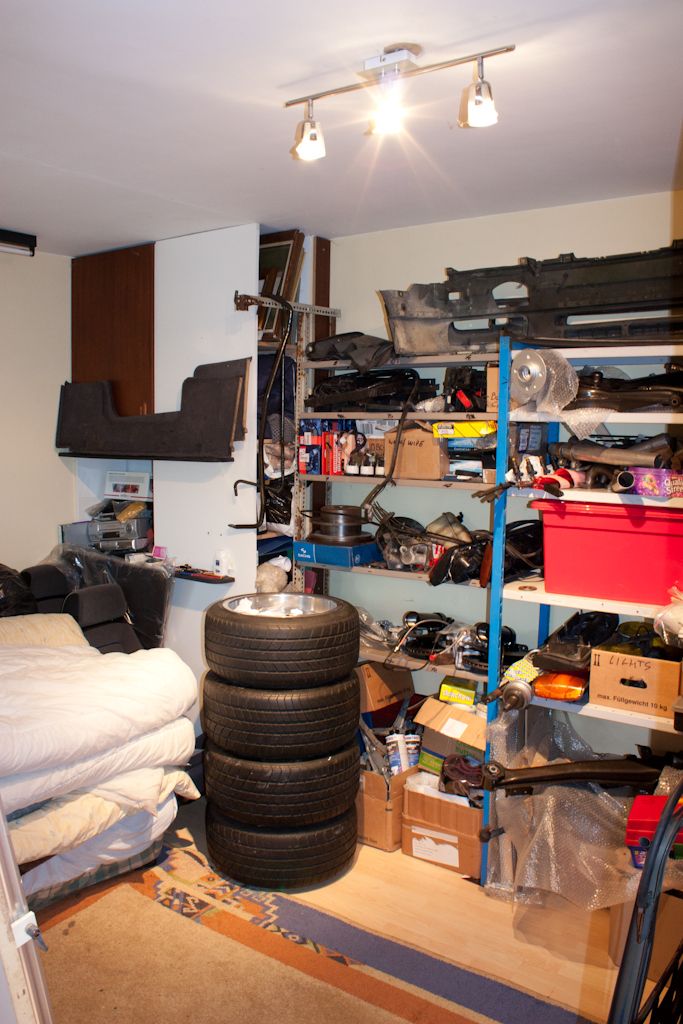
I'll be spending some time tidying up around the shell as well today, there's parts, tools and crap cluttering up everything
I'll be spending some time tidying up around the shell as well today, there's parts, tools and crap cluttering up everything


I can look after those wheels for you mate if you need to make some room? 
Lots of room left on the floor again after that clean up
Eko: Pm on the way
Putting together a list of stuff to get powdercoated, doing shadowline trim a little over kill?
Eko: Pm on the way
Putting together a list of stuff to get powdercoated, doing shadowline trim a little over kill?

Not a whole lot to update really, got this started last weekend:
And earlier today did the other side
And the crossmember
I'm away next weekend and the following as well No more updates for a few weeks.
And earlier today did the other side
And the crossmember
I'm away next weekend and the following as well
-
TouringMatt
- E30 Zone Camper
- Posts: 1188
- Joined: Mon Jan 10, 2005 11:00 pm
- Location: Not where i should be
Its all good progress though 
This is true. If I spend less time procrastinating I'd get even more done!
Can someone advice on painting, bad idea to do it when cold? I've little left to weld and can finally move on to getting everything tidied up and start painting inside and under the car. Only I think it's probably to cold to go painting? Will be doing it under a lean-to with the sides blocked up but other than that out in the open.
Can someone advice on painting, bad idea to do it when cold? I've little left to weld and can finally move on to getting everything tidied up and start painting inside and under the car. Only I think it's probably to cold to go painting? Will be doing it under a lean-to with the sides blocked up but other than that out in the open.
I'm thinking it will be next year as well, I'm 90miles away from the car during the week and won't get near it again until prob Dec
-
TouringMatt
- E30 Zone Camper
- Posts: 1188
- Joined: Mon Jan 10, 2005 11:00 pm
- Location: Not where i should be
Yeah its a bind, im a lot closer to my car than 90 miles, but its still not great, once the weather drops im equally feck'd, really didnt want it stuck on stands until the new year
Only had my cast taken off on Wednesday and i've still got damaged ligaments, but had to take advantage the great weather today and drop the front suspension, just so i could spray the inner arches whilst it was warm.
Any chance of rigging up some kind of gazebo like structure?
Only had my cast taken off on Wednesday and i've still got damaged ligaments, but had to take advantage the great weather today and drop the front suspension, just so i could spray the inner arches whilst it was warm.
Any chance of rigging up some kind of gazebo like structure?
It's under a lean-to coming of the shed. We have enough plastic to close of the 3 exposed sides. I thought about trying to get it into the shed but it's full of other stuff belonging to dad and there's a step into it as well as a slant.
All I can really do is keep going at other things, I've a few things in my mind that I can probably keep working on in the shed but nothing to keep me busy till feb/mar/april. Work just messed me up but more money is always good
All I can really do is keep going at other things, I've a few things in my mind that I can probably keep working on in the shed but nothing to keep me busy till feb/mar/april. Work just messed me up but more money is always good
Change of plans again
I didn't get going to Holland over the weekend so went and got some paint. I'm also back to being unemployed again so I can work on the car during the week and see it finished sooner :dance:
I got a bit of paint on Saturday to try on a scrap bonnet. Mauritius blue, Mauritius blue with a bit of added black and a metallic Fiat colour
Sanded the bonnet down a little, made up a little spray room hanging of the garage door in it's open position and sprayed up 3 rectangles. First time spraying for me, so excuse the orange peel in the below pics. I spent all of 2 mins flatting it down a bit and then went at it with the polisher (and some how managed to scratch the clear coat). Bit hard to take pics in the garage, will try take better ones when it's bright out.
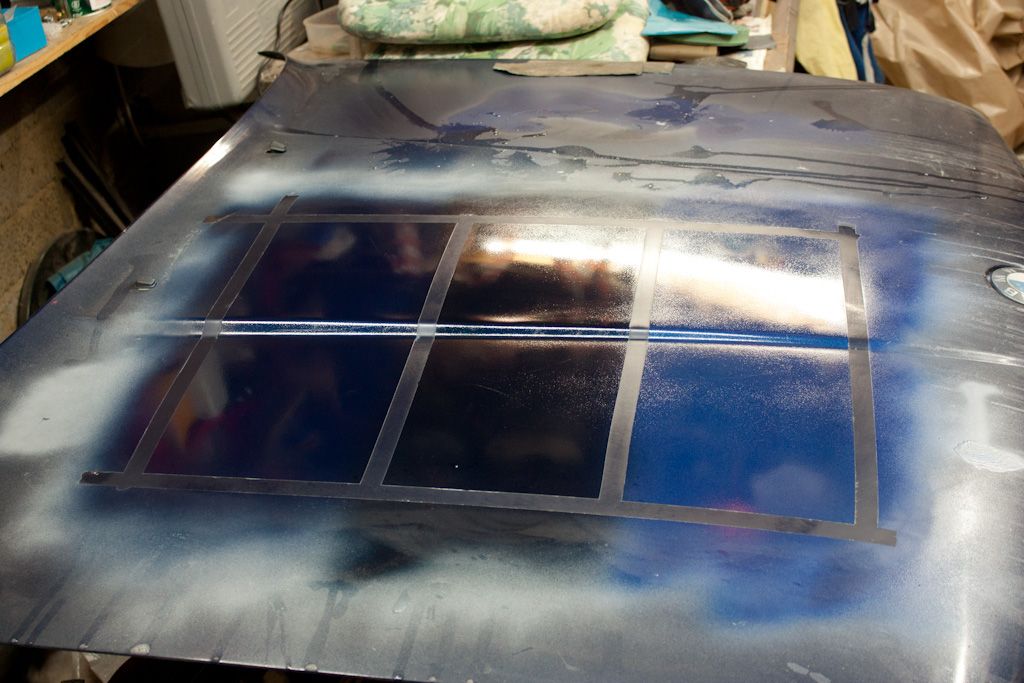
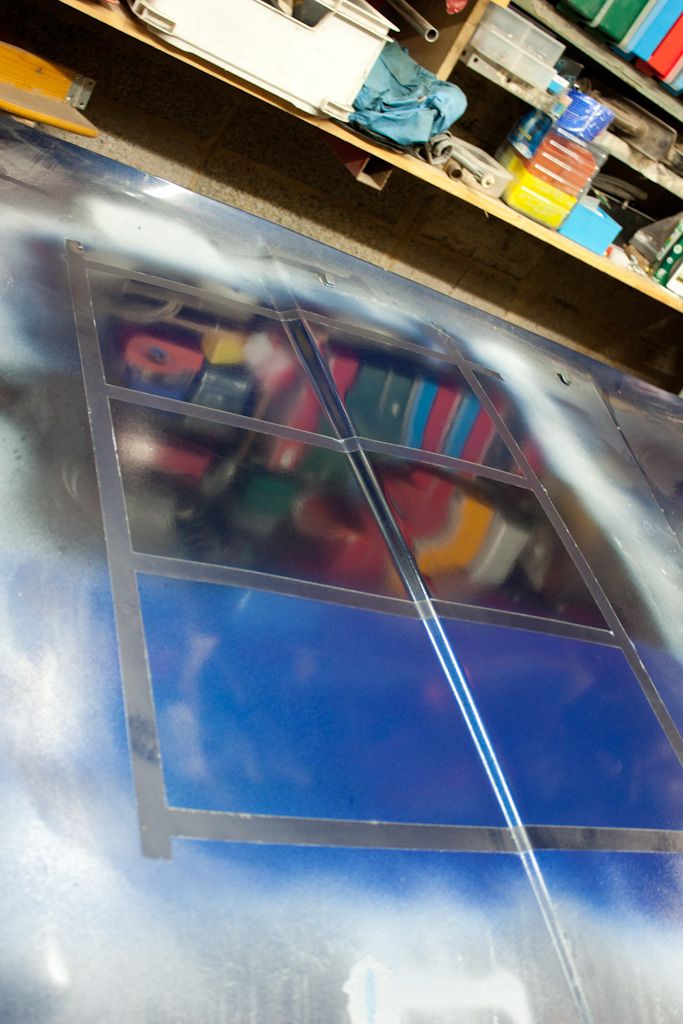

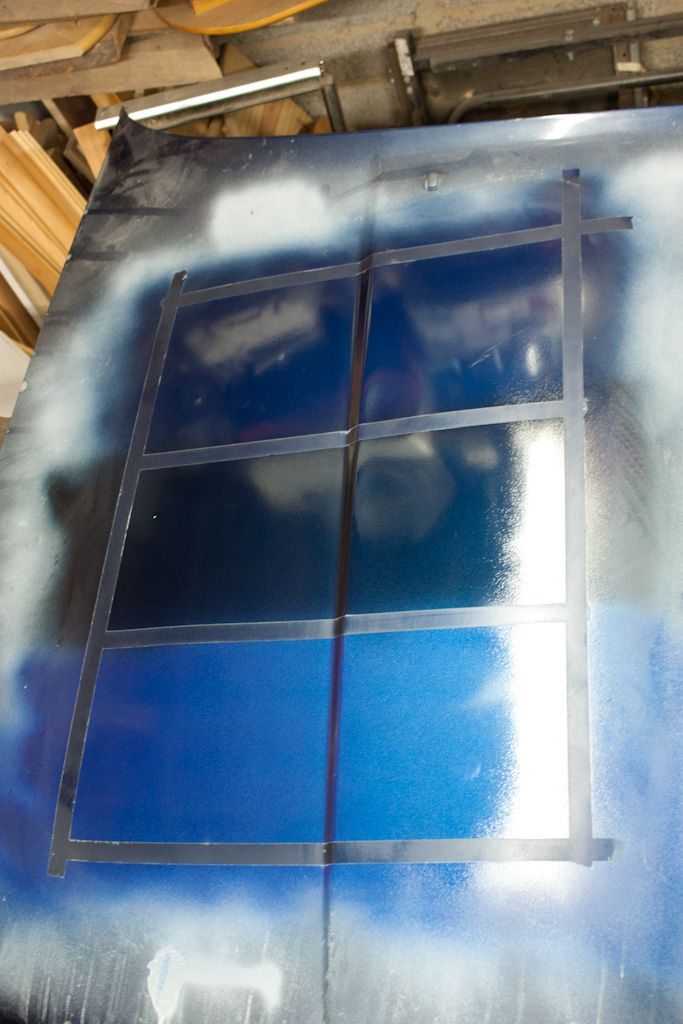

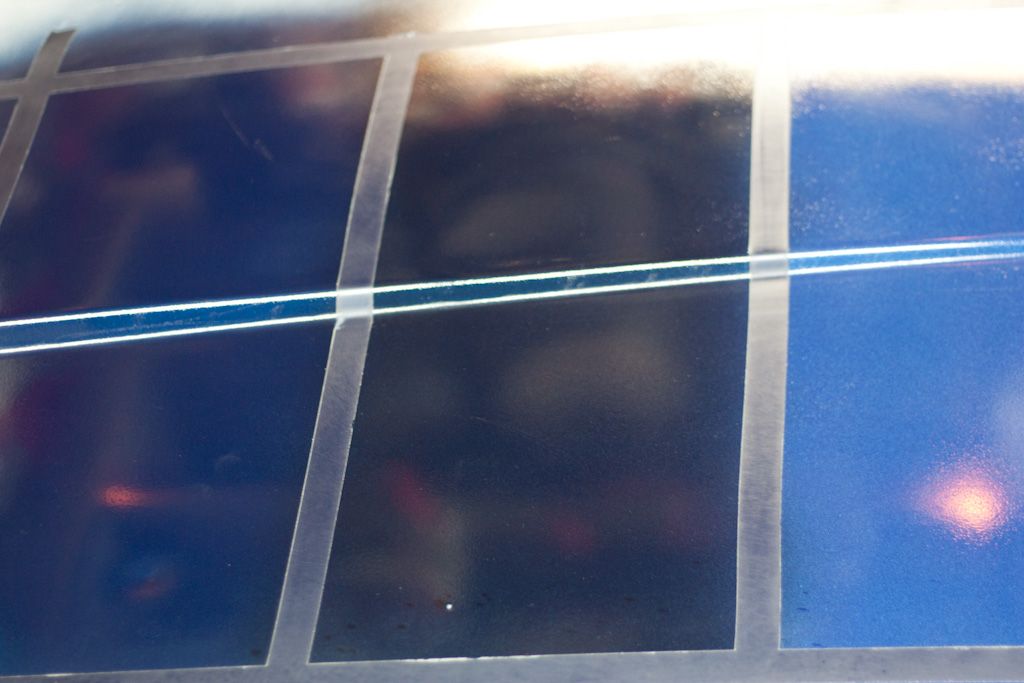
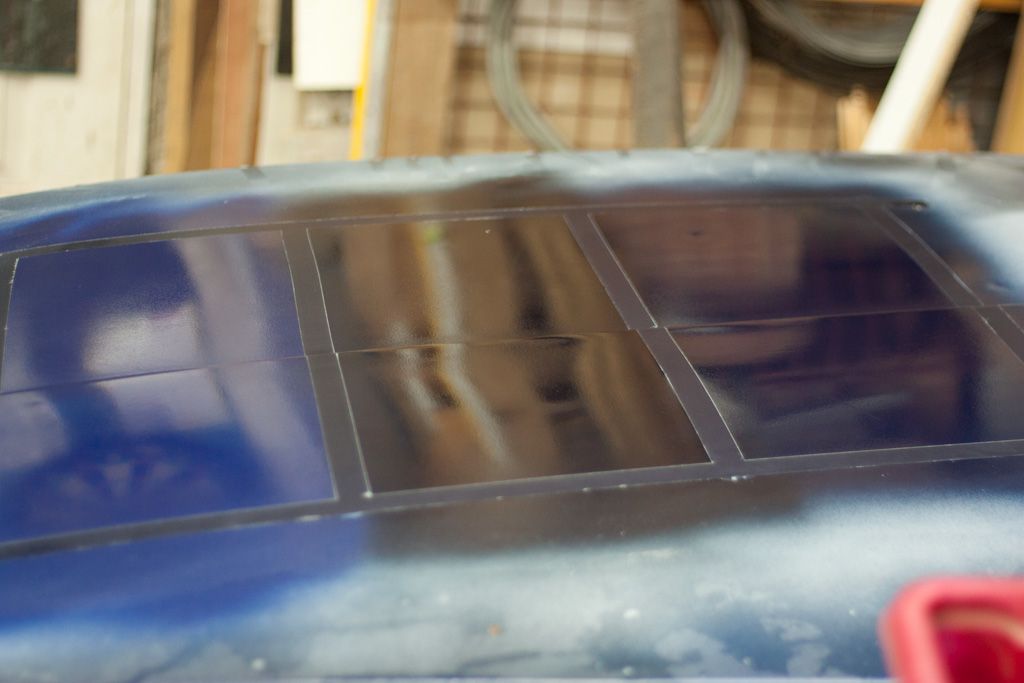
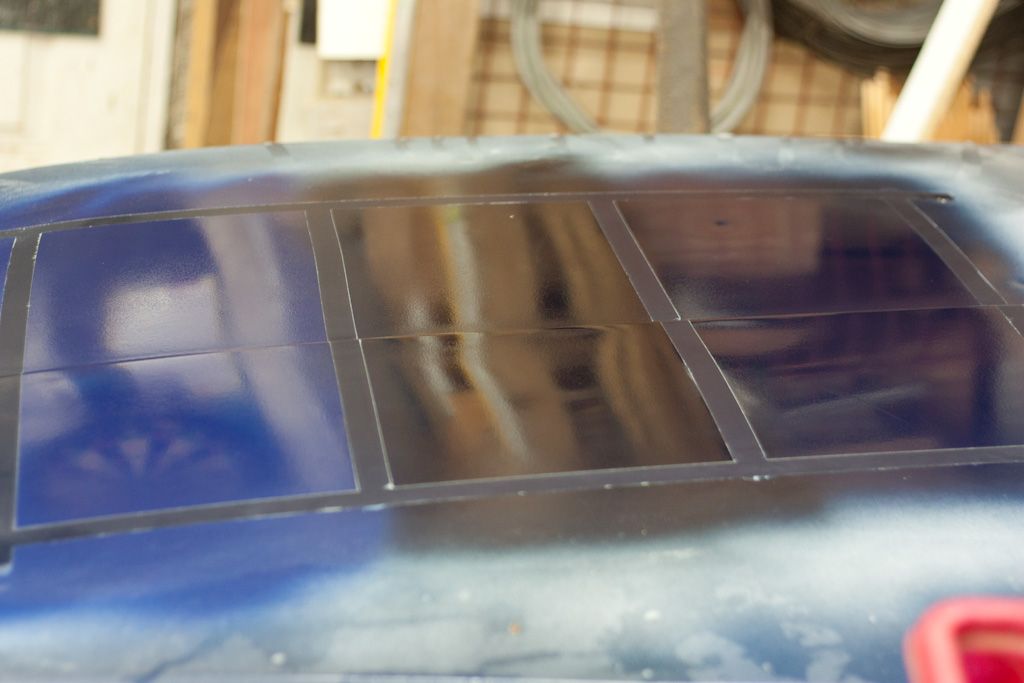
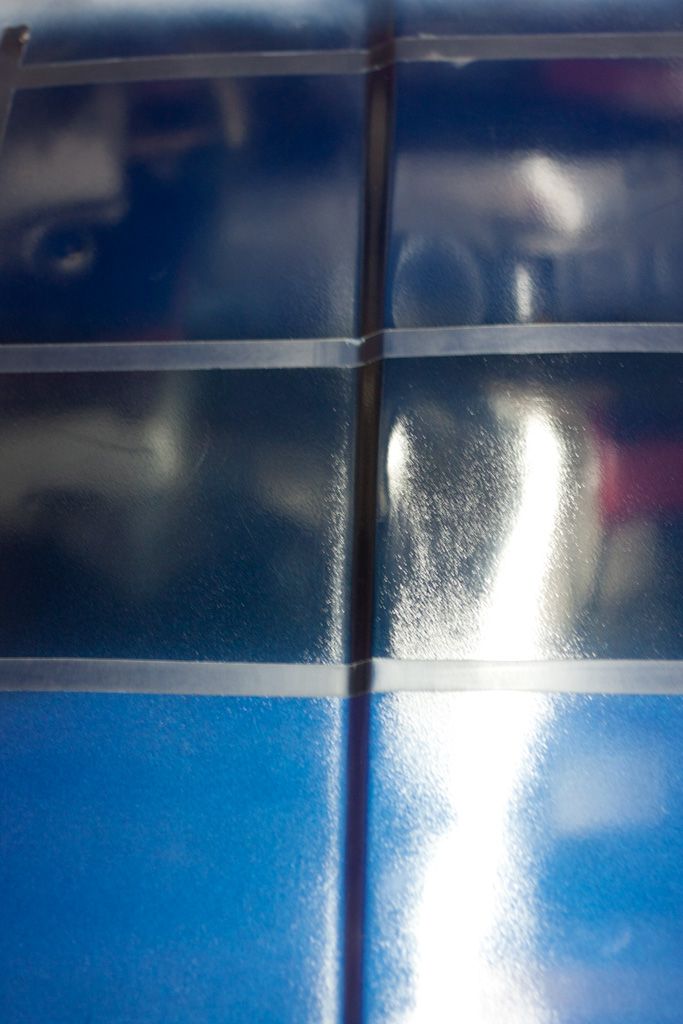
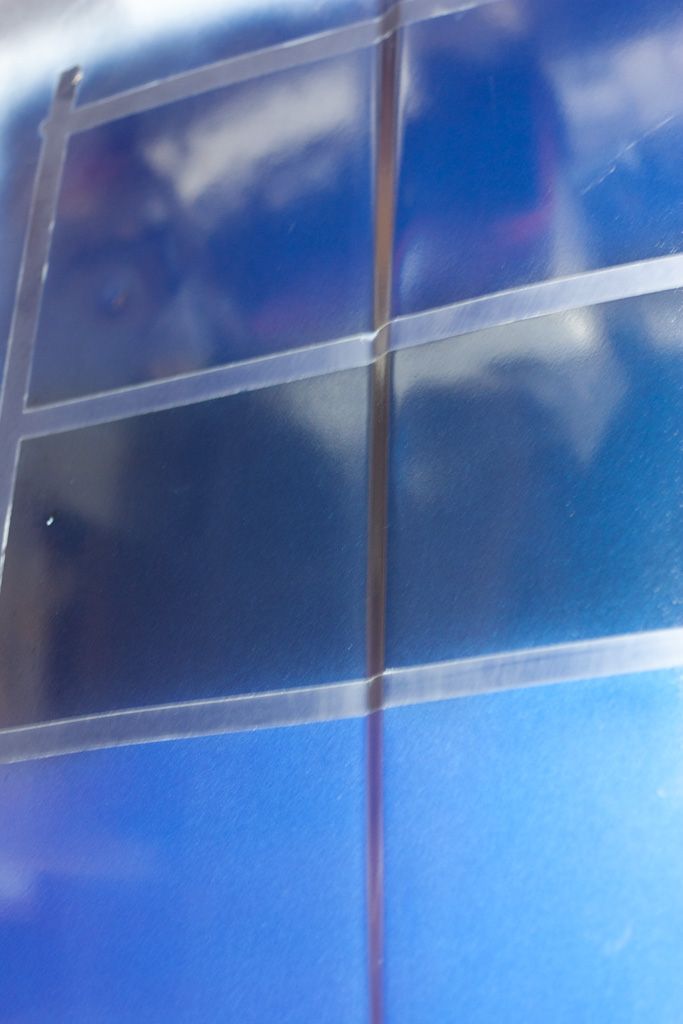
What do you think? I like the metallic fleck of the lighter one, middle one is to dark. Will see tomorrow in sunlight (if it's not raining) what it's really like.
I didn't get going to Holland over the weekend so went and got some paint. I'm also back to being unemployed again so I can work on the car during the week and see it finished sooner :dance:
I got a bit of paint on Saturday to try on a scrap bonnet. Mauritius blue, Mauritius blue with a bit of added black and a metallic Fiat colour
Sanded the bonnet down a little, made up a little spray room hanging of the garage door in it's open position and sprayed up 3 rectangles. First time spraying for me, so excuse the orange peel in the below pics. I spent all of 2 mins flatting it down a bit and then went at it with the polisher (and some how managed to scratch the clear coat). Bit hard to take pics in the garage, will try take better ones when it's bright out.
What do you think? I like the metallic fleck of the lighter one, middle one is to dark. Will see tomorrow in sunlight (if it's not raining) what it's really like.
-
DanThe
- E30 Zone Team Member

- Posts: 28641
- Joined: Sat Sep 10, 2005 11:00 pm
- Location: Staffs
- Contact:
Not keen on any of those if im honest mate, bad news on the job..
Looks very dry, best advise is try to get the best finish possible from the base coat, then just bang loads of lacquer on top, will give you lots of room for polishing once its dry. Paint will take weeks to harden properly without a boothe to bake it BTW
Looks very dry, best advise is try to get the best finish possible from the base coat, then just bang loads of lacquer on top, will give you lots of room for polishing once its dry. Paint will take weeks to harden properly without a boothe to bake it BTW
I'm reserving my judgement till I get to see it in proper daylight. It's very hard to photograph though, the lighter colour has a nice sparkle to it or something, the other 2 look a bit flat.
I've a bit more mauritius blue left, I might spray up a scrap wing. Also thinking of getting some with extra metallic flake made up. I should probably have flattened a bit after painting the base coat. Will go at it again till I find a shade of blue I'm happy with.
I've a bit more mauritius blue left, I might spray up a scrap wing. Also thinking of getting some with extra metallic flake made up. I should probably have flattened a bit after painting the base coat. Will go at it again till I find a shade of blue I'm happy with.
-
TouringMatt
- E30 Zone Camper
- Posts: 1188
- Joined: Mon Jan 10, 2005 11:00 pm
- Location: Not where i should be
Cos im a boring old fart, if it were mine i'd paint it Dolphin Grey.
Love that colour, plus it was never an option on the Touring IIRC
Love that colour, plus it was never an option on the Touring IIRC
Some pics of one here: http://www.flickr.com/photos/28941809@N ... 523313578/
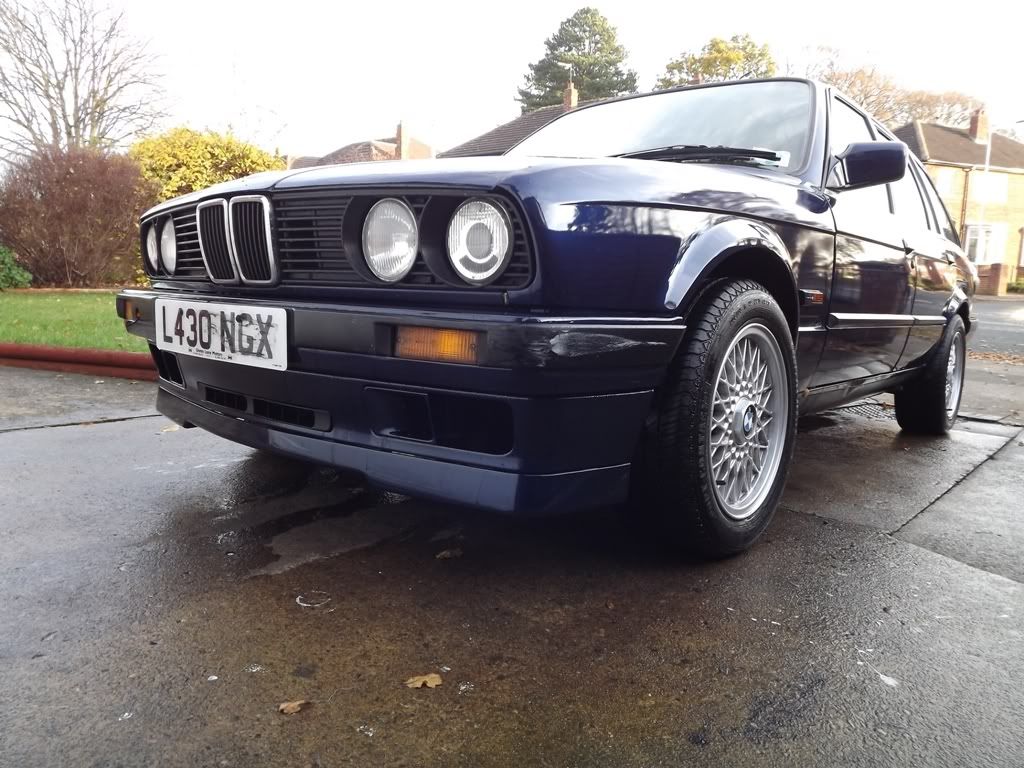
I'm pretty sure it's going to be a blue touring, I just need to find a shade I'm happy with I like how this photoshop turned out but hard to take a guess at what colour it might be
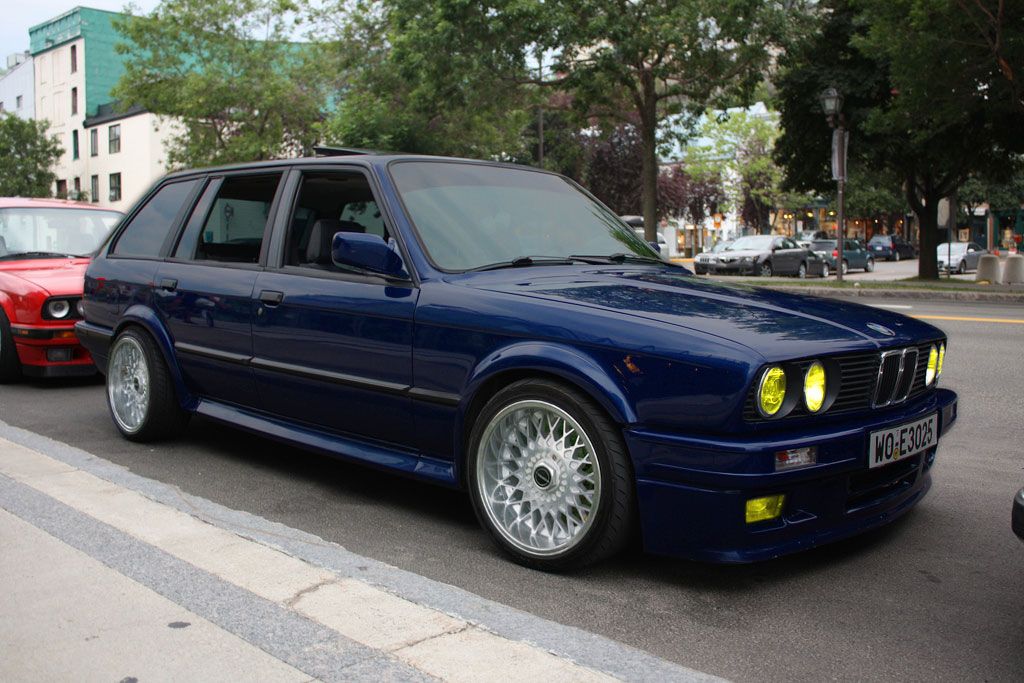
I'm pretty sure it's going to be a blue touring, I just need to find a shade I'm happy with
-
TouringMatt
- E30 Zone Camper
- Posts: 1188
- Joined: Mon Jan 10, 2005 11:00 pm
- Location: Not where i should be
Yeah now i've seen the grey i prefer the dark blue! Maybe its the grey + tech 2 kit that makes it look good but its looks rather drab on those pics
Alex: I have to be honest with you, I seen your pics the other day and they nearly put me off Mauritius blue I think it was down to the images them selves though cause the above looks good and I know Mauritius blue can look really nice:


I know of a Dolphin grey iS and it is a nice colour that I'd like to have on a E30 at some stage, for this one I have blue in my head just not 100% sure on which blue
I know of a Dolphin grey iS and it is a nice colour that I'd like to have on a E30 at some stage, for this one I have blue in my head just not 100% sure on which blue
Over the past week or so I've gotten a start made on prepping the sunroof frame and getting it sealed up. First up some rust to get rid of, I used a cupped wire wheel to get rid of most of the rust, after that it was up to this stuff to do the rest
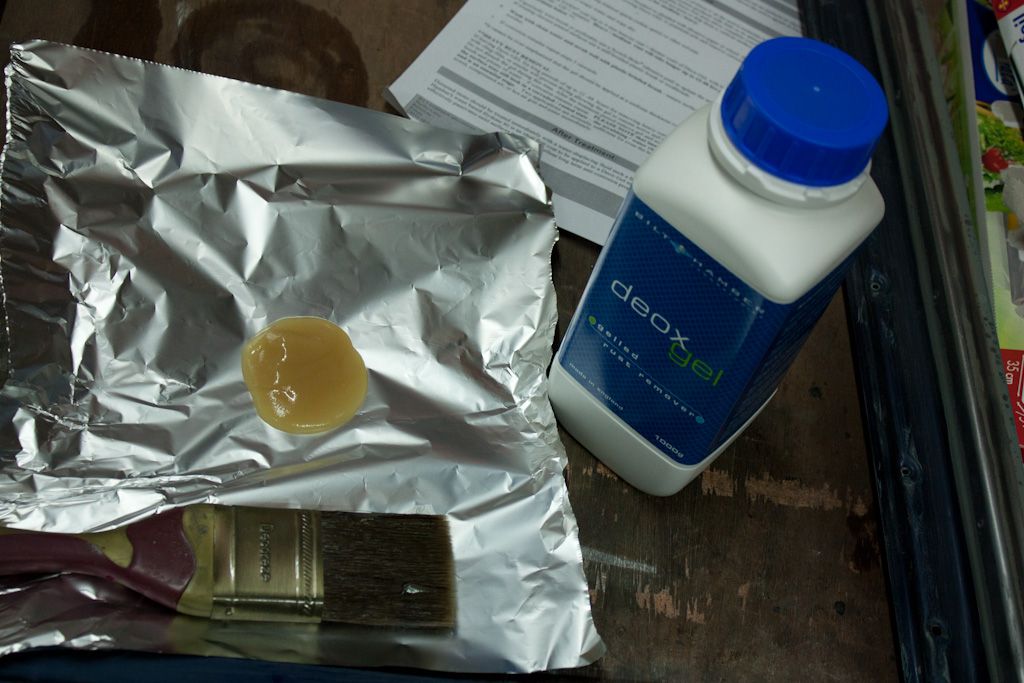
Using a brush I applied it to any bare or rusty metal on the panel. Few pics of some treated area's below:
Deox gel applied:
After 3-4hrs:

After 3-ish days:
That was all Friday evening, it was still soft on saturday and would have washed of nicely but I couldn't get at it until this afternoon. I agitated it a bit with a wet brush and wiped it clean then, area's that were a bit more stubborn got the cupped wirewheel treatment and this is the result
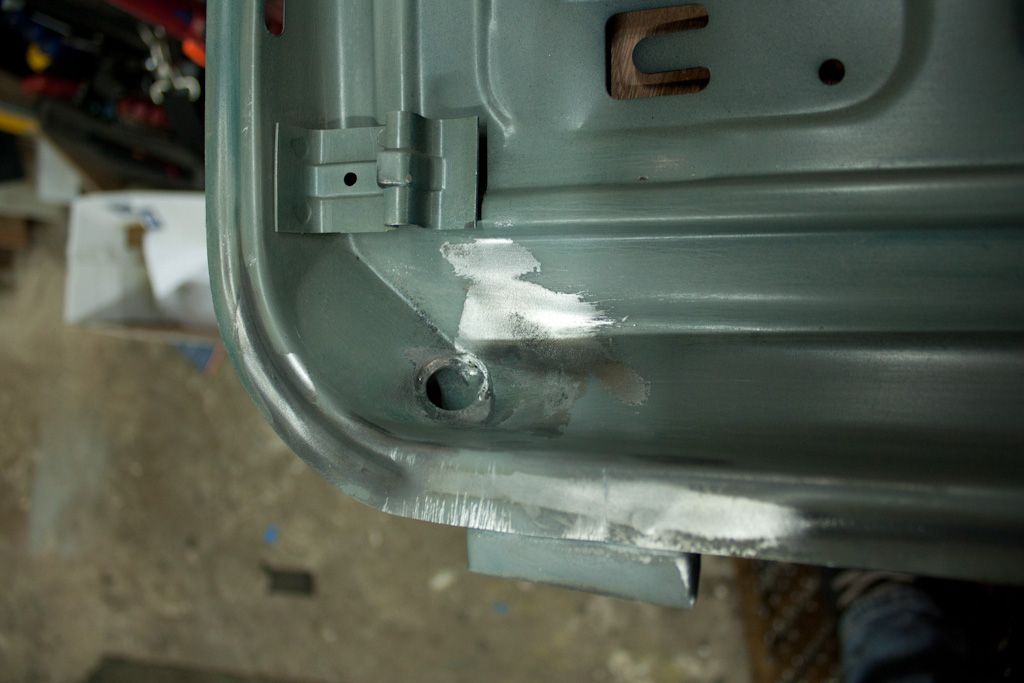
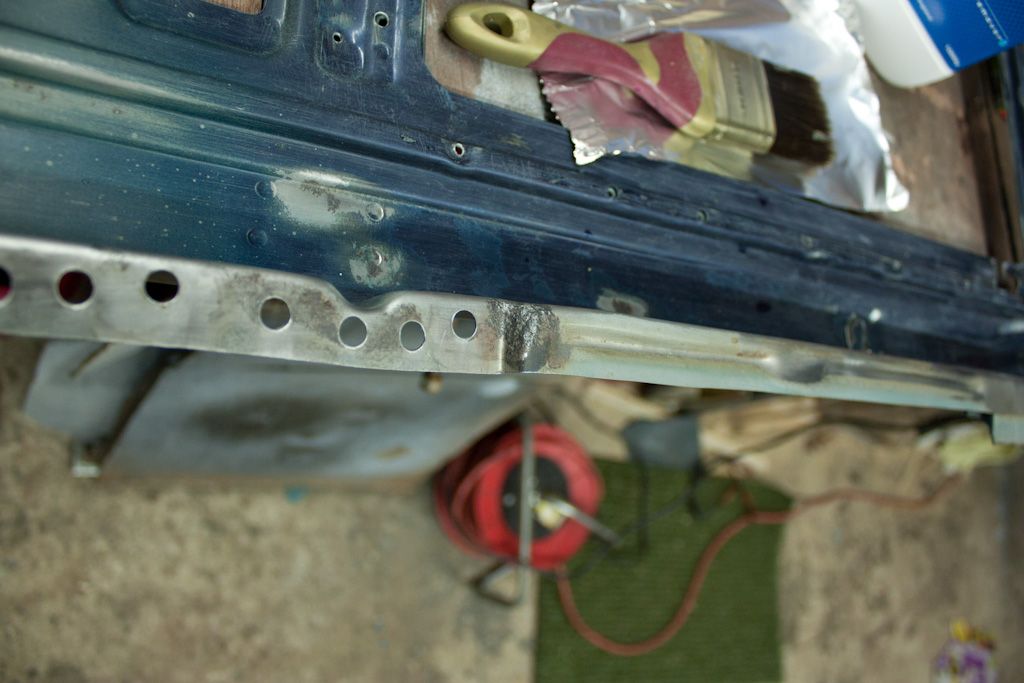
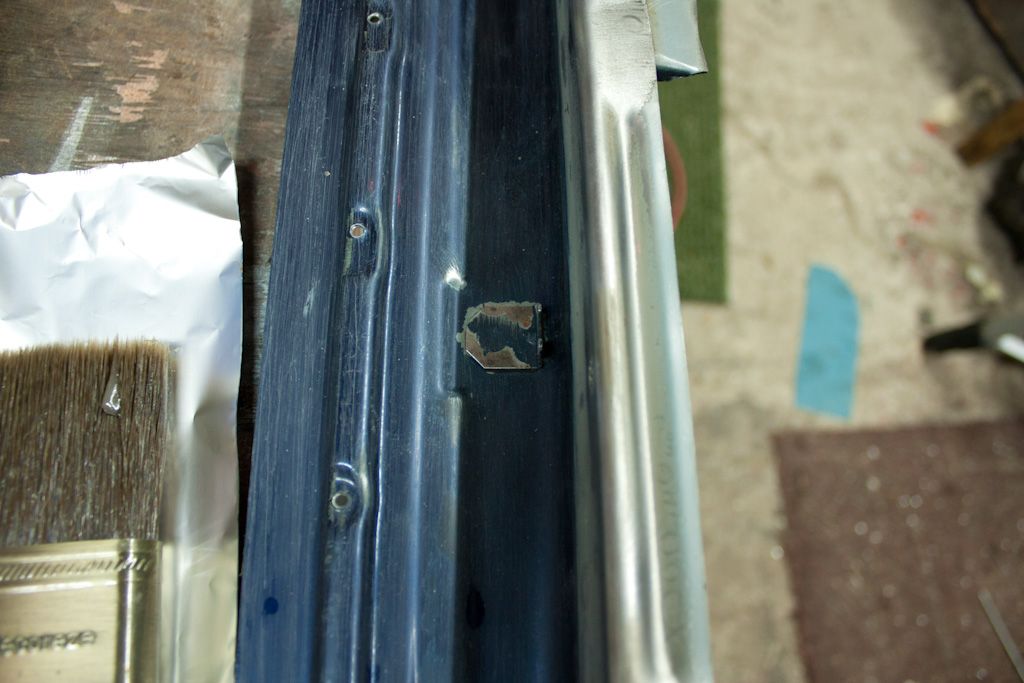
After that I put some weld behind all the area's that were previously spot welded to the roof skin, quick tidy up on the inside to make it smooth again and then I cleaned down the whole panel after another quick sand
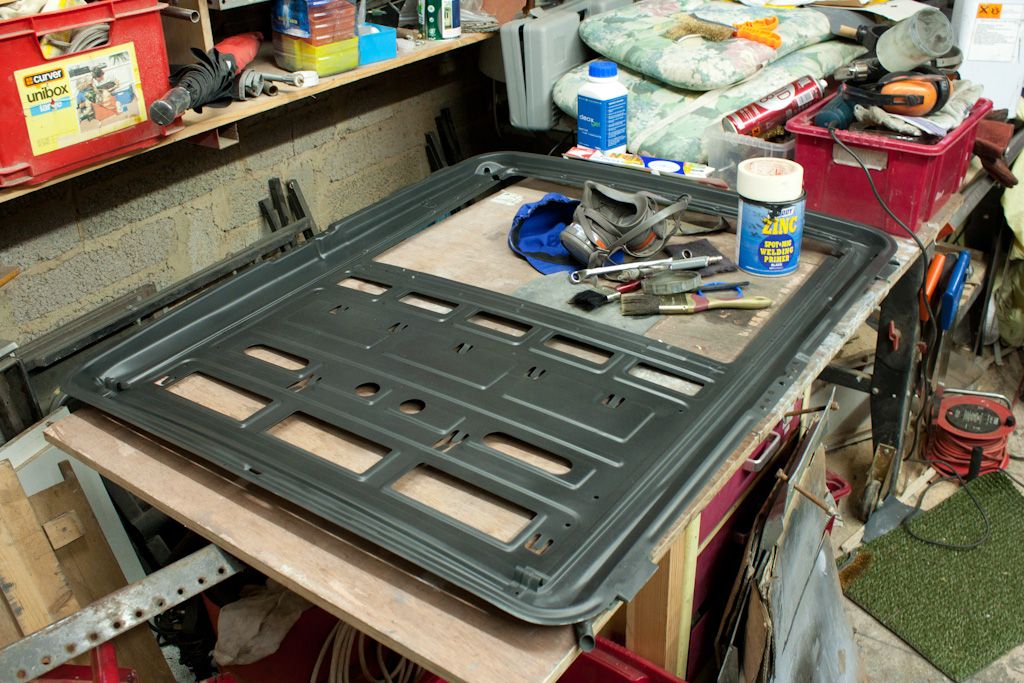
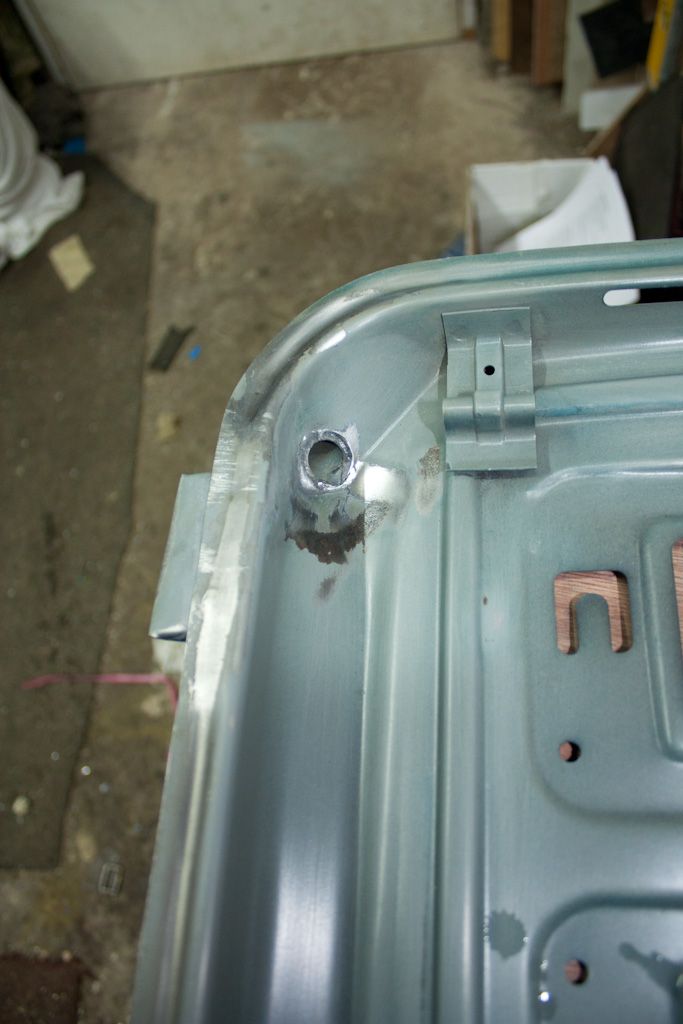
Thats just one side with a bit of primer on it. Decided to use a zinc primer as it's a bit better at protecting the metal against rust, apparently, time will tell!
Will get started on the under side later this week. It's not got any significant rust to treat just a good clean and sanding down of a few area's where the paint had gone soft.
Using a brush I applied it to any bare or rusty metal on the panel. Few pics of some treated area's below:
Deox gel applied:
After 3-4hrs:
After 3-ish days:
That was all Friday evening, it was still soft on saturday and would have washed of nicely but I couldn't get at it until this afternoon. I agitated it a bit with a wet brush and wiped it clean then, area's that were a bit more stubborn got the cupped wirewheel treatment
After that I put some weld behind all the area's that were previously spot welded to the roof skin, quick tidy up on the inside to make it smooth again and then I cleaned down the whole panel after another quick sand
Thats just one side with a bit of primer on it. Decided to use a zinc primer as it's a bit better at protecting the metal against rust, apparently, time will tell!
Will get started on the under side later this week. It's not got any significant rust to treat just a good clean and sanding down of a few area's where the paint had gone soft.