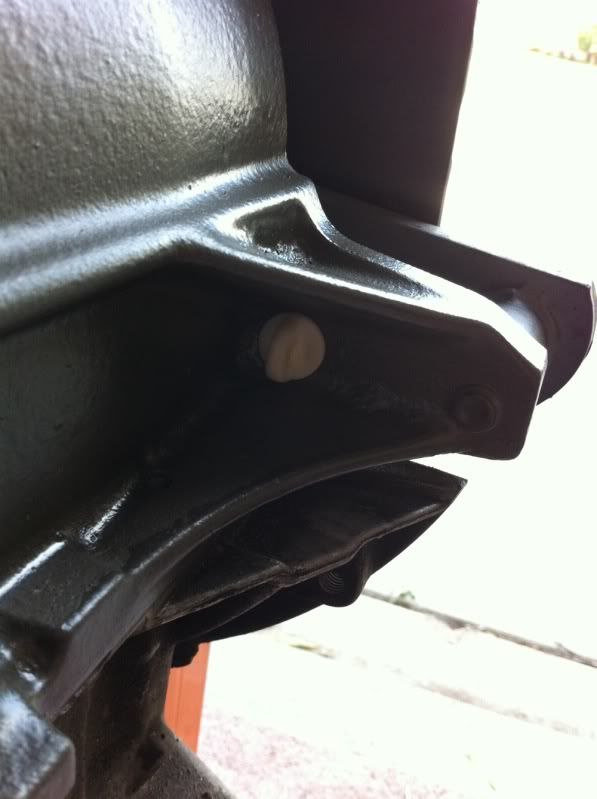
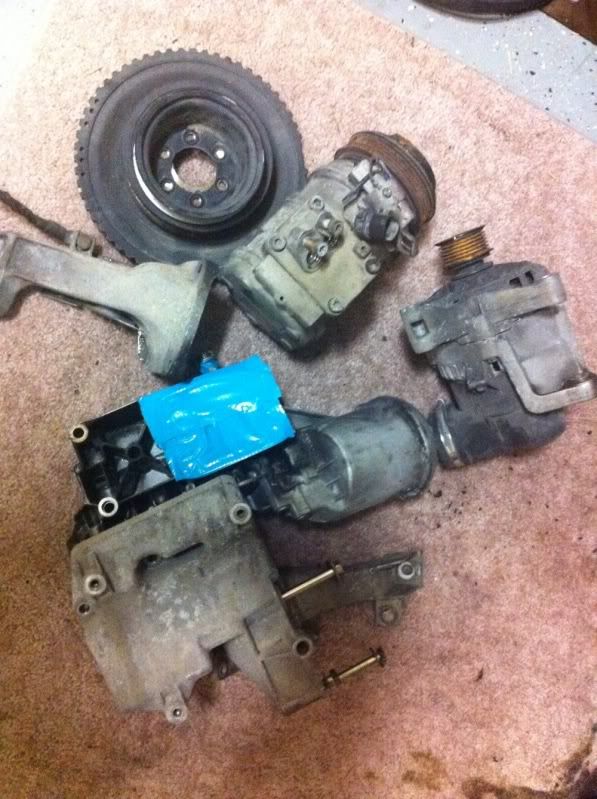
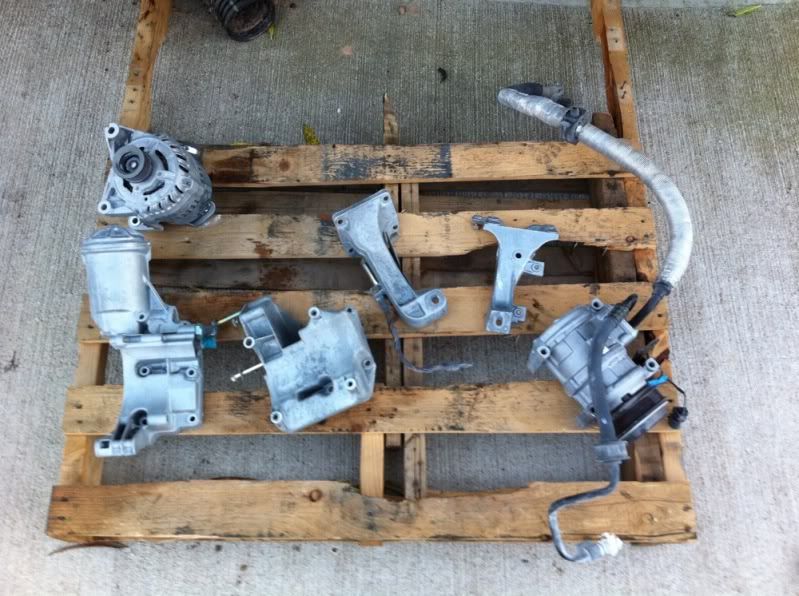
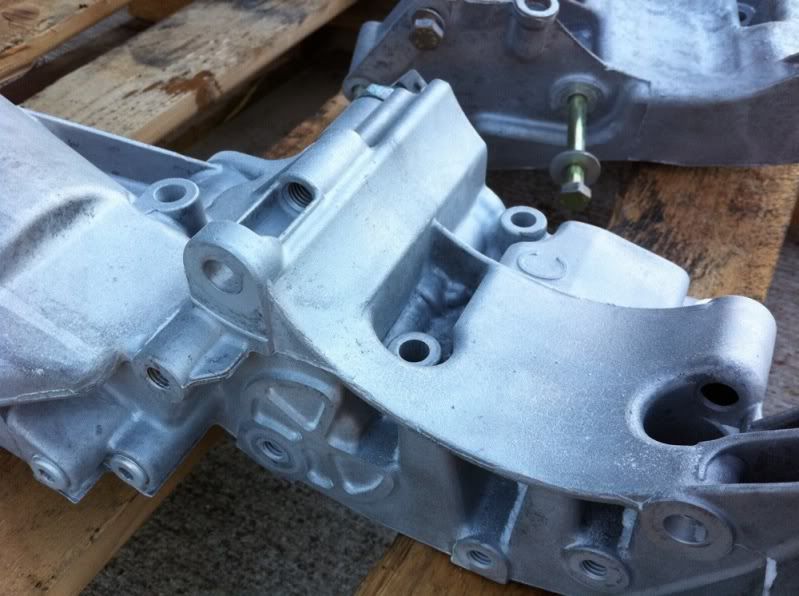
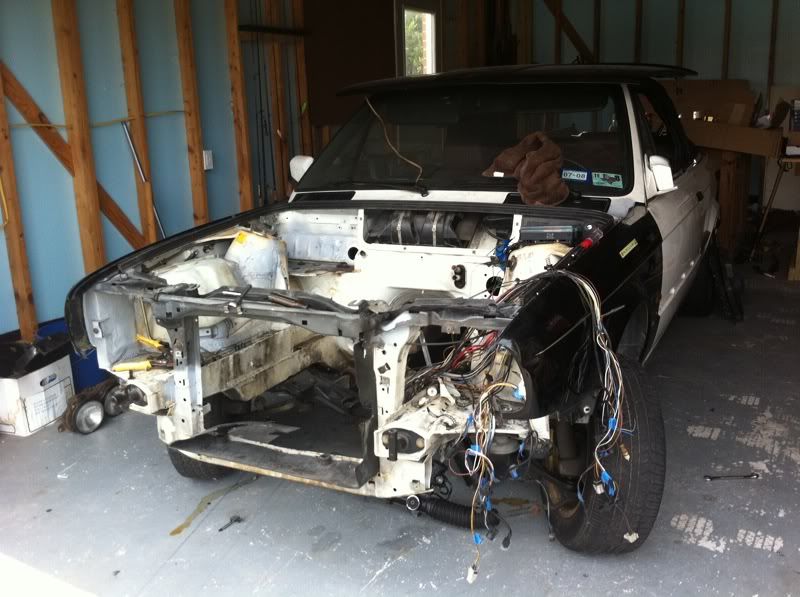
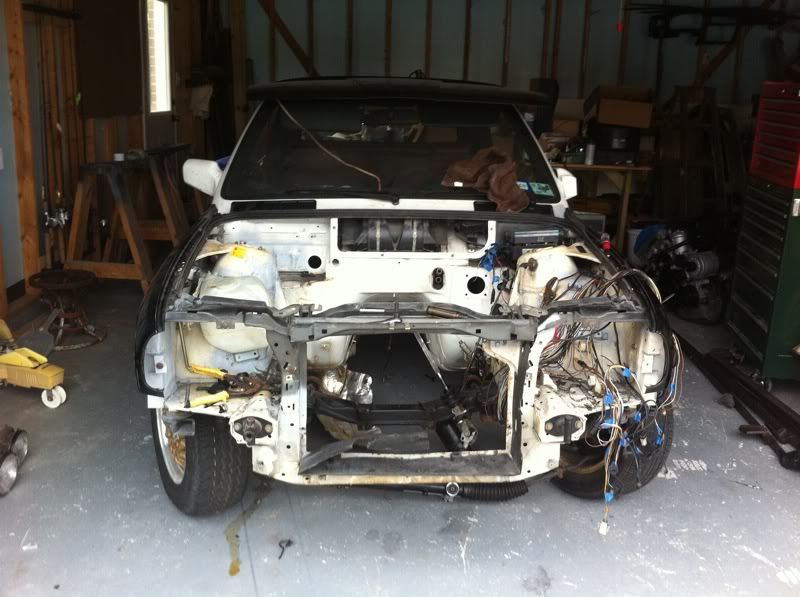
Glucklich's Cabby build from across the pond

Moderator: martauto

User avatar
glucklich21
E30 Zone Newbie
E30 Zone Newbie
Posts: 50
Joined: Tue Jun 29, 2010 11:00 pm
Location: Houston, Texas, USA

Post Sun Apr 10, 2011 11:08 pm

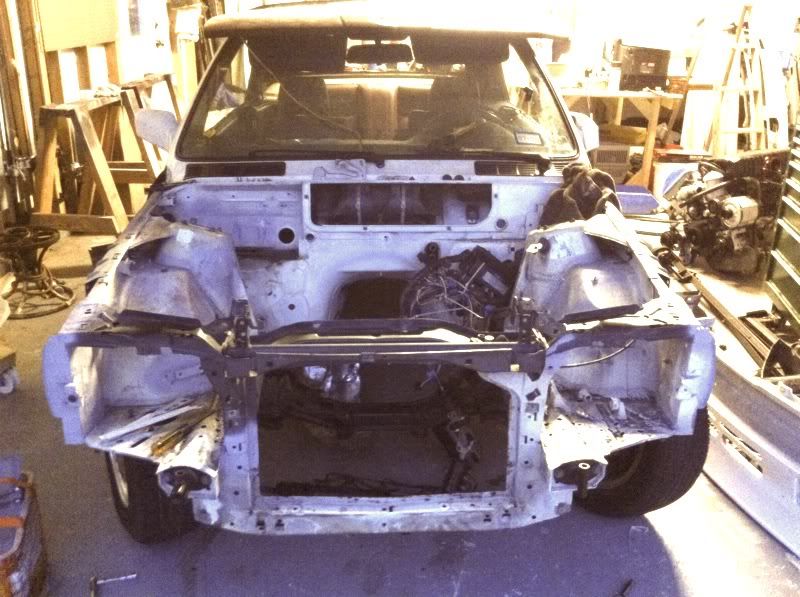
Hello from the US! I figured since I lurk and come here to buy parts that we weren't blessed with on our shores, that you guys wouldn't mind seeing what I'm working on.

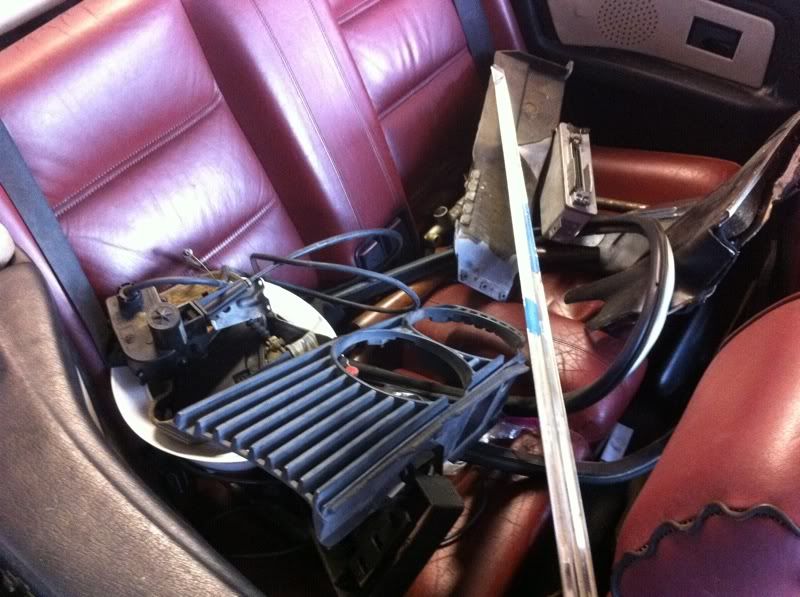
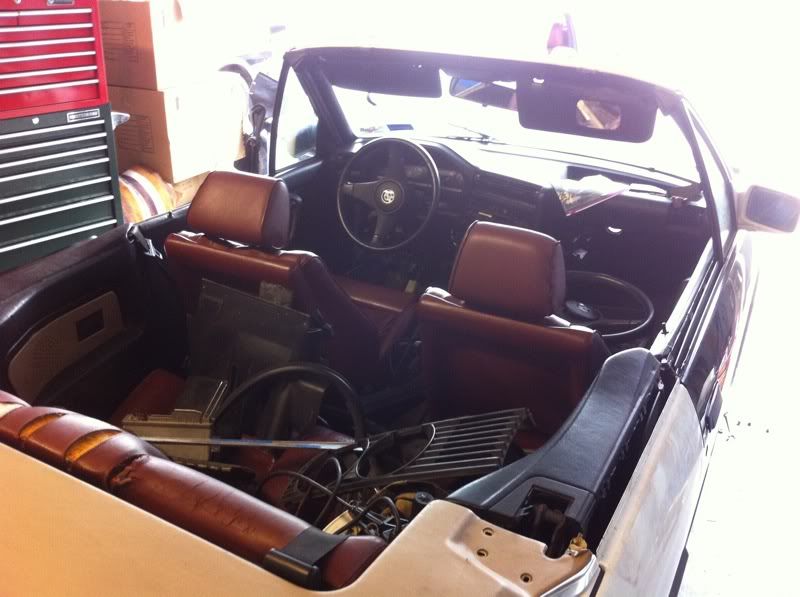
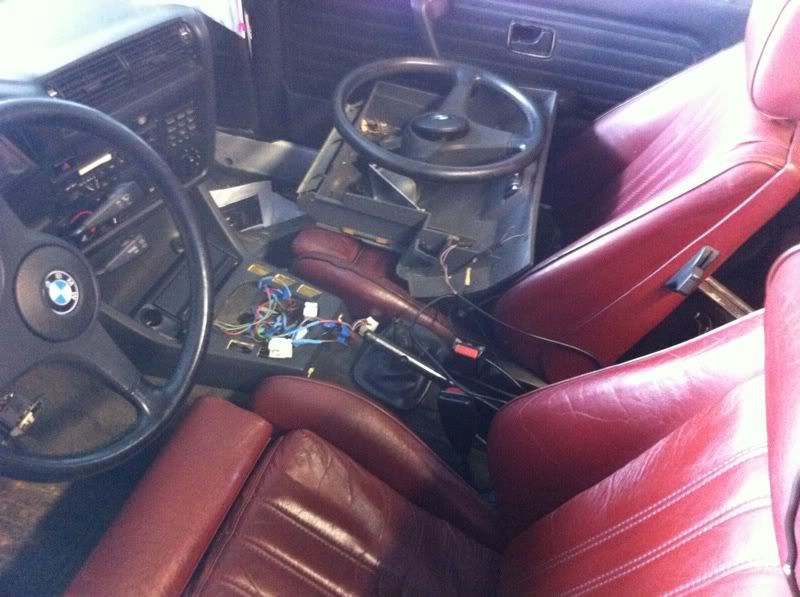
I don't know how to start this out, so I'll just post pics with a short description for now. What you're seeing is the work I've done over the past month.

Here's some specs:

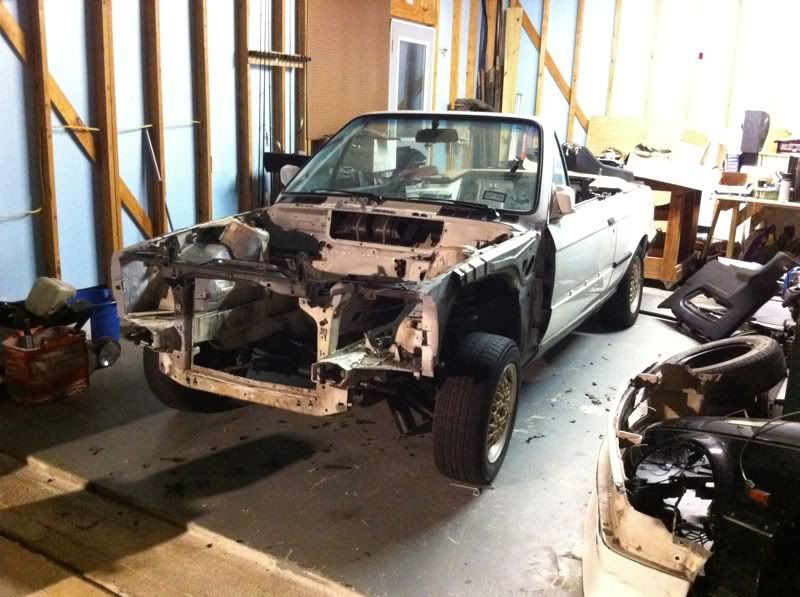
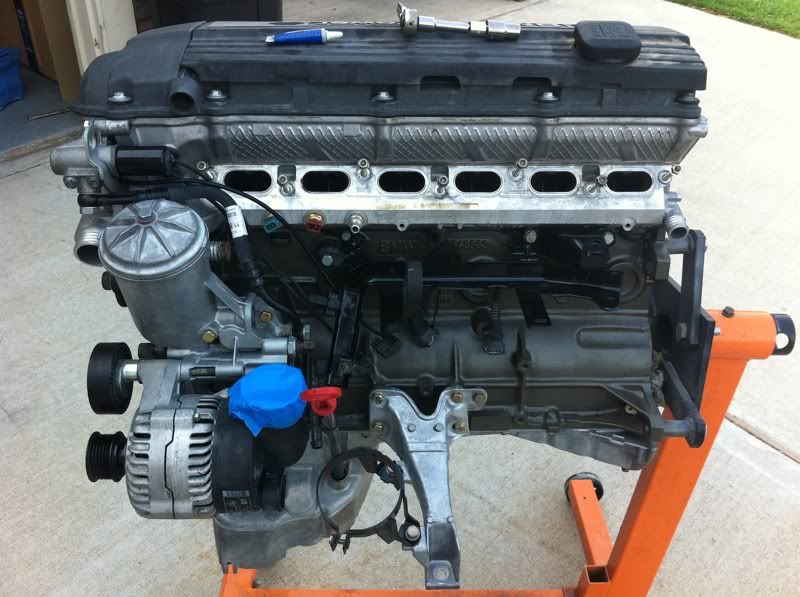
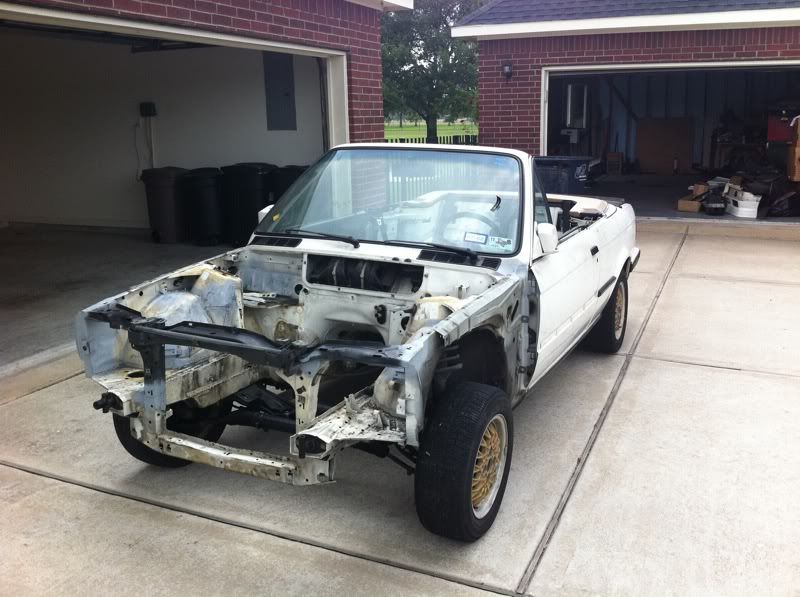
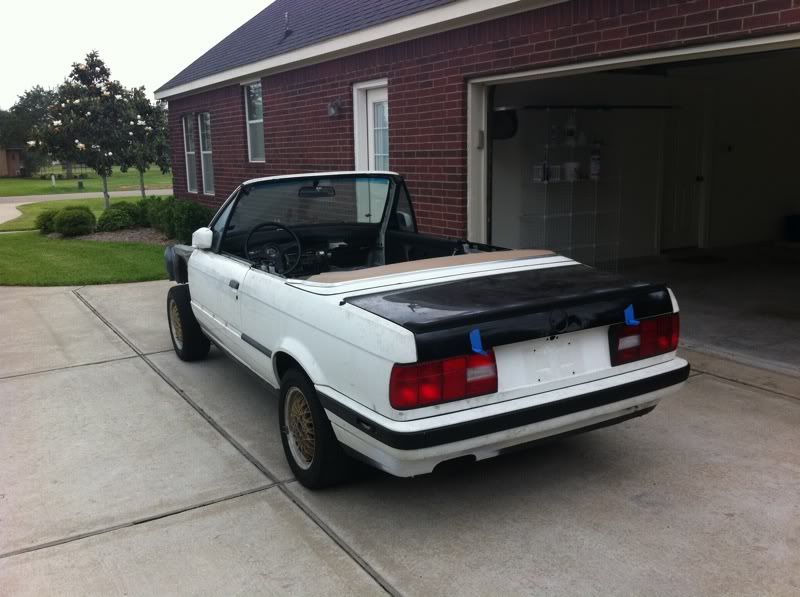
1991 (10/90 build) M42 318ic Cabrio
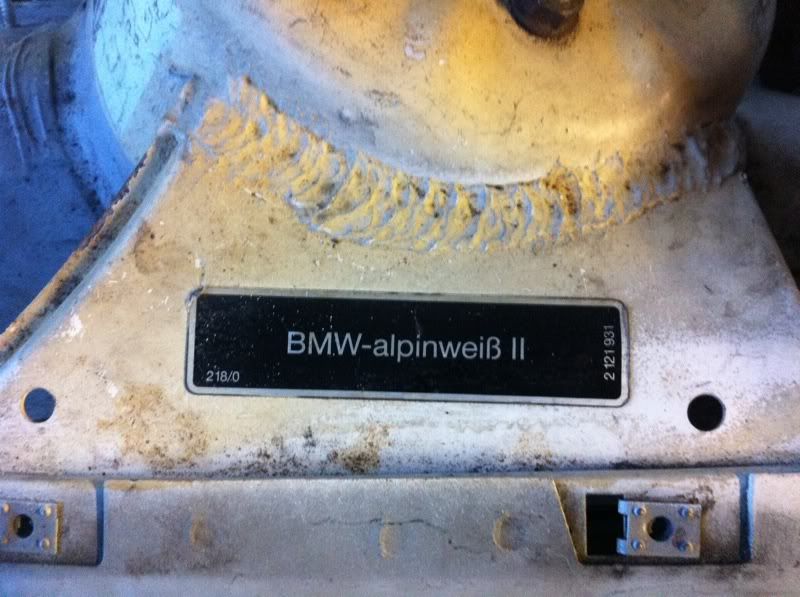
AlpinweißII on Natur

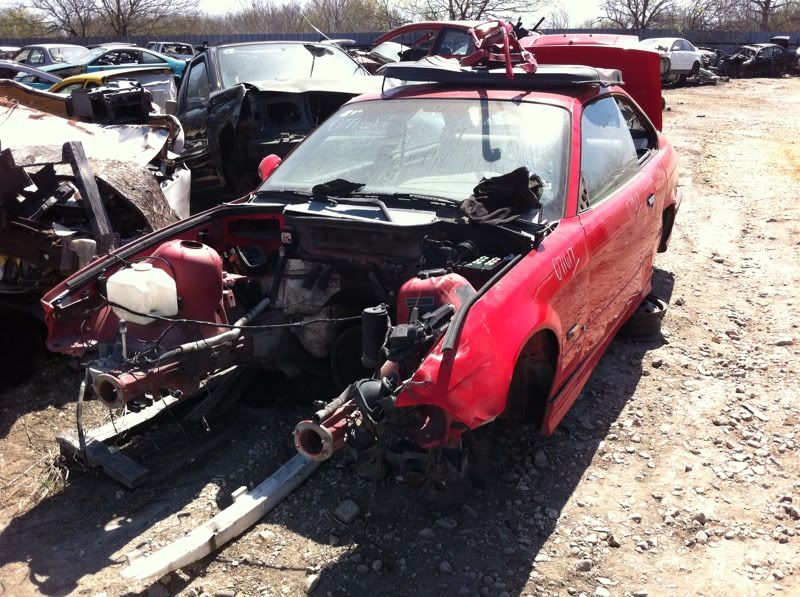
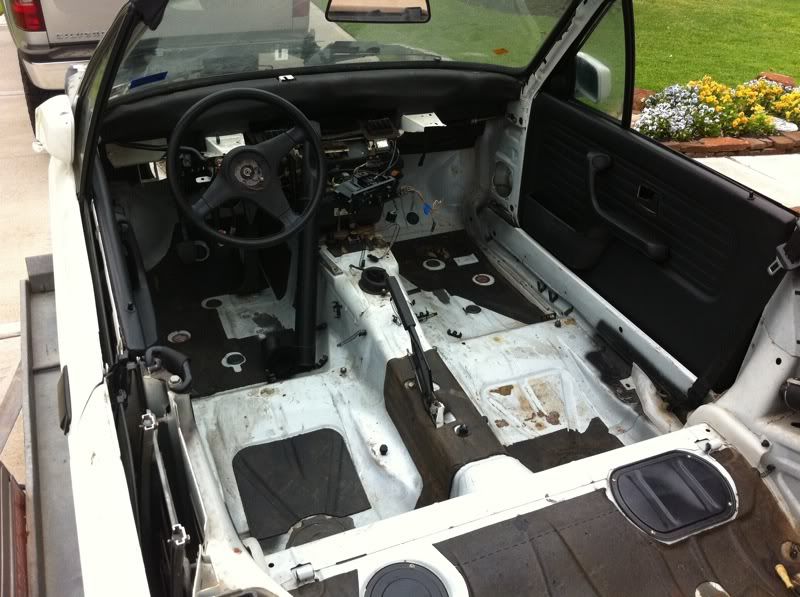
I bought it last summer as a roller. No interior, drivetrain, etc
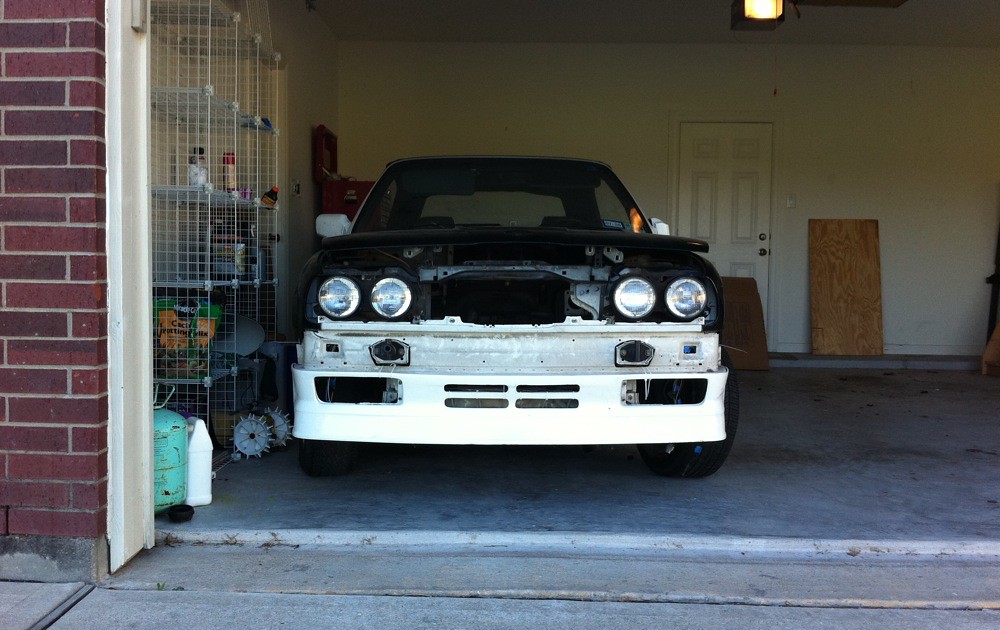
Image


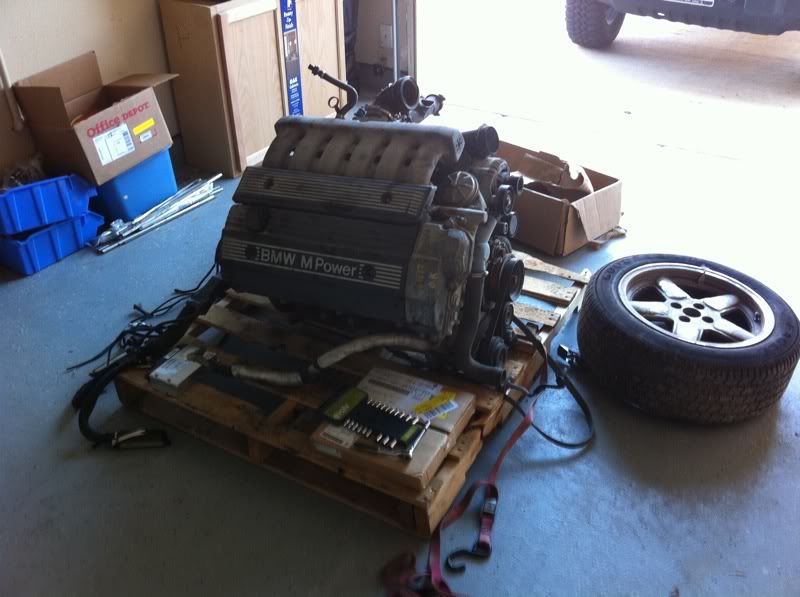
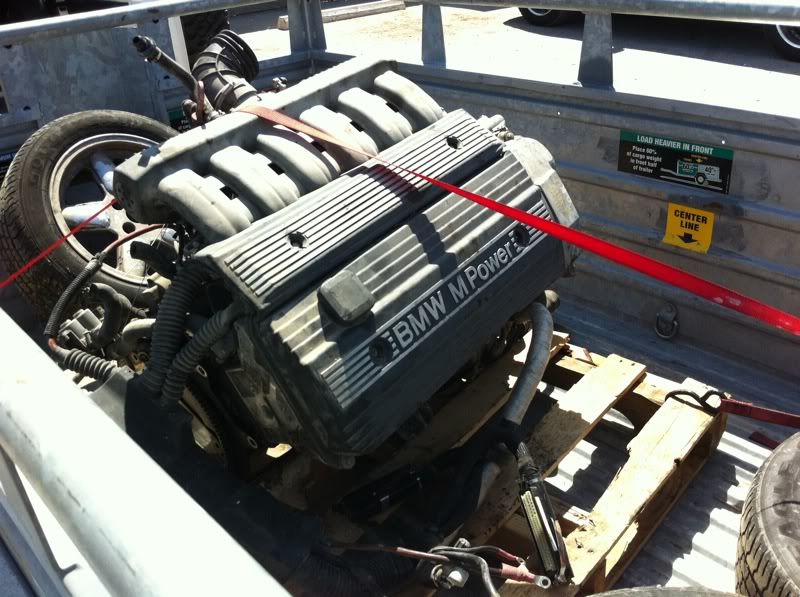
Donor car: 4/95 M3 with 70,000 miles (Our S50 is not your S50 hence this is in this section, it's just a 3.0 M50)
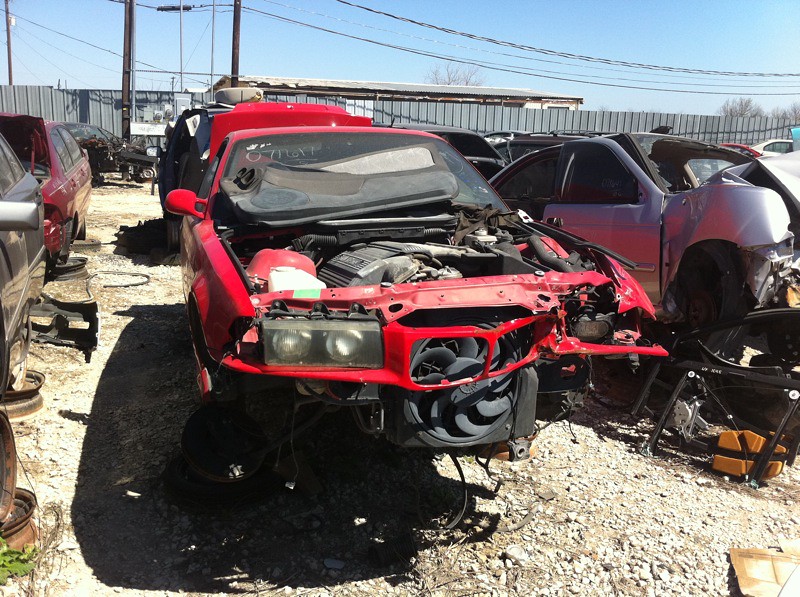
Image

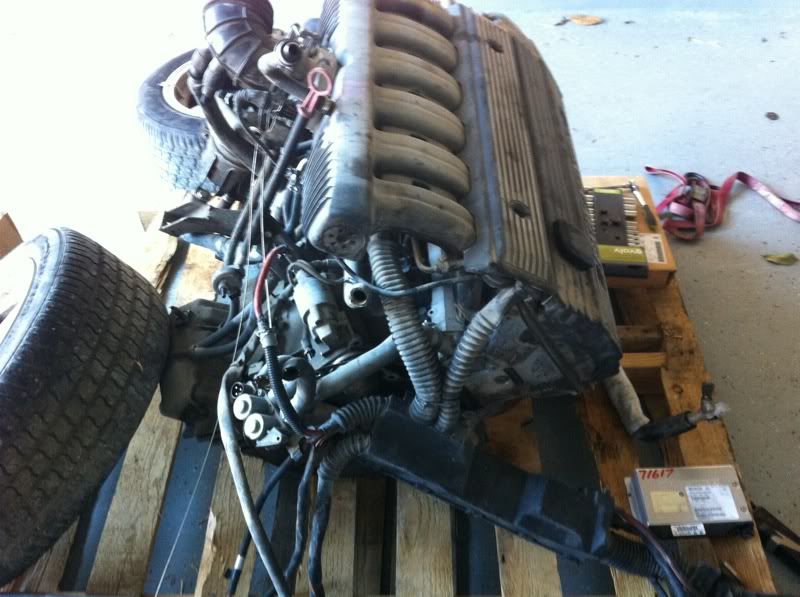
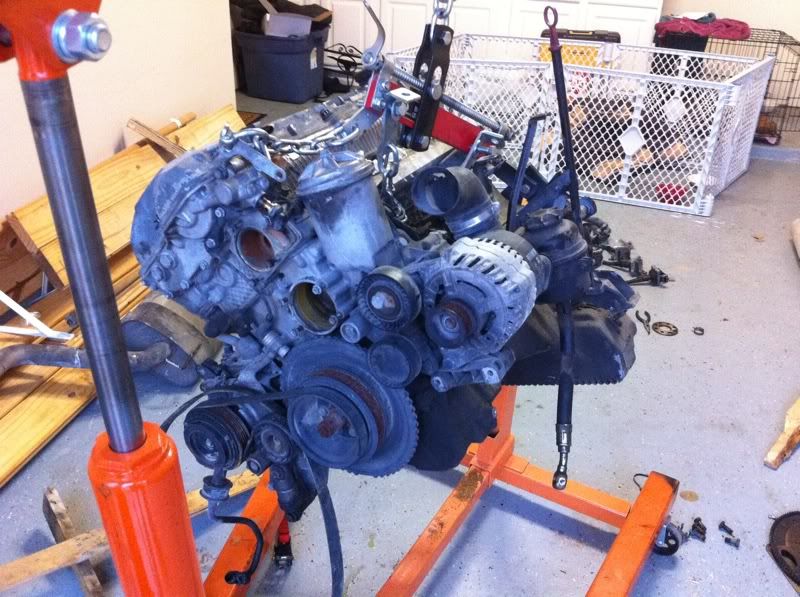
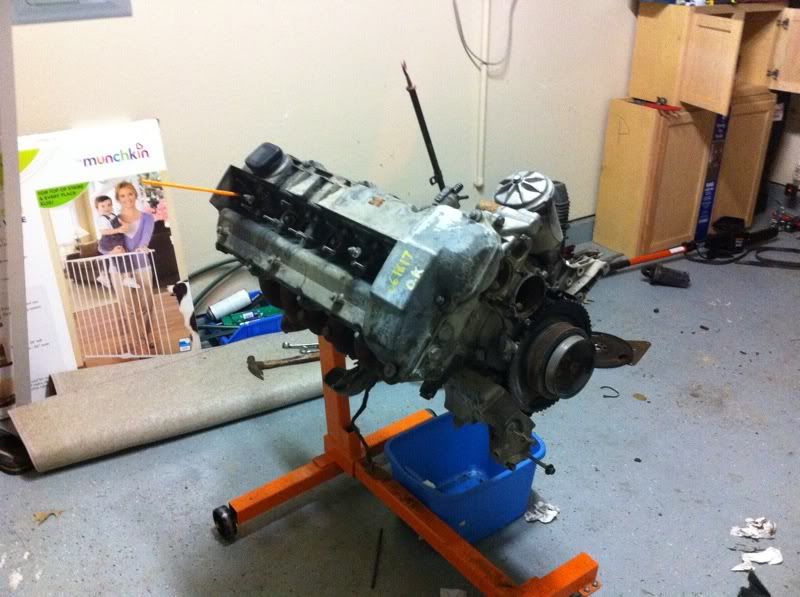
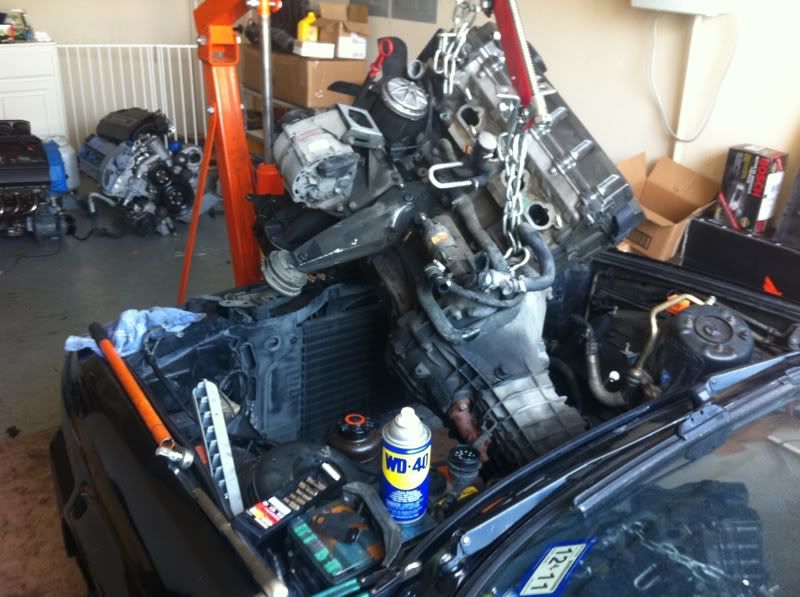
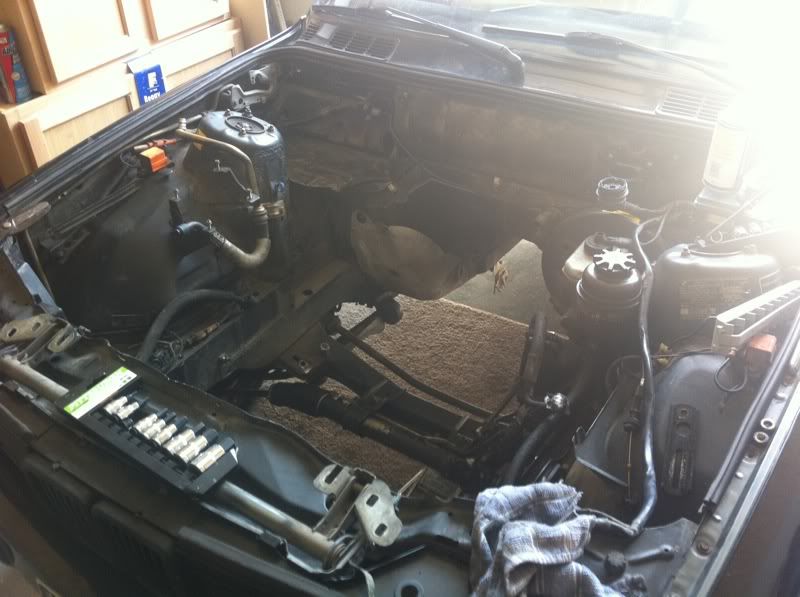
Engine pulled and on its way to its new home:
Image

Image

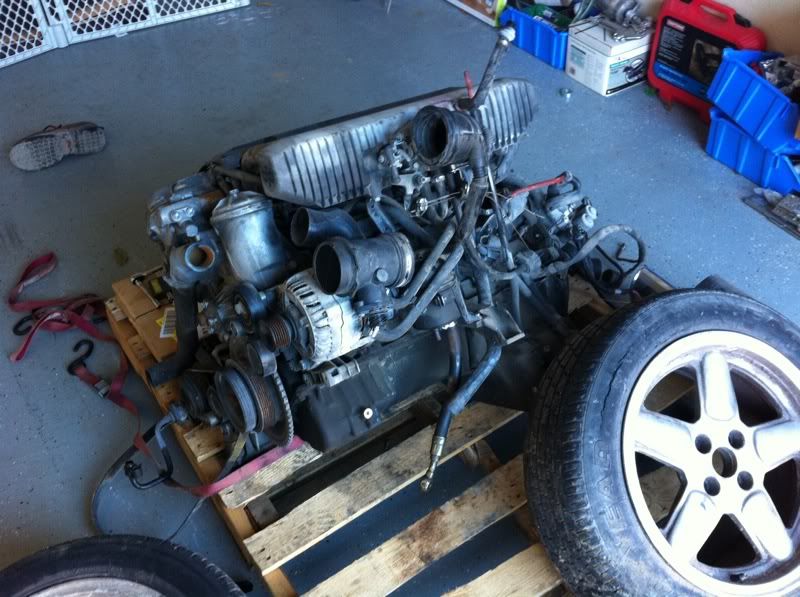
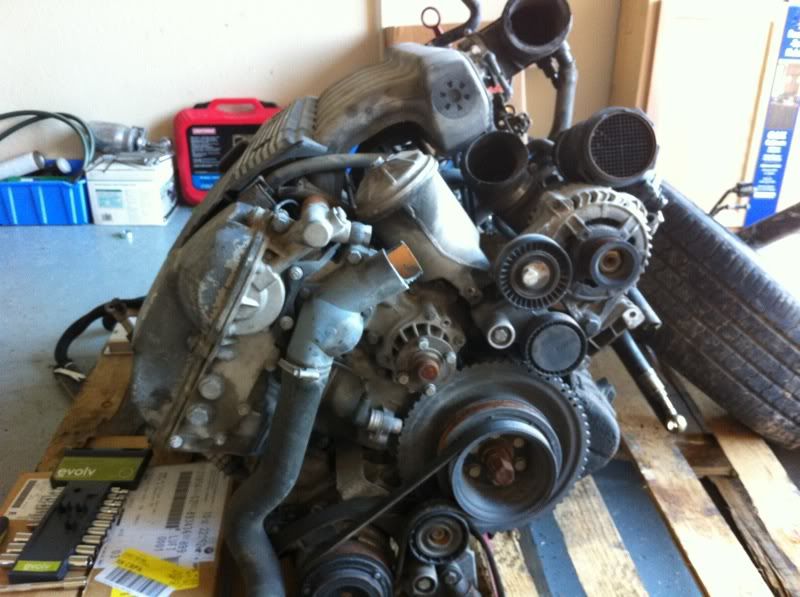
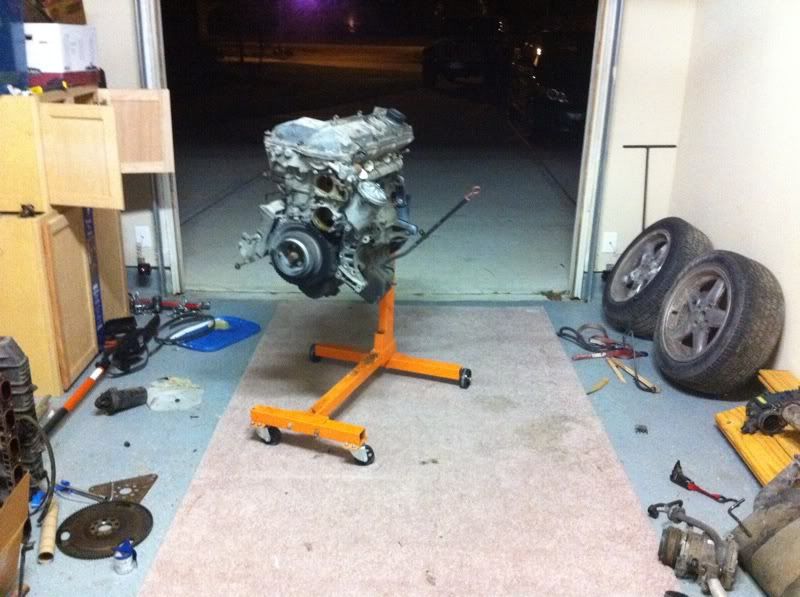
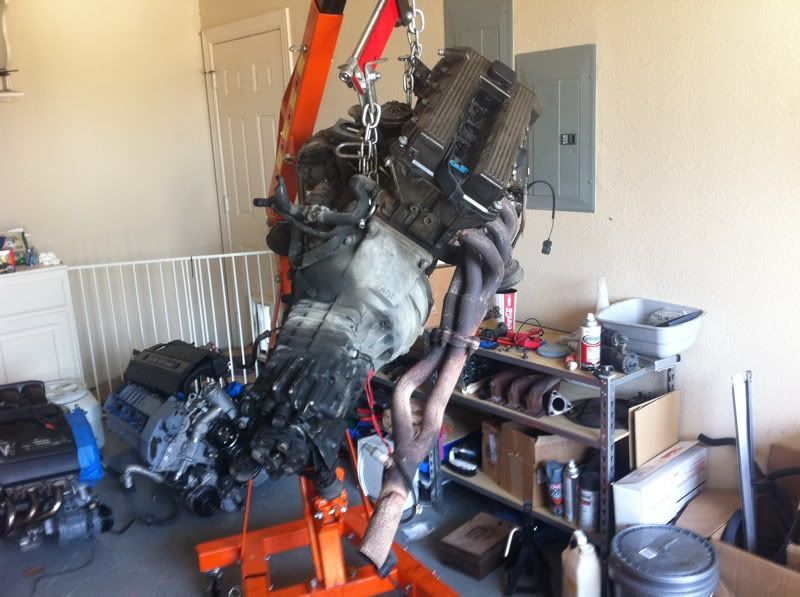
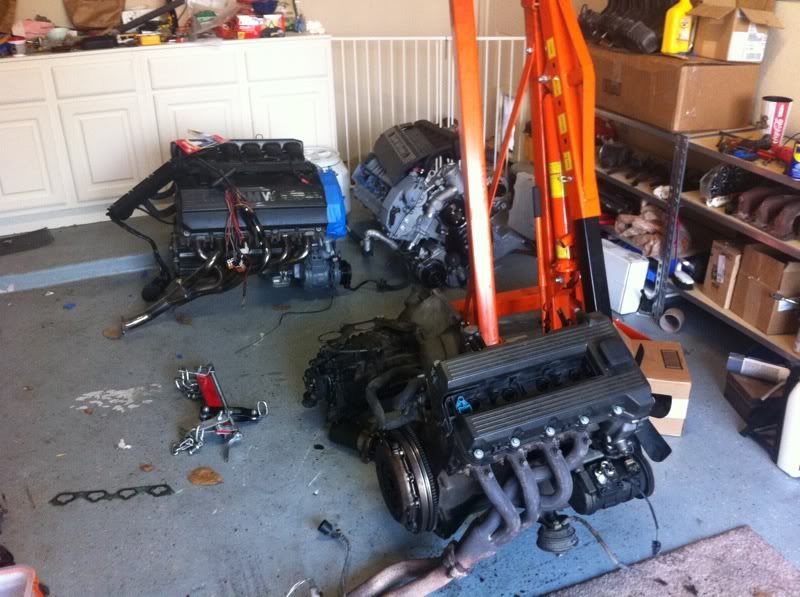
Home safe and sound:

Image
Image
Image
Image

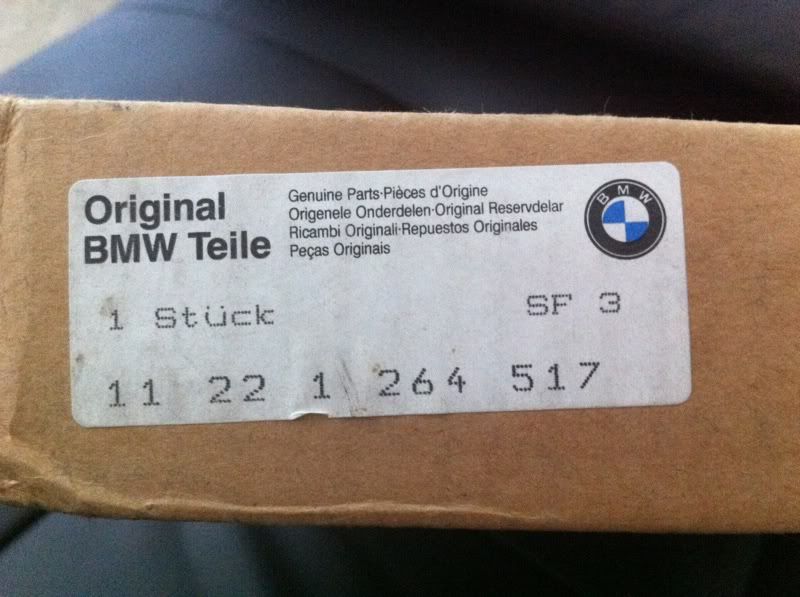
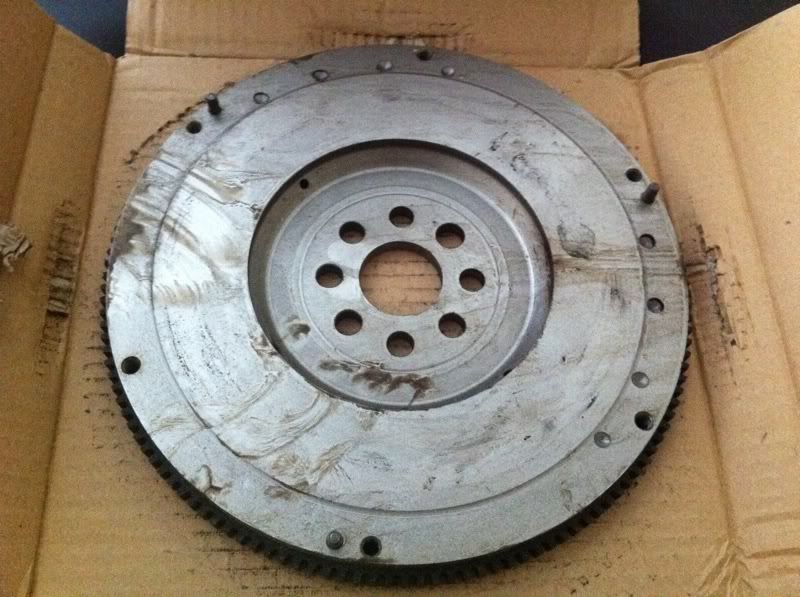
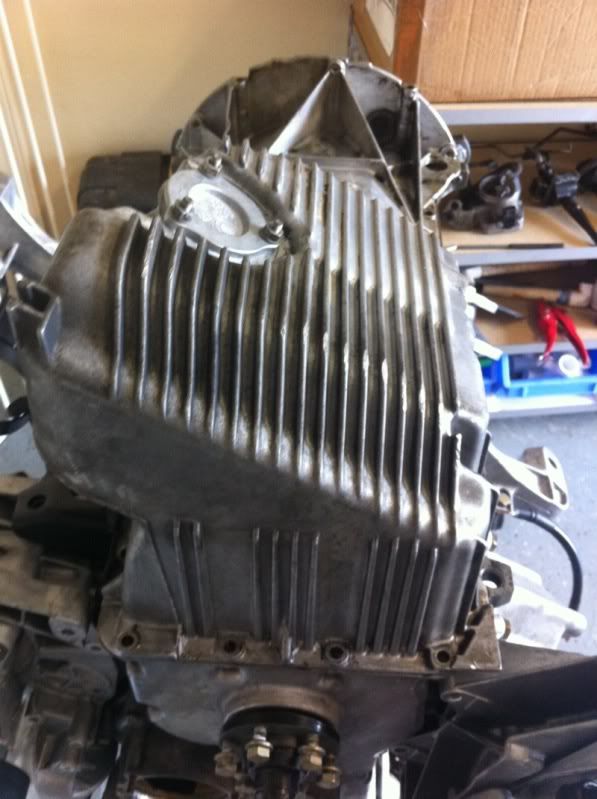
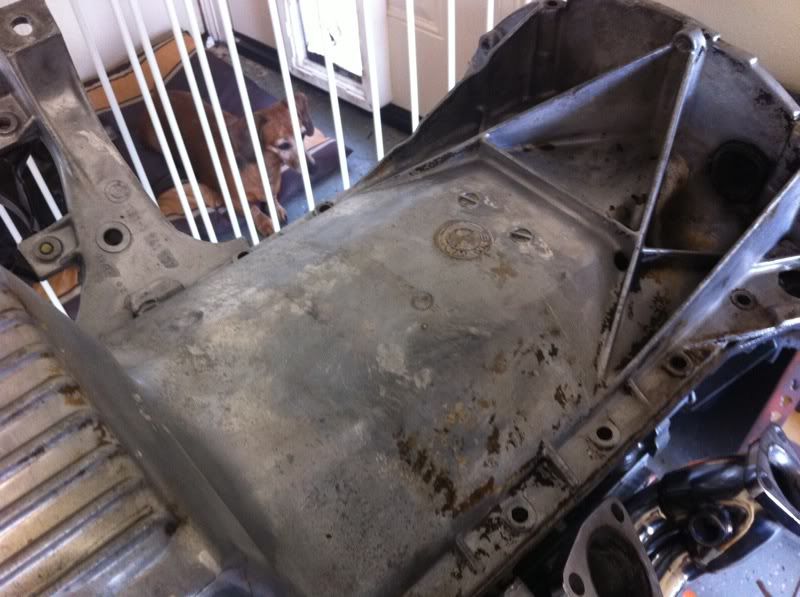
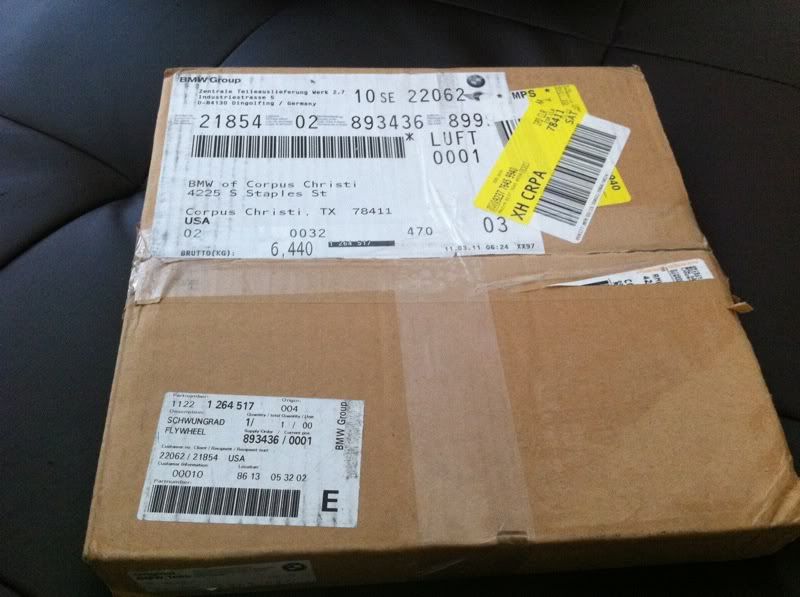
New 323i flywheel to clear the oil pan

Image

Image

Image

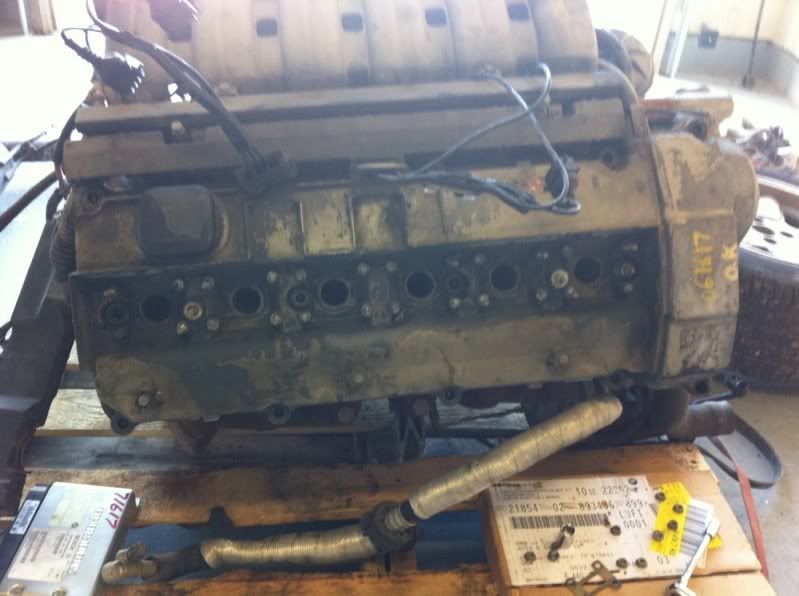
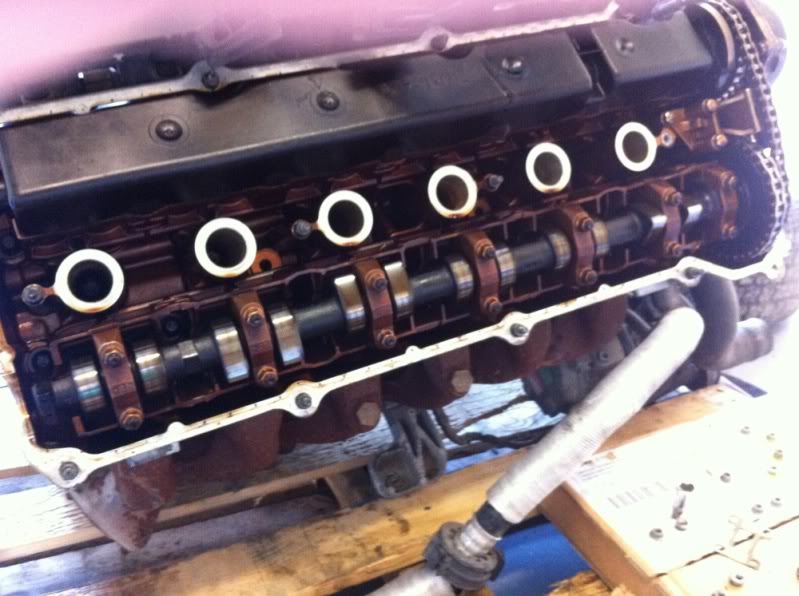
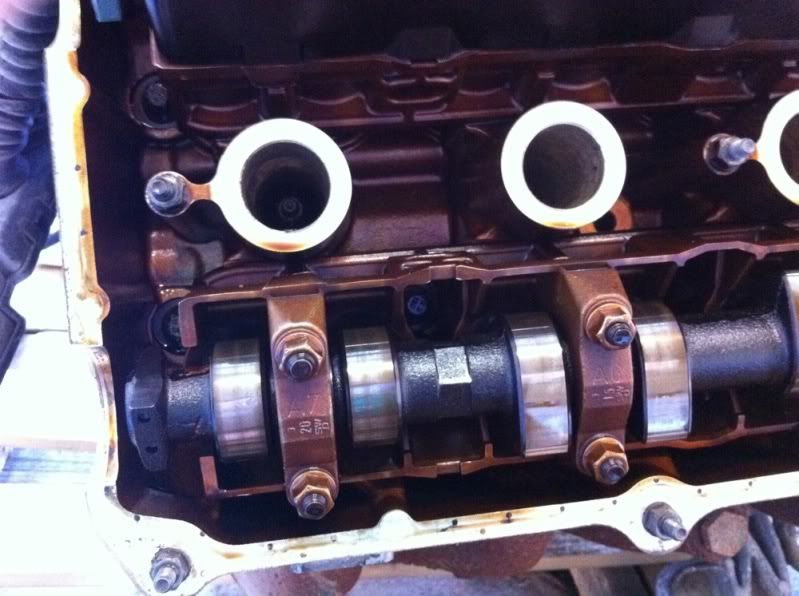
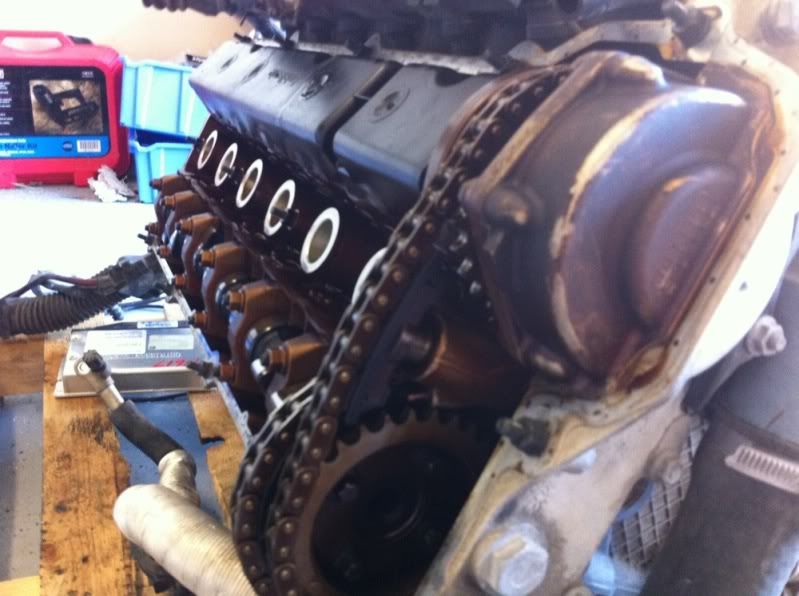
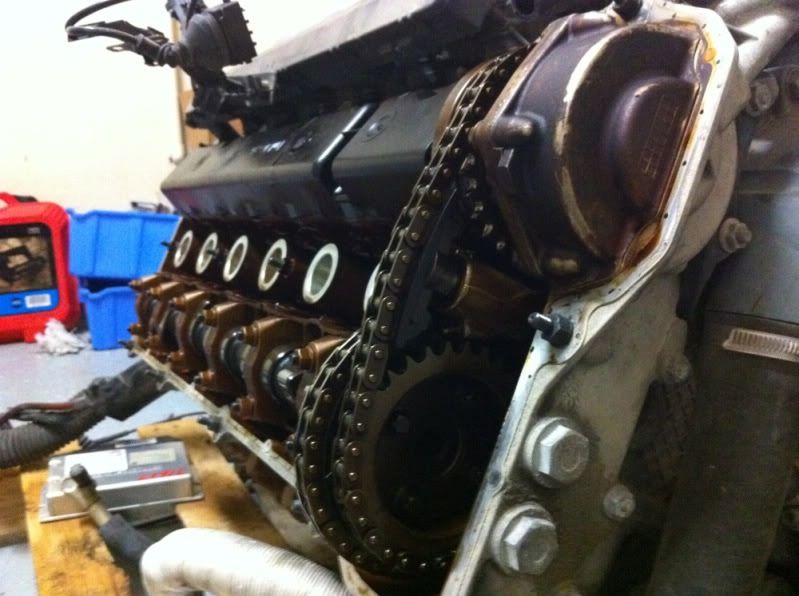
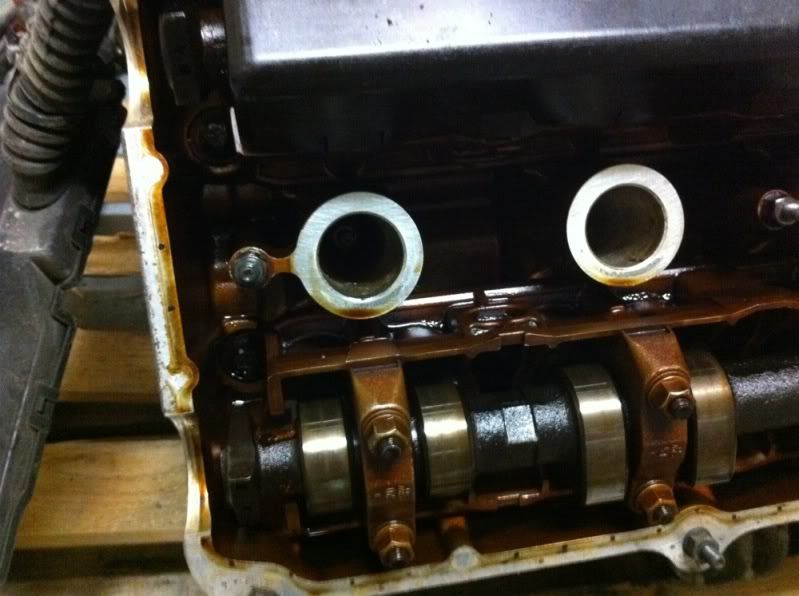
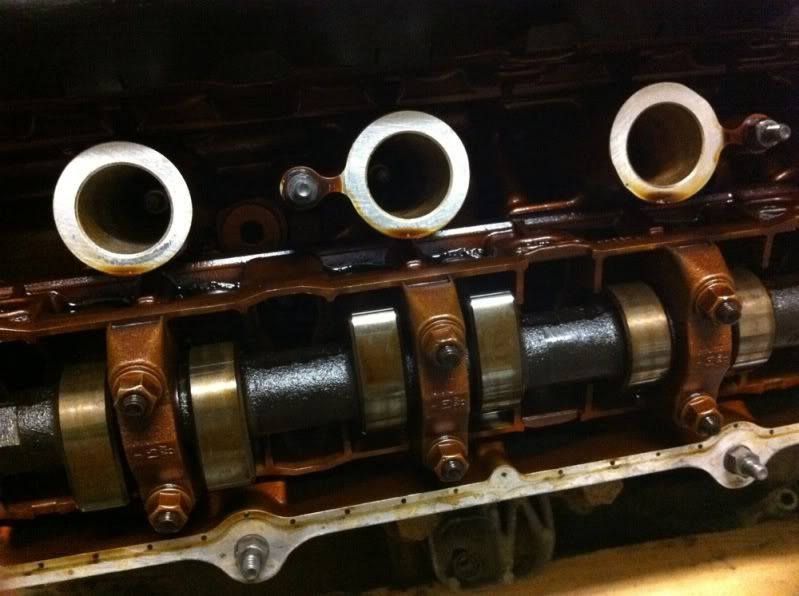
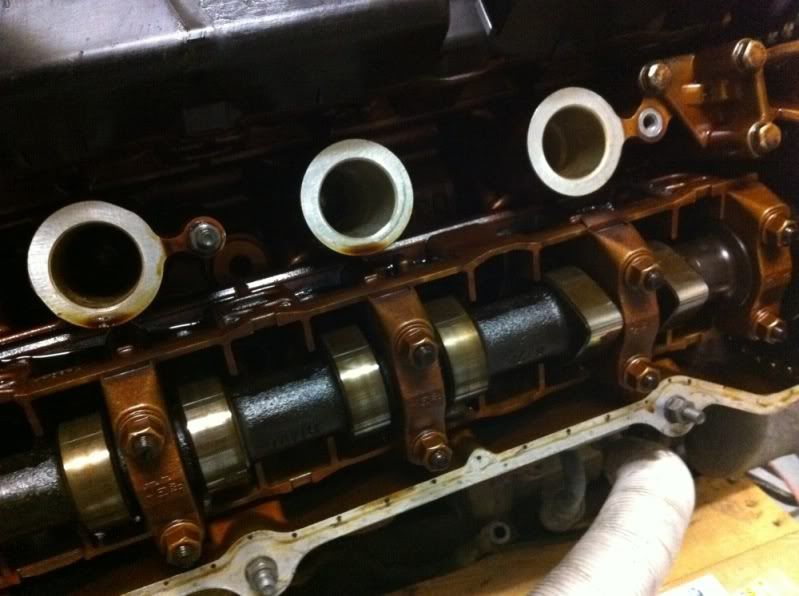
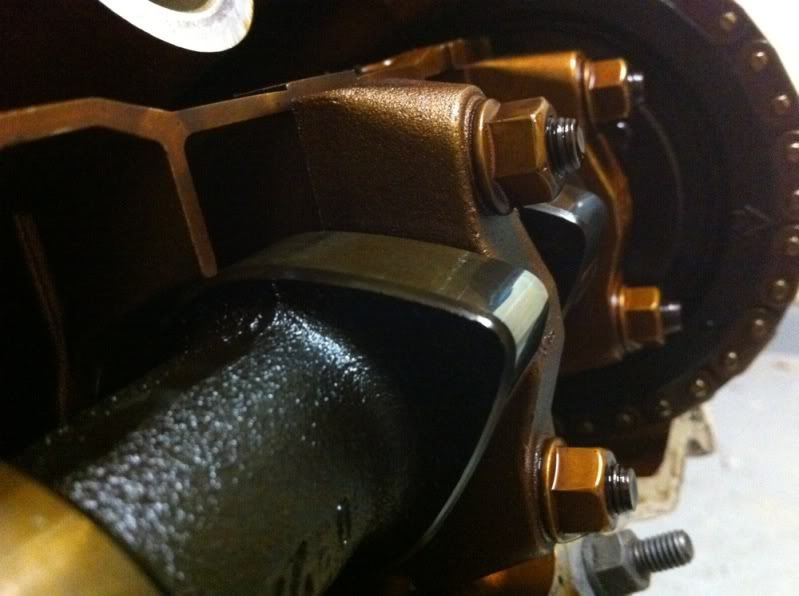
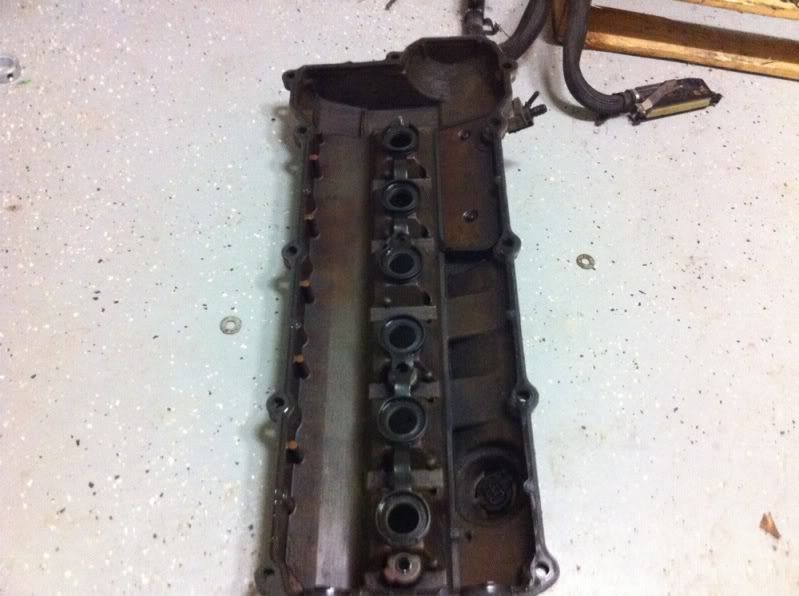
Valve cover off for inspection.

No gunk to speak of, chain is nice and tight, no wear on the sprockets, and no oil leaking past into the spark plug hole. :)

Image
Image
Image
Image
Image
Image
Image
Image
Image
Image


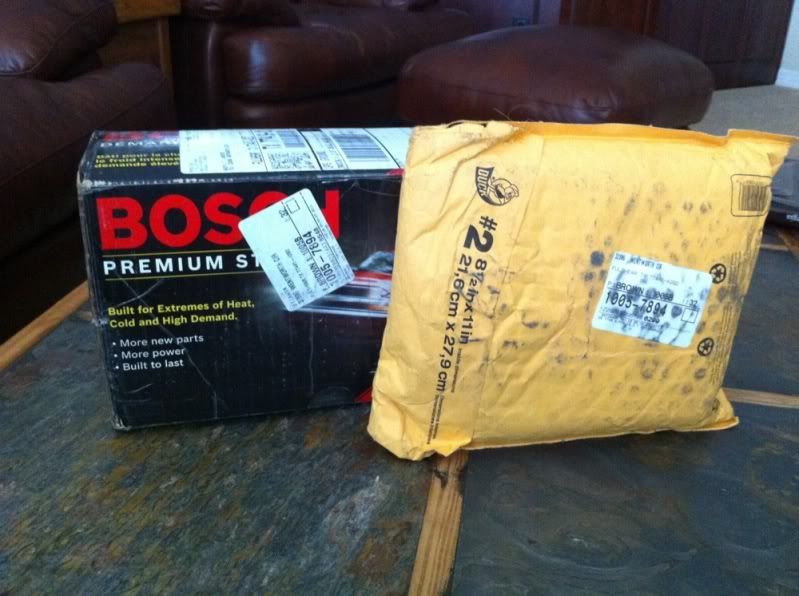
Record setting # of parts ordered from the dealership:

Image

New starter and 413 EWS free ECU:

Image

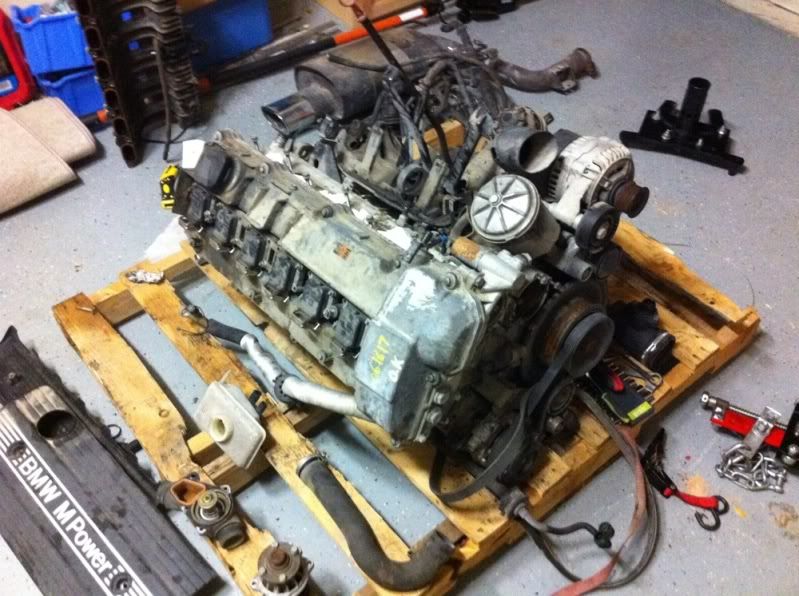
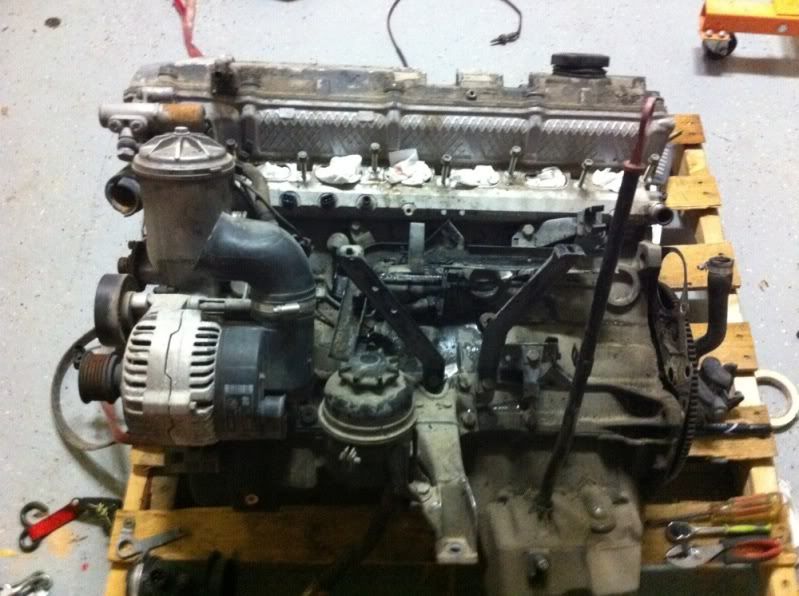
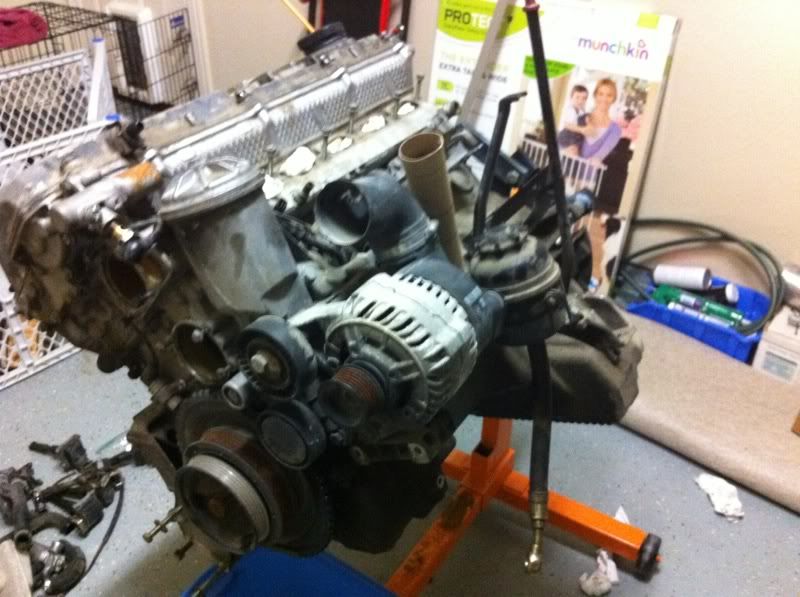
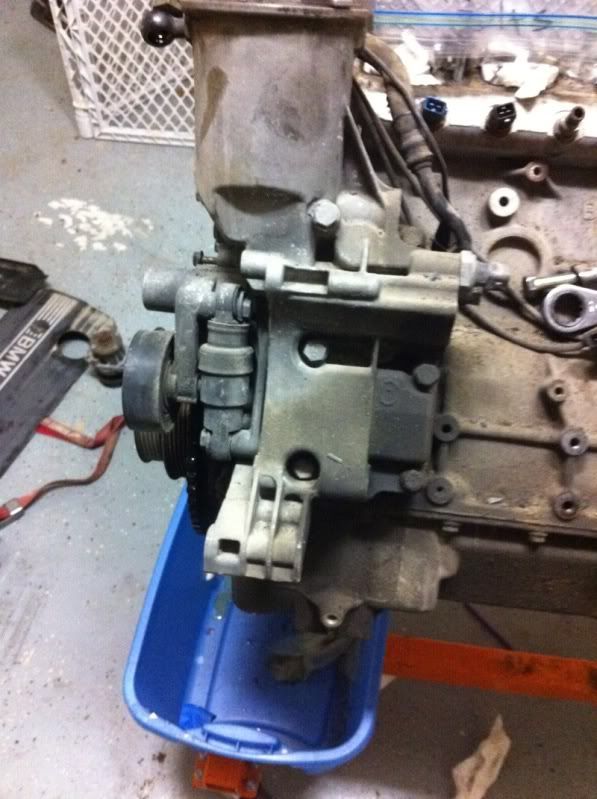
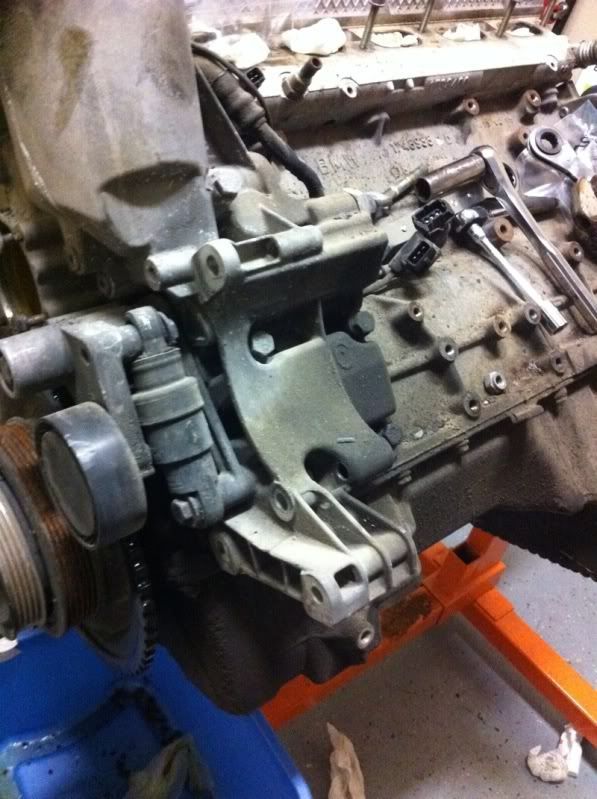
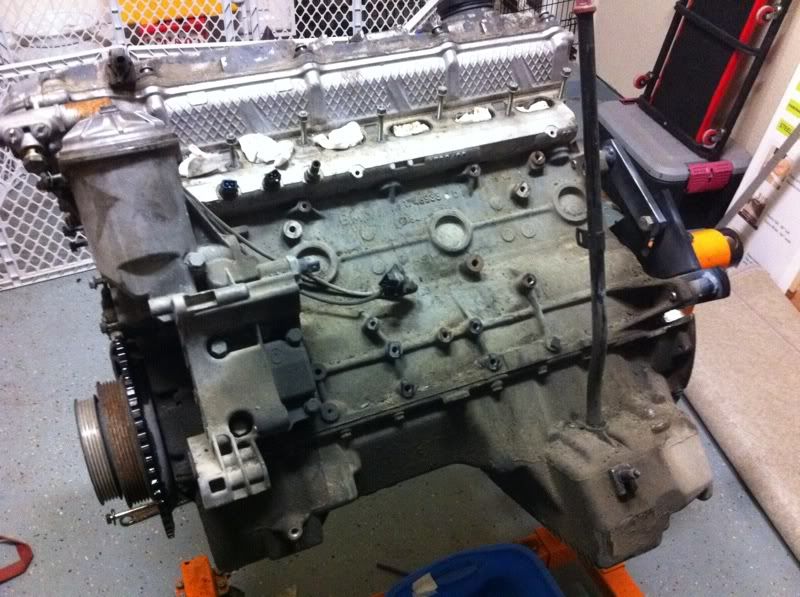
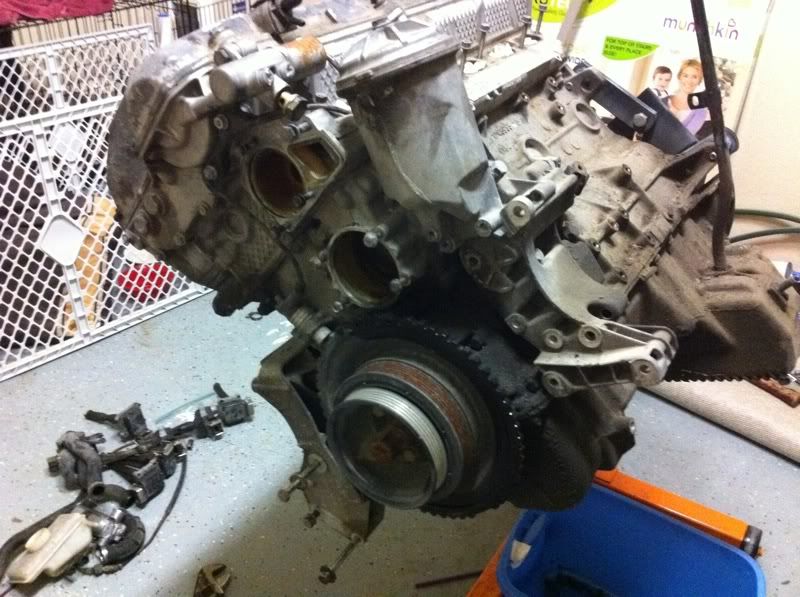
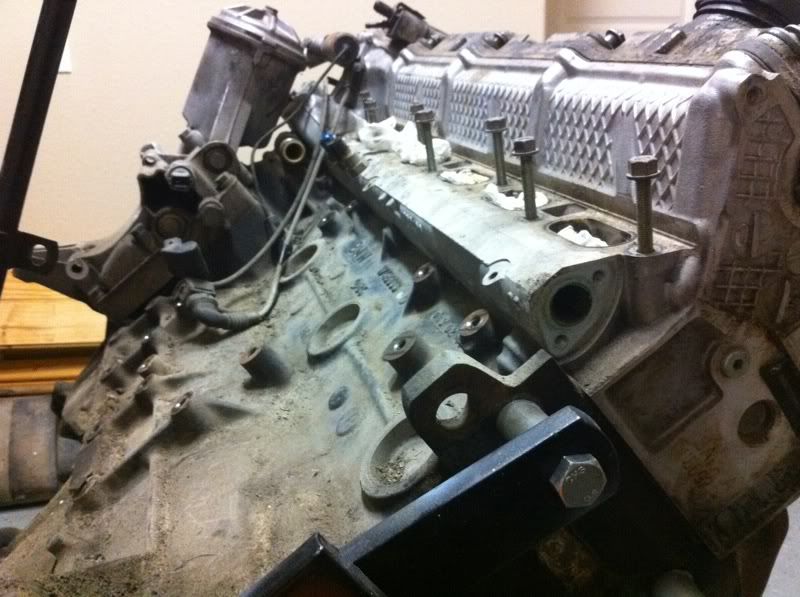
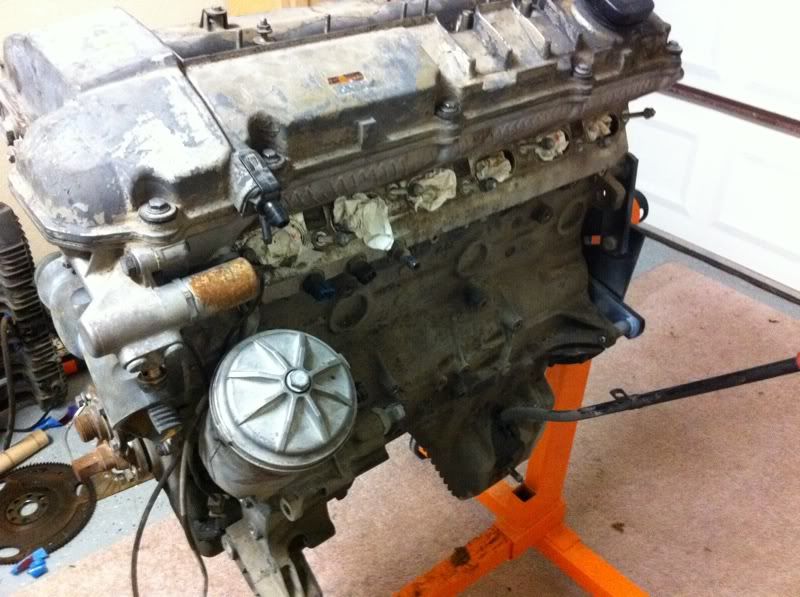
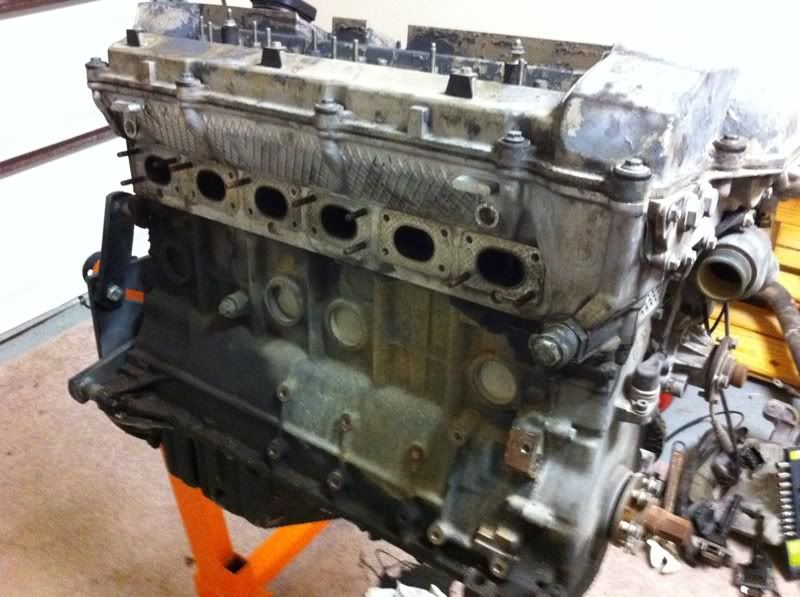
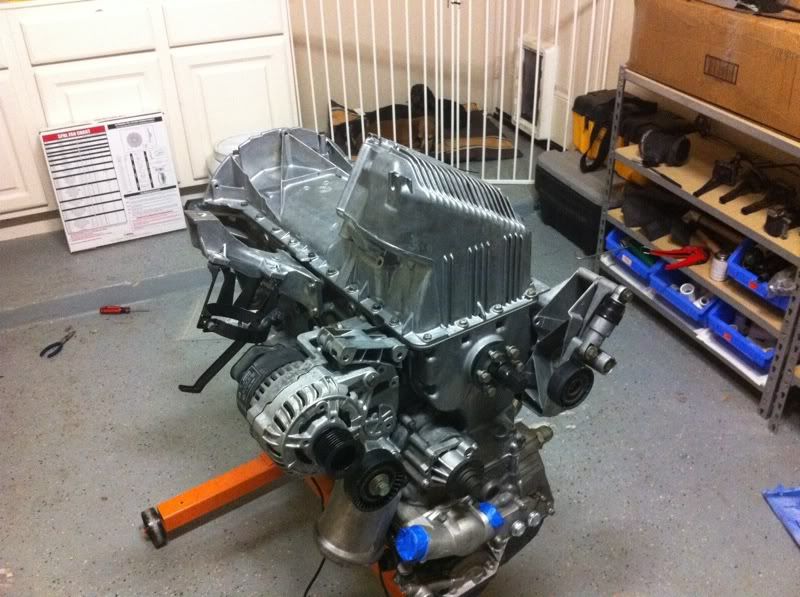
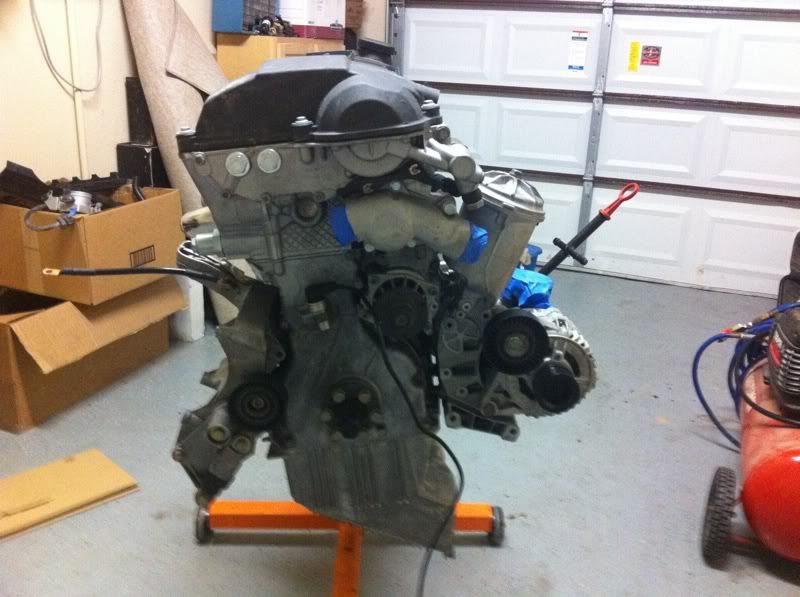
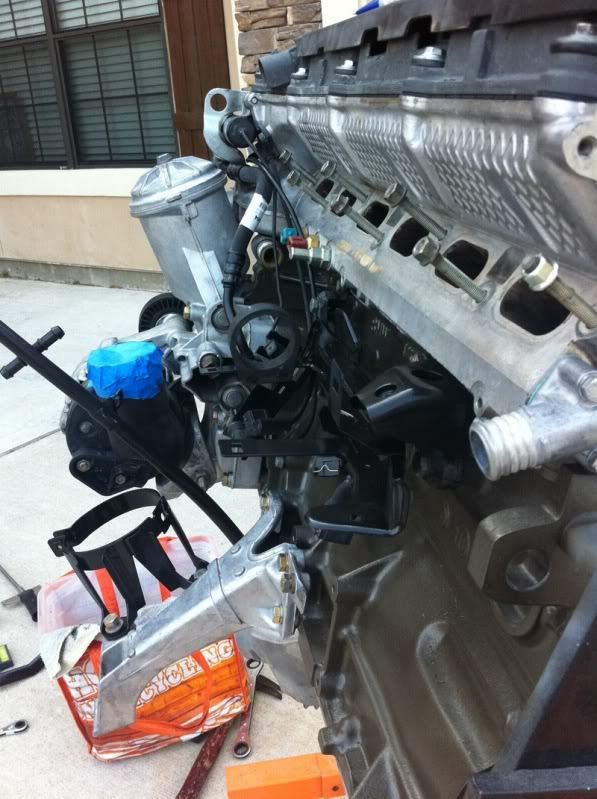
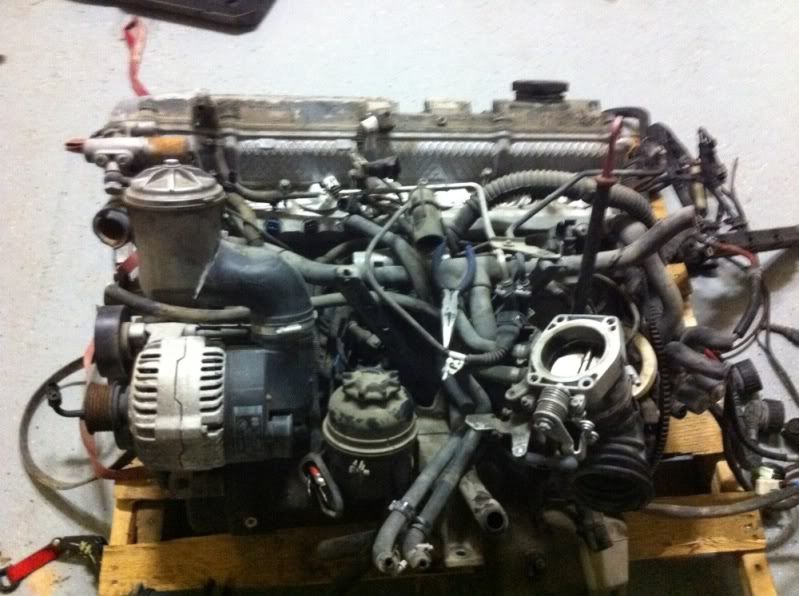
Started tearing down the engine.

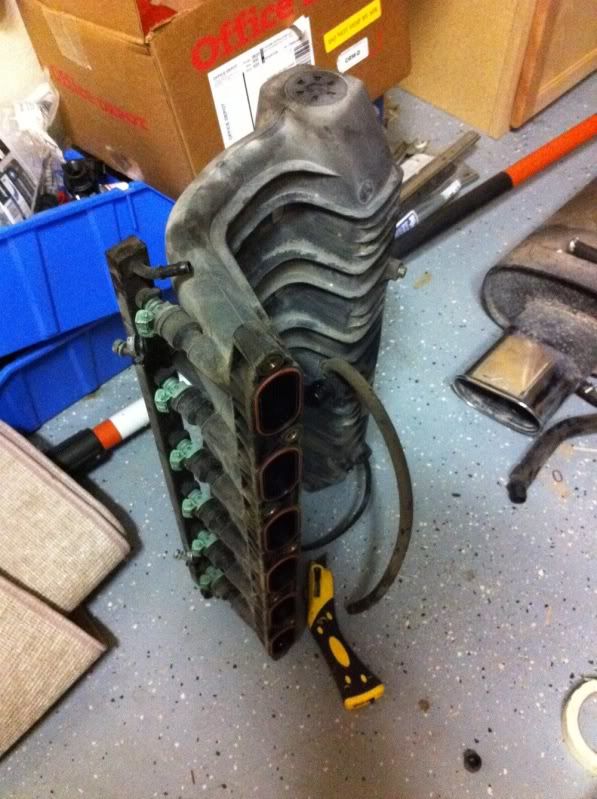
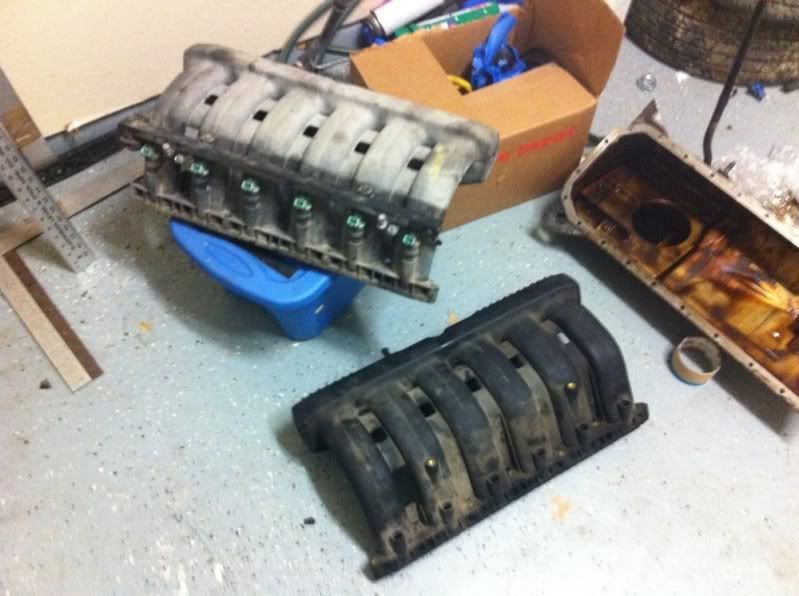
Took off the intake to get the harness out.
Image

Image

Image

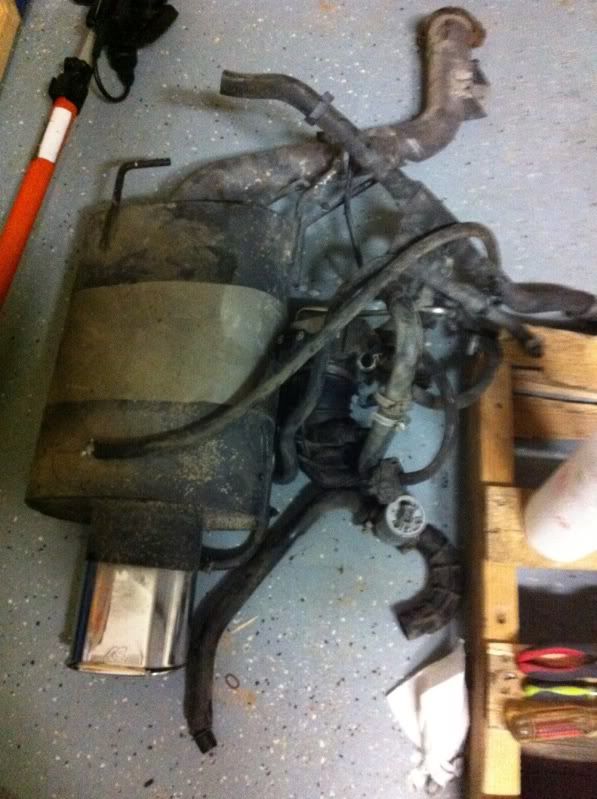
Harness and hoses off:

Image

Image

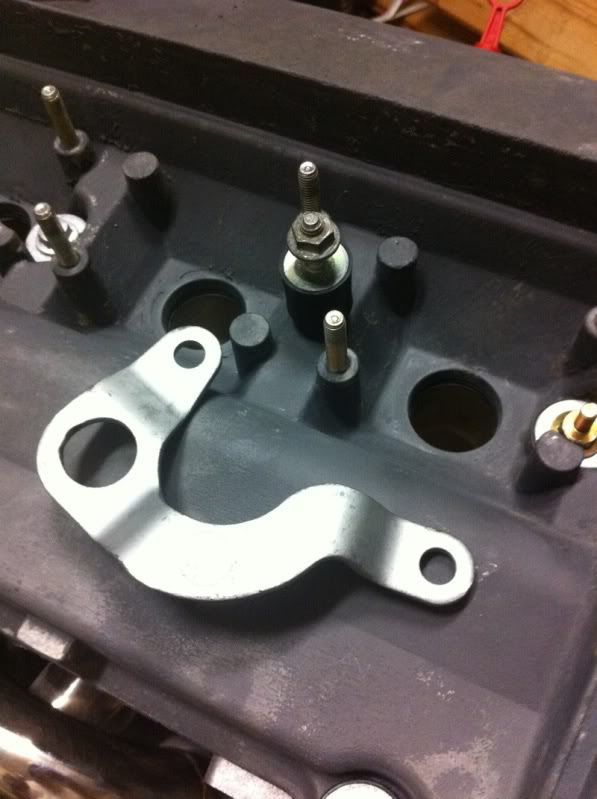
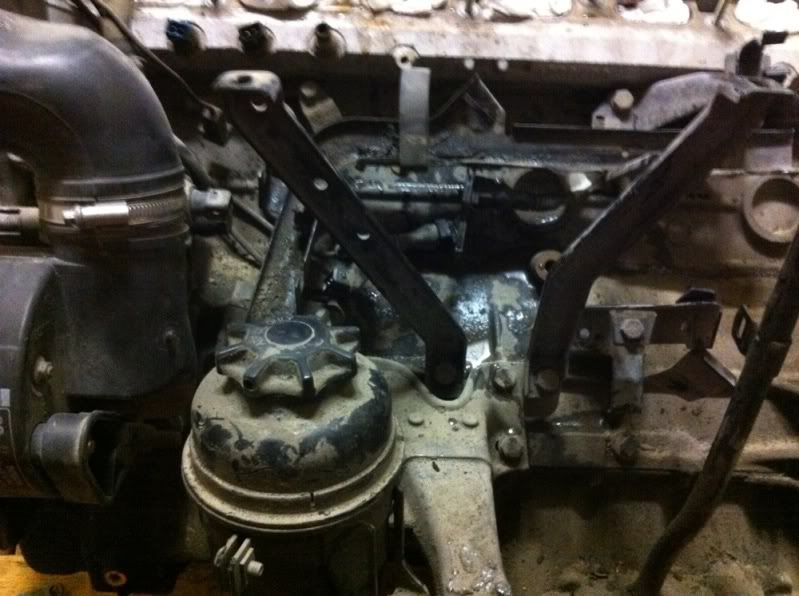
Figured out how the hell to bolt up the manifold supports on my M50 while I was here:
Image

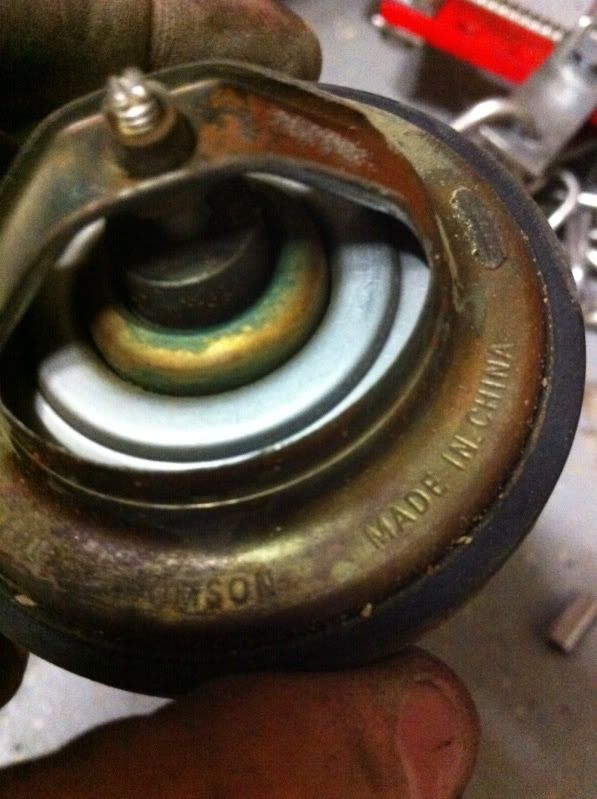
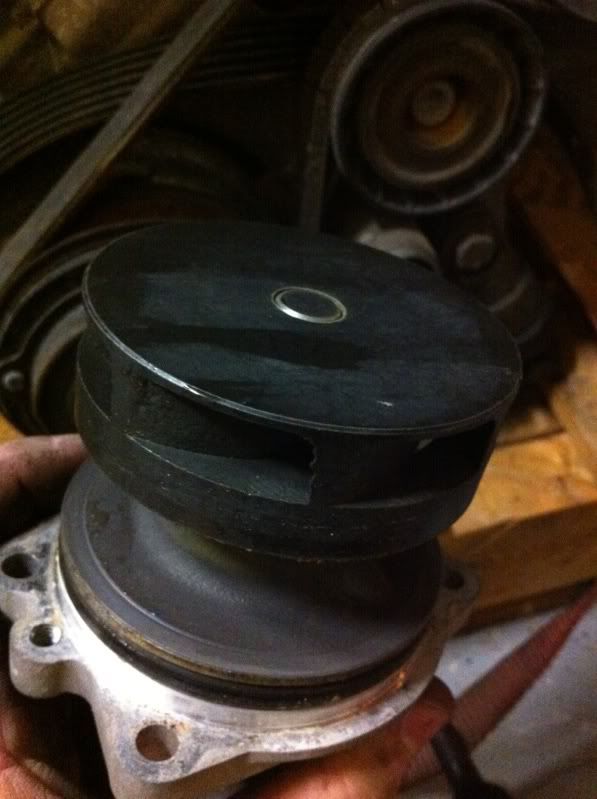
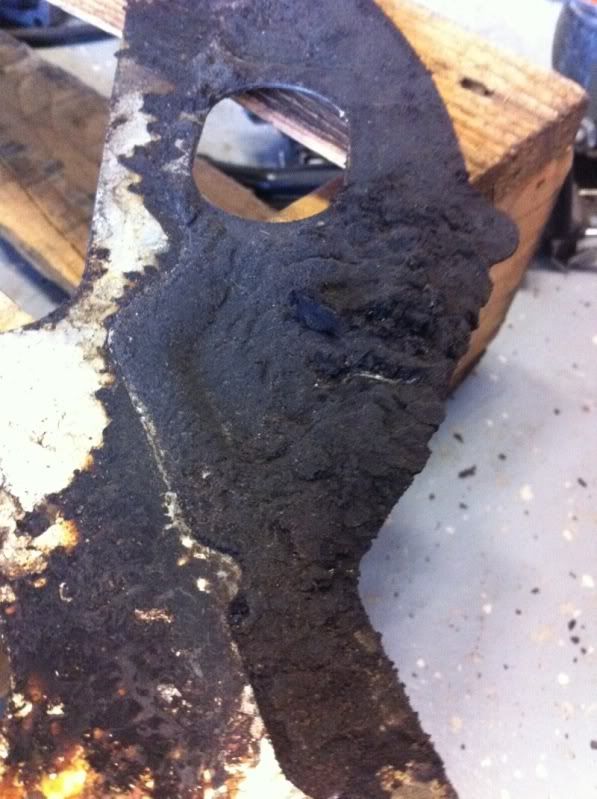
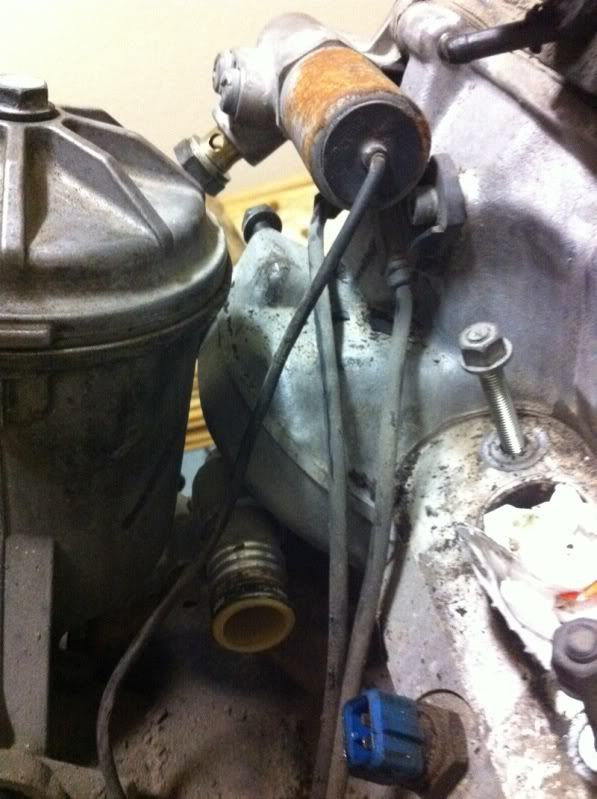
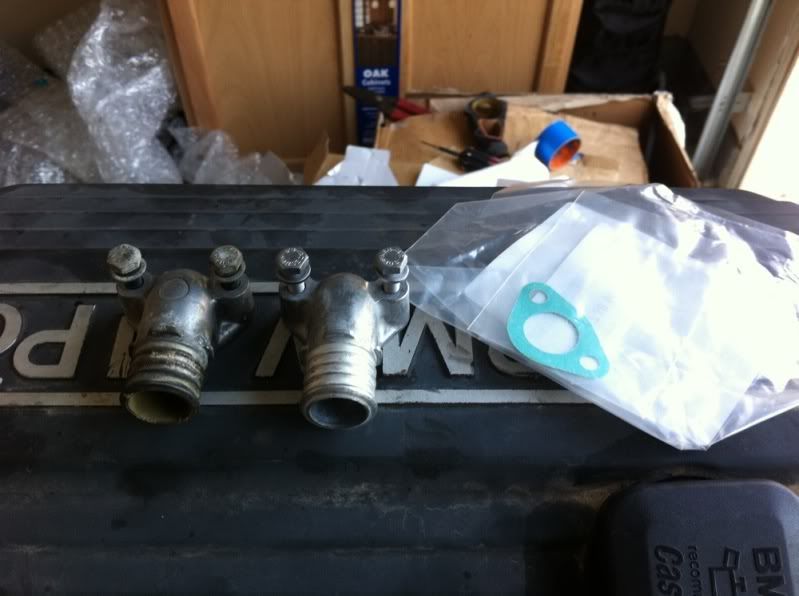
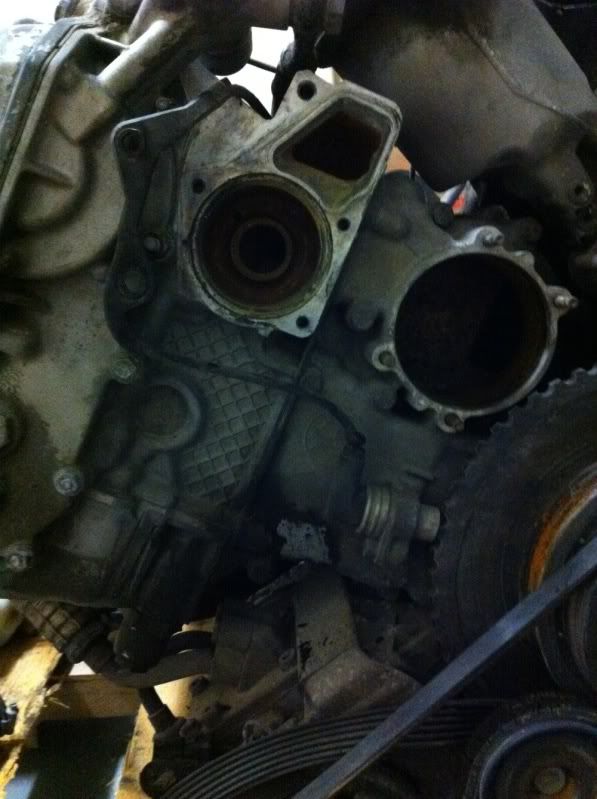
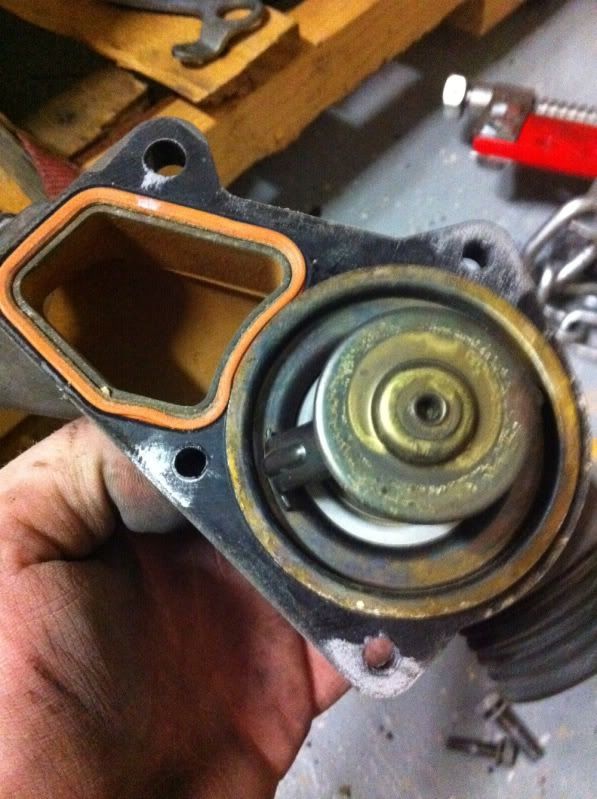
Took off the thermostat and water pump out to find a nice discovery.
Image

Image

Image

Thermo and water pump has been replaced! Not plastic!
Image

Image

Image

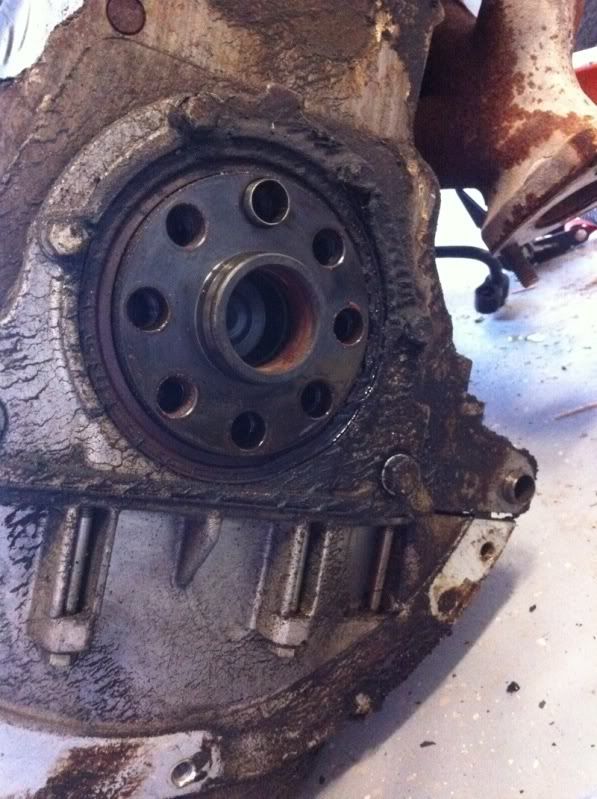
Popped off the flywheel, flex plate, whatever.
Image

Rear seal be leaking. :o

Image

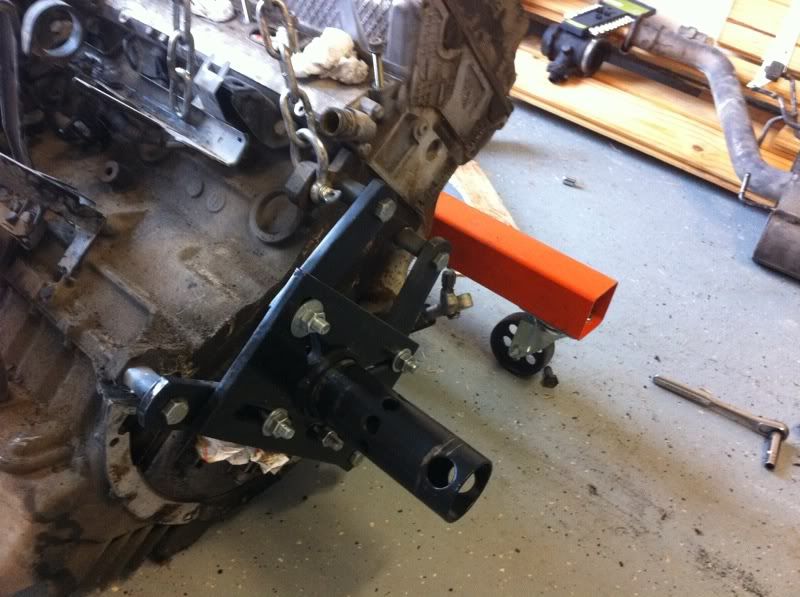
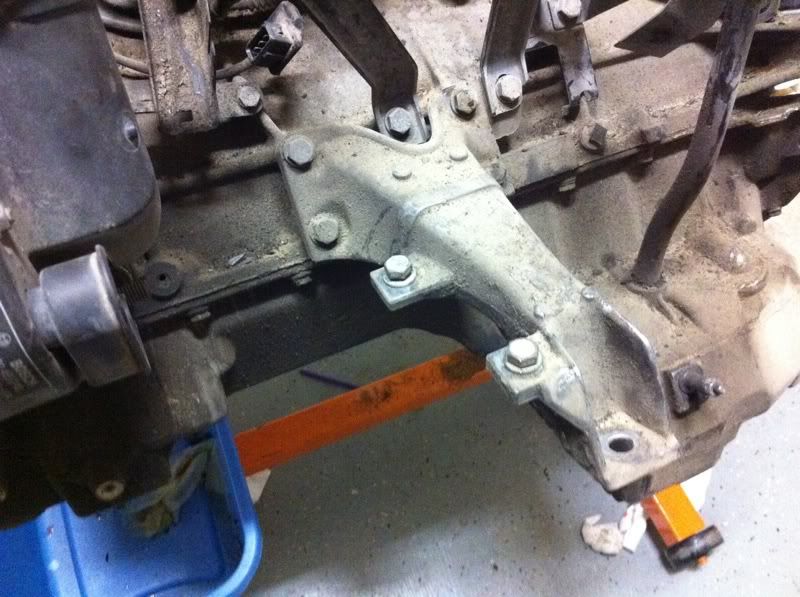
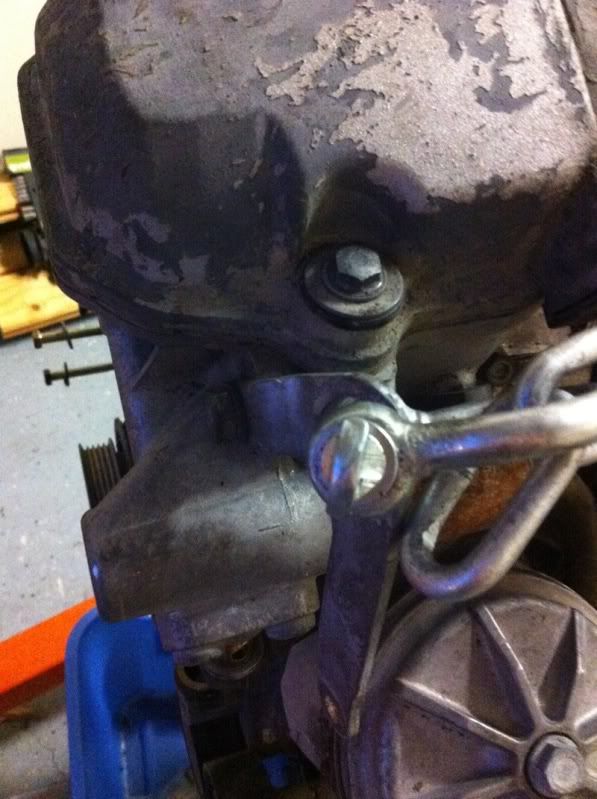
Put on the mount for the stand

Image

Got to see if my M50 mount would work with only one bolt
Image

Got it on the stand

Image

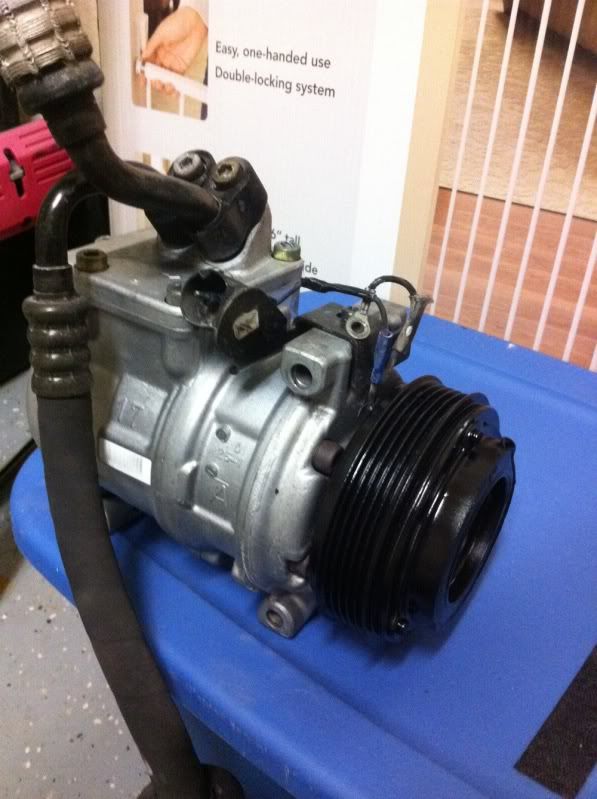
AC Compressor off

Image

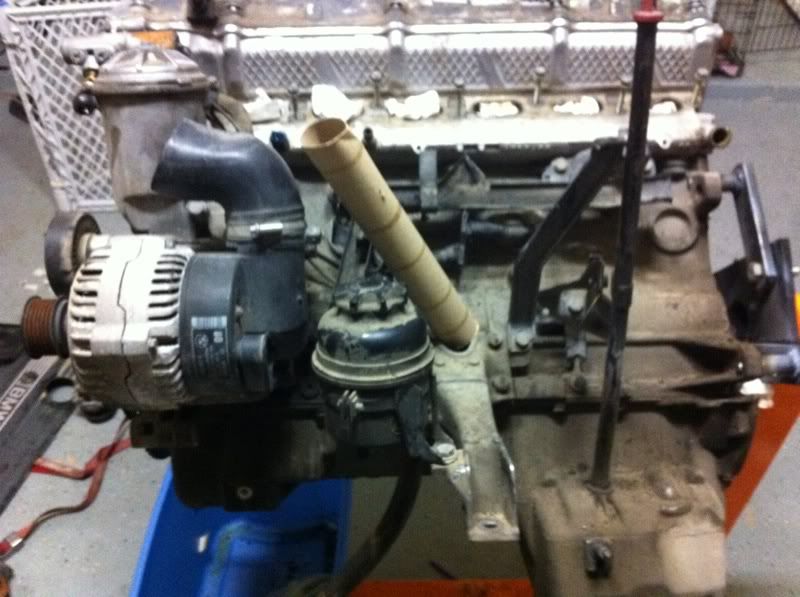
Then started taking everything off of the other side

Image
Image
Image
Image
Image
Image
Image
Image
Image
Image

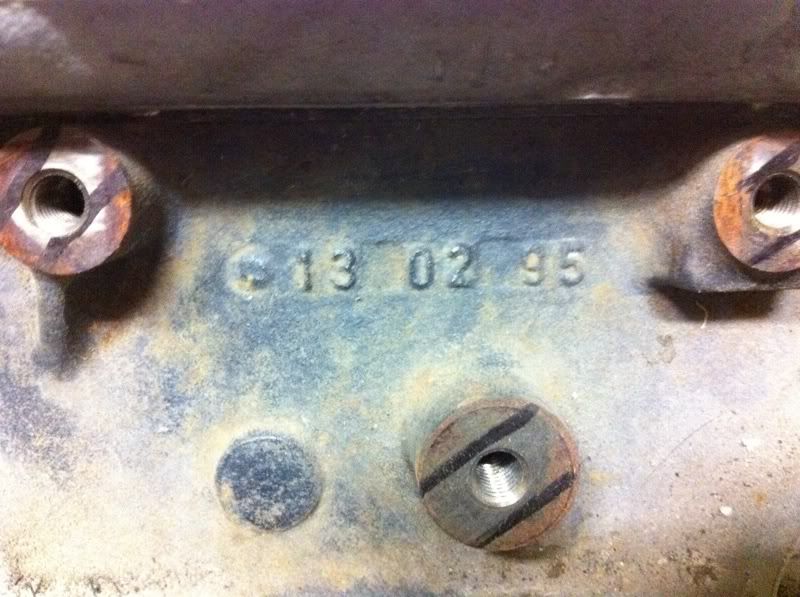
Date stamp

Image

Image

Image

Image

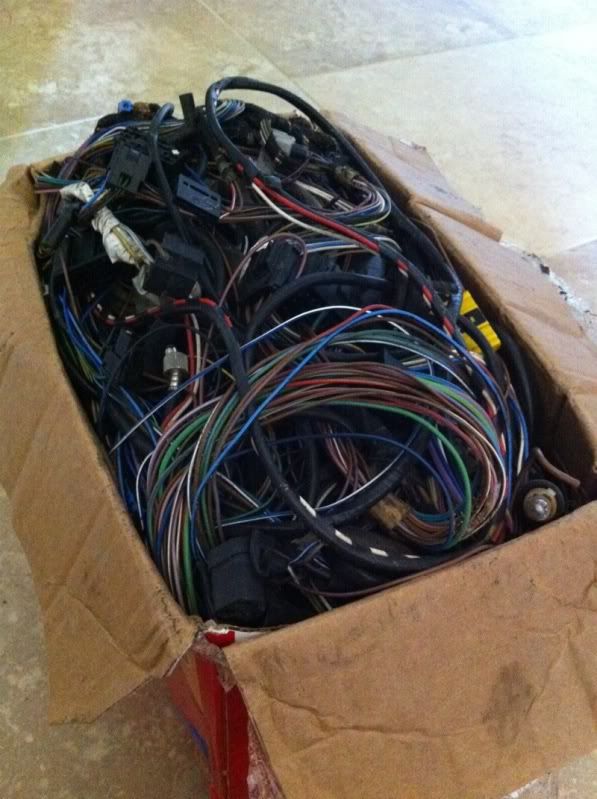
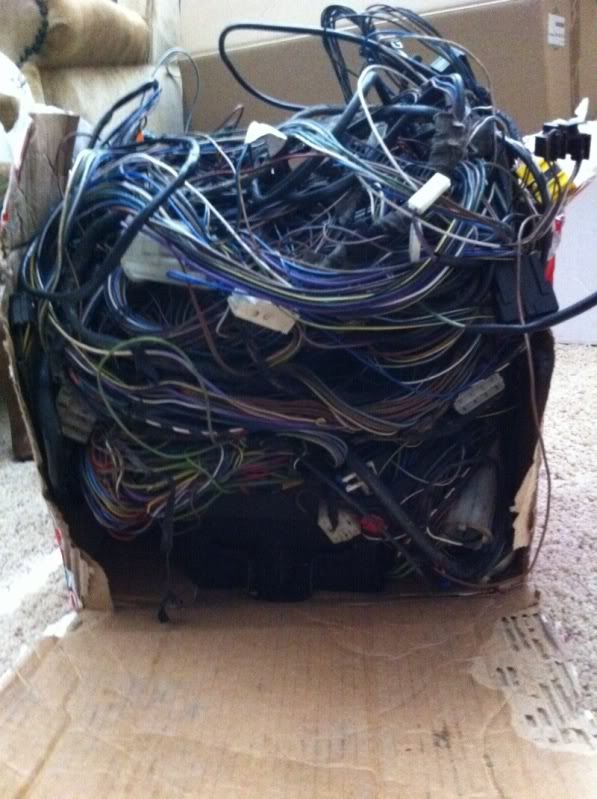
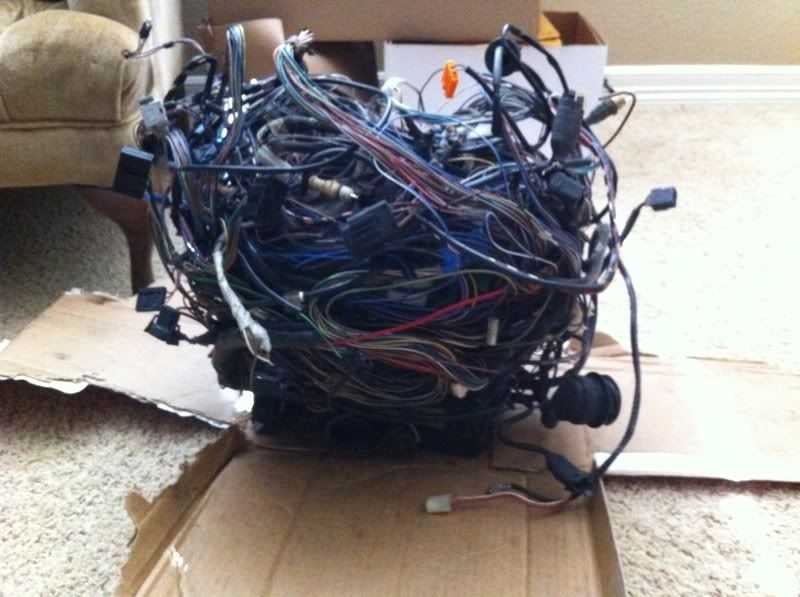
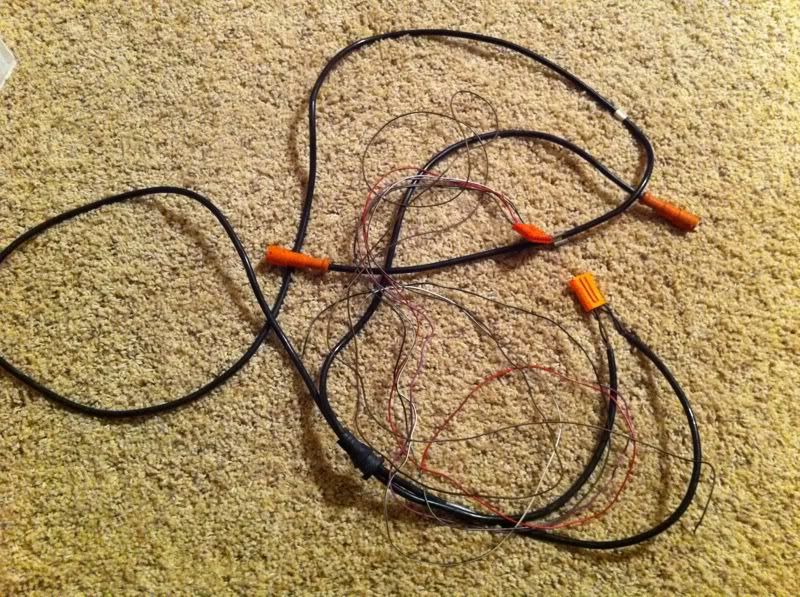
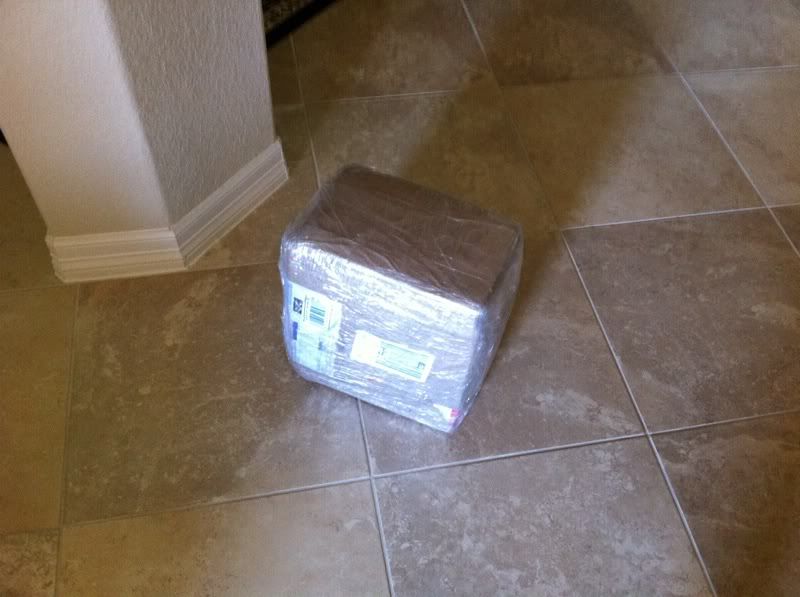
A complete 325i vert body harness down to the 13 button bits.
Image

Image

Image

Image

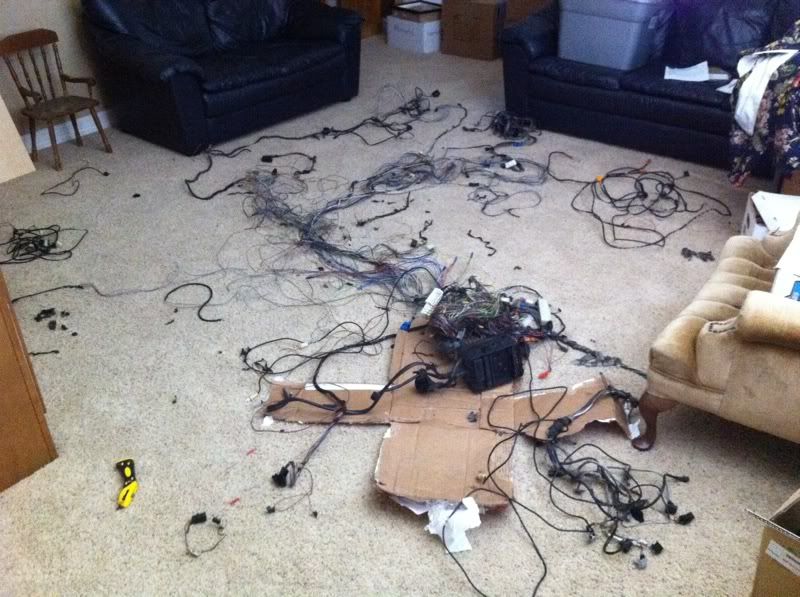
And untangled:

Image

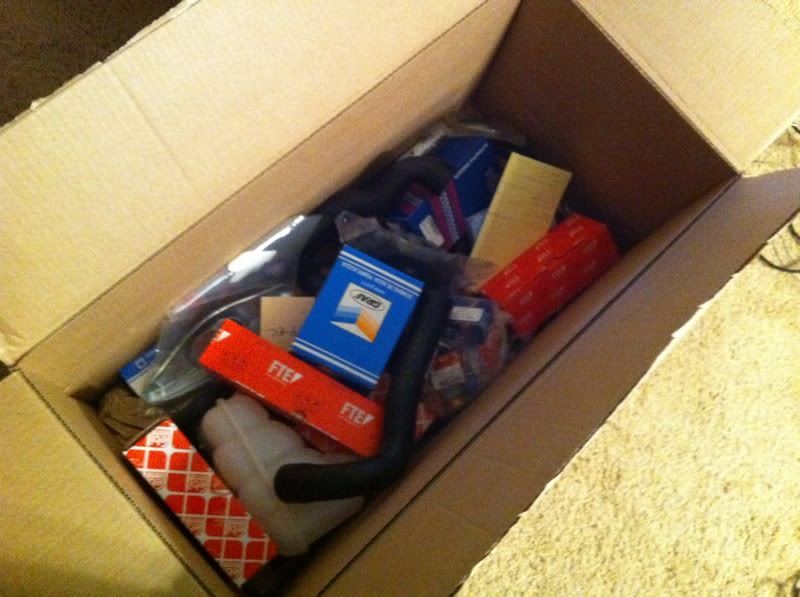
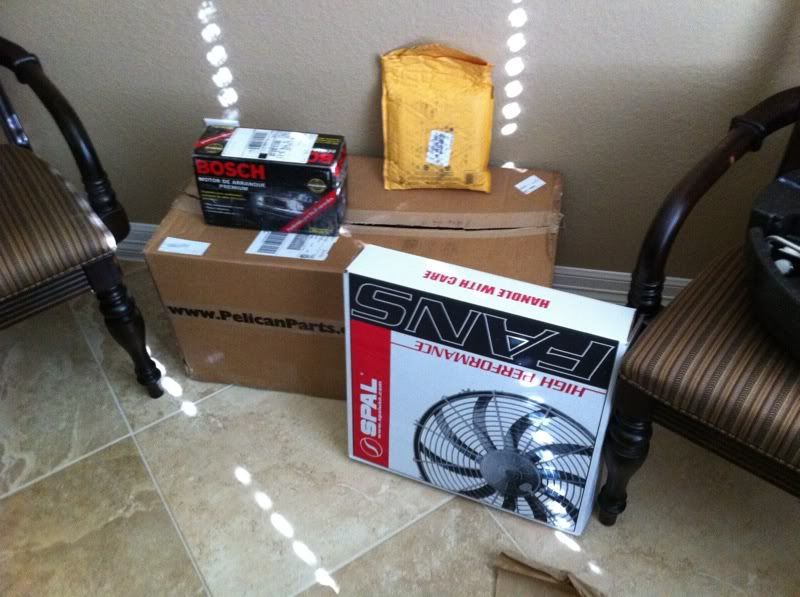
And some of the other things that came in that day:
Image

Image

And some of the contents:

Image

Image

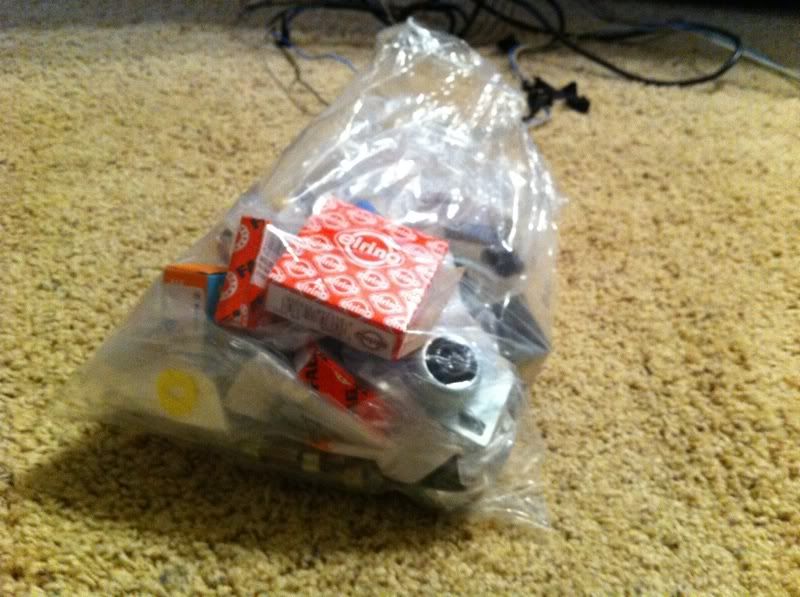
Everything to refresh the tranny all in one bag:
Image


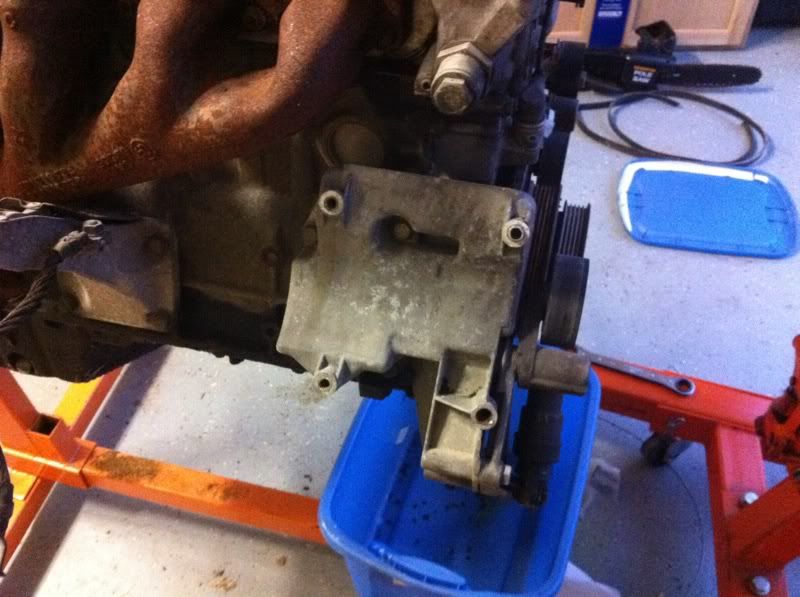
Took the impact wrench to the engine. Got the harmonic balancer, exhaust manifolds, and the AC bracket off.

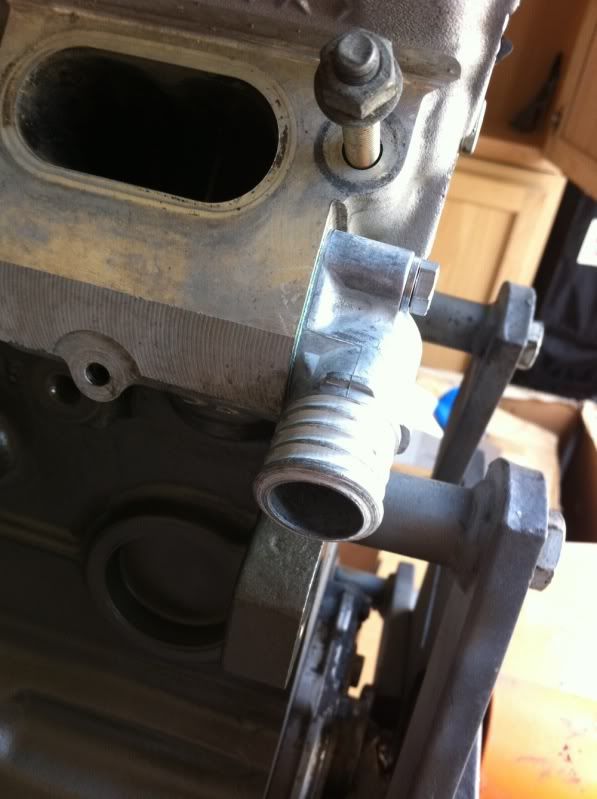
Also put back on the water pump and thermo housing to get it ready to be cleaned.
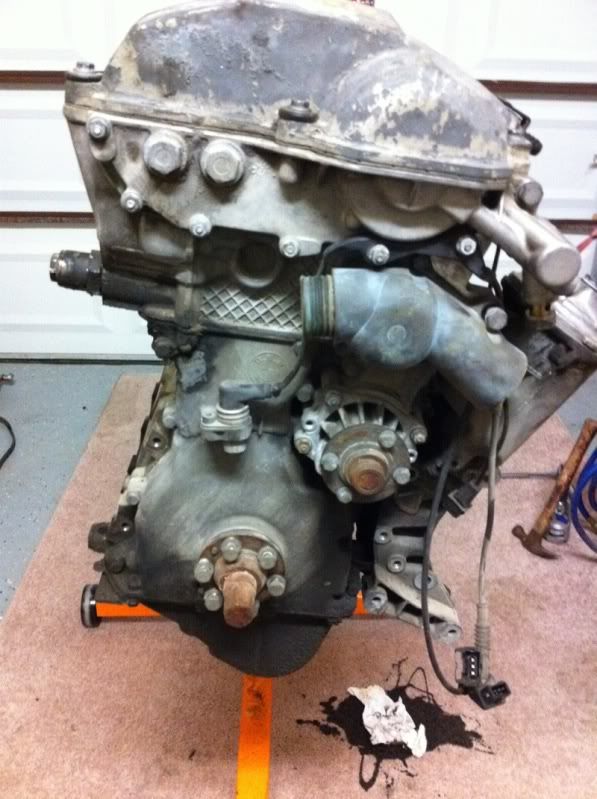
Image

Image

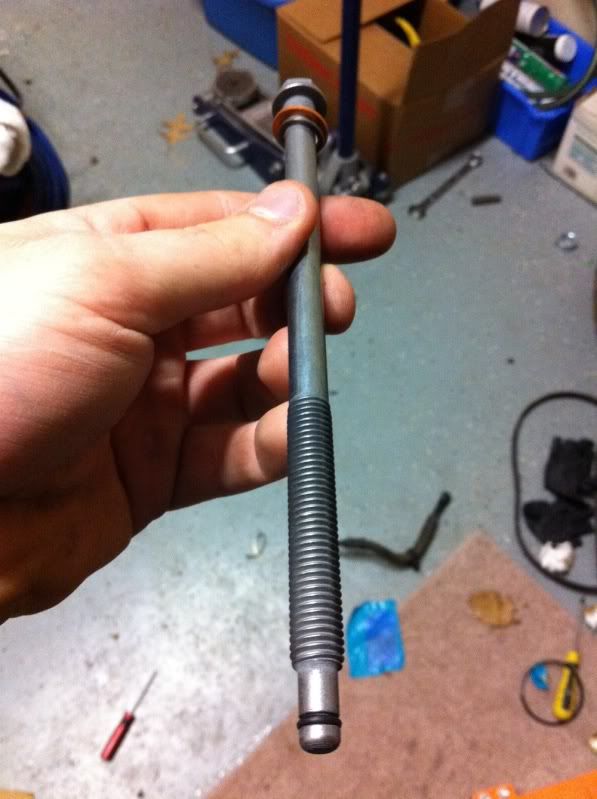
Had to figure out the studs

Image

Image

My reminder to drain the oil, pulled out the dip stick without thinking.
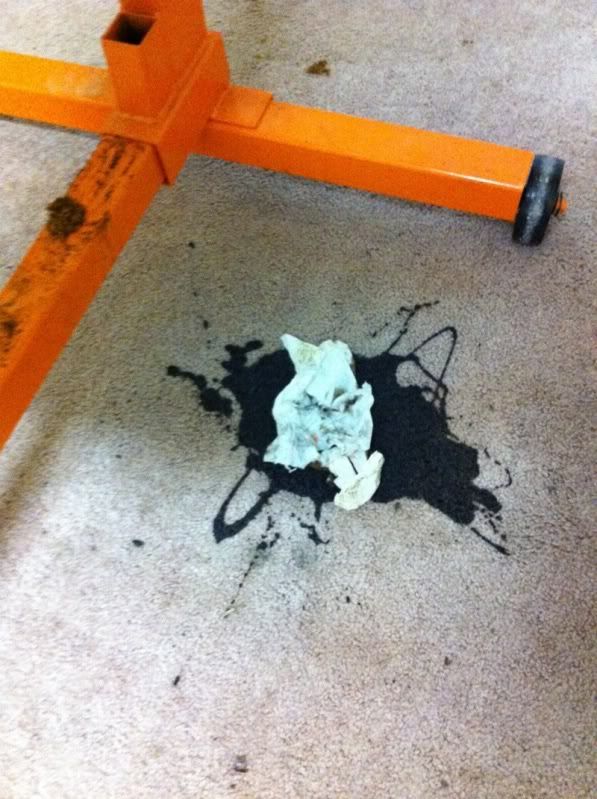
Image


Image

Image

Image

My G260 also came in, but the joy was short lived.

Image

Image

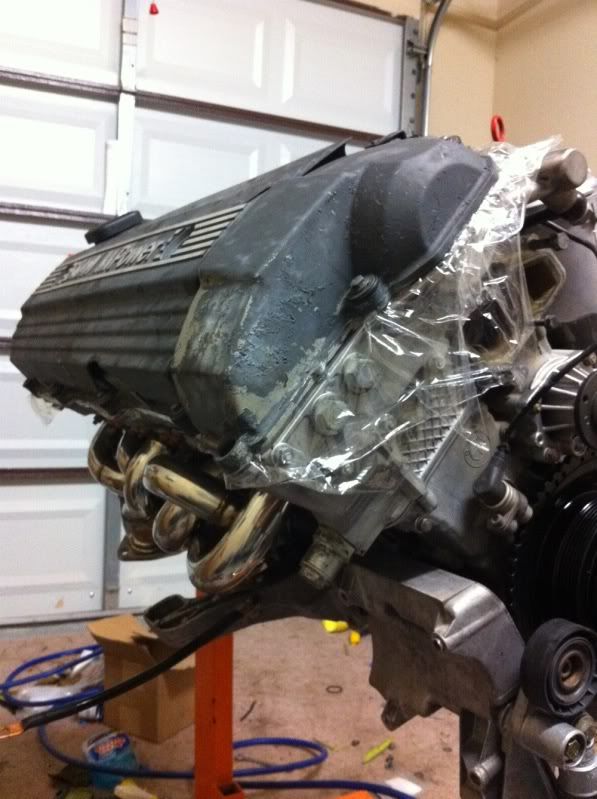
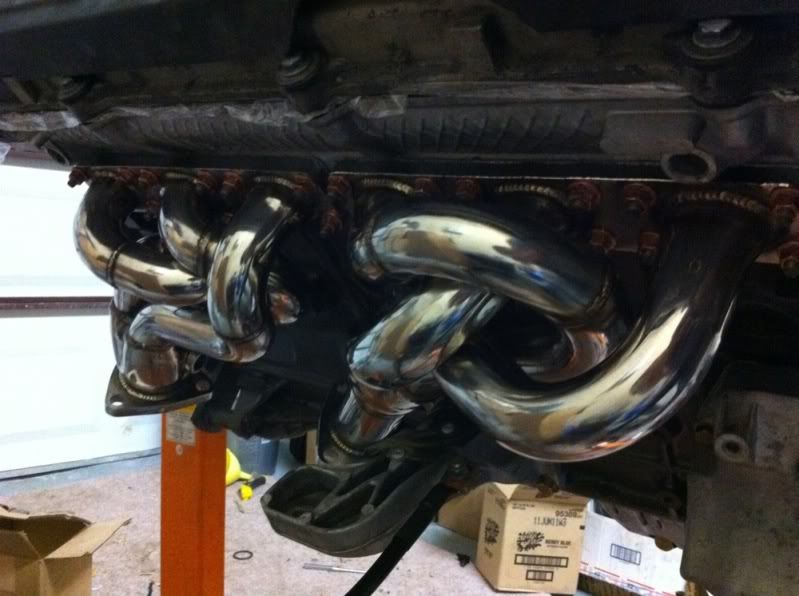
The Carr Industries headers:

Image

AKG Poly swap mounts:

Image

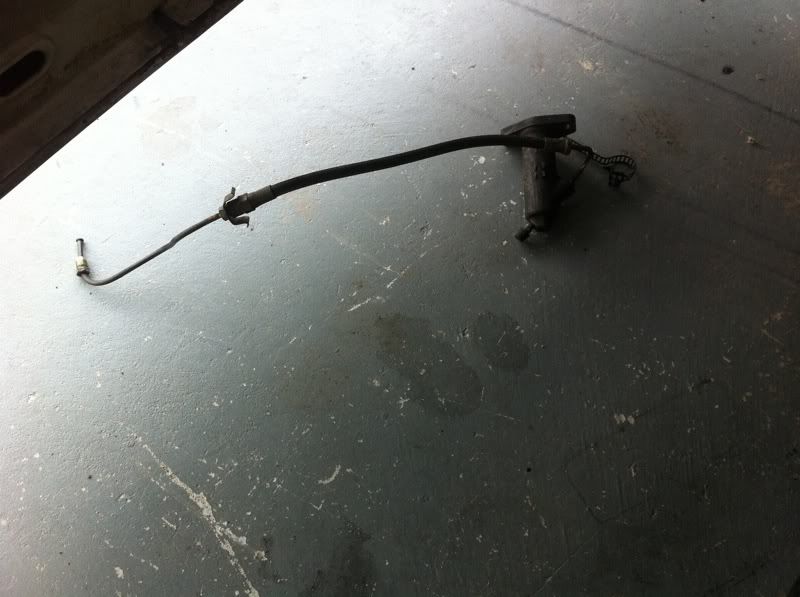
Random parts from Turner, mainly delrin bushings for the shifter and stainless clutch line.

Image

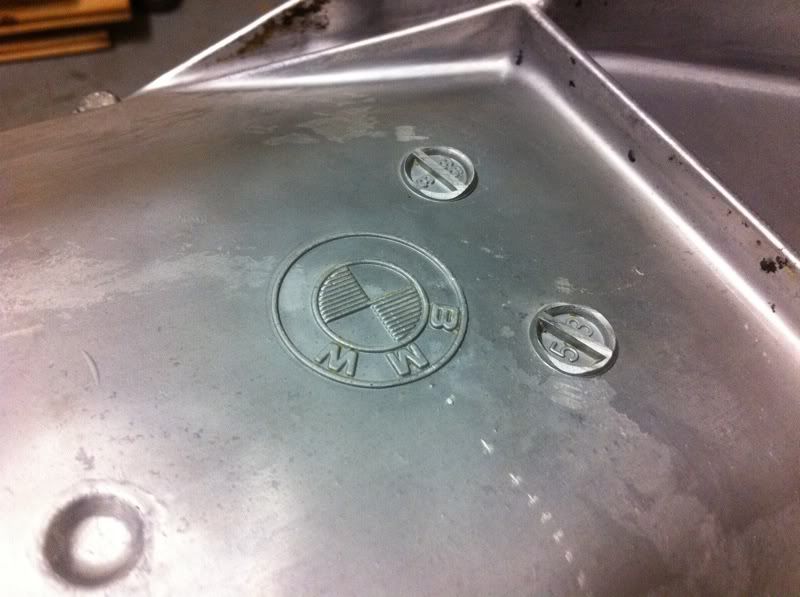
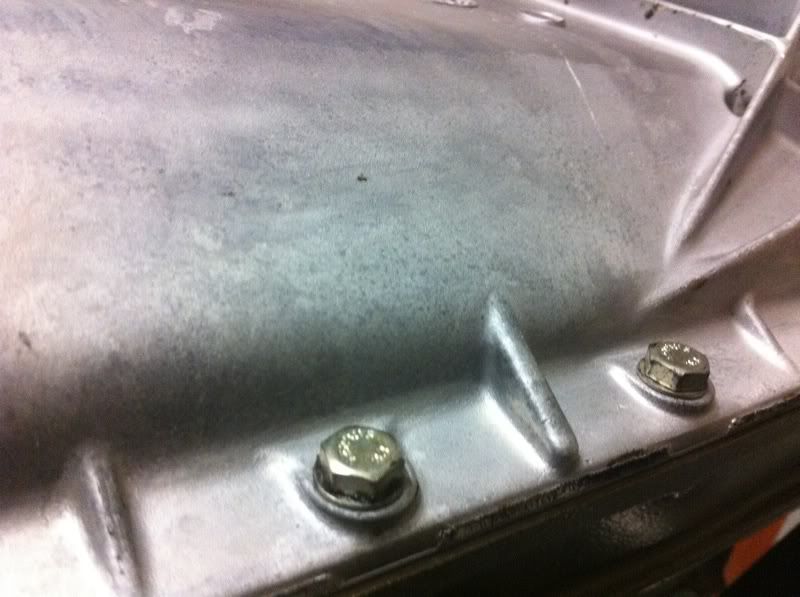
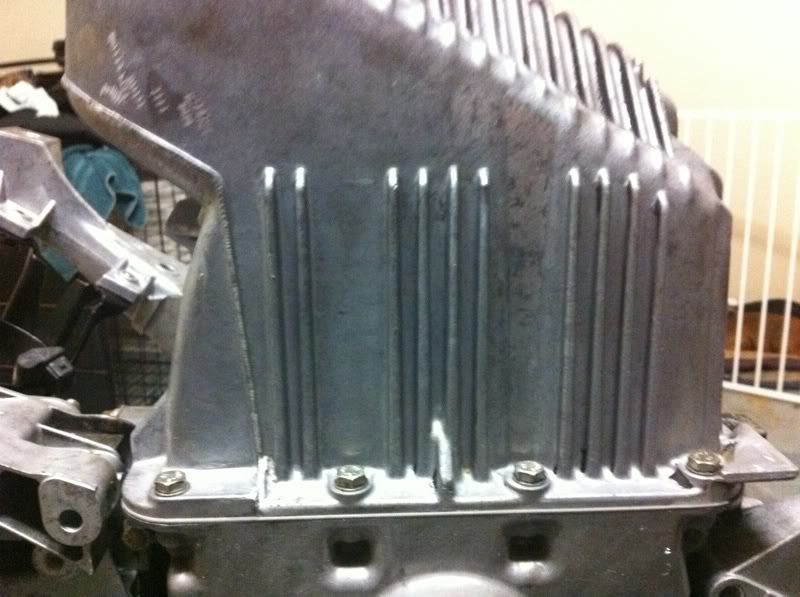
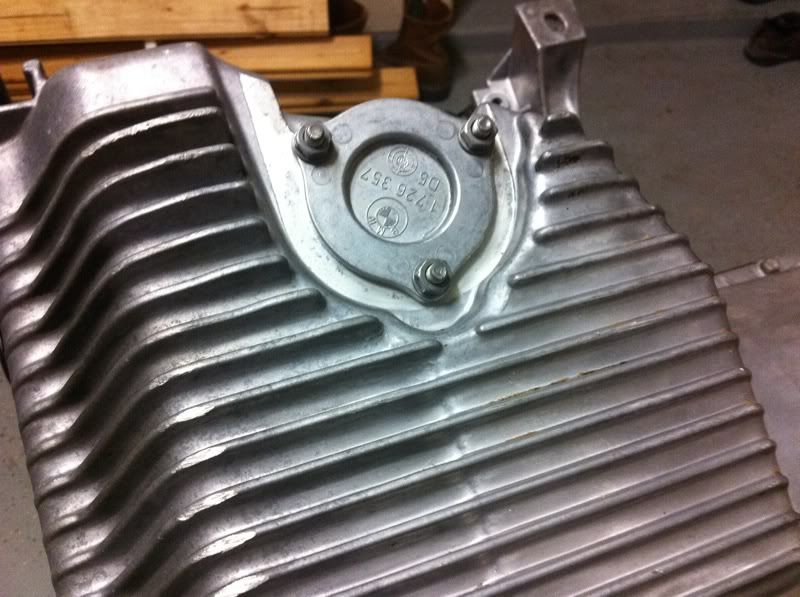
E34 oil pan, pump, and pick up.

Image


Bought a Soda Blaster to clean parts:

Image


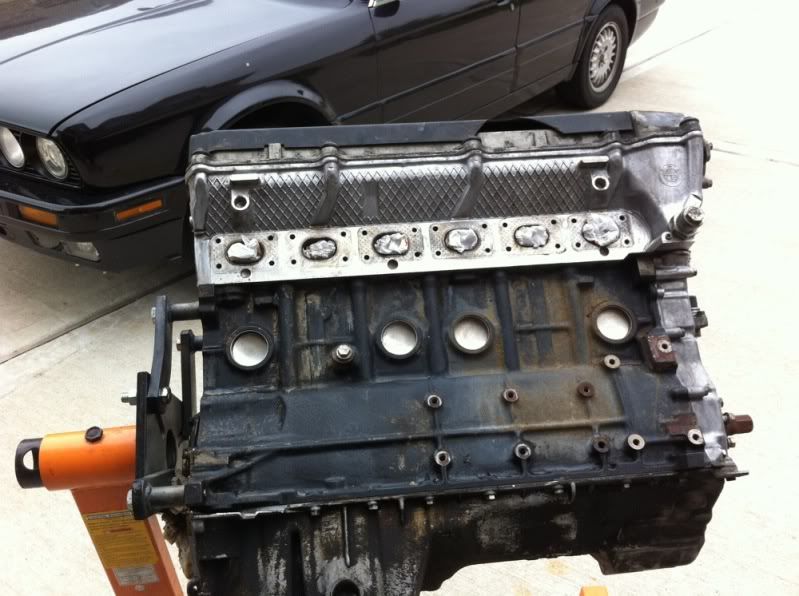
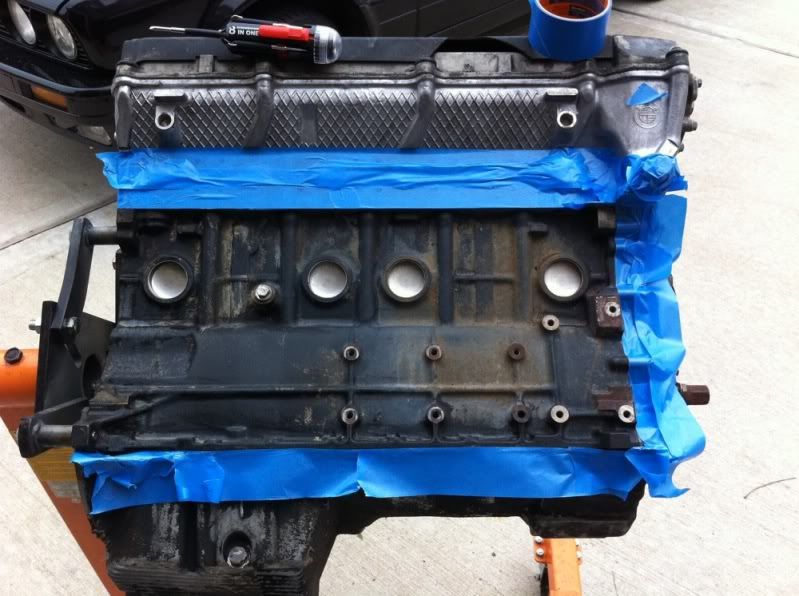
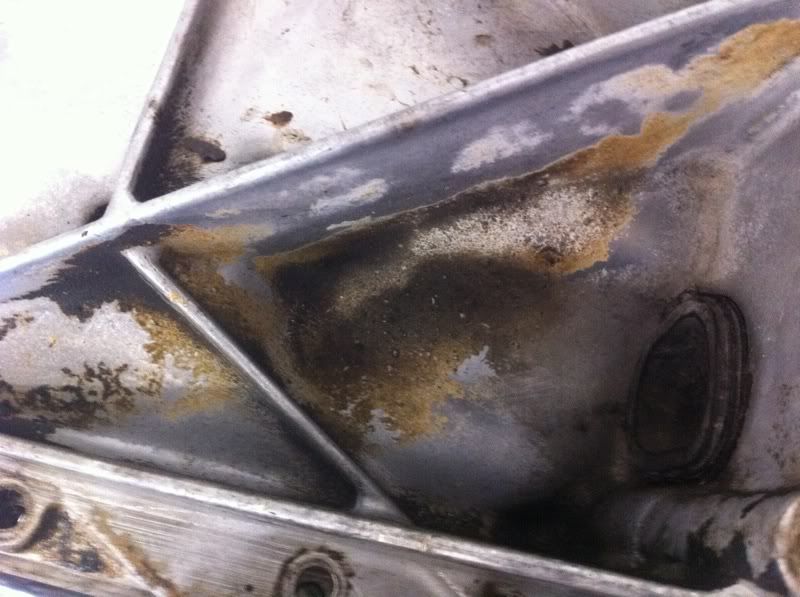
Here's the engine before a thorough cleaning with some purple power:
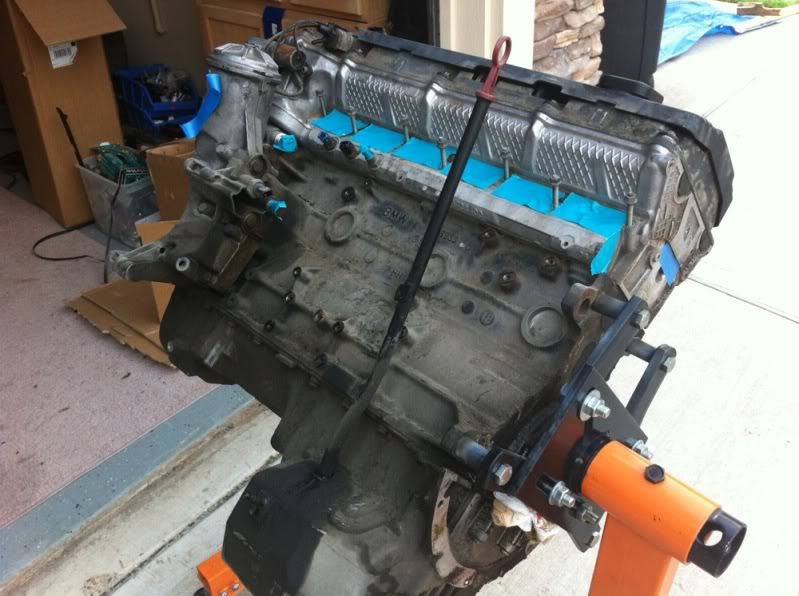
Image

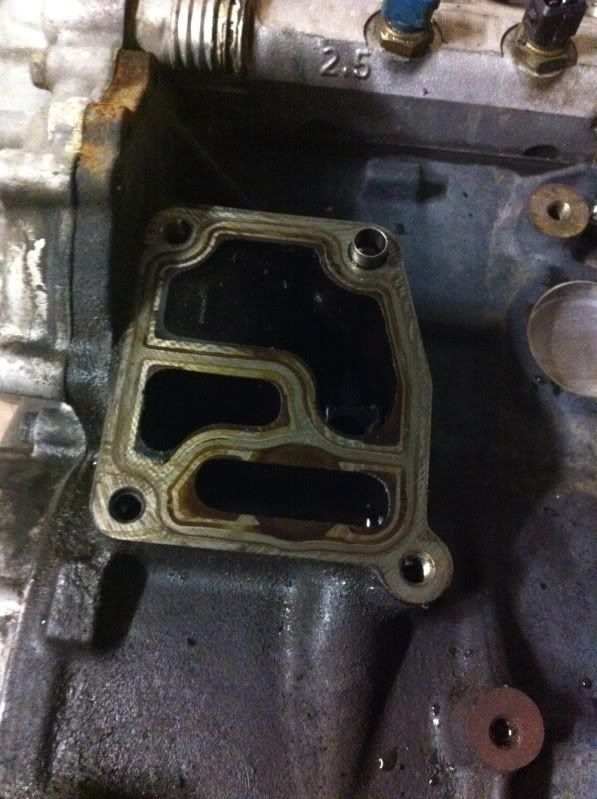
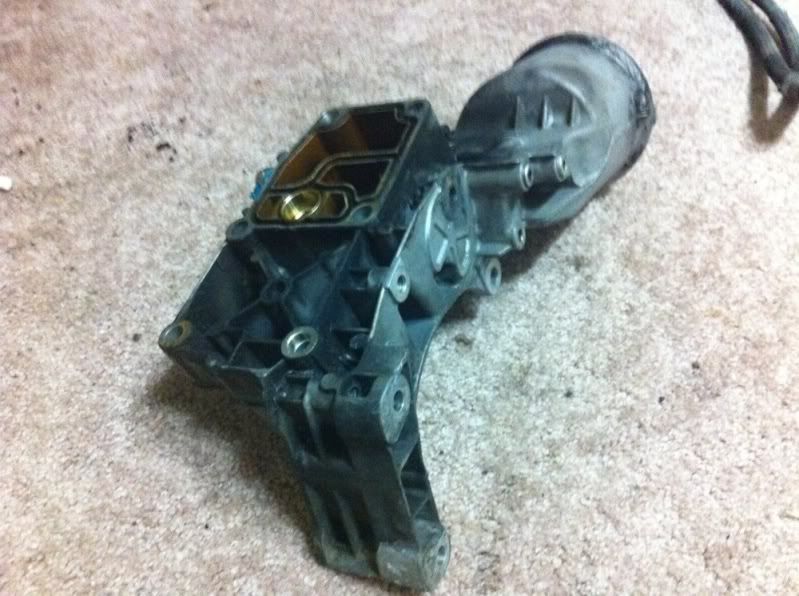
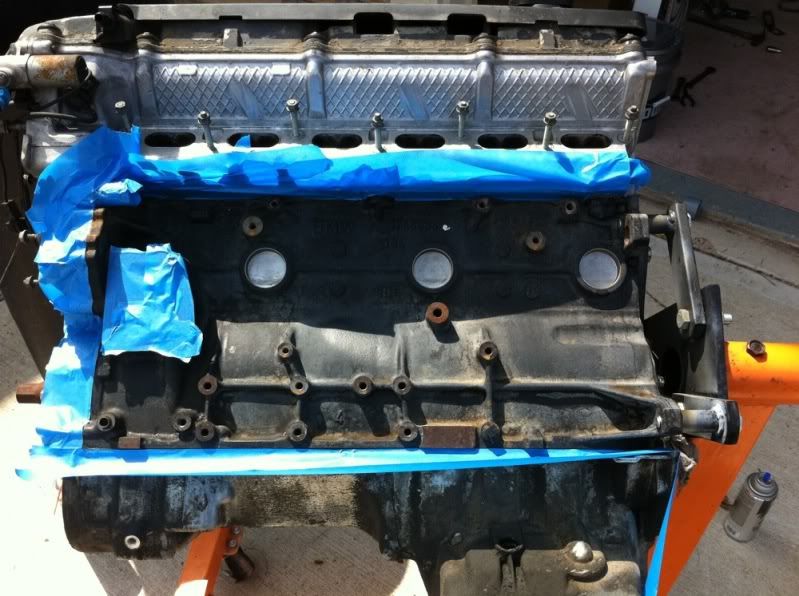
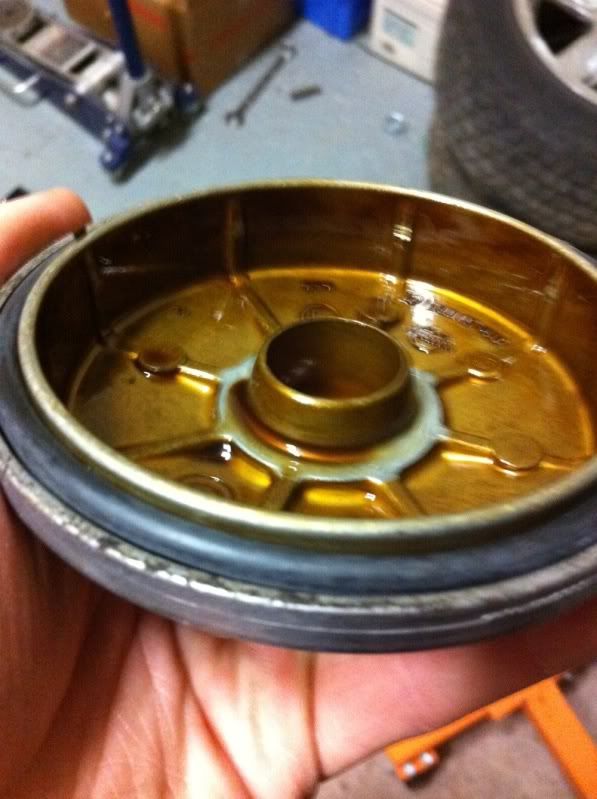
For the most part clean, still had a few spots left courtesy of the oil filter housing which got removed.
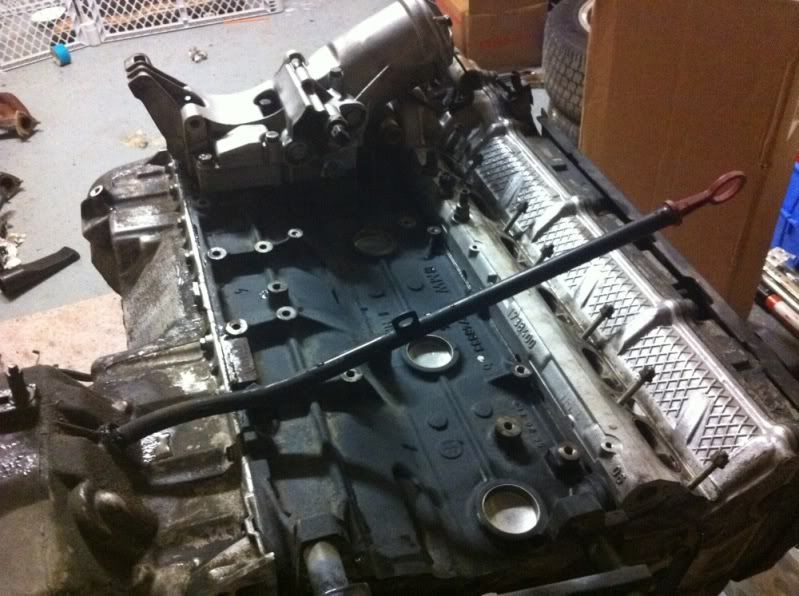
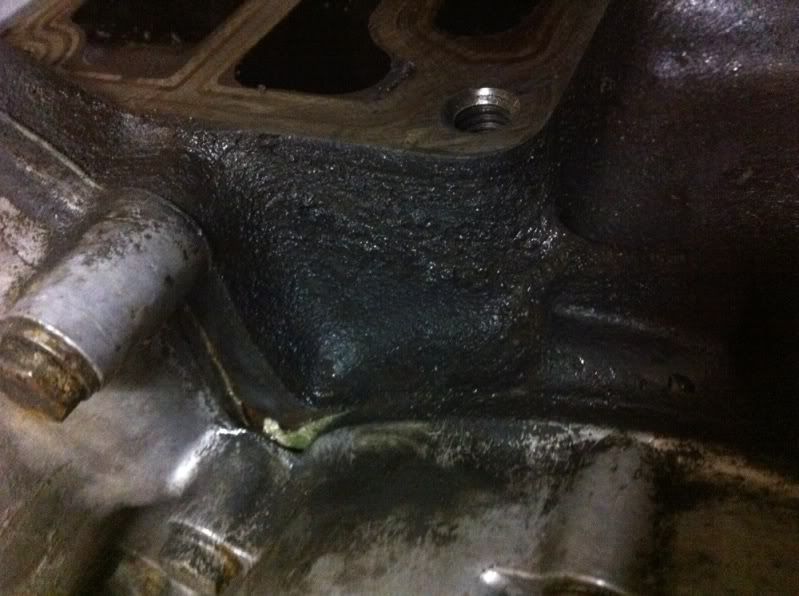
Image


Image

Image

Image

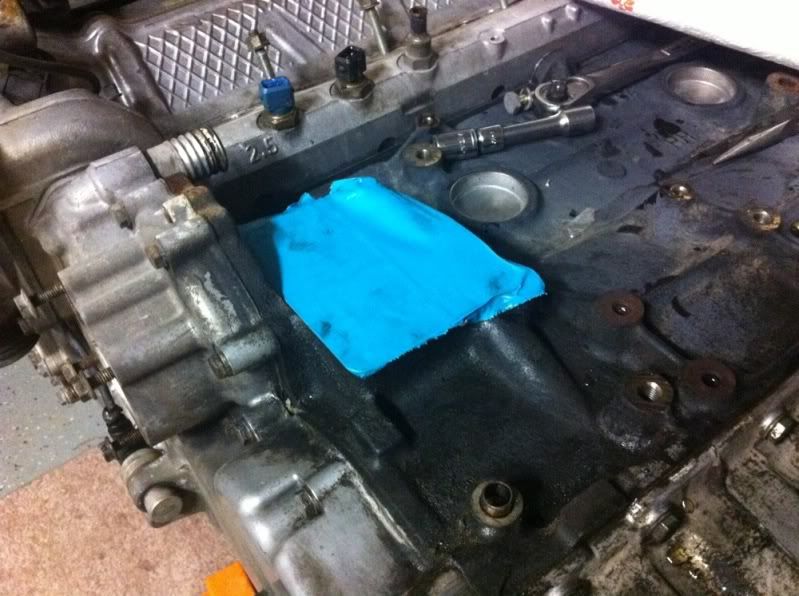
And the opening taped up:

Image

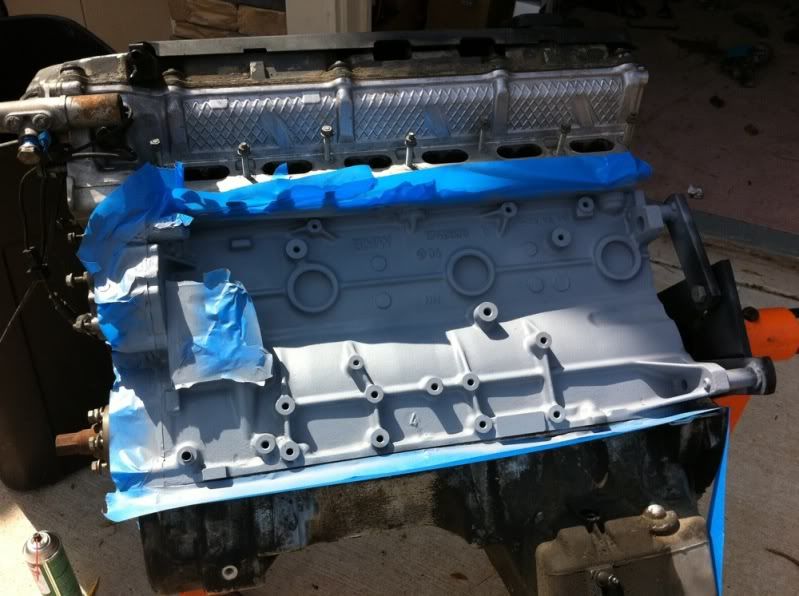
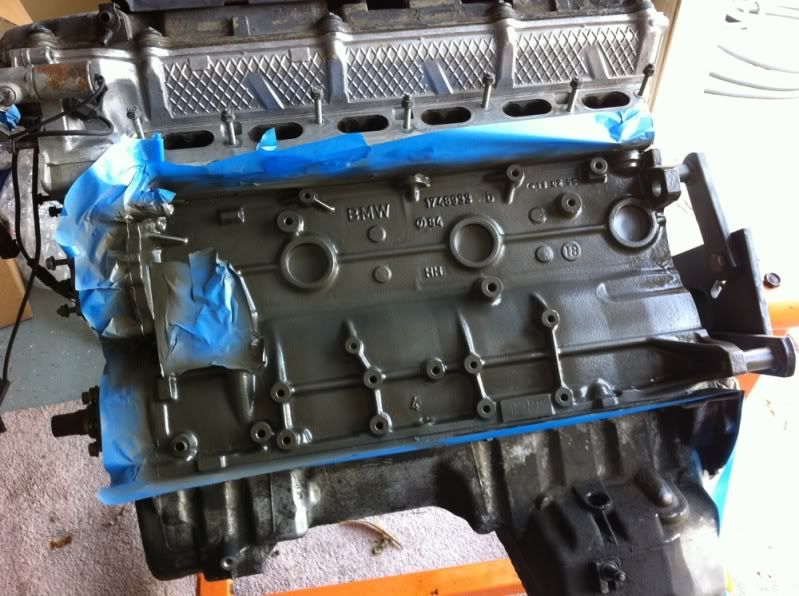
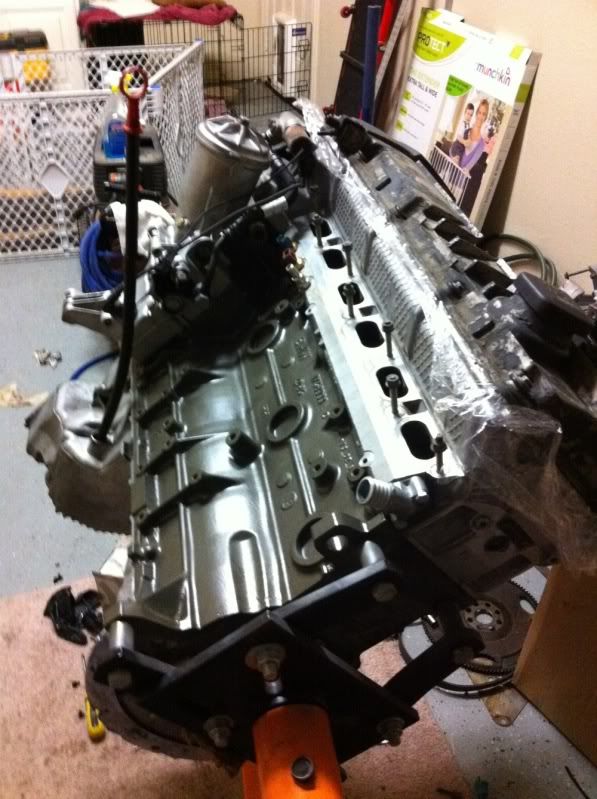
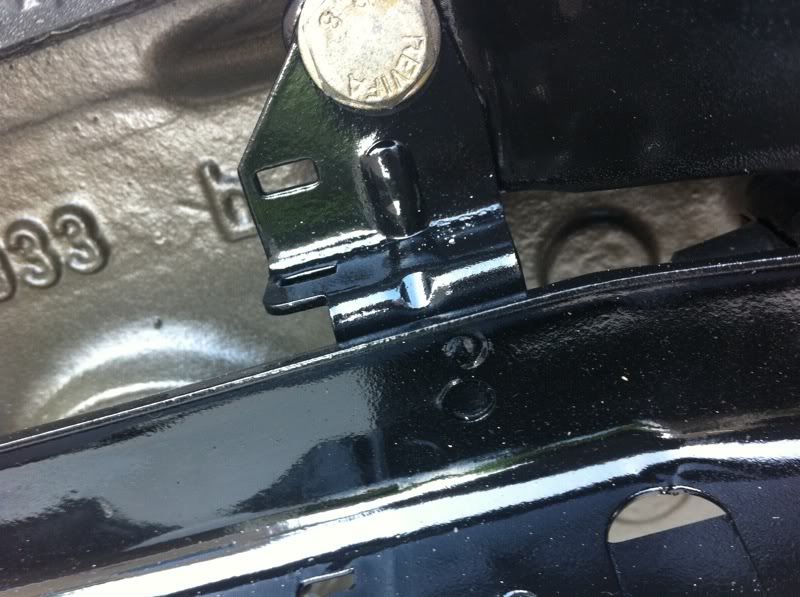
The next day started with painting.
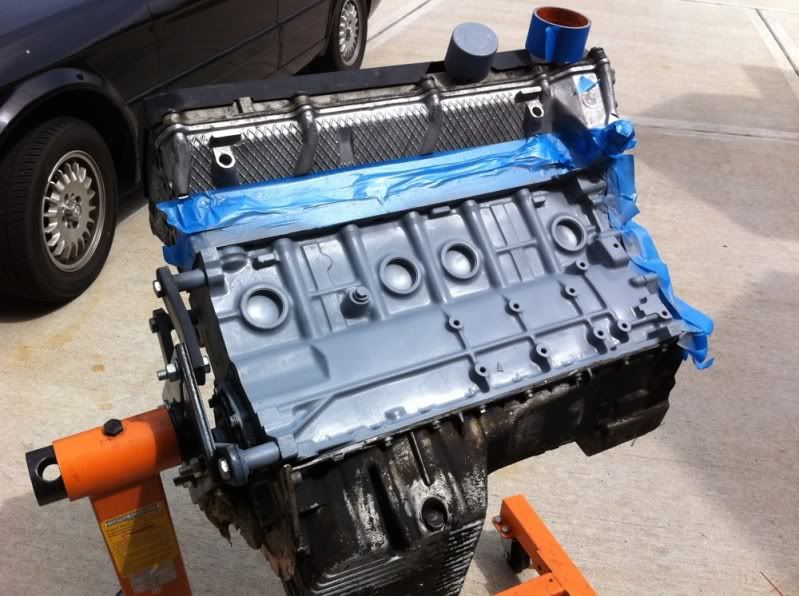
Image

Image

Image

Image

Image

Image

While the paint finished curing, I decided to start replacing some things.

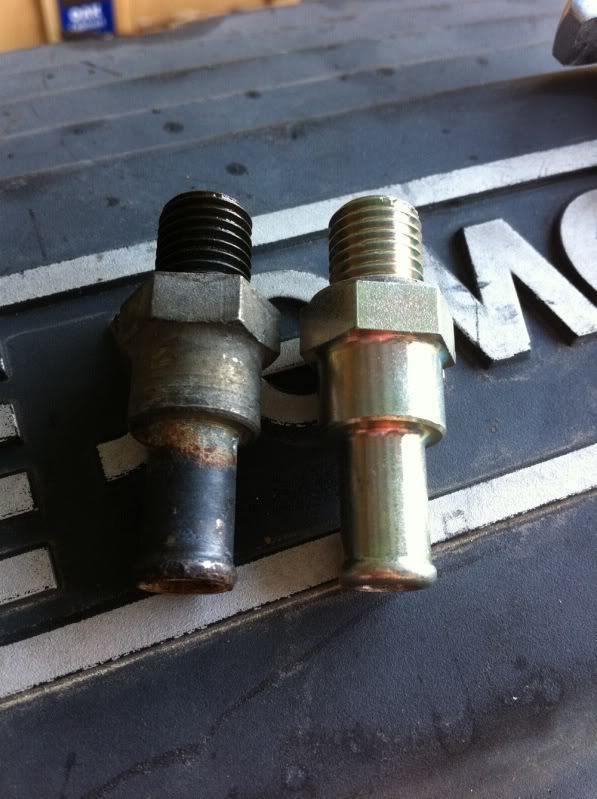
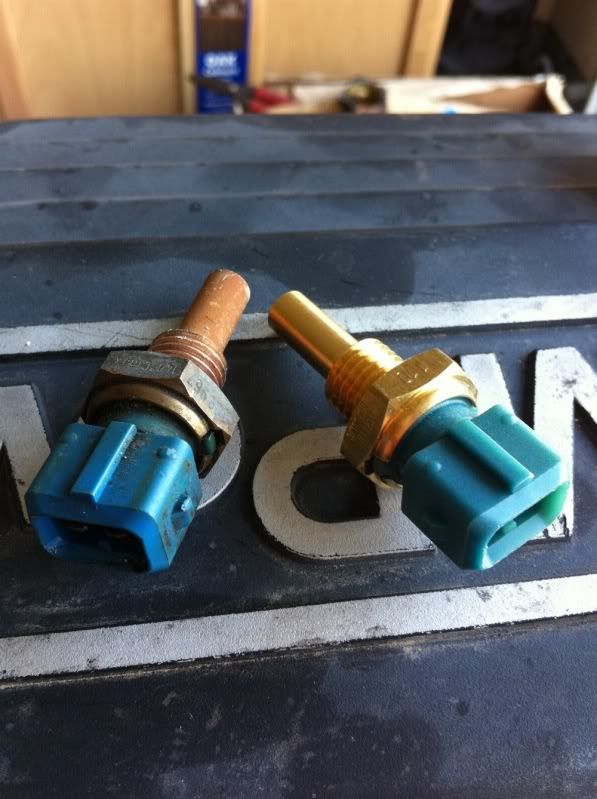
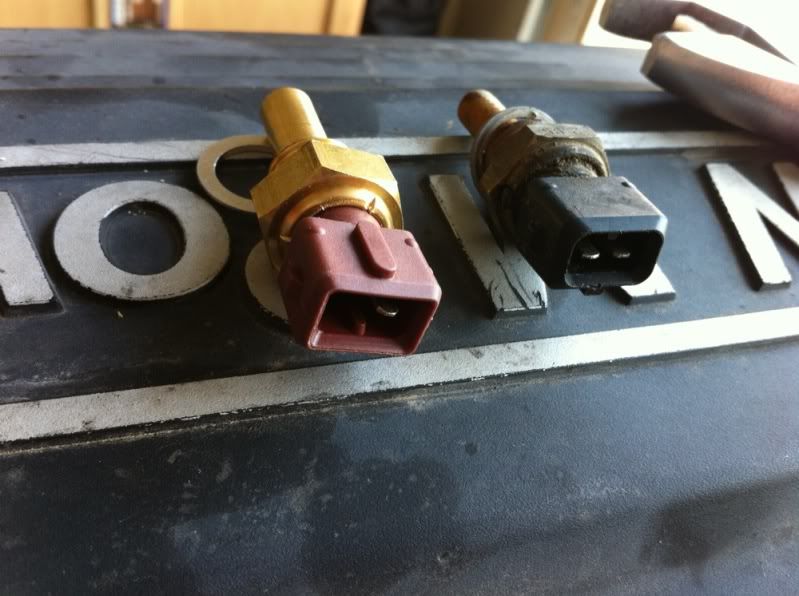
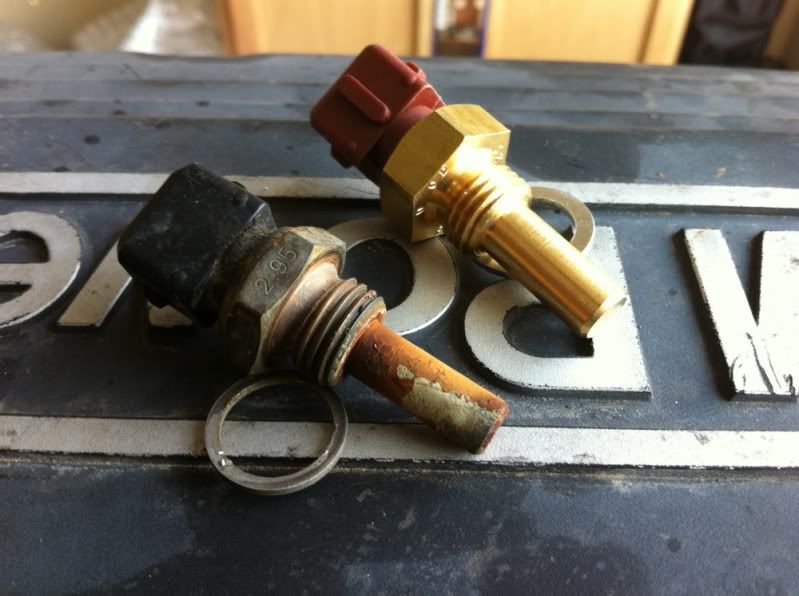
Before and after:
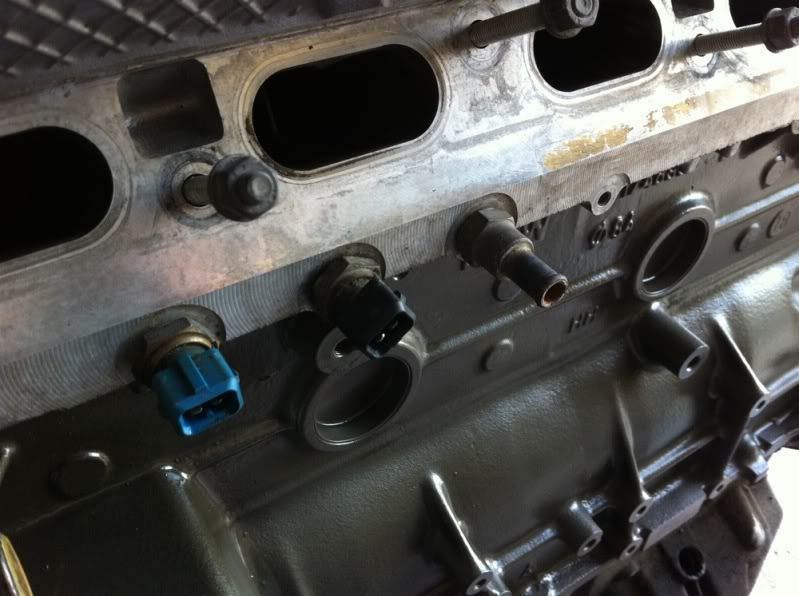
Image

Image

Image

Image

Image

Image

Image

Image

Image

Image


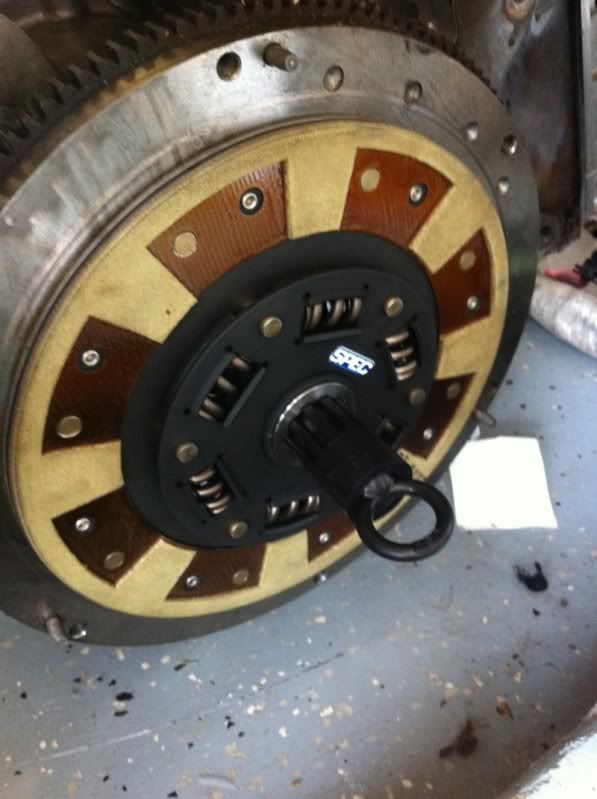
The Spec Stage 2 clutch came in:
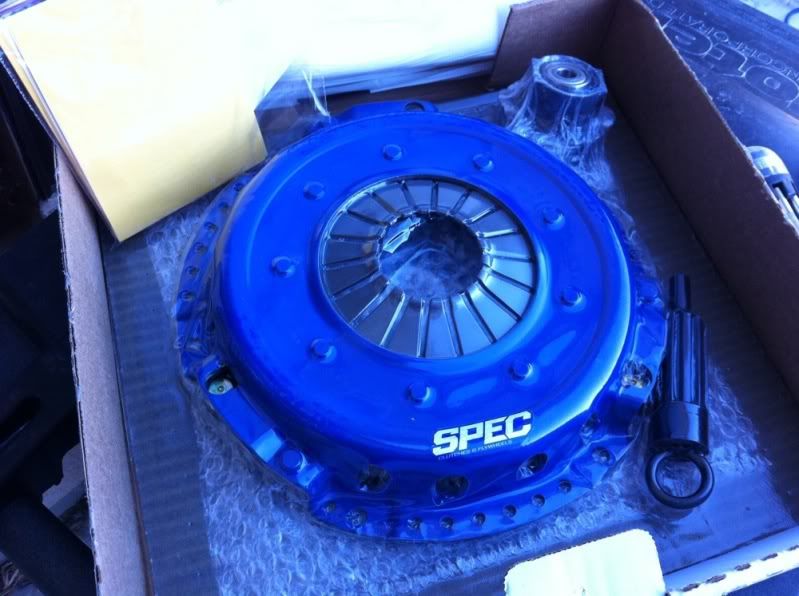
Image


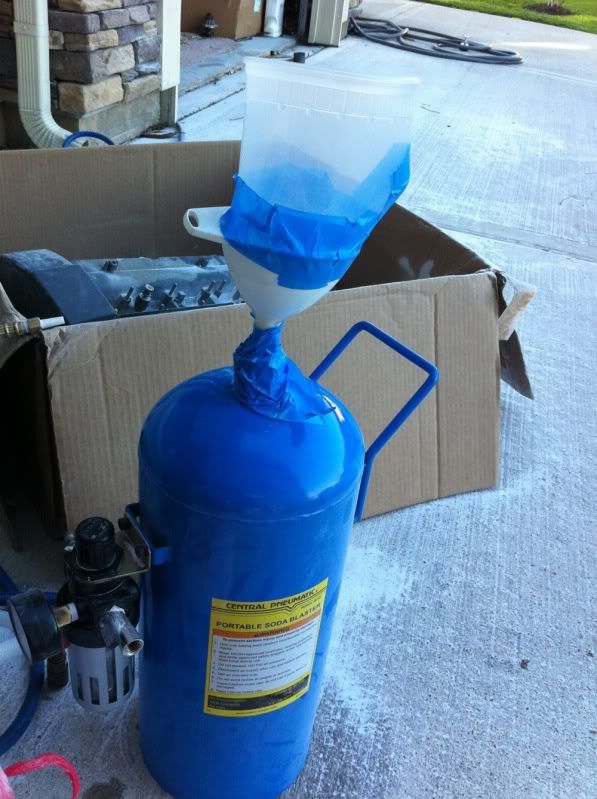
Then I decided to use my new favorite tool. A bitch to load tho.

Image

Before:

Image

After:

Image

Image

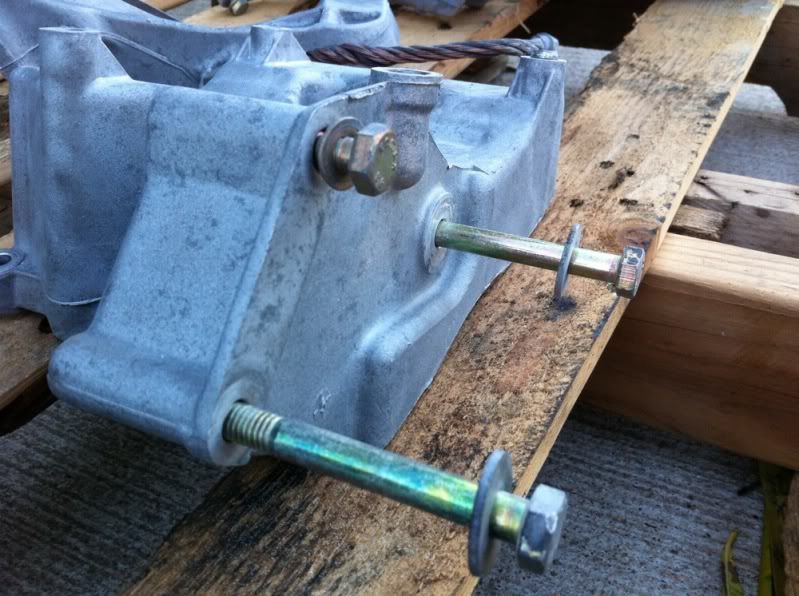
Those aren't new bolts. :)
Image


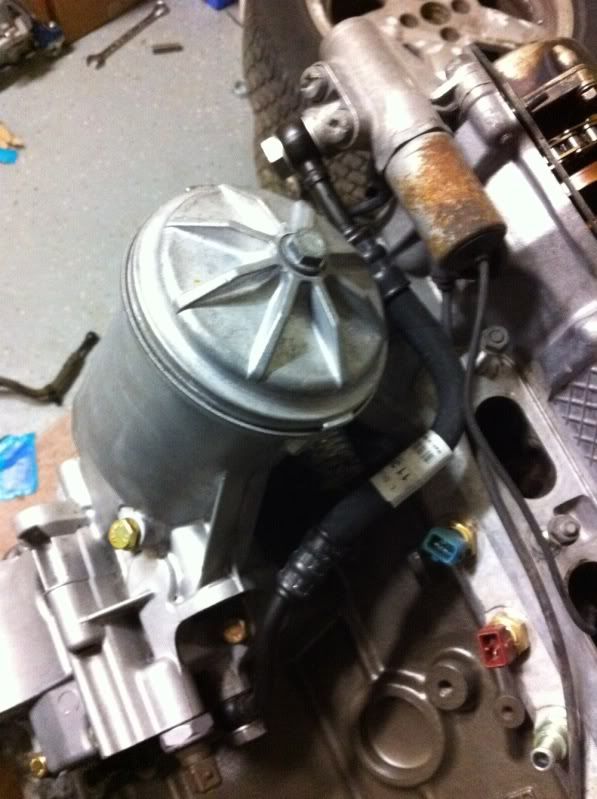
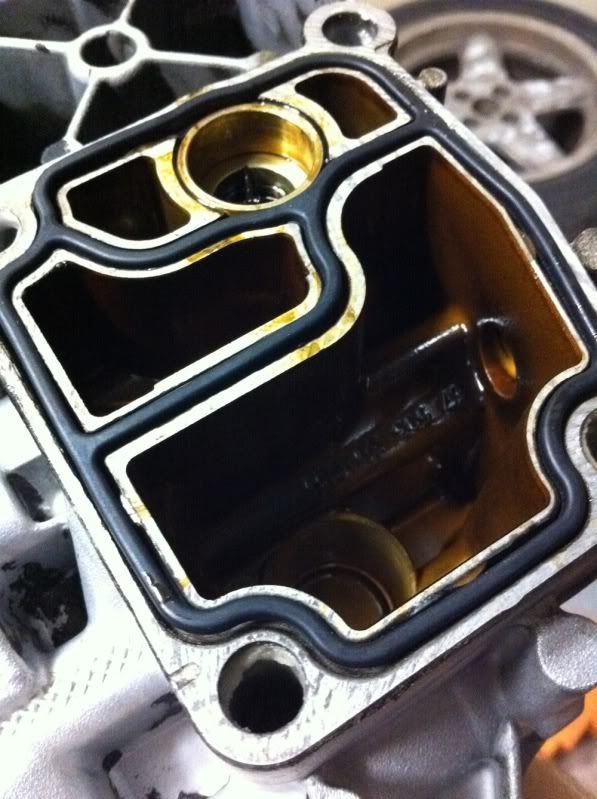
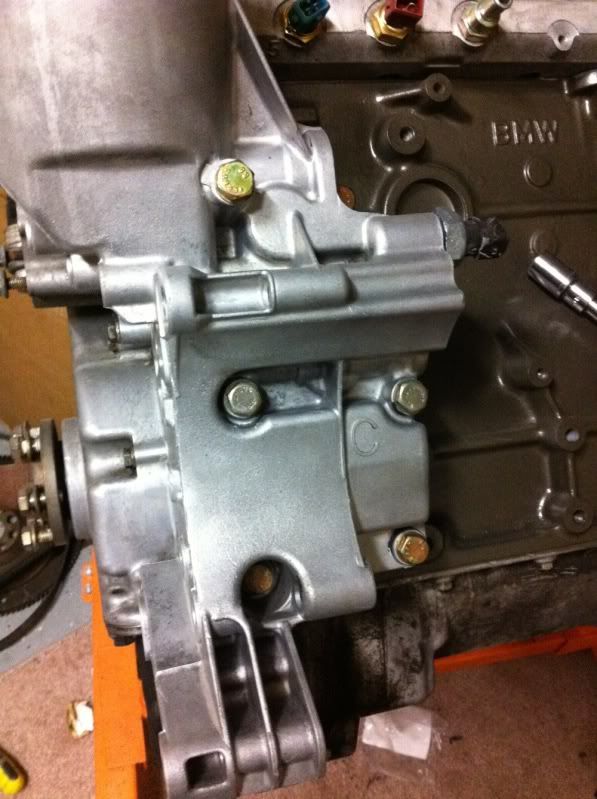
Since the oil filter housing is nice and purty, I decided to start some reassembly.

New gasket:
Image

Thread locked and torqued accordingly:
Image

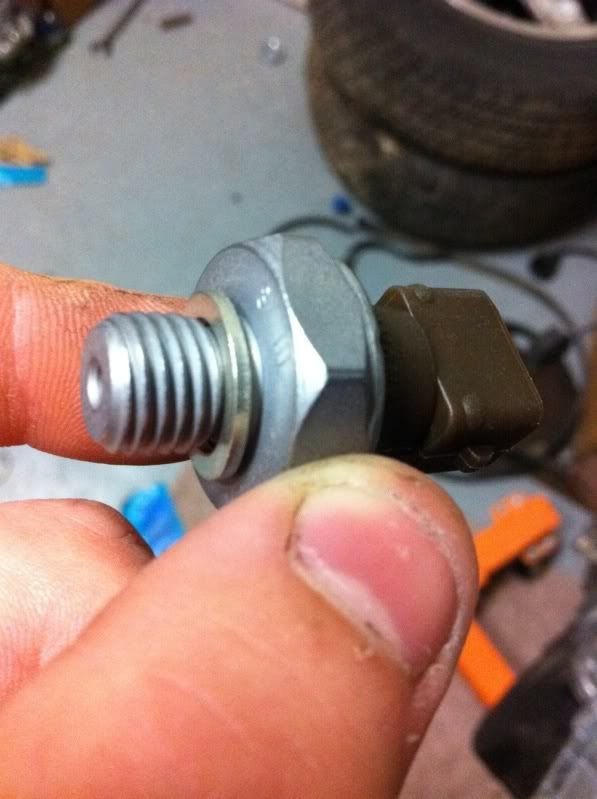
New oil pressure sensor:

Image

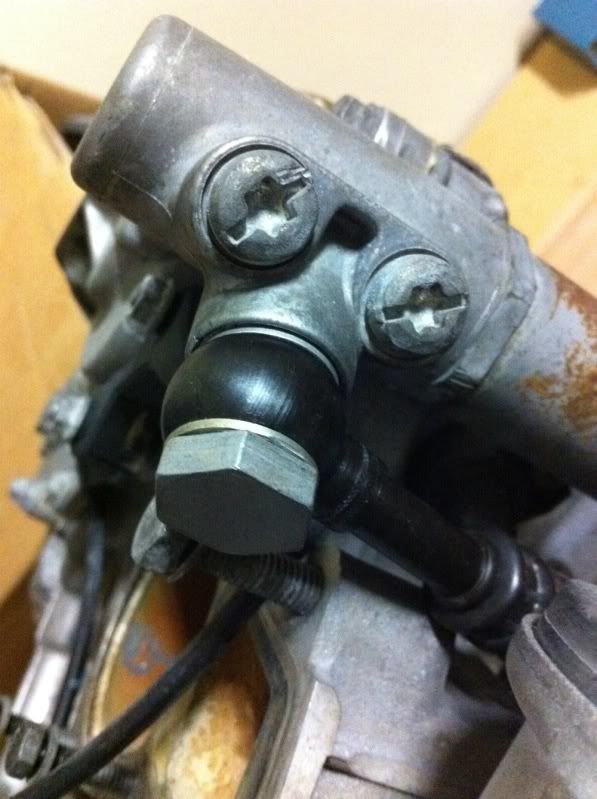
New oil supply hose and hardware:

Image

Image

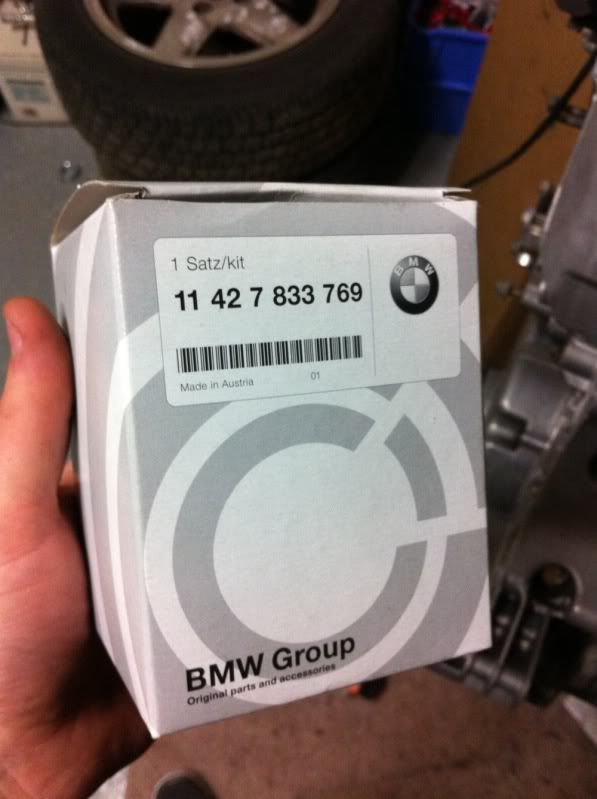
New filter kit with a matching new filter housing bolt:
Image

Image

Image

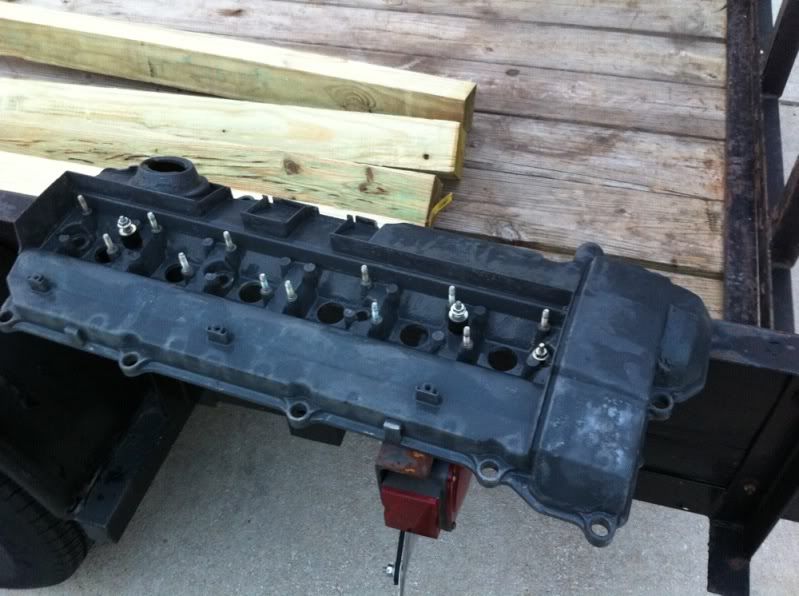
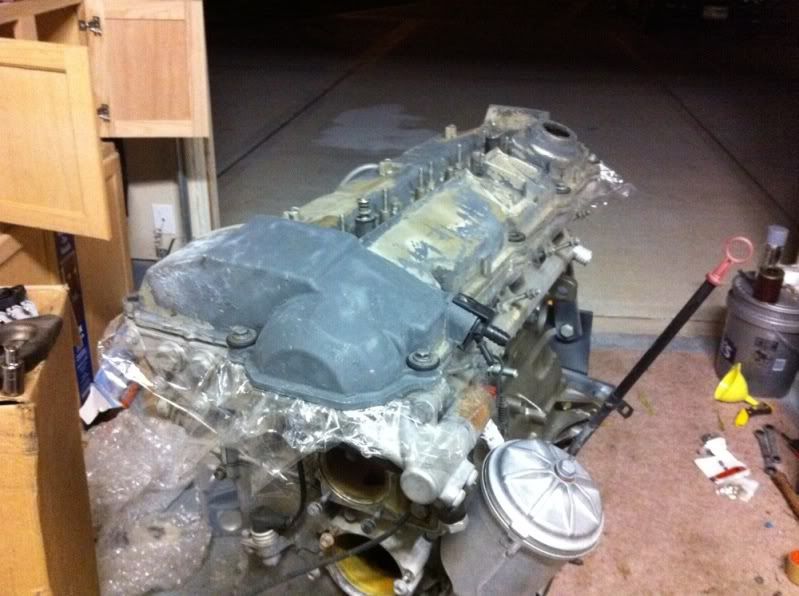
Next I put the valve cover back on with some plastic wrap on it to stop some soda residue from entering the engine. (Still not done)
Image


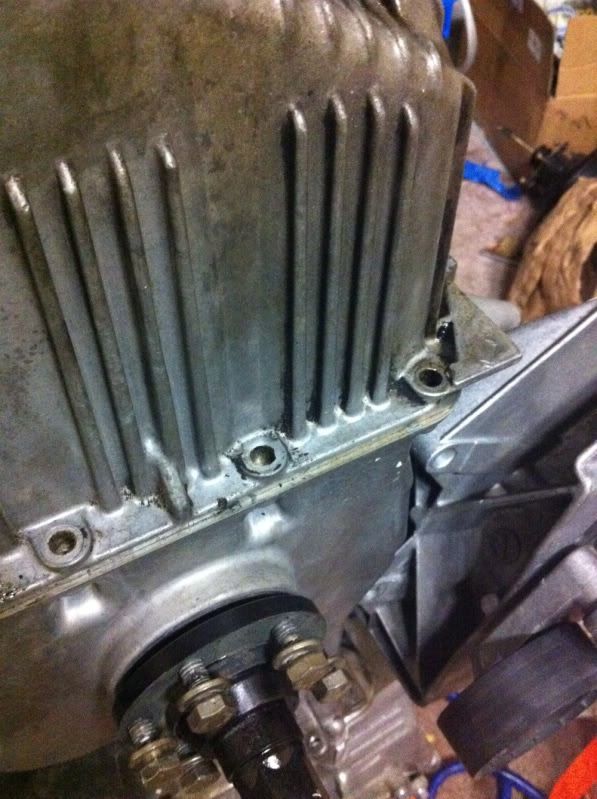
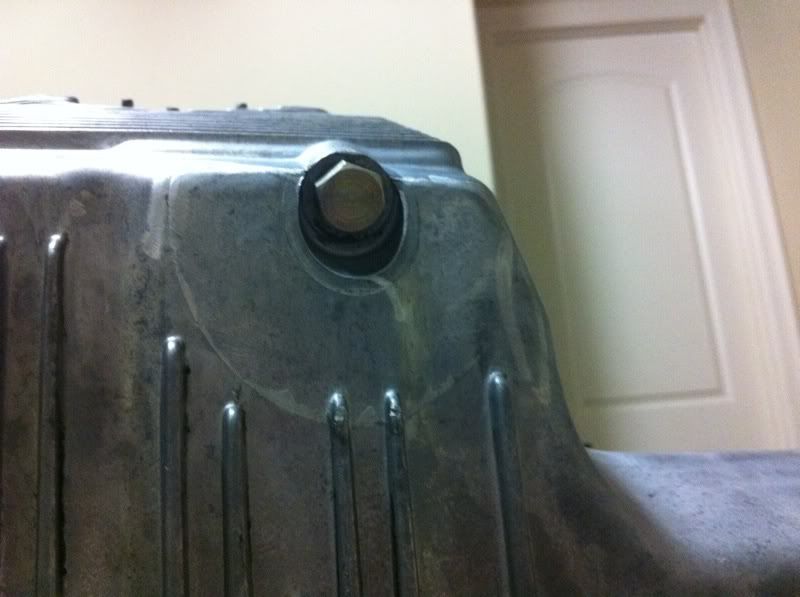
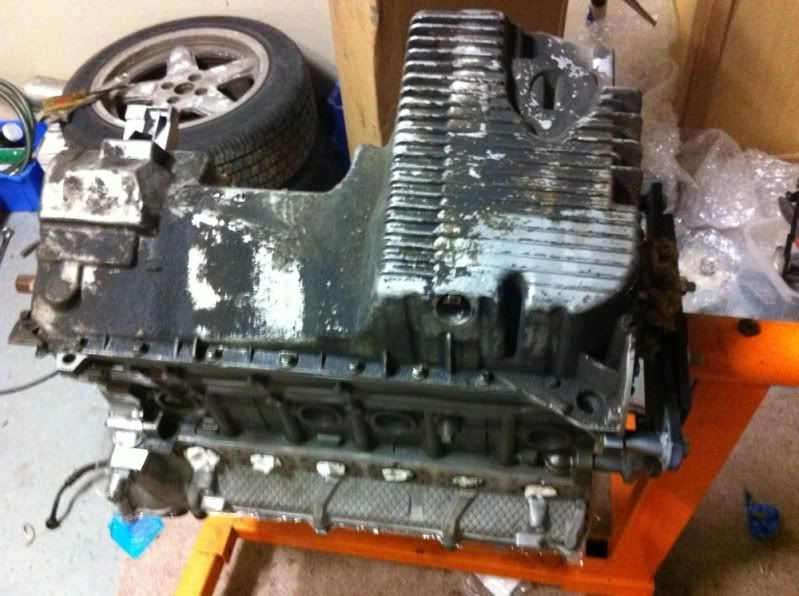
Flipped the engine over and started removing the bizzion oil pan bolts.
Image

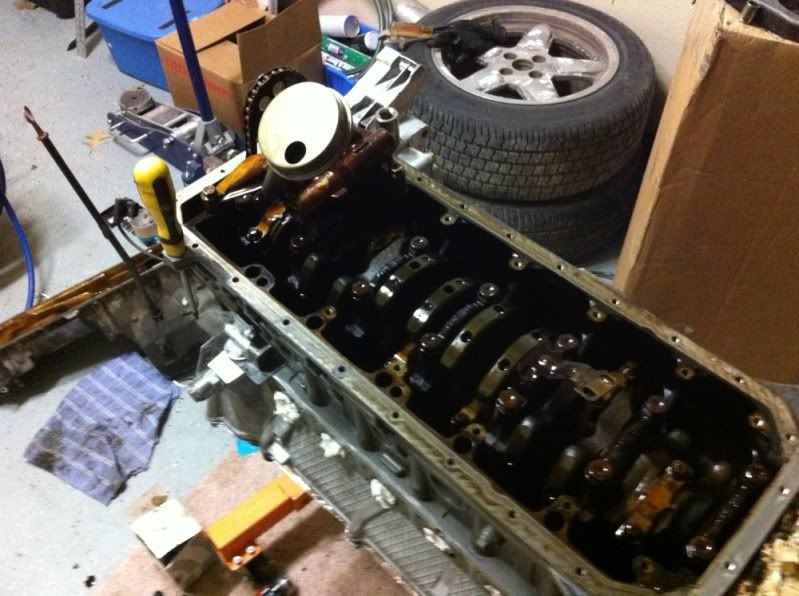
Took out the baffles, support bracket, replaced the pick up seal, pump nut torqued, red loctited, flattened the threads (it ain't going anywhere), and installed the E34 pick up.
Image

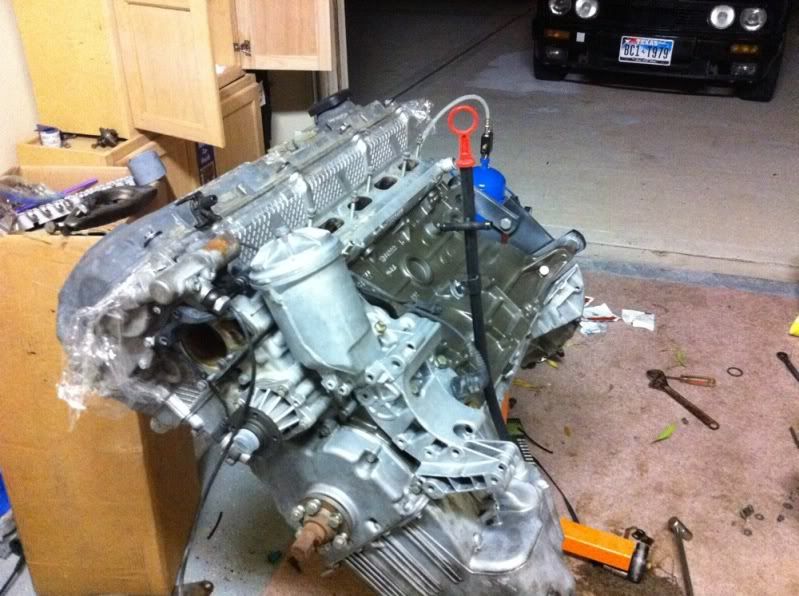
The gasket was missing in my box of parts, so I should have that by Thursday. (It was ordered and paid for, but they just forgot it)


How she looked after that day:
Image

Image


Fast forward to today:


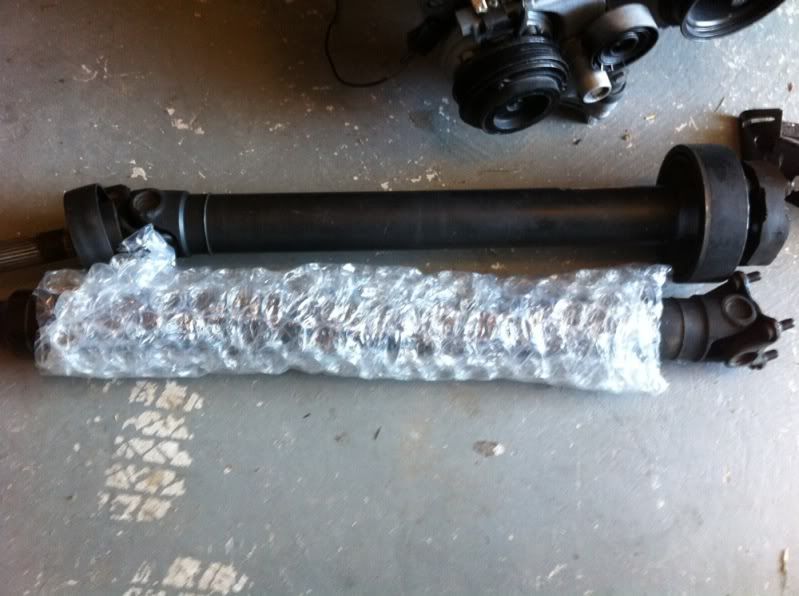
Driveshaft and linkage came in:
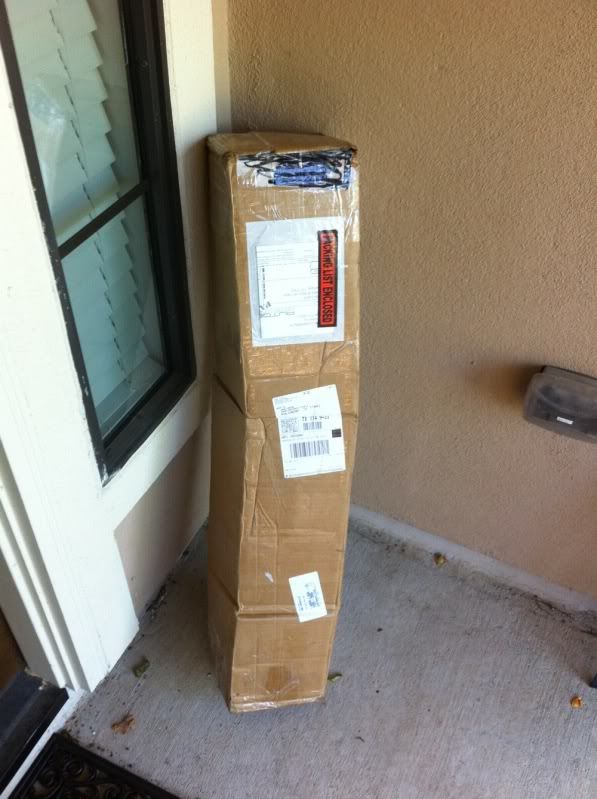
Image

Image

Image


Installed the rear headers:

Image


Got a new blaster, old one's regulator blew up, yay for warranties!
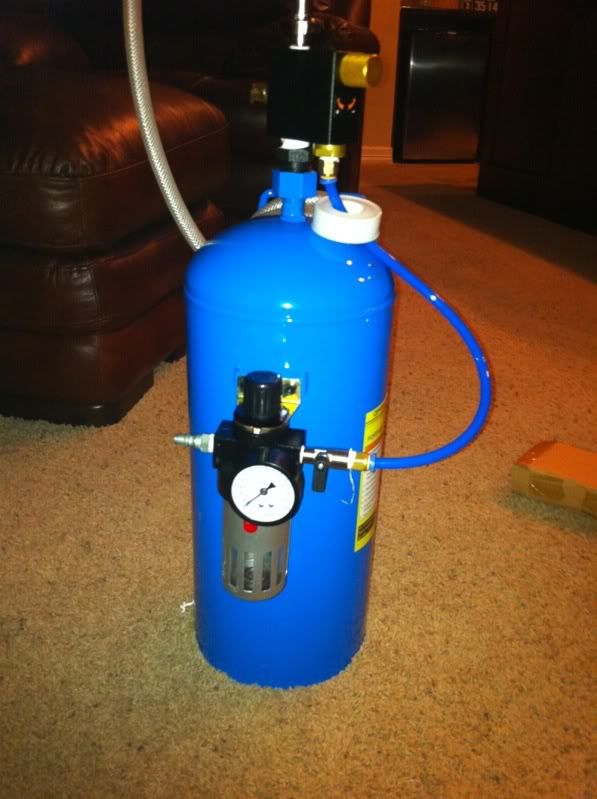
Image


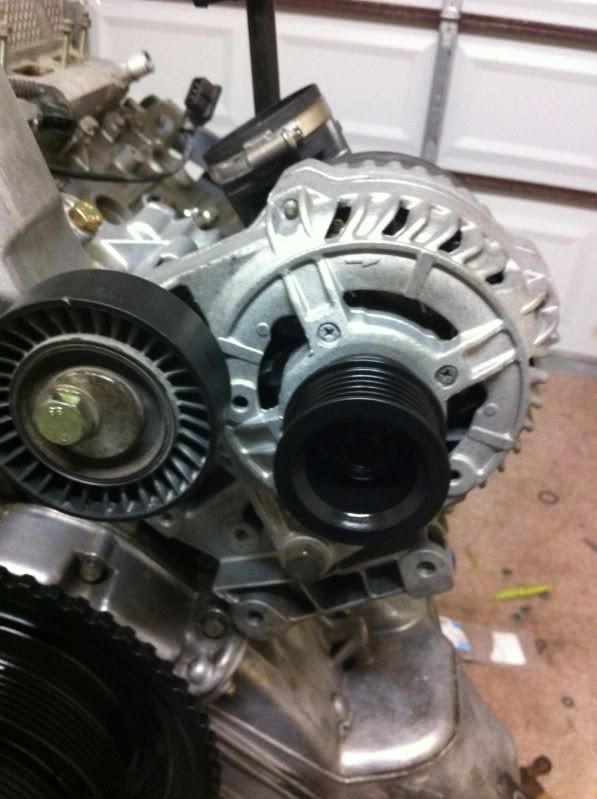
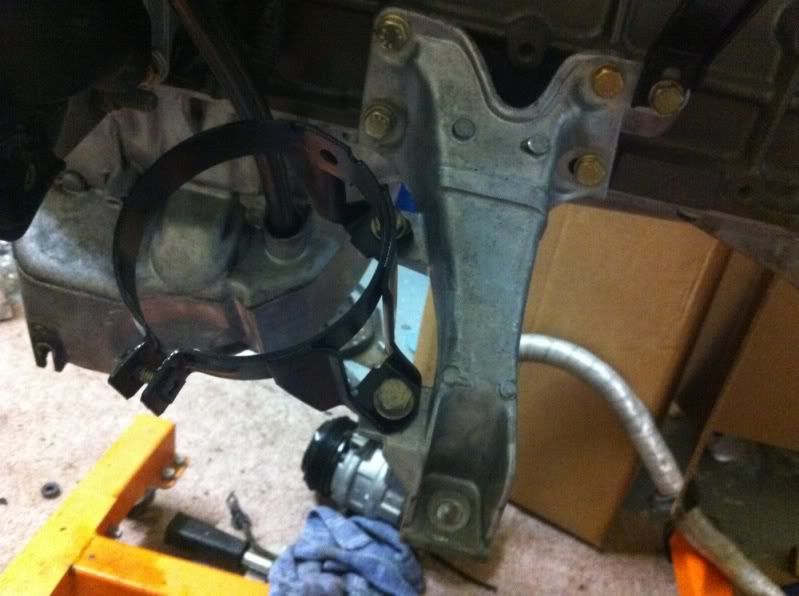
Put the AC bracket and pulley back on.
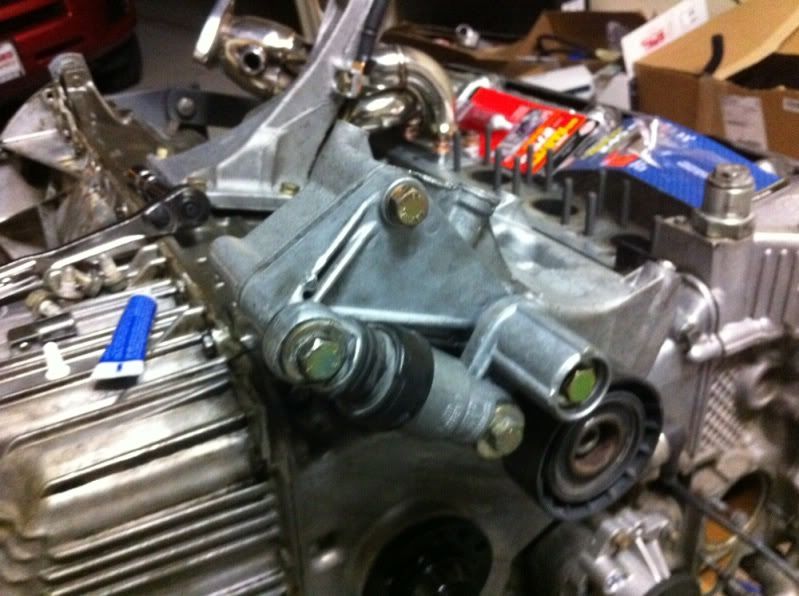
Image


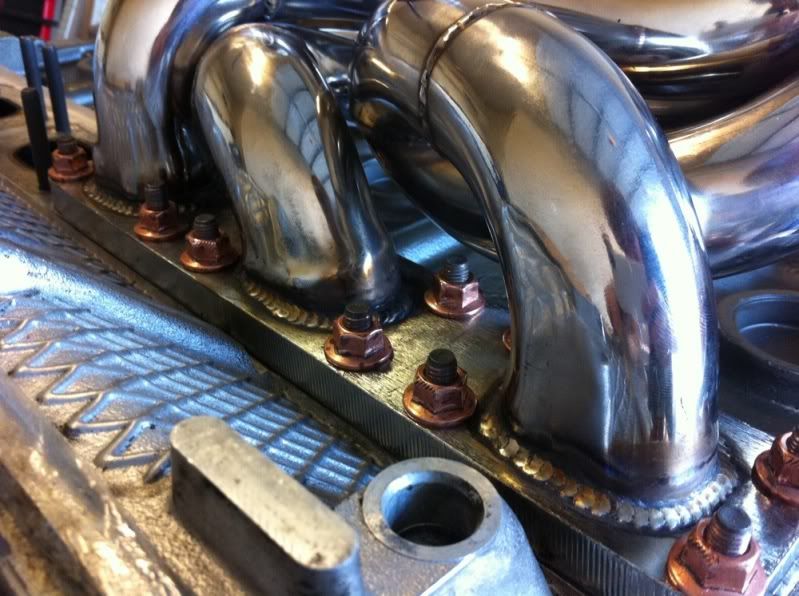
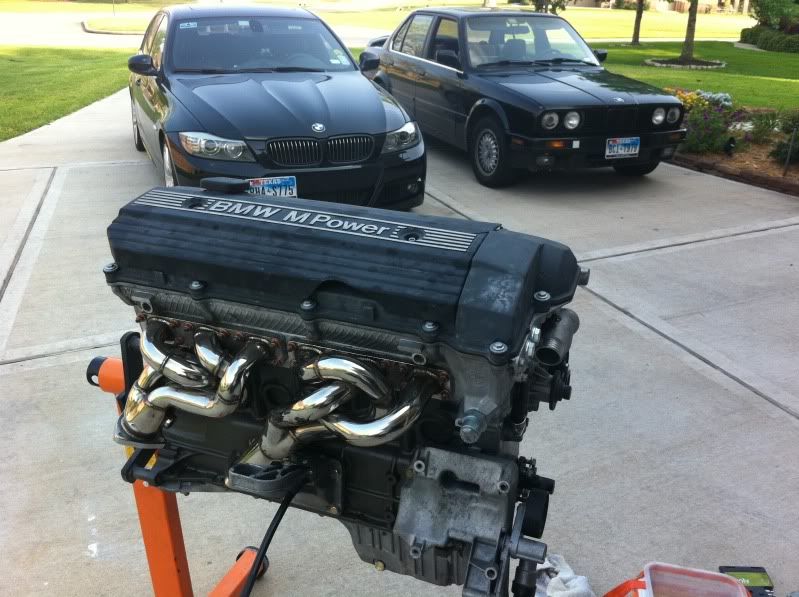
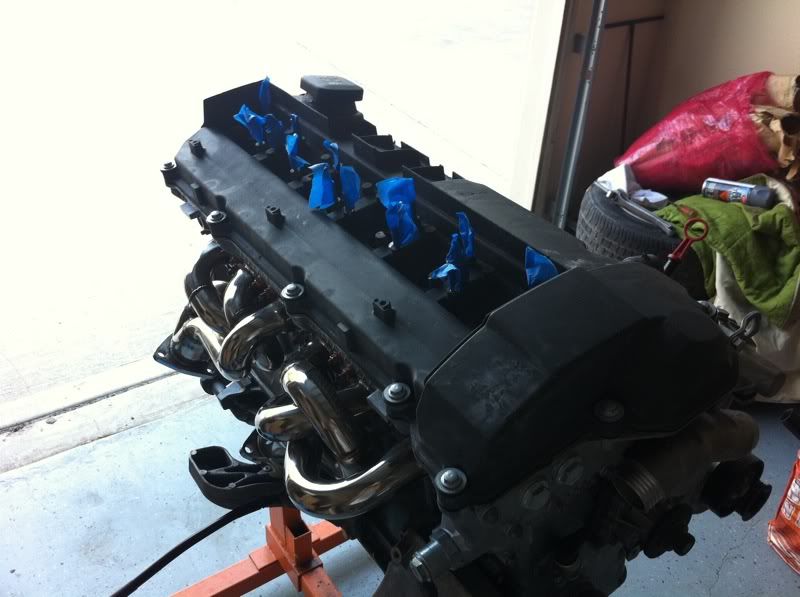
Finished up the headers:

Image

Image


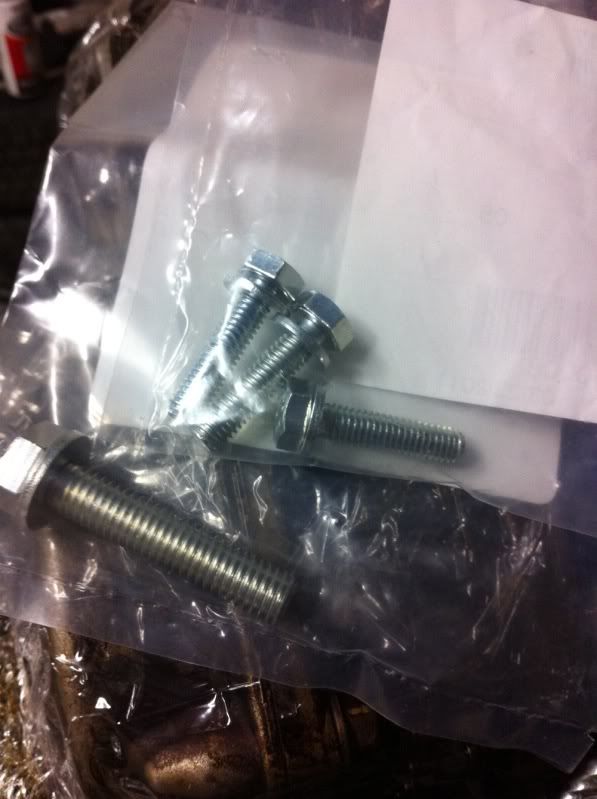
This kit gives you 2 extra normal nuts for securing the studs:
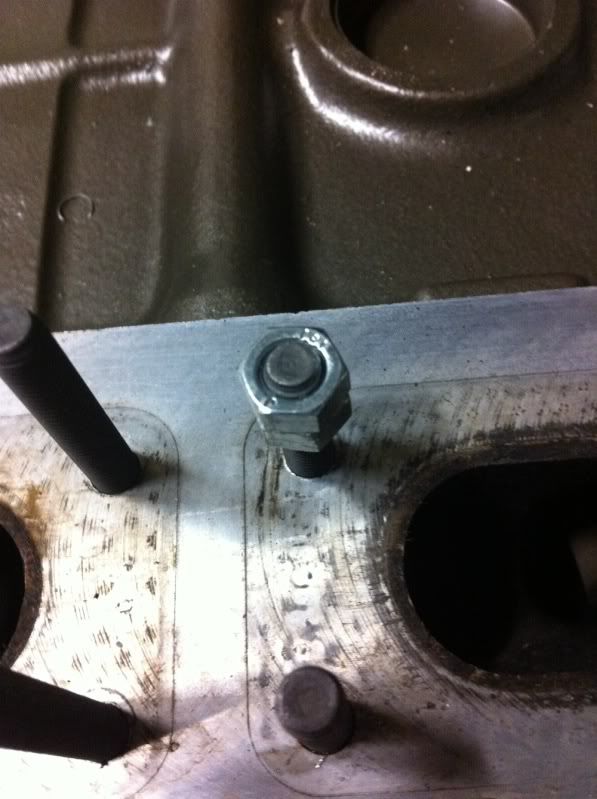
Image


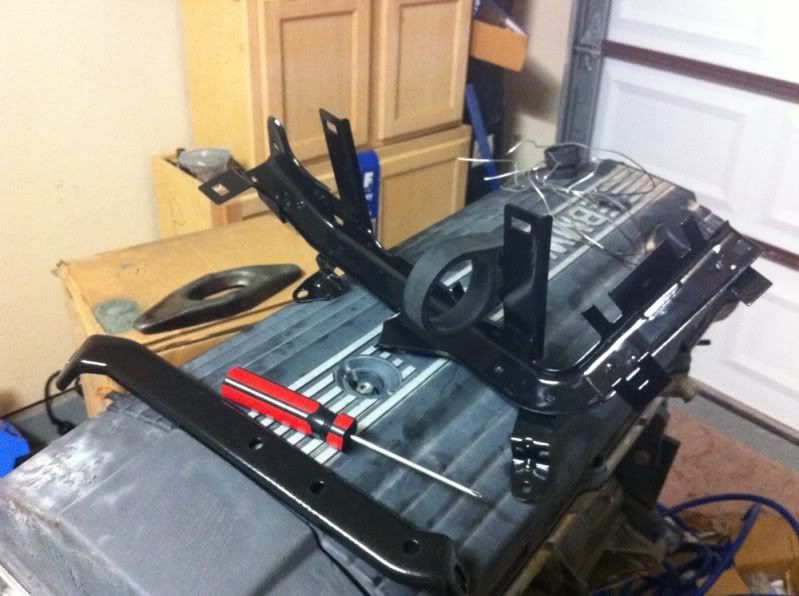
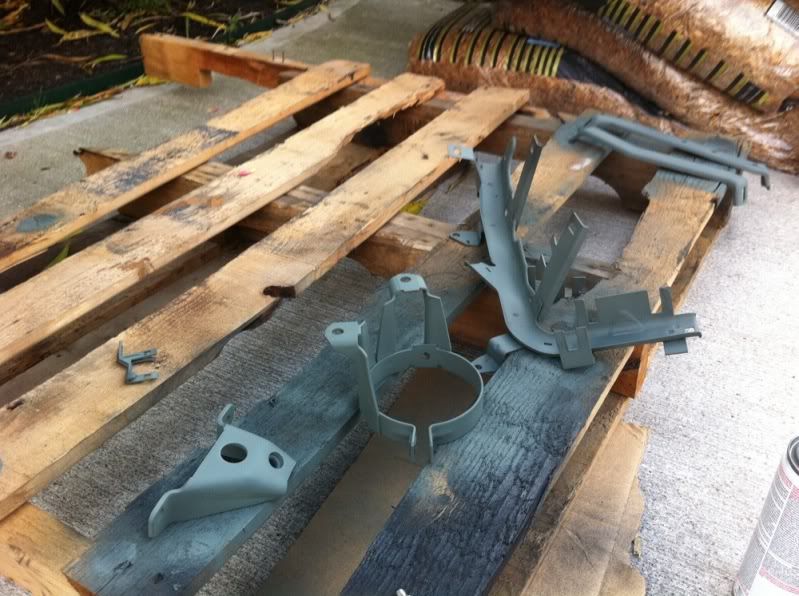
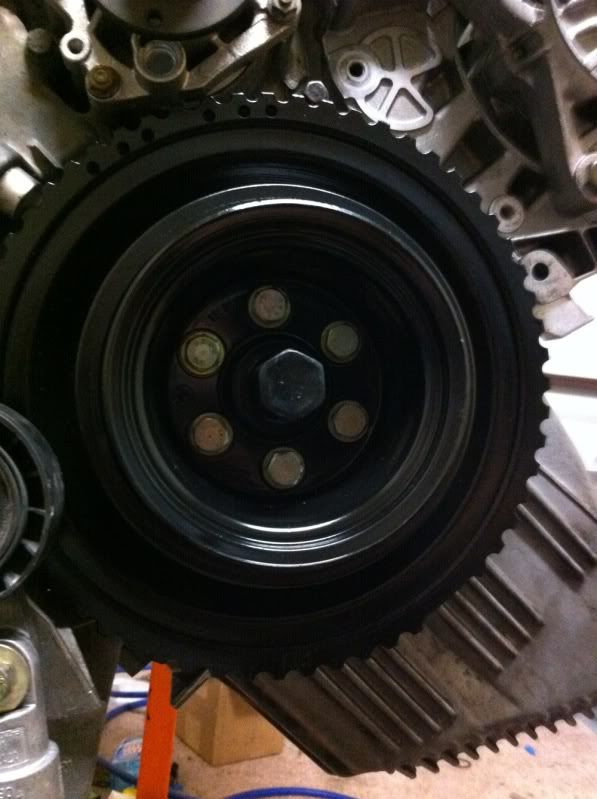
And painted and installed some of the things that got blasted.


Not new hardware either....
Image

Image

Image


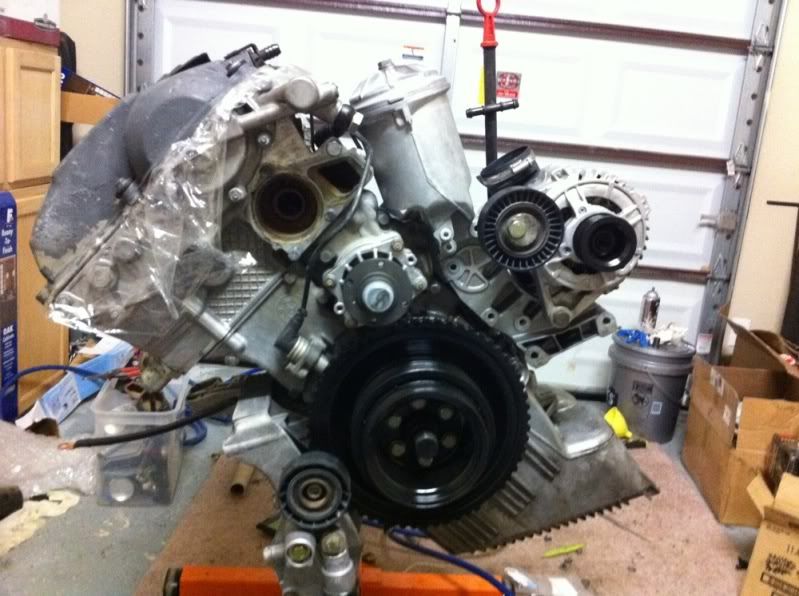
And here is how it stands tonight. Still a lot more to do, but I can see the light.
Image

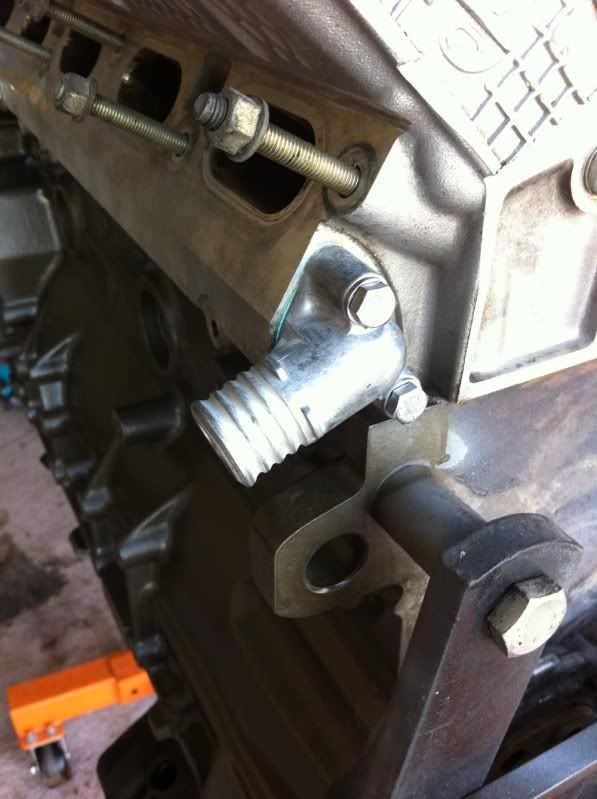
Installed the water pump. I know it's been in pics, but I hadn't actually installed it all the way yet, it was just there for mocking up.

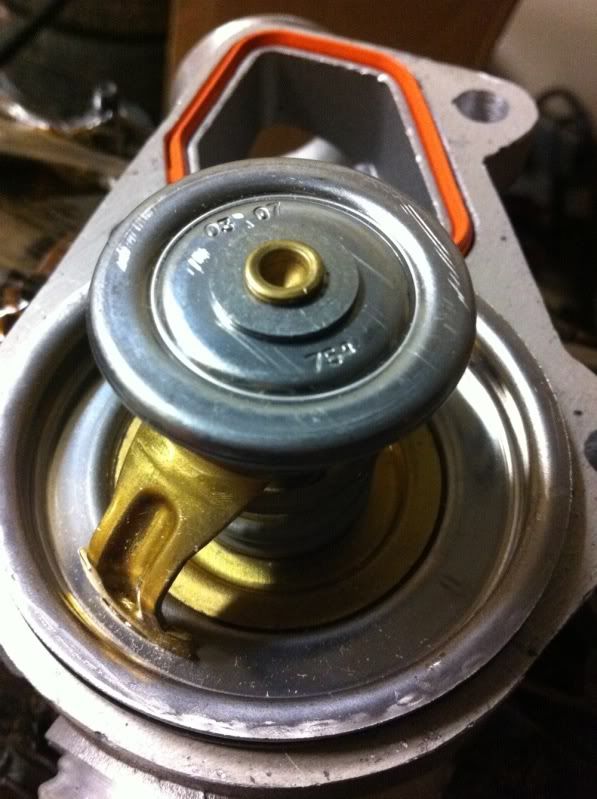
Then moved onto the thermostat housing and 75 degree thermostat.
Image

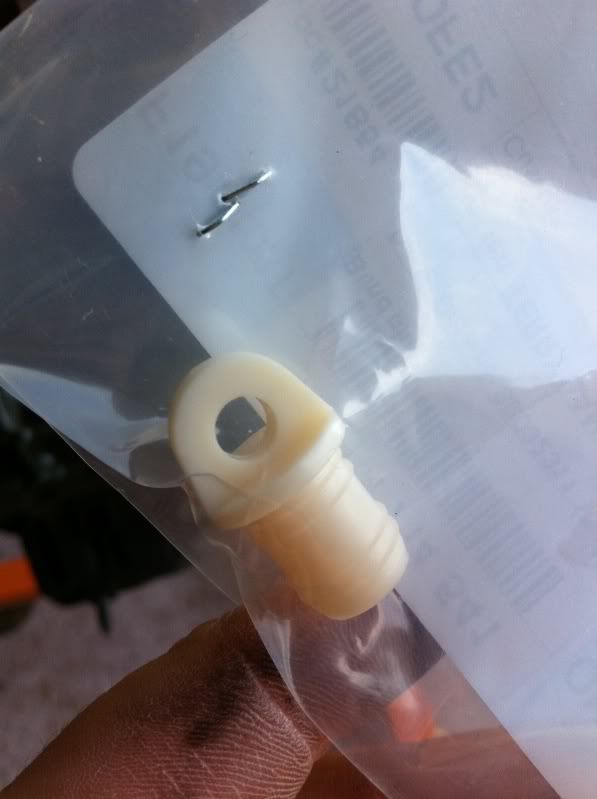
New hardware for this:

Image


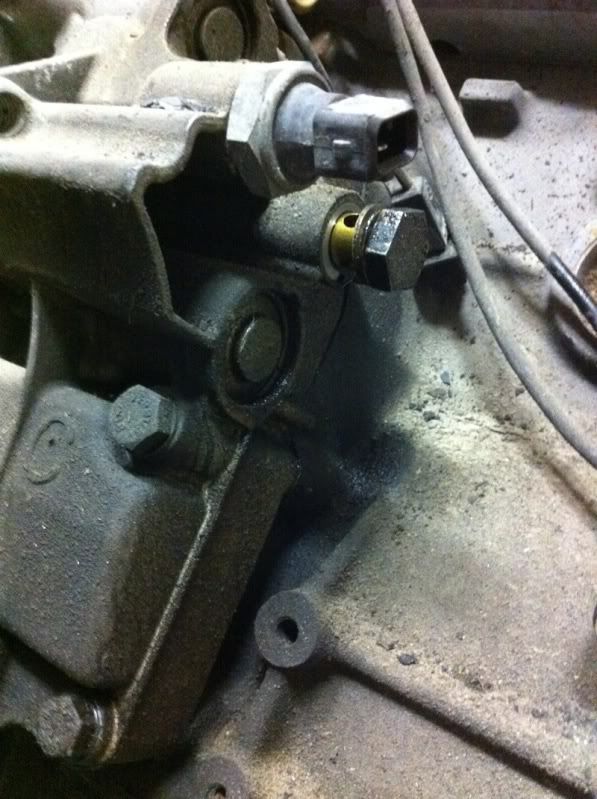
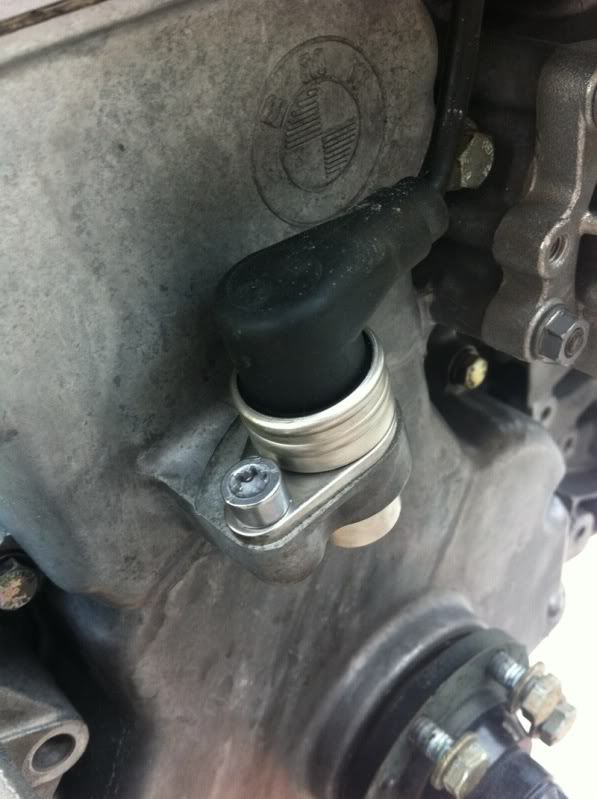
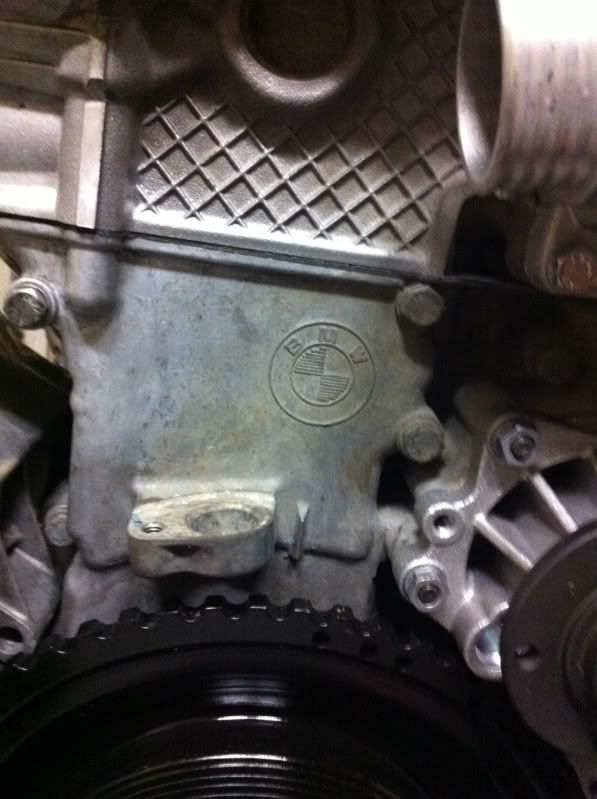
I then removed the trigger sensor. I'm planning on soda blasting the front as you can see where coolant leaked for awhile, so it's a little discolored. I'll have to take off a few things on the front, but it will be worth it. :)
Image

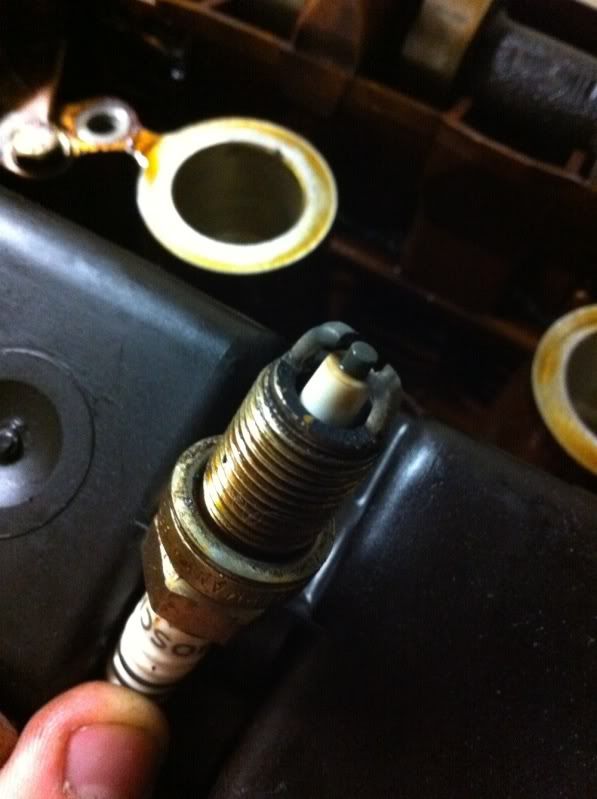
Also took out the spark plugs, didn't look too bad. There's some water on them from cleaning the block. Thought I got it all. :rolleyes:

They will be replaced down the road

Image

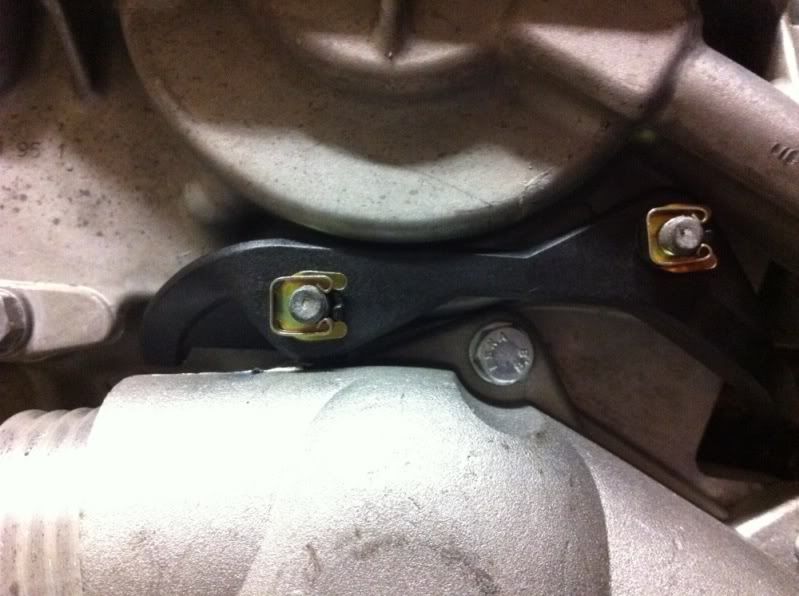
New wire guide and c clips for the trigger sensor.
Image

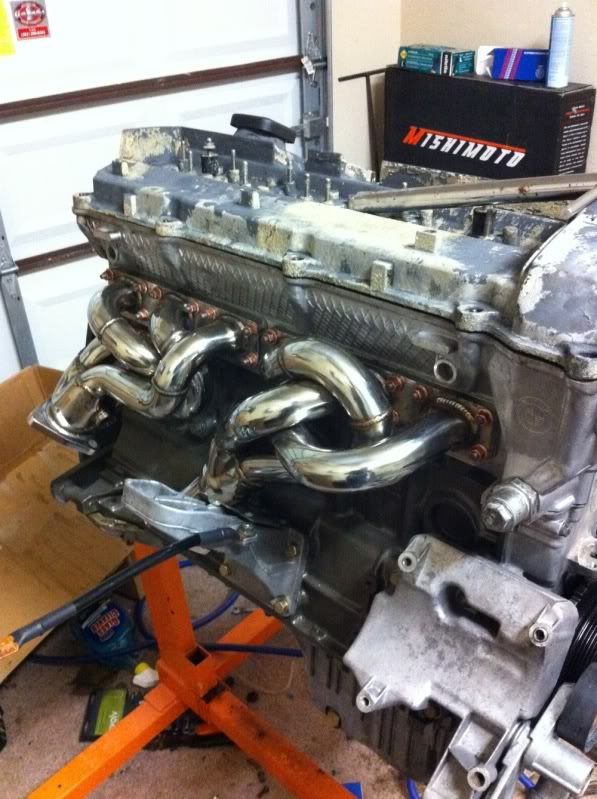
Another pic of the headers, can't stop looking at them.
Image


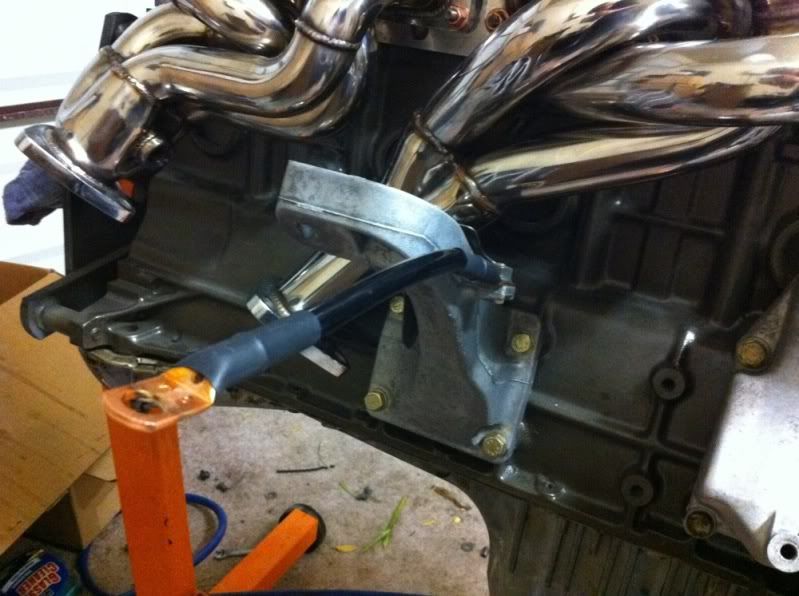
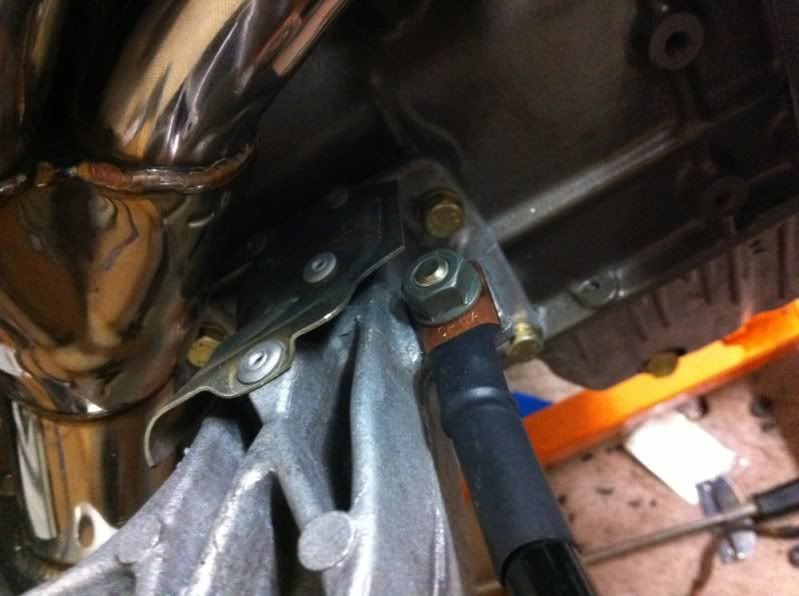
New ground cable from NOKE325.

Image

Image


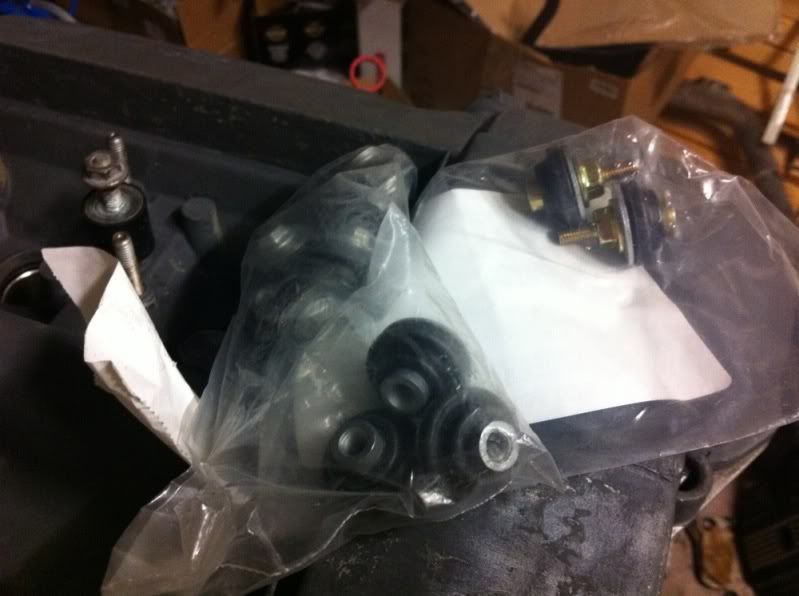
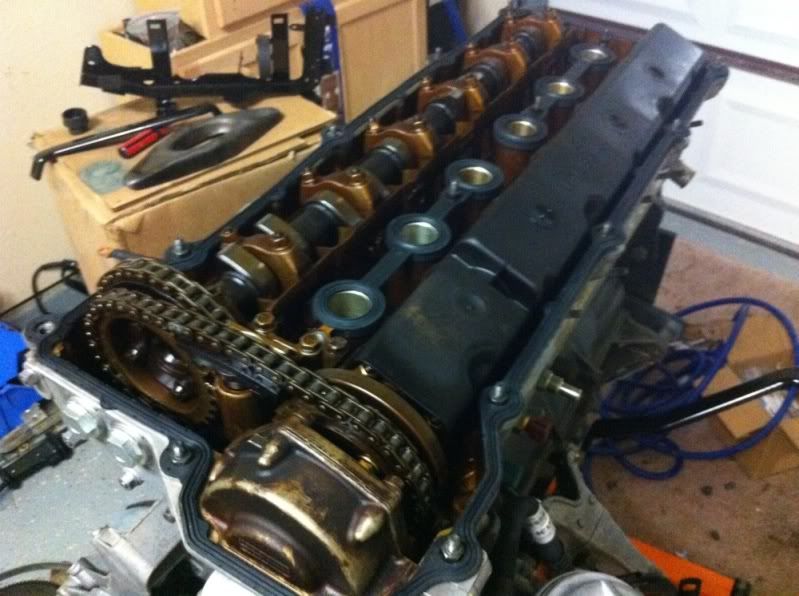
Soda blasted and painted some things over the past few days. New hardware and gaskets for the valve cover. (also got blasted) I found the OEM gasket has a metal center, unlike the aftermarket one I have on my M50 that's nothing but rubber.
Image
Image
Image
Image
Image
Image
Image
Image
Image
Image
Image


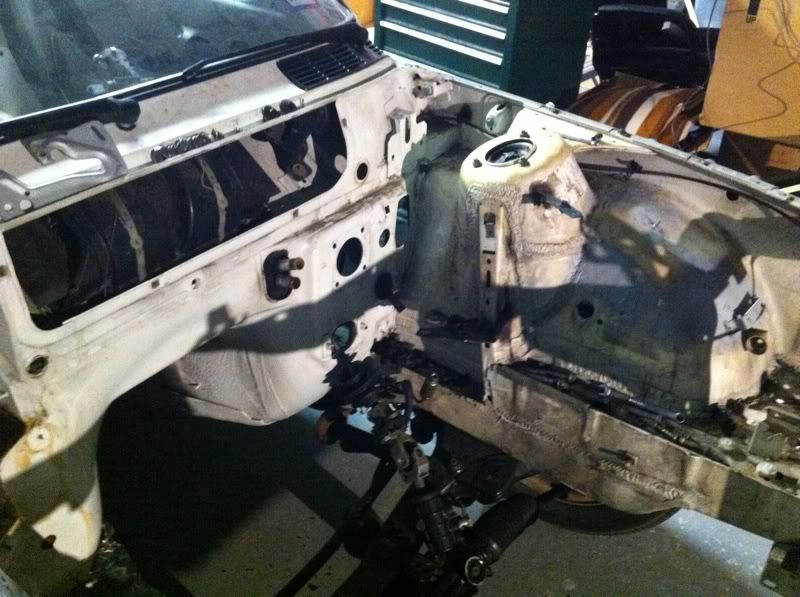
Here's a peek of the engine bay. I have a lot of work to do over the next few days to get it ready for paint by the end of the week.
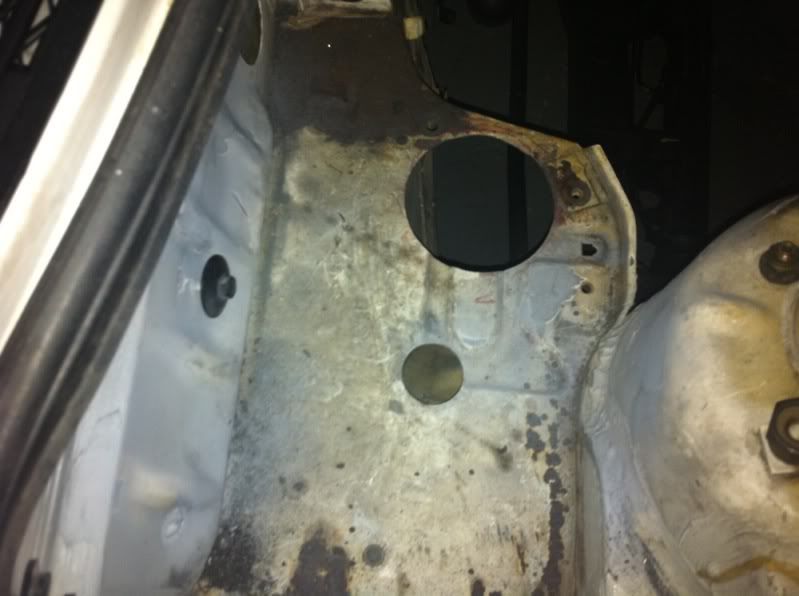
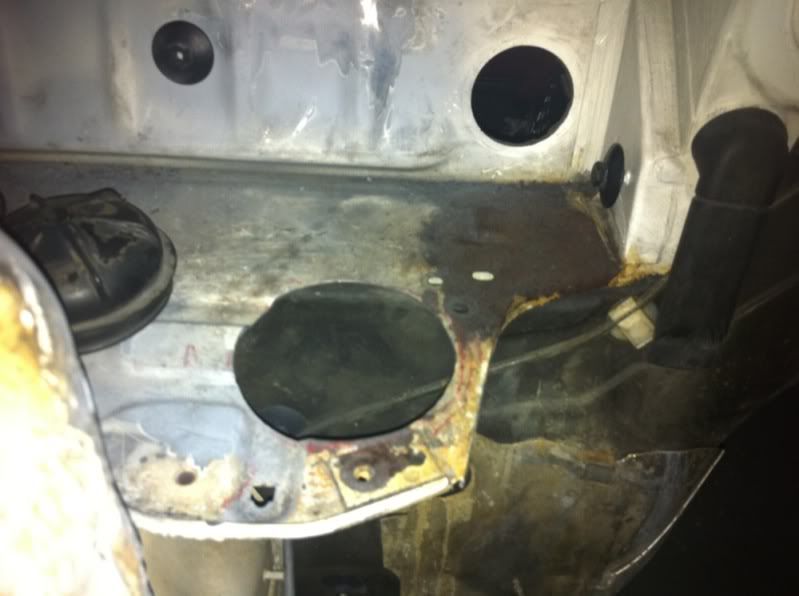
Image
Image
Image
Image
Image
Image
Image

Also prepped the front to get blasted, as well as the oil pan. (took out the bolts)
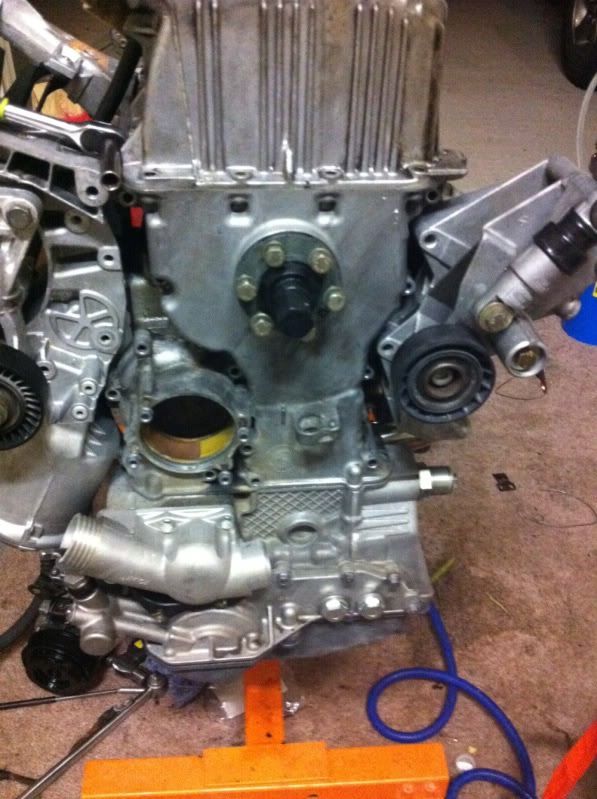
Image

Image

Got a new intake at the yard today.

Image

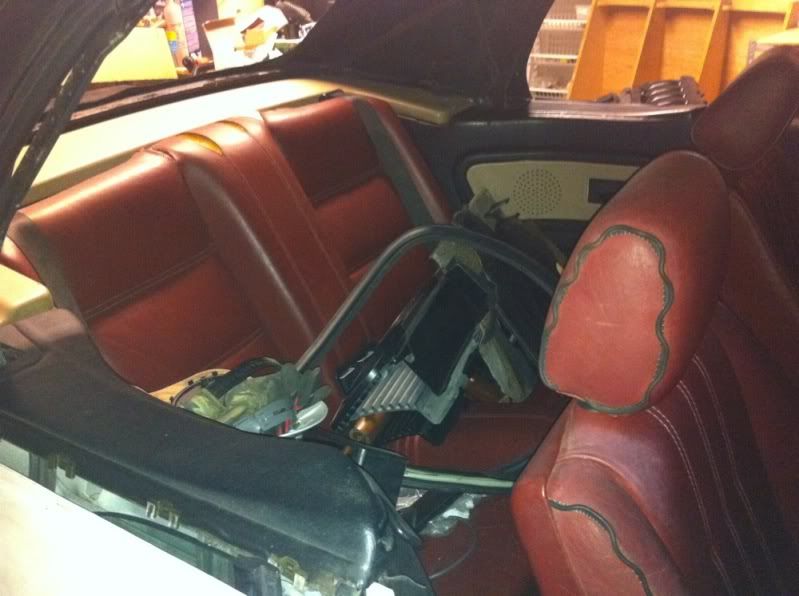
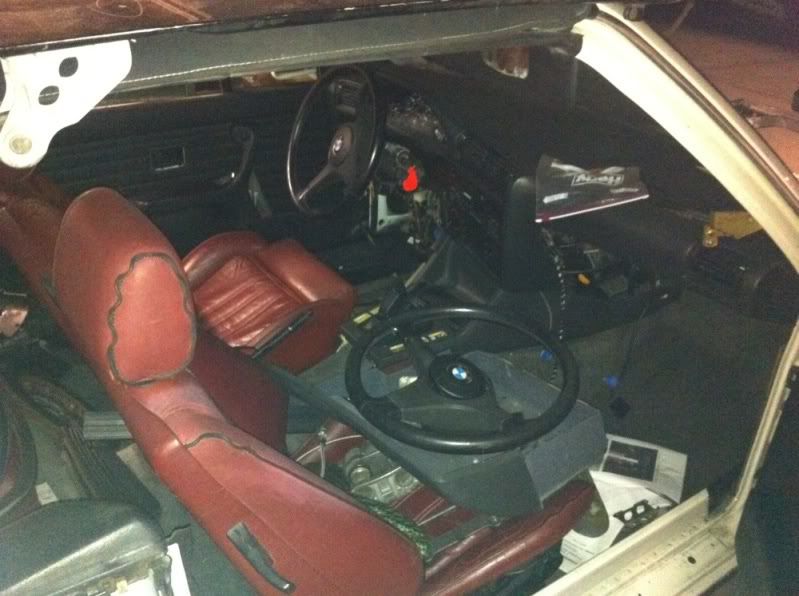
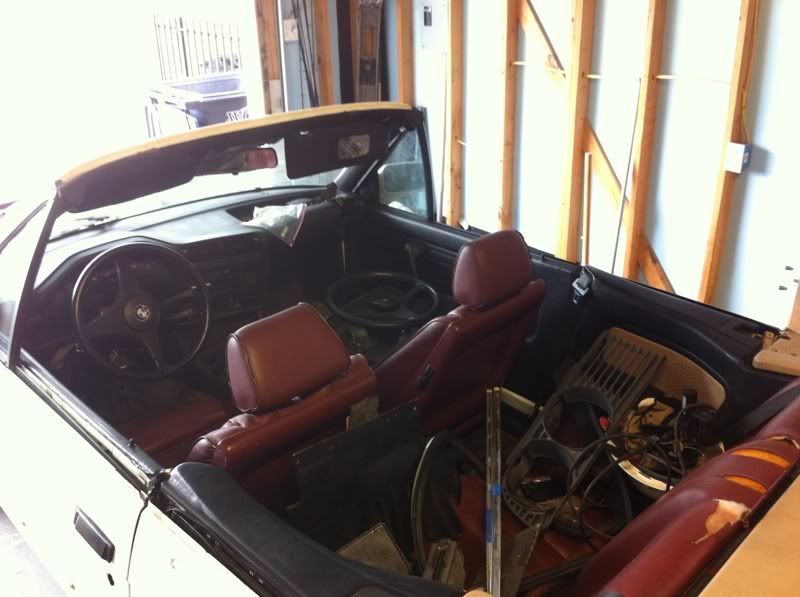
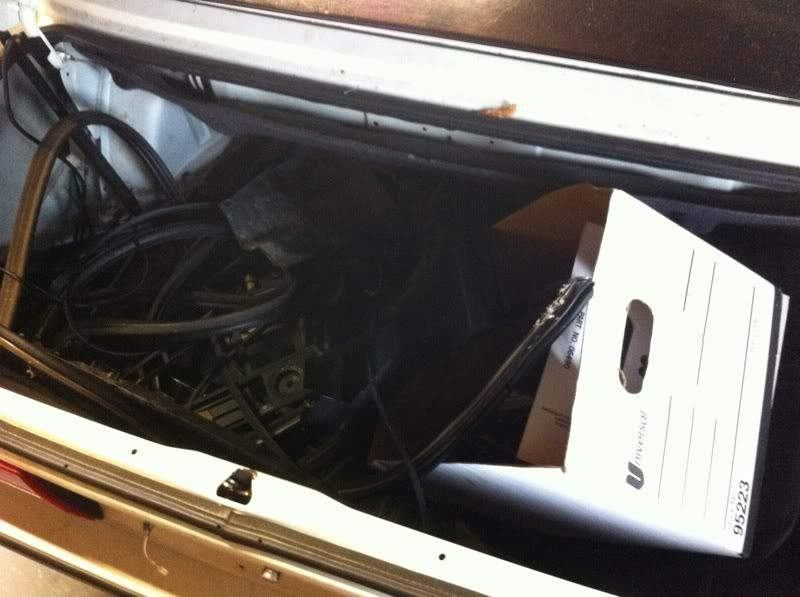
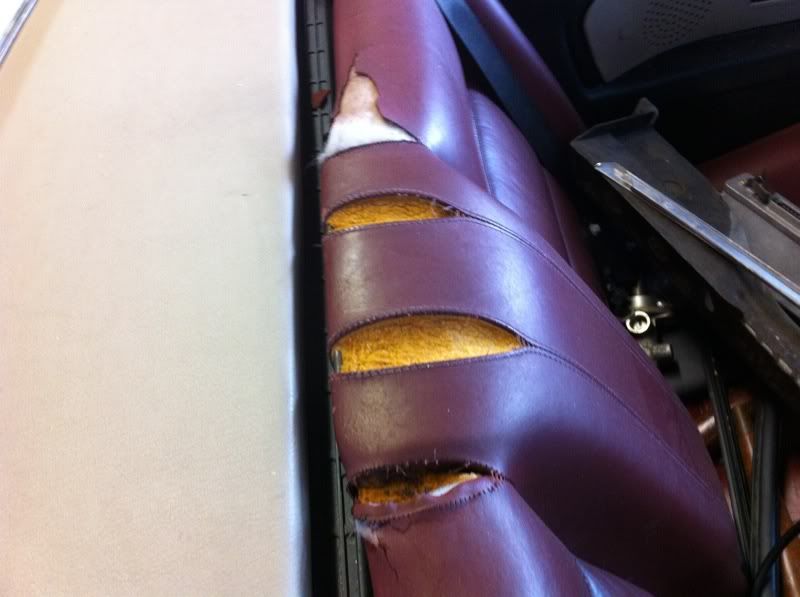
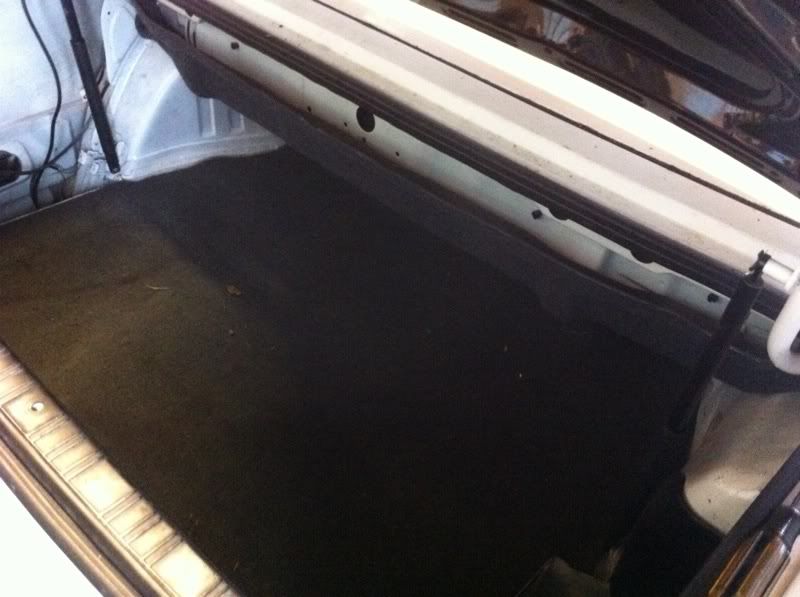
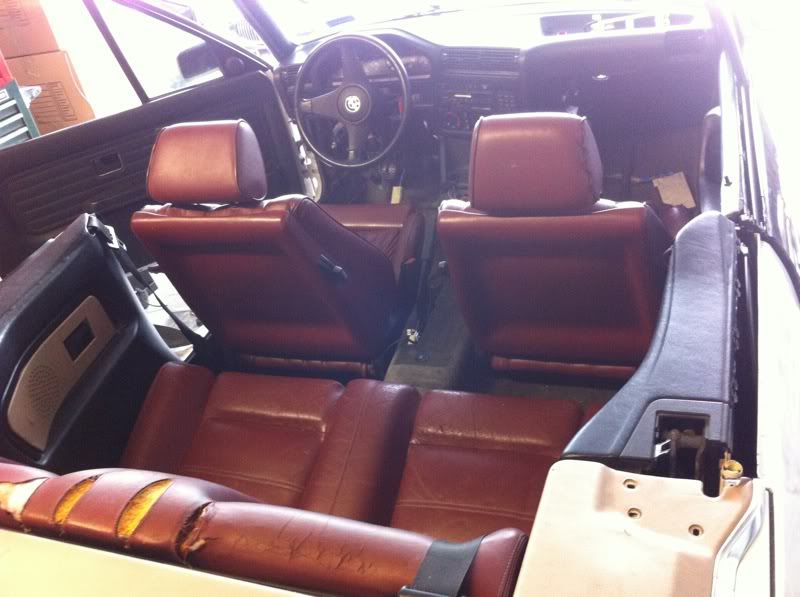
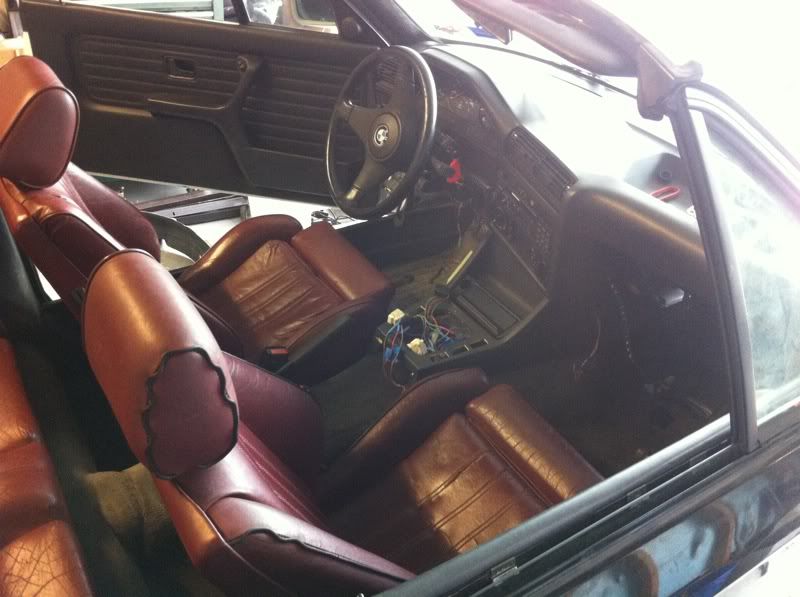
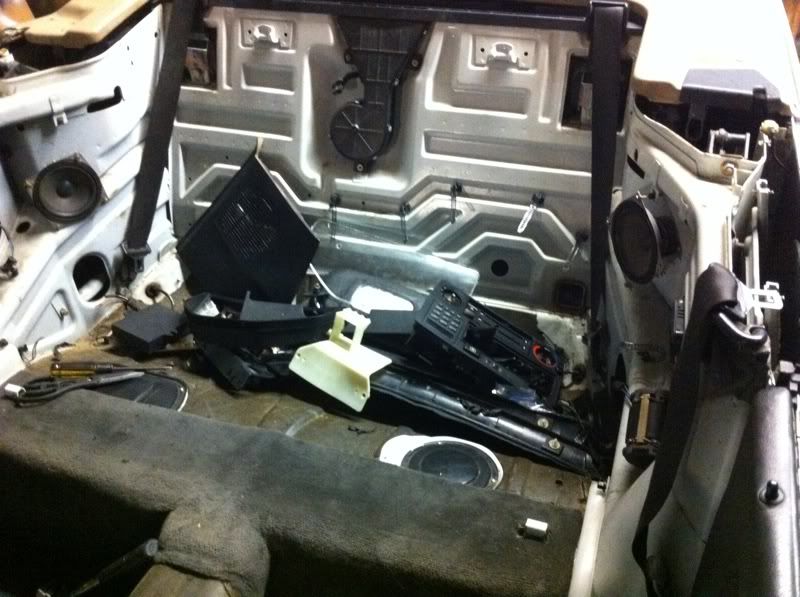
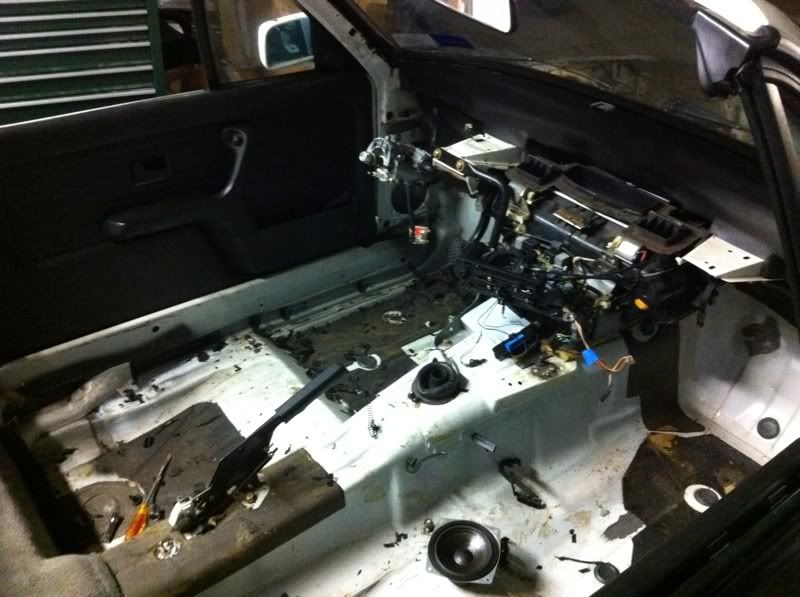
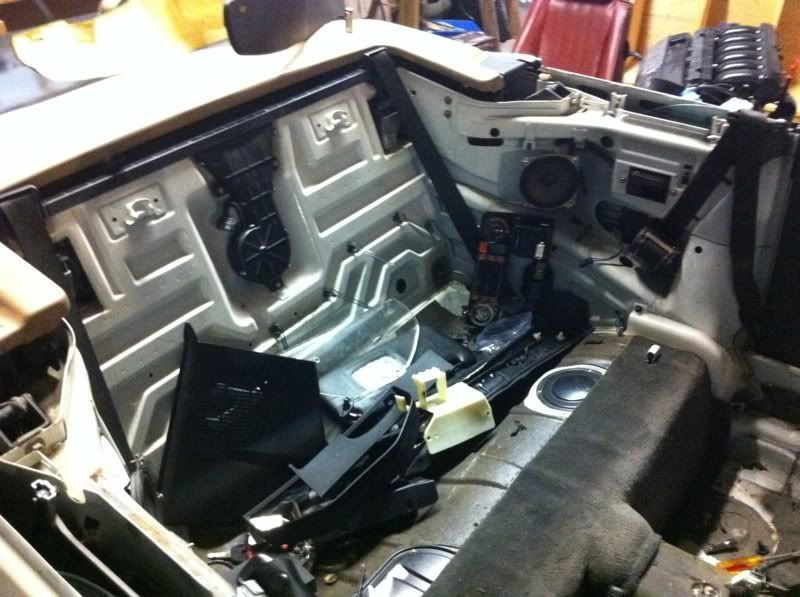
A glimpse at the interior. Its a combo of all kinds of colors.
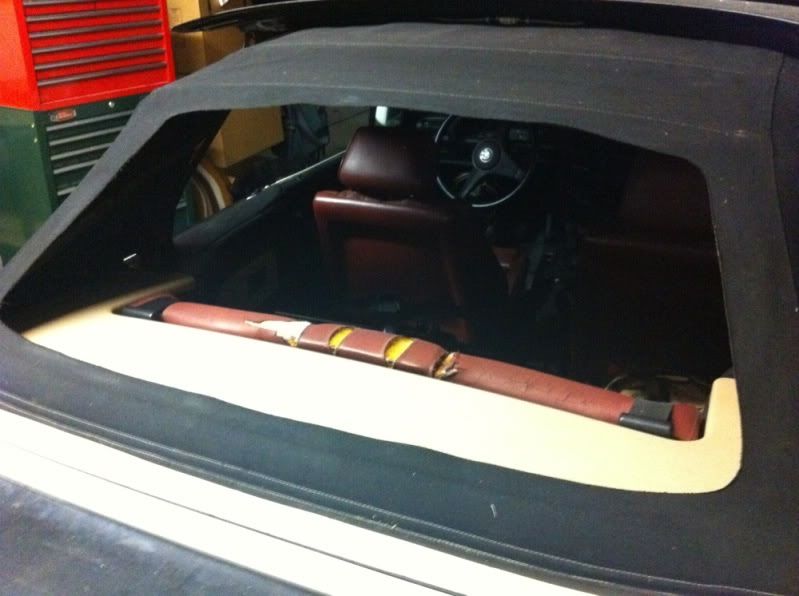
Image

Image

Image


The interior is a mess. It will be the last stage of the project. Stages follow like this:

I. Drivetrain
II. Suspension and Braking
III. Exterior work
IV. Interior

Thanks for looking. ;)

Image

Looking for M-tech interior and intensive wash bits PM me
E30BeemerLad
Married to the E30 Zone
Posts: 16806
Joined: Mon Mar 28, 2005 11:00 pm
Location: Norfolk

Post Sun Apr 10, 2011 11:17 pm

Epic mate, keep the updates coming :cool:
User avatar
glucklich21
E30 Zone Newbie
E30 Zone Newbie
Posts: 50
Joined: Tue Jun 29, 2010 11:00 pm
Location: Houston, Texas, USA

Post Mon Apr 11, 2011 7:37 am

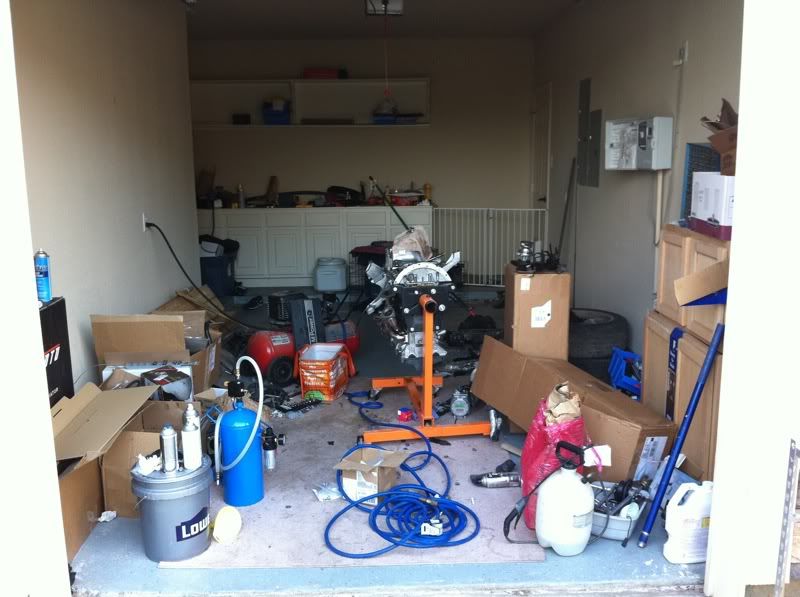
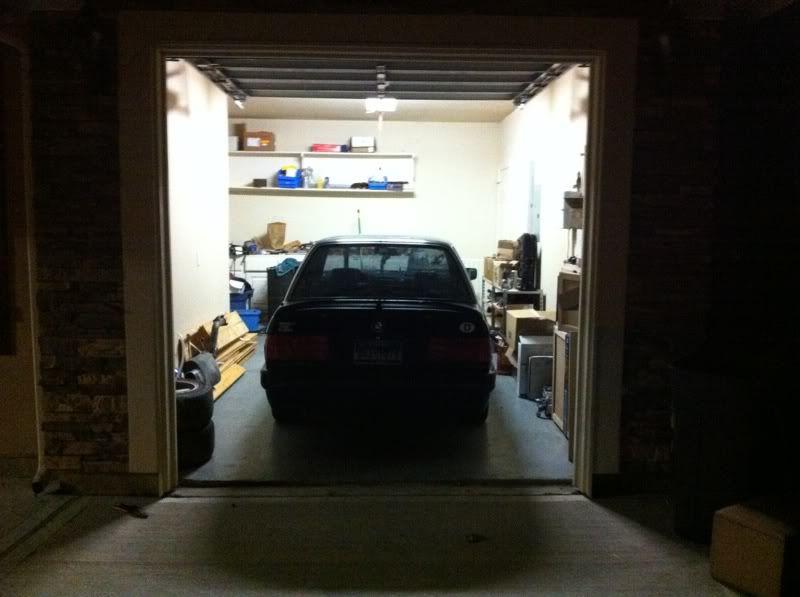
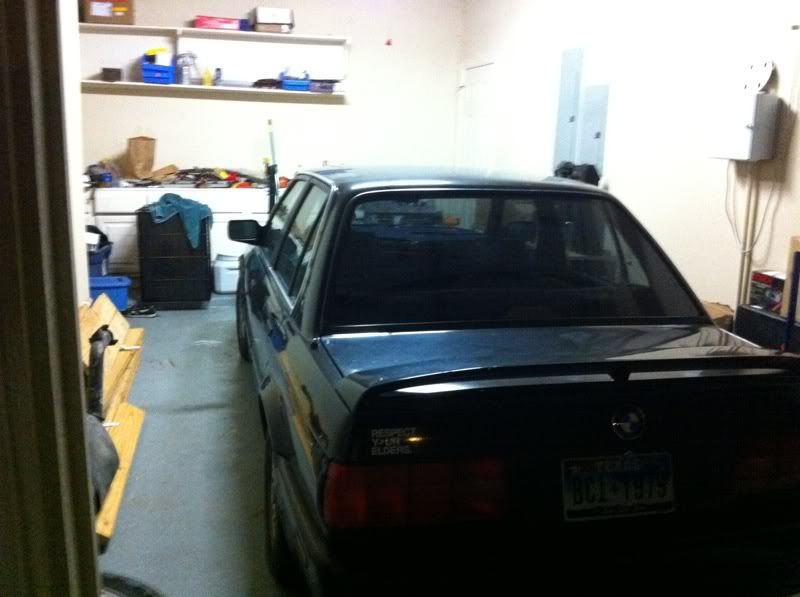
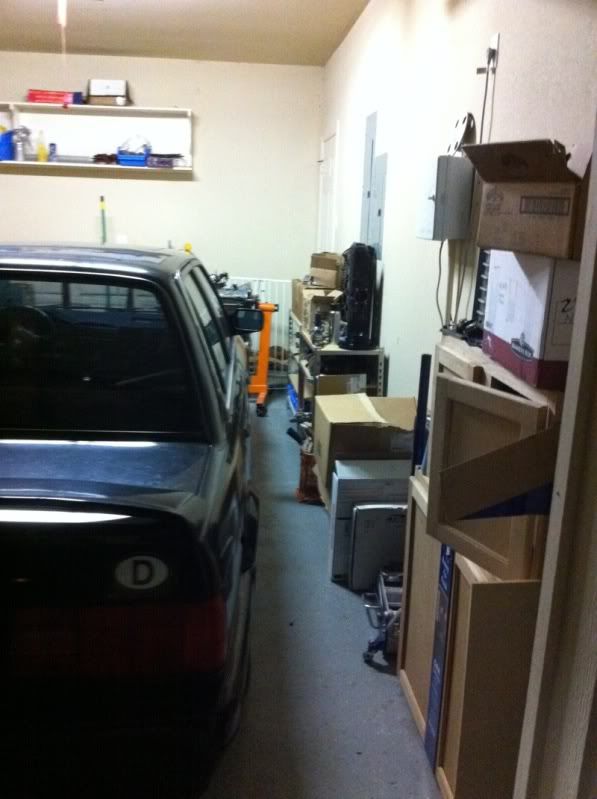
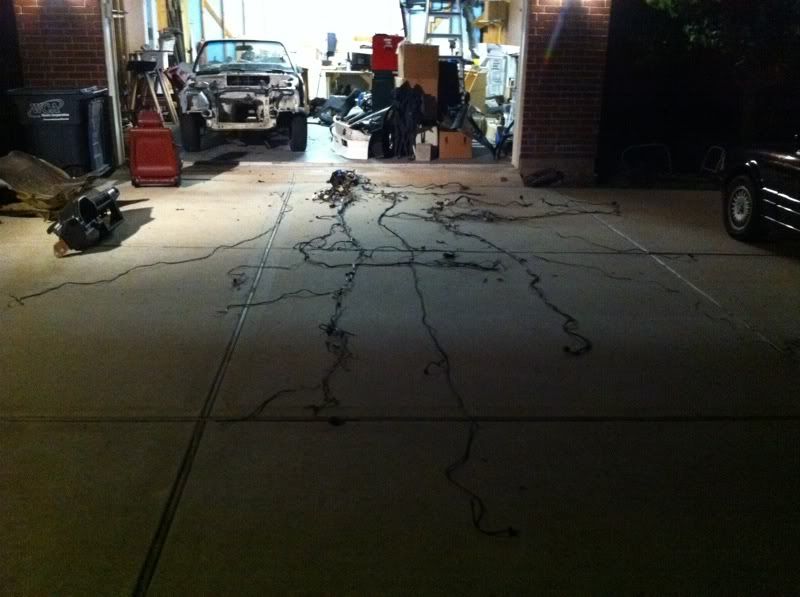
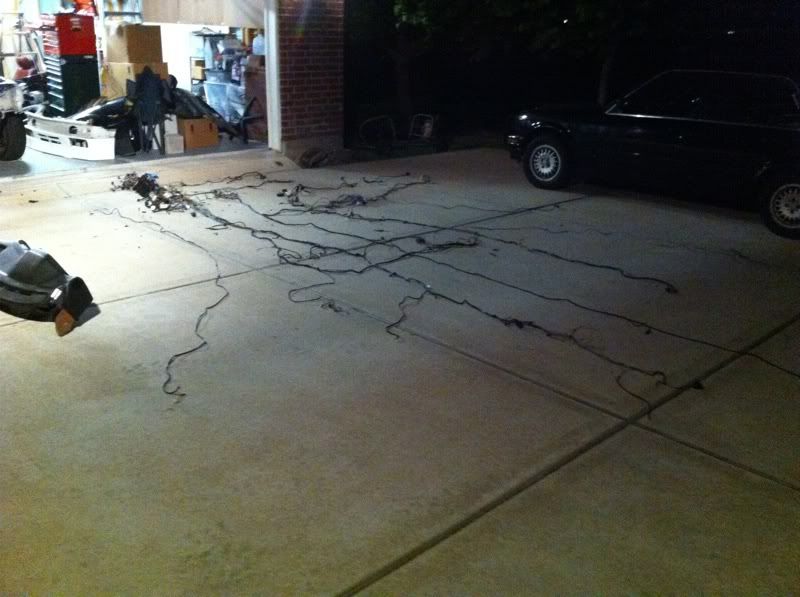
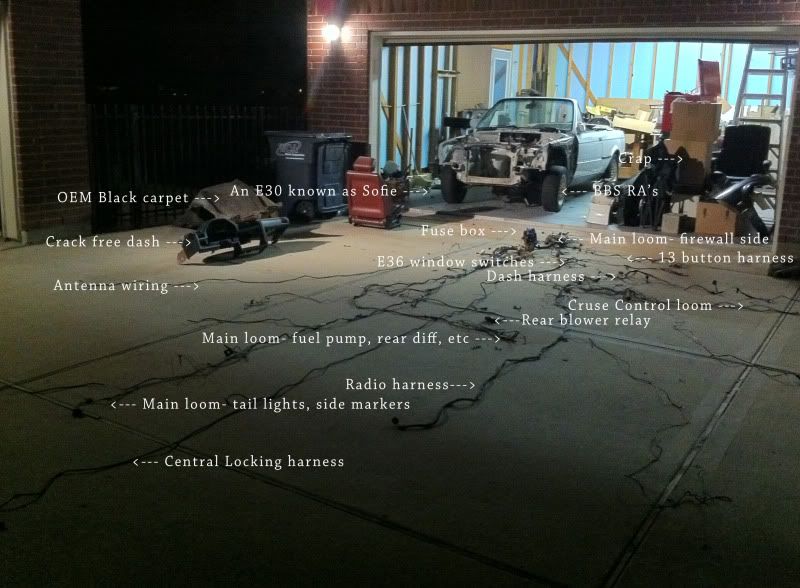
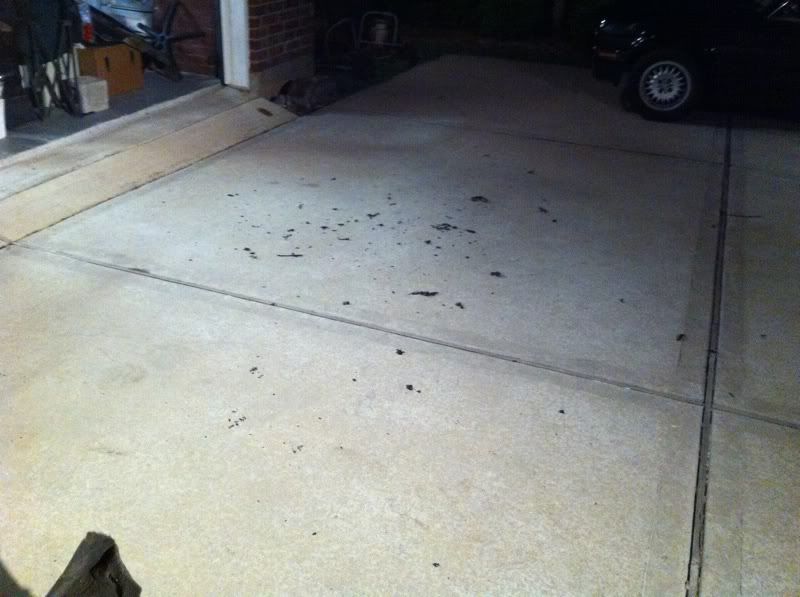
Today I decided to clean the garage a bit, it was getting ridiculous.

Image

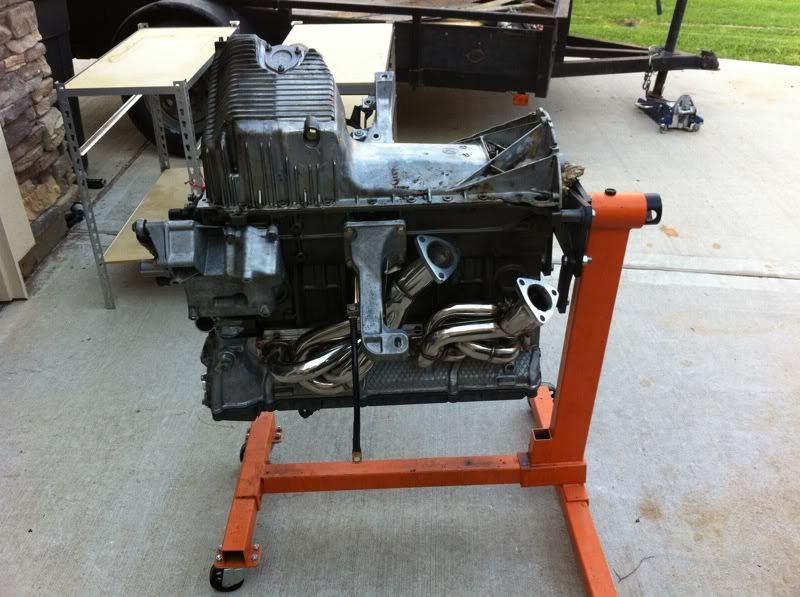
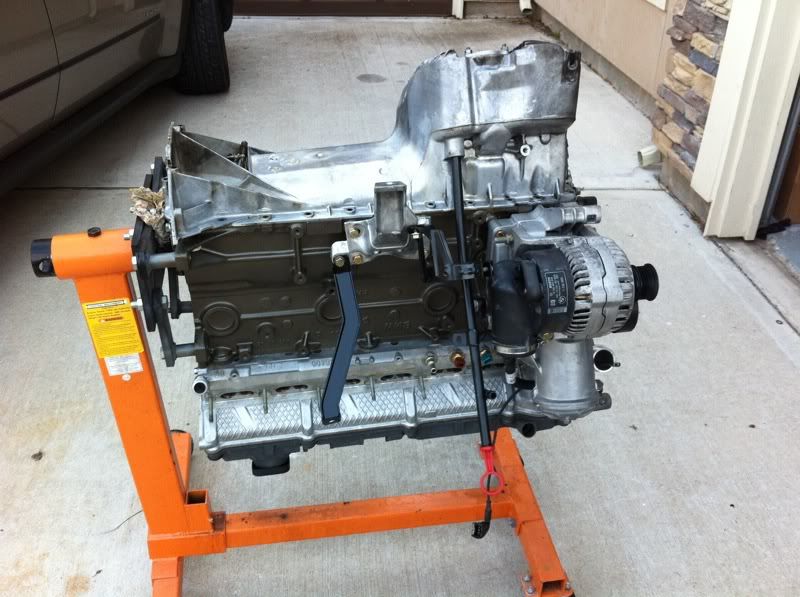
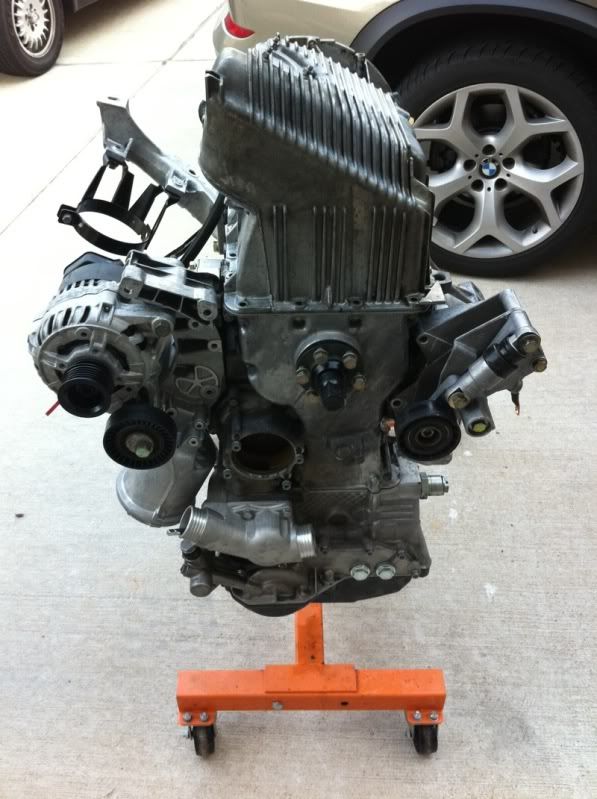
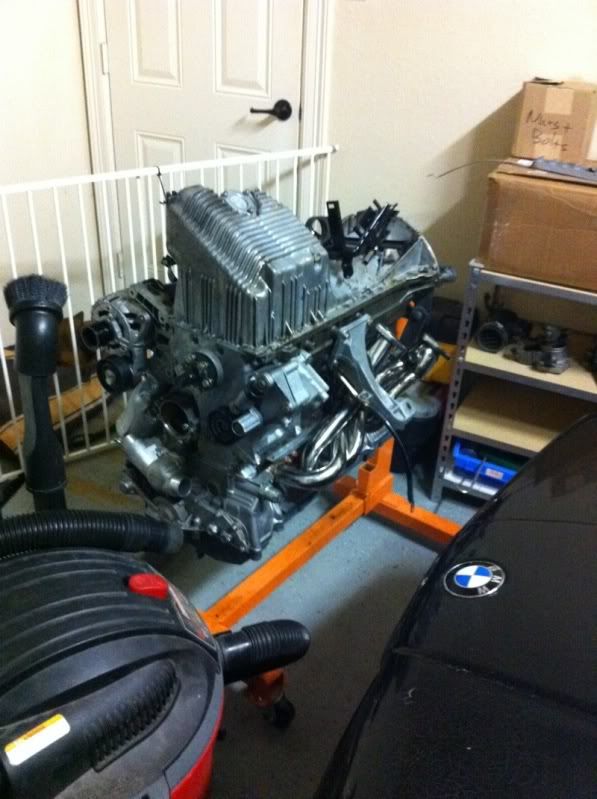
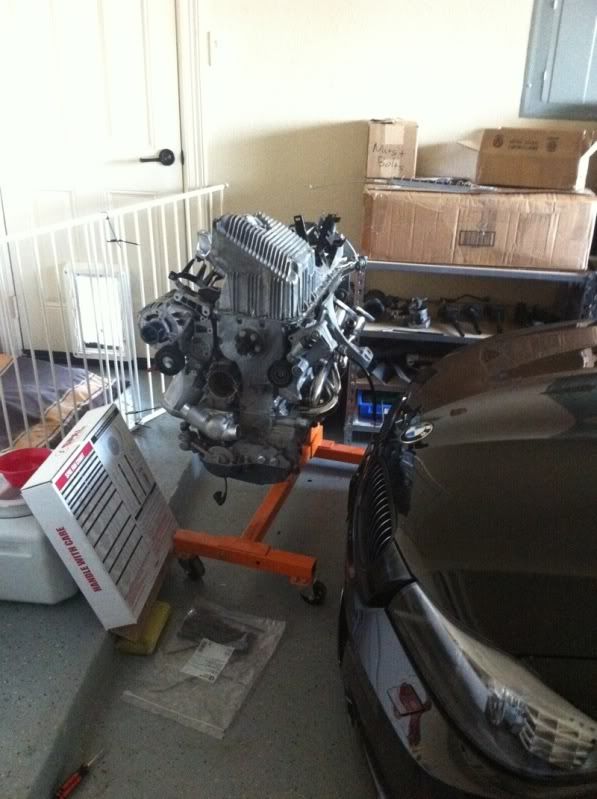
The S50 outside:

Image

Image

Image

Kinda done, it was getting late and I was just happy I could get my E30 in the garage.

Image

Image

Image

Image

Oh and I hope everyone likes the pics, I had to upgrade my hosting account, everyone is eating my bandwidths! :mad:
Image

Looking for M-tech interior and intensive wash bits PM me
Alpina99
E30 Zone Camper
E30 Zone Camper
Posts: 1000
Joined: Sat Nov 17, 2007 11:00 pm
Location: Portsmouth

Post Mon Apr 11, 2011 7:59 am

Absolutely fantastic,
Your attention to detail is excellent,
Keep the updates coming, this is great !
:D
Gone, but not forgotten !!
User avatar
Supafly
E30 Zone Regular
E30 Zone Regular
Posts: 559
Joined: Wed Feb 22, 2006 11:00 pm

Post Mon Apr 11, 2011 2:21 pm

Great to see the progress, and detailed pics are always useful :)
User avatar
glucklich21
E30 Zone Newbie
E30 Zone Newbie
Posts: 50
Joined: Tue Jun 29, 2010 11:00 pm
Location: Houston, Texas, USA

Post Mon Apr 11, 2011 3:23 pm

Thanks guys. :)
Image

Looking for M-tech interior and intensive wash bits PM me
User avatar
glucklich21
E30 Zone Newbie
E30 Zone Newbie
Posts: 50
Joined: Tue Jun 29, 2010 11:00 pm
Location: Houston, Texas, USA

Post Wed Apr 13, 2011 8:28 am

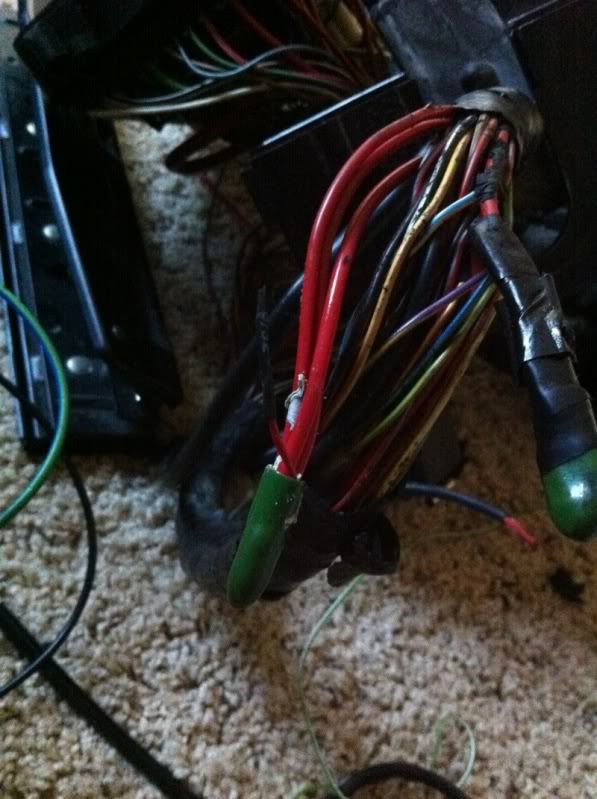
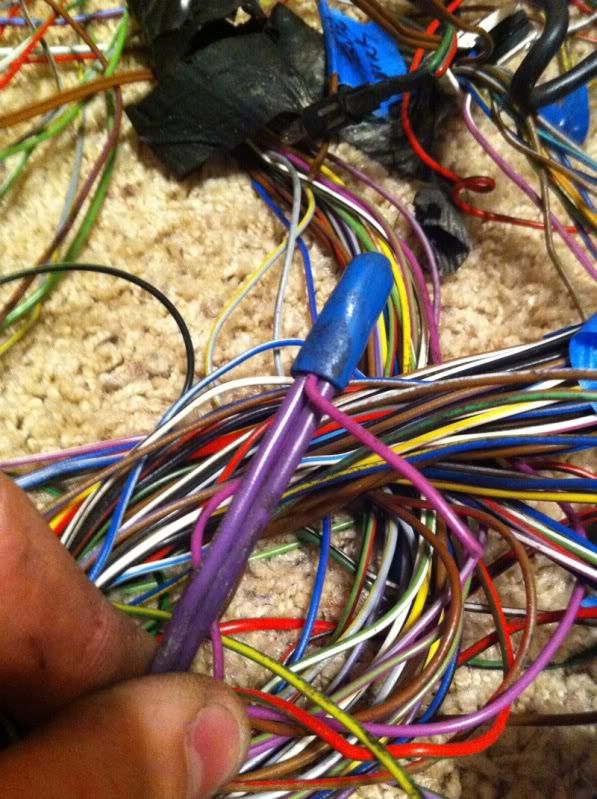
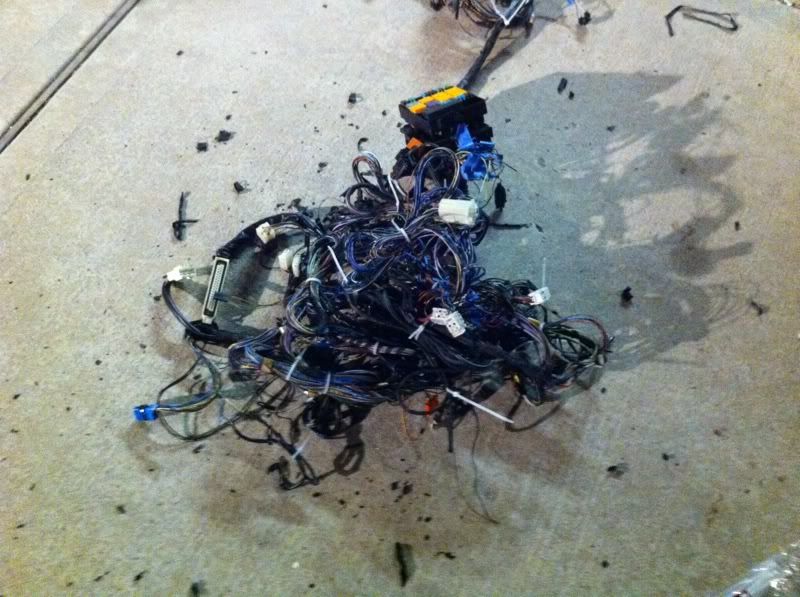
Since I didn't feel like getting covered in soda and I didn't feel like sweating in the garage today, I decided to work on the new body harness instead.

The new harness is out of a 1991 325ic with a build date of 11/90 or so the date stamp on the various looms say.

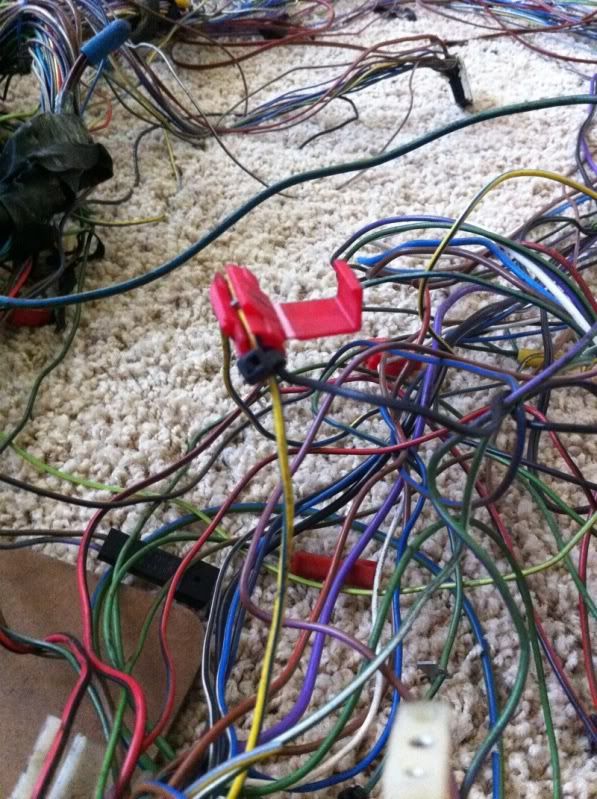
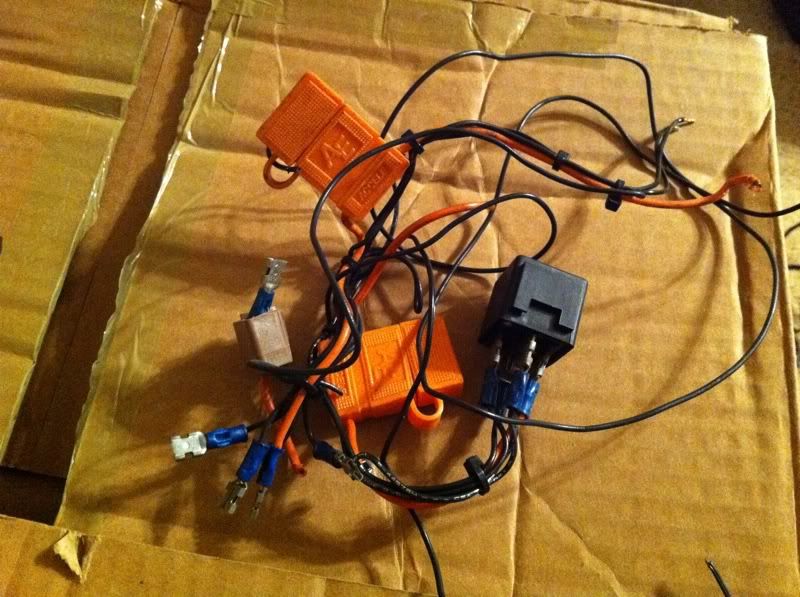
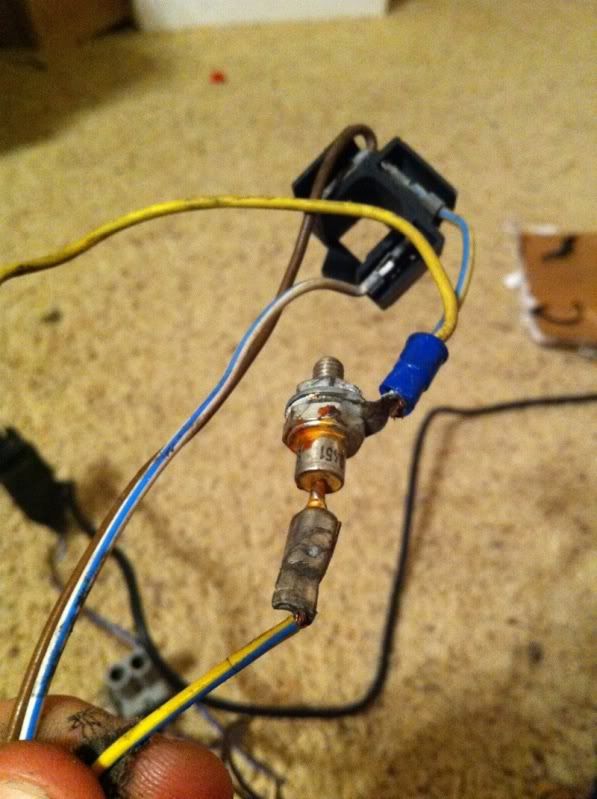
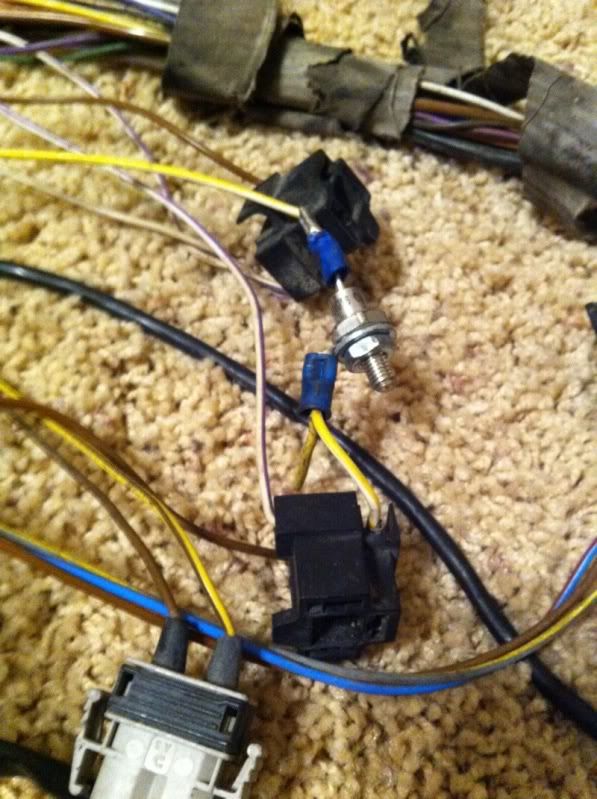
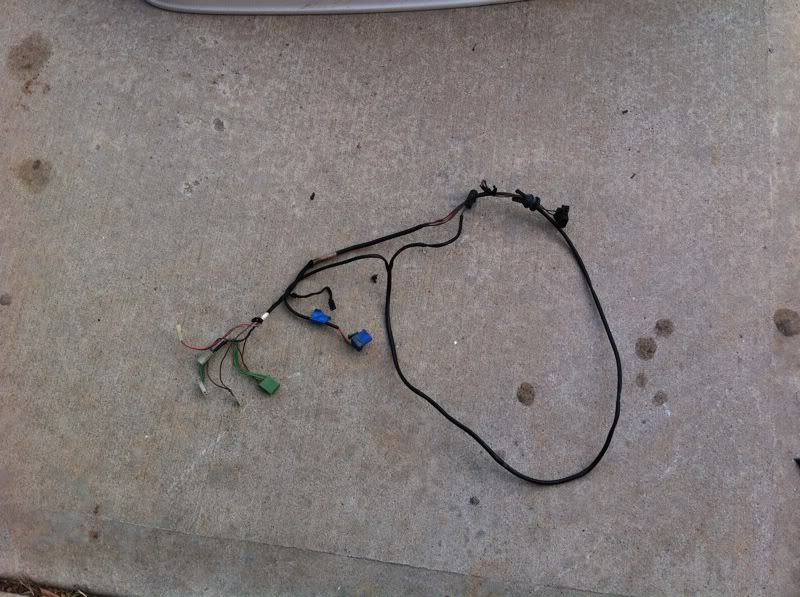
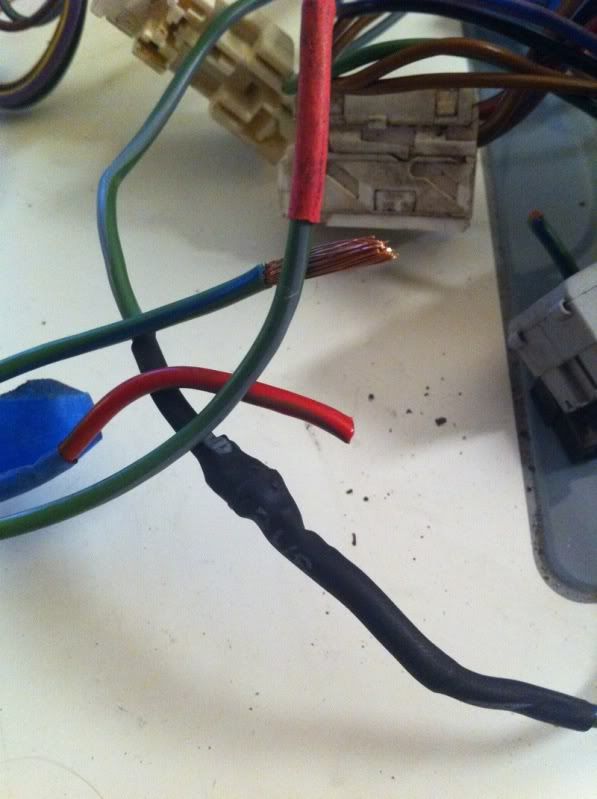
It at some point had what looks like an alarm system or something. So I started repairing.

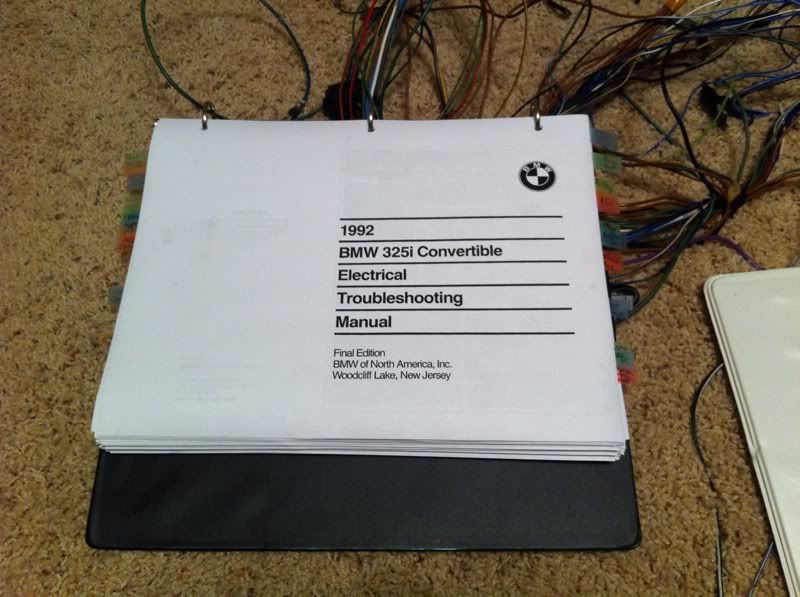
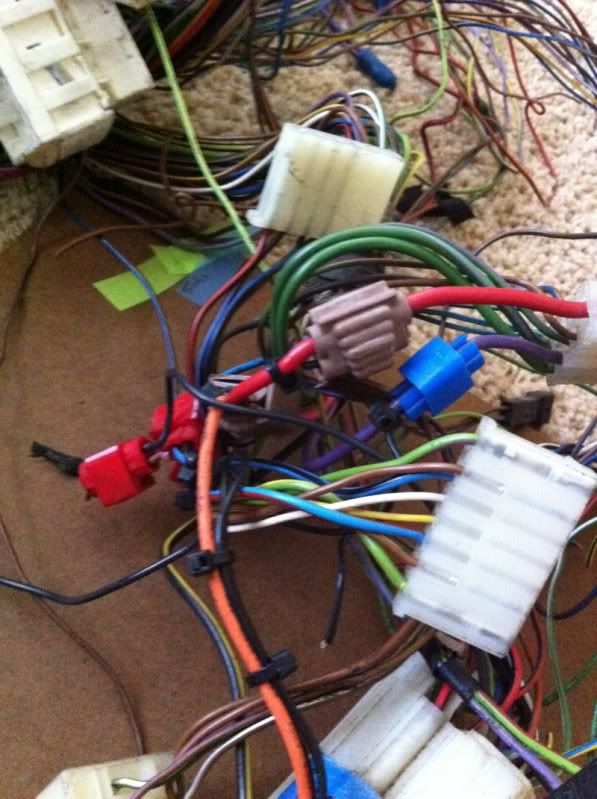
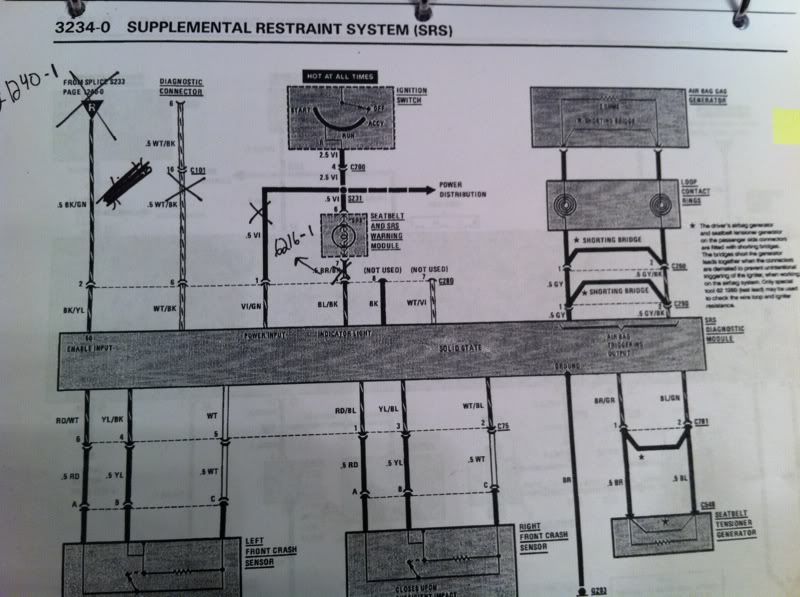
But I did print this out first to help. Sectioned and labeled at that. :)

1992 as it was pretty definite as to how everything should be, all design problems sorted by then.

Image

Lots of these:

Image

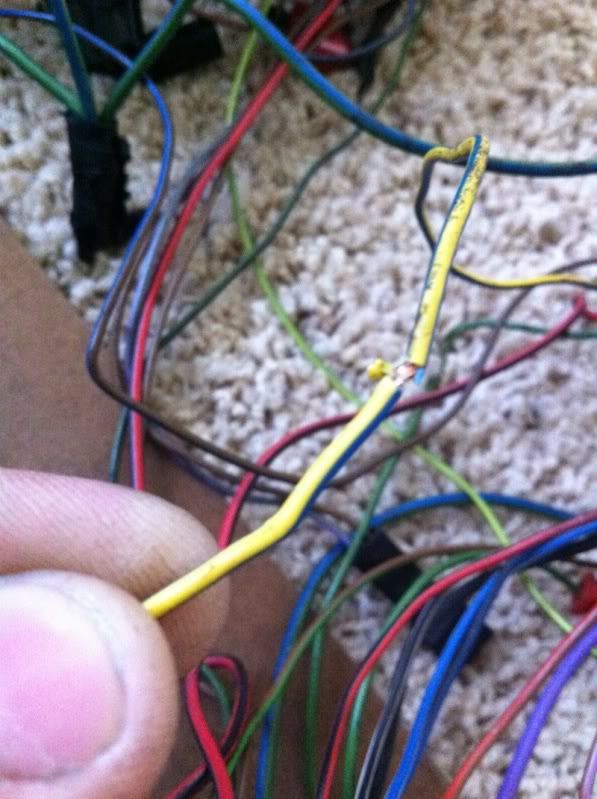
Removed:

Image

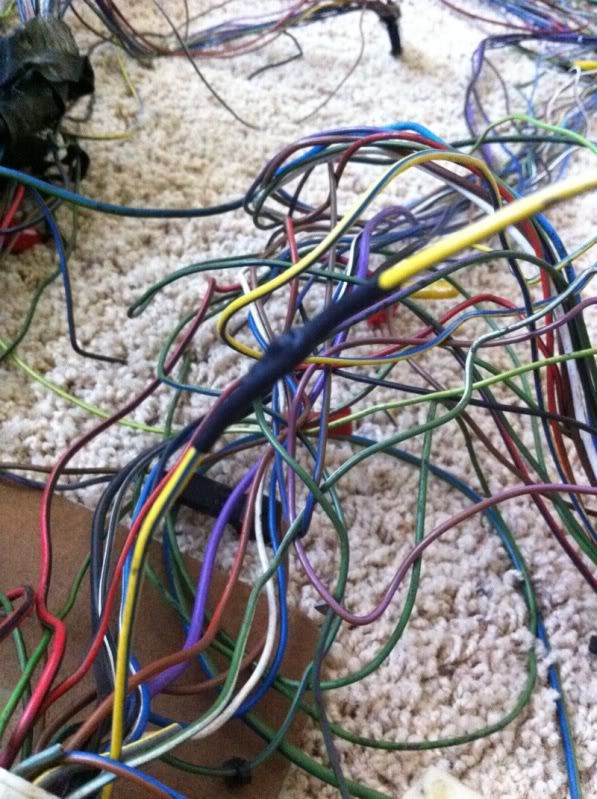
Soldered back together and shrink wrapped.

Image

More

Image


Looky there more!

Image

Image

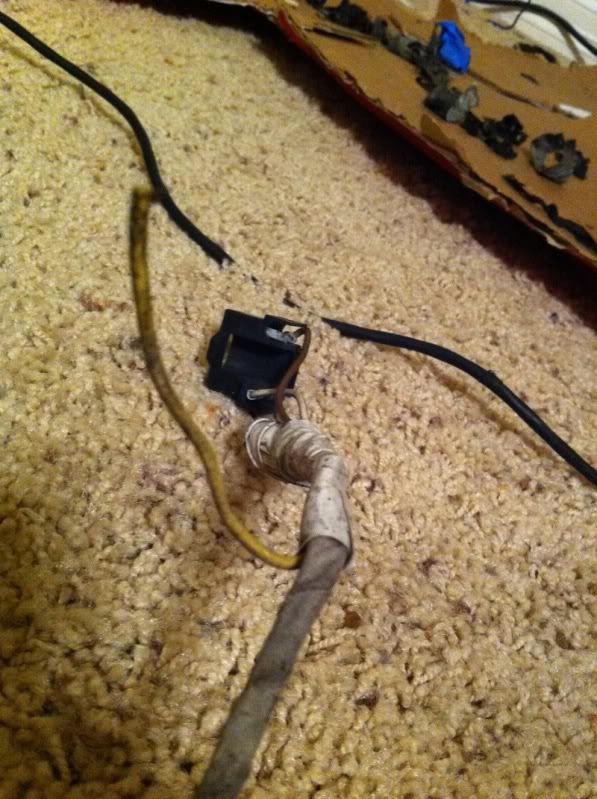
I don't even know about this part:

Image


WTF is this even?!

Image

Image

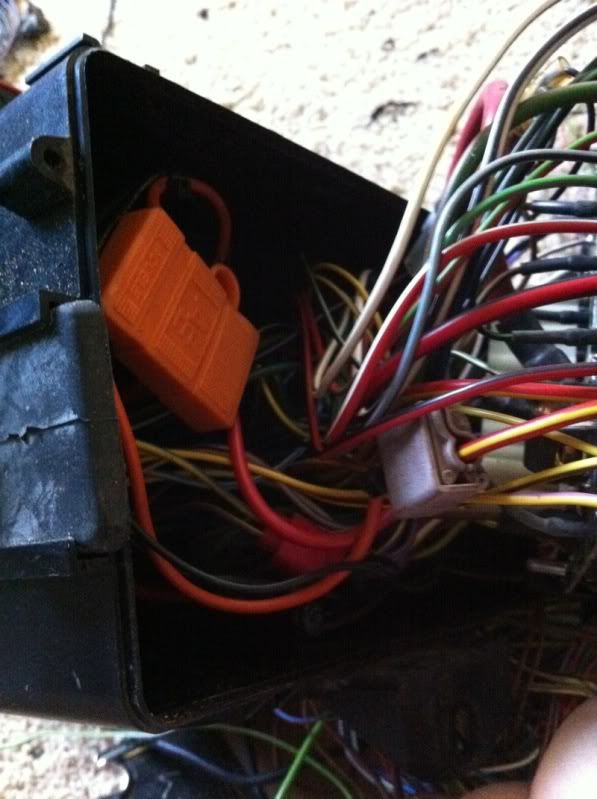
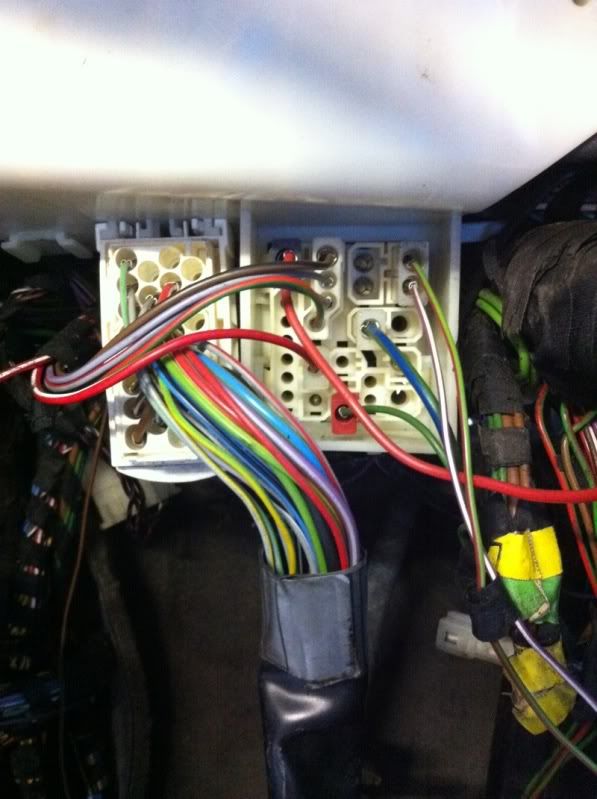
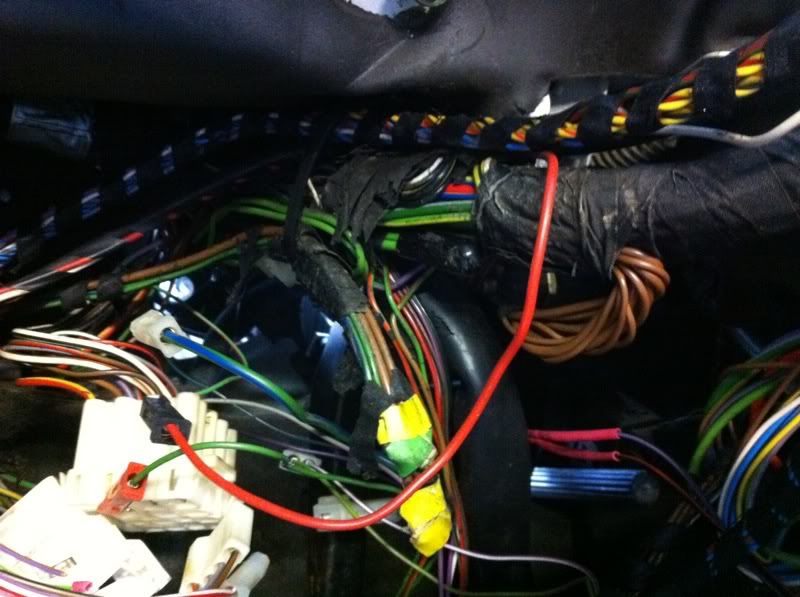
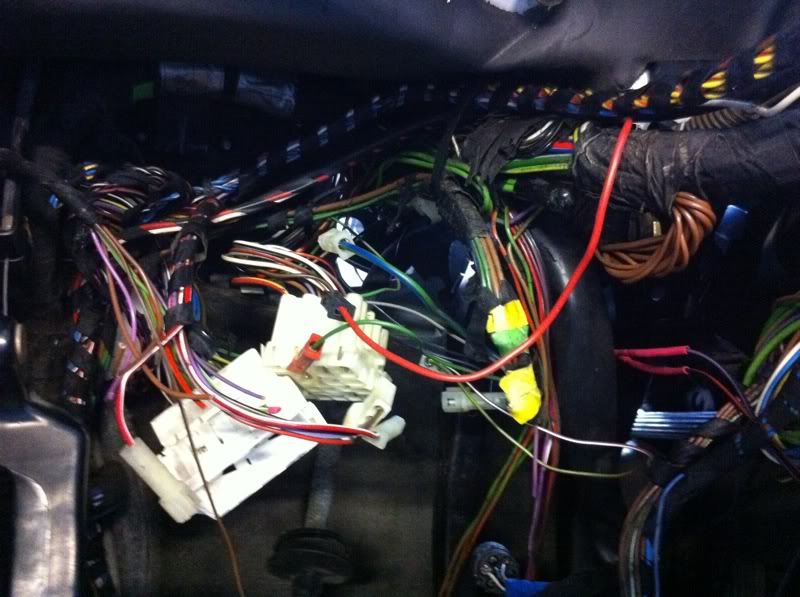
Next up was the airbag stuff. FYI I did write down all of the splice #s and locations if you want to completely remove it from your harness. LMK if you want a step by step.

Image

SRS fault light in the check panel:

Image

In the main power splice:

Image

Switched power splice:

Image

But after a while I got it all out.

Image

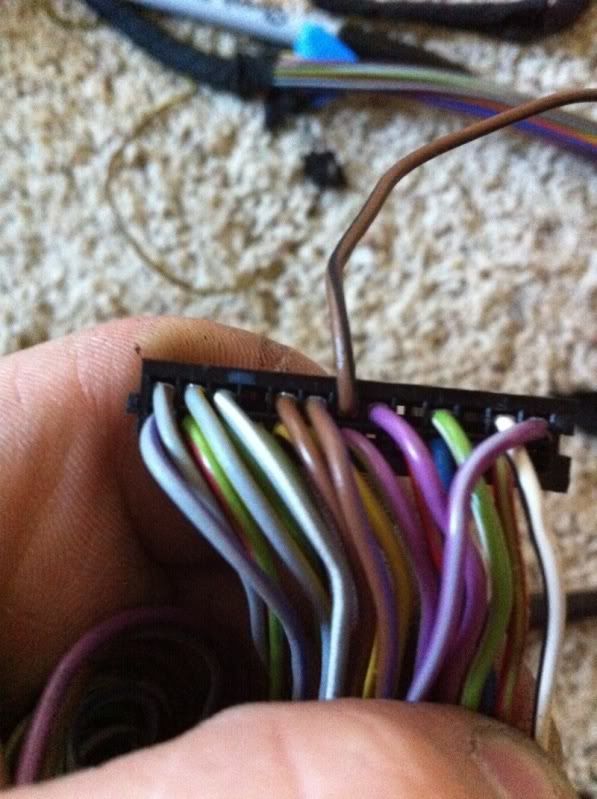
And continued fixing things here and there. Quite a few snipped wires I wasn't aware of.

If anyone needs to know what a particular harness or section looks like, now is the time for questions before it get rewrapped in a few days. ;)
Also anyone know a source for the european version of the electric troubleshooting manual? I would like to retrofit a few things.
Image

Looking for M-tech interior and intensive wash bits PM me
User avatar
glucklich21
E30 Zone Newbie
E30 Zone Newbie
Posts: 50
Joined: Tue Jun 29, 2010 11:00 pm
Location: Houston, Texas, USA

Post Thu Apr 14, 2011 7:37 am

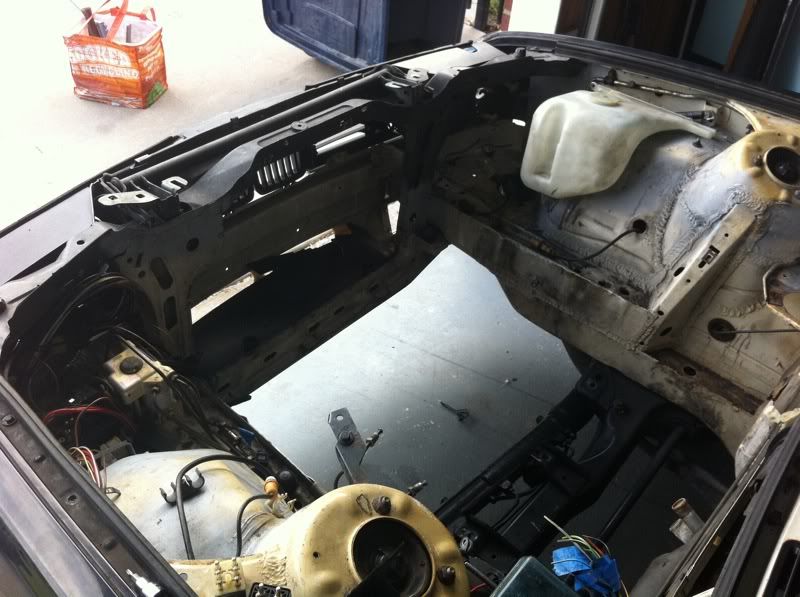
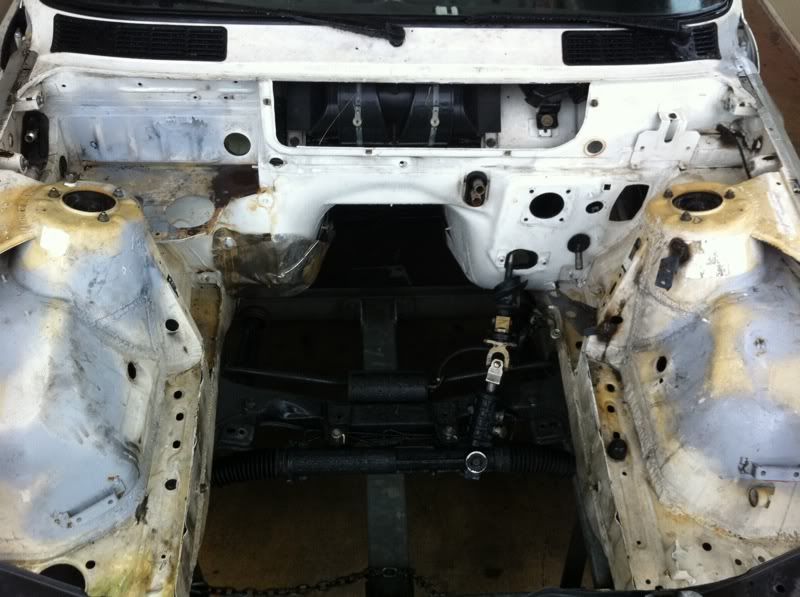
This afternoon I started tackling the engine bay, the goal is to have it on its way to the paint shop either Friday or Monday.

Kinda got caught up in the moment, so pics are a bit lacking in terms of flow.

Here's what I started with.

Image

First task was to remove the harness the best I could for the time being. I can't completely take it out till I pull the interior. (Hopefully happen tomorrow)
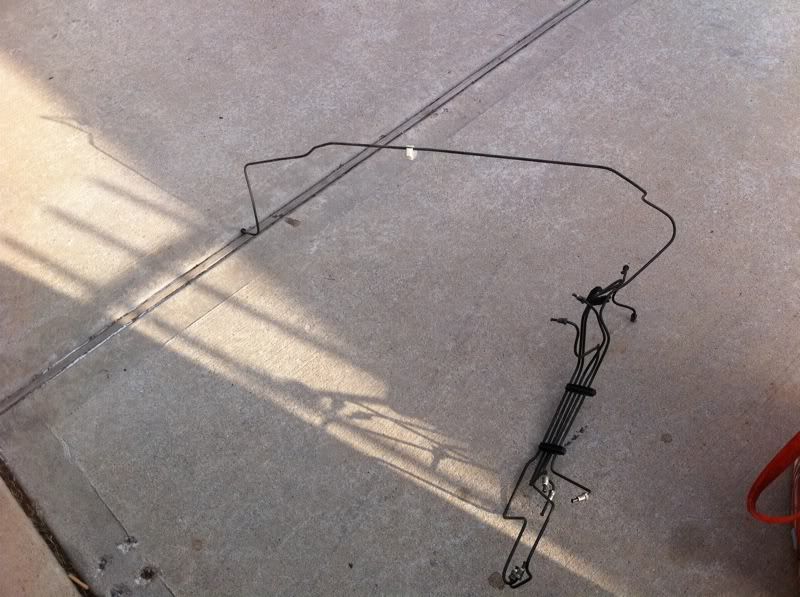
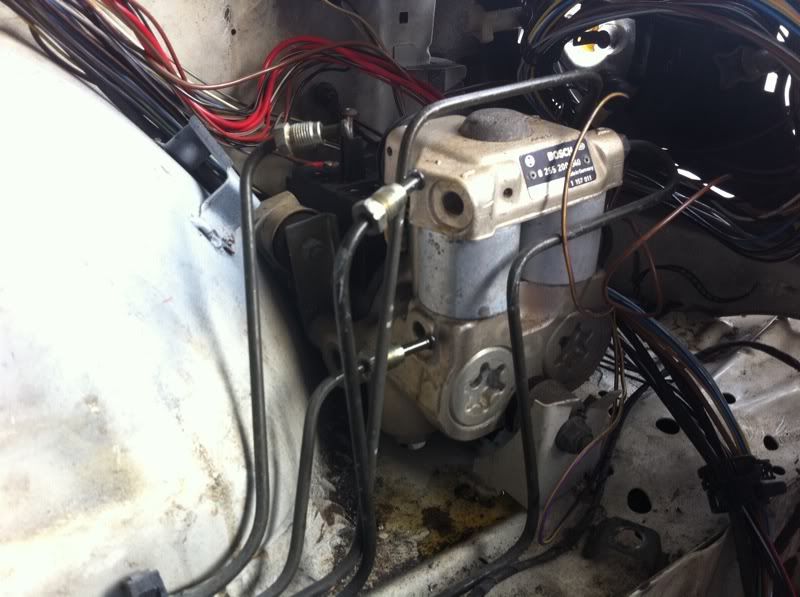
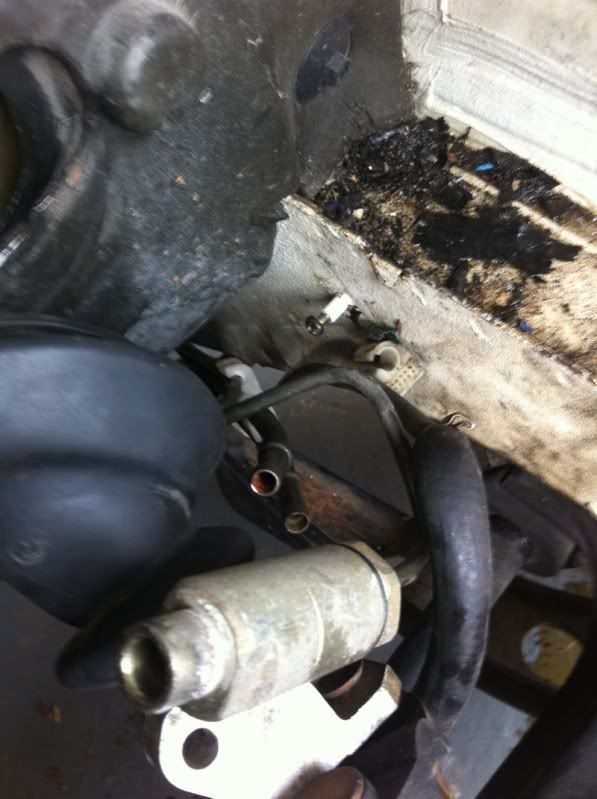
I got the passenger side out, but still had the ABS module in place. To unplug the harness from it, you need a T-15 torx bit. There's one screw on top, and 2 under the cover that hold a wire retainer in place.

Image

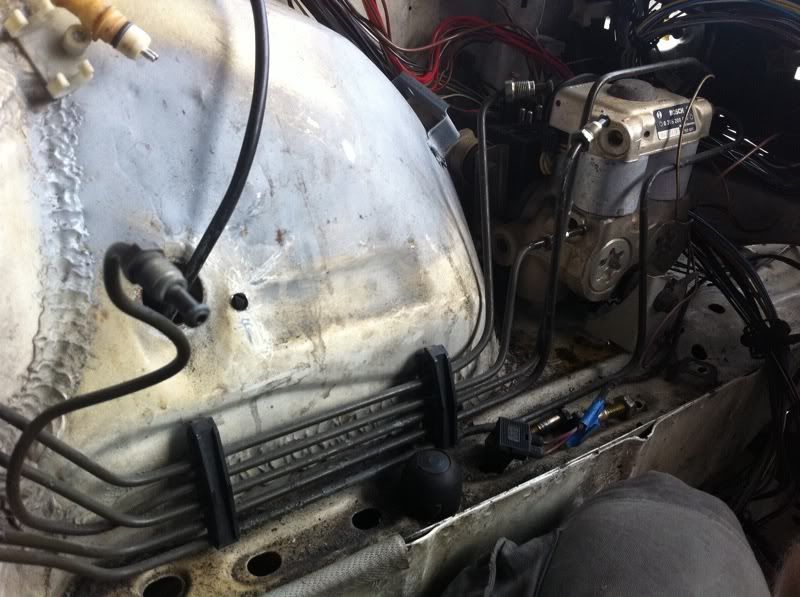
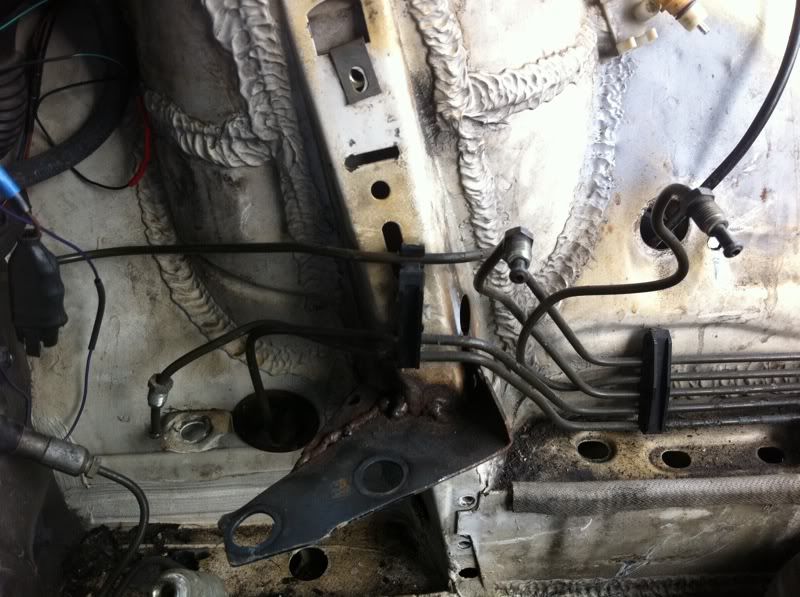
The actual lines themselves require a 11mm wrench. So I decided now was as good as time as ever to tackle the brake/clutch lines. Somehow got lucky and no problems, aka nothing stripped or required flare wrenches! :D

Image

Image

Image

Image

Image

Image

Image


ABS unit out, it has 2 10mm and 1 13mm nuts holding it physically in place, in addition to a 8mm nut that attaches a ground cable to G104. Note the rubber bushings.

Image

Image

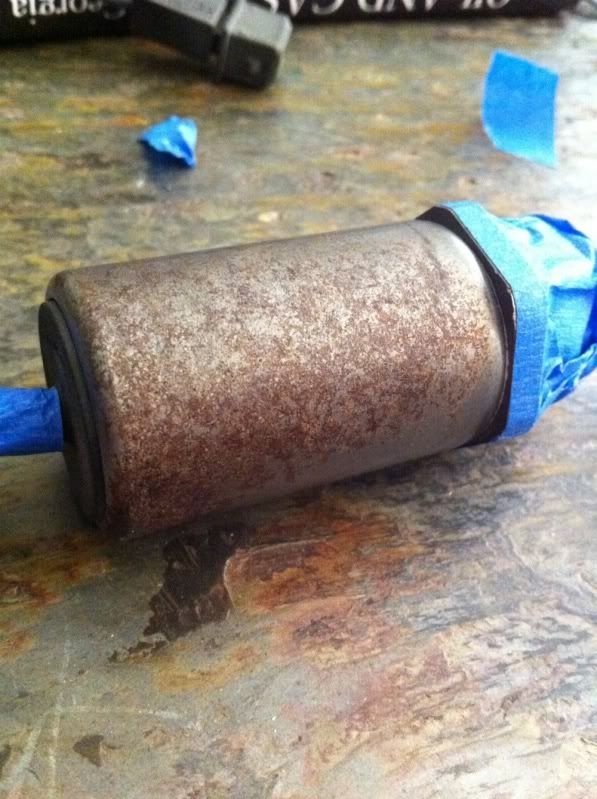
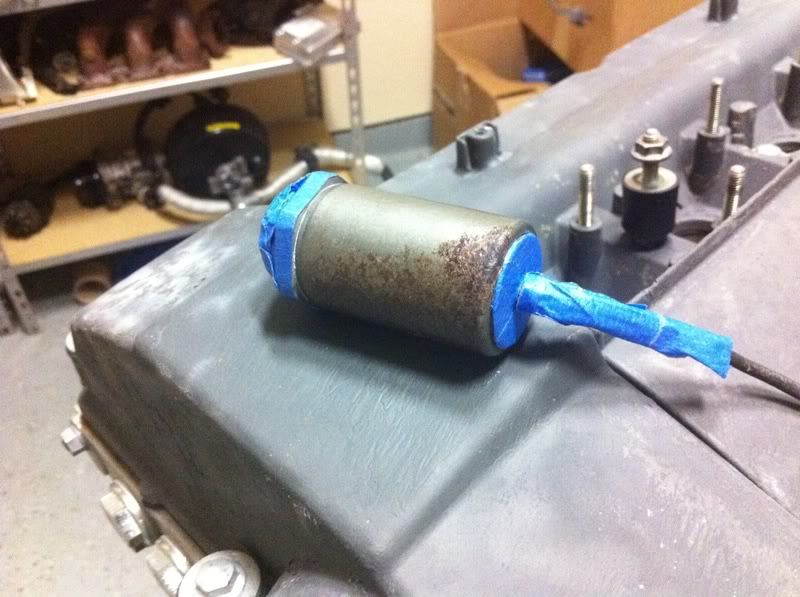
Next I took care of the fuel lines. I'm not totally taking them out because I'm not worried about overspray. They're getting replaced since about 4in down the line, there's a section taken out because the PO was running OBD2 in this car that required a secondary fuel pump. That big cylinder thing goes to the rear brakes. I believe it is what actually controls the bias.

Image

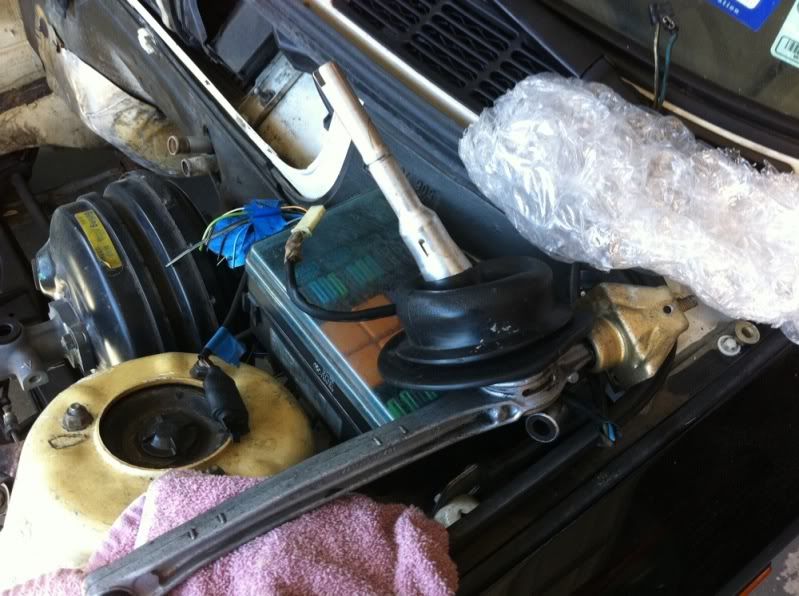
Then it was time for the insulation. Since mine is in good shape, I decided to keep it, so a little more work was required so it wouldn't tear. Lots of nuts and retainers keeping this thing on. The steering column was also in the way, but 2 bolts and nuts the rack is free and I just pulled the spindle out of the column with the e36 rack.

Image


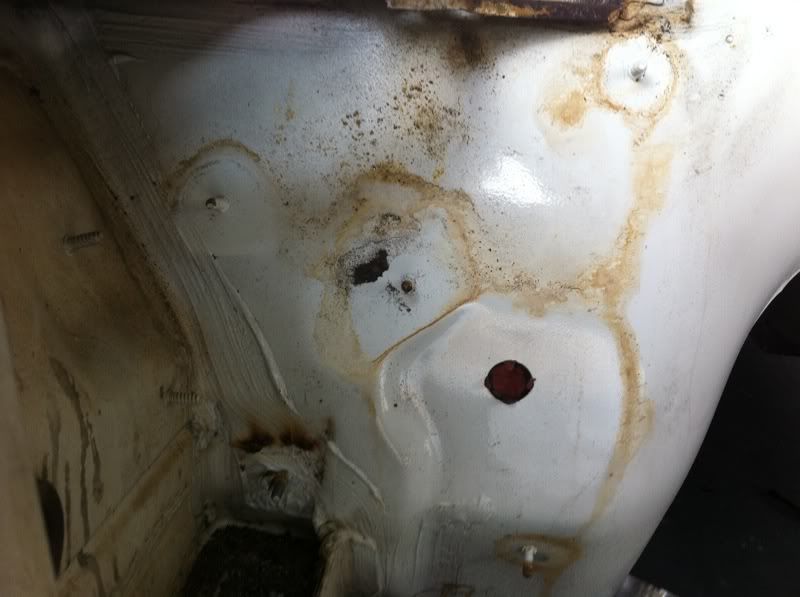
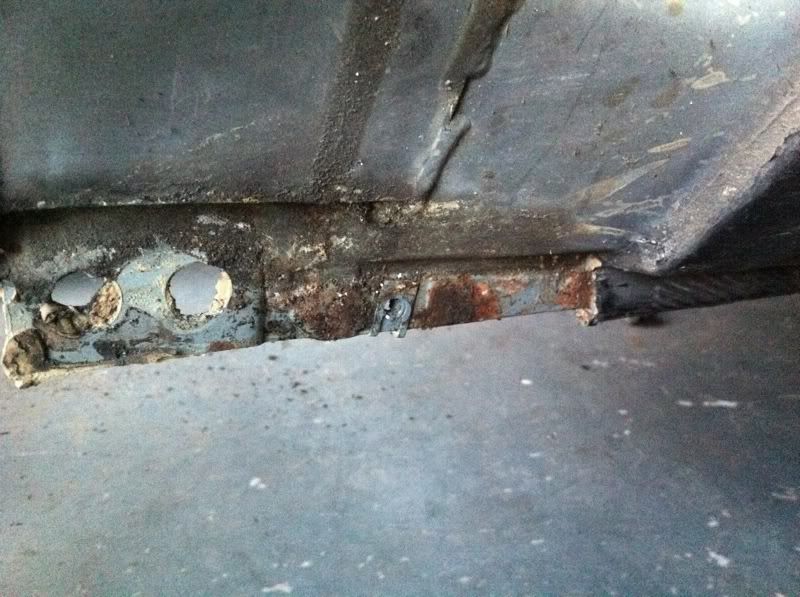
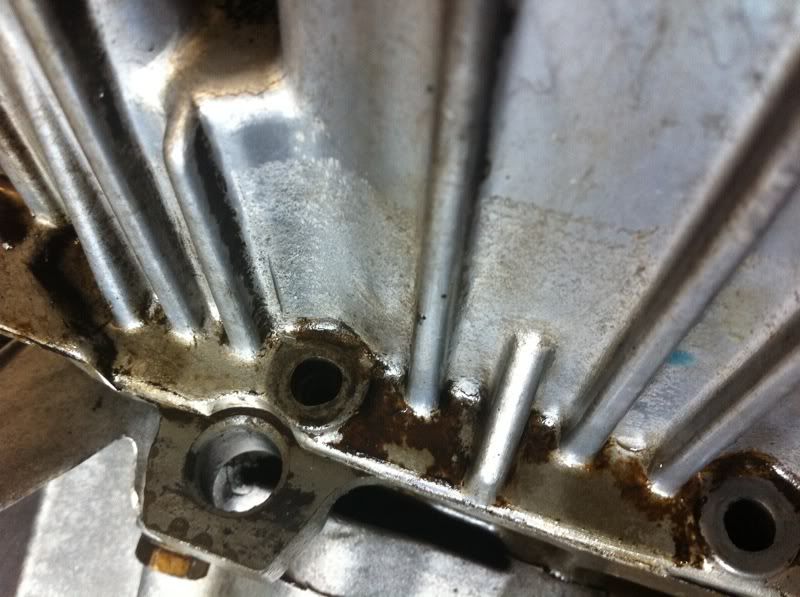
Yay no rust! (Honestly shouldn't be any on this car since it was a Cali, then Texas car it's whole life)
Image

Image

Image

Image


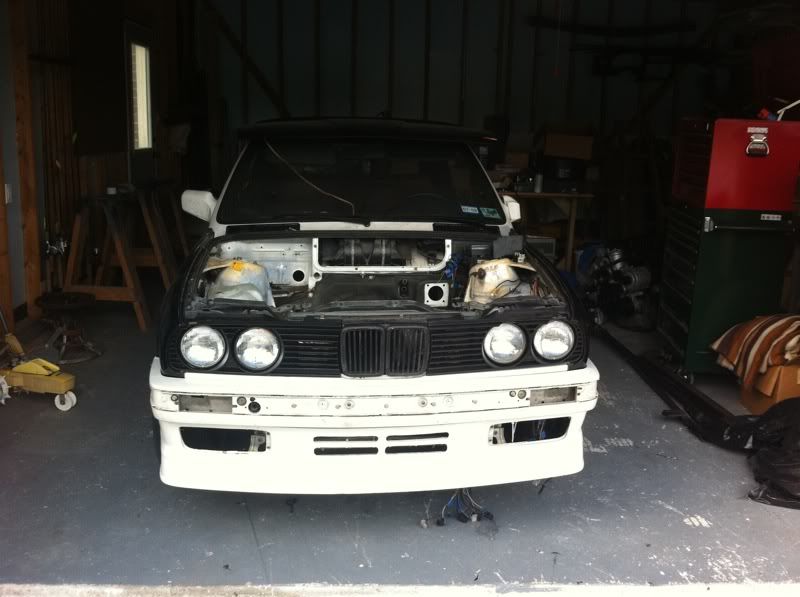
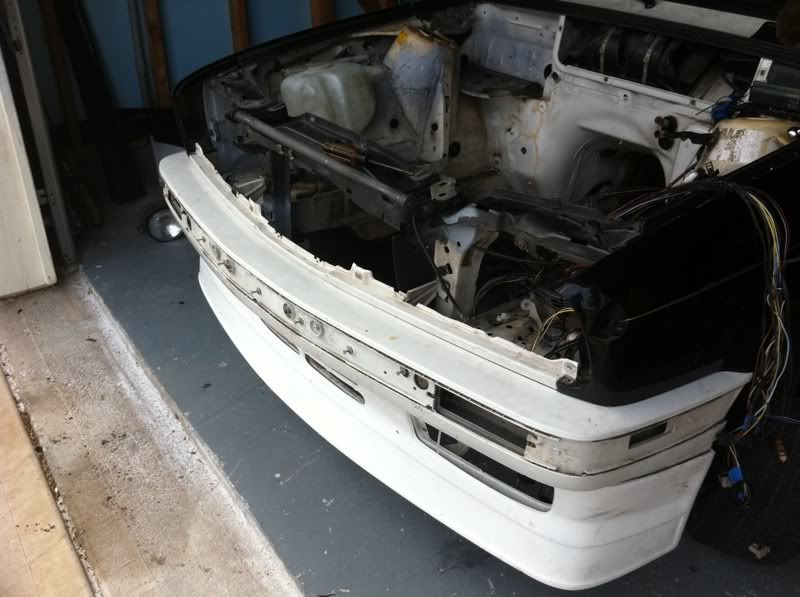
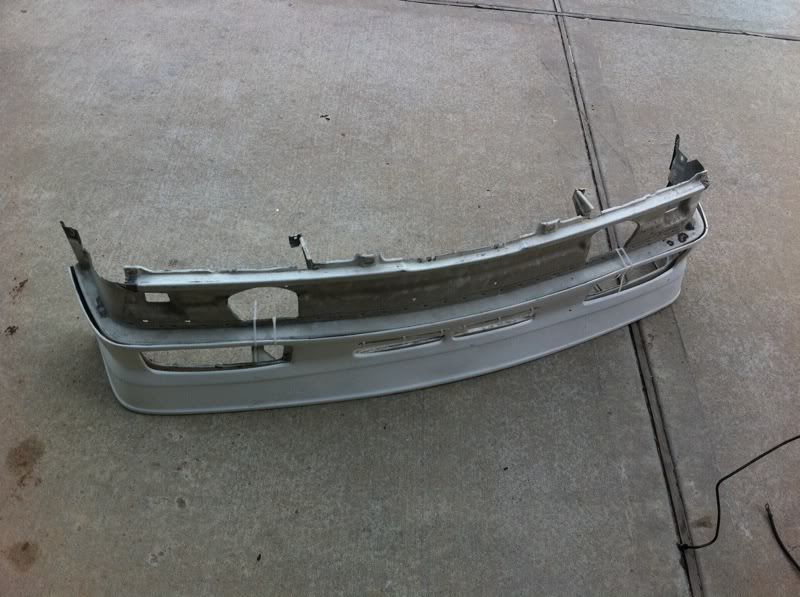
Part of the harness was trapped because of the valence. Luckily I had forgotten I had fitted it with zip ties to mock up mounting for the Alpina valence, so that came off in 1 minute flat after the lights/grills were removed.

Image

Image

Image

Image

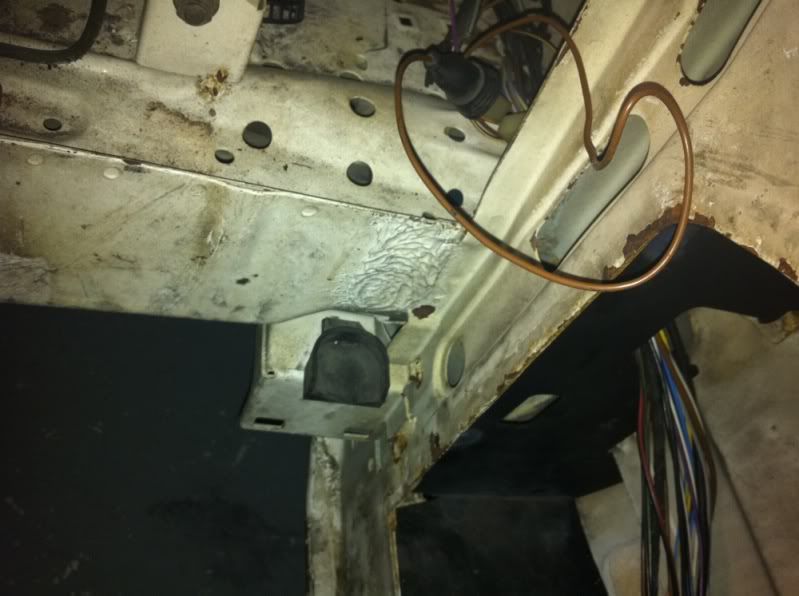
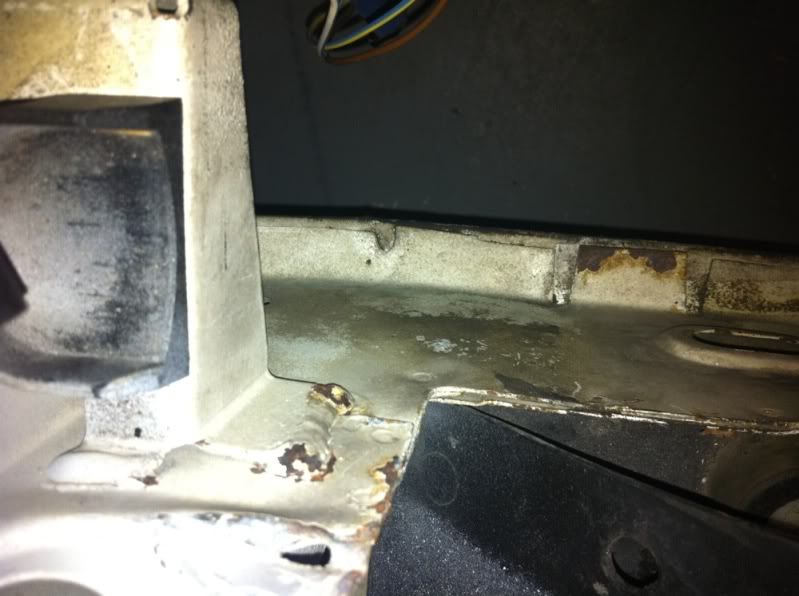
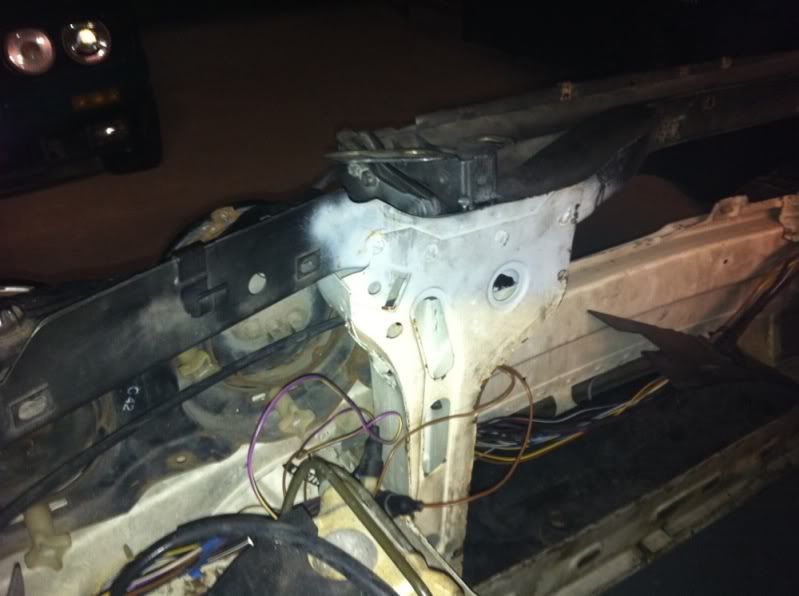
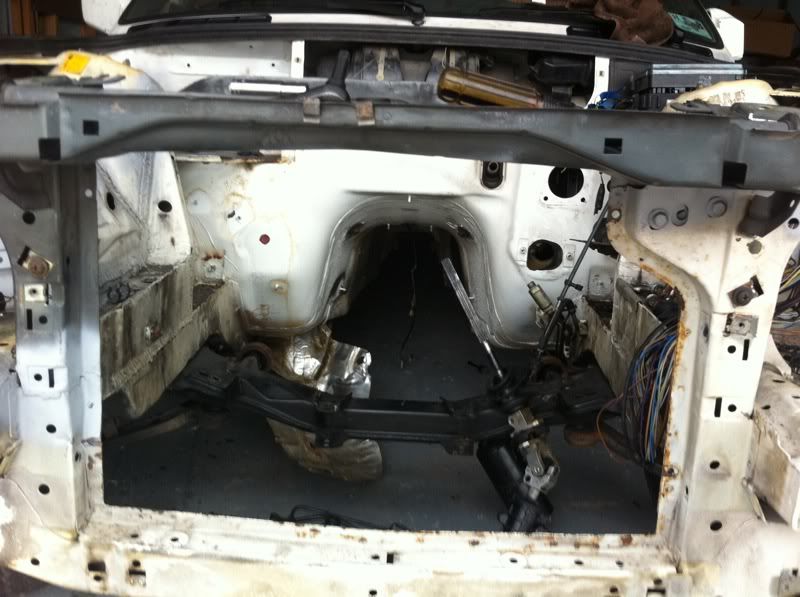
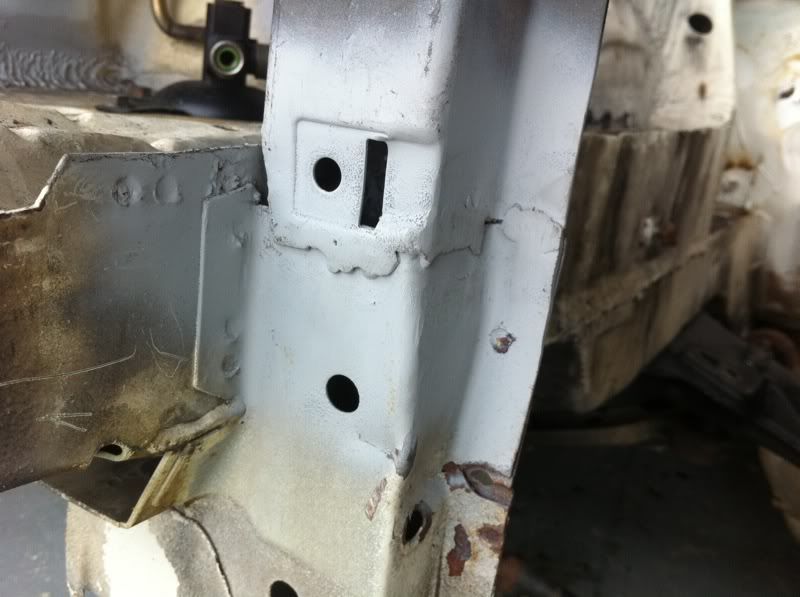
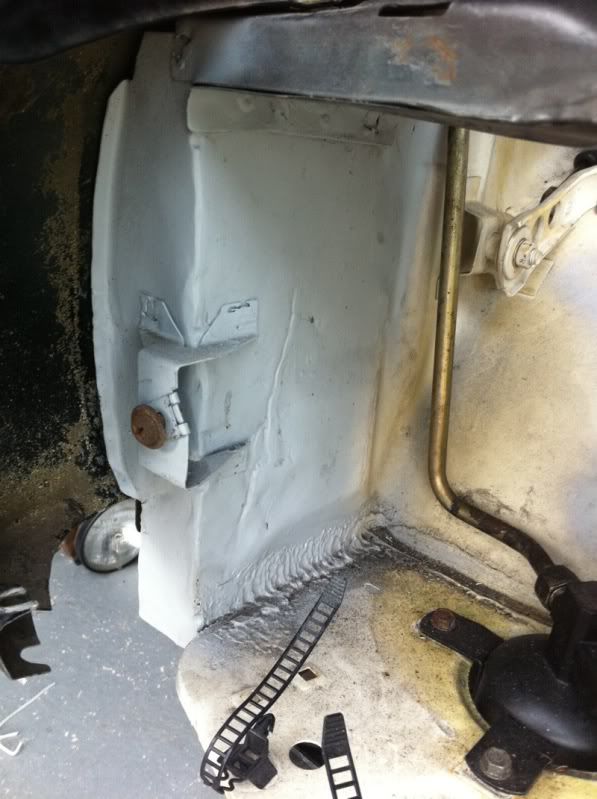
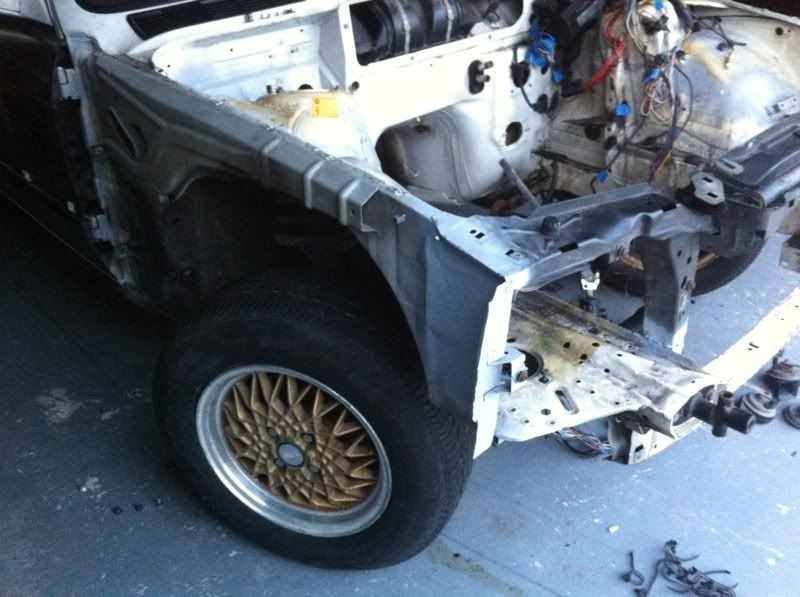
By this point you can get a good look of the repair done to the core support because of the small accident that landed it in the PO's hands. He did a good job fixing it, but some welds need to be touched up and grinded.

Image

Image

Image

13 button exterior harness out.

Image

Throttle cable/brake hoses, etc out

Image

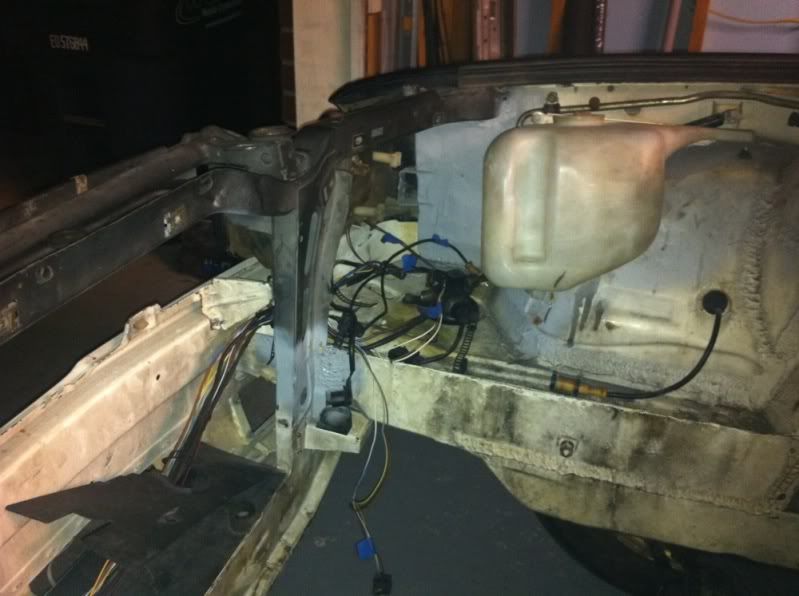
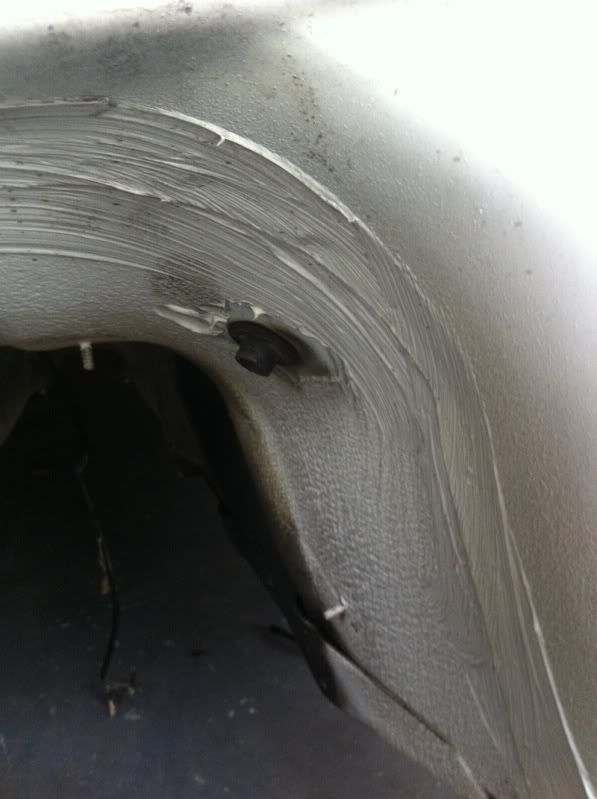
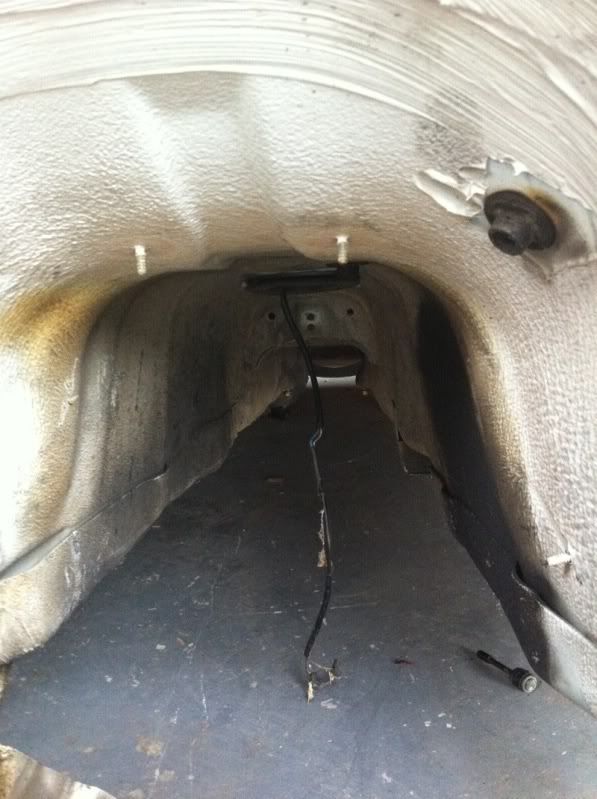
Time for the fenders.

Image

Image


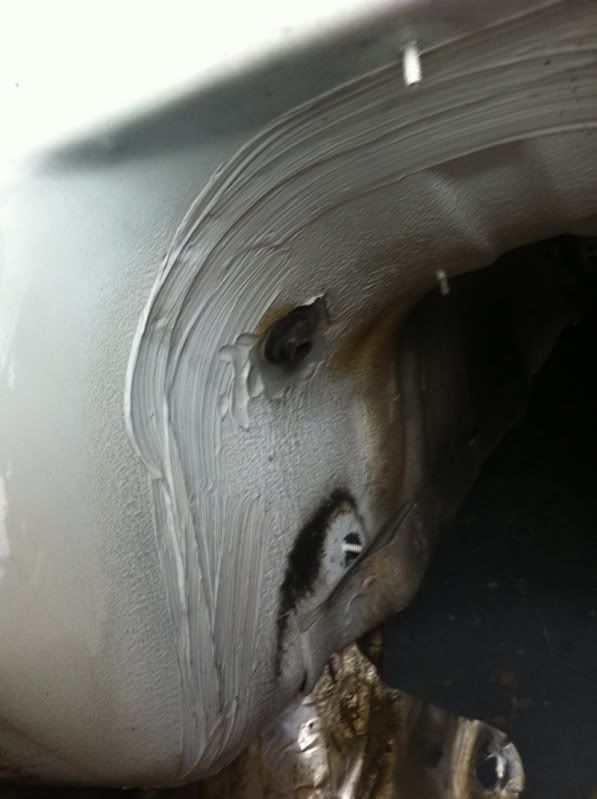
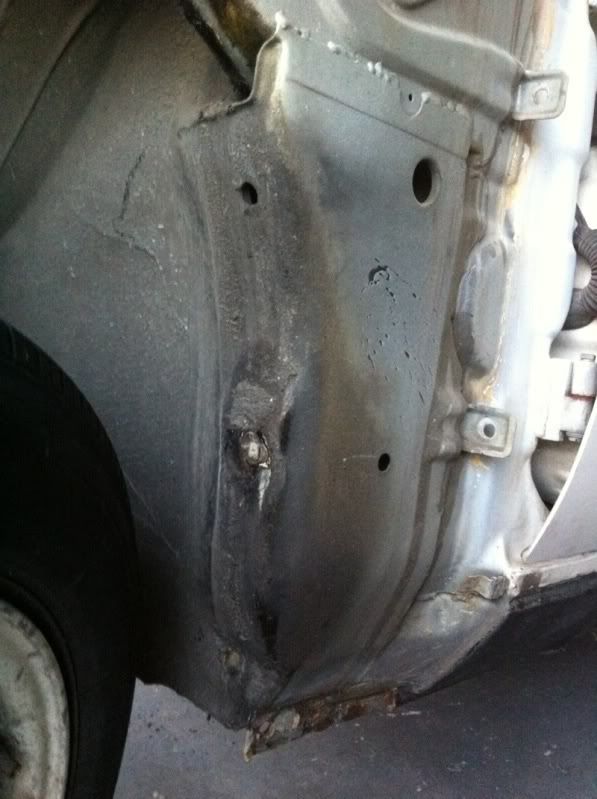
Yay no rust either, just some surface and left over body seam filler.

Image

Image

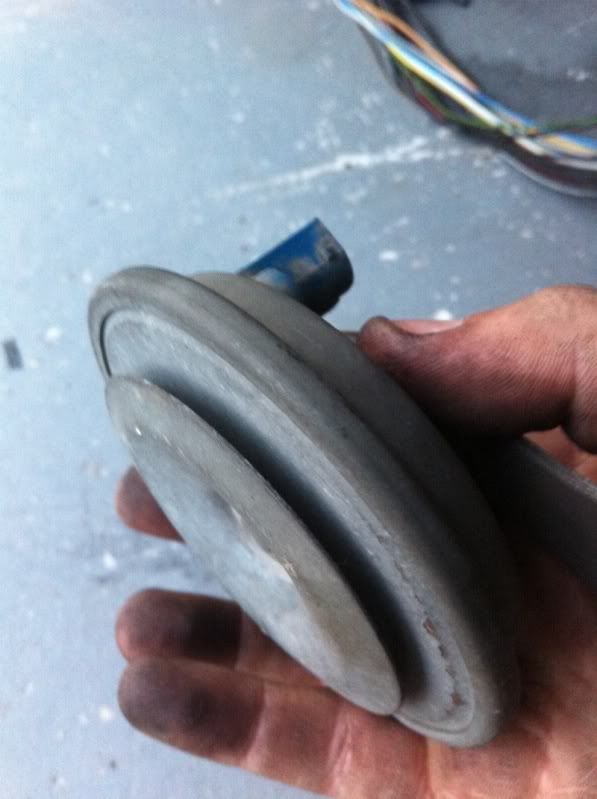
Took the horns out, note the difference in the OBC horn, it's flat and has no "trumpet" opening.

Image

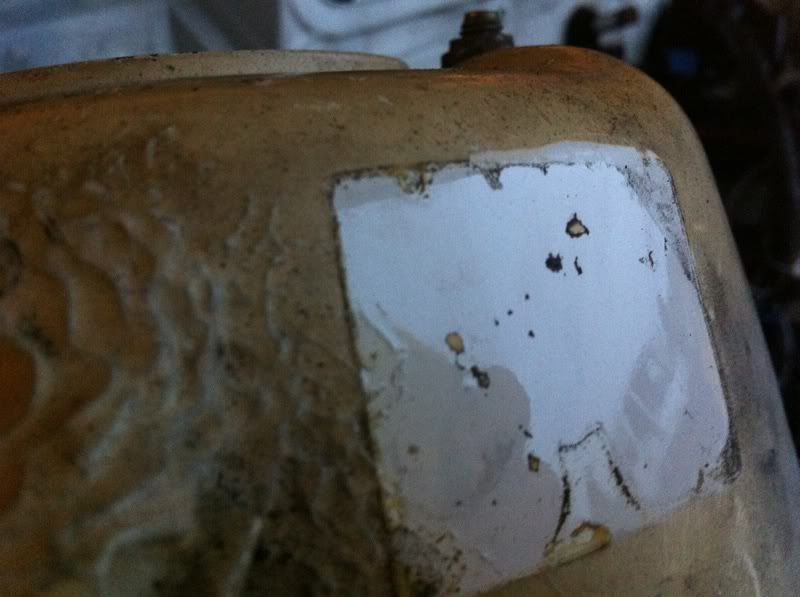
Then the stickers.

Image

Image

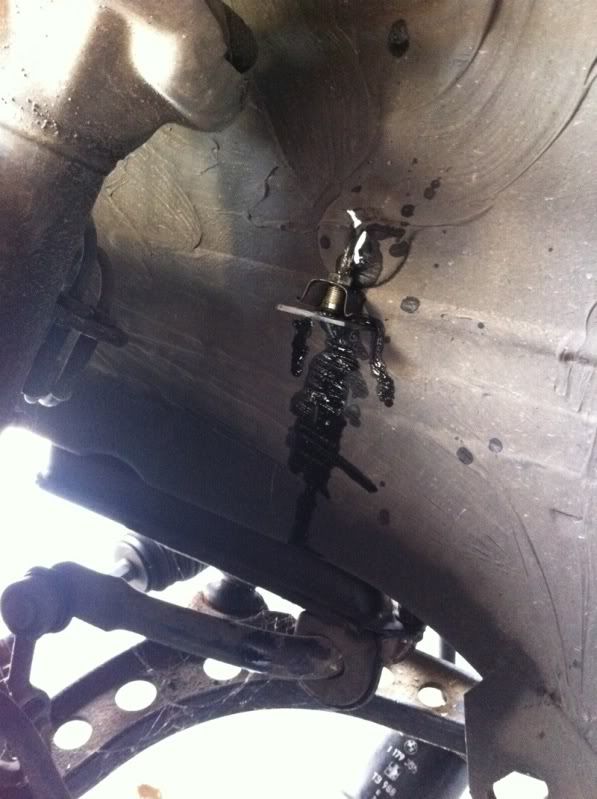
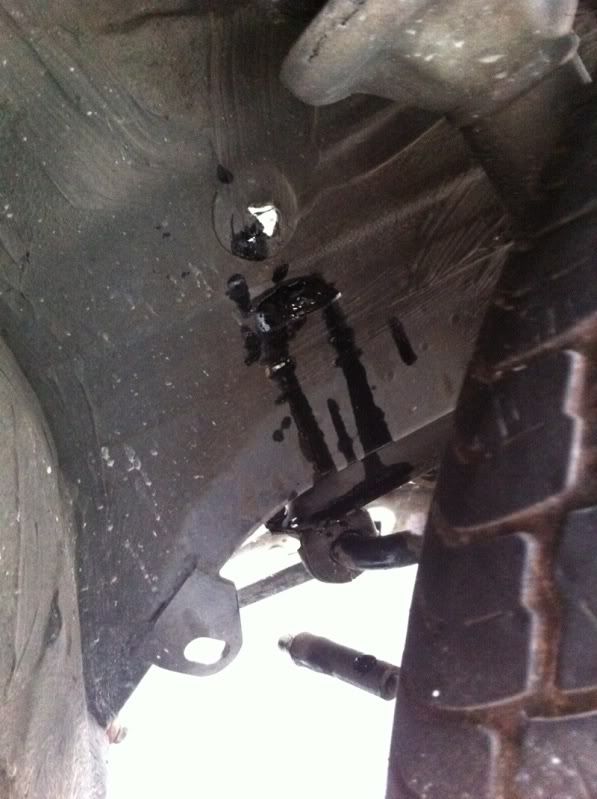
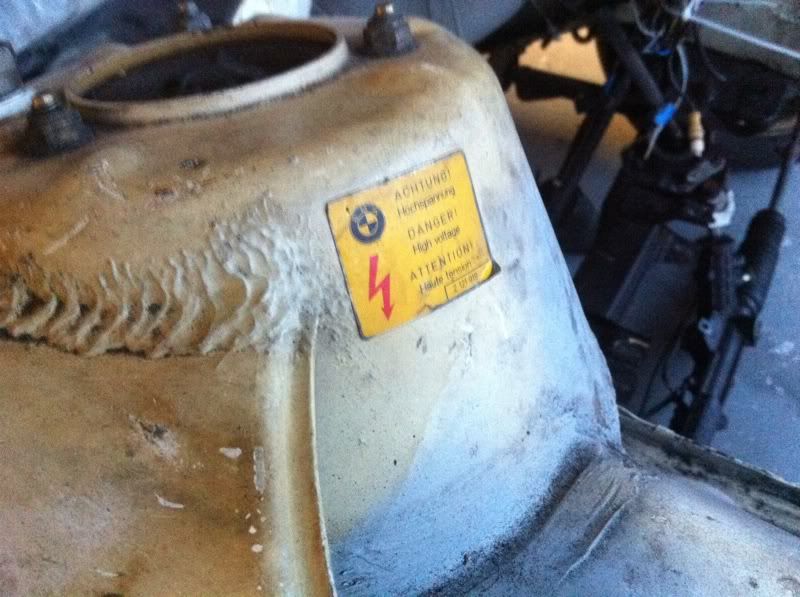
Look at how thick the Cosmoline is. You can actually feel the thickness of it by running your finger over where the sticker was and the strut tower.

Image

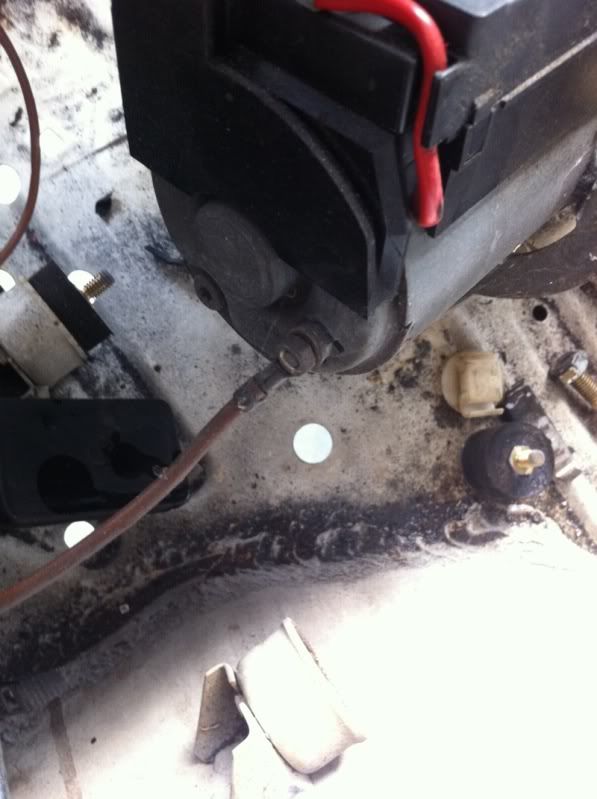
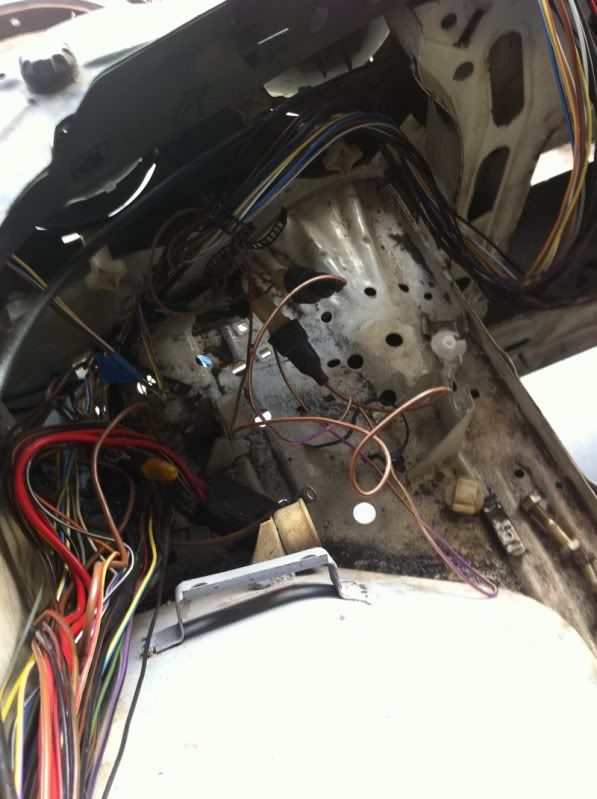
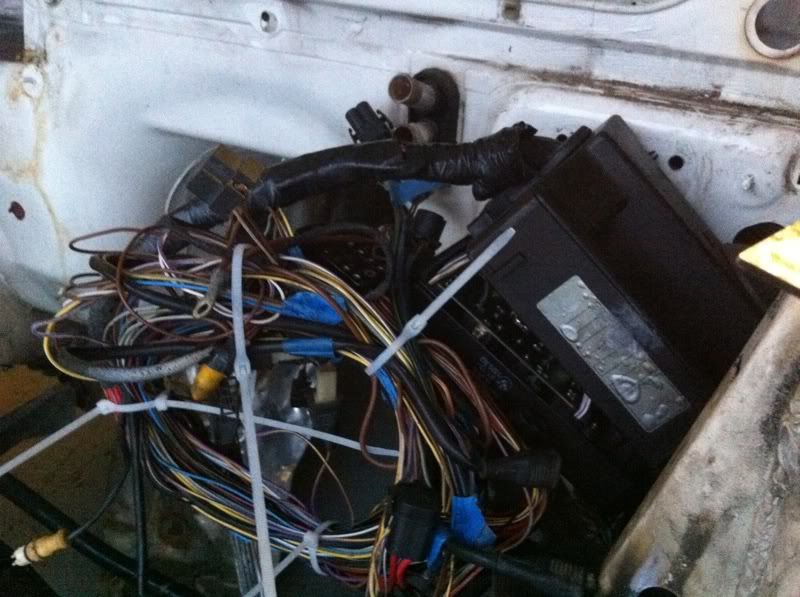
Unbolted the fuse box and tied up the harness.

Image

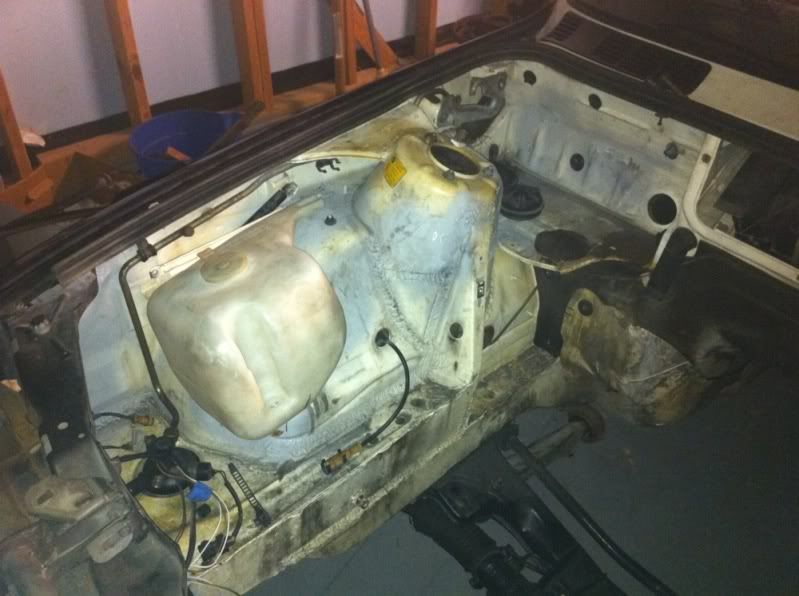
Took car of the AC lines and the other few things left in the bay.

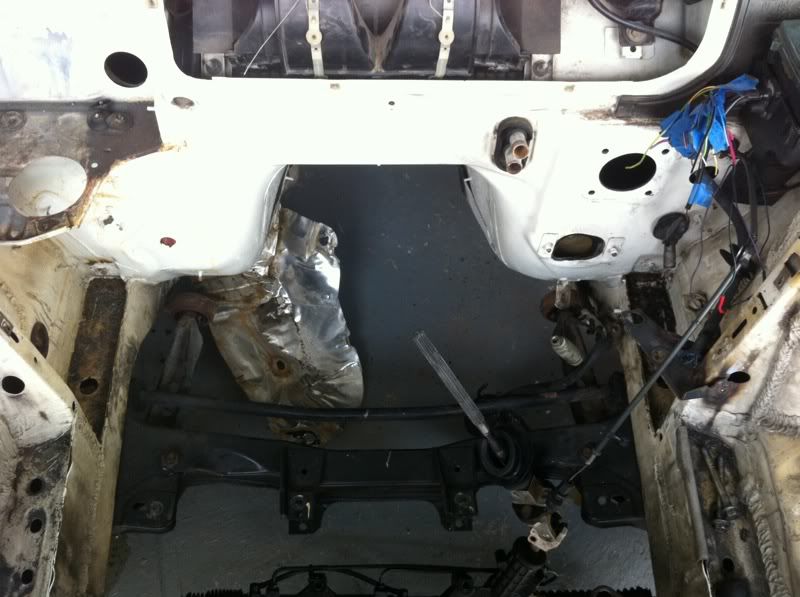
And here's what we have left:

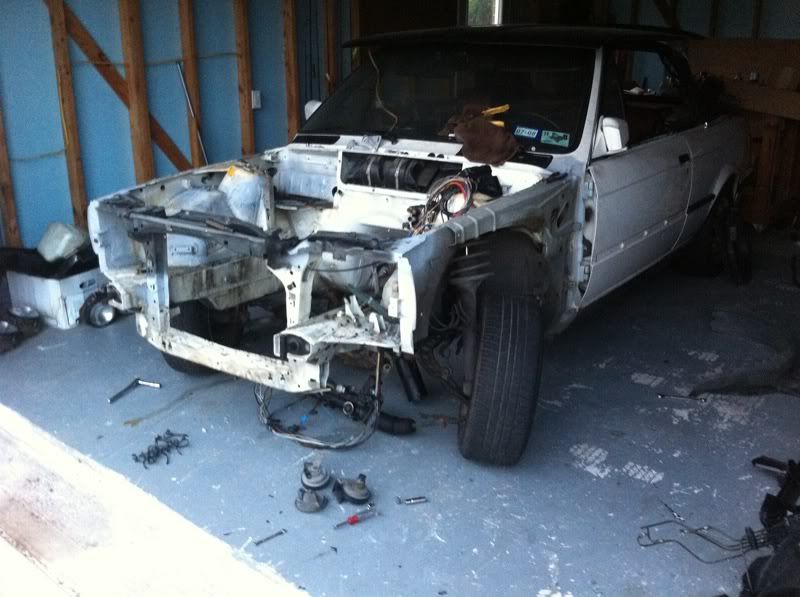
Image
Image

Looking for M-tech interior and intensive wash bits PM me
User avatar
glucklich21
E30 Zone Newbie
E30 Zone Newbie
Posts: 50
Joined: Tue Jun 29, 2010 11:00 pm
Location: Houston, Texas, USA

Post Fri Apr 15, 2011 8:19 am

Lots accomplished in the 6 hours I worked on the car.

The plan was to get the interior out.

But first need to clean it up. :X

Image

Image

Image

Image

Image

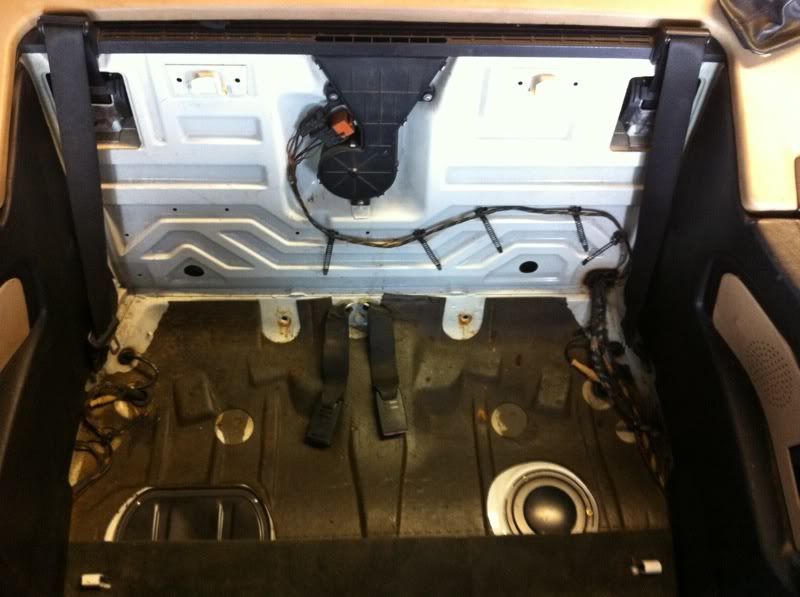
My $10 rear seat.

Image


That's better:

Image

Image

Image

Rear seat out

Image

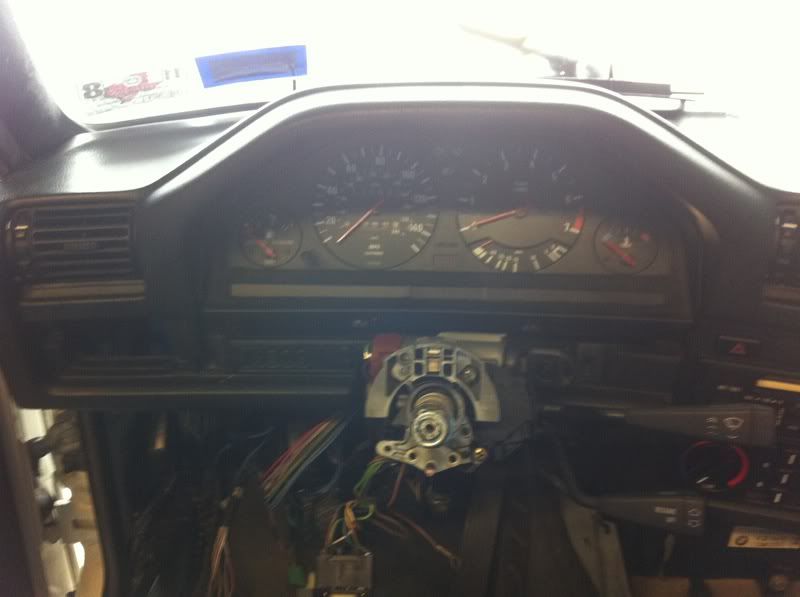
Some column stuff off and out

Image

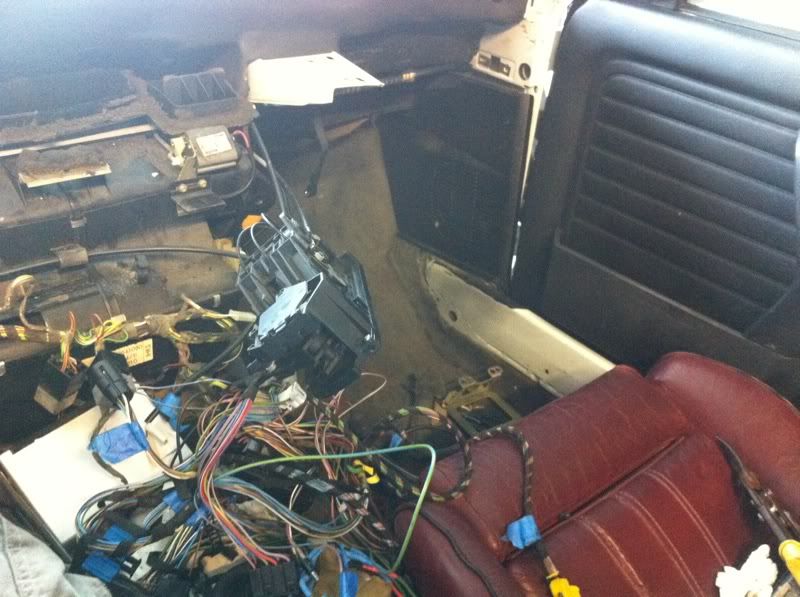
WIRES!


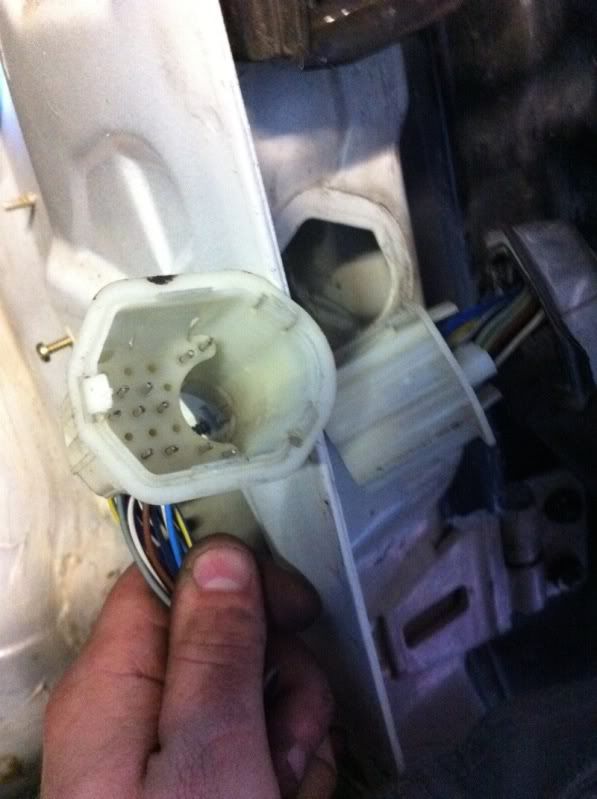
Left is the where the dash harness connects. Things like hazards, flashlight charger, etc. Right is the C302, this is where accessories plug in for power.

Image

Image

Image

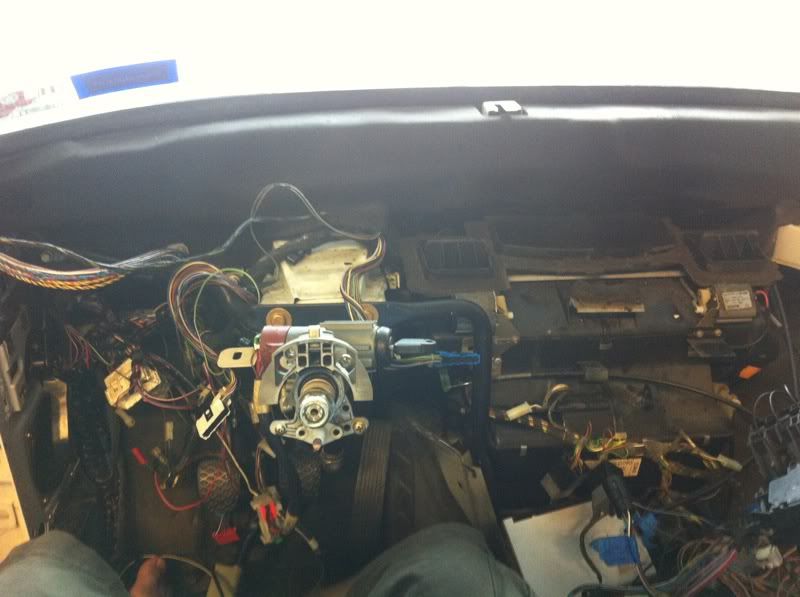
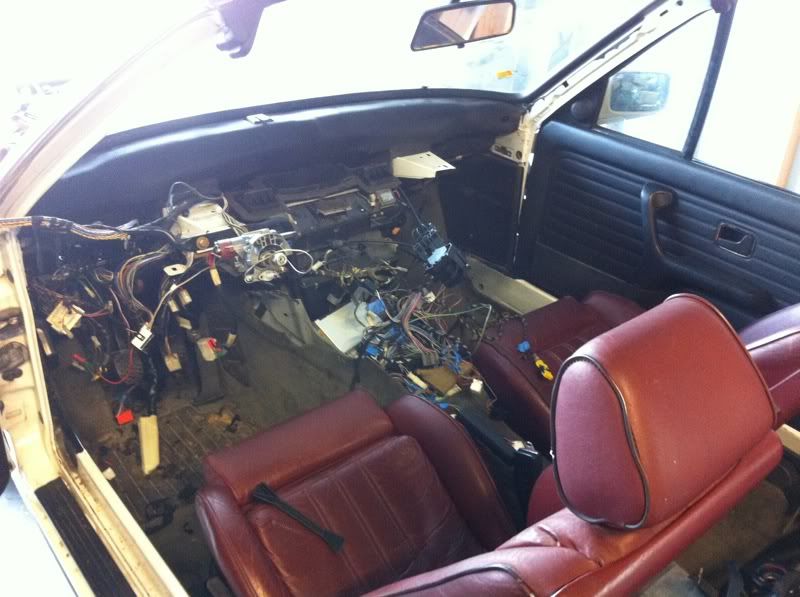
Dash out!

Image

Image

Image

I felt like an idiot once I figured out how this came apart.

Image

And then my phone died. So pics pretty much show the end result.

Image

Image

Image

Image

Image

"BUT WHERE'S THE HARNESS????!!!!


Here it is!

Shit is long

Image

Image

Made this:

Image


Each individual section zip tied to it's self then tied up.

Image

Cloth tape shedding everywhere.

Image

Called it a night :)

Image
Image

Looking for M-tech interior and intensive wash bits PM me
User avatar
Supafly
E30 Zone Regular
E30 Zone Regular
Posts: 559
Joined: Wed Feb 22, 2006 11:00 pm

Post Sat Apr 16, 2011 1:31 am

Doing well, keep up the good work and thanks again for the detailed pictures. They make for interesting viewing now and in the future I'm sure many people who are stuck will use these as references.
:)
User avatar
glucklich21
E30 Zone Newbie
E30 Zone Newbie
Posts: 50
Joined: Tue Jun 29, 2010 11:00 pm
Location: Houston, Texas, USA

Post Sat Apr 16, 2011 6:24 am

I've been known to use other's threads as a point of reference, particularly when I was building my M50 for my MT-2 4 door. It was out of an E34 so naturally the old engine arms were in a different location. With the E36 arms on I couldn't figure out where exactly they were suppose to go. Skimming through someone's thread I found my answer. :)
Image

Looking for M-tech interior and intensive wash bits PM me
User avatar
glucklich21
E30 Zone Newbie
E30 Zone Newbie
Posts: 50
Joined: Tue Jun 29, 2010 11:00 pm
Location: Houston, Texas, USA

Post Tue Apr 19, 2011 7:40 am

Helped my dad build a fence so it stayed like this a few more days:

Image

Starting soldiering stuff onto the new harness on Sunday. When I soldiered the window breaker switch wires together I decided it time to go to bed.


Image


Today I wanted to soda blast the remaining stuff so I can start reassembly. And did so. All the remaining bolts, oil pan, and timing case.

Oil pan before:

Image
Image
Image
Image


After:
Image
Image
Image
Image
Image
Image


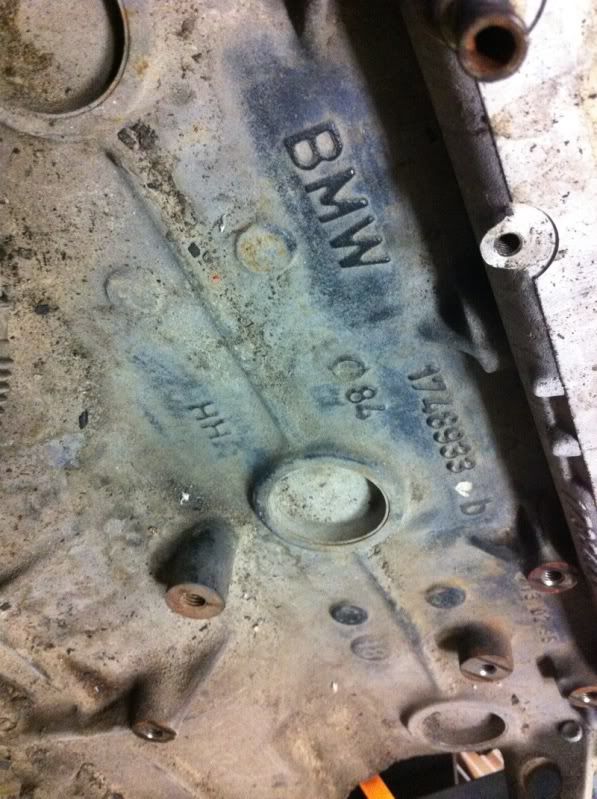
Timing case after. (No "real" before pic just no more grim and stains)

Image

New work light allowed me to continue past dark. :)

Image

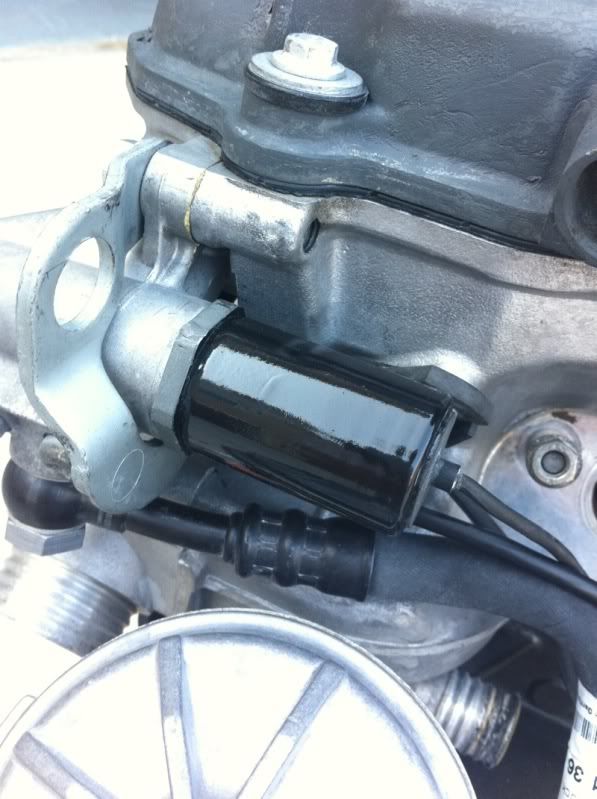
Vanos solenoid blasted twice, 1 failed paint attempt, and started fresh with a coat of etching primer.

Image

Image

Then a high performance enamel like the other black metal pieces. *still drying in picture

Image

Blasted the engine hoist bracket I got from the yard as I was missing mine. :(


Image


Finish line I can see you. :)
Image

Looking for M-tech interior and intensive wash bits PM me
User avatar
glucklich21
E30 Zone Newbie
E30 Zone Newbie
Posts: 50
Joined: Tue Jun 29, 2010 11:00 pm
Location: Houston, Texas, USA

Post Thu Apr 21, 2011 4:52 am

Looking for some parts guys.

LMK if you have any of these:

http://www.e30zone.net/modules.php?name ... c&t=195851

Update coming later tonight. :)
Image

Looking for M-tech interior and intensive wash bits PM me
User avatar
glucklich21
E30 Zone Newbie
E30 Zone Newbie
Posts: 50
Joined: Tue Jun 29, 2010 11:00 pm
Location: Houston, Texas, USA

Post Fri Apr 22, 2011 8:08 am

I'll do a big update when I'm done with the wiring. So far I'm adding this to the harness:

"Euro" side markers that stay lit and blink- I don't have these period since I have a US spec E30

One button control that puts all of the windows down or up at once. -Still need the cabrio electric top up and down switch tho.

16 guage wiring for a future audio install

Foot well lighting like in my other E30

Extra trunk lighting

Rear fog light

Switched/constant positive and neg leads in the center console, glovebox, and under the dash for future accessory installs if necessary.

Hardwired radar power supply

And some other things I'm sure I'll come up with. :rolleyes:


For now though, I have a mini update.


I took the engine off of the stand so I could get started on the rear, but did some other things first.

Image

Image

Image

Close up of the painted brackets, so purty. :)

Image

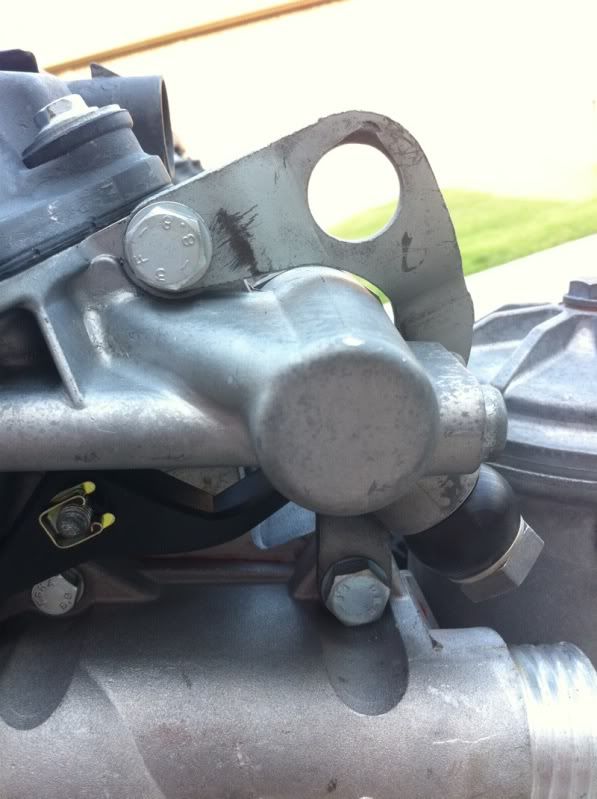
Installed the vanos oil solenoid.

Image

New hardware for the trigger sensor:

Image

The junkyard hoist bracket installed with new hardware:

Image

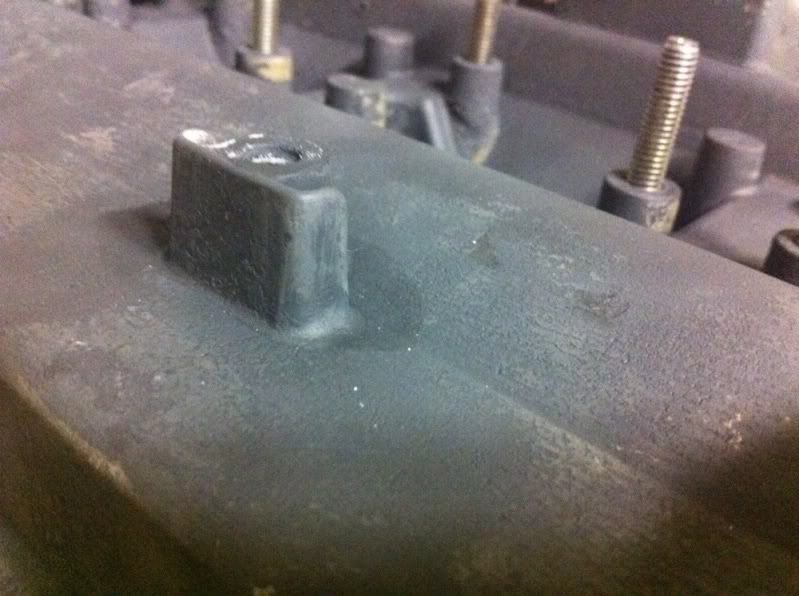
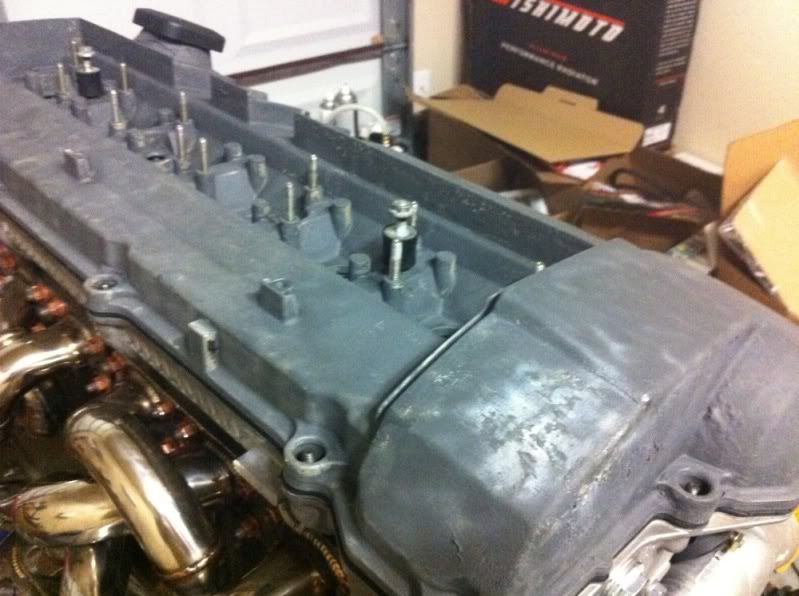
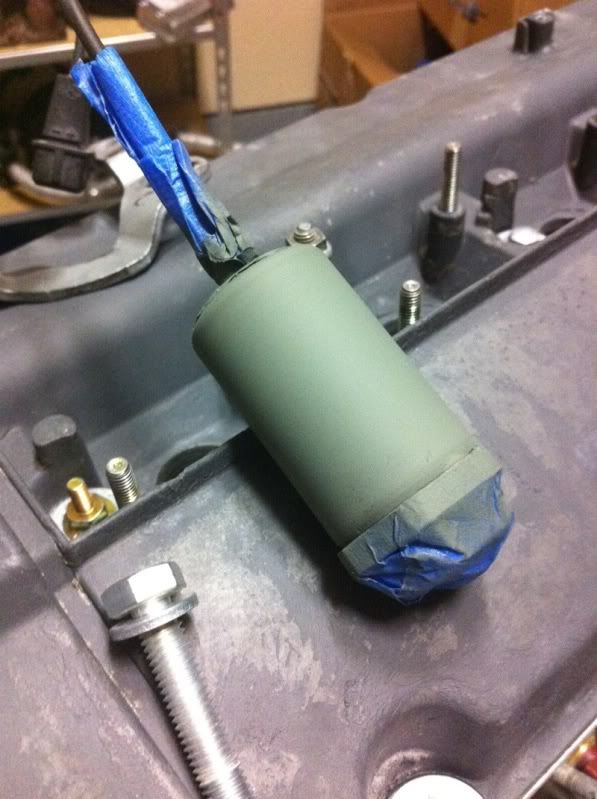
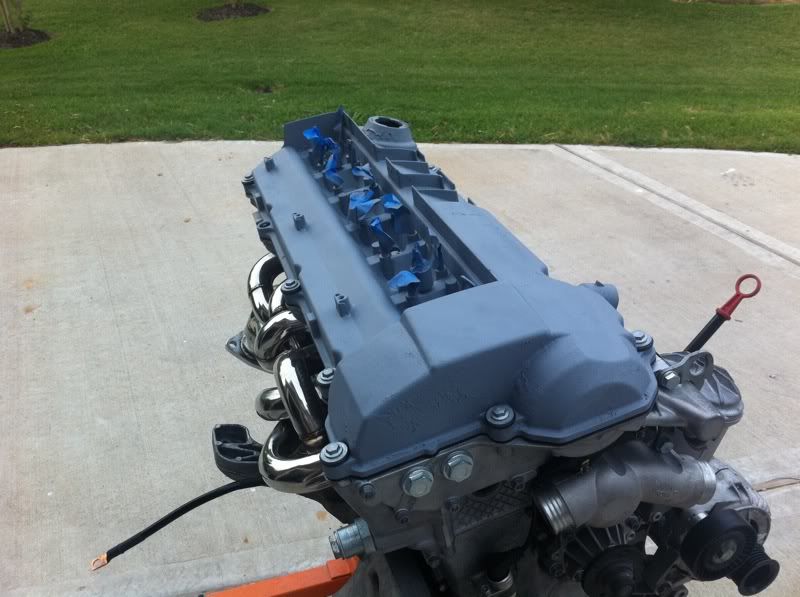
Next I wanted to prime the valve cover for paint, at the time I hadn't decided on a color just yet.

Taped up:

Image

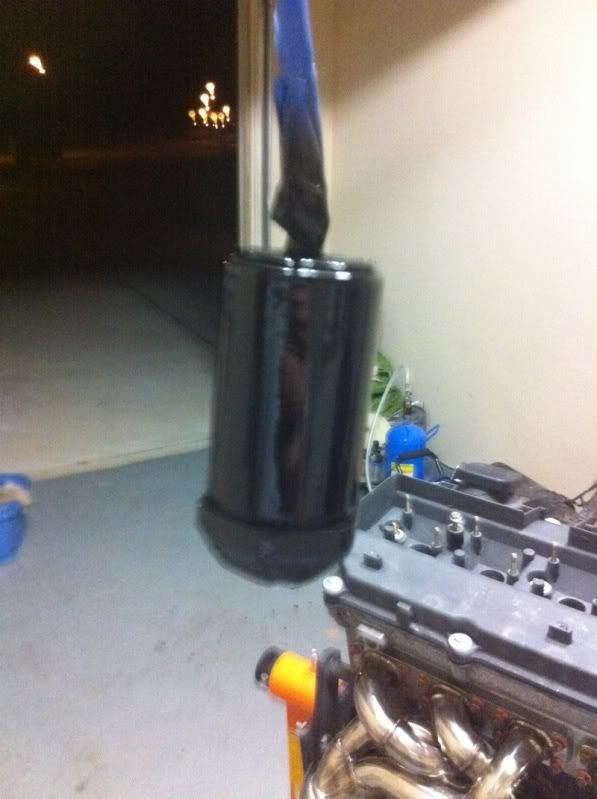
Finished product:

Image

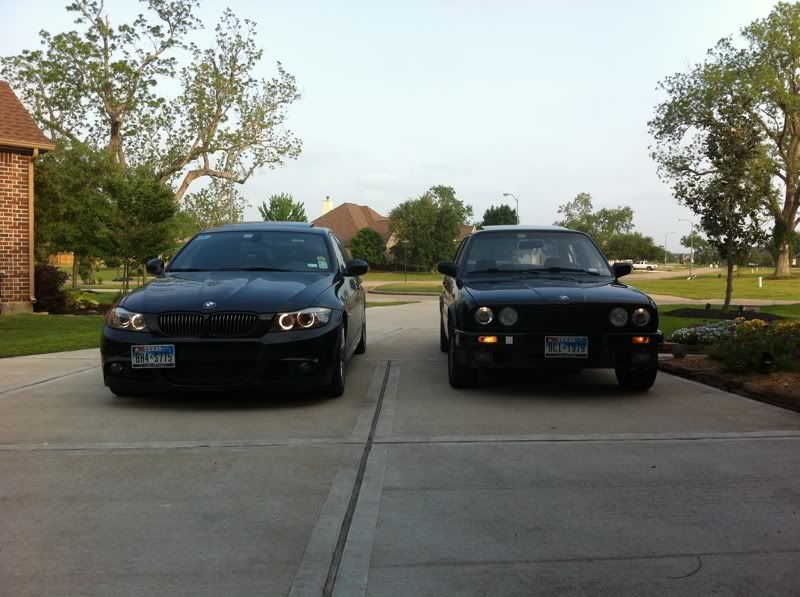
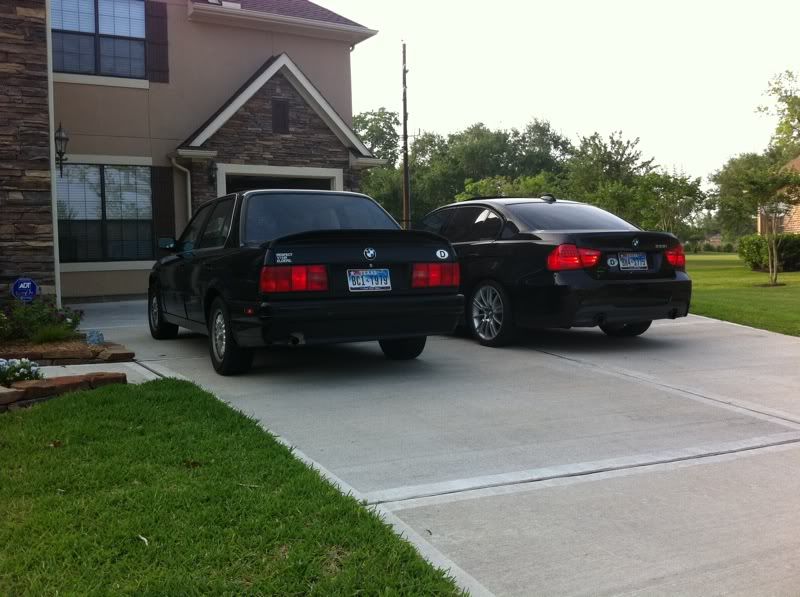
And for shits and giggles, My LCI M-tech 335i E90 and my M-Tech II E30. :)

Image

Image
Image

Looking for M-tech interior and intensive wash bits PM me
User avatar
glucklich21
E30 Zone Newbie
E30 Zone Newbie
Posts: 50
Joined: Tue Jun 29, 2010 11:00 pm
Location: Houston, Texas, USA

Post Wed Apr 27, 2011 9:21 am

So I'm borrowing this for a few days, been bro-ing so hard....

Image

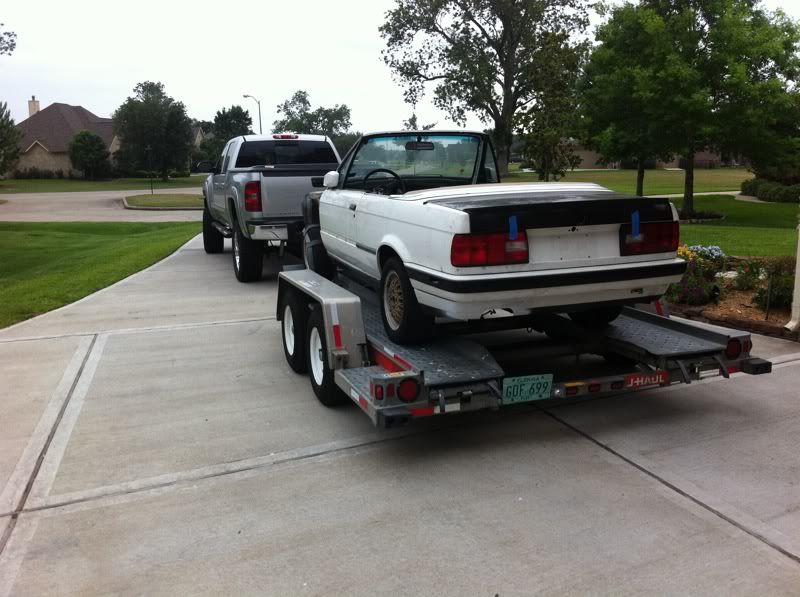
Pulled the cabrio out of this garage for the last time. (that house has been sold)

Image

Image

Rented a U-Haul and loaded it up.

Image

Vacuumed out all of the loose harness wrapping.

Image

And took it to the car wash to wash the bay and the body. It hasn't had one in at least 3 years.

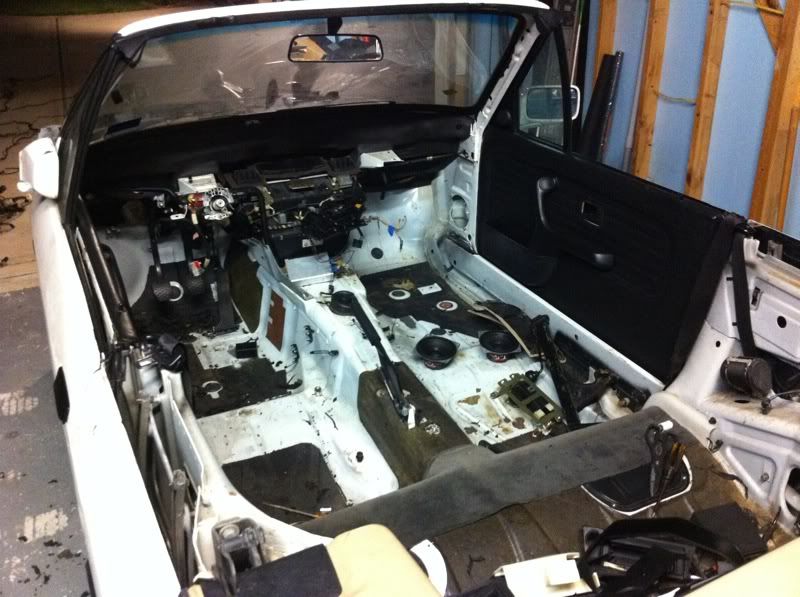
Image


Dropping it off tomorrow to get the bay painted. :)
Image

Looking for M-tech interior and intensive wash bits PM me
mr_dink
E30 Zone Regular
E30 Zone Regular
Posts: 812
Joined: Thu Jan 03, 2008 11:00 pm
Location: Huddersfield

Post Wed Apr 27, 2011 9:32 am

wow you really don't cut corners mate!

Is that a brand new ECU? How much was that if you don't mind me asking?
User avatar
glucklich21
E30 Zone Newbie
E30 Zone Newbie
Posts: 50
Joined: Tue Jun 29, 2010 11:00 pm
Location: Houston, Texas, USA

Post Wed Apr 27, 2011 9:45 am

mr_dink wrote:wow you really don't cut corners mate!

Is that a brand new ECU? How much was that if you don't mind me asking?
I've put too much into this project to cut them. :)

I haven't bought a new ECU, which pic were you referring to?
Image

Looking for M-tech interior and intensive wash bits PM me
User avatar
glucklich21
E30 Zone Newbie
E30 Zone Newbie
Posts: 50
Joined: Tue Jun 29, 2010 11:00 pm
Location: Houston, Texas, USA

Post Wed Apr 27, 2011 9:27 pm

Image

Dropped off at the paint shop. :)
Image

Looking for M-tech interior and intensive wash bits PM me
User avatar
glucklich21
E30 Zone Newbie
E30 Zone Newbie
Posts: 50
Joined: Tue Jun 29, 2010 11:00 pm
Location: Houston, Texas, USA

Post Tue May 03, 2011 10:27 am

So I haven't done too much lately. Been busy with getting the M42 out of the M-tec. But it's not like there's much more to do.

Image

Image

Image


Got that out and realized I need more room.....

Image


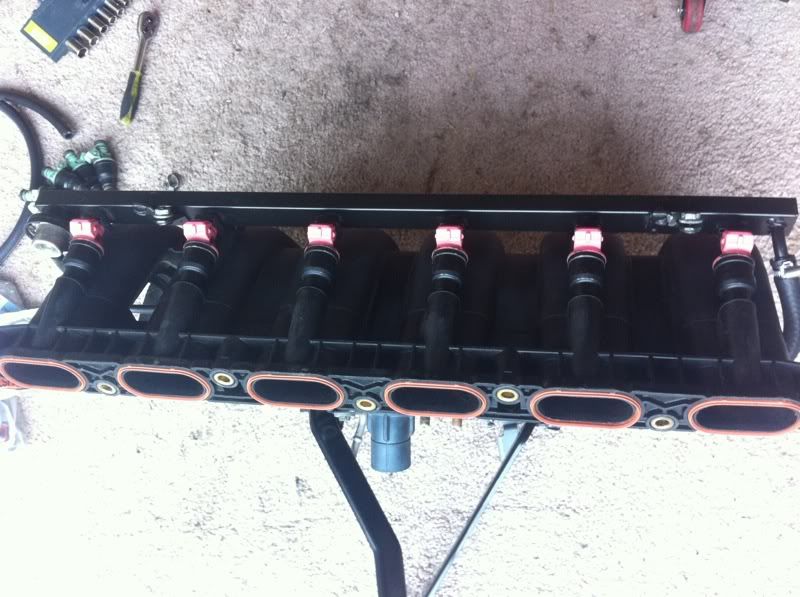
Moved on to 21.5# injectors installed. They still need to be rebuilt, but I'm going to run them in their current state for awhile till all of the possible crap is out of the fuel system and engine.


Image

Image


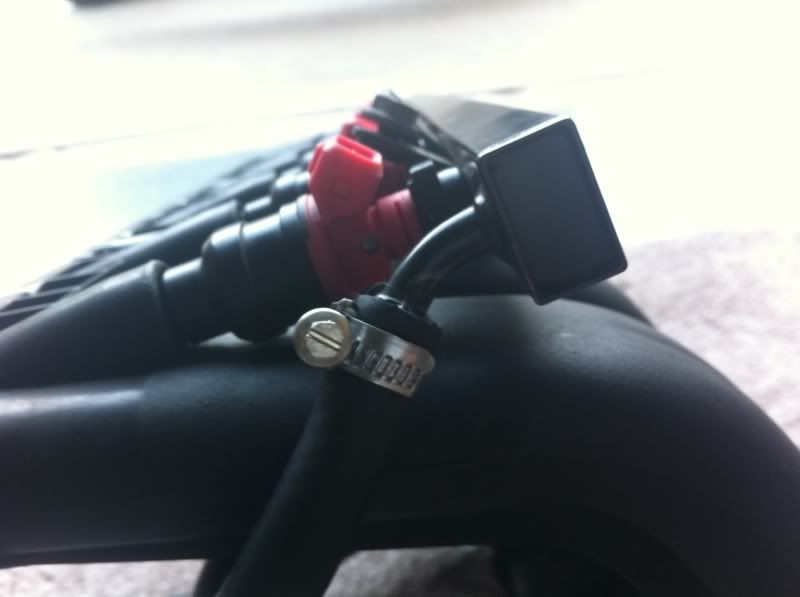
New fuel line with BMW clamps

Image

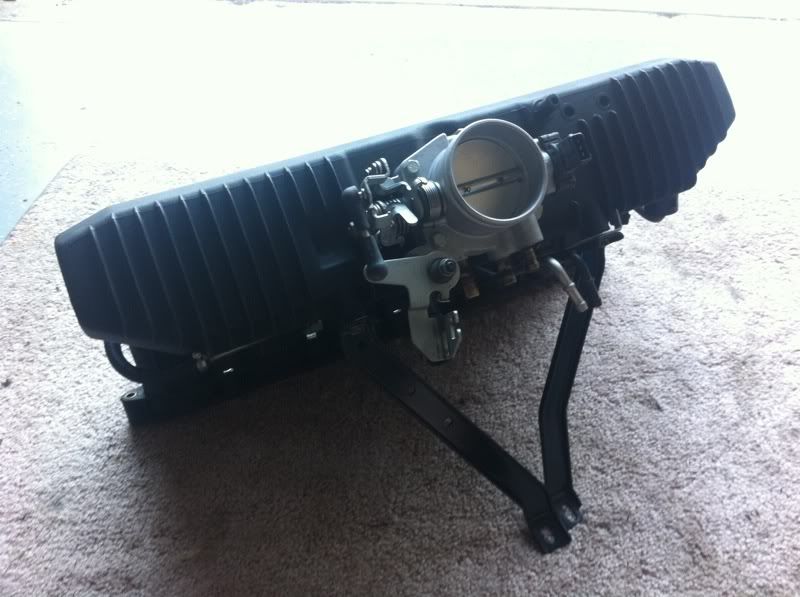
The whole intake unit

Image

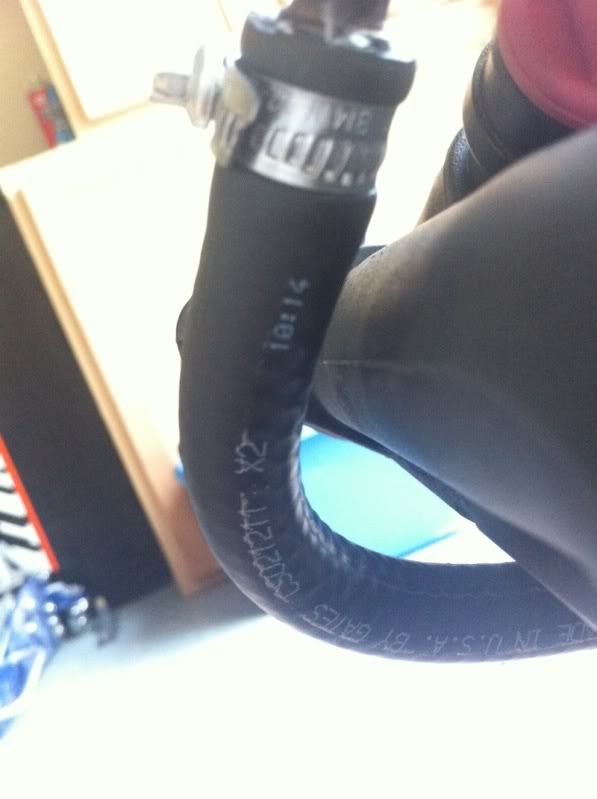
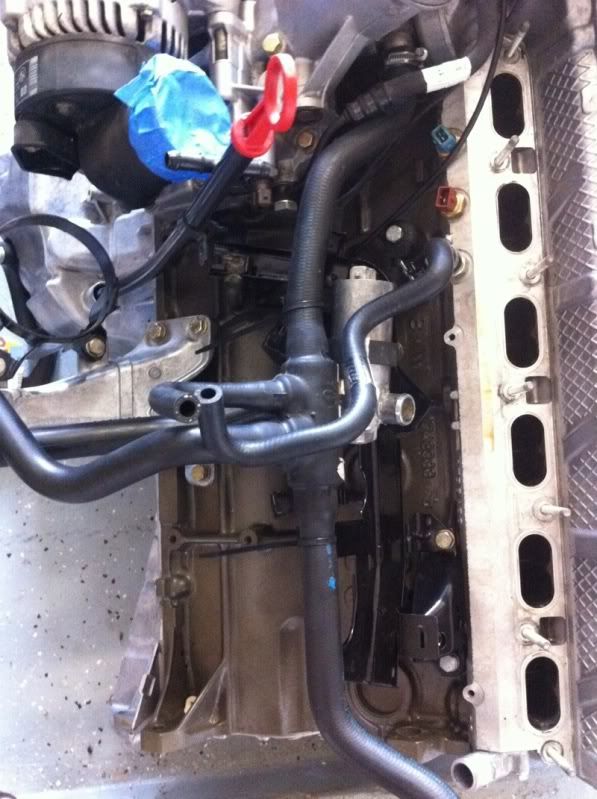
Put in a new OEM E34 M50 spider hose. It's slightly different
then the S50's.

Image

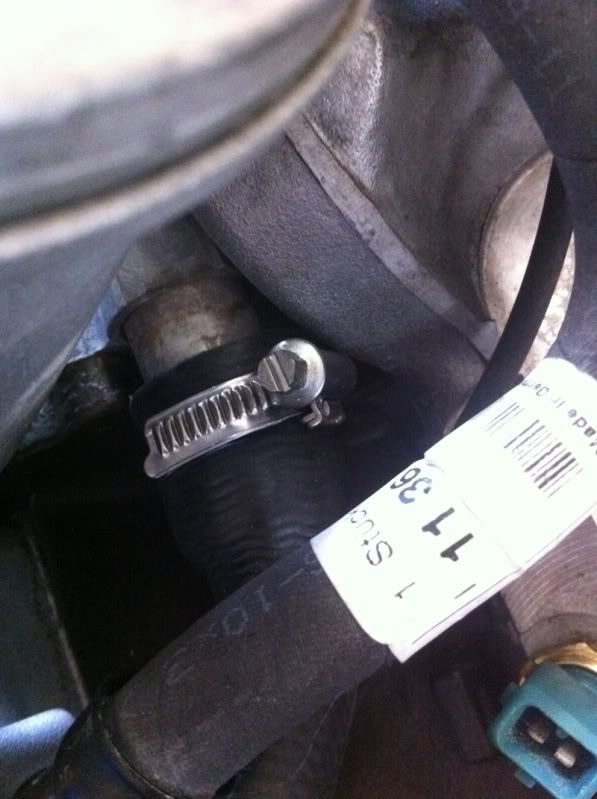
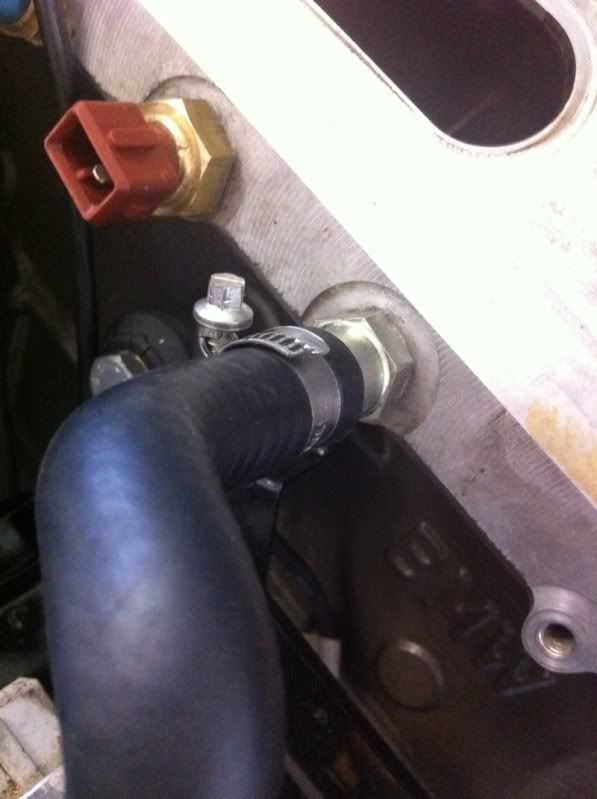
New clamps as well

Image

Used a random coolant hose for the now deleted throttle body heater valve. It will now connect to the left side of the throttle body and coolant will come out the left side to the spider hose.

Image

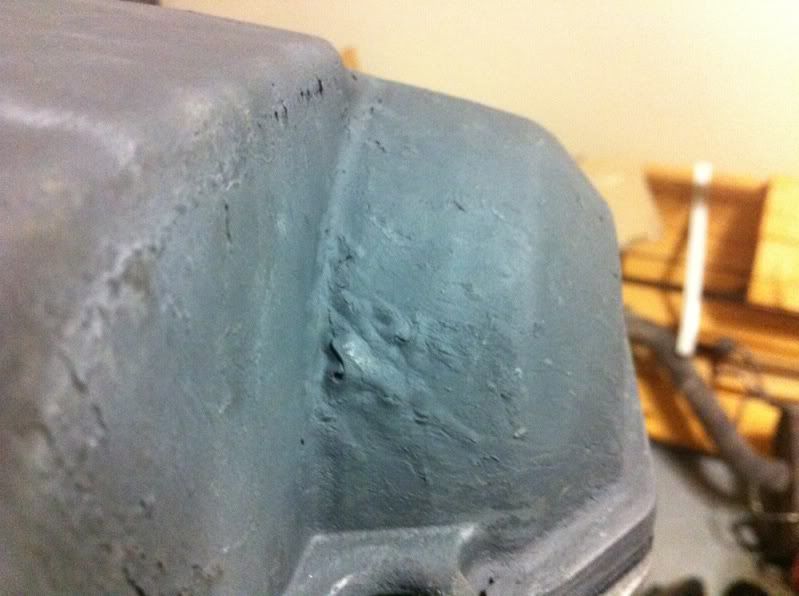
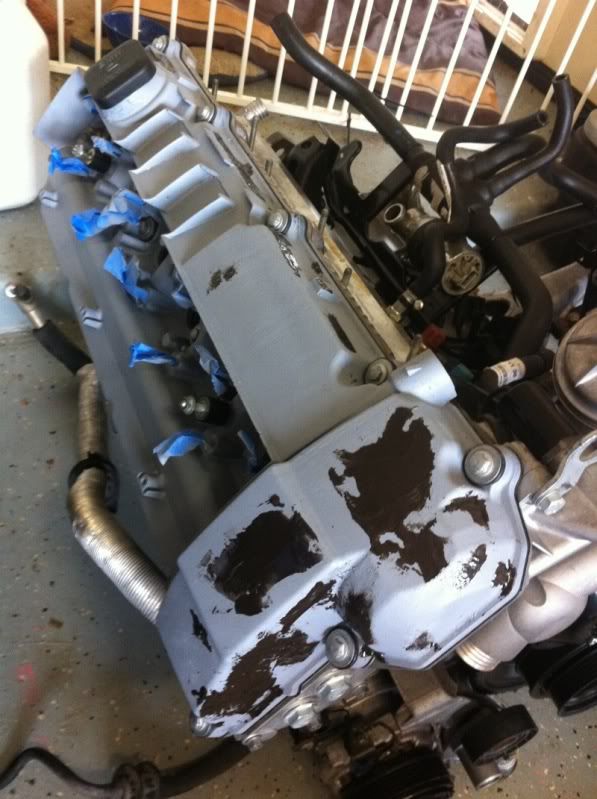
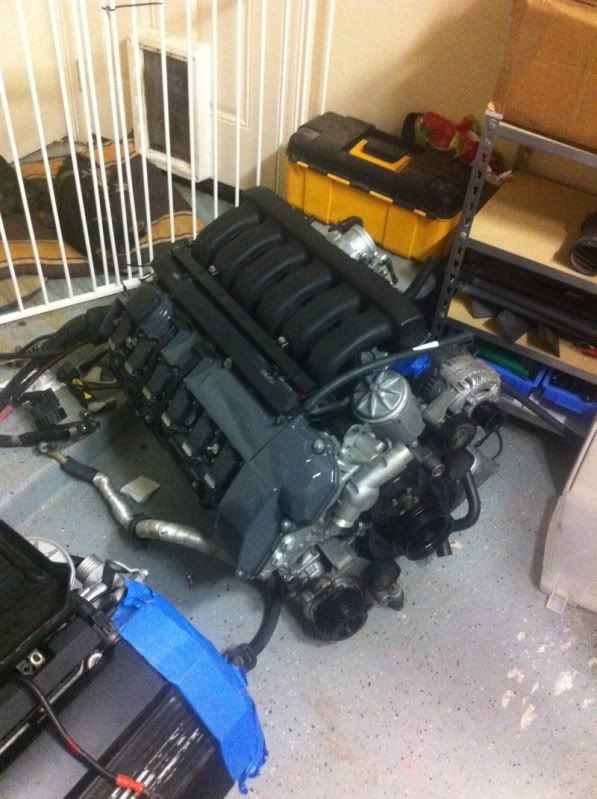
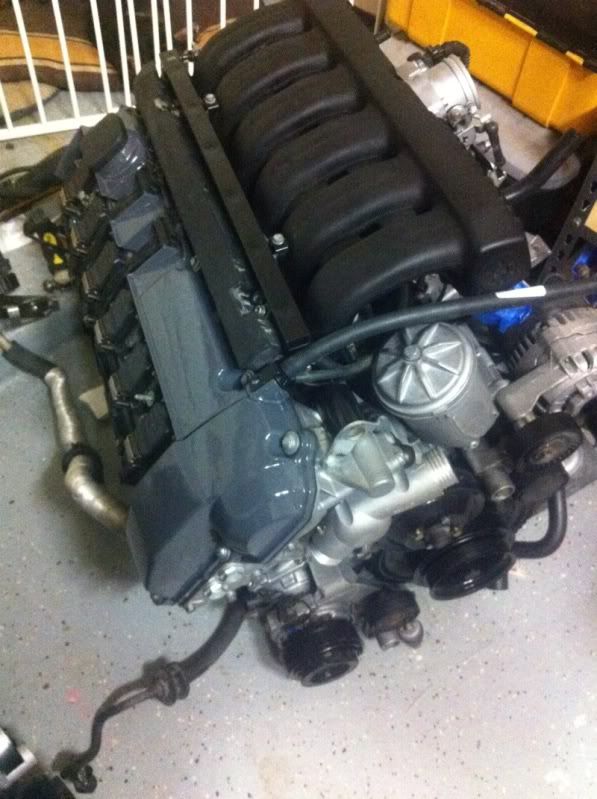
Smeared JB Weld on the imperfections on the valve cover.

Image

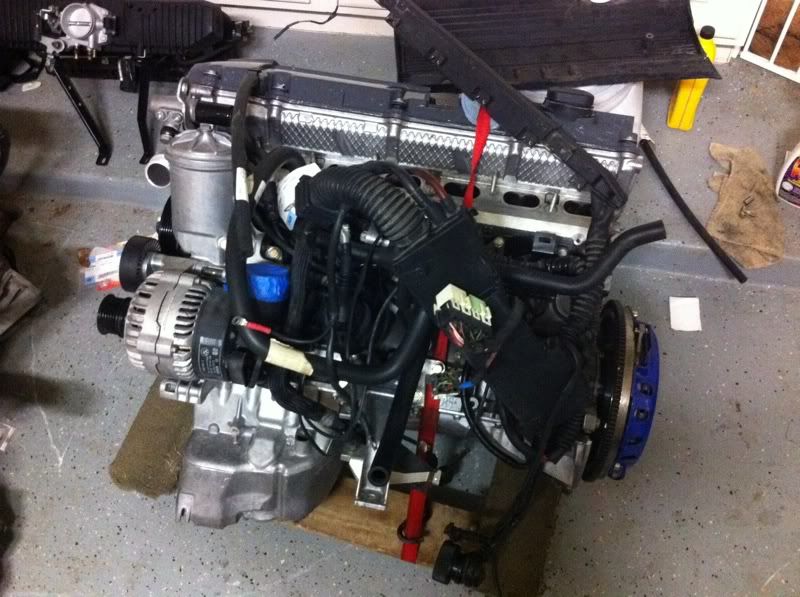
Sanded, high temp primered, sanded, high temp primered, and finished off with a high performance, high gloss enamel. More on this later. Also installed the engine harness at this point.

Image

Image

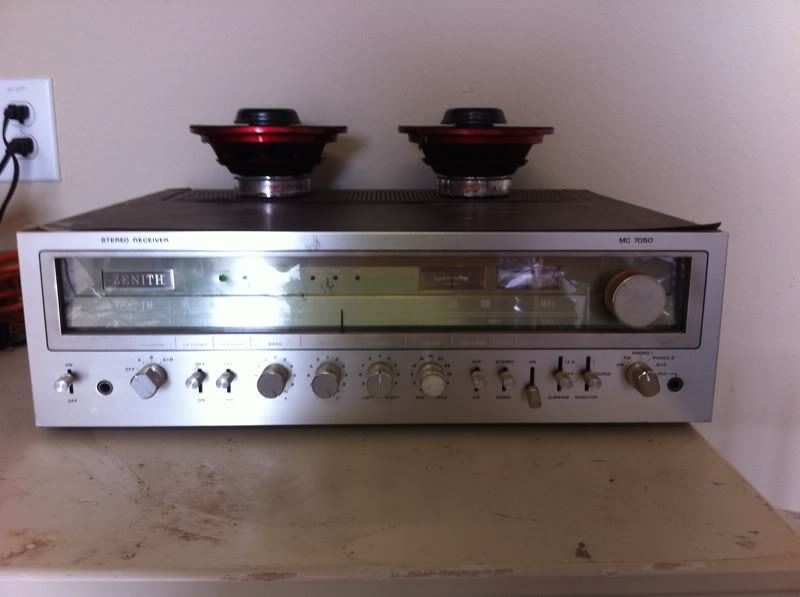
Hooked up an old stereo to some crappy speakers out of the old E34 parts car, even has an auxiliary in for my iPod. :)

Image

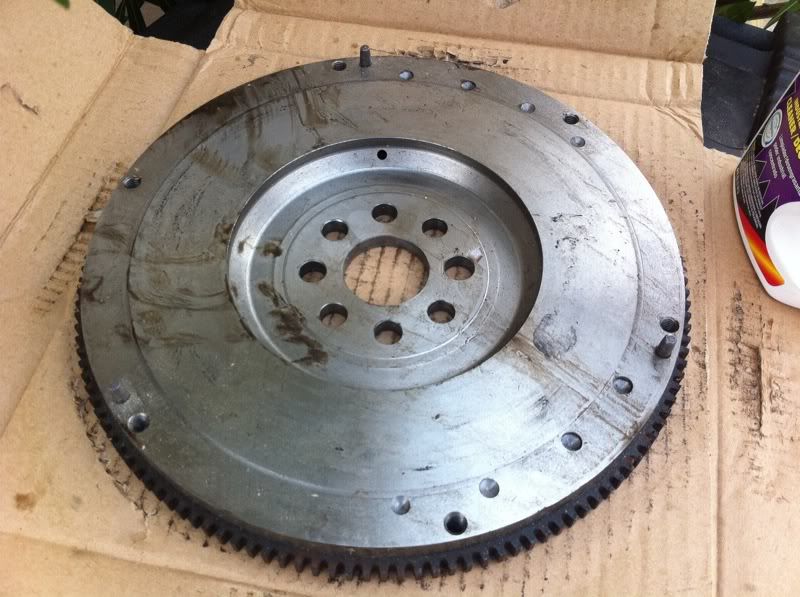
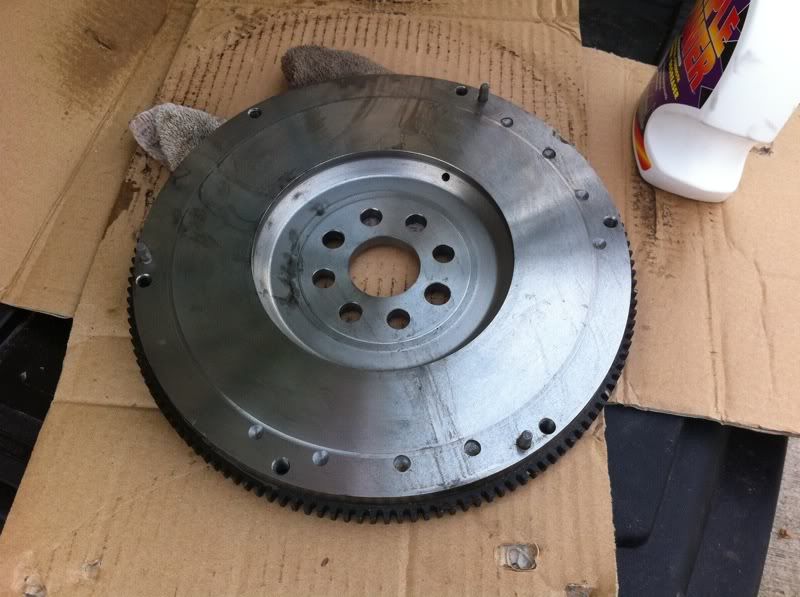
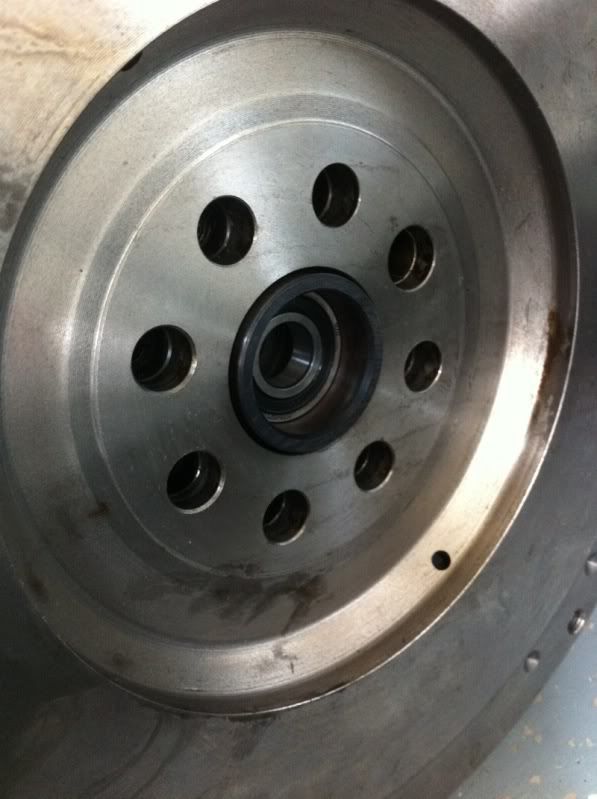
Next up was the 323i flywheel and Spec stage 2 clutch. Had to clean the anticorrosion crap off of the fly first tho. That stuff is thick and sticky.

Image

All cleaned up

Image

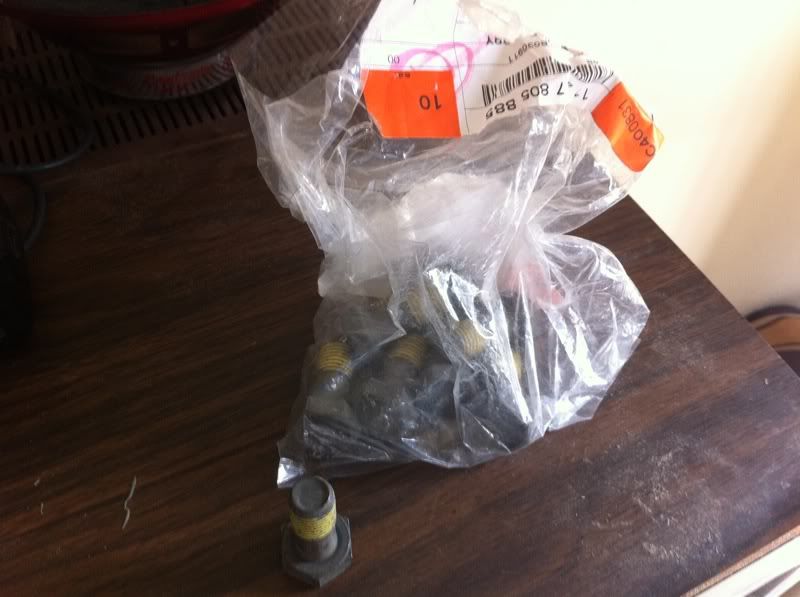
New fly bolts

Image

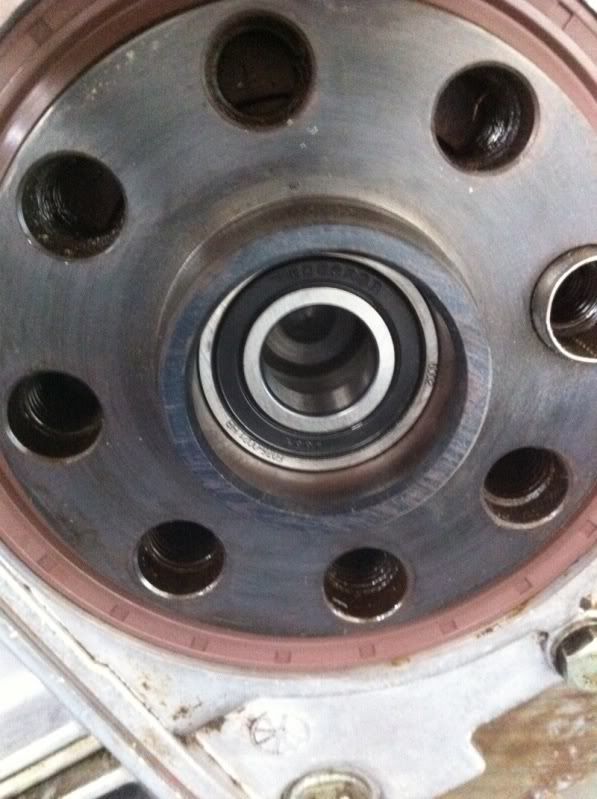
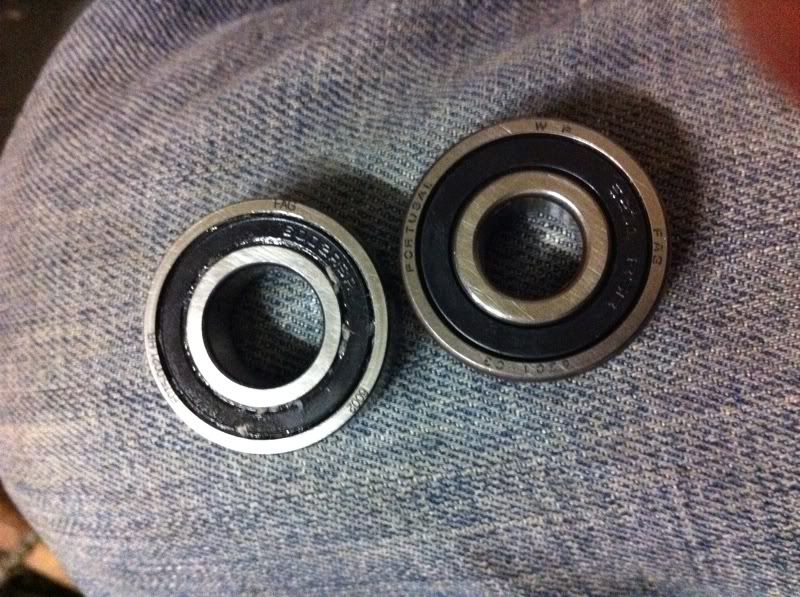
Installed the wrong bearing. -_-

Image

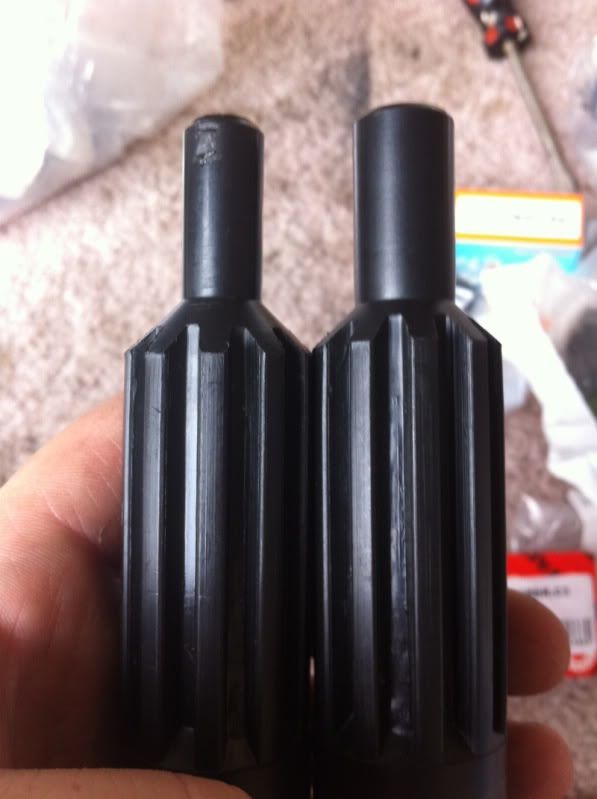
Left is the e30 (12mm) , right is the M/S5X (15mm). You want the E30 one if you're using the E30 transmission.

Image

Any who got the fly on.

Image

And test fitted the clutch

Image

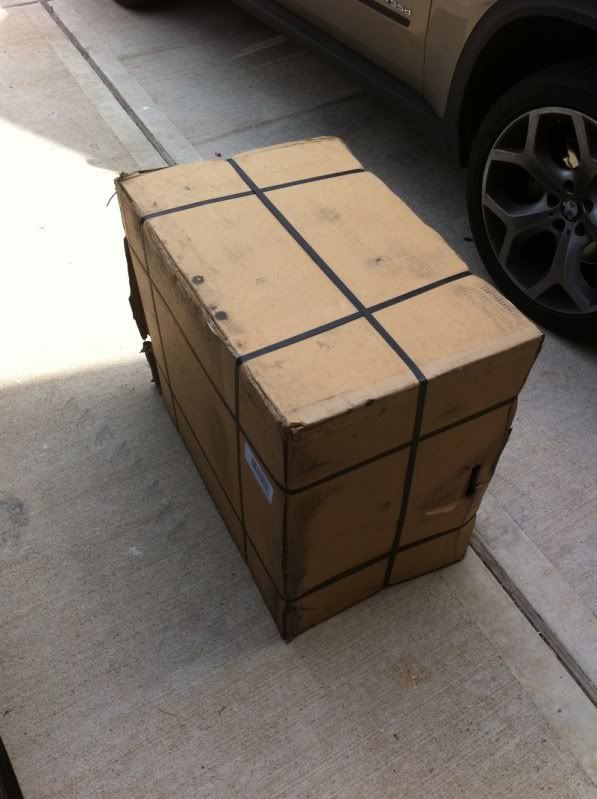
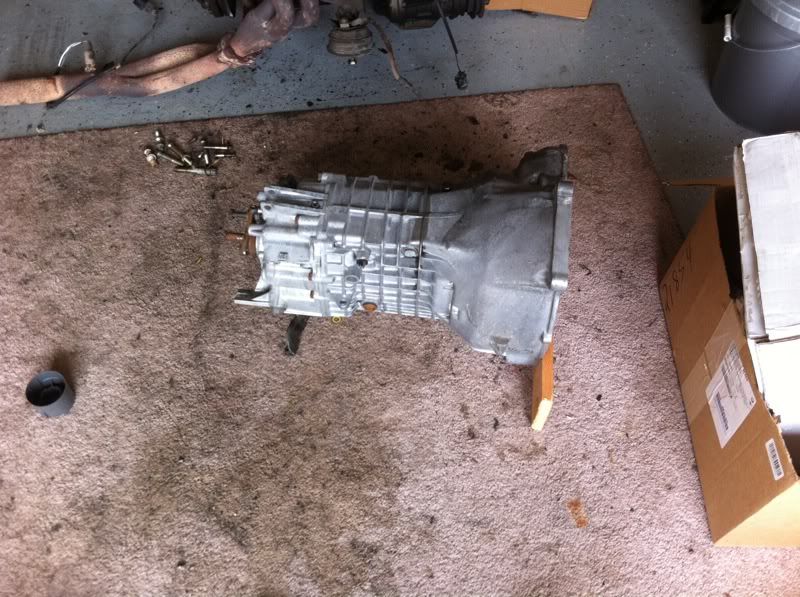
The replacement tranny came in today, upside down, on it's side....

Image

But no damage this time around, so it's okay!

Image
Image

Looking for M-tech interior and intensive wash bits PM me
User avatar
glucklich21
E30 Zone Newbie
E30 Zone Newbie
Posts: 50
Joined: Tue Jun 29, 2010 11:00 pm
Location: Houston, Texas, USA

Post Wed May 04, 2011 7:56 am

Here's another mini update

I had done this back on the 23rd, but never downloaded it off of my phone.

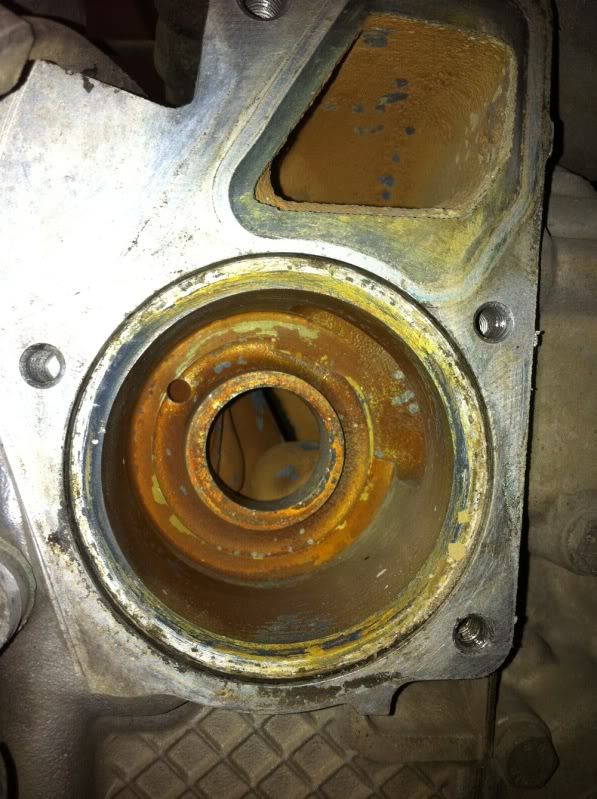
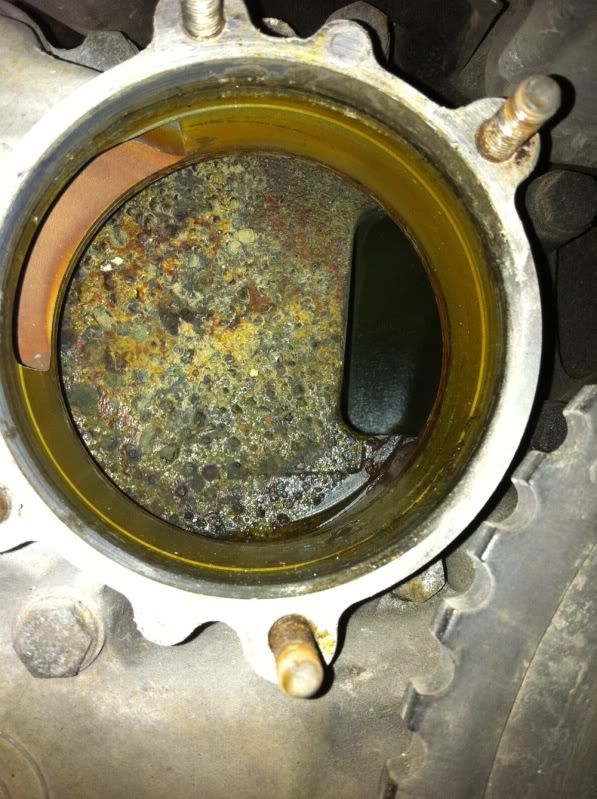
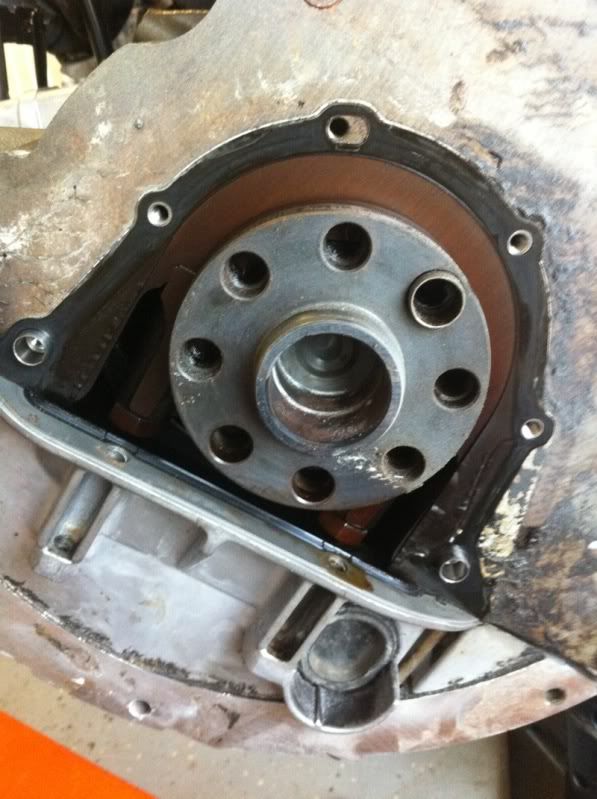
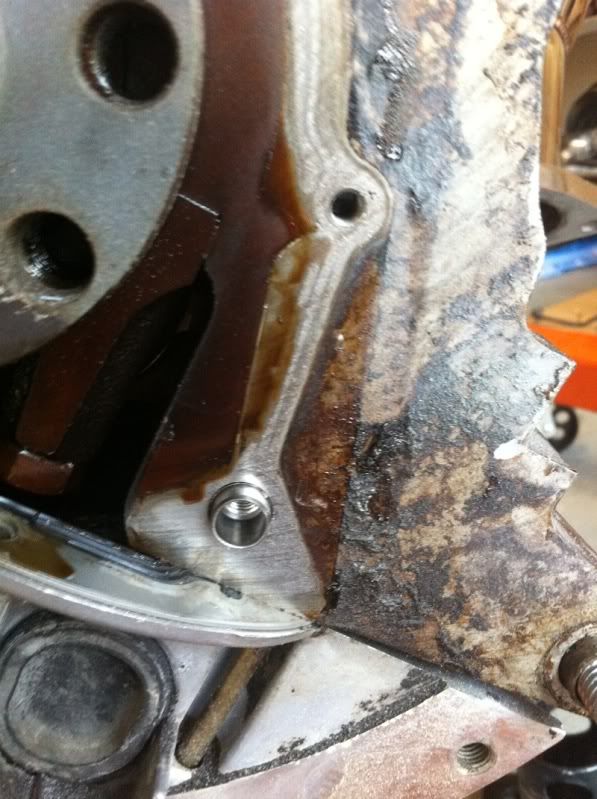
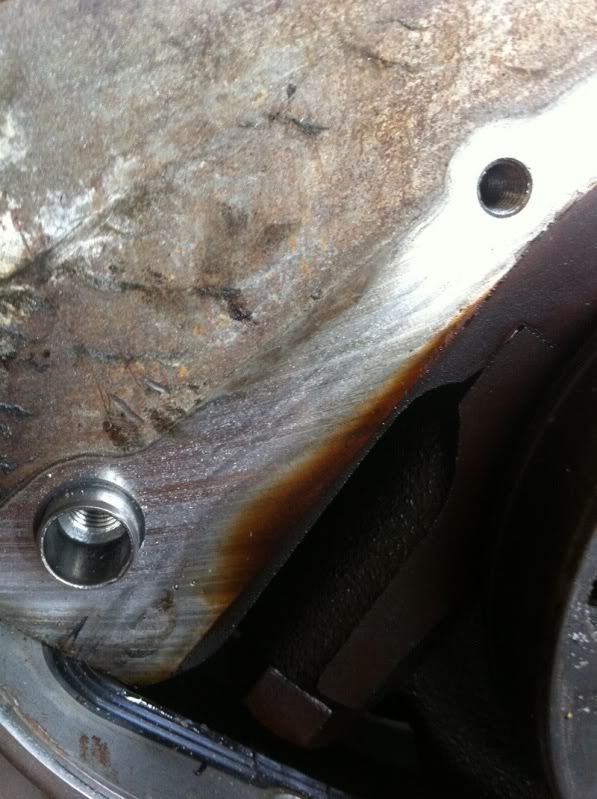
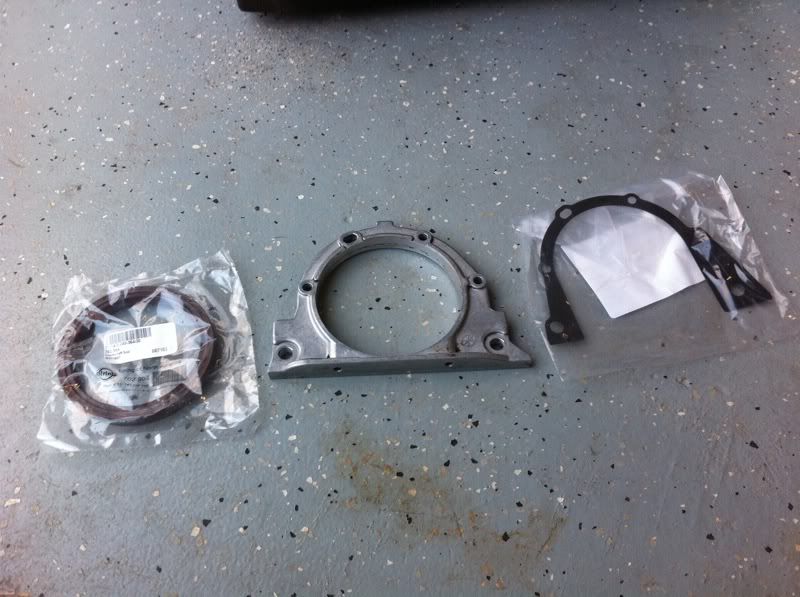
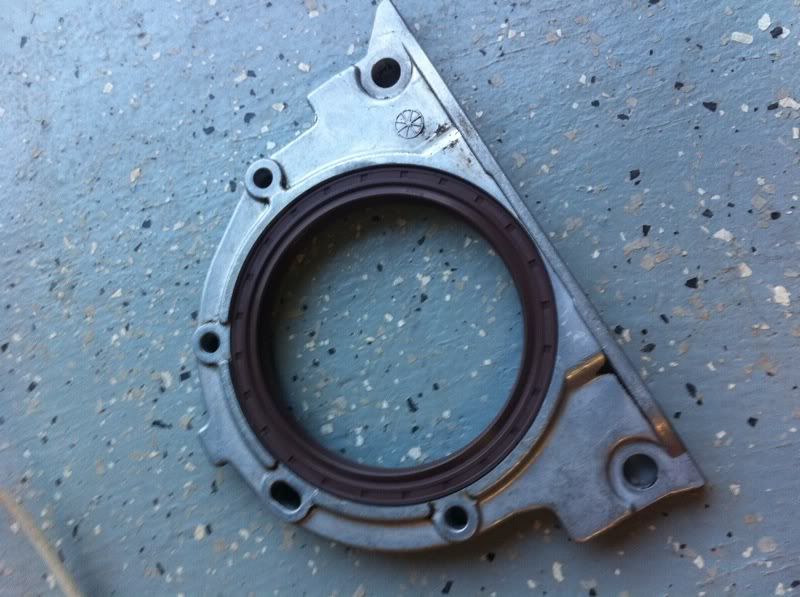
Rear crank housing and rear crank seal.

When I first started pulling apart the engine, this was one of the first things I noticed, how badly it was leaking.

Image

Image

Housing popped off

Image

You can see where it was leaking from behind

Image

Image

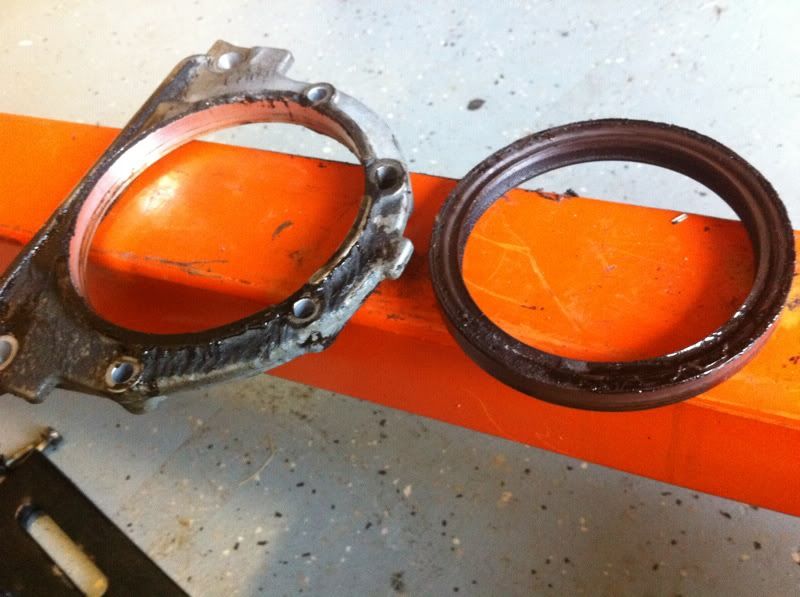
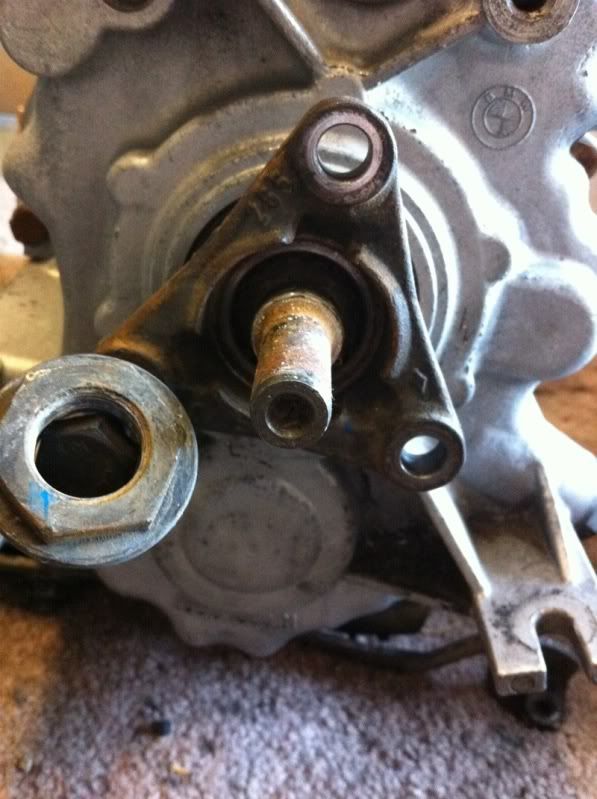
Old seal out

Image

New stuff

Image

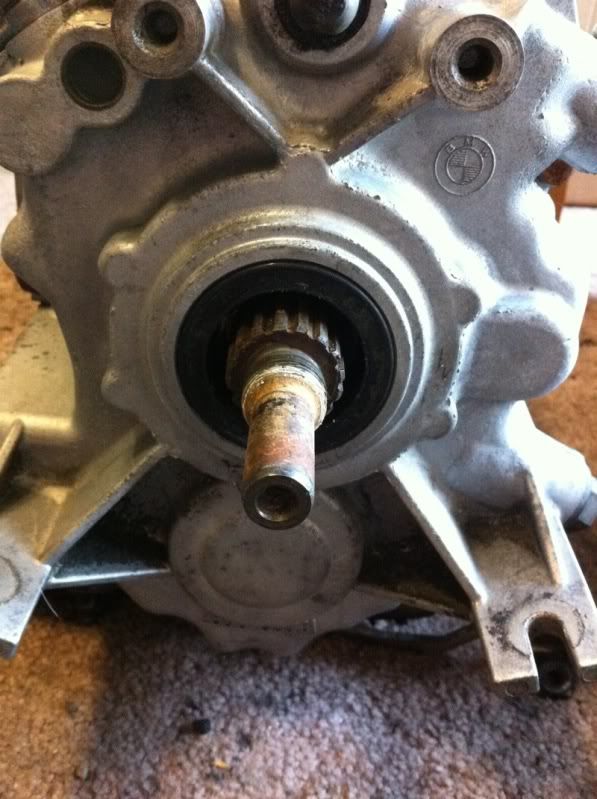
New seal installed

Image

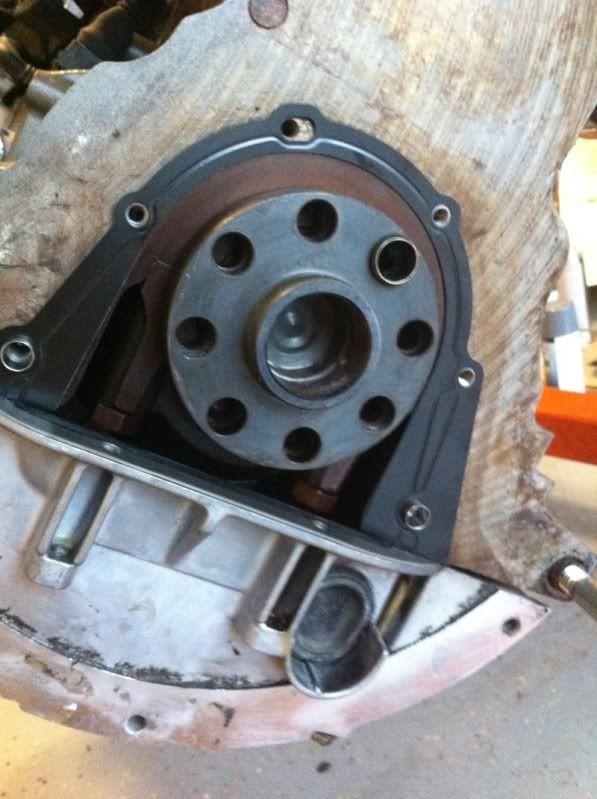
New gasket

Image

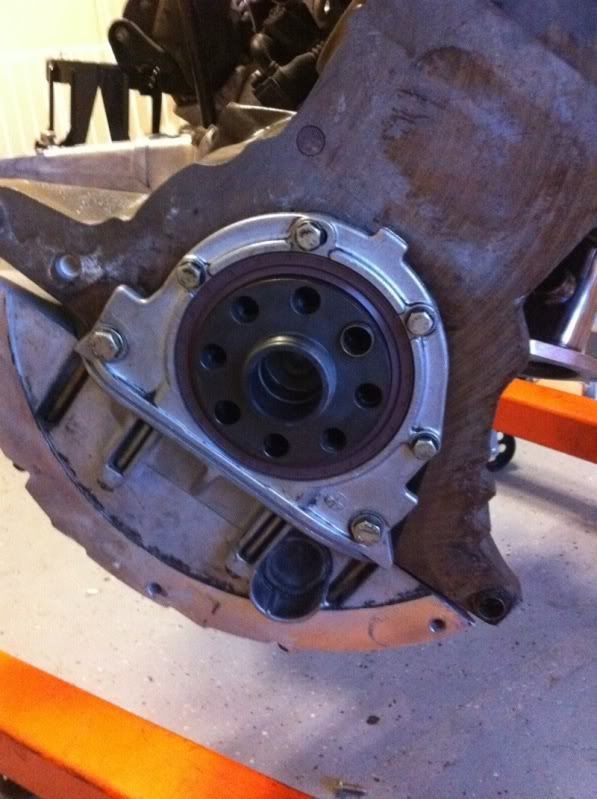
Everything buttoned up

Image

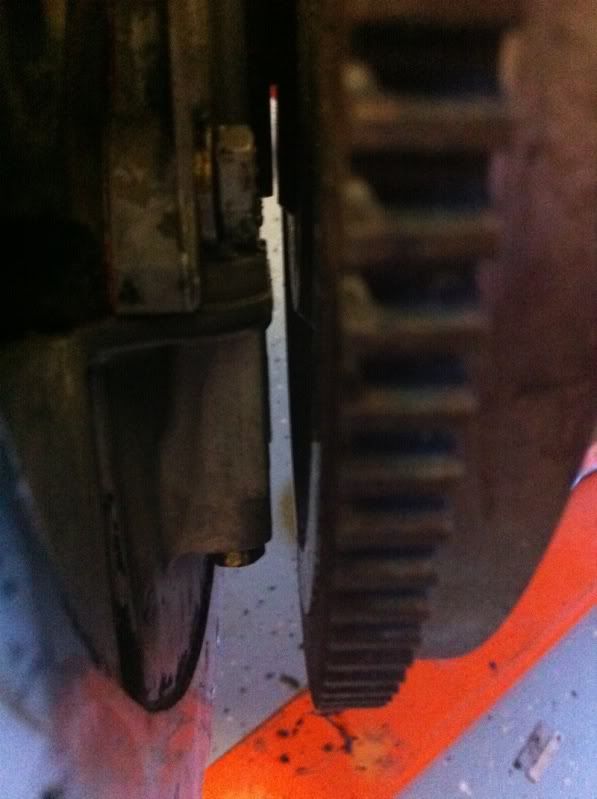
I had also test fitted the fly at the time, you can see the advantage of the 323i flywheel, it clears everything with no shaving required.

Image

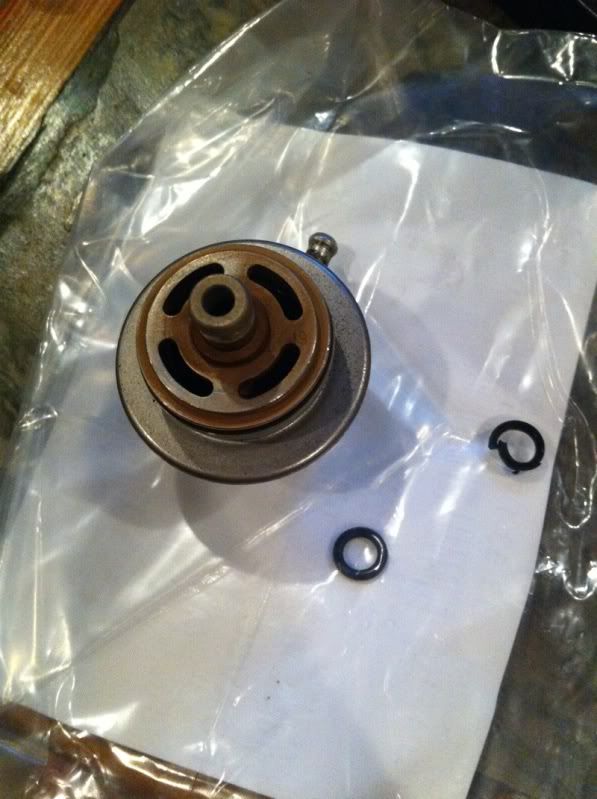
Also replaced the o-ring for the fuel pressure regulator at that time as well.

Image


Alright today's accomplishments

Output flange off

Image

Image


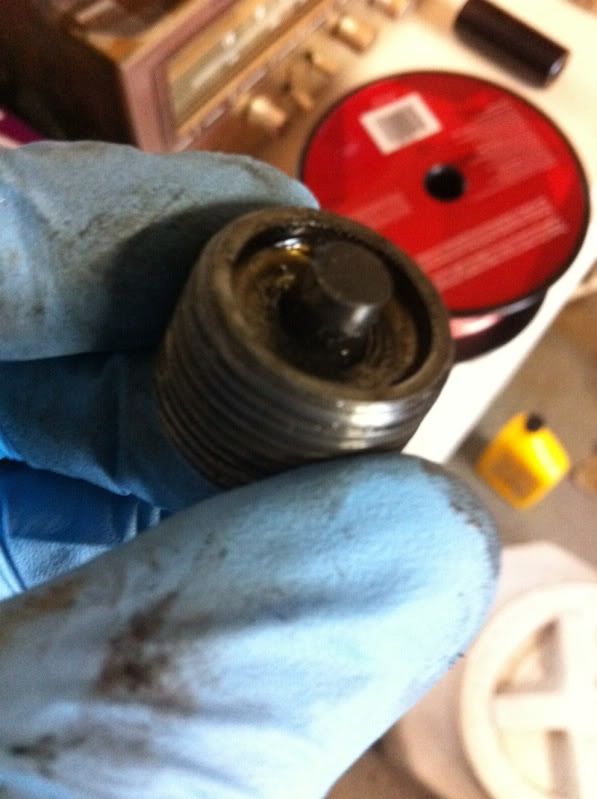
Tried to drain the fluid, but was already done. Note the magnetic plug.

Image

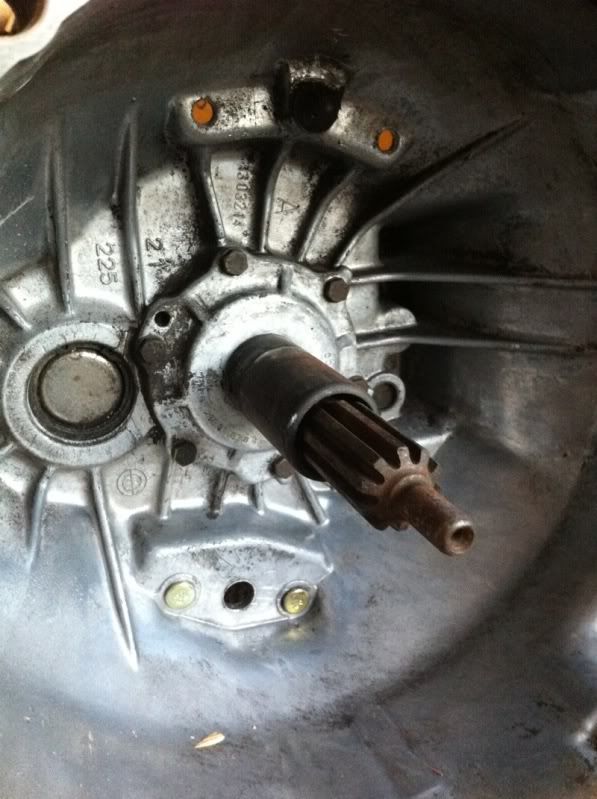
Moved on to the bell housing, the best I can tell the seals were replaced. So we shall see. I'm still going to replace the rear and shifter seal since they are easy to replace.

Image

Installed the new hardware

Image

New pivot arm and spring

Image

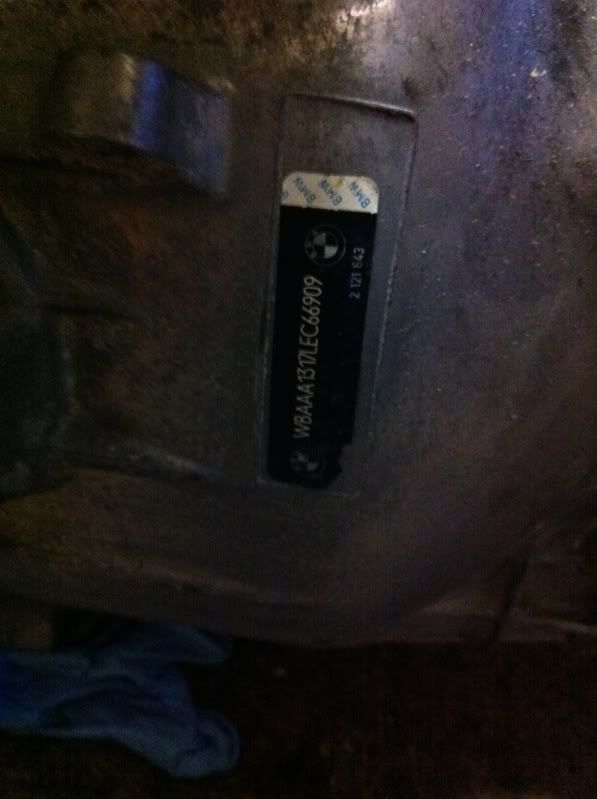
Vin of the donor car, I'll be running a carfax to see if I can get a clue on the mileage.

Image

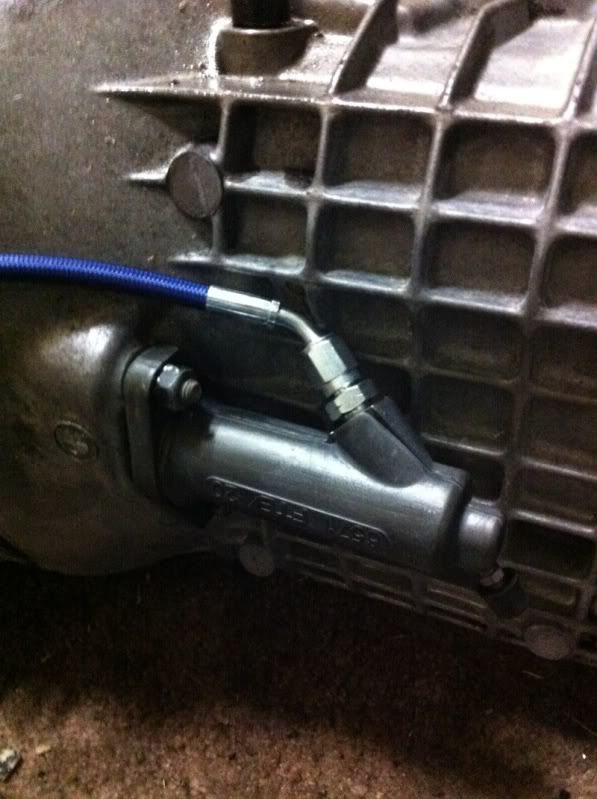
SS Clutch line and new slave

Image

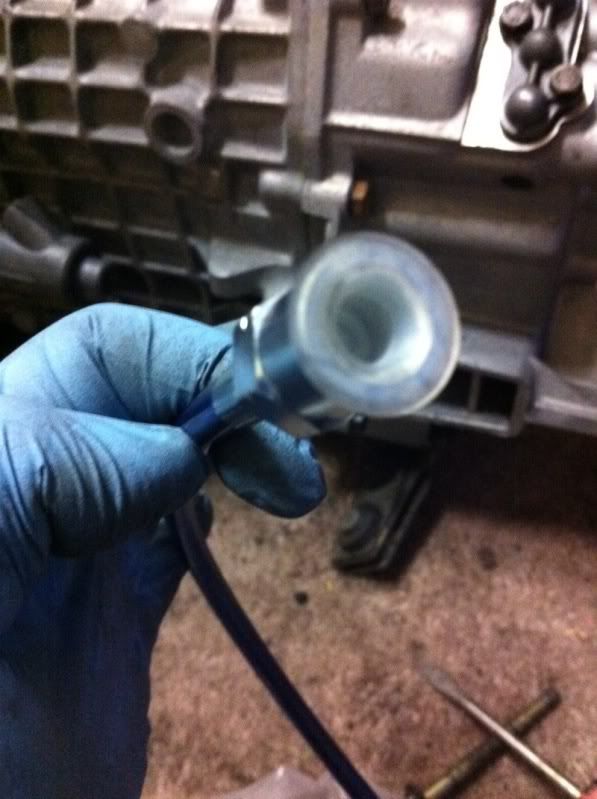
Cap put on to keep crap out for the time being

Image

Lifted the S50 up and put it on a dolly to help with the trans fitting tomorrow

Image

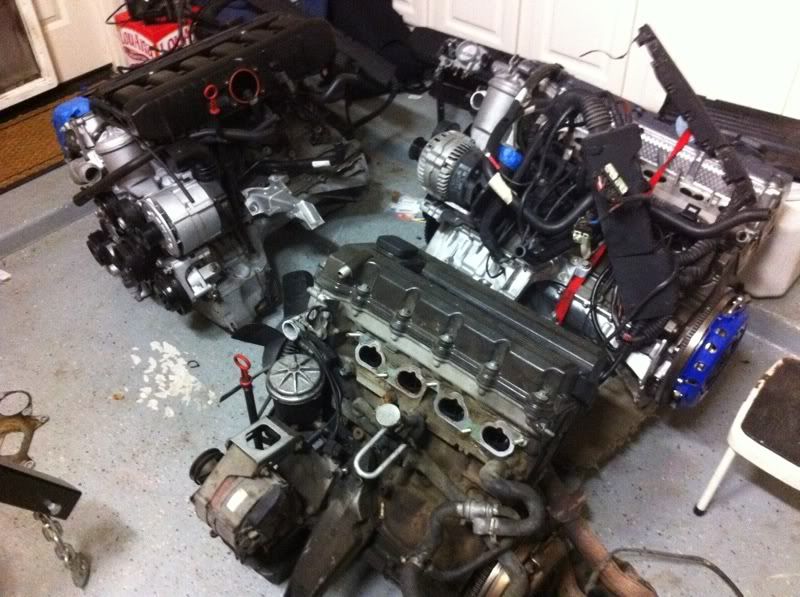
Rearranged the engines since the cabrio will be ready tomorrow and I can't leave it outside. :)

Image

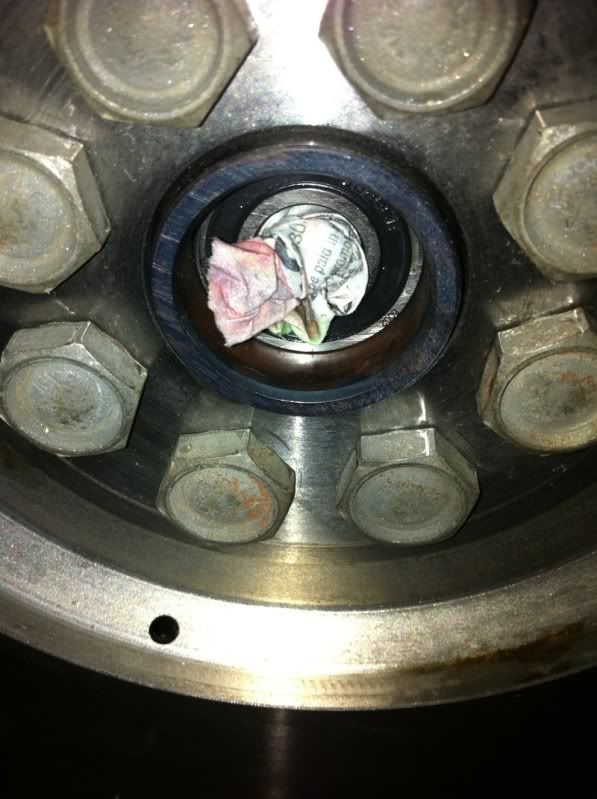
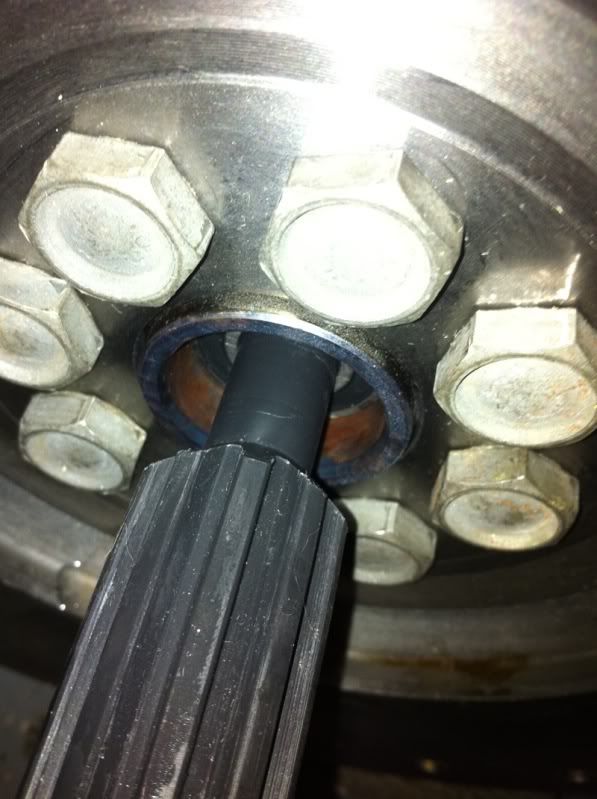
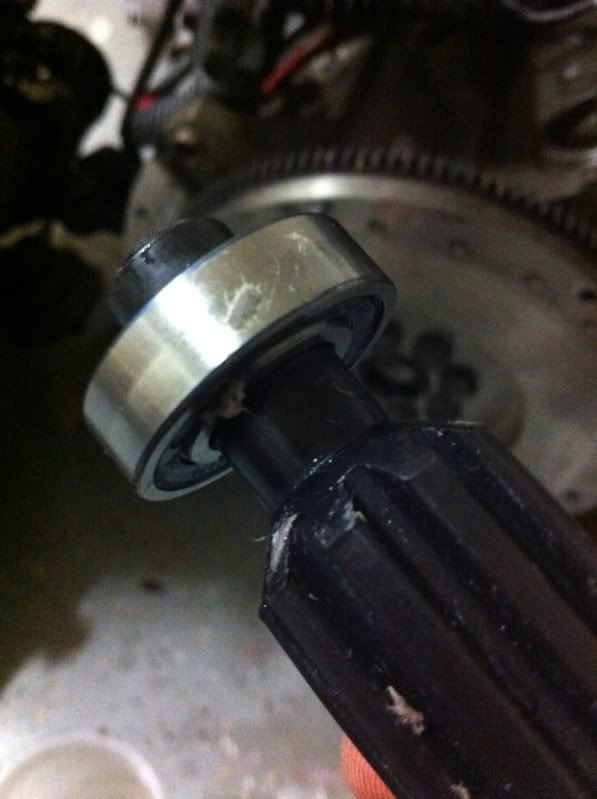
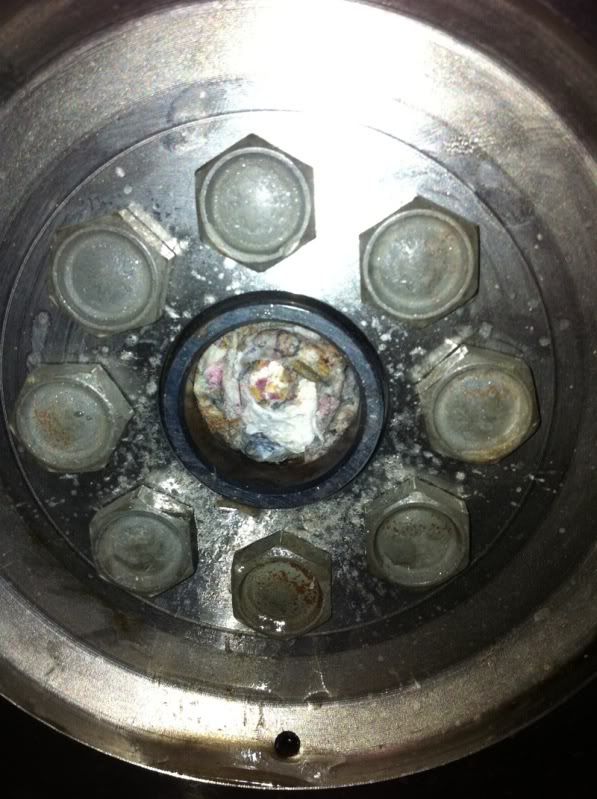
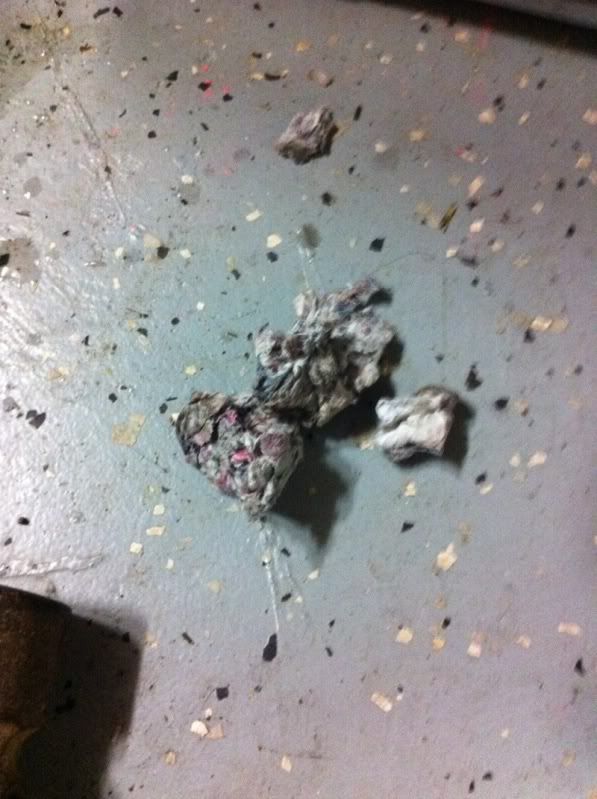
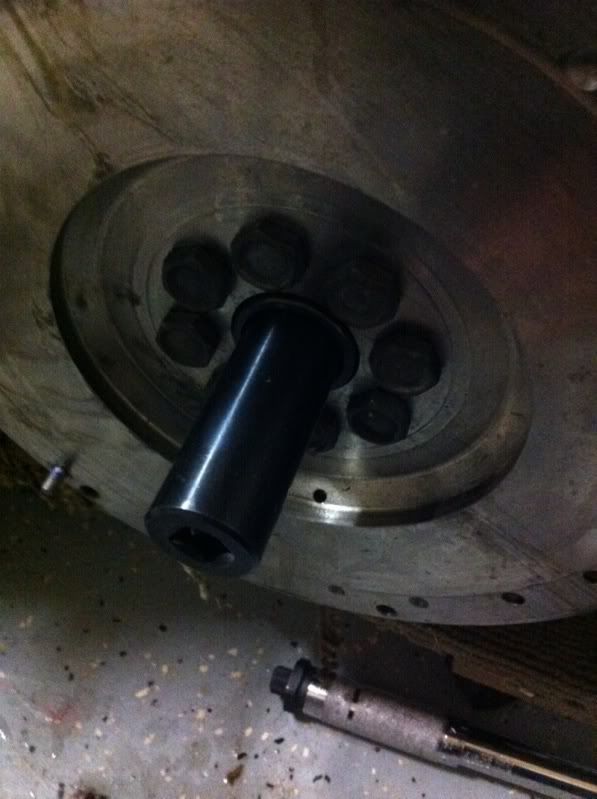
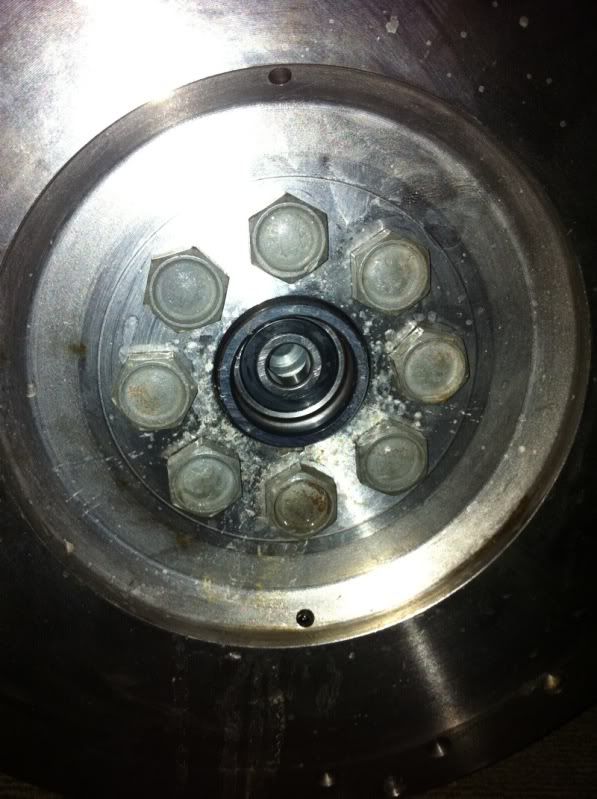
Moved on to popping out the S50 pilot bearing to install the E30 pilot bearing. I used wet newspaper, the clutch tool, and a heavy hammer.

Image

Image


Tada!

Image

The remains

Image

Image

S50 left, E30 right

Image

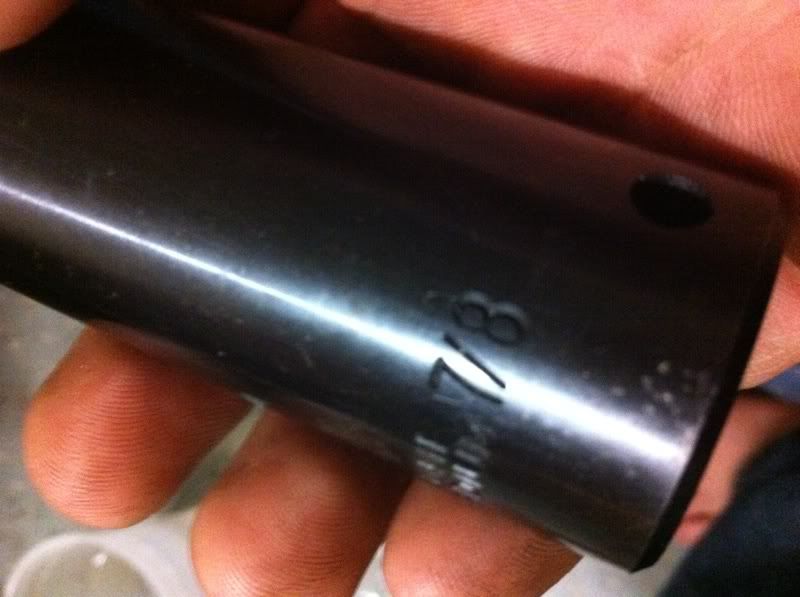
Drove in the right bearing with a 7/8" impact socket, it's a perfect fit

Image

Image

End result

Image
Image

Looking for M-tech interior and intensive wash bits PM me
User avatar
glucklich21
E30 Zone Newbie
E30 Zone Newbie
Posts: 50
Joined: Tue Jun 29, 2010 11:00 pm
Location: Houston, Texas, USA

Post Sat May 07, 2011 9:45 am

I'll do an update later, but a pic for now.
Image
Image

Looking for M-tech interior and intensive wash bits PM me
User avatar
randomspeedfreak
E30 Zone Regular
E30 Zone Regular
Posts: 992
Joined: Mon Mar 15, 2010 11:00 pm
Location: Bristol

Post Sat May 07, 2011 4:23 pm

lovin this build!
Rav335uk
E30 Zone Meets/Events Team
Posts: 27978
Joined: Wed Jan 19, 2005 11:00 pm
Location: Mad mad mad

Post Sat May 07, 2011 4:59 pm

Epic!!! :cool: :cool:
Image
If you Got "Haters",Then your doing something Right!
CR24v??? Where's it all gone?? LOL
User avatar
glucklich21
E30 Zone Newbie
E30 Zone Newbie
Posts: 50
Joined: Tue Jun 29, 2010 11:00 pm
Location: Houston, Texas, USA

Post Mon May 09, 2011 9:53 am

Thanks! :)


I'll give a teaser of this weekend's progress.

Image
Image
Image
Image
Image
Image
Image

Looking for M-tech interior and intensive wash bits PM me