
lol - I thought i was the only one pikey enough to do that!mine is being held in place with 8 staples
New black touring - up for sale sadly
Moderator: martauto
-
TouringMatt
- E30 Zone Camper

- Posts: 1188
- Joined: Mon Jan 10, 2005 11:00 pm
- Location: Not where i should be
which diff would this be? Interested to know, I would also like to drop revs on motorwayBump wrote:I would like to change the lsd diff ratio in order to drop the revs and raise the speed for motorway journeys. Doing 100 at 3500 rpm rather than 90ish at 4000rpm would be my preference for noise levels and economy.

Ok, had a day of activity today as had a week off to sort the touring and I've done absolutely nothing - and it's Friday now.
Been piling up parts so I can replace the carpet, fix various bulbs, temp gauge, replace the dash, install a new stereo and basically finish the car's interior.
I've also been putting it off for ages as it's just loads of fiddling about and the thought of the dash and stereo are a little bit daunting to be honest.
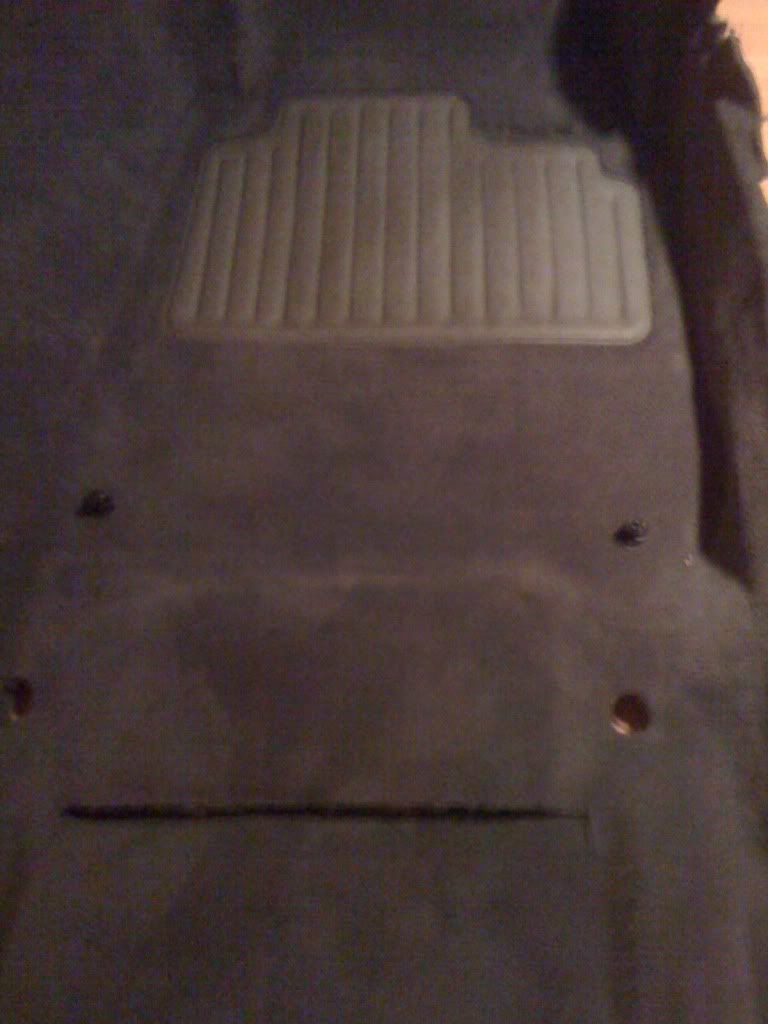
First thing was to remove the carpet. My kind of job as you just slash and rip it to shreds. I only stabbed myself the once and while I collected most of the blood in my cup of tea some did get on the carpet, but it was the old one so no drama
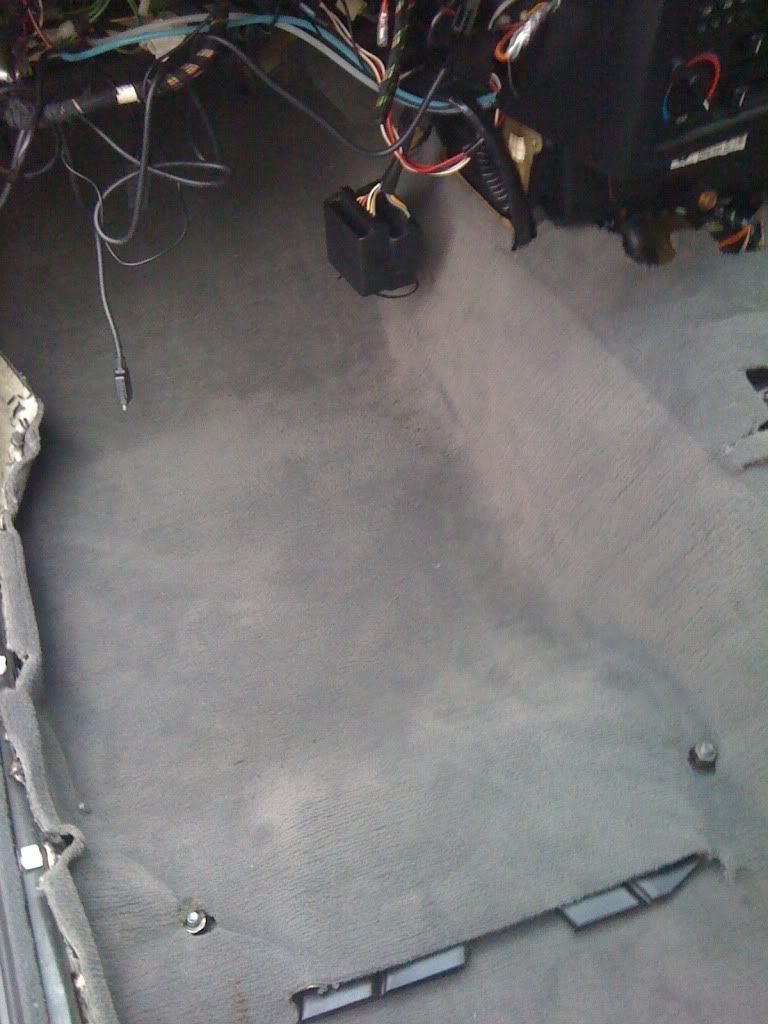
Here's what my footwells look like (something I will only ever say on this forum, I hope):
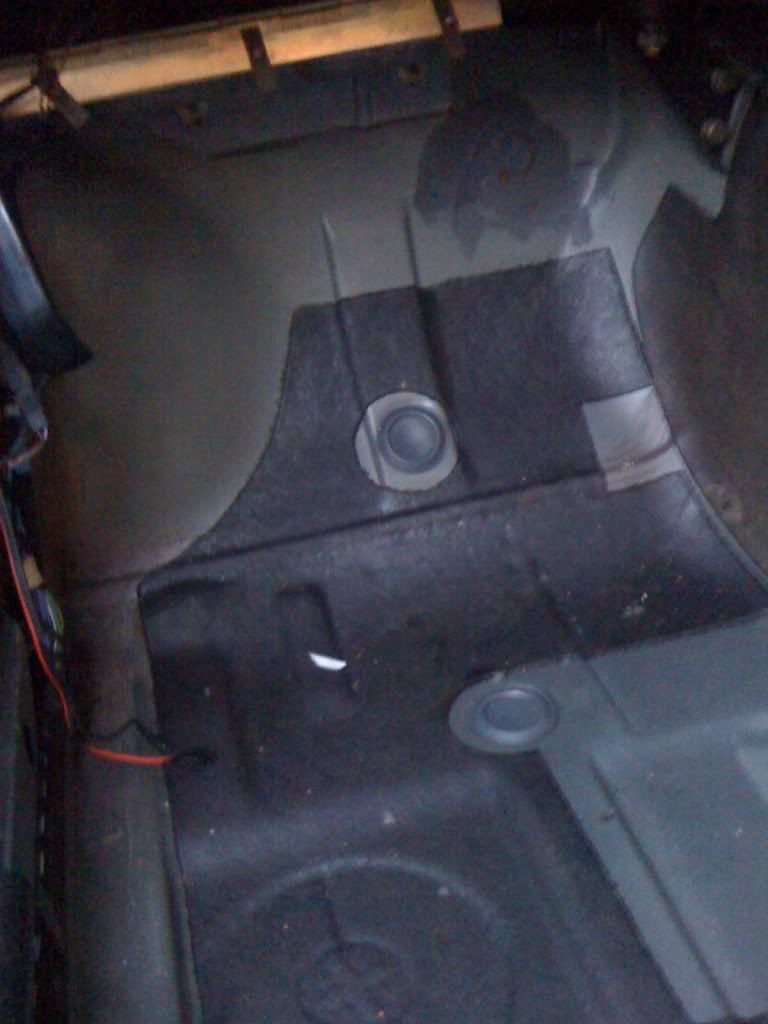
Other side the same, totally clean, but light was too poor for iphone pic.
Had to give the new carpet going in a clean:
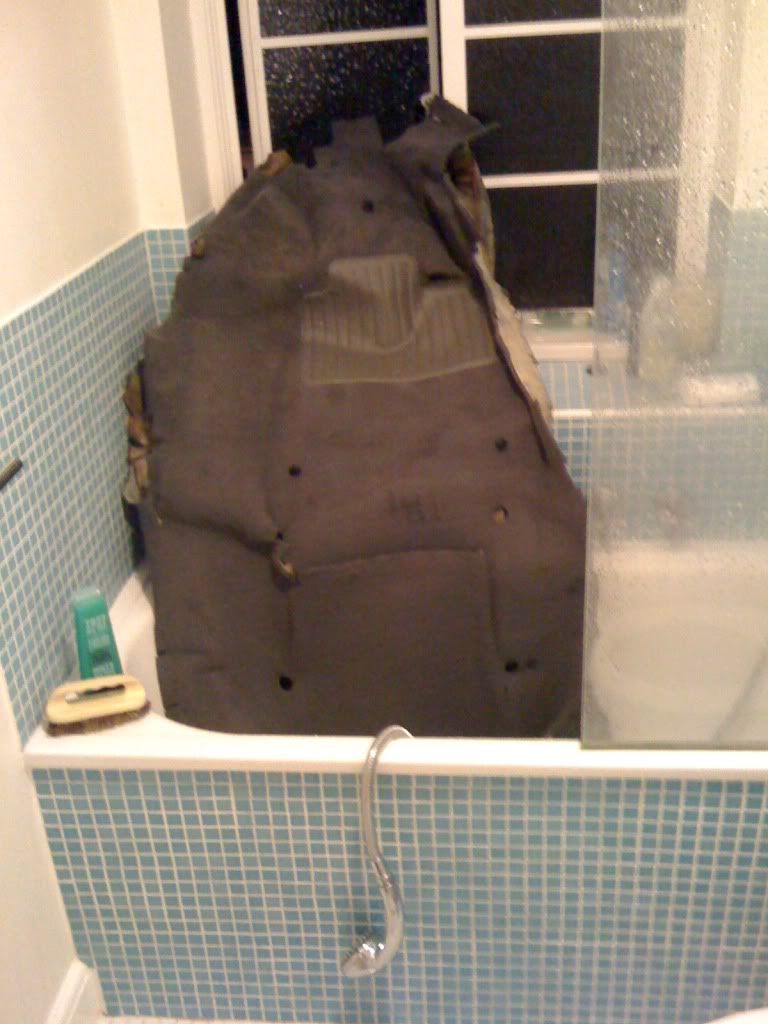
Gave it a good scrub.
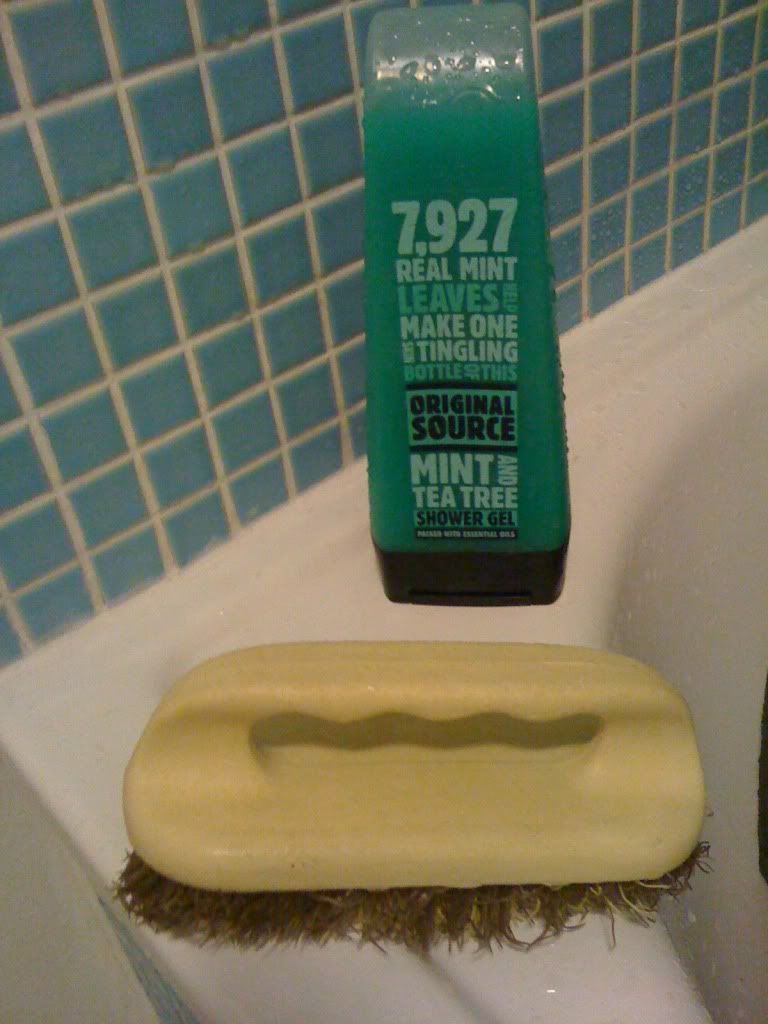
Mmmmmm, minty fresh:
That job I did over a week ago with the carpet slowly drying out in my hallway. Nice.
Next up it was the dash to go in. I had decided that if I was going to the trouble of replacing the dash I wanted to put in a custom black dash, rather than the standard charcoal colour.
Painting it also meant I could further delay doing the difficult bit of removing the old one and fitting the new one.
So it was over to the professional spray booth aka my kitchen with a polythene decorating sheet gaffered to the walls and floor:
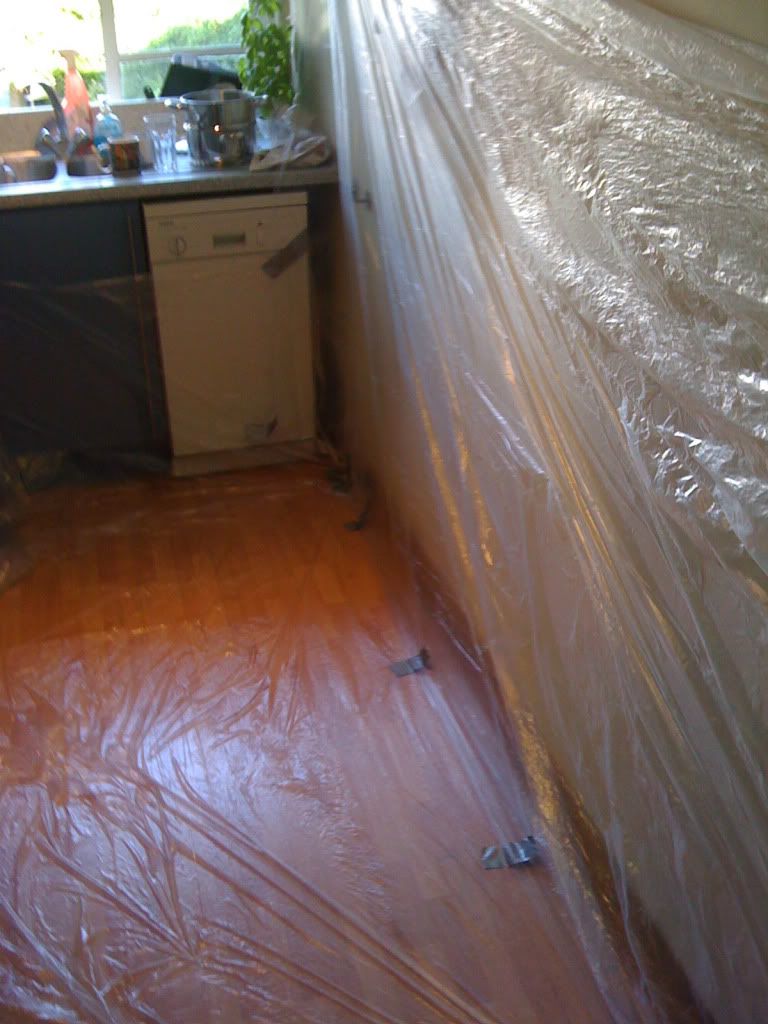
This stuff had worked well when I previously sprayed the sport front roof piece so that it matched the black suede headlining I put into the car. Frost supply it. Probably works on minging formica worksurafces too:
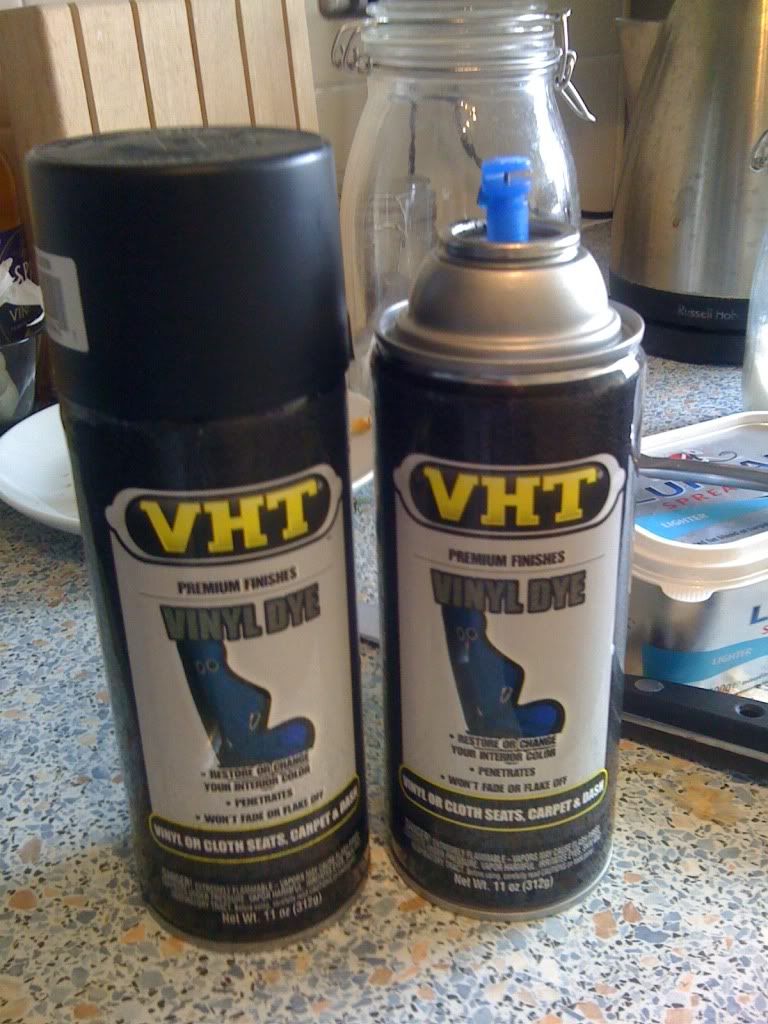
You have to build it up in thin layers but it goes on well and penetrates the vinyl rather than sitting on top.
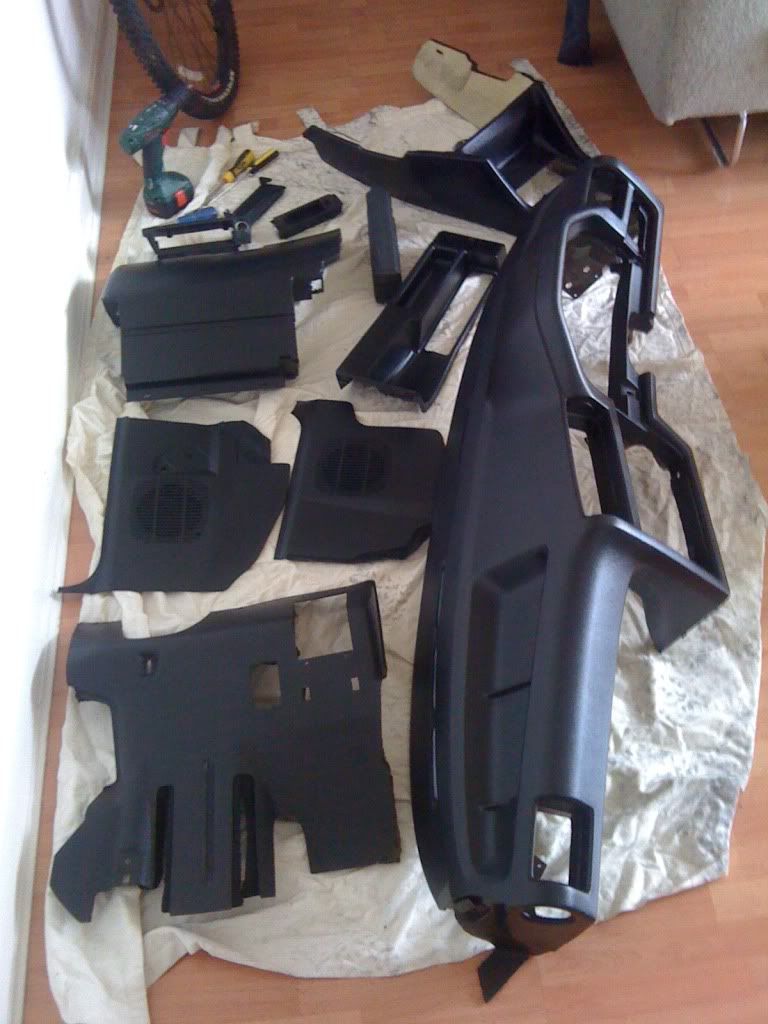
So I removed all the under dash trim, kick panels, centre console pieces and the glove box - as they had to be matching black - and set to work:
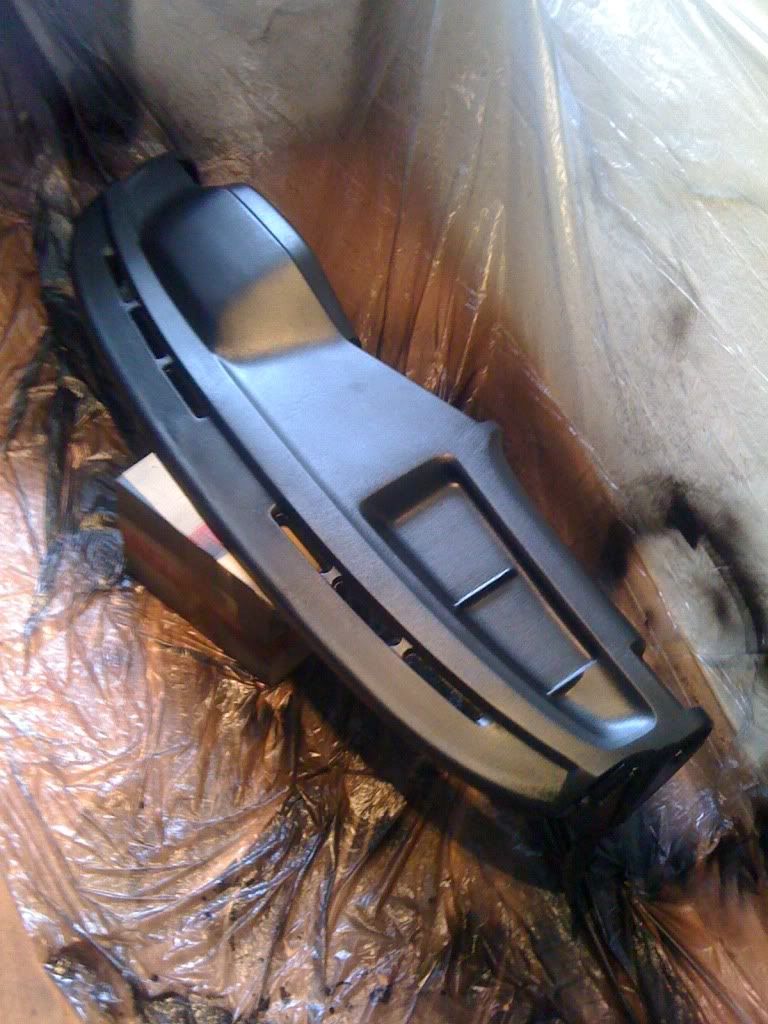
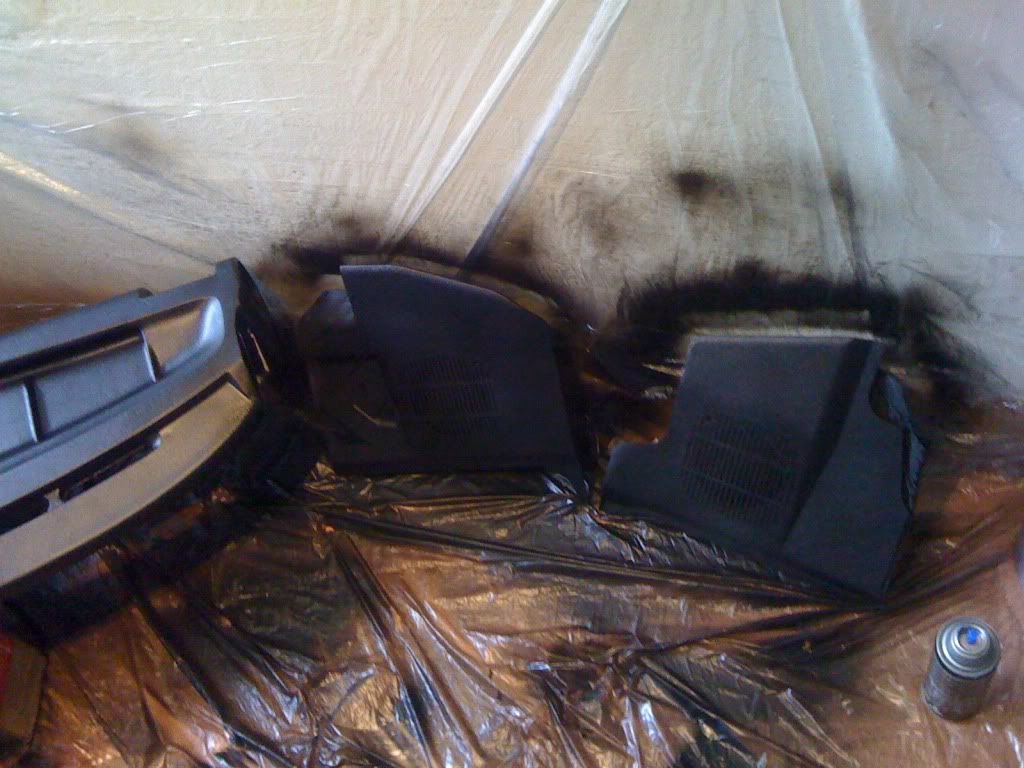
etc etc and after a couple of hours this little collection of now black bits had pride of place in the drying zone i.e. on a curtain in the lounge:
And that's as far as I got today.
I have this pile of audio bits to fit (proper touring speaker pods for the new speakers for the rear - thanks Phil - and component speakers to fit in the front), nothing fancy but should be an improvement and want to get it all fitted behind the panels:
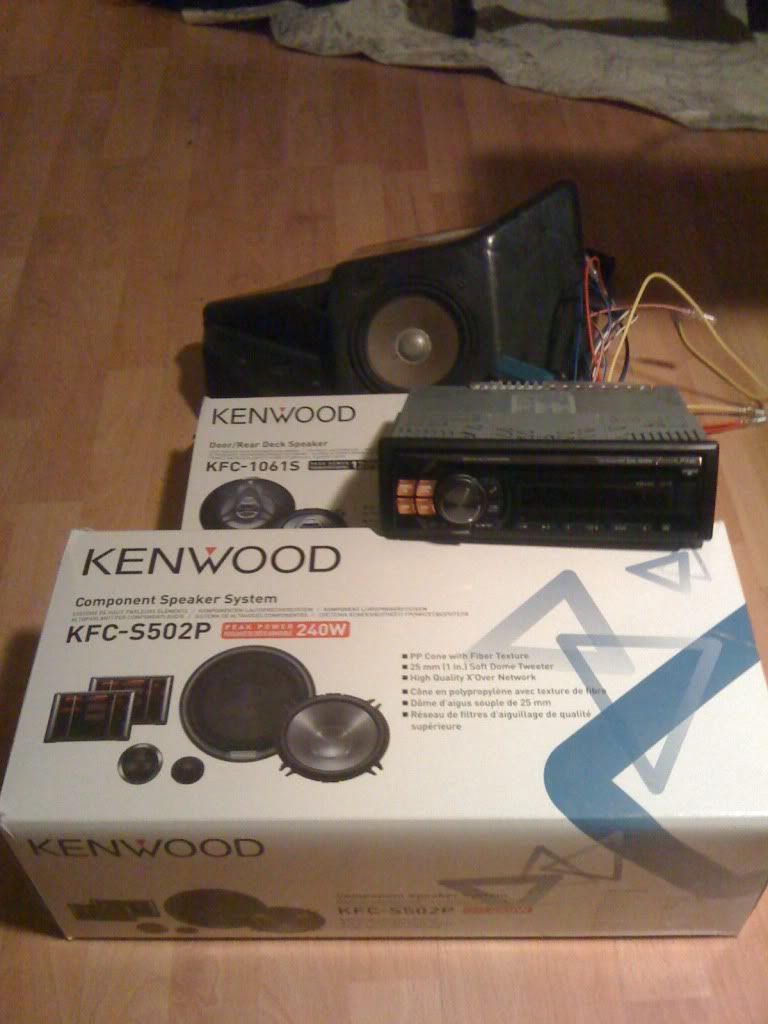
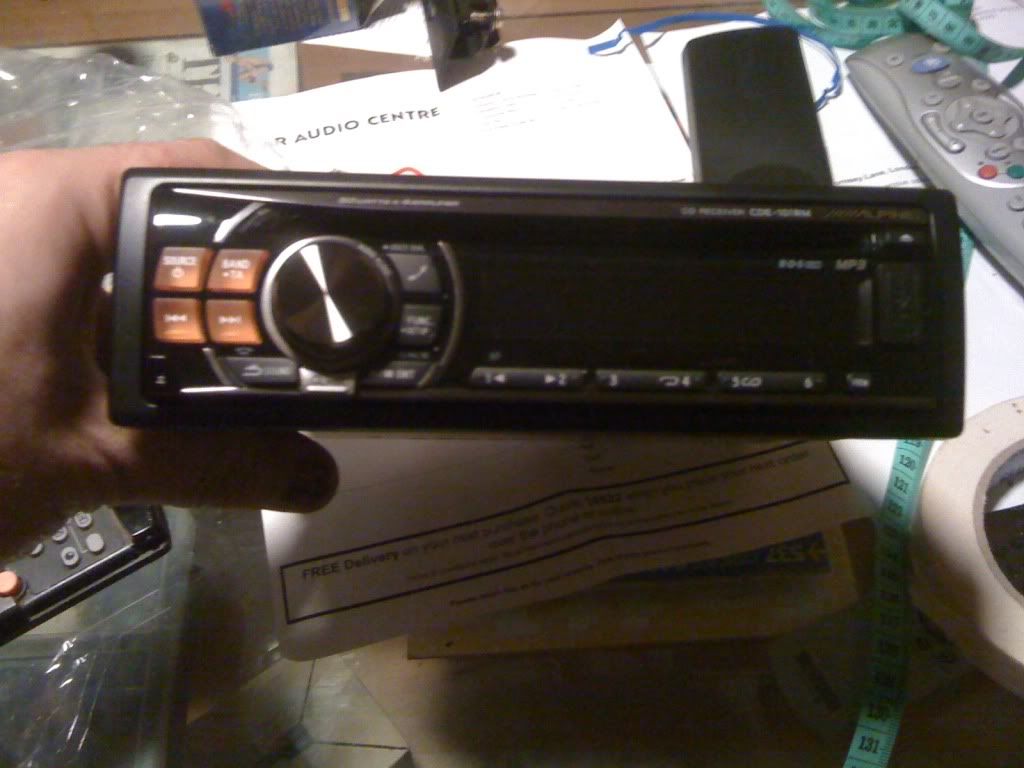
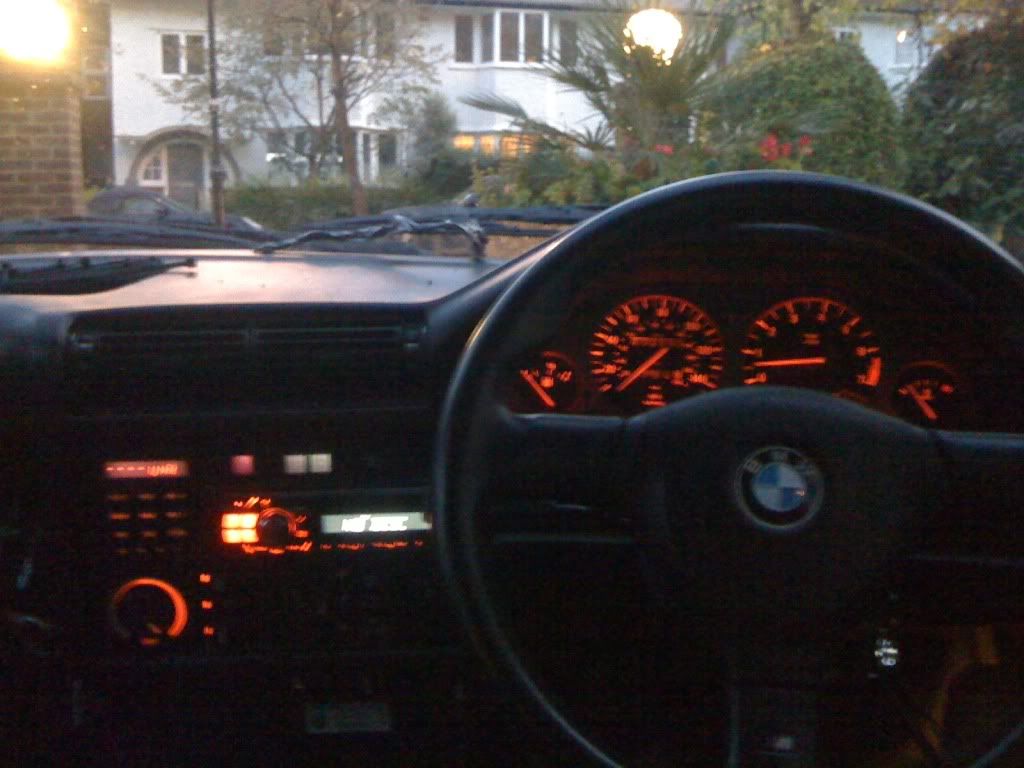
This lovely Alpine headunit with amber illumination:
And these not so lovely wires coming out the back:
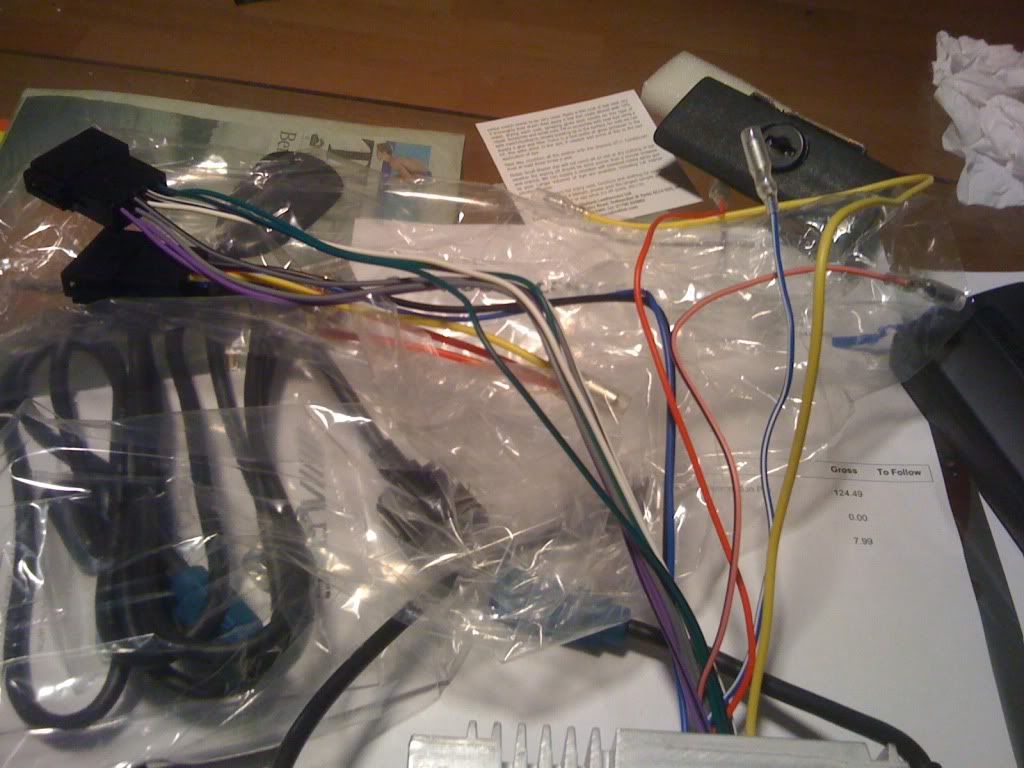
No idea where they go!
I've never fitted a stereo before, and my car has a 20 year old Pioneer system with an amp in the boot currently so it's going to be a challenge wiring this lot in. Safe to say there's no quick ISO connection.
Think I'll just disconnect the battery and go to the pub now.
More news as and when..
Been piling up parts so I can replace the carpet, fix various bulbs, temp gauge, replace the dash, install a new stereo and basically finish the car's interior.
I've also been putting it off for ages as it's just loads of fiddling about and the thought of the dash and stereo are a little bit daunting to be honest.
First thing was to remove the carpet. My kind of job as you just slash and rip it to shreds. I only stabbed myself the once and while I collected most of the blood in my cup of tea some did get on the carpet, but it was the old one so no drama
Here's what my footwells look like (something I will only ever say on this forum, I hope):
Other side the same, totally clean, but light was too poor for iphone pic.
Had to give the new carpet going in a clean:
Gave it a good scrub.
Mmmmmm, minty fresh:
That job I did over a week ago with the carpet slowly drying out in my hallway. Nice.
Next up it was the dash to go in. I had decided that if I was going to the trouble of replacing the dash I wanted to put in a custom black dash, rather than the standard charcoal colour.
Painting it also meant I could further delay doing the difficult bit of removing the old one and fitting the new one.
So it was over to the professional spray booth aka my kitchen with a polythene decorating sheet gaffered to the walls and floor:
This stuff had worked well when I previously sprayed the sport front roof piece so that it matched the black suede headlining I put into the car. Frost supply it. Probably works on minging formica worksurafces too:
You have to build it up in thin layers but it goes on well and penetrates the vinyl rather than sitting on top.
So I removed all the under dash trim, kick panels, centre console pieces and the glove box - as they had to be matching black - and set to work:
etc etc and after a couple of hours this little collection of now black bits had pride of place in the drying zone i.e. on a curtain in the lounge:
And that's as far as I got today.
I have this pile of audio bits to fit (proper touring speaker pods for the new speakers for the rear - thanks Phil - and component speakers to fit in the front), nothing fancy but should be an improvement and want to get it all fitted behind the panels:
This lovely Alpine headunit with amber illumination:
And these not so lovely wires coming out the back:
No idea where they go!
I've never fitted a stereo before, and my car has a 20 year old Pioneer system with an amp in the boot currently so it's going to be a challenge wiring this lot in. Safe to say there's no quick ISO connection.
Think I'll just disconnect the battery and go to the pub now.
More news as and when..
You don't win friends with salad.
http://cgi.ebay.co.uk/ws/eBayISAPI.dll? ... K:MEWAX:IT
this is an E30 ISO lead so all the audio stuff can be plug and play (in theory)
this is an E30 ISO lead so all the audio stuff can be plug and play (in theory)

-
tonybtonyb
- E30 Zone Addict

- Posts: 3580
- Joined: Wed Jun 13, 2007 11:00 pm
- Location: essex
Nice tourer good luck with fitting the head lining! 
They don't make bm's like this anymore!..They should.

cheers. Headlining is already done and in thank ****. just haven't got a camera with a flash and iphone pics just come out black.tonybtonyb wrote:Nice tourer good luck with fitting the head lining!
will sort pics when all the interior is done though as very happy with it.
I still haven't done the sunroof panel though as I just couldn't face anything more to do with the roof for a while after the headlinging ordeal. Soon though.
Today I cracked on with removing the cracked dash.
This guide is excellent:
http://home.comcast.net/~cdeegan9/dashb ... ard_1.html
It was slashing it down outside so basically sat in the car for about 2 hours getting all steamed up. Must look quite odd from the outside:

All pretty straight forward:
My tip while doing this is to keep masking tape on the gearstick with a pen handy. Number/Label up all connections that aren't obvious where they go back when you disconnect them, so they do go back in the right place.
When you take summit out e.g. instrument panel you keep the screws in the instrument panel holes with the masking tape. No messing about when you come to re-assemble...he says.
One thing though I damaged the left hand side trim panel that runs from roof to dash along the door frame when I was wiggling the dash free.
Recommend getting some gaffer round the metal tag bits of the dash as soon as you can before you take it out. And cover the steering wheel column so you don't scratch that.
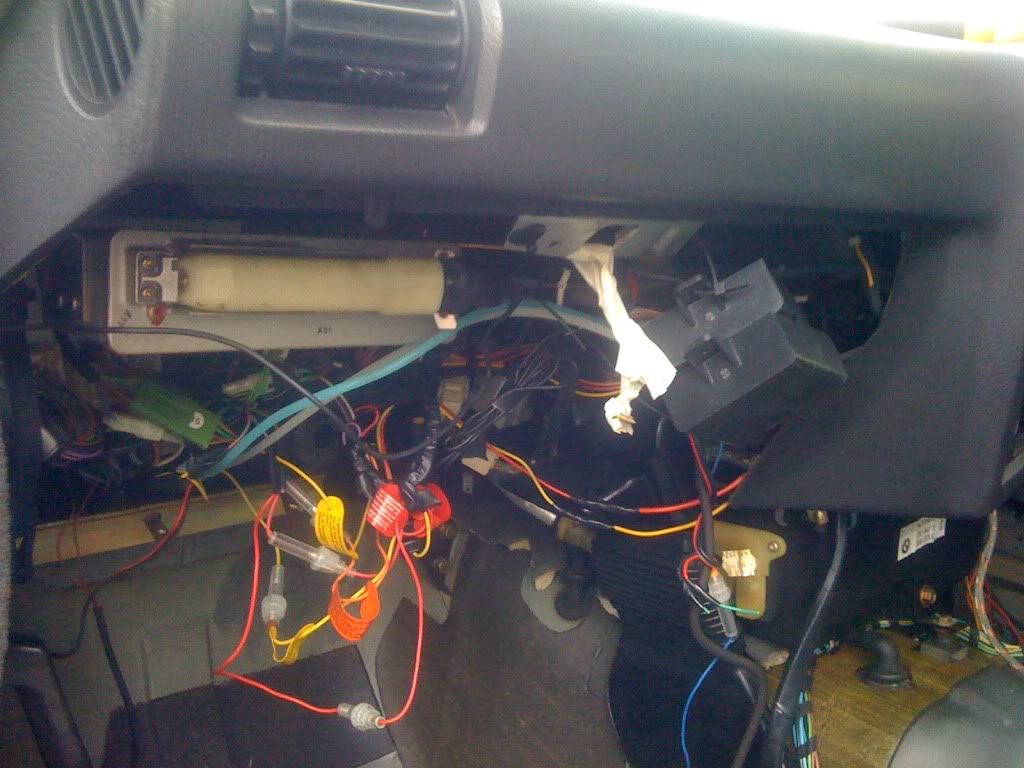
Most difficult bit of the whole job was probably working out how to unclip one of the leads going into white electrical socket thing under the glovebox. Wiggling always works in the end but it took me 15 minutes to suss one out.
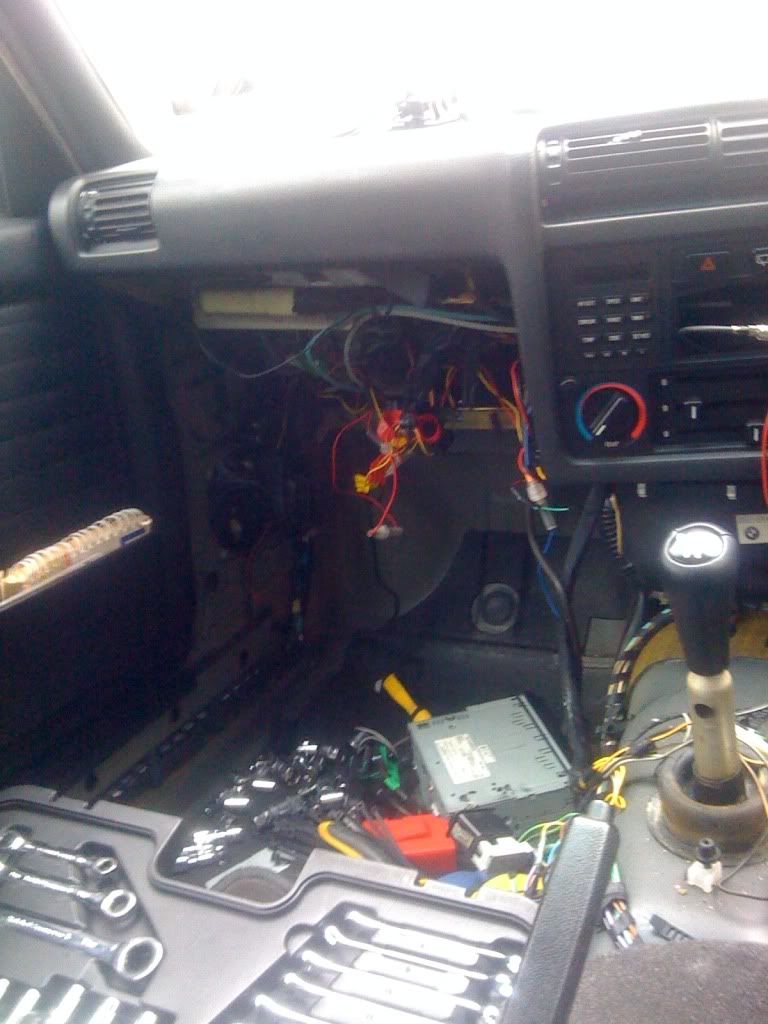
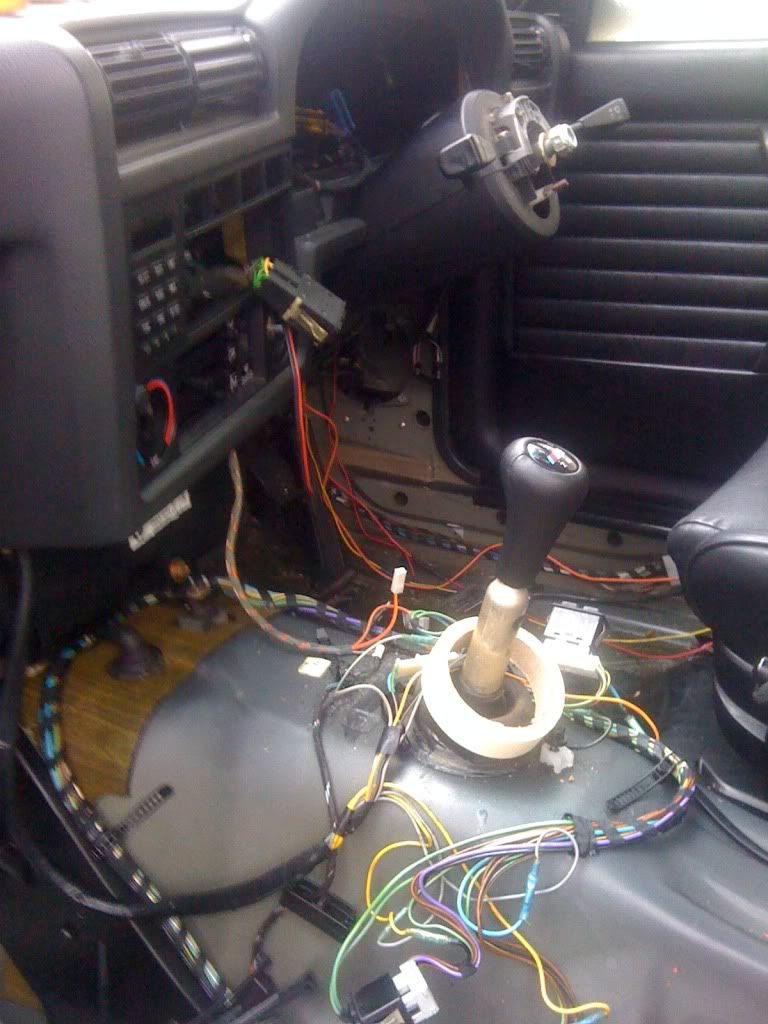
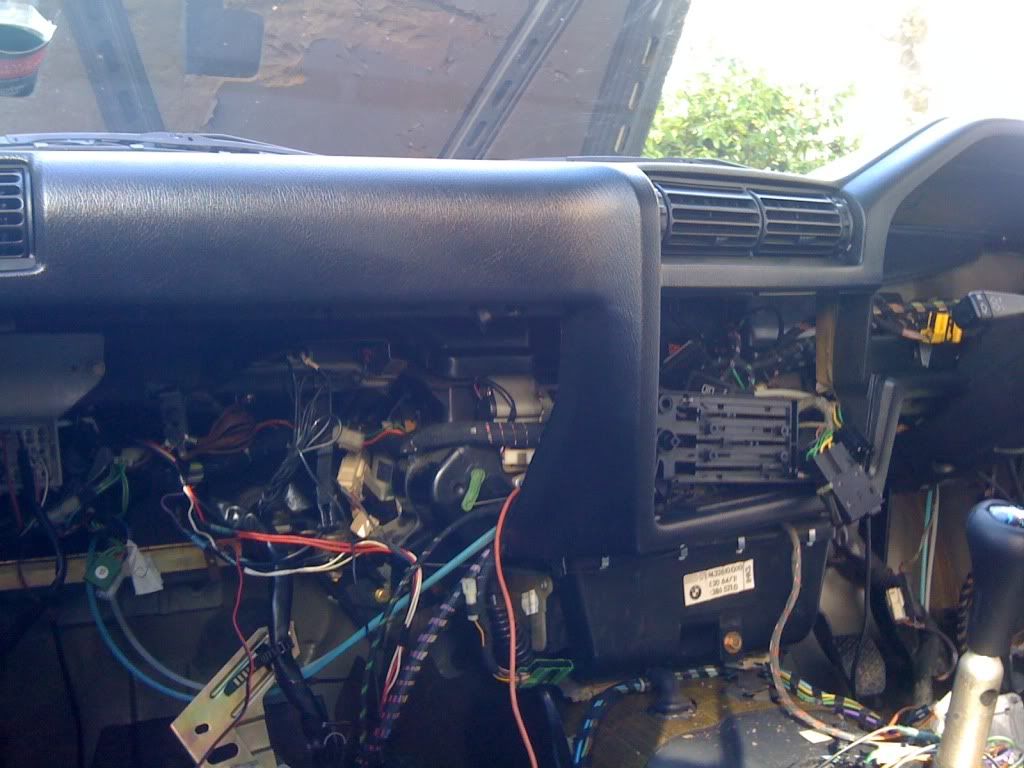
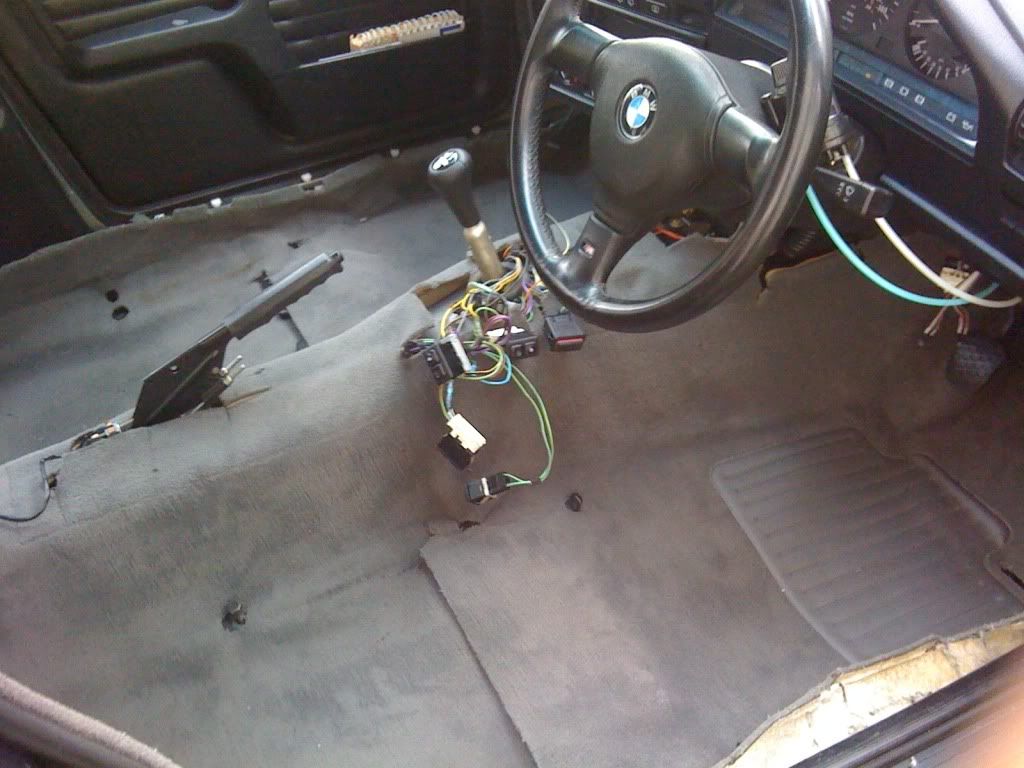
So dash out and here's what looks like a right mess at the end of all that:
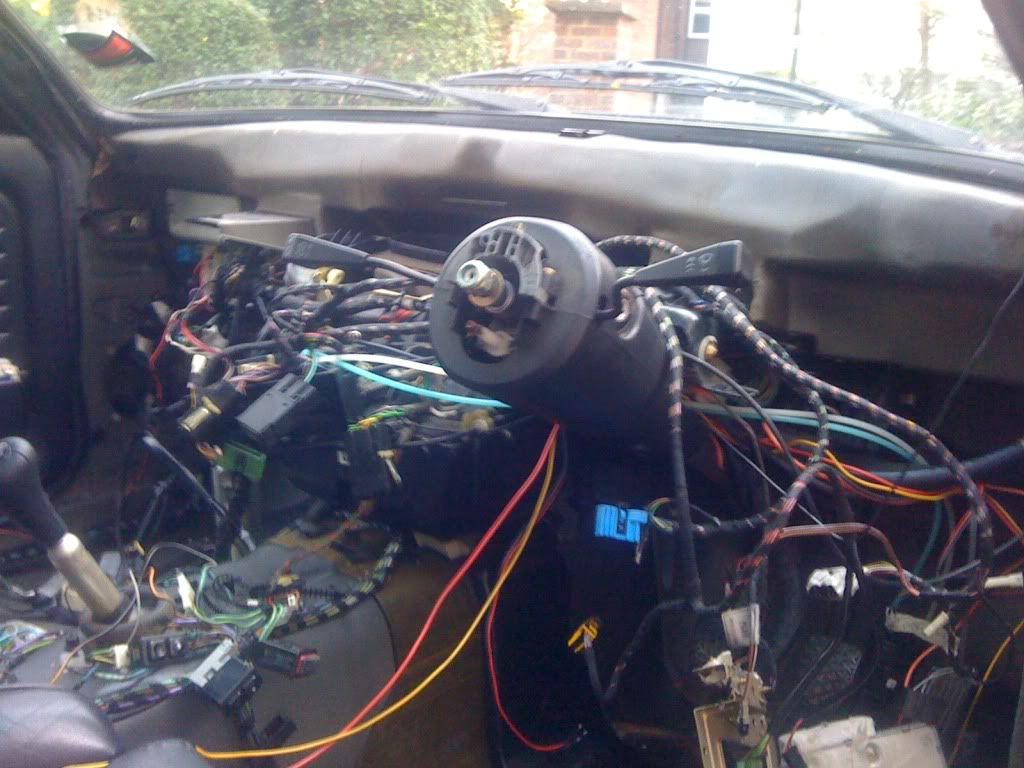
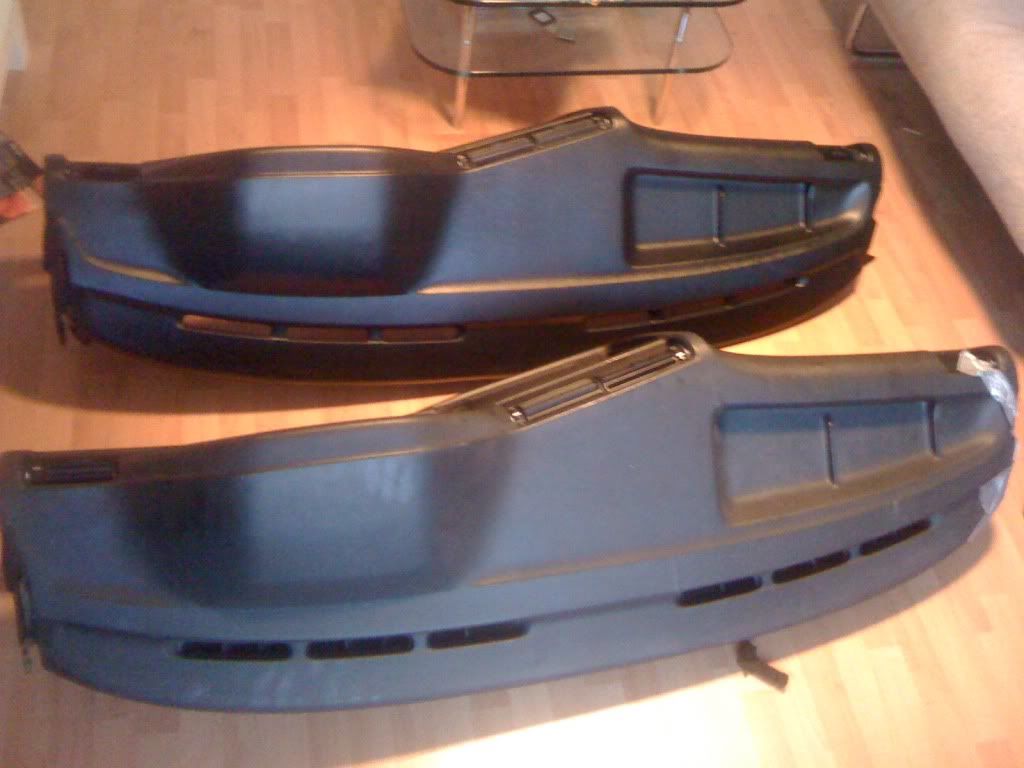
But here's the reason for doing all that, 2 cracks in the old dash (car lived in guernsey for 20 years so a bit hotter there):
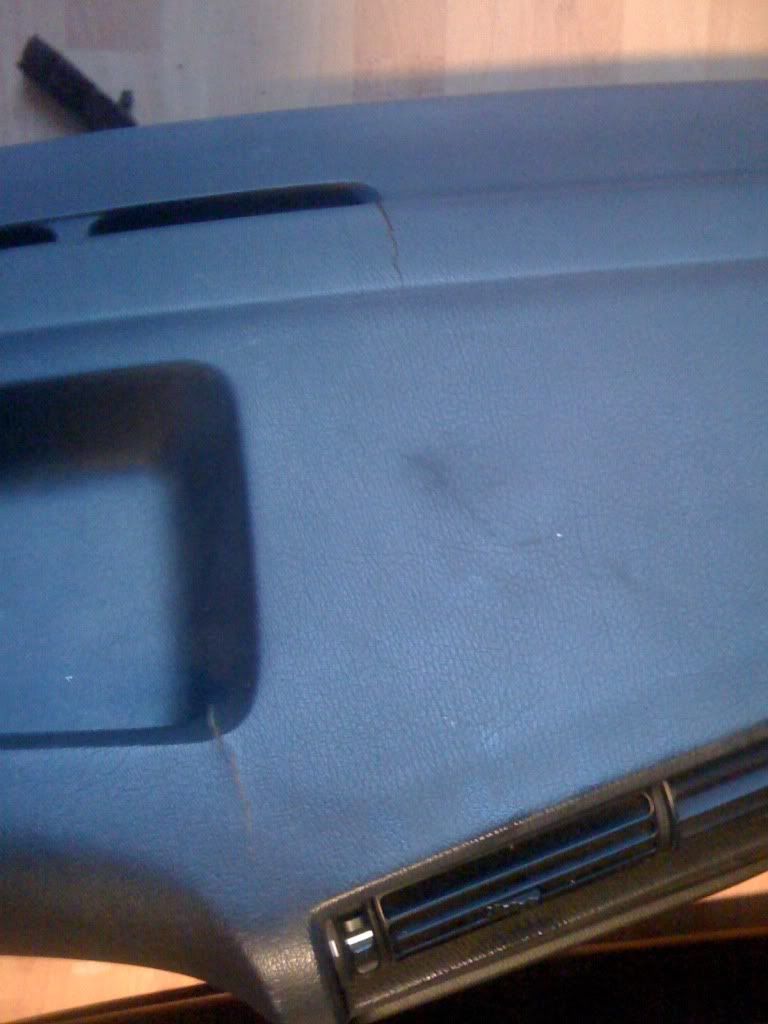
And here's old dash with new black one, very happy with the black finish on the new dash I must say, looks perfect so hopefully won't scratch it going in:
Had a look at the wiring for the stereo and all looks logical so wiring that in should be fine.
Ran out of daylight to do anymore today so will have to wait til next weekend before putting it back together.
Replaced the light board on the OBC and tightened up the brass nut on the instrument panel for the temp gauge.
It'll be a fiddle putting it all back together but fingers crossed everything will work.
You don't win friends with salad.
I'm not sure what would be best to drop the revs on a motorway.schnaarf wrote:which diff would this be? Interested to know, I would also like to drop revs on motorwayBump wrote:I would like to change the lsd diff ratio in order to drop the revs and raise the speed for motorway journeys. Doing 100 at 3500 rpm rather than 90ish at 4000rpm would be my preference for noise levels and economy.
I know it has a 3.91 lsd fitted, maybe a 3.64? I'm guessing though. Anyone done it and know the best ratio pl?
You don't win friends with salad.
-
daimlerman
- **BANNED**
- Posts: 15968
- Joined: Mon Feb 27, 2006 11:00 pm
- Location: Grumpy Old Man
Just caught up with this,I have been a bit busy these last few months on project cabbie(no headliner issues  )
)
Inbetween jobs on that I have stripped and scrapped my 4 door,took the power sunroof out to transfer into the touring,one day....
Now to the point....
I discovered that if you pull the operating cables out of the sunroof tubes,the sunroof liner slides out complete,no need to fiddle about removing those rivets on the sides!
Bump,do you remember any measurments for cutting the front off the headliner tray?
It would help me when I come to do this job myself!
I am thinking about doing it with the liner in place,not too sure I can face the challenge(!) of taking the thing out again...Afterall,it's only two cuts at the front....
Youth is wasted on the young.
I've been reading your Neon thread Daimlerman - very impressive, that's a different league to my pottering about! also a slightly brighter colour scheme 
As for the measurement for cutting the front off the headlining - do you mean to fit a sport front panel section over it?
if so I laid the sport section over the touring headlining, then mark it up where the sport section ends (rear of the panel). Use selloptape if you already got the fabric on.
then you want to allow about an extra 2cm for the sport panel to be able to clamp down on the touring headlining and hold it to the roof.
So I would look at your marks and then add about 2 cm towards the front of the headlining so that after you cut it the two prongs bits of the touring headlining extend under the sport panel so it is clamped up to the roof.
It's important you add the 2cm in the right direction!
hope thagt makes sense, it's really just a case of biting the bullet. You can always take more off but never add some back on!
cheers, simon
You don't win friends with salad.
-
daimlerman
- **BANNED**
- Posts: 15968
- Joined: Mon Feb 27, 2006 11:00 pm
- Location: Grumpy Old Man
Thanks,that measurement is handy,as is the above quote....Bump wrote: You can always take more off but never add some back on!
cheers, simon
Youth is wasted on the young.
-
snakebrain
- E30 Zone Addict
- Posts: 3685
- Joined: Tue Aug 11, 2009 11:00 pm
Great thread!!
Good luck with the mobile whorehouse!
Good luck with the mobile whorehouse!


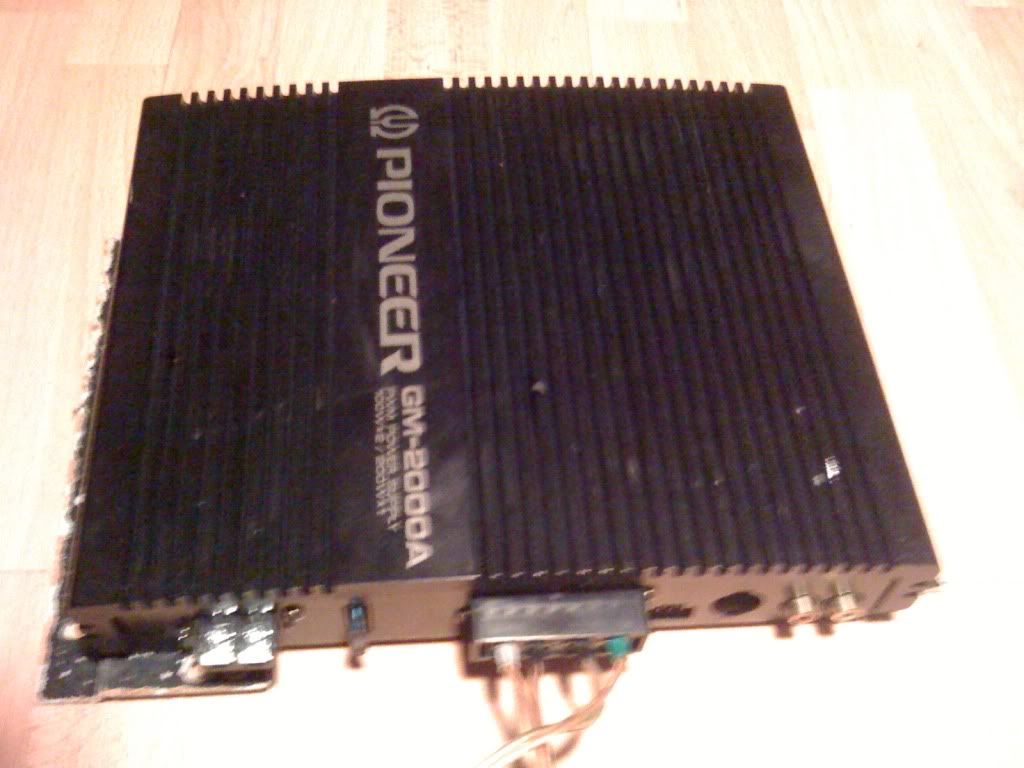
Ok, spent 7 or 8 hours on the car today. Took out the old pioneer system wiring and got the amp out of the boot first:
Got the dash in:
And then had to take it out again
I'd forgotten to fix back in some of the plastic air vent channel pipes. Impossible to do with dash in situ so out it came again.
Then started working through everything connecting it back up.
All sort of ok except for my usual few left over bits
Anyone recognise where these 2 plugs and bulb should connect to please? They are in the heater area of control panel:
Ah, actually they're for the ash tray and cig lighter aren't they?
I'm pleased to say I managed to wire in the stereo. I got the loom Toby recommended from ebay - very good - but still had to take a lead from the battery to the headunit on a separate lead.
Got the OBC display working again and the temp guage behaves as it should. The brass nut wasn't at all loose on the back of the instrument panel but tightening it more obviously did the trick.
I ran out of light for a pic but really pleased with how it all looks with the black dash, I'm really glad I went to the trouble of doing that and the finish is identical to the other black trim.
The Alpine headunit looks great in situ too, perfect amber match.
Crap shot for my own satisfaction at the end of the day:
Need to have a fiddle about with some of the bulbs behind the headlight switch as I've done something wrong there (well the bulbs packed up at least but think I've put one in the wrong place - does a bulb sit behind the temp guage in the instrument panel???).
Still need to wire in the component speakers, swap all the boot trim panels, fit the nbew carpet and fit the lower dash panels and centre console back in.
I'm clearly pretty slow at this stuff but it's beginning to come together and is going to look pretty tidy I think.
cheers
You don't win friends with salad.
Got up very bright and early so I could get the carpet in quickly this morning.
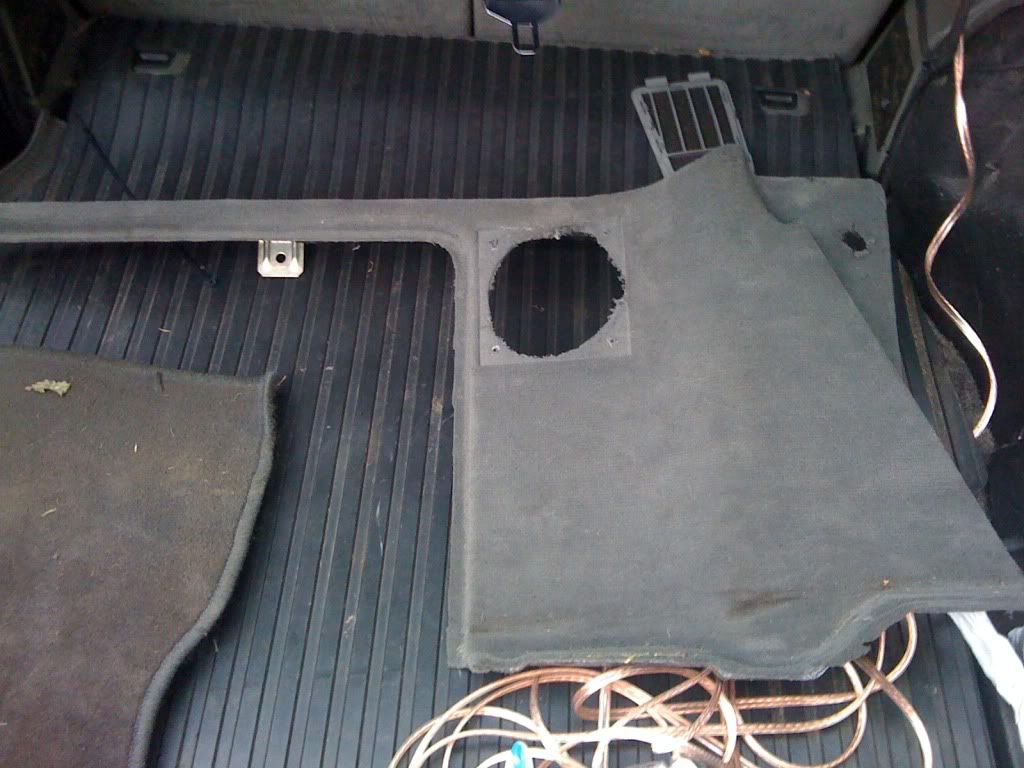
Here's why the rear panels are being replaced as there were horrible speakers sticking out into the boot space from the rear trim panels, got new ones to swap in:
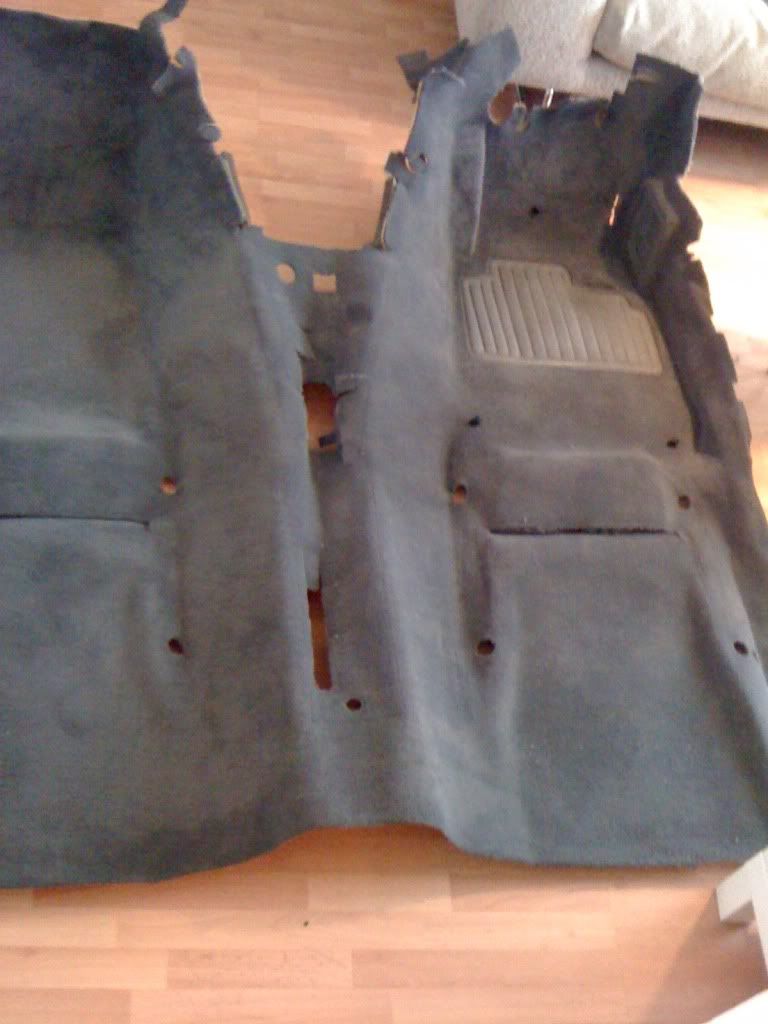
The carpet did indeed go in quickly:
Looks good:
Much more like a car again.
And then I noticed this :
:
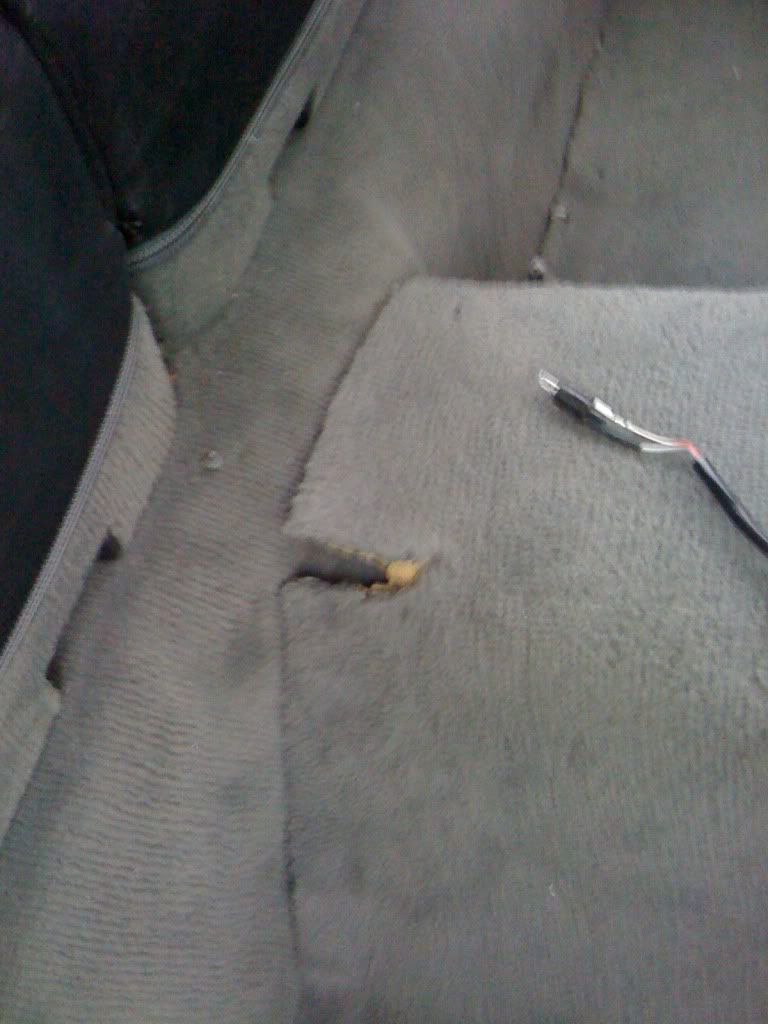
Aaaaaaaaaaarrrrrrrggggggghhhhhhhhhhhhhhhhh
No idea how I missed that, perhaps I tore it cleaning it.., but it's too big a tear to repair and is in a very visible place so no go and out came the carpet again.
****. ******* ****. ****. ****.
Very deflating and this is the third carpet I've had with none actually being intact on inspection.
I waited months for a supposed mint one that in the end never arrived. I thought this one was good hence washing and cleaning the thing and leaving it to dry in my shower/flat for a week!
Bugger, but no point restoring a car with stuff that isn't up to scratch so if anyone has a MINT carpet with no stains or tears or holes that should not be there please get in touch. I need one asap!
No more e30 activity this weekend for me
cheers
Here's why the rear panels are being replaced as there were horrible speakers sticking out into the boot space from the rear trim panels, got new ones to swap in:
The carpet did indeed go in quickly:
Looks good:
Much more like a car again.
And then I noticed this
Aaaaaaaaaaarrrrrrrggggggghhhhhhhhhhhhhhhhh
No idea how I missed that, perhaps I tore it cleaning it.., but it's too big a tear to repair and is in a very visible place so no go and out came the carpet again.
****. ******* ****. ****. ****.
Very deflating and this is the third carpet I've had with none actually being intact on inspection.
I waited months for a supposed mint one that in the end never arrived. I thought this one was good hence washing and cleaning the thing and leaving it to dry in my shower/flat for a week!
Bugger, but no point restoring a car with stuff that isn't up to scratch so if anyone has a MINT carpet with no stains or tears or holes that should not be there please get in touch. I need one asap!
No more e30 activity this weekend for me
cheers
You don't win friends with salad.
Sorry to see the tear in the carpet, you must be vexed after all the effort you put in cleaning it etc.
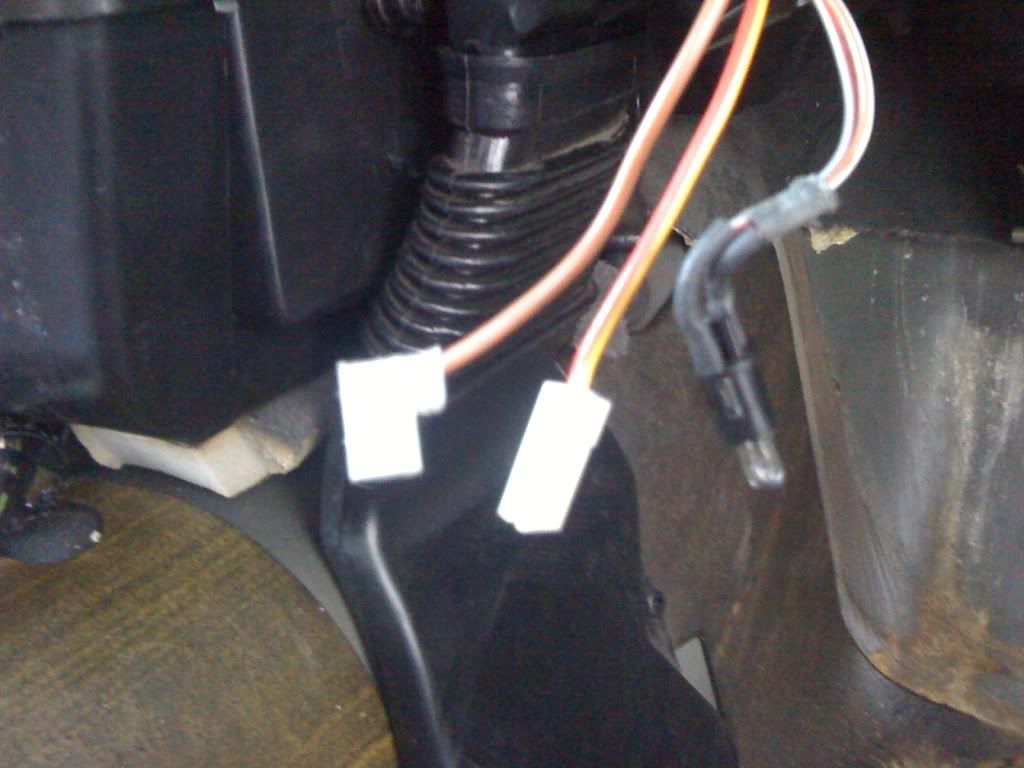
By the way, in the second to last photo, just above the clutch pedal, what are those two connecters for?
I have the same thing under my dash but cannot pinpoint what there for.
By the way, in the second to last photo, just above the clutch pedal, what are those two connecters for?
I have the same thing under my dash but cannot pinpoint what there for.

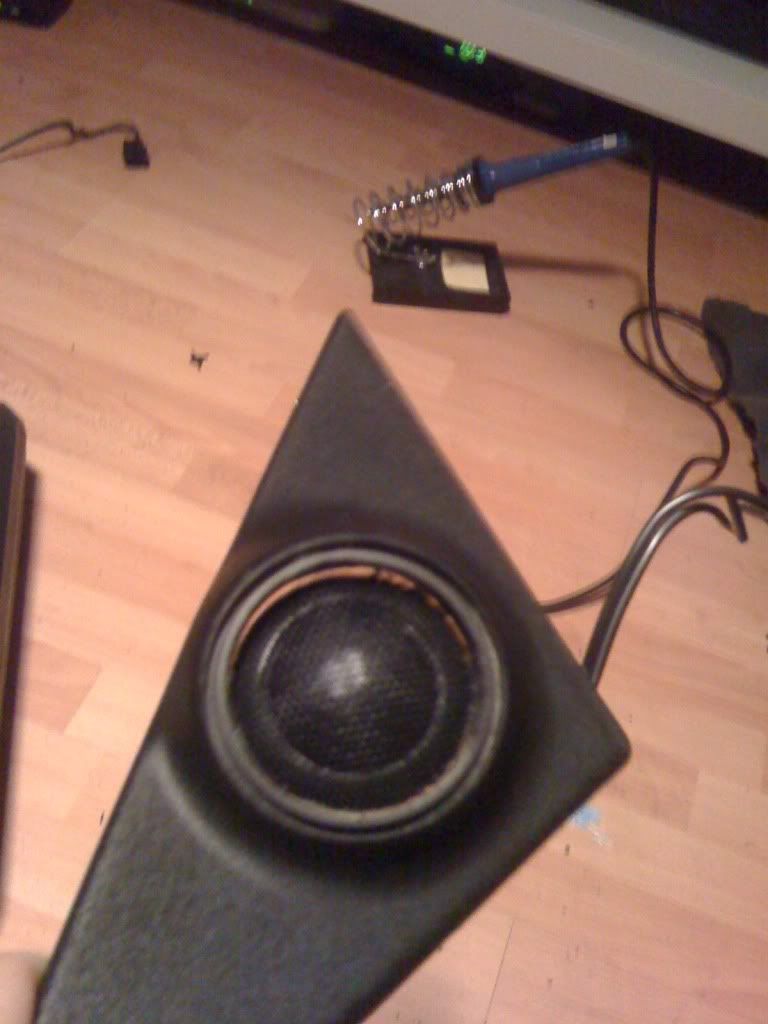
Spent a few hours sorting out the tweeter pods today. I didn't realise quite what a mission it was going to be..
I bought a kenwood components set of speakers for the front. This means you get a speaker that handles mid and bass (to fit in the footwell behind the kick panel) and then a tweeter which does the treble at closer to ear level (to fit in the door in the triangular mirror blanking plate).
I wanted it to look totally original without having to use 20 year old speakers.
So, got some proper tweeter pods off here (cheers Steve) and then sought some advice about how to remove the manky old nokia speakers so I could fit the kenwood jobs.
Thought it might be worth documenting this as was a right pain til I found the way to do it as follows.
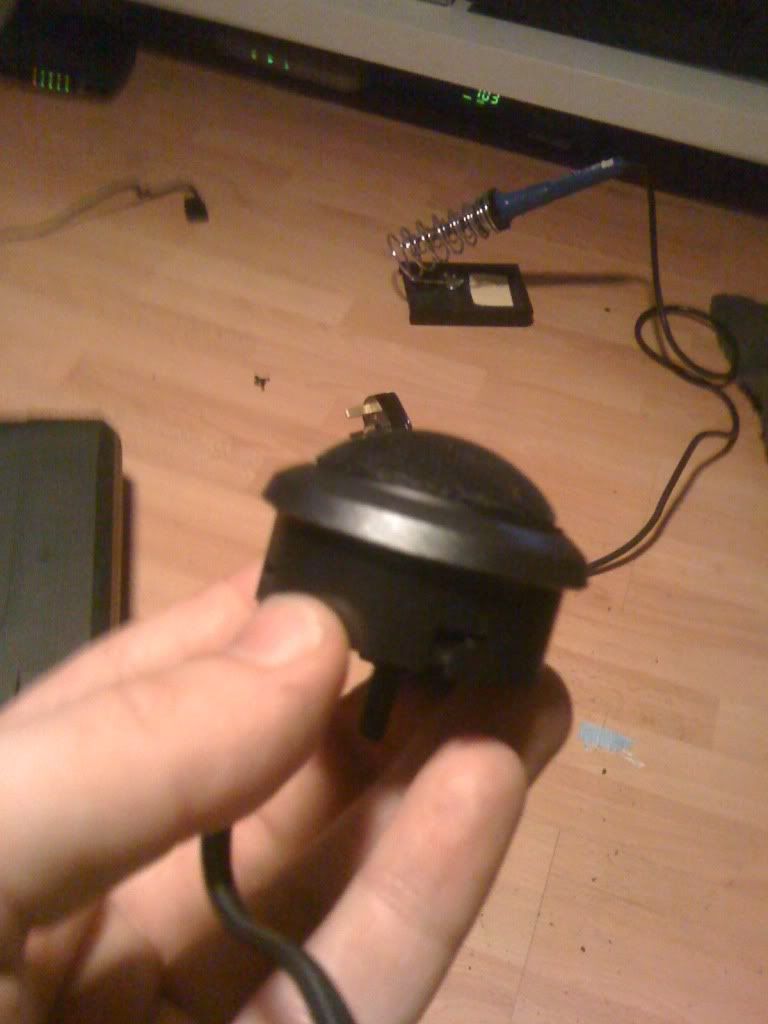
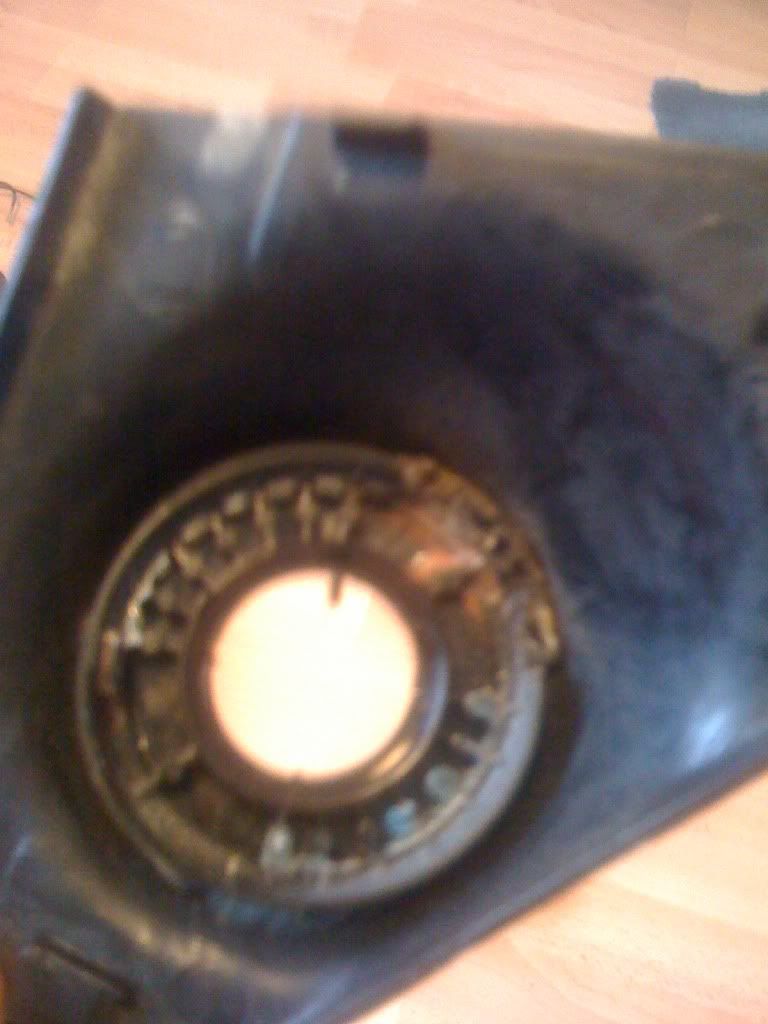
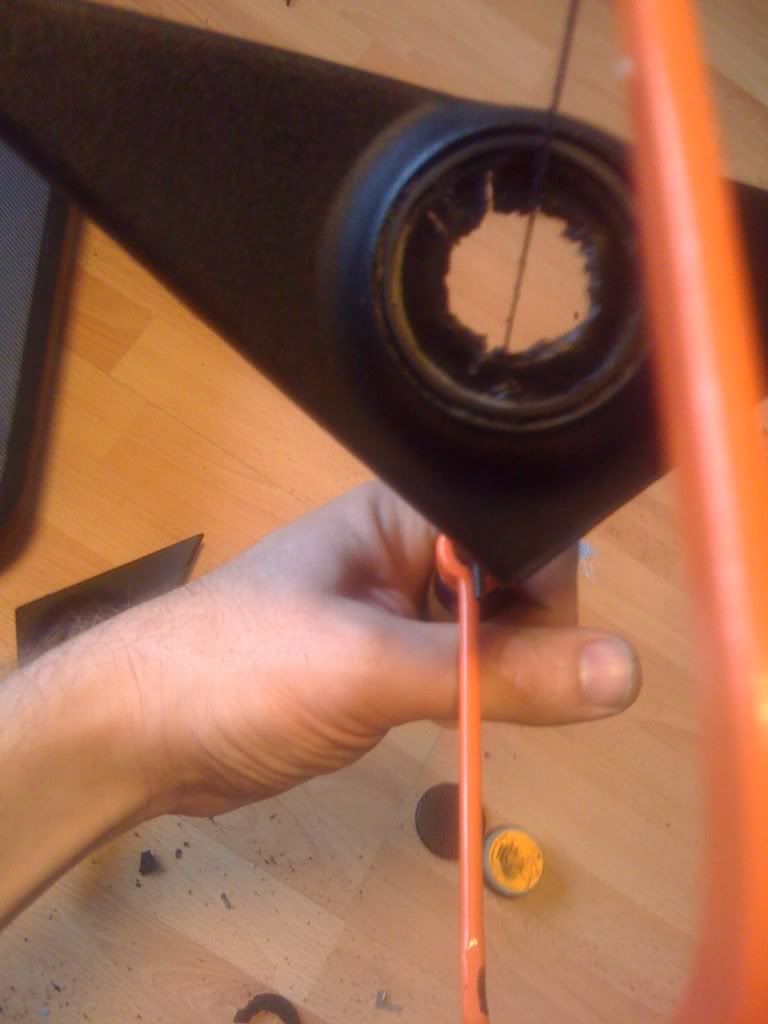
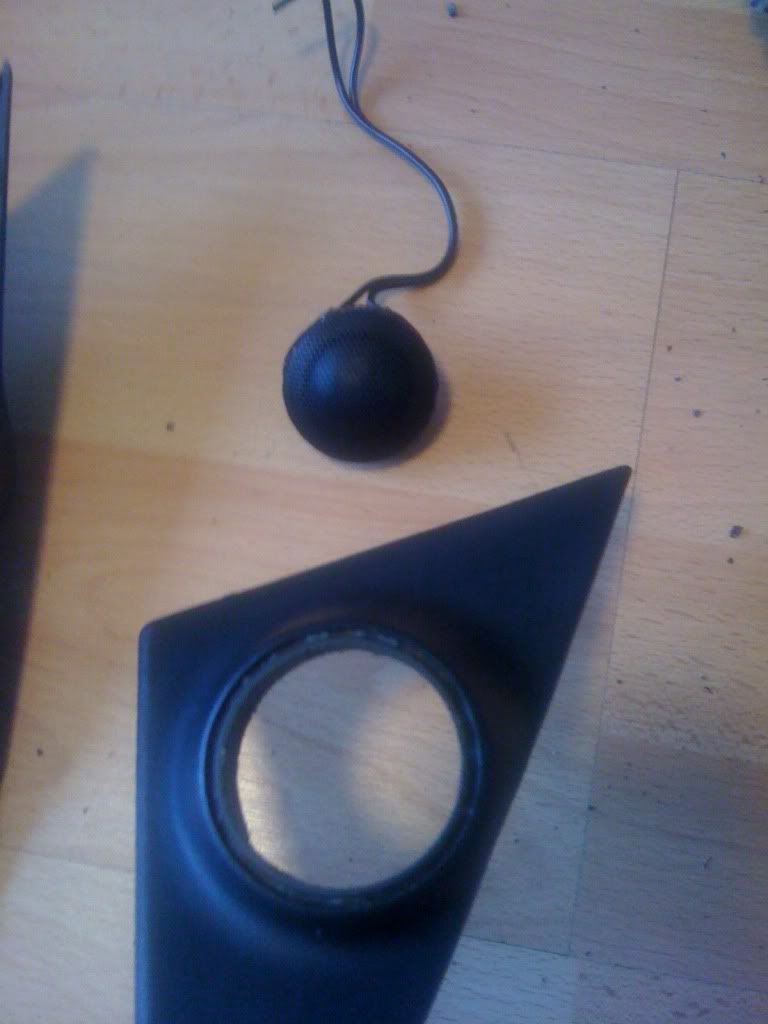
Here's what they start out looking like, nokia tweeter very solidly glued in:
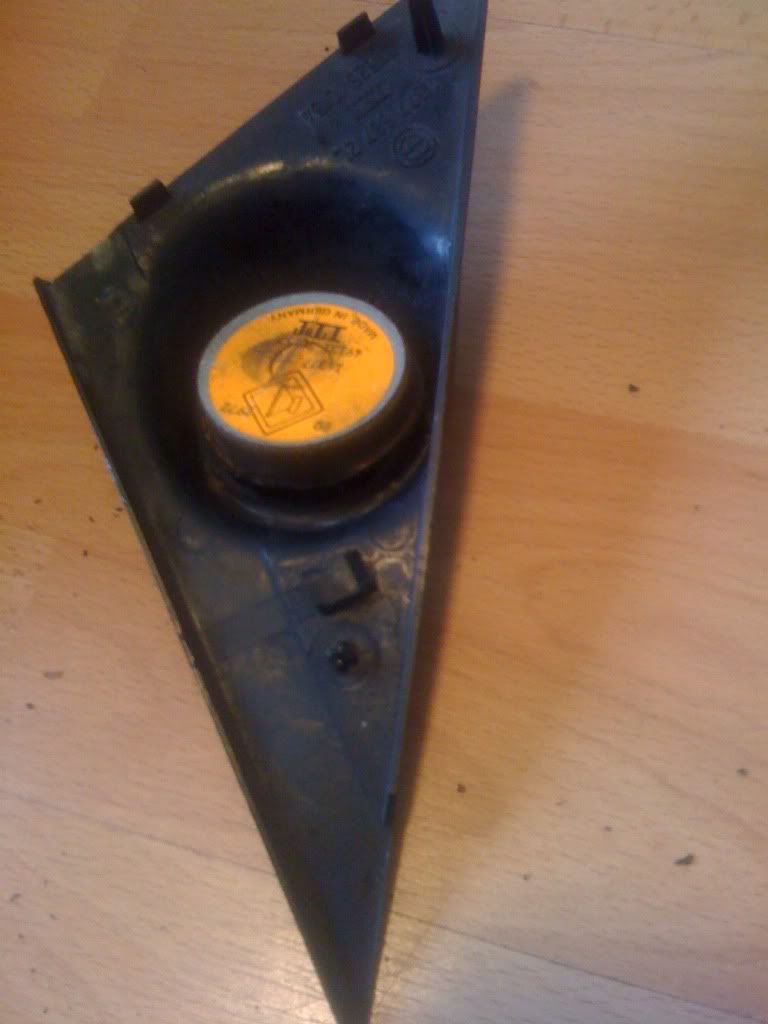
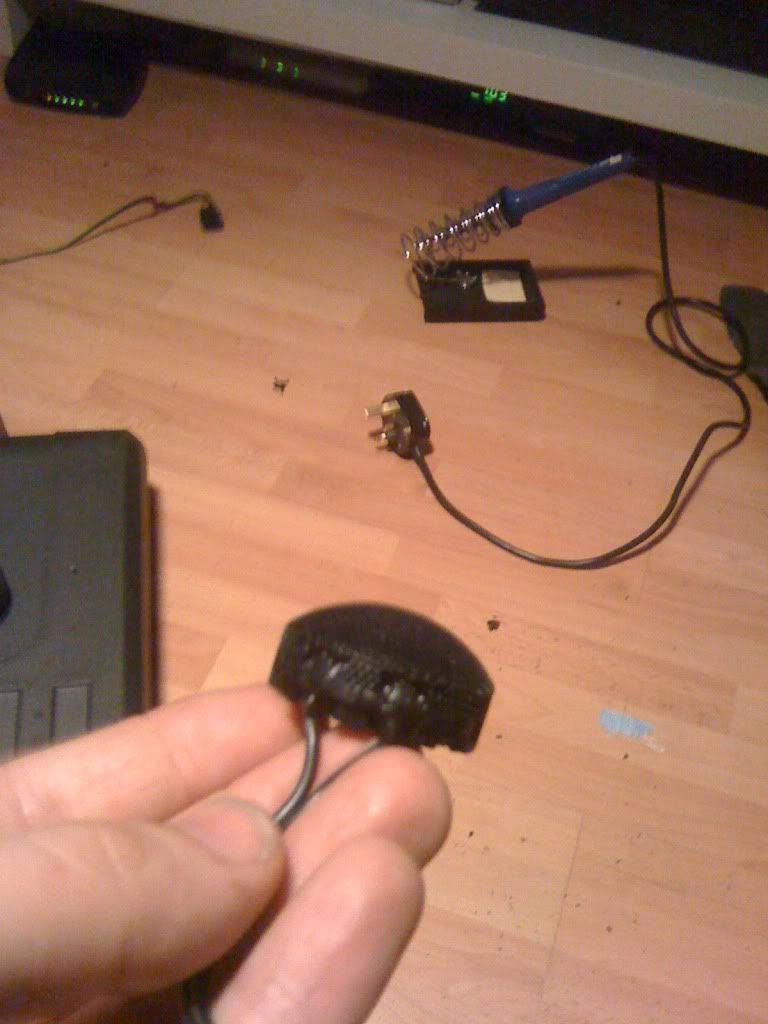
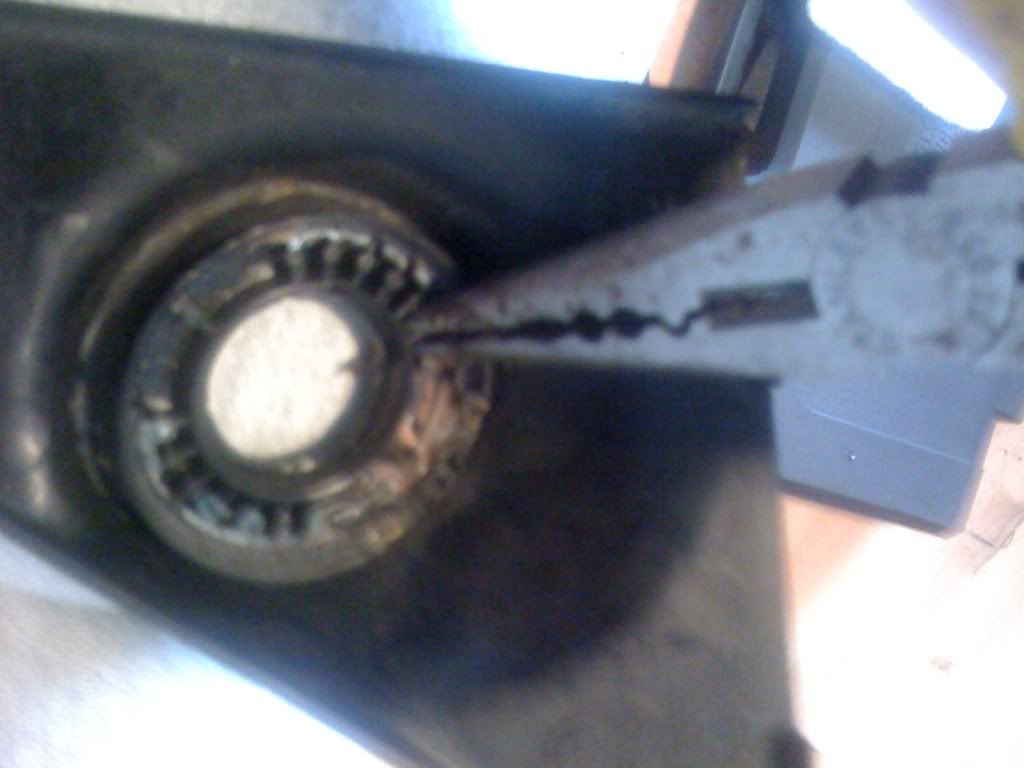
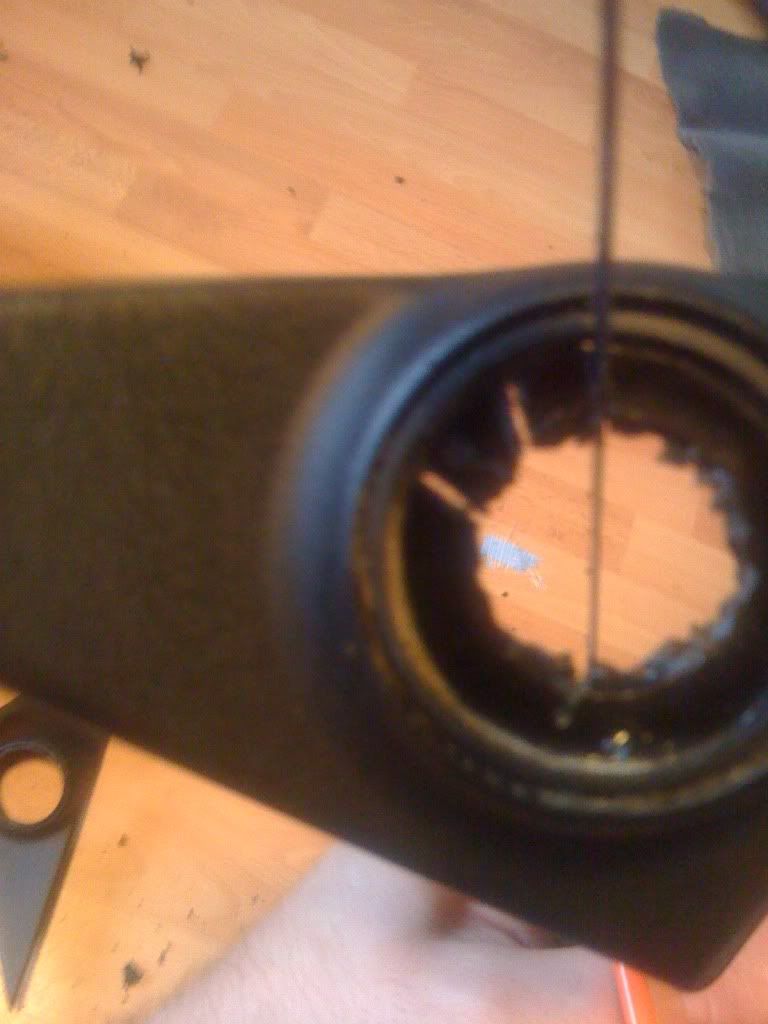
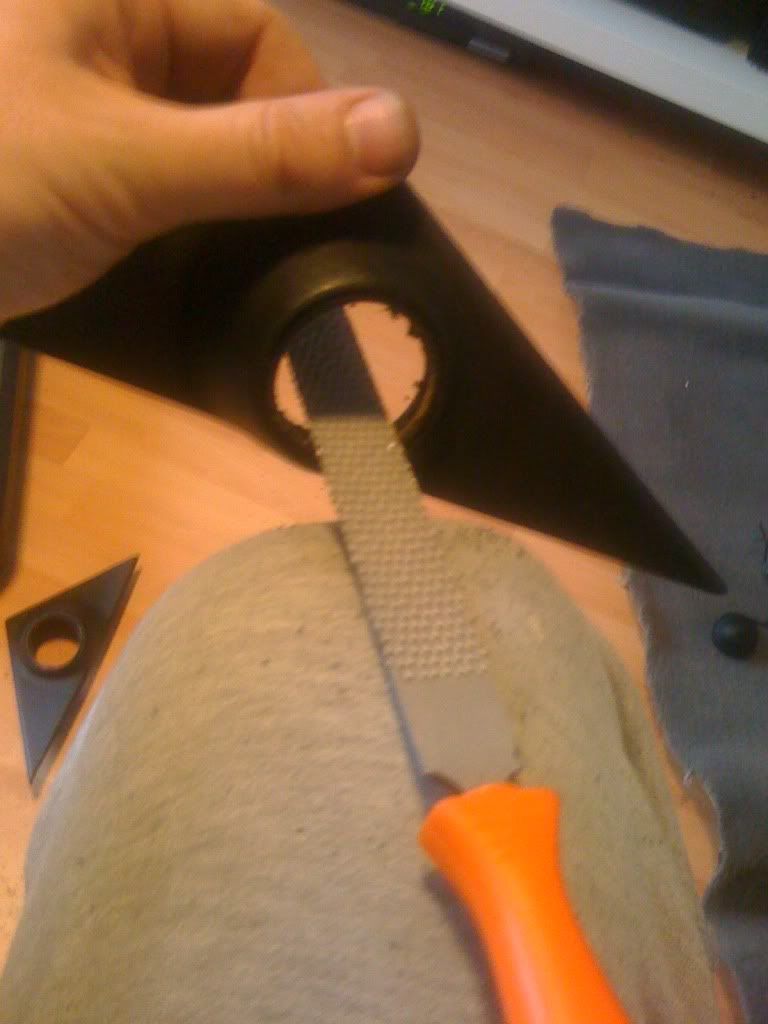
The way to get the nokia tweeter out is not to work round the edge with a knife (spent 2 hours trying that before nearly throwing it out the window in frustration) but to first remove the metal tabs the wires connect to with some long nose pliers:
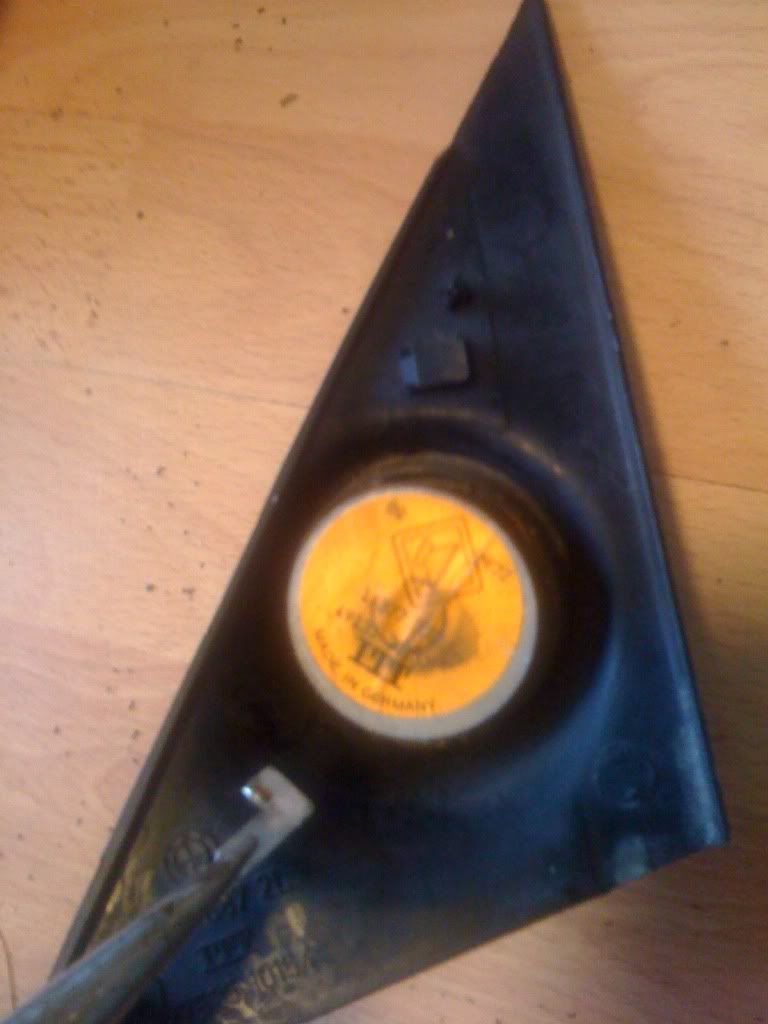
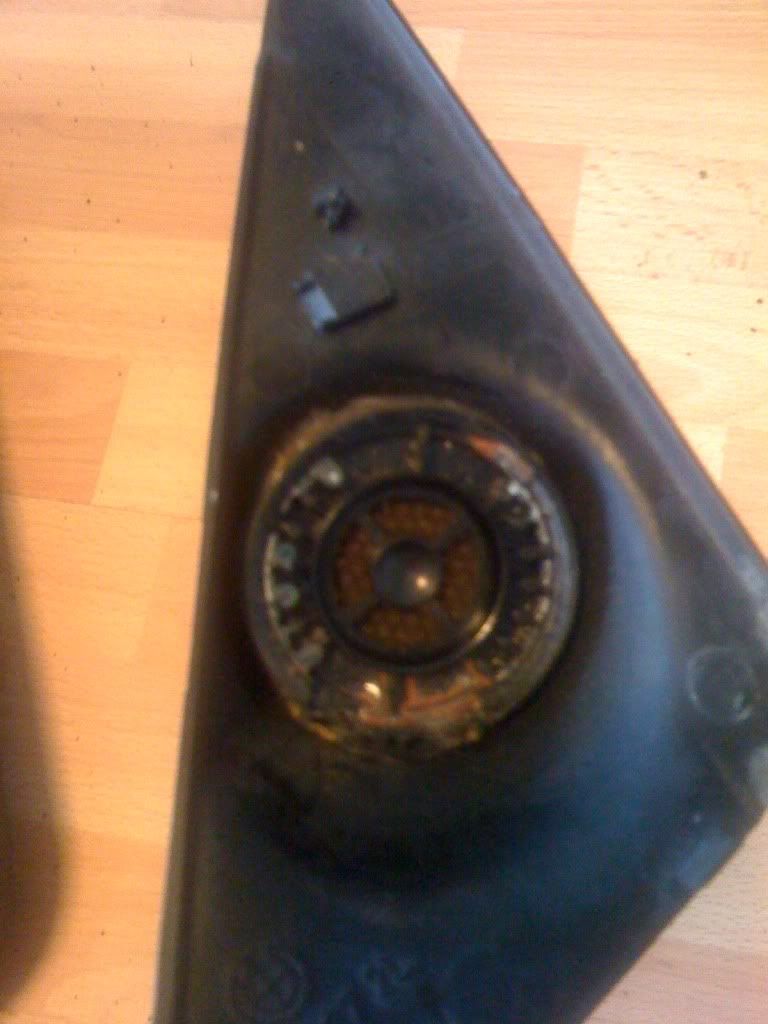
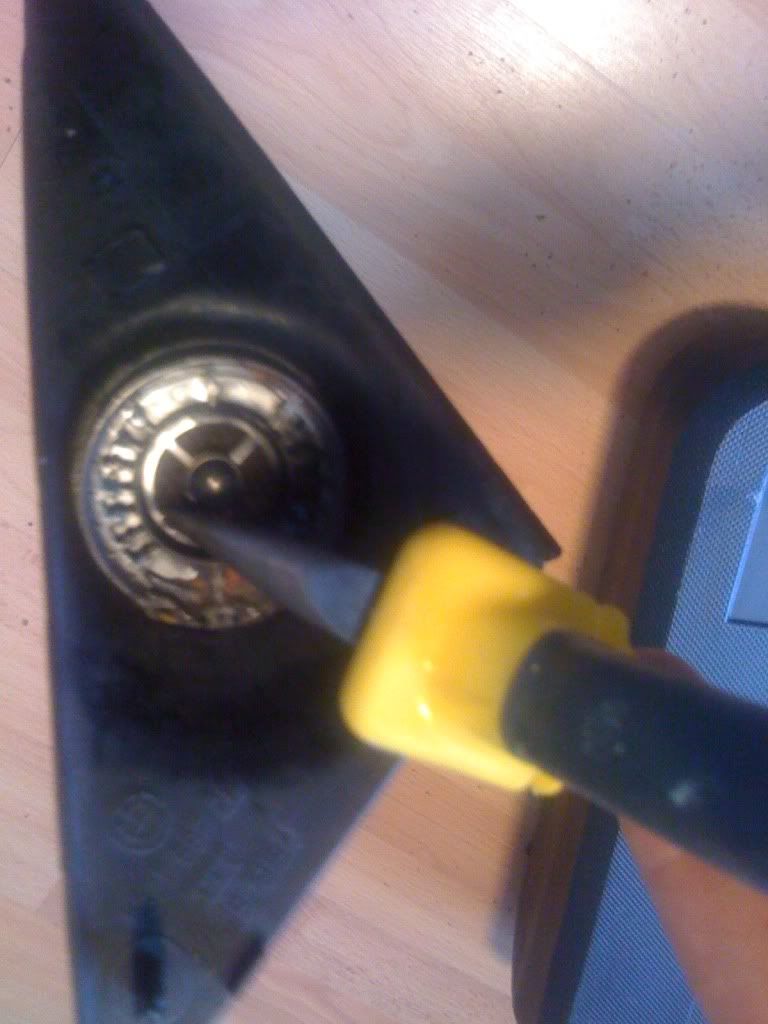
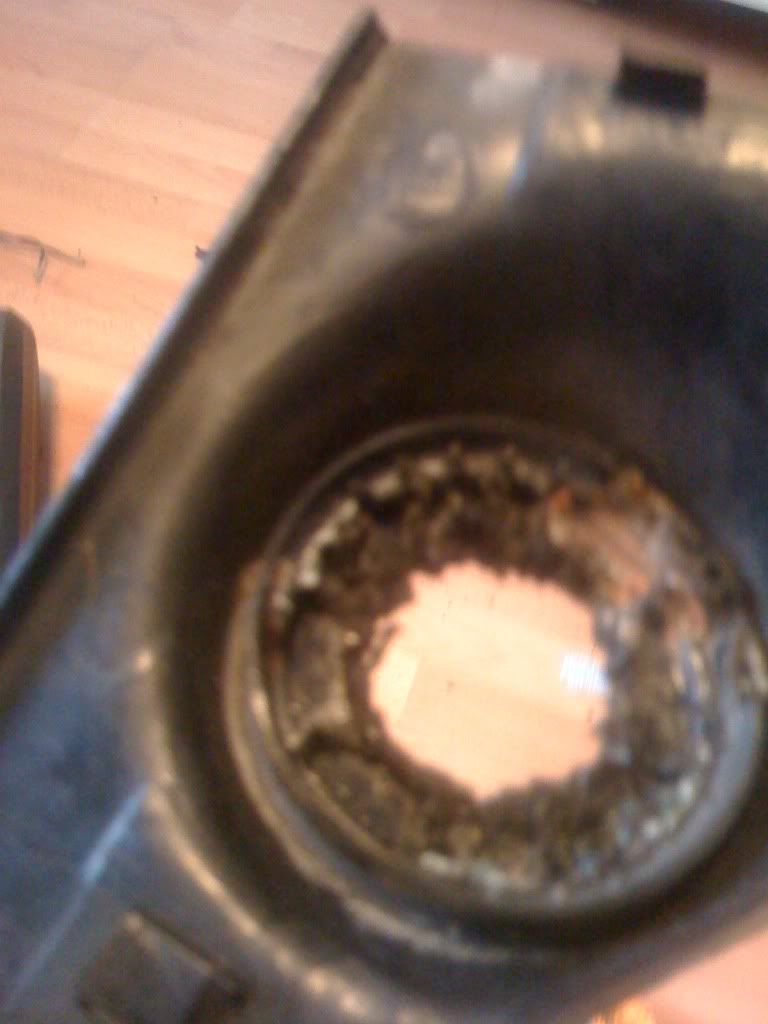
By doing this you can just see a small slot underneath the tweeter where the metal tabs were. You can then slip in a flat headed screw driver and gently wiggle and lever it up from underneath til the glue round the tweeter gives and it pops out:

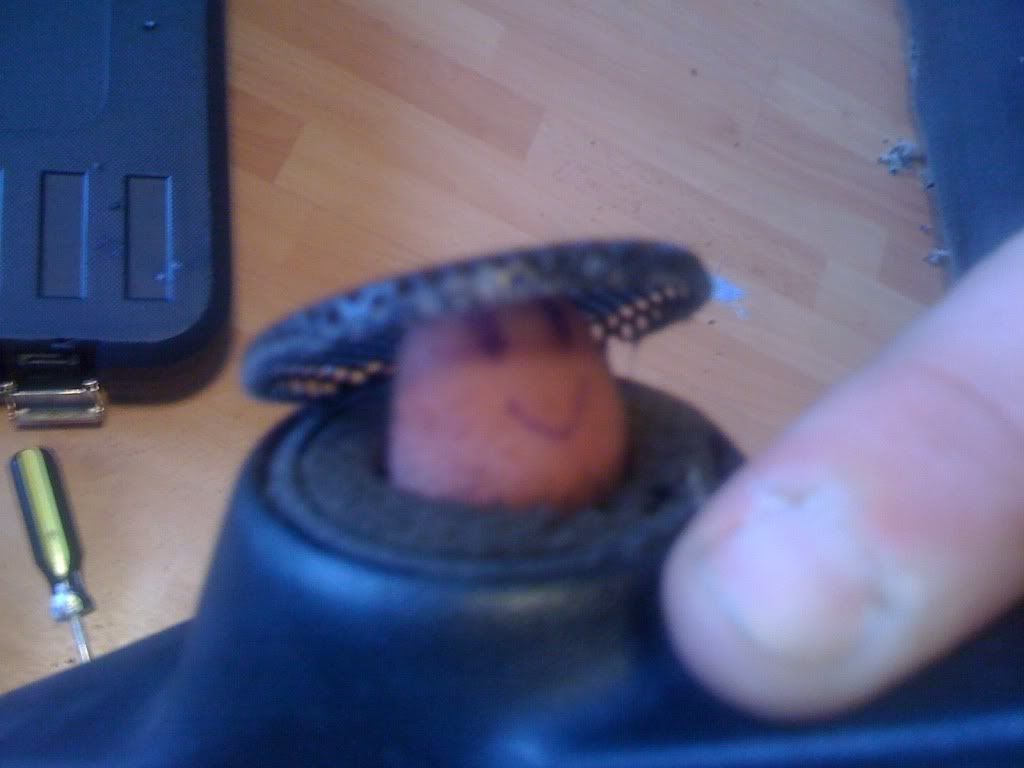
Then I thought it would simply be a case of gluing in the new one. You could do that, but you'd get poor sound as you have a very small hole for the tweeter to output sound through:
And I wanted to get this in somehow:
Hmm. So broke this down to just the tweeter unit itself. It's diameter was still twice that of the old nokia unit I had removed:
So you need to open out the hole in the plastic tweeter pod to the right size so the kenwood one could slot in and get it's sound out uninhibited.
Took a little while but here's how I did it.
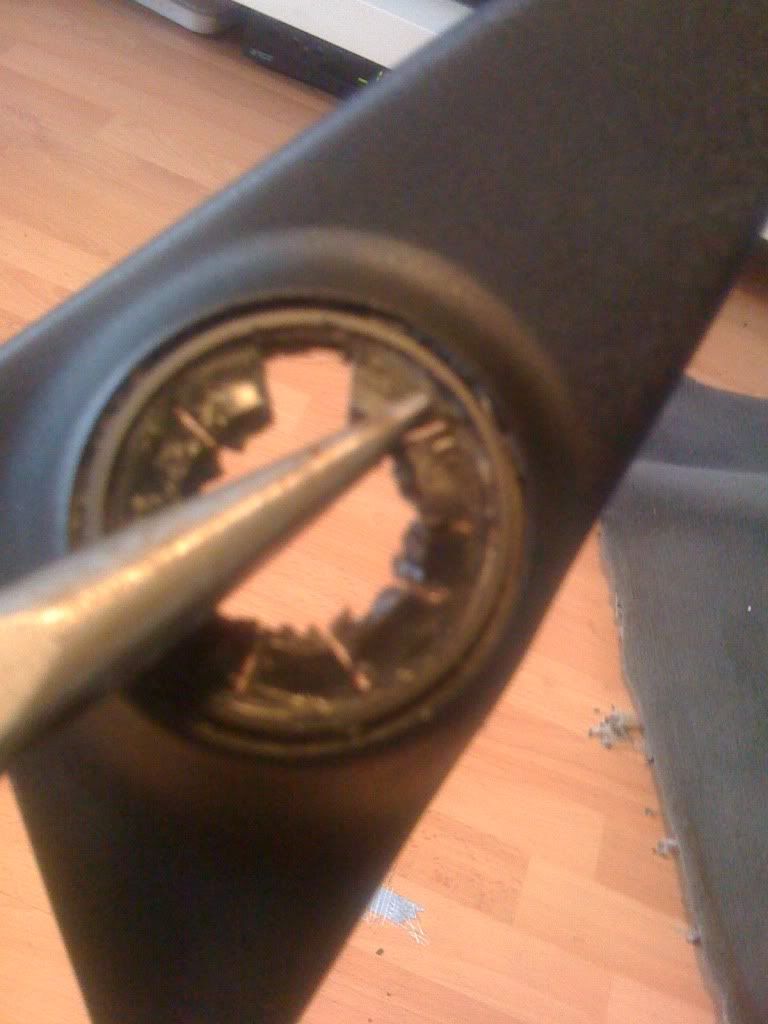
First off there was a plastic cross shape across the small hole. With long nose pliers it was a quick job to break that off:
Then you can push out the grill/thumb hat from the under side:
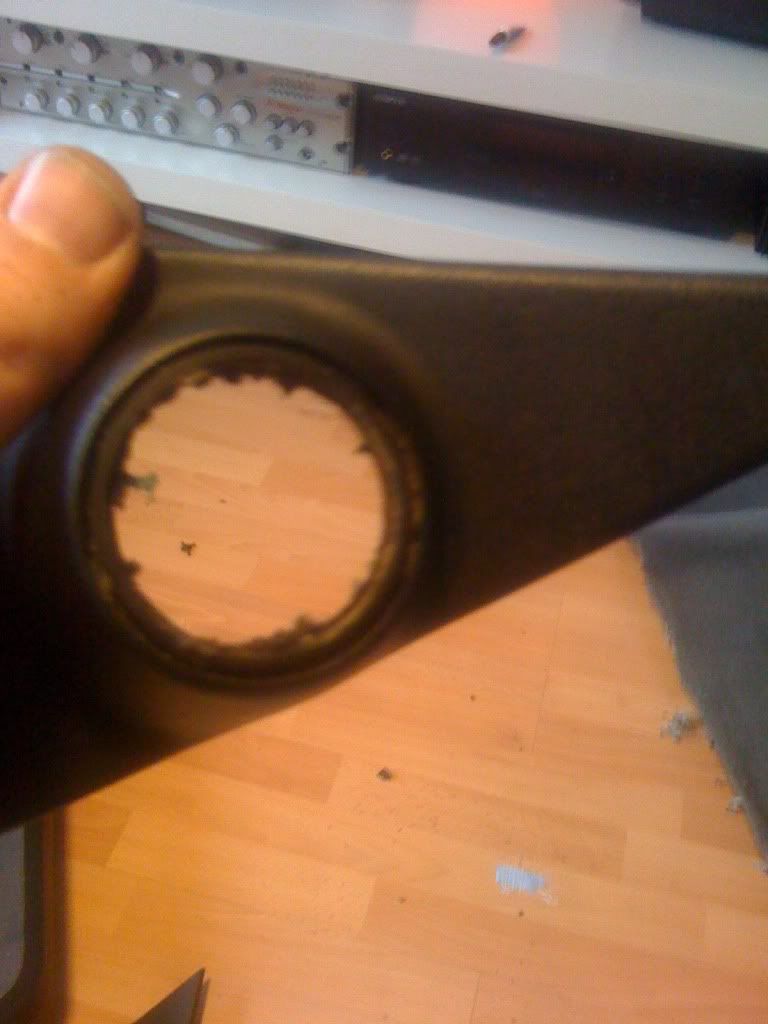
It then looks like this, a hole which is about half the diameter it needs to be:
The plastic ring was reinforced with lots of sort of tab things bracing across the ring. Snap these off with the long nose pliers to weaken the plastic:
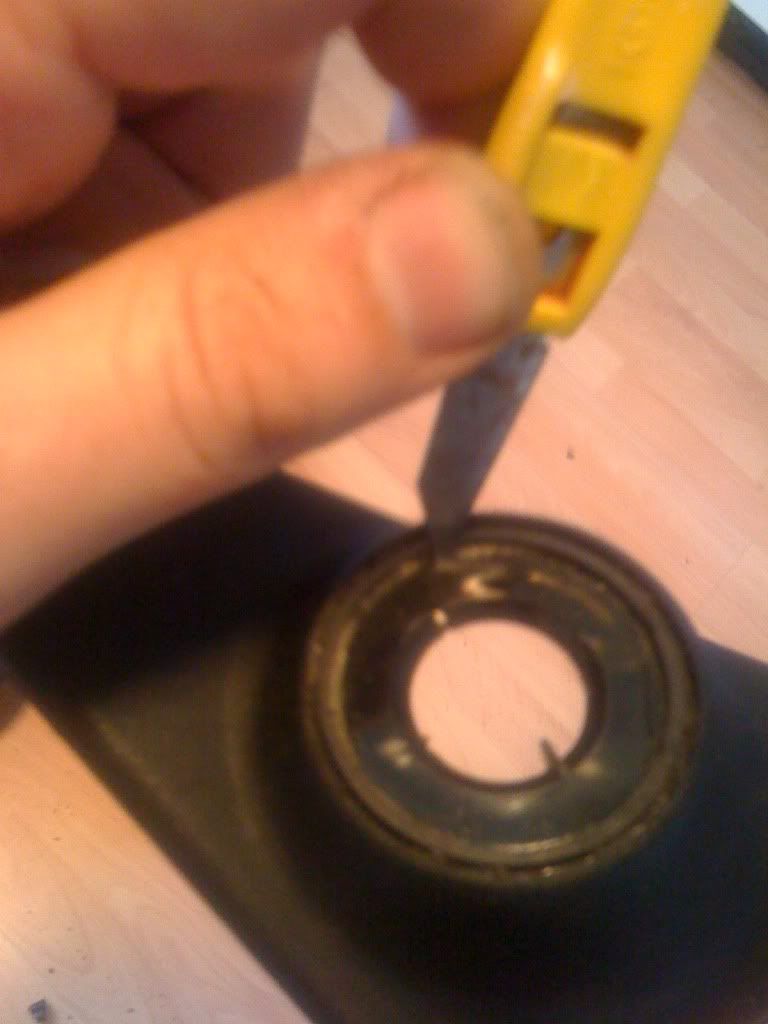
Then flip over the tweeter pod and take a craft knife to score or guage the plastic in a circle It'll make sense why in a sec:
Then I ripped off as much of the inside lip on the plastic ring as possible with the pliers. Looks totally mangled at this stage:
I then got a <insert it's real name here> saw and cut slots up to the edge of where I wanted the hole to expand out to:
Then it's just a case of snapping off the plastic tabs that you have created - and because you scored the plastic with the craft knife in a circle previously you don't get splits and it breaks off cleanly:
You do get some rough edges:
So a quick run round with a wrasp sorts that out:
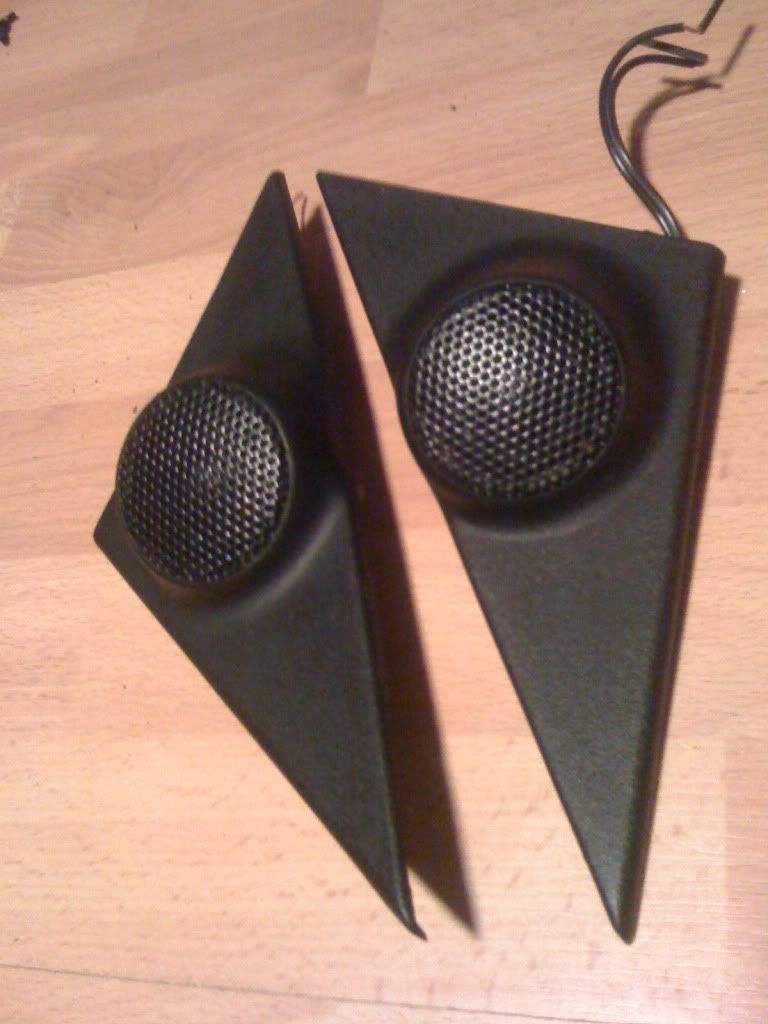
You're left with a hole just the right size for the tweeter:
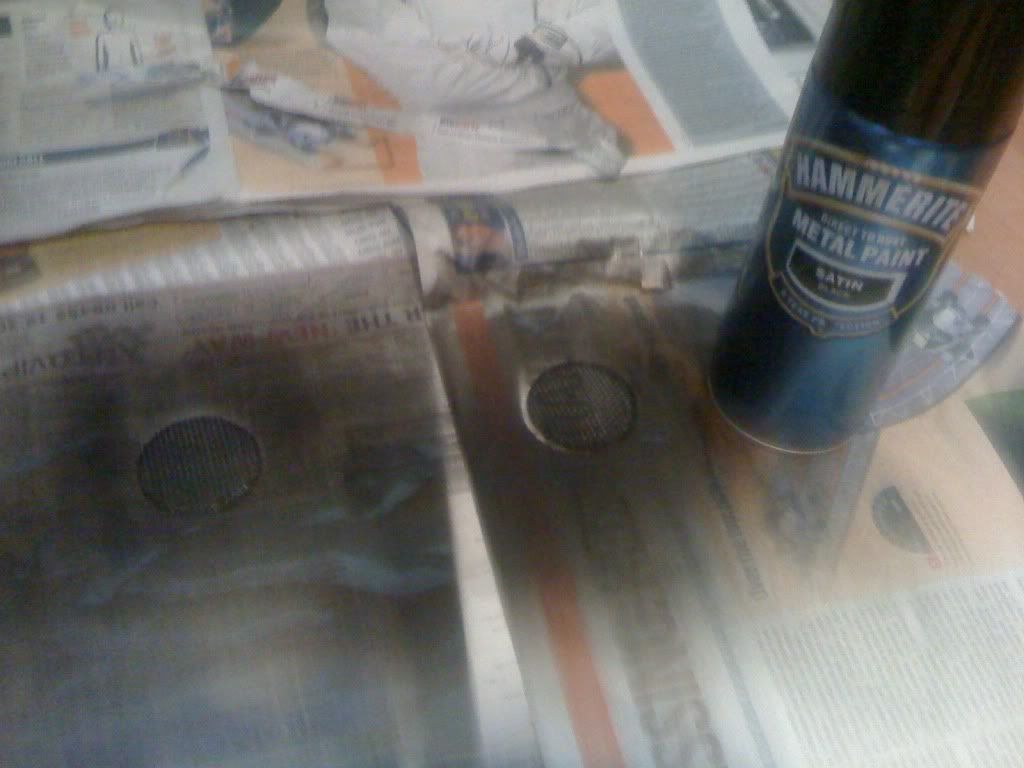
Gave the grills a fresh coat of paint:
Then got the glue gun out and glued in the new tweeters with 4 blobs:
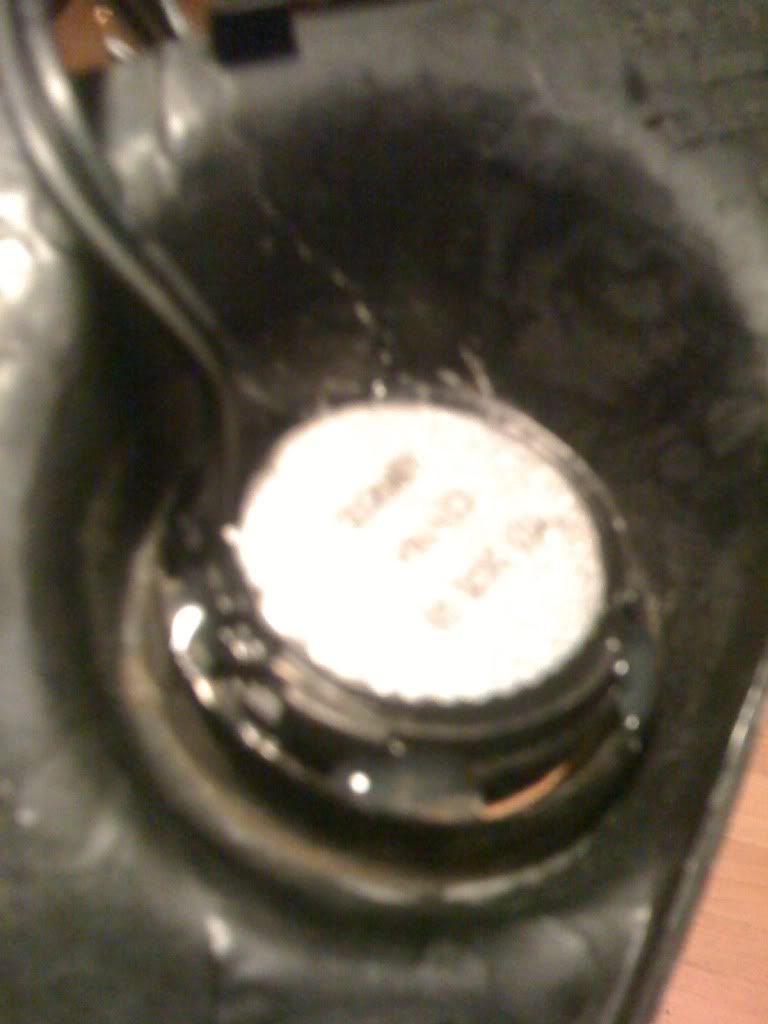
You have to set the tweeters back a tiny bit in the pod as owing to their domed shape you need to leave clearance for the grill to be able to fit back on top:
Then superglued in the grills and twas finished:

Hope to get the speakers installed front and rear tomorrow.
I bought a kenwood components set of speakers for the front. This means you get a speaker that handles mid and bass (to fit in the footwell behind the kick panel) and then a tweeter which does the treble at closer to ear level (to fit in the door in the triangular mirror blanking plate).
I wanted it to look totally original without having to use 20 year old speakers.
So, got some proper tweeter pods off here (cheers Steve) and then sought some advice about how to remove the manky old nokia speakers so I could fit the kenwood jobs.
Thought it might be worth documenting this as was a right pain til I found the way to do it as follows.
Here's what they start out looking like, nokia tweeter very solidly glued in:
The way to get the nokia tweeter out is not to work round the edge with a knife (spent 2 hours trying that before nearly throwing it out the window in frustration) but to first remove the metal tabs the wires connect to with some long nose pliers:
By doing this you can just see a small slot underneath the tweeter where the metal tabs were. You can then slip in a flat headed screw driver and gently wiggle and lever it up from underneath til the glue round the tweeter gives and it pops out:
Then I thought it would simply be a case of gluing in the new one. You could do that, but you'd get poor sound as you have a very small hole for the tweeter to output sound through:
And I wanted to get this in somehow:
Hmm. So broke this down to just the tweeter unit itself. It's diameter was still twice that of the old nokia unit I had removed:
So you need to open out the hole in the plastic tweeter pod to the right size so the kenwood one could slot in and get it's sound out uninhibited.
Took a little while but here's how I did it.
First off there was a plastic cross shape across the small hole. With long nose pliers it was a quick job to break that off:
Then you can push out the grill/thumb hat from the under side:
It then looks like this, a hole which is about half the diameter it needs to be:
The plastic ring was reinforced with lots of sort of tab things bracing across the ring. Snap these off with the long nose pliers to weaken the plastic:
Then flip over the tweeter pod and take a craft knife to score or guage the plastic in a circle It'll make sense why in a sec:
Then I ripped off as much of the inside lip on the plastic ring as possible with the pliers. Looks totally mangled at this stage:
I then got a <insert it's real name here> saw and cut slots up to the edge of where I wanted the hole to expand out to:
Then it's just a case of snapping off the plastic tabs that you have created - and because you scored the plastic with the craft knife in a circle previously you don't get splits and it breaks off cleanly:
You do get some rough edges:
So a quick run round with a wrasp sorts that out:
You're left with a hole just the right size for the tweeter:
Gave the grills a fresh coat of paint:
Then got the glue gun out and glued in the new tweeters with 4 blobs:
You have to set the tweeters back a tiny bit in the pod as owing to their domed shape you need to leave clearance for the grill to be able to fit back on top:
Then superglued in the grills and twas finished:
Hope to get the speakers installed front and rear tomorrow.
You don't win friends with salad.
-
braxtonator
- E30 Zone Newbie

- Posts: 245
- Joined: Wed Oct 07, 2009 11:00 pm
Your speedo looks abit well not straight
Just read all of this tread Simon, top work going on here!
Look forward to the next installment.
Look forward to the next installment.
Yes there's is a need on some to adjust the wiring as Ratch found out. As long as you used a fuse on your separate battery lead it will be fine.Bump wrote: I'm pleased to say I managed to wire in the stereo. I got the loom Toby recommended from ebay - very good - but still had to take a lead from the battery to the headunit on a separate lead.
next installment is the carpet I picked up from you barry..currently drying in my hallway. cheers for that, fixed that tiny tear no prob.bss325i wrote:Just read all of this tread Simon, top work going on here!
Look forward to the next installment.
must say the roads round your way on sat night in that atrocious weather were all a bit deep forest rally stage - especially so with no carpet in the touring so you can hear every bit of stone and gravel clunking about
looking forward to seeing your sport one day when it's not chucking it down..
You don't win friends with salad.

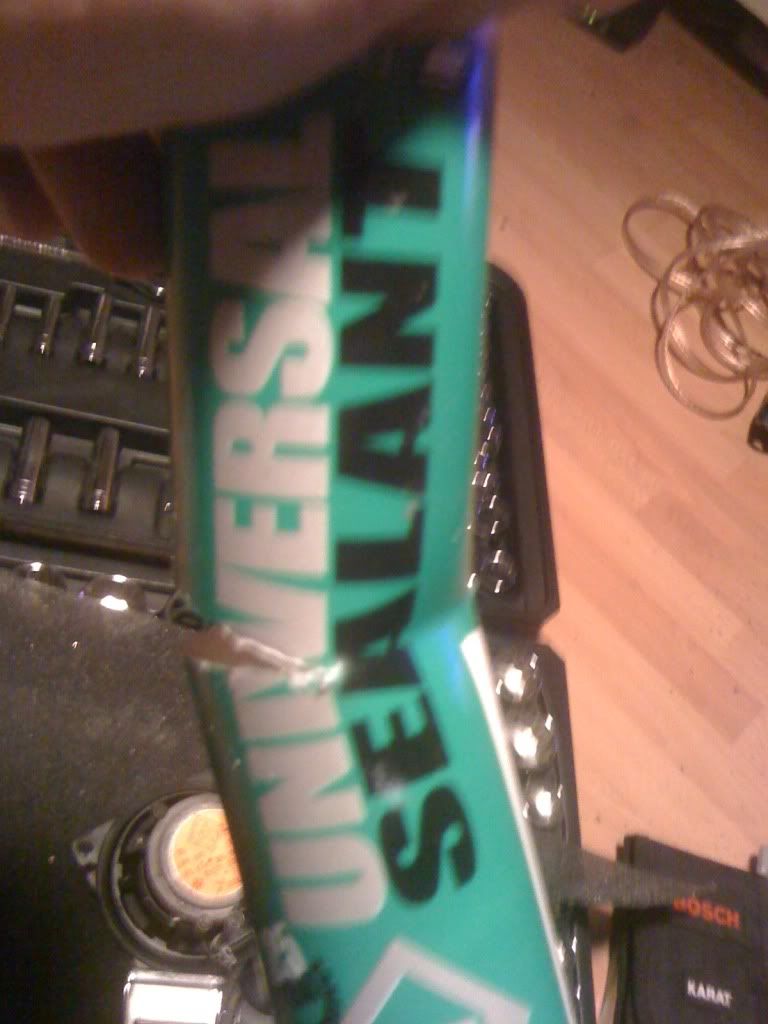
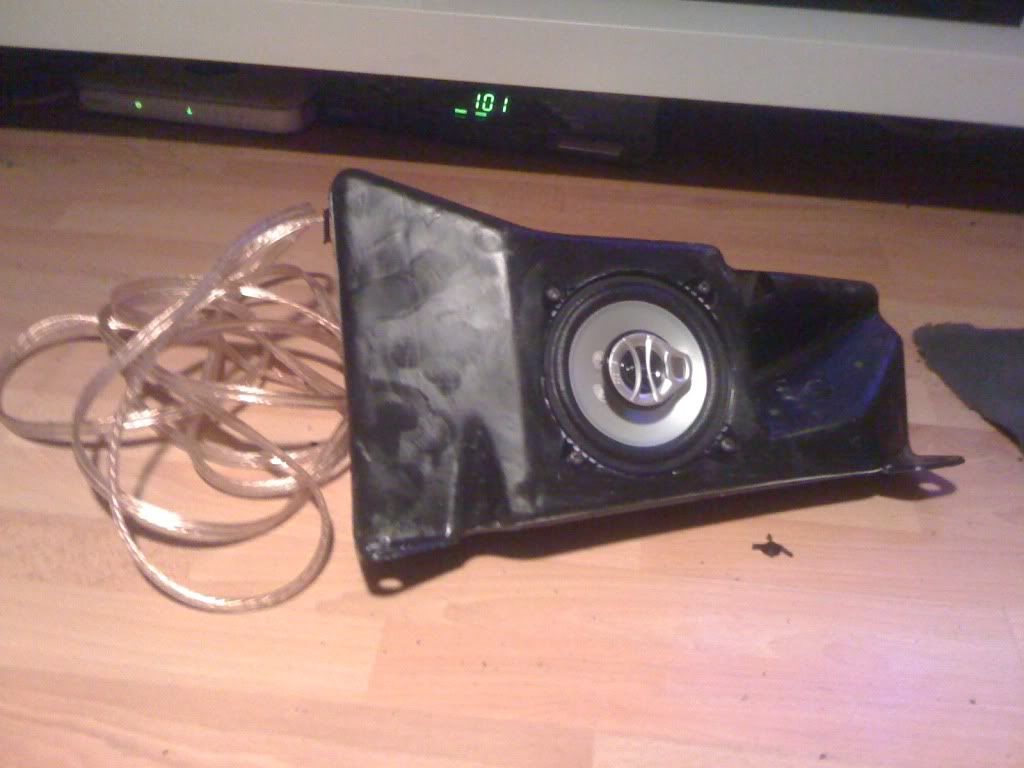
Few more pics here while I'm on the pc.
Here's the rear speaker pods for the touring with the ancient speakers in:
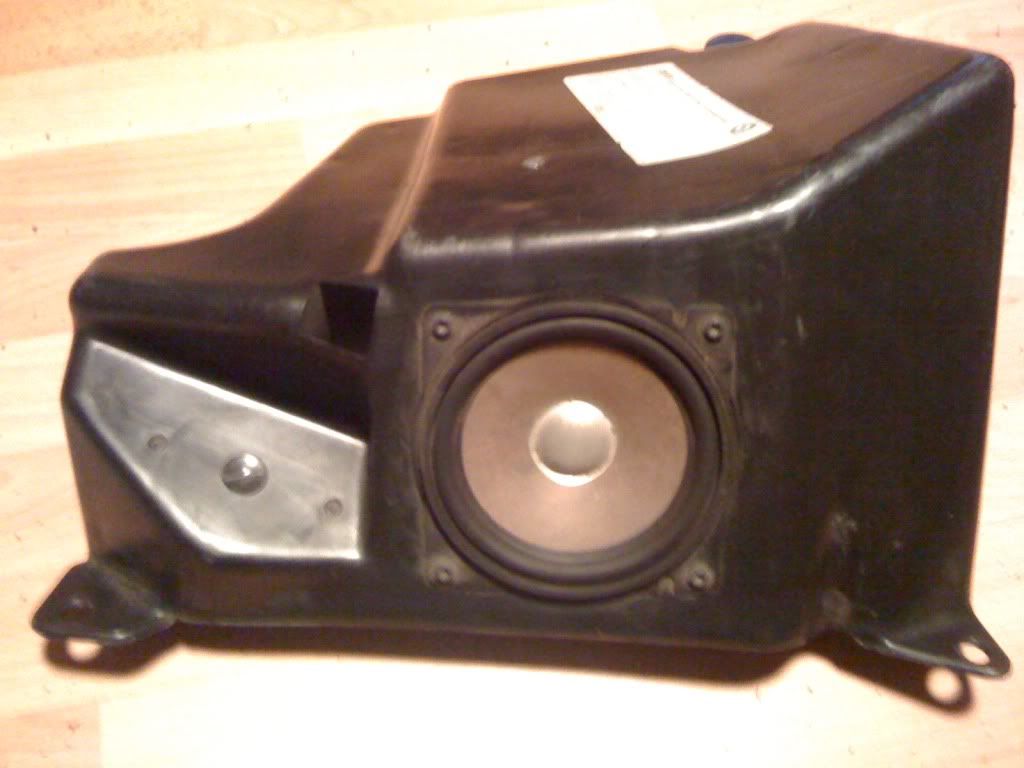
Got some 10cm 2-way kenwoods to drop in but of course the hole is a tiny bit too small so you need to open it out so they drop in and sit flush:
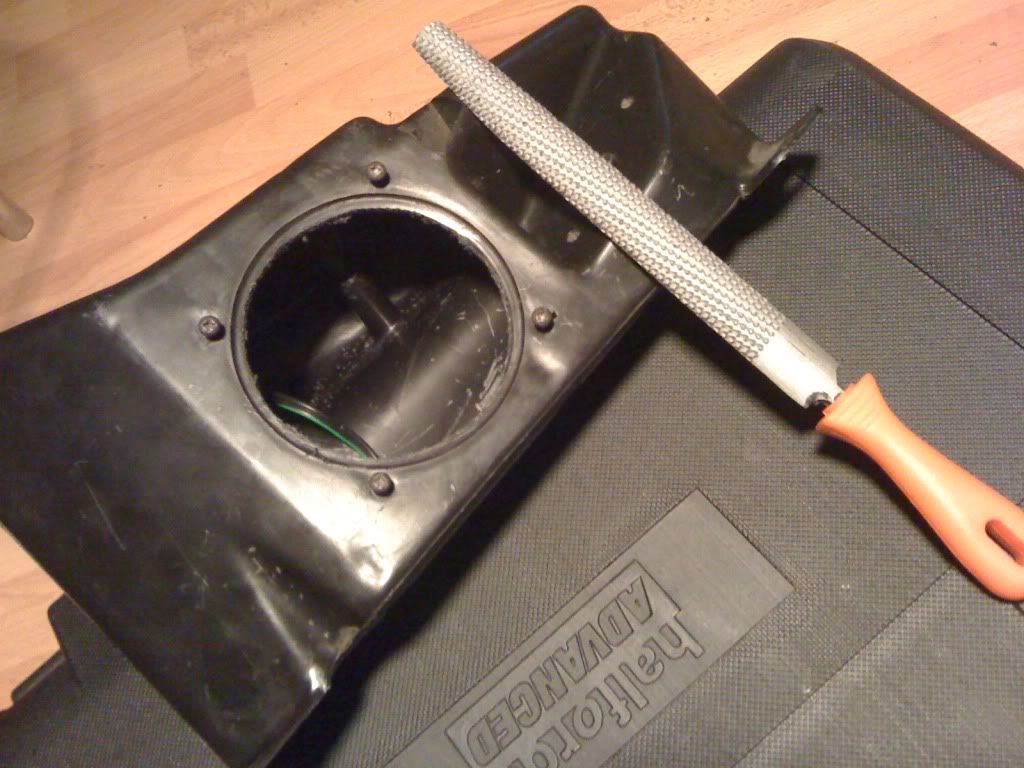
To get the speaker wires out you need to open up the pods by undoing about 10 screws, put in the new wiring, and then re-seal up the pods so you get an air tight enclosure so the sound punches out in the right direction.
I used this stuff for re-sealing, just some old bathroom sealant:
Finished jobs ready to go in:
Picked up another carpet this weekend (thanks Barry) and was hoping this one would be third time lucky.
There was a tiny tear in exactly the same place as the last one, over the tansmission tunnel, so I got some of this adhesive tape that you use to place over holes in walls before plastering over:
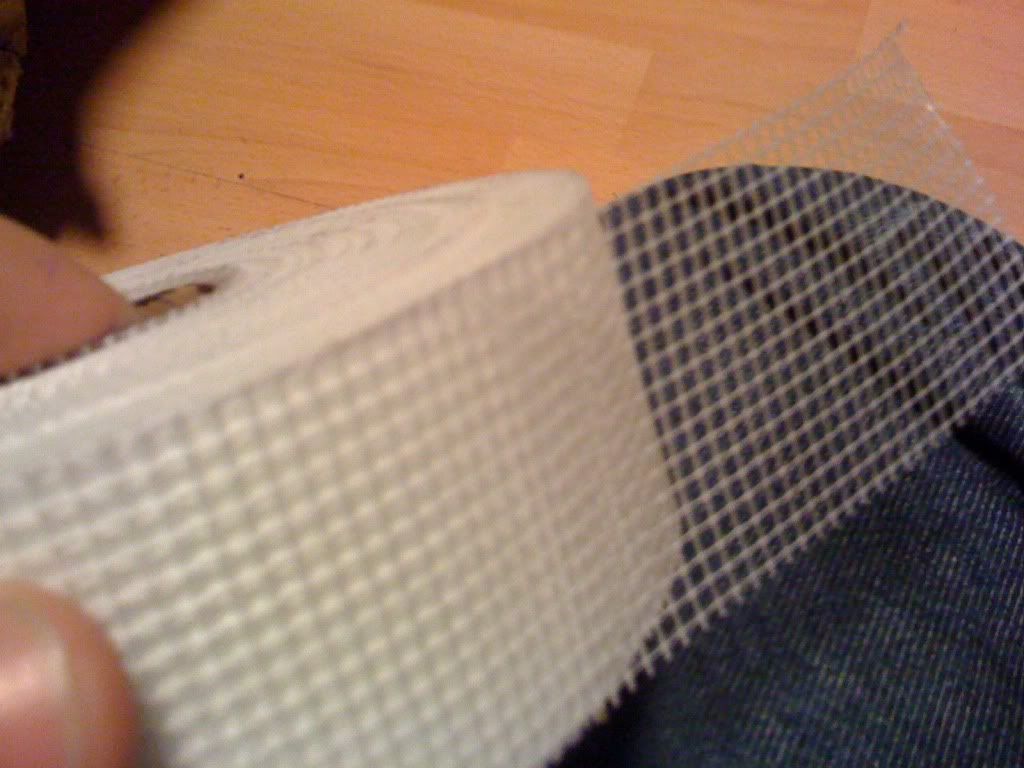
Superglued up the tear to hold it in place, put that tape over the back of the carpet and then re-inforced it with araldite:
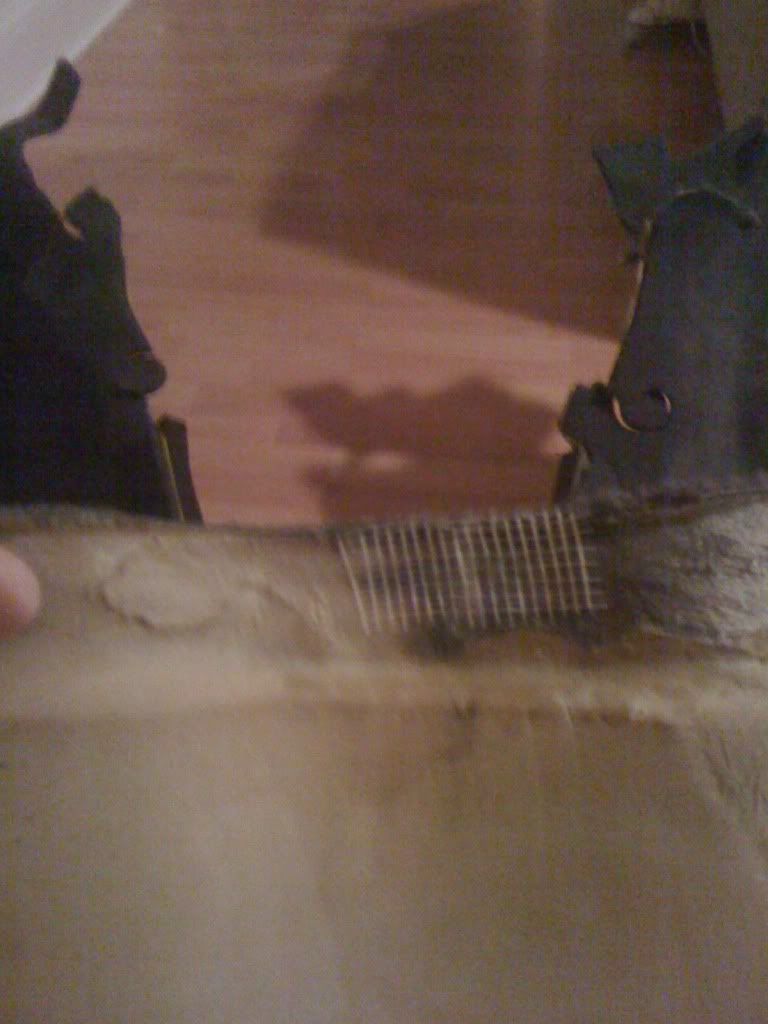
It's done the job nicely, invisible repair and it's not going to split.
So then gave the carpet a quick shower and after drying it's absolutely perfect, and found some clips for the mats on one of my other carpets so fitted those too.
Just hoping I don't manage to stupidly tear this one before I get it in the car!
Then had a look through my collection of mats to try and find the best 4 out of the 8 I have amassed.
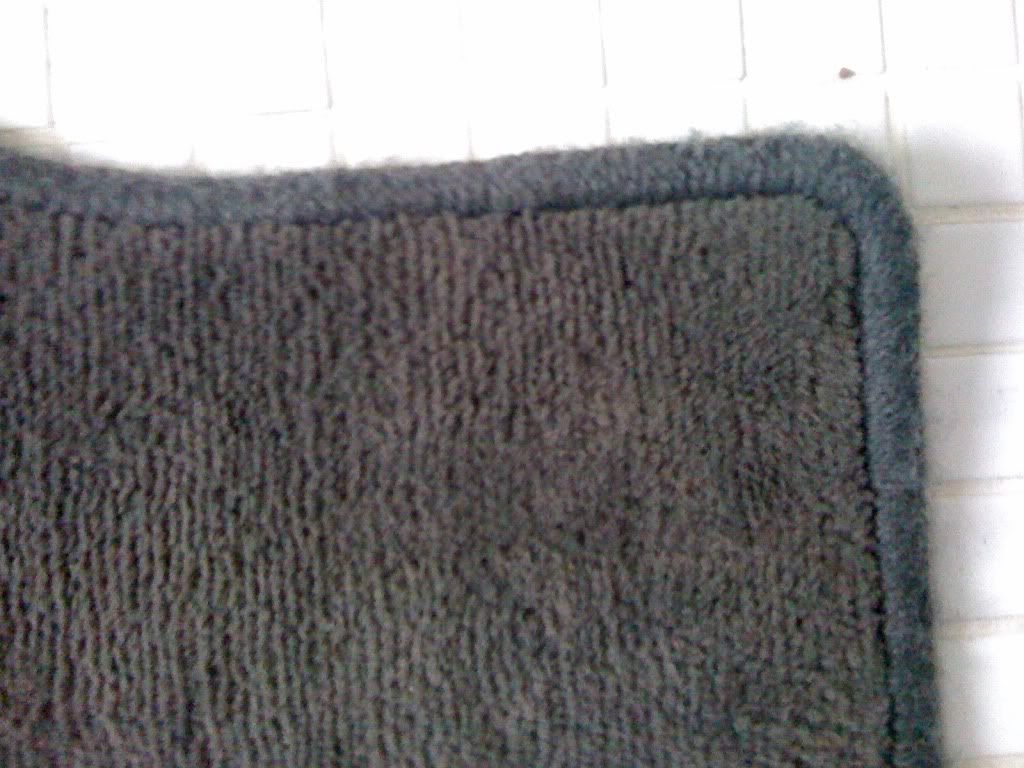
Gave them a good wash with fairy liquid and dried them out. They were pretty good but a bit raggedy and fluffy round the edges, bit like a 14 year olds first mustache:
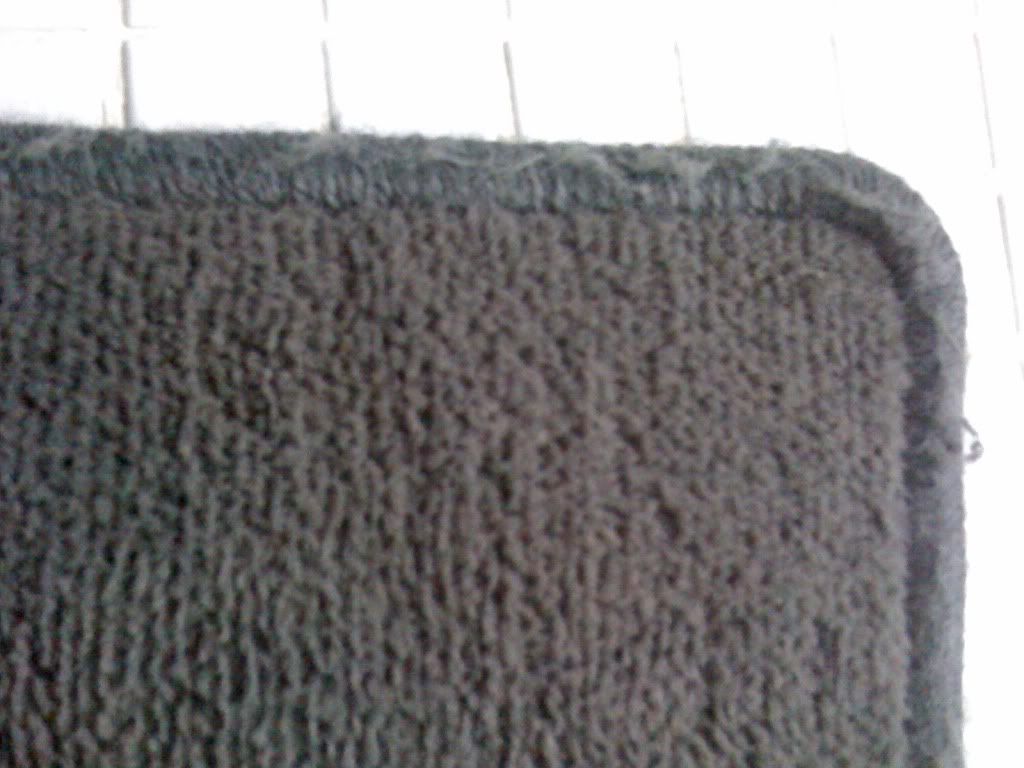
So, er, as I had been cleaning them in the bathroom it occurred to me I could give them a shave with the electric to tidy them up:
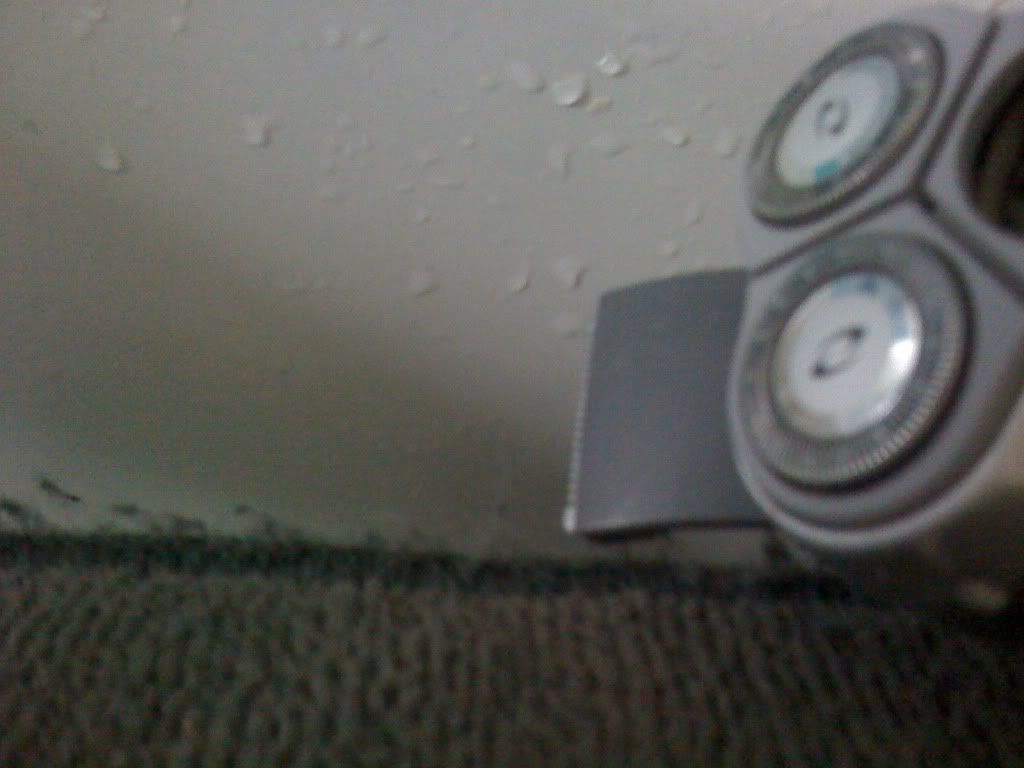
A quick trim and bumfluff off:
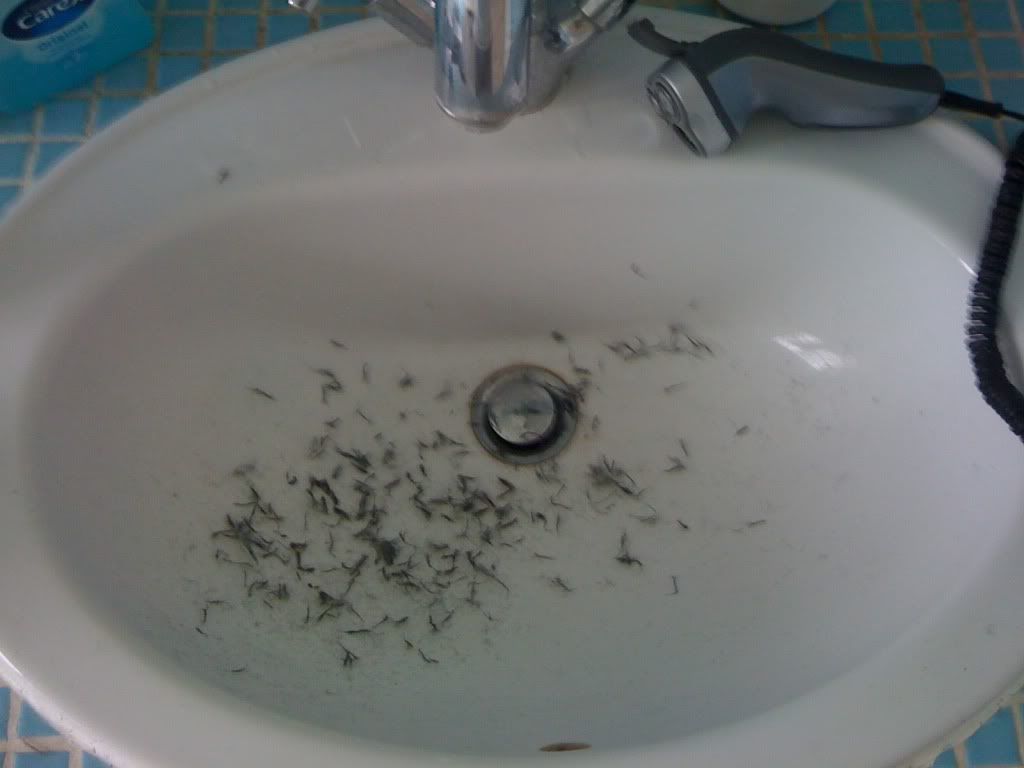
Can't see it too well but although they don't look brand new, they are close to the standard of the carpet:
I realise this thread is turning into a bit of a Blue Peter how to do up an e30 on the cheap using stuff lying round the house..
Next week: a 2.7 conversion using string and left over ham.
Here's the rear speaker pods for the touring with the ancient speakers in:
Got some 10cm 2-way kenwoods to drop in but of course the hole is a tiny bit too small so you need to open it out so they drop in and sit flush:
To get the speaker wires out you need to open up the pods by undoing about 10 screws, put in the new wiring, and then re-seal up the pods so you get an air tight enclosure so the sound punches out in the right direction.
I used this stuff for re-sealing, just some old bathroom sealant:
Finished jobs ready to go in:
Picked up another carpet this weekend (thanks Barry) and was hoping this one would be third time lucky.
There was a tiny tear in exactly the same place as the last one, over the tansmission tunnel, so I got some of this adhesive tape that you use to place over holes in walls before plastering over:
Superglued up the tear to hold it in place, put that tape over the back of the carpet and then re-inforced it with araldite:
It's done the job nicely, invisible repair and it's not going to split.
So then gave the carpet a quick shower and after drying it's absolutely perfect, and found some clips for the mats on one of my other carpets so fitted those too.
Just hoping I don't manage to stupidly tear this one before I get it in the car!
Then had a look through my collection of mats to try and find the best 4 out of the 8 I have amassed.
Gave them a good wash with fairy liquid and dried them out. They were pretty good but a bit raggedy and fluffy round the edges, bit like a 14 year olds first mustache:
So, er, as I had been cleaning them in the bathroom it occurred to me I could give them a shave with the electric to tidy them up:
A quick trim and bumfluff off:
Can't see it too well but although they don't look brand new, they are close to the standard of the carpet:
I realise this thread is turning into a bit of a Blue Peter how to do up an e30 on the cheap using stuff lying round the house..
Next week: a 2.7 conversion using string and left over ham.
You don't win friends with salad.
-
TouringMatt
- E30 Zone Camper
- Posts: 1188
- Joined: Mon Jan 10, 2005 11:00 pm
- Location: Not where i should be
Whehey!! One i can join in with!!Next week: a 2.7 conversion using string and left over ham.
Looking great so far
The carpet came up well!
I remember seeing your car up at Ants earlier this year.
The SLS surprised me to!
I remember seeing your car up at Ants earlier this year.
The SLS surprised me to!
-
StuBeeDoo
- Engaged to the E30 Zone
- Posts: 6756
- Joined: Sat Feb 05, 2005 11:00 pm
- Location: Up My Own Arse
Bump wrote:Next week: a 2.7 conversion using string and left over ham.
Did your speaker pods not have packing in? The ones out of my touring did and as far as I could tell they were original. I also noticed that the speakers were 8ohm.
I've been watching this thread from the begining. Good work! I wish I had some of your enthusiasm.
Last edited by StuBeeDoo on Wed Nov 25, 2009 8:49 am, edited 1 time in total.
This is why I no longer drive an E30......

Cheers. I found enthusiasm, a screw driver and this forum to search for "how to's" can get you a long way.
Yeah rear pods had some original foam packing in there.
Sounding pretty good I must say, used decent wire and soldered all connections so should be pretty solid. I used to produce music and run a studio so while no expert i know bass would benefit from an amp and woofer, but it's pretty decent for a car sEt up without hacking into body panels and spending loads.