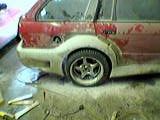
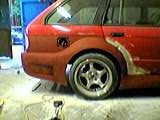
First thing was bumpers off,spacers and wheels on, covered the whole area i was working on with clear foil (similar to tinting foil for windows) then glue a bit of polystyrene onto the old girl with some expanding foam

Once i had enough foam on the car to make it qualify for pimp my igloo i started to try and find a shape that i find suited the car, the tools i used were a crosscut handsaw for the roughest chunks then on to various surforms( cross between a plane and a cheese grater ) and many hours looking at various magazines and staring at what i had done until it started evolving into the kind of shape i was trying to acheive

As i got closer to the final shape i had to switch to ever finer tools and take more and more care not to get overenthusiastic with the coarse grit sandpaper as every mistake at this stage means more filling and sanding later !
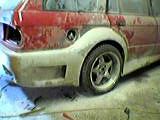
Anyway once i had finished shaping it was time to start thinking about fibreglass, Note to self at this stage, dont use polystyrene as it reacts rather badly with anything with a higher chemical content than woodglue
The foam to use is Kingspan, a yellowish foil backed foam sheet used widely in the building trade over here for insulation purposes, much better suited to bodykits than polystyrene as
1. it doesnt melt when painted with fibreglass resin
2. it doesnt come apart in little balls when being sanded
3. it has roughly the same density as the expanding foam used to glue it all together making sanding and shaping a hell of a lot easier !!
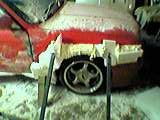
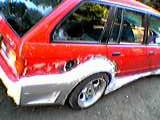
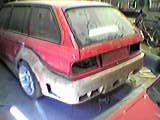
Before i could start with fibreglass i had to cut some rather large square chunks out of the kit right the way round , once the fibregless was finished these wouldthen be drilled right through into the bodywork to allow for rivets to secure the kit to the car in the exact position it should be
The next stage for me was to cover all the polystyrene with tinfoil to stop the fibreglass resin from touching it and melting away
Once that lot had dried i started layering on the fibreglass, most firms at this stage use loose fibre matting which is good for building up thickness, i used woven fibre matting as it gives greater strength with less layers reducing the overall weight of the kit without sacrificing stability.
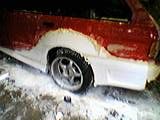
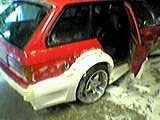
once the whole kit had been glassed up it was time to take the whole lot off the car and remove all of the foam off the inside, again if id done a bit more research i would have coated the kit with wax before starting with fibreglass which would have made this task easier !! also worthwhile noting is that i built this kit as a one off which is why i never built a mould and once cleaned the fibreglass kit was then glued using tigerseal and riveted back onto the car
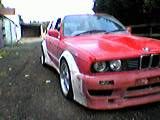
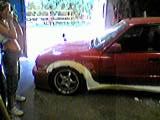
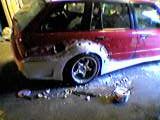
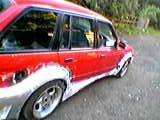
After a couple of weeks of sanding and filling , filling and sanding i decided to coat the kit in some cheap primer and drive her outside to get an overall picture of what she looked like, and decided i didnt like the skirts at all so after trying to modify them unsuccessfully i cut them off and started again along with the rear end which just looked too fat.
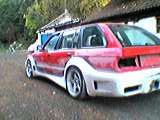
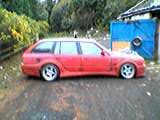

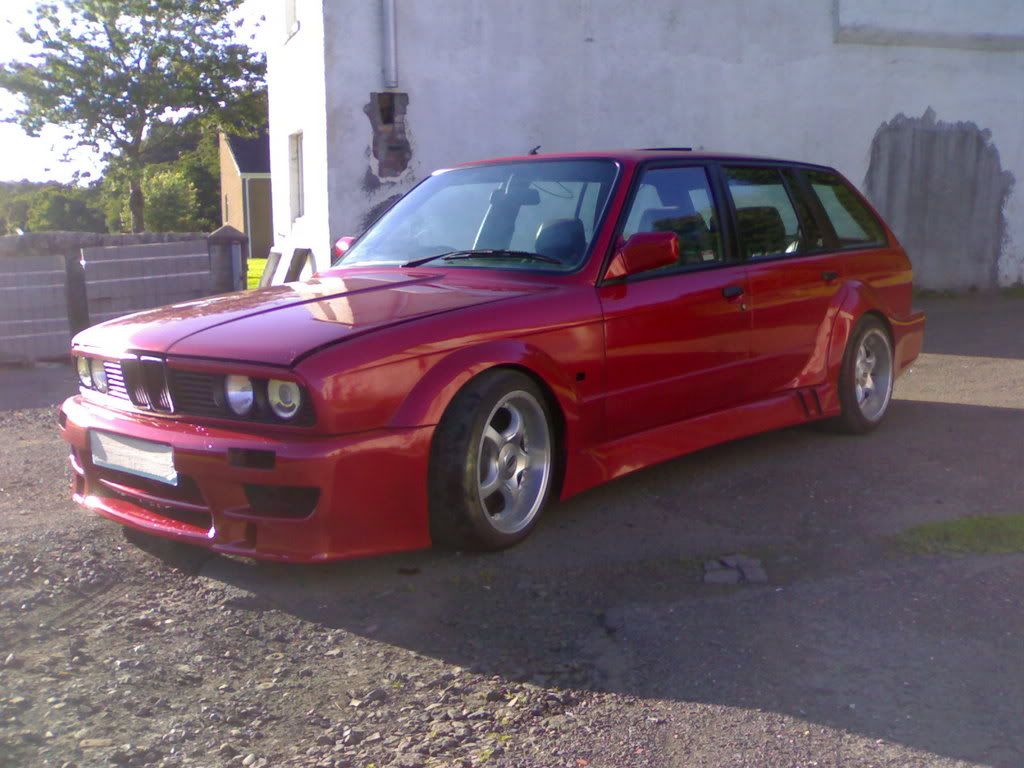
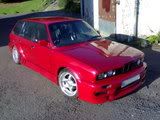
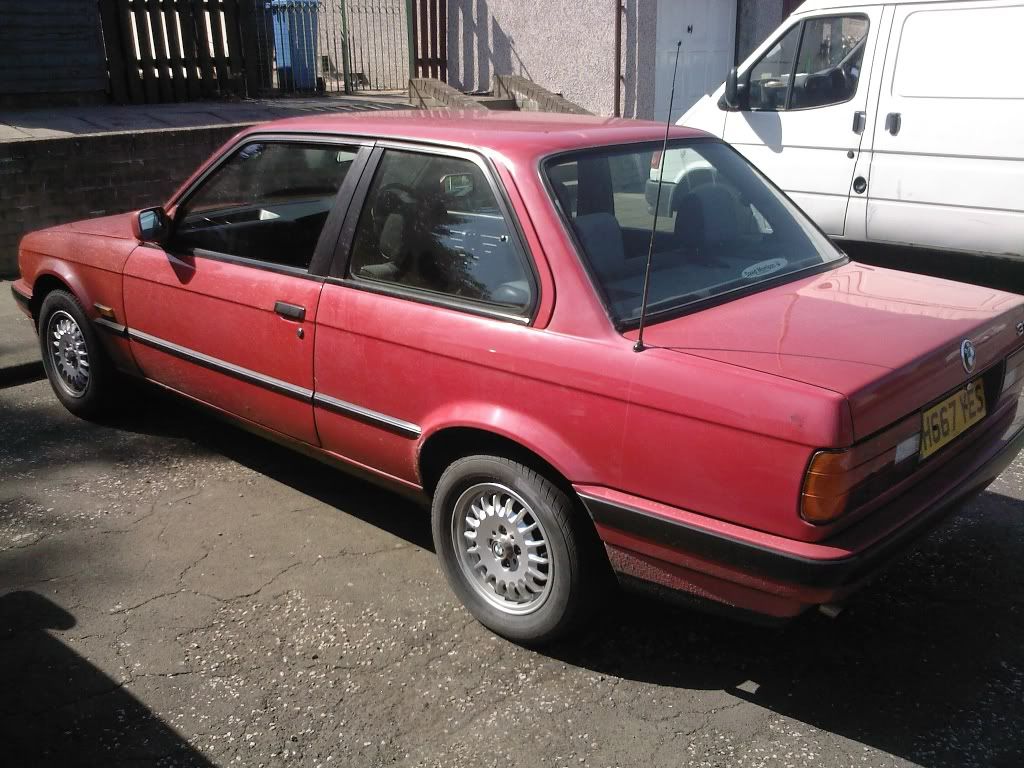
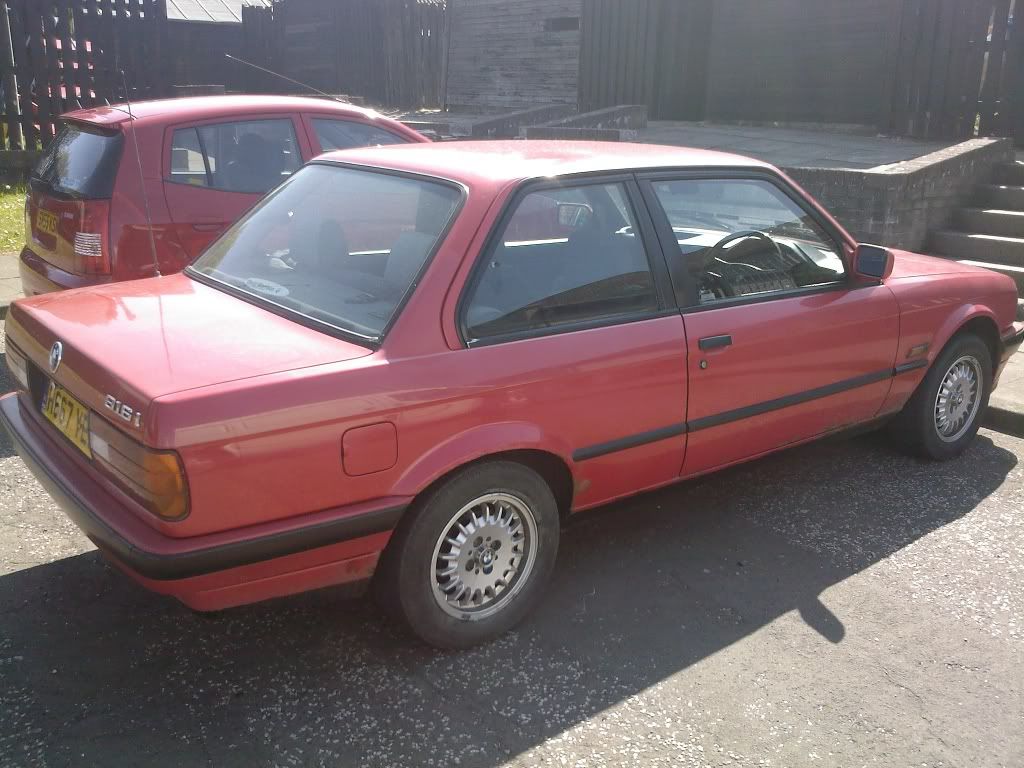
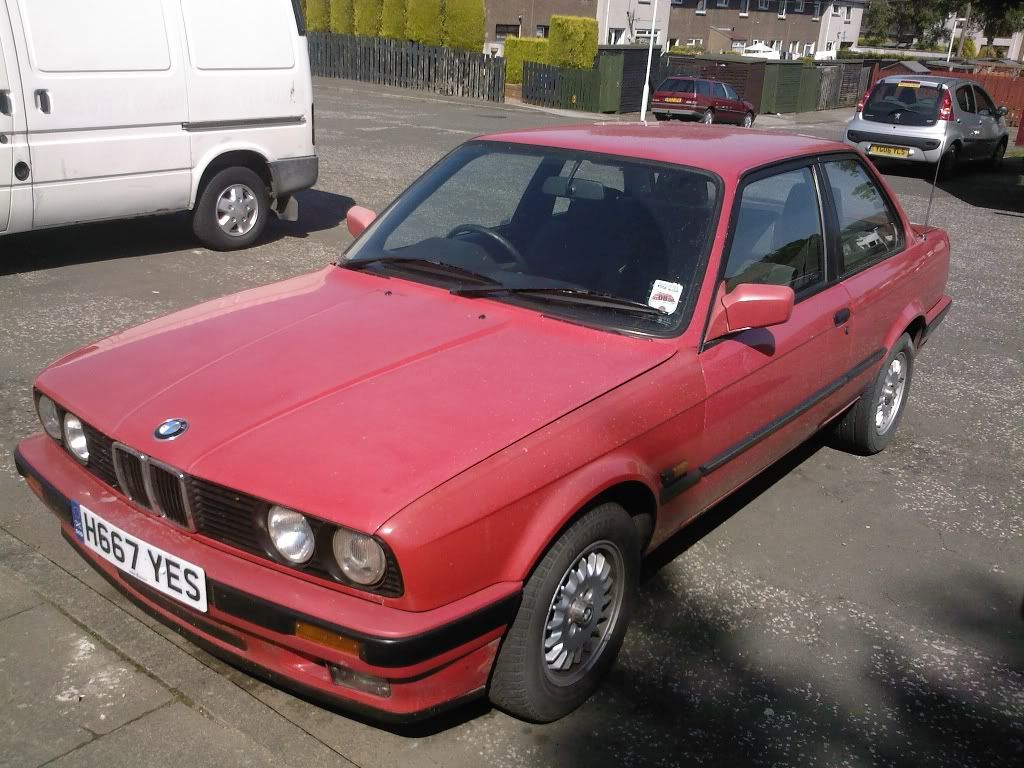
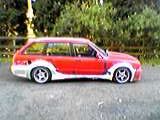
Well thats pretty much nearly 4 years spare time in a nutshell but im pretty pleased how the old girl has turned out, i made a hell of a lot of time consuming mistakes and some pretty stupid ones as well but hey you live and learn