Fitting E32 Master Cylinder
If you've recently upgraded your brakes by fitting some E34 calipers, then you'll need a bigger master cylinder to push all that extra fluid around.
Here's how to install the Master Cylinder and servo from the mighty E32 7-series.
Contents
Overview
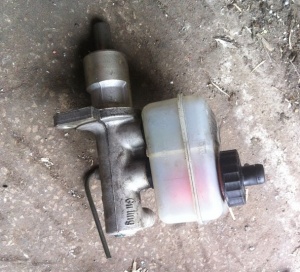
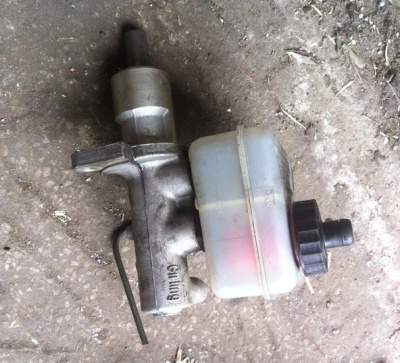
With the E34 calipers on the front, and potentially bigger brakes on the rear as well, the standard E30 master cylinder isn't big enough to move enough fluid. To get around this, most people use the E32 750i MC but I also wanted more assistance to match. The 750i MC is also becoming increasingly expensive due to its rareity, so I'm opting to use a more mundane E32 735i MC and servo instead. This master cylinder is still 25mm, so should improve the feeling to near stock level
Parts
- E32 735i Servo, Master Cylinder and Reservoir
Tools
- 3/8 socket set
- 11mm brake pipe spanner or combination if you don’t have one
- Screwdrivers
- Electric drill and bits up to 12mm
- Carbide burrs
- Grinder and discs
- Tap and die set (M10x1.5)
- Cutting oil (wd40)
- Rags for keeping stuff clean
- Some washers
Procedure
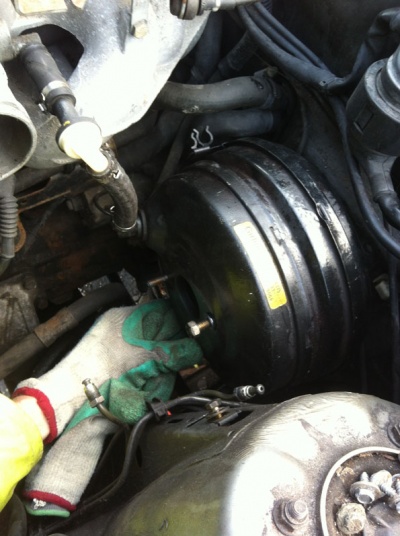
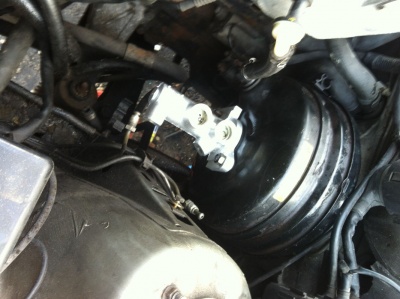
Open the bonnet and look at the rear of the engine bay on UK nearside to see the servo setup. To gain access to it, undo the air intake boot by loosening the two jubilee clips and the ICV.
Undo the two brake pipes coming out of the MC with your 11mm spanner. Catch any fluid in a rag or bucket as fluid will pour out the MC and pipes, and it will eat through your paintwork.
Remove the MC from the servo by undoing the two 13mm nuts (some people may not need to remove this from servo but I found with the space left by the M20 it looked easier)
Inside the car slide the passenger seat all the way back or remove completely if you want even more space (4x17mm)
Remove the glove box using the two screws mounted to the bulkhead. Be prepared to find signs of Rust in your bulkhead.
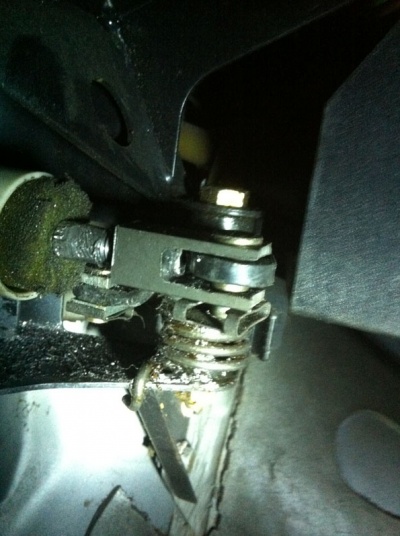
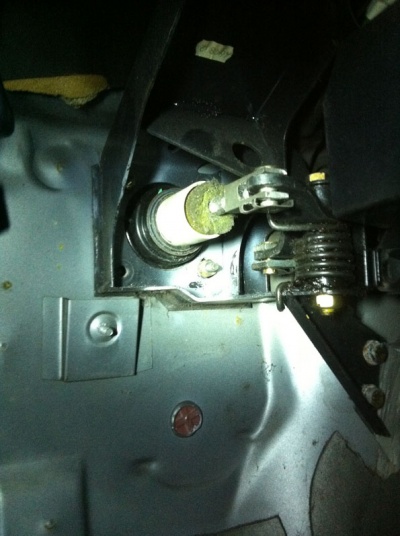
You will now see the brake clevis and mechanism to turn the movement through 90 degrees.
Take the pin out of the clevis by removing the clip, but keep your hand round it as it will want to fire off somewhere and not want to be found. Then slide the pin out and keep it all safe.
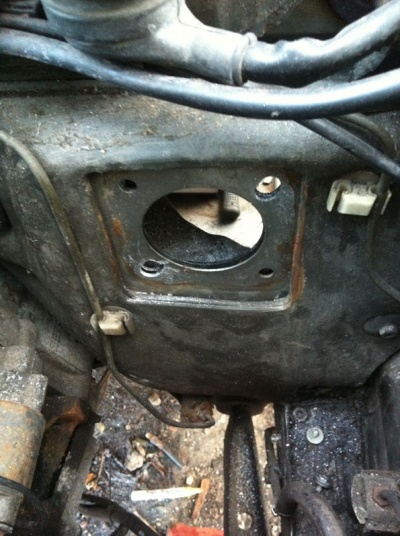
Following the push rod towards the bulkhead you will see a big black plate with four 13mm nuts.
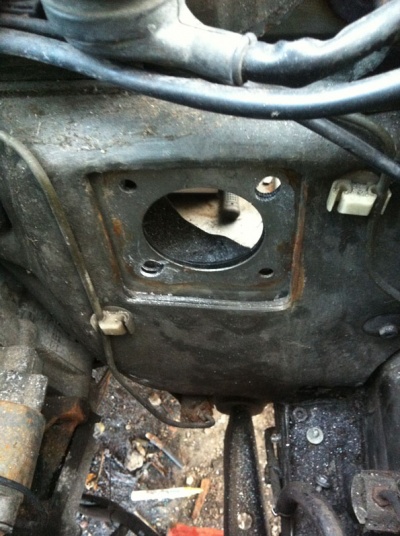
Go back to engine bay side and pull the servo free from bulkhead and remove from the bay. Admire your gaping hole and repair any rust while this is out
Get the E32 servo and remove the spacer as this hinders clearance with the M20 intake boot.
You’ll now see that there are only two studs to mount to the bulkhead, this is fine and it’s not exactly heavy. These two studs don’t fit in the standard holes so you can either drill some new ones a bit further over or open up the holes already there. I chose to do the latter. Using a carbide burr I slotted the holes roughly 8mm towards the center
Test fit regularly to make sure that everything lines up.
With the servo test-fitted, look inside at where it bolts and you’ll see that the push rod is far too long and needs shortening a lot, and subsequent re-threading. Remove the servo again and look at the rod; its a lot fatter than the thread and will need grinding down so that the die wont get stuck and snap something.
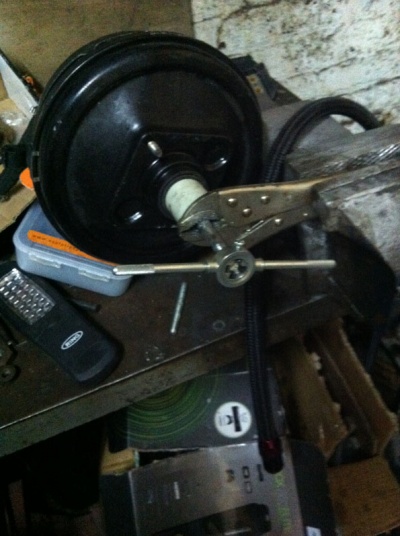
30 seconds with a grinder and the shaft will be small enough to work with. Now wind on the die and spray plenty of WD40 at the teeth as you start to make the new thread:
I won't go into technique but If you’ve never tapped anything before then you're best learning before doing this as if you get it wrong it means buying a new servo.
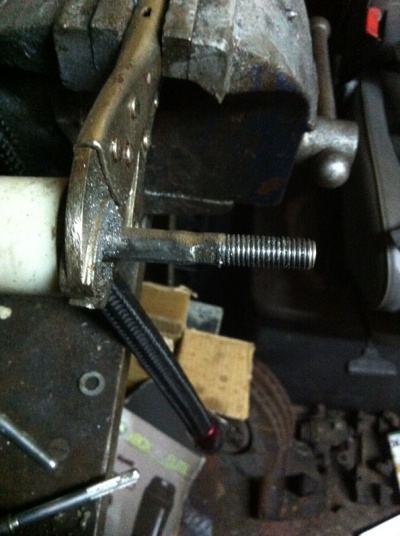
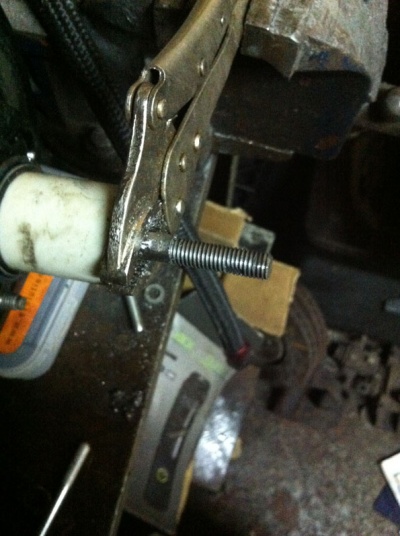
Thread it as far as you can. Hold the rod in a pair of mole grips clamped into a vice to stop the shaft spinning instead of cutting.
Once it's threaded it's time to take it back to the car to see how much it needs shortening. Test fit it, compare it to the clevis inside the car, then cut off the excess. Make sure your die is wound on past where your cutting before you cut it, as this allows you to clean the start of the thread after cutting it.
The clevis should now thread nicely onto the shortened rod. If all is well you won't need to remove it again, so add a washer and bolt the servo to the bulkhead.
The clevis can be adjusted to suit the brake mech and can also be adjusted to take any slack out of it
Leave the glovebox out for now until it's all done as you may need to adjust little bits
Grab your new matching MC. Bench bleed it by filling the reservoir of suitable DOT-rated fluid.
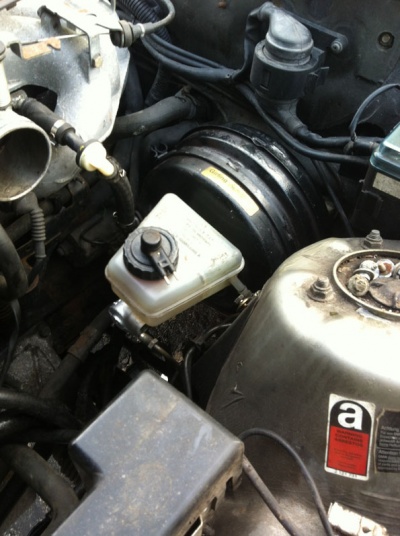
Keeping the holes plugged with rags or your fingers, install the MC to the servo and quickly put the brake hard lines in. You will need to bend them to fit as the MC is now further away from the bulkhead, but its not hard or too far to bend them (if you're really picky then make new ones but I'm on a budget).
Bleed all the brakes, starting from the furthest away from MC, so OSR NSR OSF NSF.
Take if for a GENTLE test drive.
If there is any slack in the pedal then the clevis/brake rod can be adjusted.
Once all is well and no leaks have appeared then install your glovebox and hopefully you’ll have more braking assistace to match any caliper upgrade you’ve done.
