Repairing Seats
Because the E30 is such a joy to drive, you'll be spending a lot of time in the driver's seat. And that inevitably leads to Upholstery damage. If your seat is looking decidedly worse for wear, use this handy guide to get them back into condition.
Contents
Tools
- Flathead screwdriver
- Philips head screwdriver
- Needle nose pliers
- 17mm socket
- 13mm socket
- Side cutters
- Hog Rings (a type of upholstery staple)
- Hog-Ring pliers
- Rubber mallet
Procedure
1: Remove the seats from the car with the 17mm socket.
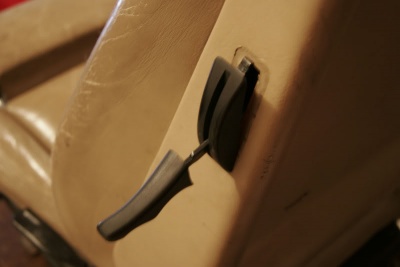
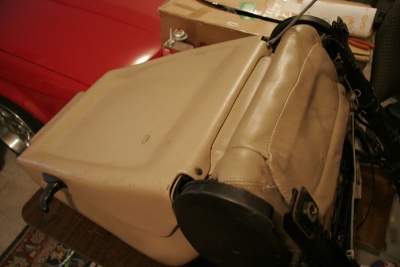
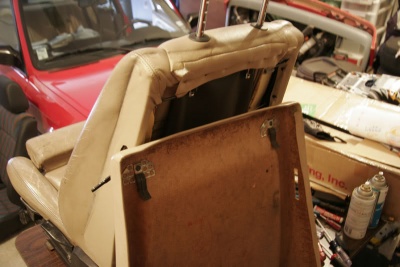
2: The back panel needs to come off. First remove the side levers and their surrounds. There are two screws at the bottom. The panel has two clips inside at the top holding it against the seat. Slide the panel upward while pushing inwards towards the seat at the same time to get it past the clips.
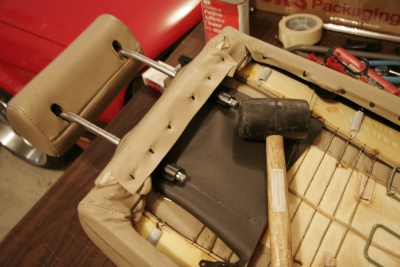
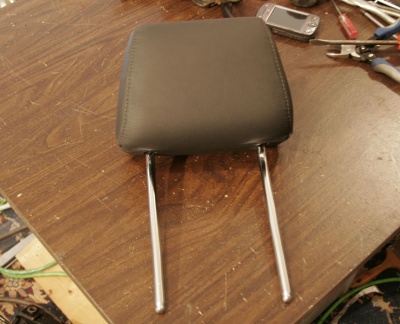
3: Take out the headrest. Tap it upwards with a mallet to get it past the keeper notches.
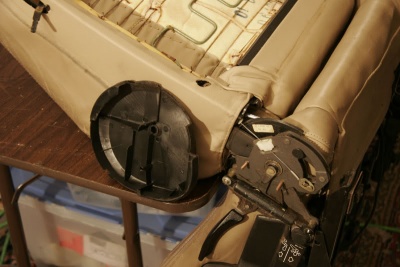
4: Removing the cover at at the seat hinge.
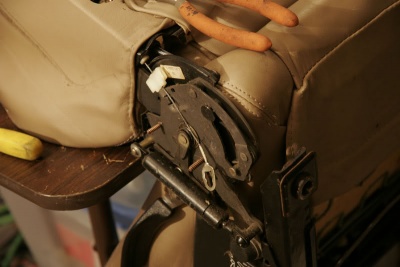
5: The seatback needs to be removed from the bottom. The seat release cable needs to be unhooked with some needle nose.
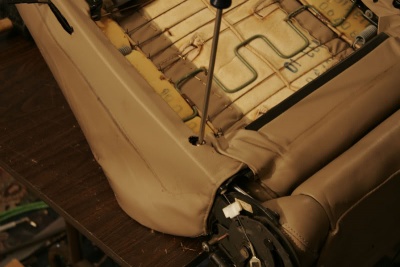
6:There are two large philips head screws holding the seatbacks on thatare removed next.
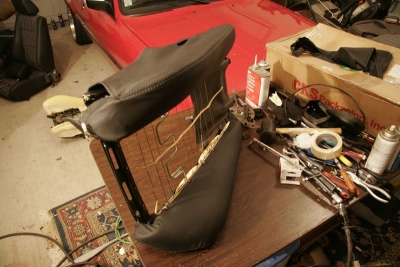
7: The seatback lifts straight up from the lower half.
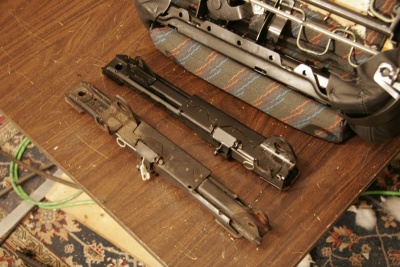
8: Next, removal of the seat rails. Remove the bolts at the rear of the rails.
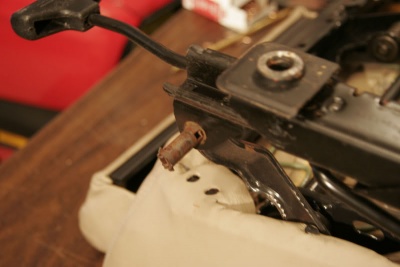
9: Then remove these tricky little pins at the front. Note the orientation of the rod that links left and right rails (not pictured) and remove it and take the rails off the seat.
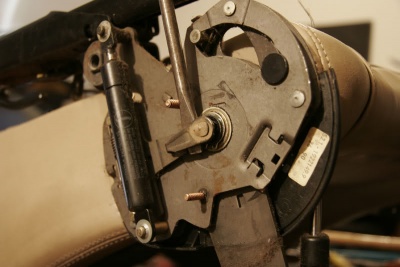
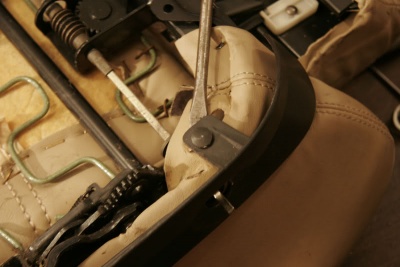
10: The Hinge mechanisms come off next. Unclip this pin by prying it gently.
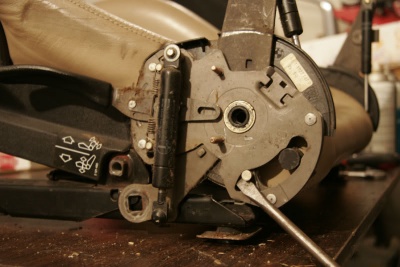
11: The assembly can be rotated slightly to clear a couple pins, and the you can pry/lift it away from the seat in the orientation shown.
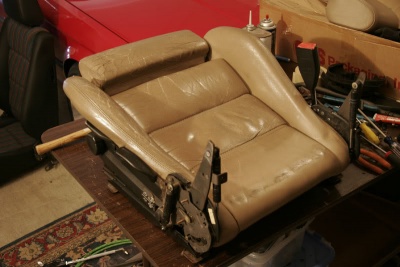
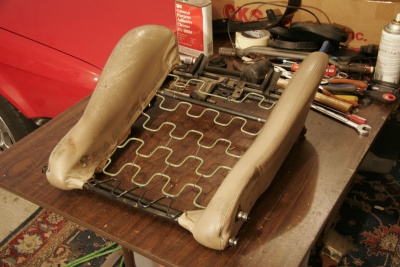
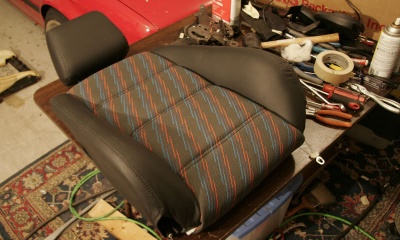
12: Seat looks like this now.
13: Remove the bottom knobs and covers...
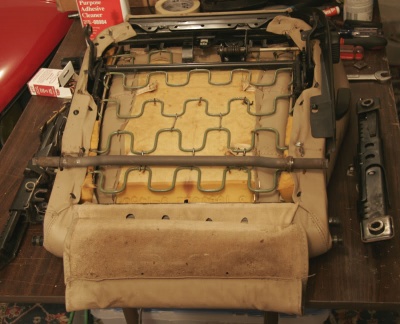
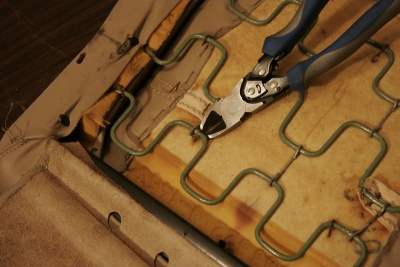
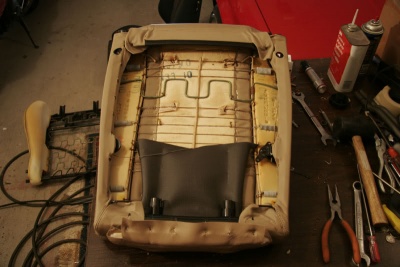
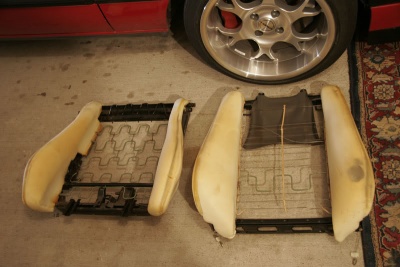
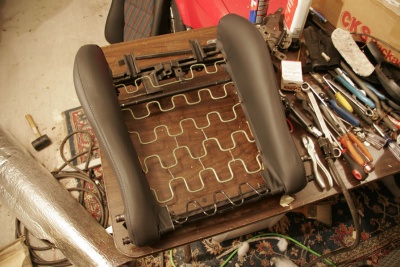
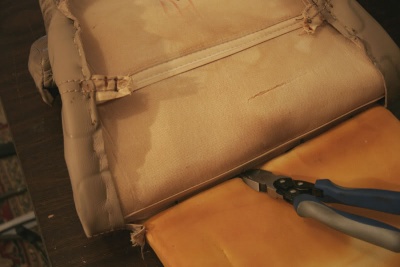
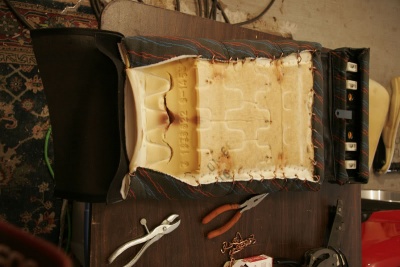
14: You should now have a seat frame that is void of any mechanisms. We'll take the seat centers off first, then the bolsters. Clip any rings loose, and bend away any parts of the seat pinning the material to the frame.
15: Seat center should come free. Unclip and slide the front leg support forward and free of the rest of the frame.
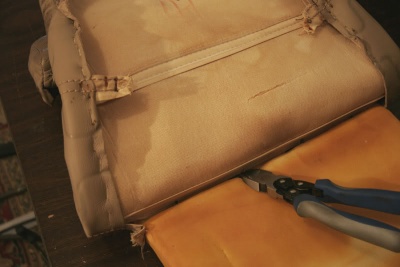
16: Remove the front leg support core from the covers. There are rings secured to a wire that goes along a seam in the cover. DONT cut that wire, just the small rings.
17: Again, clip any rings holding the bolster covers to the frame, and remove the covers from the cores.
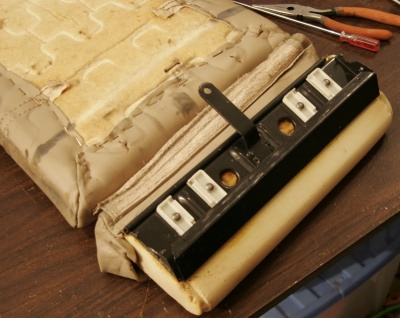
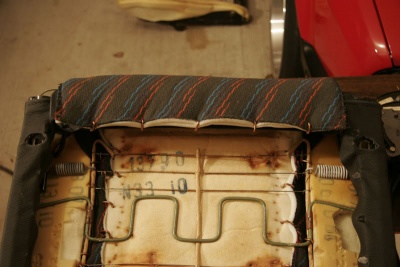
18: Repeat the process on the upper half of the seat. Unclip the centers first, then the bolsters.
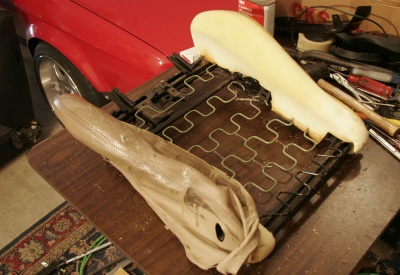
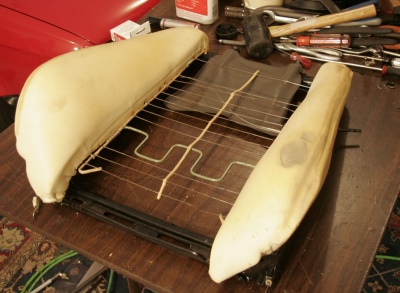
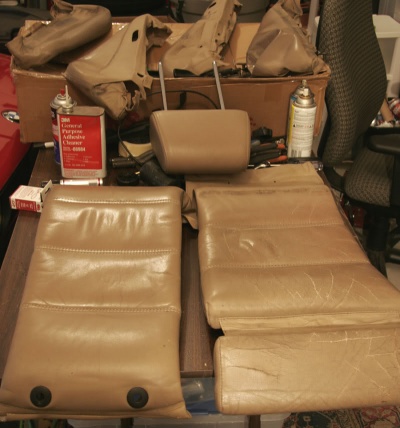
19: The seat is now disassembled and all the covers and their foam supports are off the frames and bolsters.
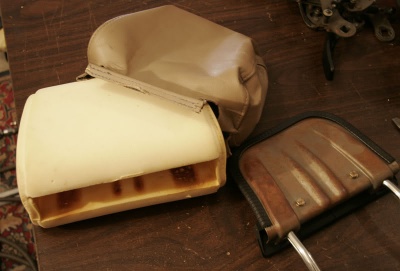
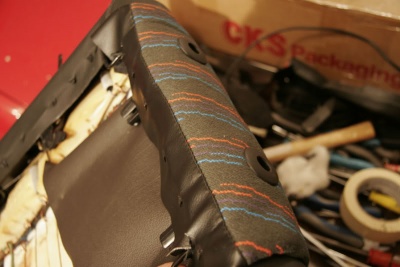
20: Go ahead and remove the cover from the headrest. You have to reach in and compress the foam with one hand and work the cover off.
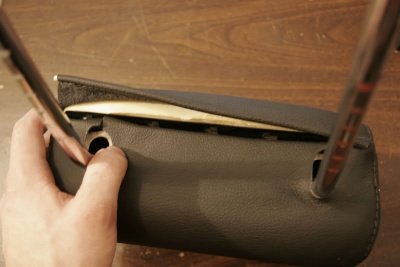
21: Putting the new cover on is tricky. Compress the foam as best you can while working the new cover on. Mind the seams, if you don't and the foam expands at an inopportune time- you'll tear a seam (ask me how I know)
22: Now is a good time to refresh the mechanical parts. Clean the sliders and hinge, replace the gas cylinders if needed, weld any broken parts (fatties FTL), replace any rusted through support wires, and repaint items as needed. Don't forget to lube the parts before setting them aside for reassembly.
23: Now we replace what we removed. Work the new covers onto their respective bolster cores and crimp hog rings around their perimeter to secure them.
24: For the centers, there are steel rods that run through the sewed in seams that are used to secure it to the frame. These rods need to come out of the old covers and into the new. In this process, You'll be cutting the hog-rings that secure the covers to the foam center cores. We'll obviously reuse the cores and rods. Cut one rod free at a time.
25: Next, we basically reverse step 24, and reinstall the new center covers to their cores. Install the rods, and crimp new rings through the covers around the rods to secure everything.
26: Do the same for the top centers, and line up the holes for the headrest before crimping the seats barbs into the material to secure it.
27: Slide the headrest back into the seat. You should have completed sections now.
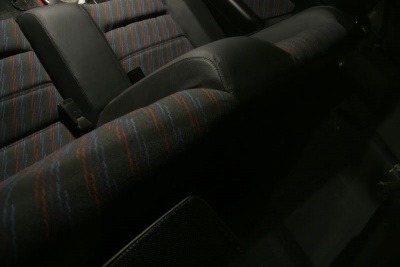
28: The rest is simply a matter of reversing the performed steps to reassemble the seat bottoms to the tops, and reinstalling the rails, hinges, and covers. 28.5. The rears are covered using similar methods. Same idea concerning rods, rings, and supports. Just take your time going through pealing off the old and reinstalling the new.
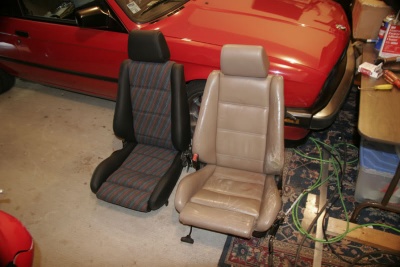
29: I chose to cover my seatback in alcantara. Toray makes it and is available online or eBay in a variety of colors.
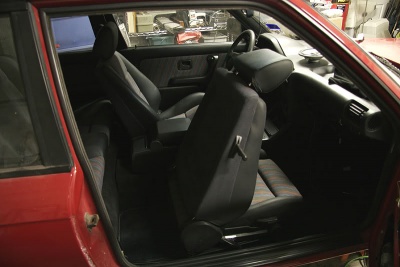
30: When you're done, reinstall the seats into the car and go for a ride!
Original article by deansbimmer on e30tech.com.
