Now onto the engine.
I've mentioned in the first post that the engine was quite well modified before I bought the car, it made good power, and appeared to have some decent work done on it.
Now that I have turned my attention to it there are certainly a few things I can improve on, after following some excellent threads on here and e30tech, as well as basic good engineering sense. Firstly the basics- The engine MUST remain 2.5l, due to that being a class limit in alot of series for 2v heads. Therefore it must also retain the standard head casting, although if I really wanted to get tricky I could build a 24v on a E30 block in a smaller capacity and run in the same class. However I want to retain the cars true heritage as much as possible so 2v head it is. I can and will be running the engine on throttle bodies. The previous incarnation ran 3x 45 Weber DCOE's, which seemed to perform fine but pound for pound bodies cant be beaten, so they were sold, manifold et al. A key point for me is not spending an absolute fortune! Although I want this car to be as good as I can possibly make it, I have to be a realist. I'm not looking to keep the car forever, maybe a couple of years, and I frankly don't have the disposable income to upgrade every part as much as possible. There is also the issue that once you upgrade all these parts, and then have an accident and break some of them, the repair bill is just as vast again! Lastly as I'm learning the charm of BMW's, especially in the engine department, is their interchangability- plus the fact that the engines are strong and basically well engineered. So here you will see me basically trying to build about the best 2.5l naturally aspirated M20 that the BMW parts bin will allow! A few parts will be modified as necessary, or improved upon for their new intended purpose.
Old engine specs:
- Standard M20 block, 84mm bore, de-stressed casting.
- 75mm crank. Im having trouble working out if this is a standard M20B25 item or something else- it certainly has BMW written on it. More research needed.
- High compression Mahle pistons. These almost certainly came from either a Hartge or Alpina etc road engine conversion, as they are cast not forged, use the standard ring, and the outer edge comes to deck nicely with a standard rod. They have a large intruder section with valve cutouts, and from my rough calculations would have given around 12:1 compression with my heavily skimmed head.
- Standard 135mm M20B25 rods.
- Modified sump with extra capacity, baffling and windage tray.
- 885 casting head. Looking at this and the flow bench results that have been gained on here and e30tech, this has been ported by somebody with ALOT of experience in these engines. From what I have been told, it was originally built by a company called Griffin Motorsport, id imagine this was 20 years ago though at the least.
- Schrick cam, identity unknown.
- What look like Schrick valves in the standard size- 42mm inlet, 36mm exhaust.
- Vernier pulley.
- Standard destressed rockers.
- Standard or maybe Schrick valve springs.
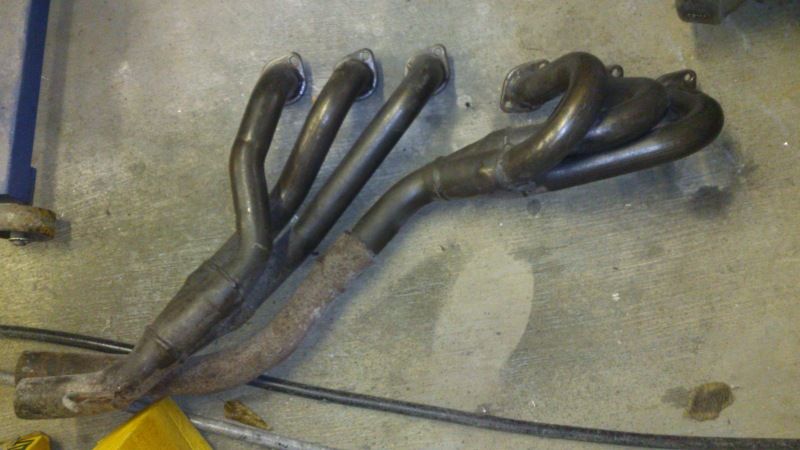
- Hartge tubular exhaust manifolds.
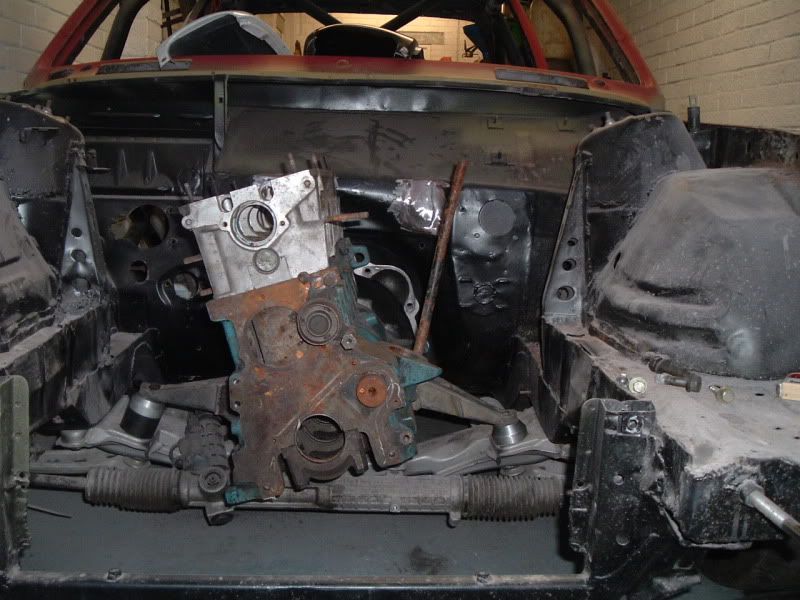
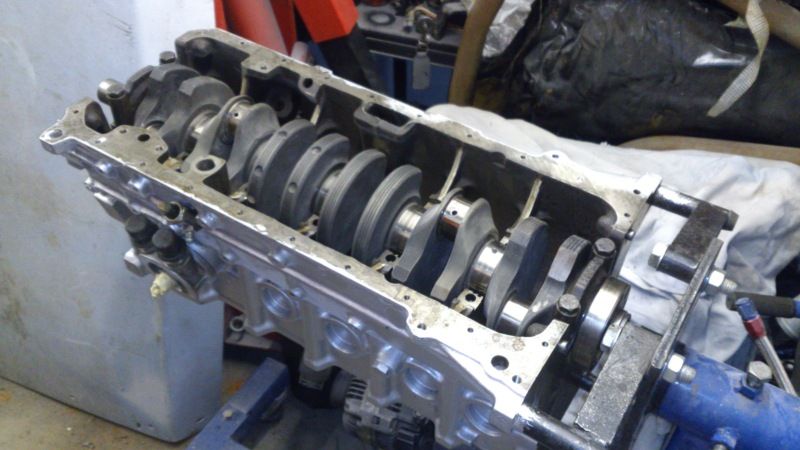
Crank in the block:
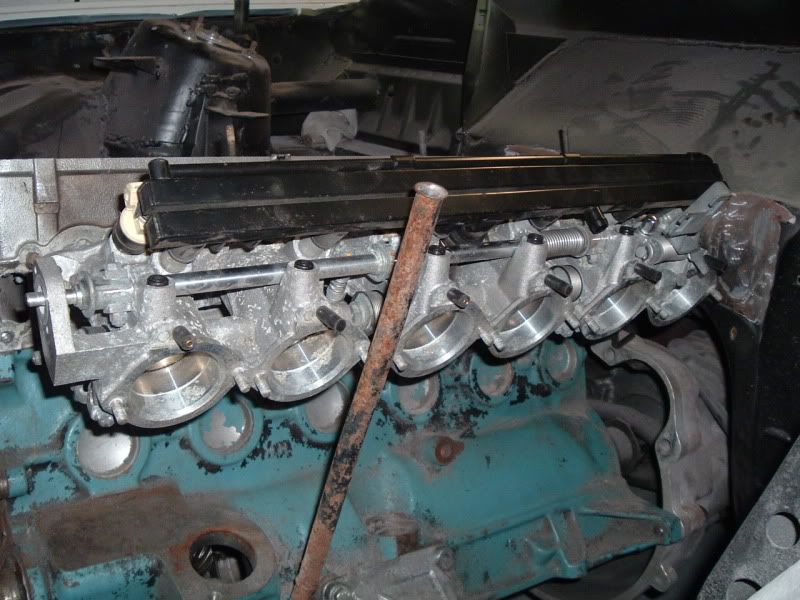
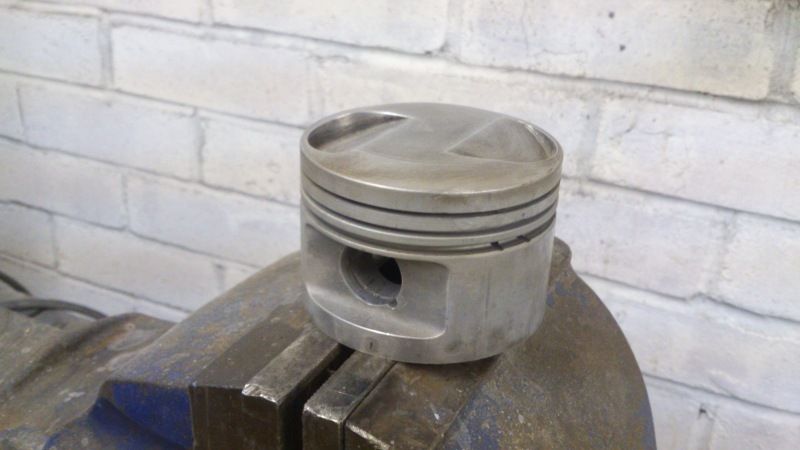
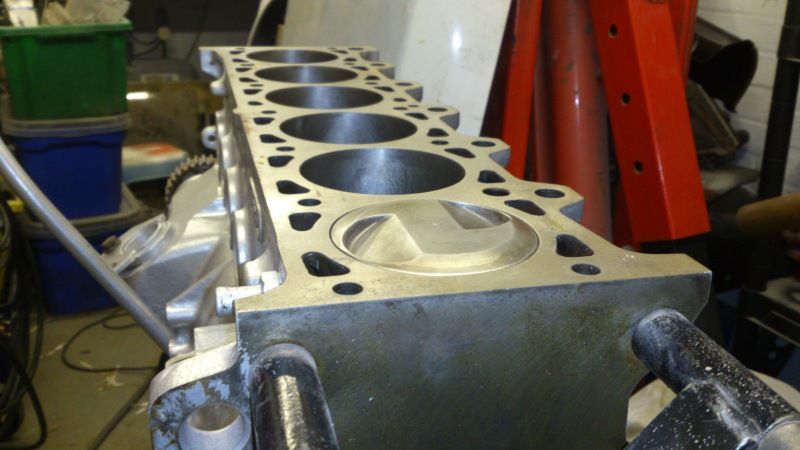
Pistons at TDC:
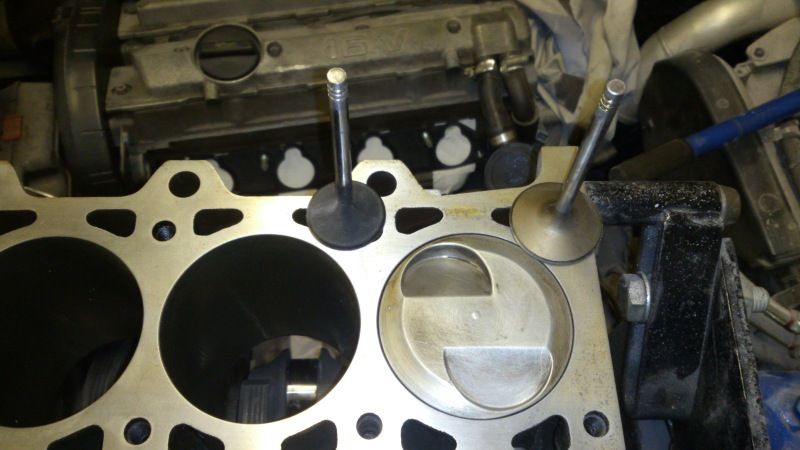
The valves and pistons in the block at TDC. I will get a full piston picture later today:
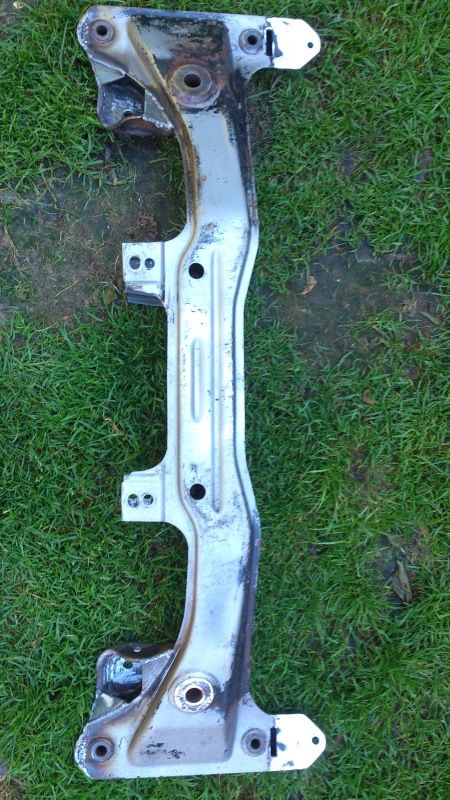
First port of call was the original block- it was scrap! The engine had died due to a catastrophic piston ring failure owing much to poor maintenance, and what would appear to be a lash up job to get it sold, that coupled with the previous owner running no filters on the carbs (idiot), meant the block was scored past any reasonable use. Shame too, it was numbered in some way which added to the originality of the car. So I sourced a M20B20 block with smaller bores, and had it taken out to 84mm.
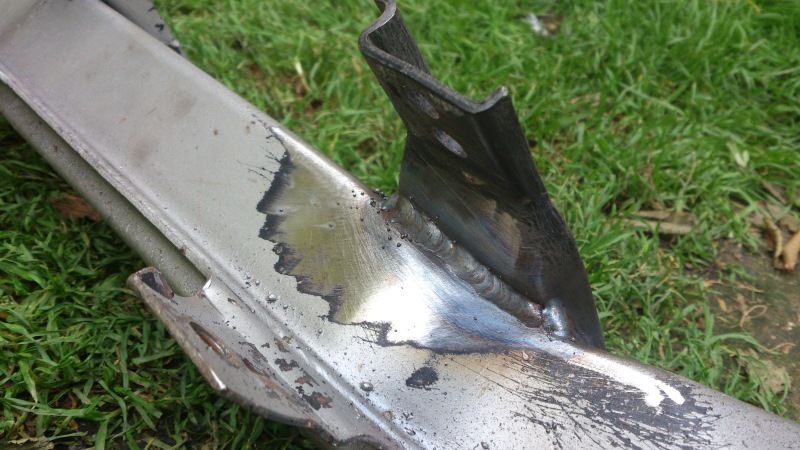
Next was the pistons. A couple had received significant damage due to rings breaking up. A part of the lower oil control land had actually been broken off! I had these parts repaired extremely well by someone my father knows who is a bit of a tig welding artist. However on reflection I wasn't happy with running these as it would always be in the back of my mind. I also didn't like the height of the piston in total, even though it was lightweight, the skirts were far too big and cumbersome for a race engine running high revs, which could be seen in the general wear on them. So they were out! I started hunting for a suitable replacement piston in the BMW range, at 84mm, which would have enough meat in the crown to replicate the shape of the old piston. Stumbled across the M52 piston range in the end- very much an ideal shape along the bottom with the waisted skirt and closely packed rings, half way towards a race slipper! The top is flat with 4 valve cutouts, however most of these cutouts would be swallowed up by the machining to replicate the old pistons so no issue there. I had also read that there was alot of meat in the crown for such machining. So M52B25/28 pistons it is! Although they have slight differences I can make either work- just need to find some now.
Running these pistons makes another decision for me- longer rods! I can now use the M52B25 rod, which is 140mm, 5 up on standard, and will decrease the pressure on the cylinder walls- no bad thing when you are building a high revving engine.
The 75mm crank from the old engine is still solid, so I will either just use this, and get it knife edged and dynamically balanced, or try to get hold of a M52B25 crank and weigh up the pros/cons of using that.
More to come, including details of that lovely head I was talking about.... and how its scrap! Also I will get some more component pictures.
Dan.
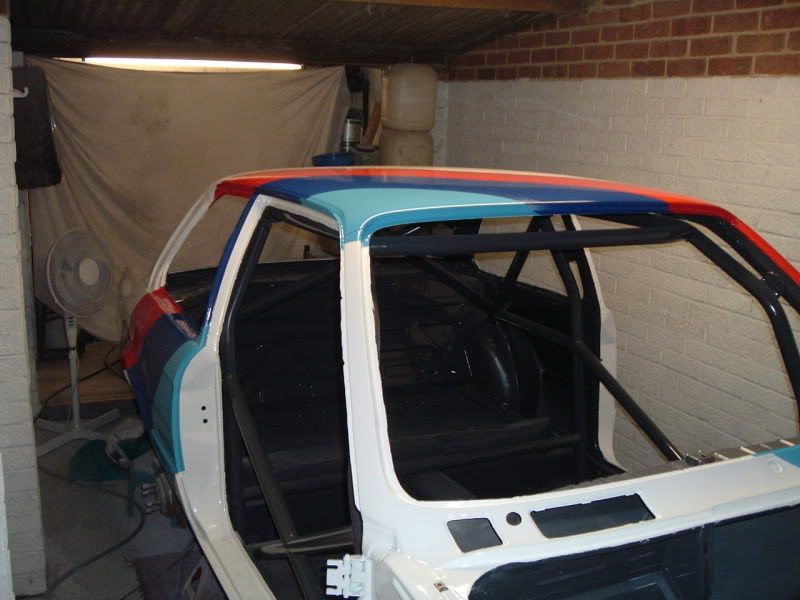
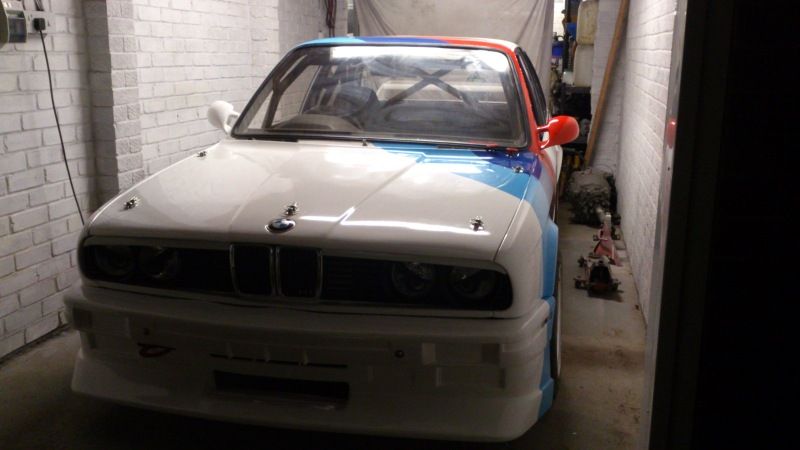
E30 2.5l M20 race car. Just coming out of a 4 year hibernation/restoration.