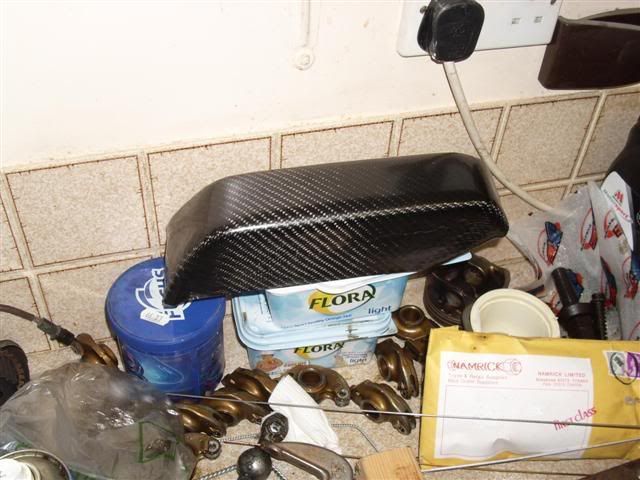
Bit hung over again today so decided to stay at home and write a quick carbon/composites guide

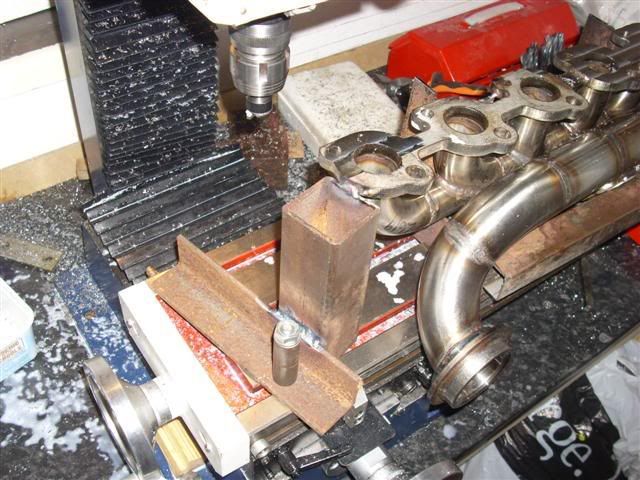
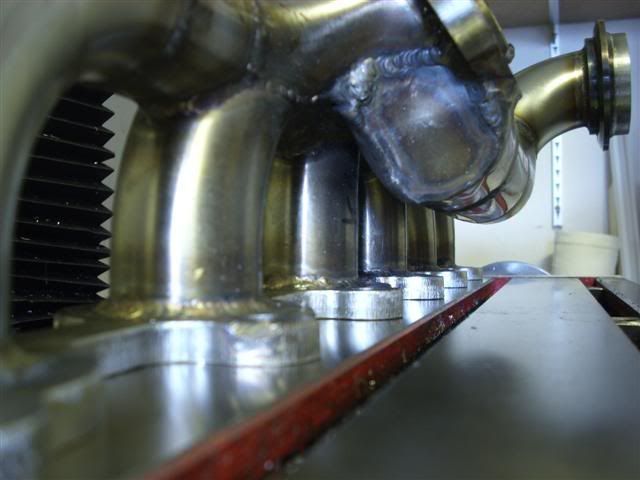
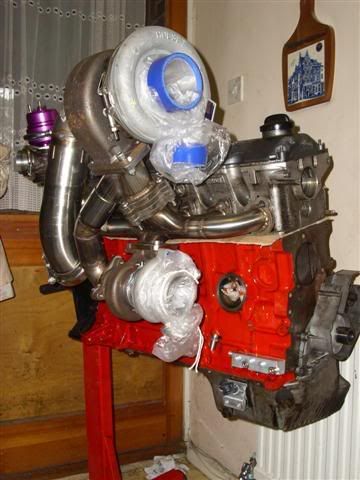
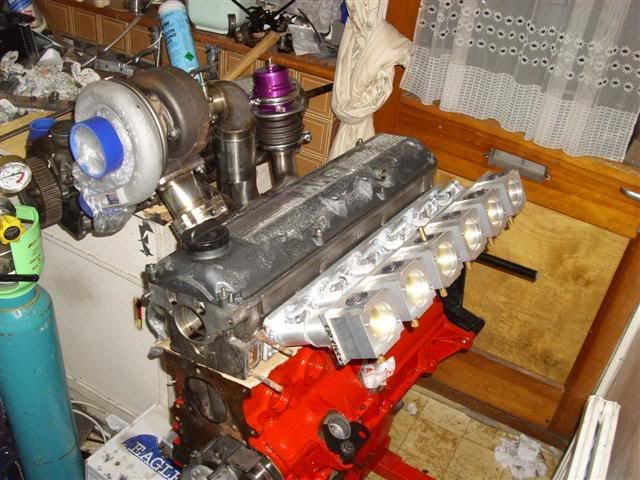
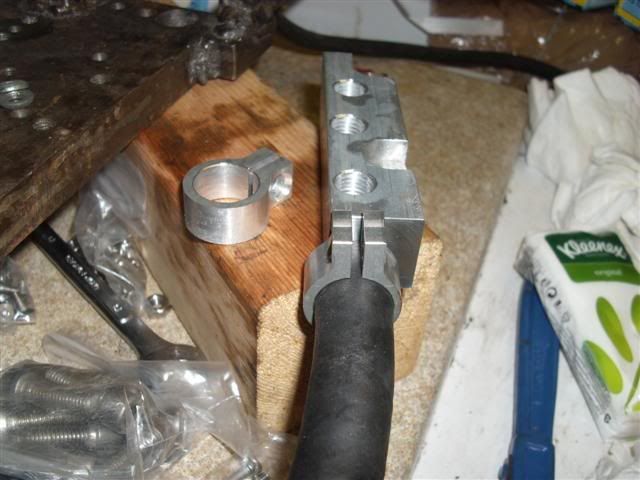
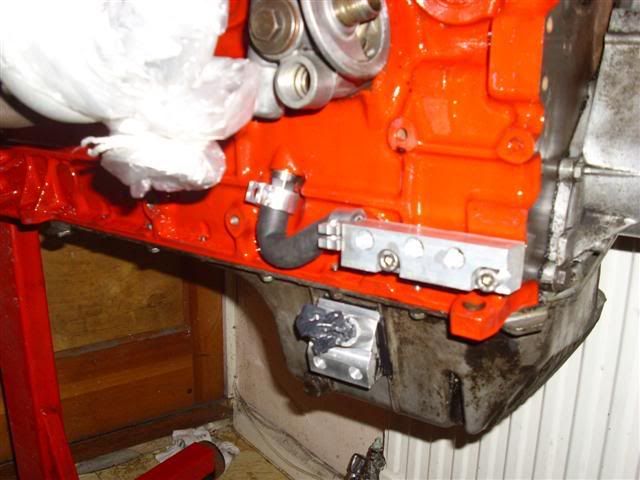
I need to finish off the charge cooler and charge air plumbing before I can get on and make brackets for the large turbo, actuators and that kind of thing. Any comments / suggestions welcome!

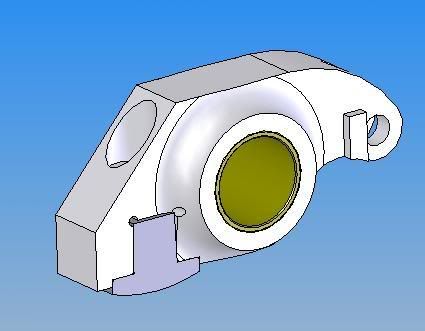
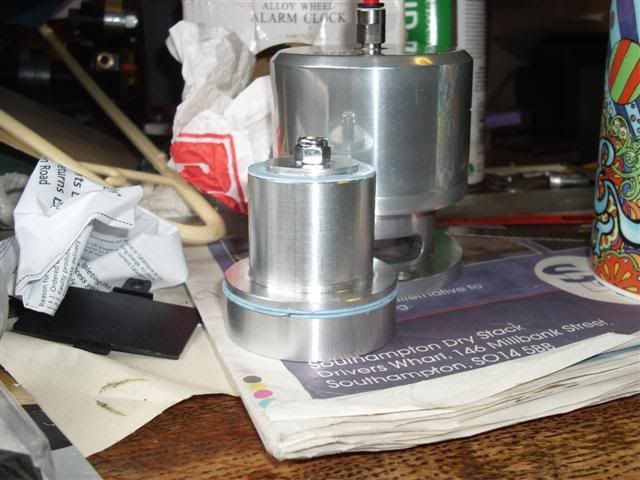
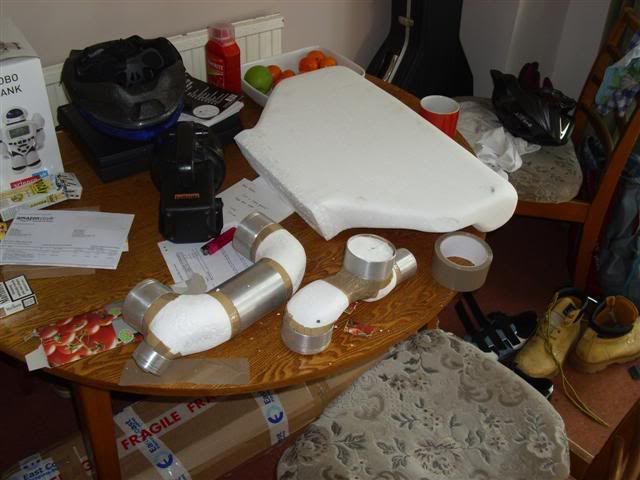
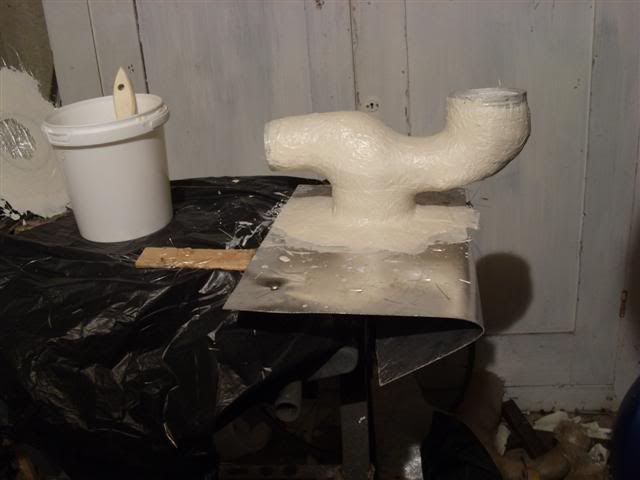
Some time ago, I made the foam cores for the bits I need. Decided to start the guide on something relatively simple in shape, the airbox which will be bonded to the charge cooler cores.
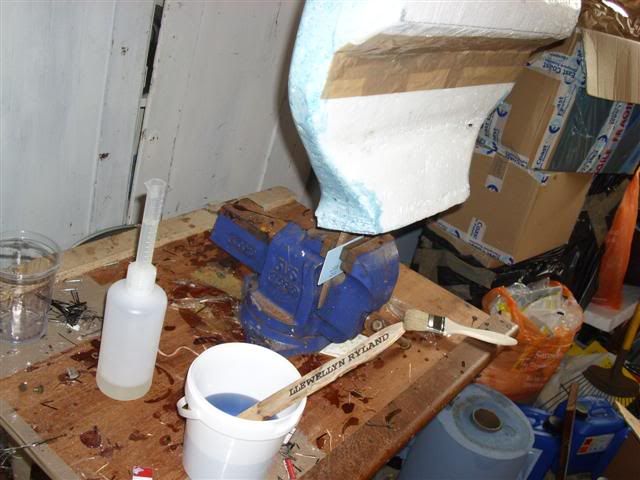
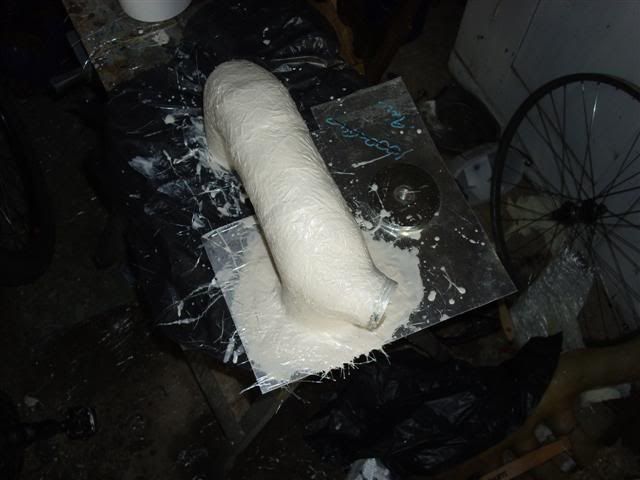
So, first, you've to make a polystyrene core. Use polystyrene as it's easily dissolved out of your finished composite using acetone or whatever:
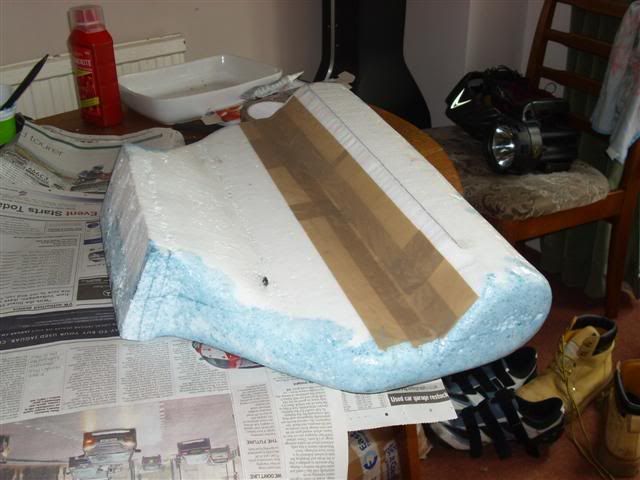
If you need to build up the thickness of your core as I did, you can use quick setting epoxy glue. Just dot it around the two bits to be joined rather than spreading it as the cured glue is difficult to cut neatly.
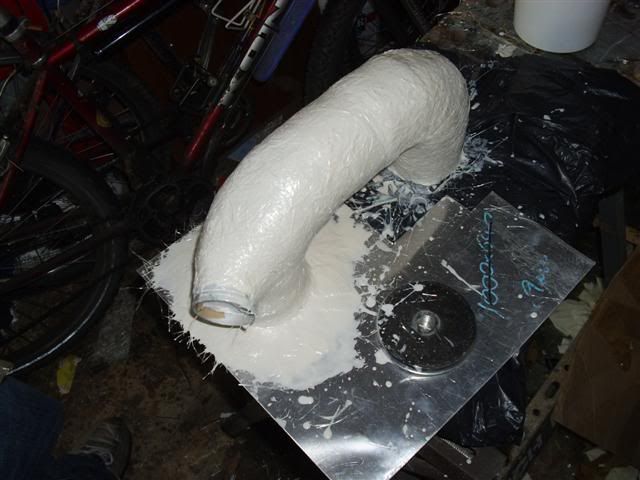
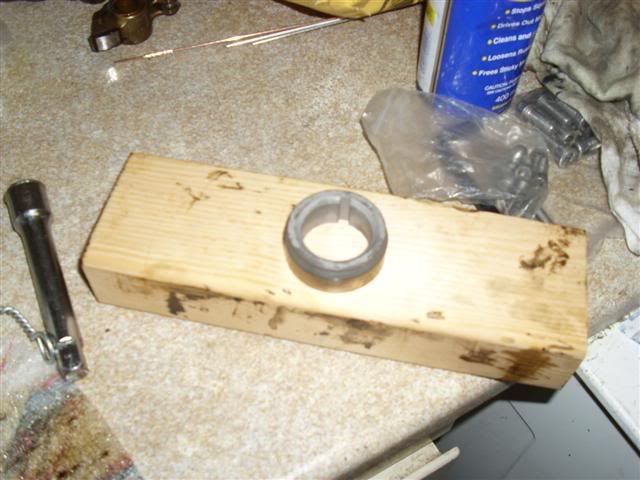
Having made your core, you need to prevent it being attacked by the resin when you make your composite. You can either use epoxy resin (which is very expensive but doesn't eat into polystyrene) or you can do what I did which is to give the core a good thick coat of PVA glue.
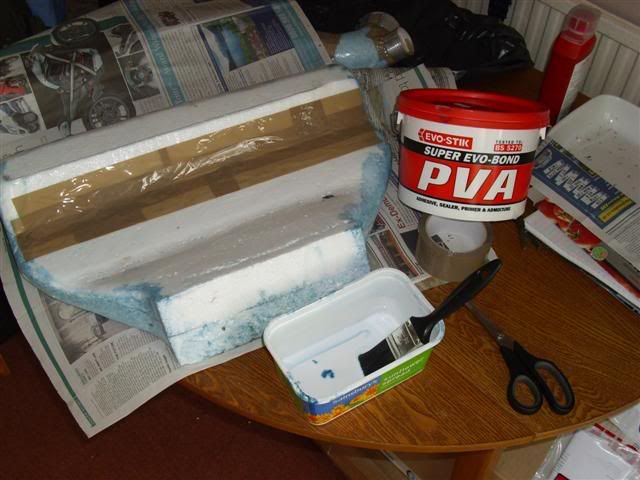
I gave the core two coats just to be sure, really work the glue into any divets as you don't want the resin seeping in!
The brown tape on my core there was used to cover over some gouges in the core. Put your masking on once the PVA has set as the PVA will just run off the tape if you try it the other way round
Once your core's ready, you need to decide how you're gonna cover it. In my case, I want it to look nice, but not cost too much. Weight is also a very important concern for this component and it'll be subject to some fairly high pressures so it must be good and strong too. For these reasons, I decided to make it from a combination of woven glass cloth and woven carbon fibre, two plies of each. If you're making a really complex shape, it's probably easier to live with the extra weight of Chopped Strand Matting (CSM) and use that instead.
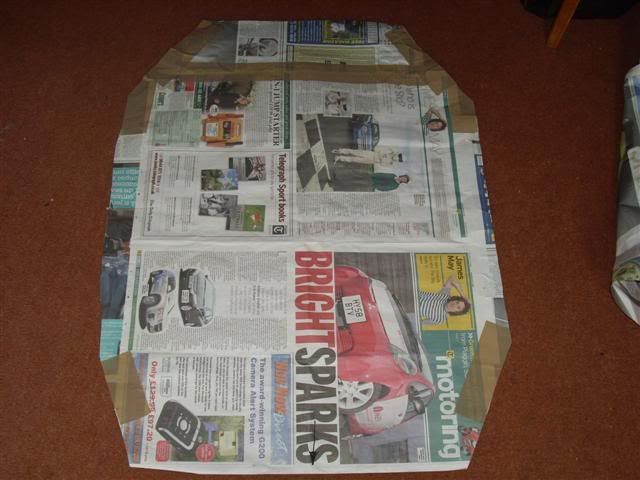
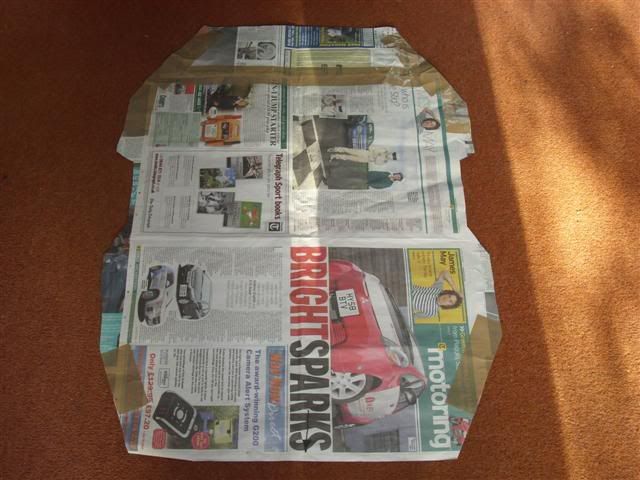
Before you can start cutting up your reinforcements, you need to make a template. There are probably better ways of doing this than using news paper, but it's expendible so it doesn't matter if you get it wrong, and you can add bits onto it with tape if you need
It seems logical, given the shape of my core here, to use one large piece of cloth per ply and have the edges overlap, so I've made my template big enough to do just that.
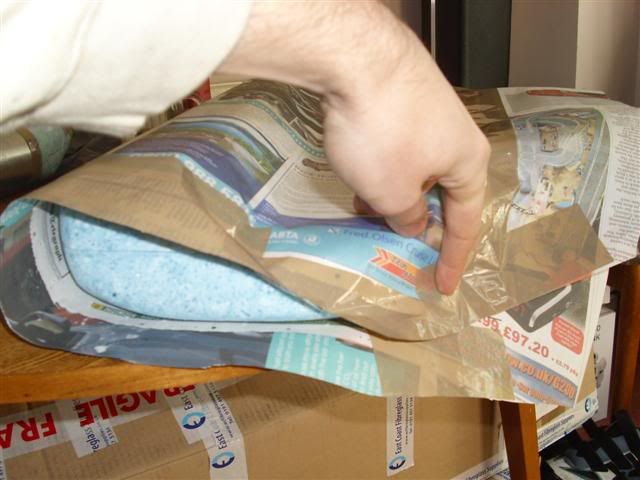
Once you're happy with the template, it's time to start cutting out your reinforcements. I cut one out and then make sure it all fits as it should....in principal at least!
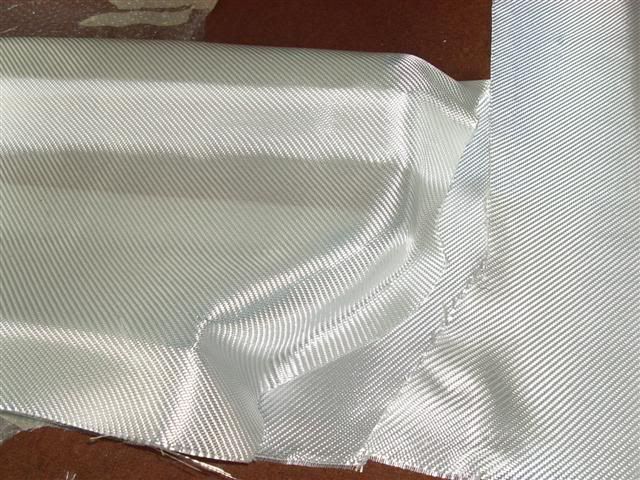
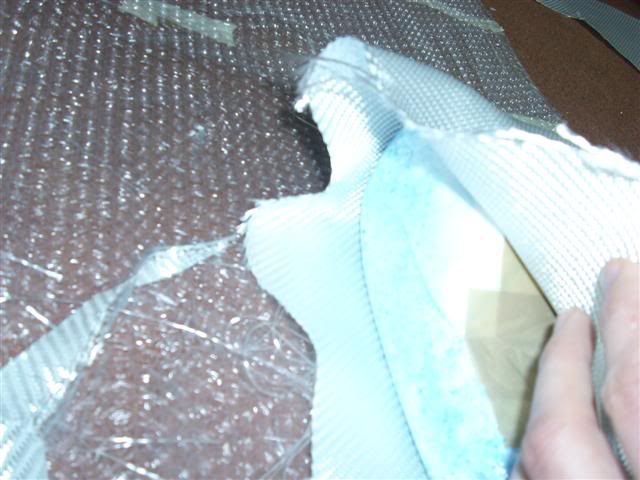
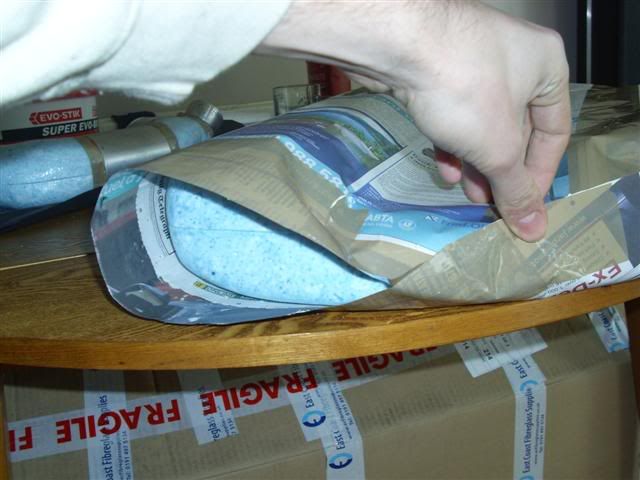
You can see how well the cloth drapes over the more complex curves of the core, which the paper just won't do. In the second piccy, we can see that there's too much material to allow us to make the tight turn around the end of the core, so trim the cloth to suit and then update the template so that the remaining plies all fit:
Don't know if you can see, but there's an arrow on the template and a corresponding arrow on the core. If you can mark your reinforcements with something like a little bit of parcel tape or something, it makes it easier to get them round the right way when you're laminating
Finally, it's time to start laminating all your cloth onto the core.
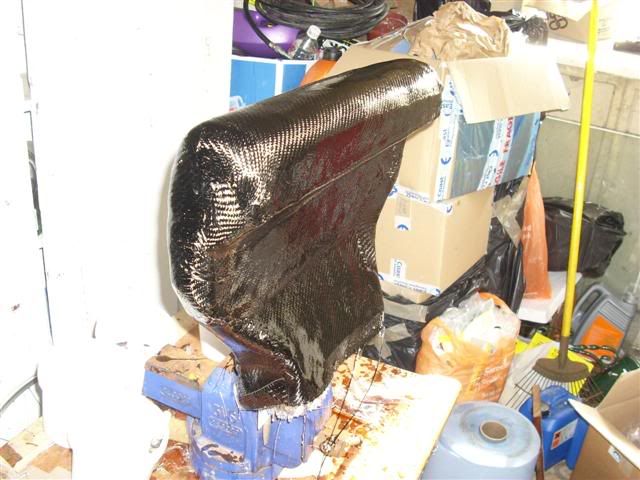
In my case, there's to be a large opening in the finished piece which makes it nice and easy to hold the core up. I stabbed two large files deep into the core to make it as stable as possible, then clamp the files in a vice. It's probably a good idea to wrap the vice in a bin liner or something to stop resin getting into it, but I forgot!

Right, now for the sciency bit.....how much resin to use!
The resin to reinforcement ratio is determined by two things:
1) weight of the reinforcement
2) type of reinforcement
I know that the glass cloth I'm using weigh 390g/sqm, and that I need about a 1:1 resin to fabric ratio. I also know that the first ply will need more resin than subsequent plies as we need to paint a good layer of resin all over the core before we can put the first layer of cloth on, and then we need to paint more resin all over that....more on that in a mo though!
If you're using CSM, you need about 2.5:1 resin to reinforcement by weight, so you can see how the weight of a CSM laminate is likely to be much higher than a woven cloth laminate of the same thickness.
So, measuring the overall size of the template, at 0.9mx0.7m gives an area of roughly 0.6sqm and a cloth weight of 234g. So for the first ply, we need to mix up about 500g of resin, and about 250g for subsequent plies. The carbon fibre weighs about half as much as glass per sqm, so in theory we'd need half as much resin, but it doesn't hurt to have some spare resin at the ready!
So, having carefully read the instructions which came with our resin, we mix up a 500g batch.
You need to make sure you've read and properly understood the safety information which came with the resin too! These chemicals have the potential to be very unpleasant, especially the catalyst so make sure your workspace is clear and tidy with no tripping hazards, wear the recommended eye protection, respiratory protection and be sure to wear appropriate gloves! Your safety is your responsibility, not mine!
Once the resin is thoroughly mixed as per the instructions, we need to paint the core with it so that there's a layer of resin all over the core. Once that layer of resin is on, you can pick up your first piece of cloth and CAREFULLY position it on the core. If you get it wrong at this stage and you're using woven fabric, trying to take the cloth off will likely as not result in it falling apart. Have a try though as you might be lucky. If it does start coming apart, it's probably best just to try and trim it back and get it all to stick down. Keep a pair of scissors handy for this kind of thing!
Once the cloth is positioned, we need to carefully pat in onto the core using our gloved hands. Even though there's an overhang on my component, the surface tension of the resin holds the cloth in place.
Once you're happy with the positioning, pick up your resin and start painting it all over the cloth. Firm brush strokes are all you need with woven cloth to get the air out. Work on larger surfaces first and then the smaller details.
Once the cloth is properly wetted out, mix up another batch of resin, take another ply and put it on in exactly the same way. Pat it into position and see how it soaks up resin from the ply beneath. Remember that we need less resin this time round!
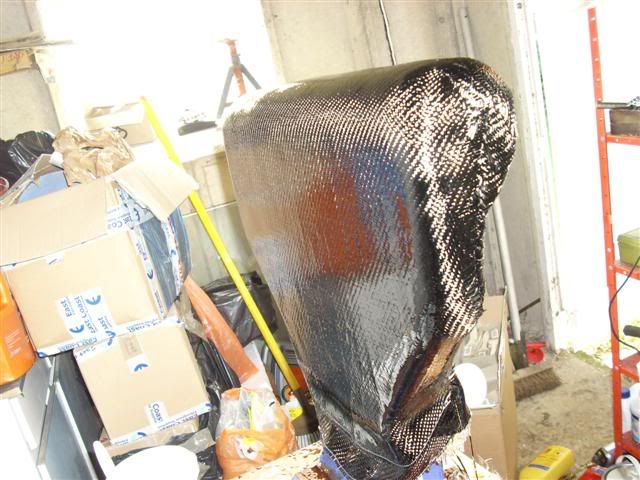
And that's essentially it, keep mixing up batches of resin and adding plies of reinforcement in exactly the same way until you've put all your plies on
Carbon fibre goes on in exactly the same way as glass cloth, but it's more difficult to see whether there's air trapped under it so be extra dilligent with your brush when it comes to squeezing the air out.
And here's the drying result:
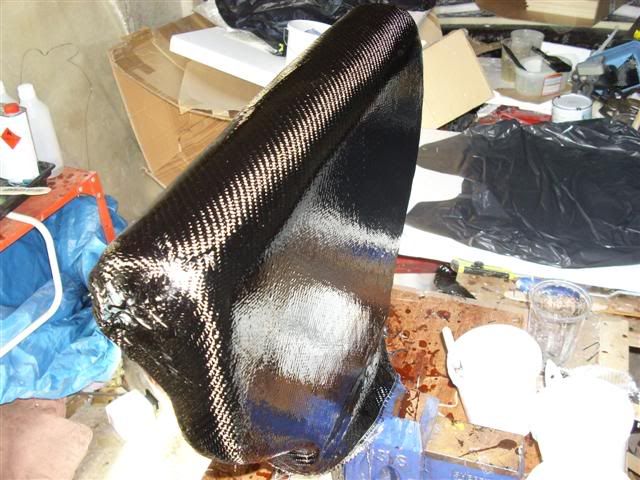
Once that's all dried, it'll probably be a but bumpy on the surface as the cloth has that kind of surface to it. So next up we'll look at getting a nice gloss surface which the show going public can all swoon over, but that'll have to wait for another day


