We're off again! After months of doing other bits and bobs, actually got something done for my car today, feels great!
This is take 3 on the charge cooler!
The first was all aluminium with a welded in core, but I had my doubts about the water tightness of the core after it'd been made so hot (it did weep just a tiny bit!) plus it could only flow water one way too which wasn't ideal, so that one was scrapped.
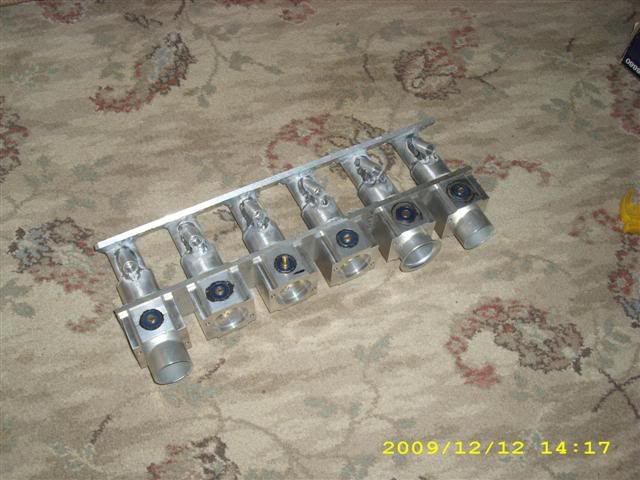
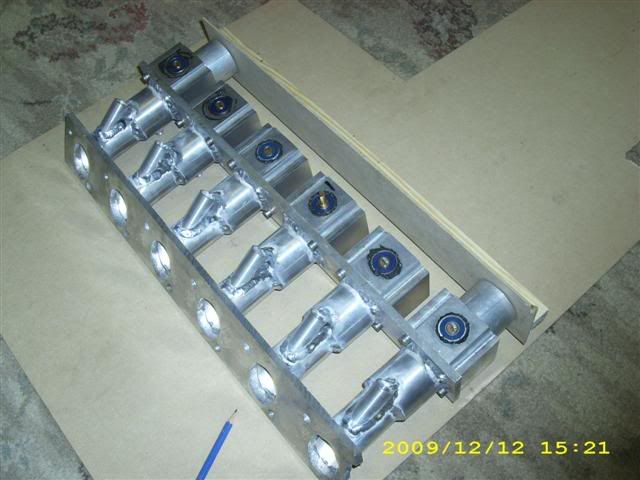
MkII was made using two oil cooler cores. I'd made these a bracket arrangement and was going to bond carbon fibre air tanks either side. I made the tanks but when I offered them up, it became apparent that sealing them reliably to the cores was gonna be troublesome soooooo:
MkIII charge cooler will be one continuous molding (acutally two bonded together with a removable panel underneath, but much easier to seal!
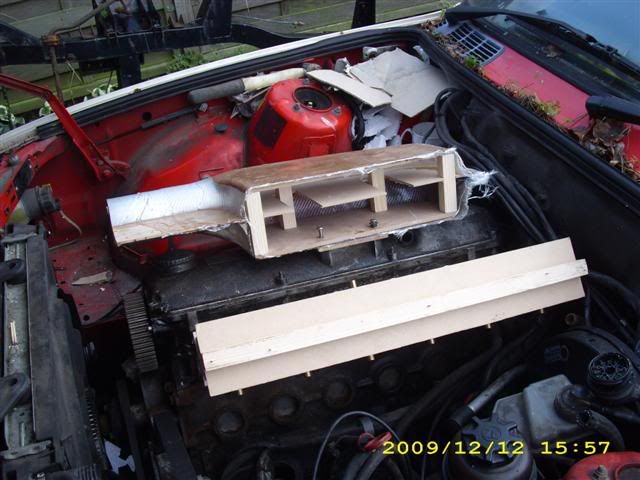
Also, I've had enough of flow coating CF as it just increases the weight of components unnecessarily so I'm making a proper pattern this time:
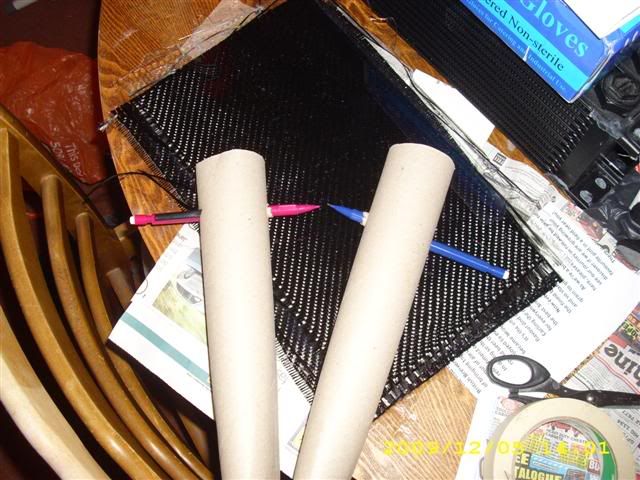
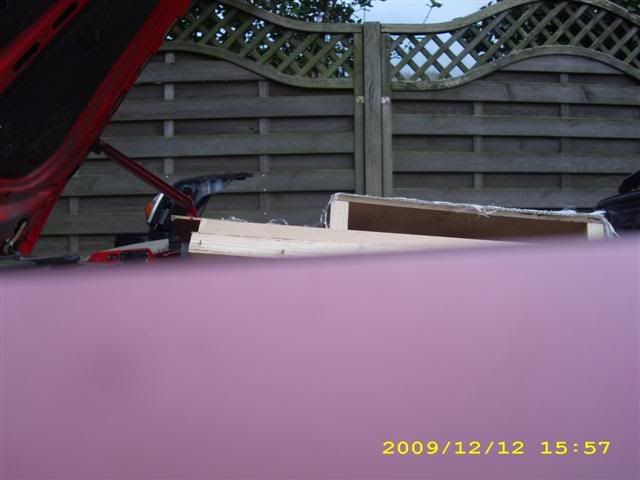
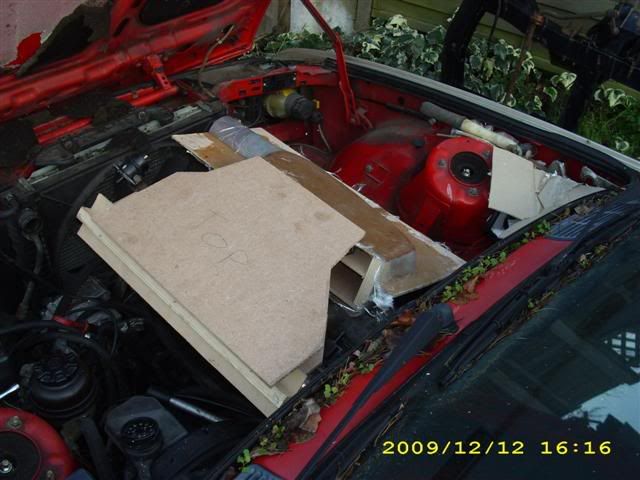
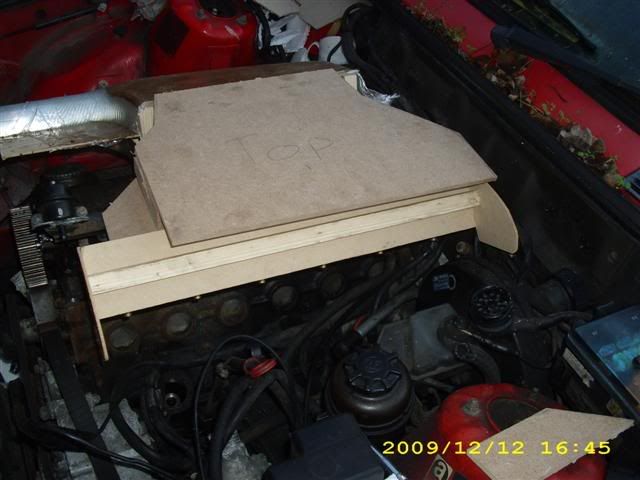
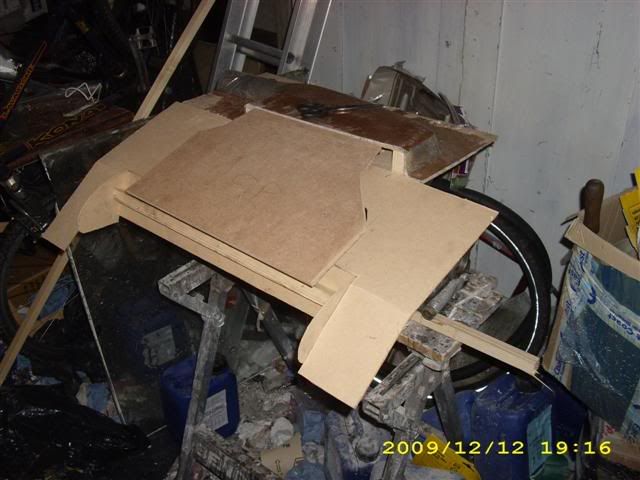
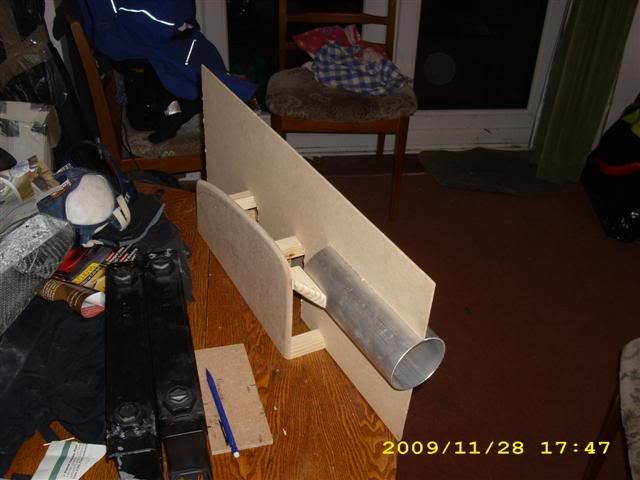
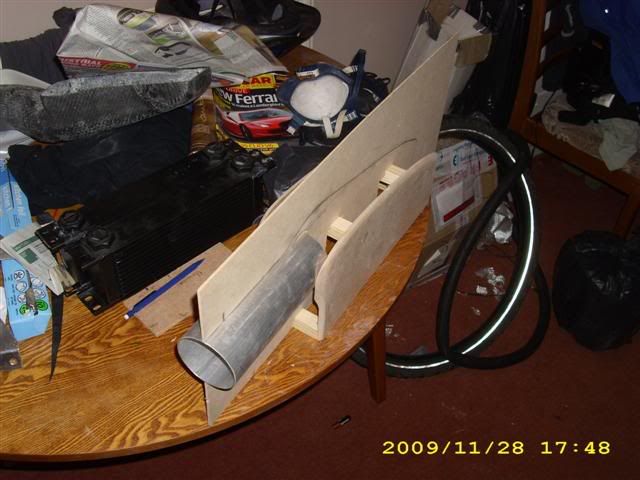
Here's the bones of it:
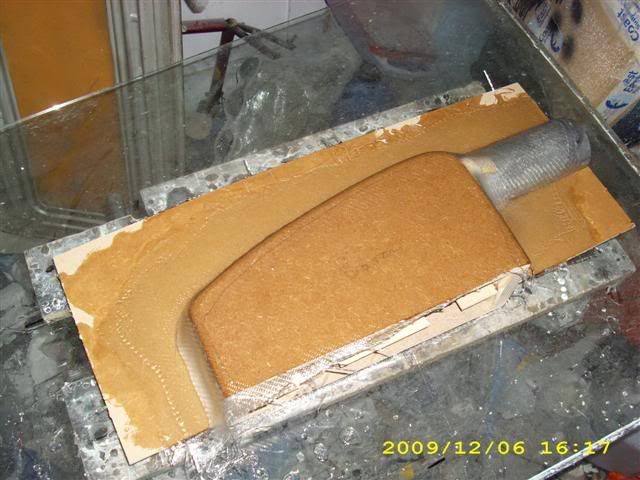
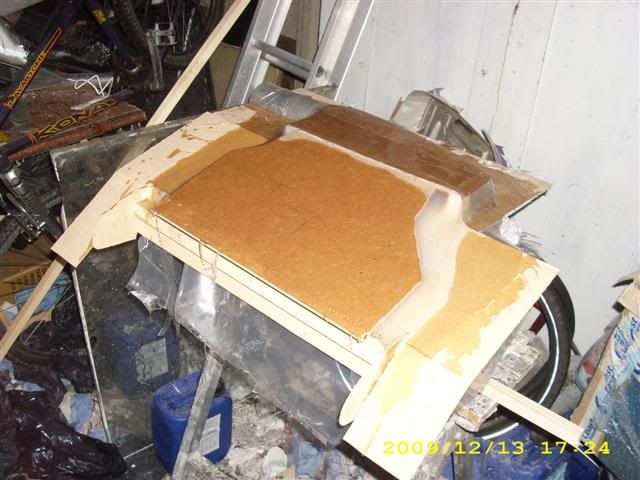
Next thing it needs is some nice swoopy sides and a little bit of a release angle so that moldings will come out easily. From what I can gather, this is how people make speaker enclosures. Just drape some glass cloth over the skeleton:
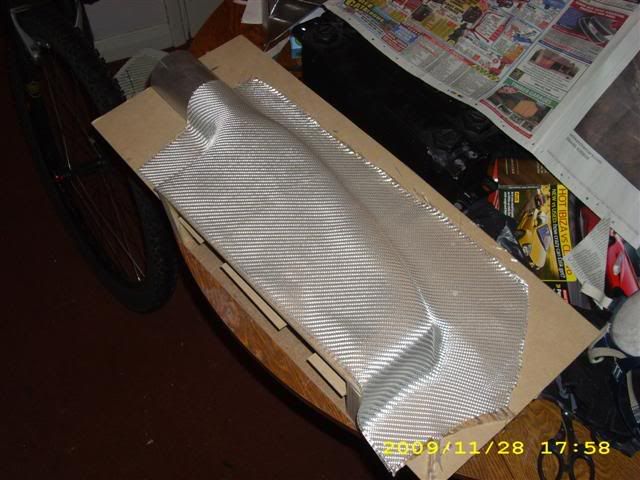
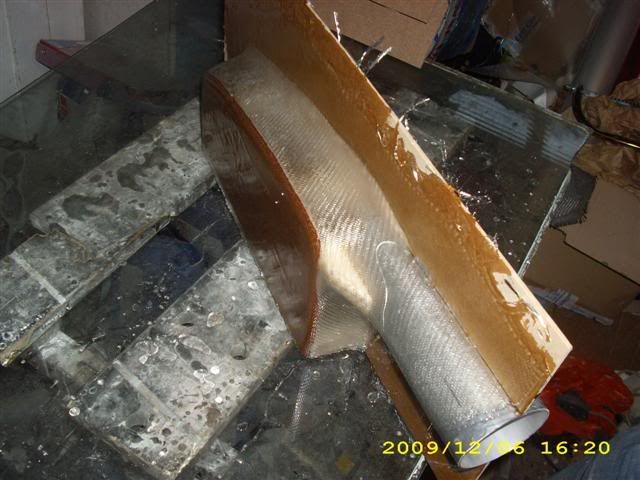
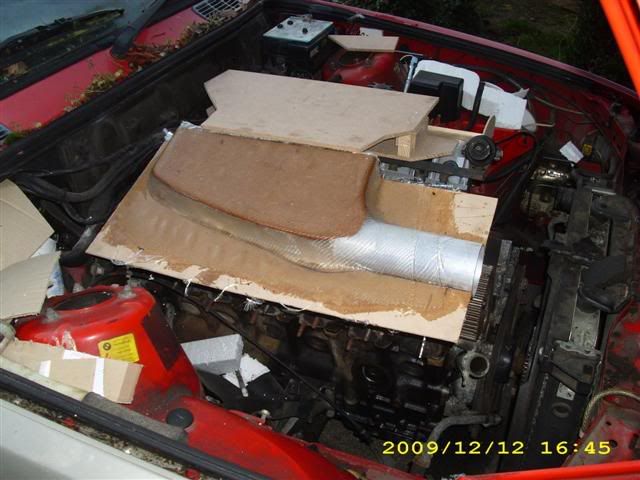
And wet out with resin:
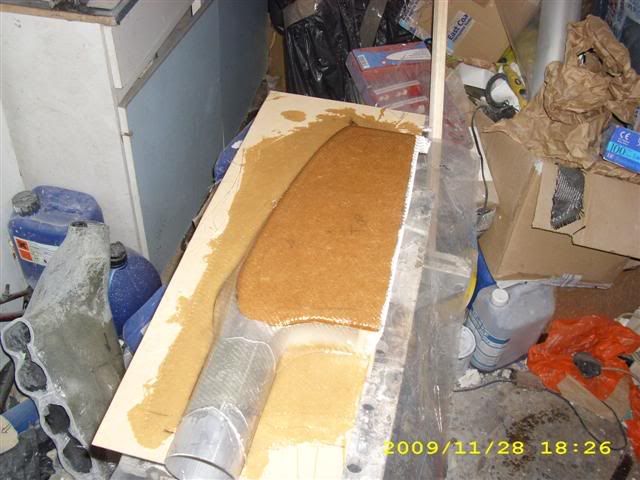
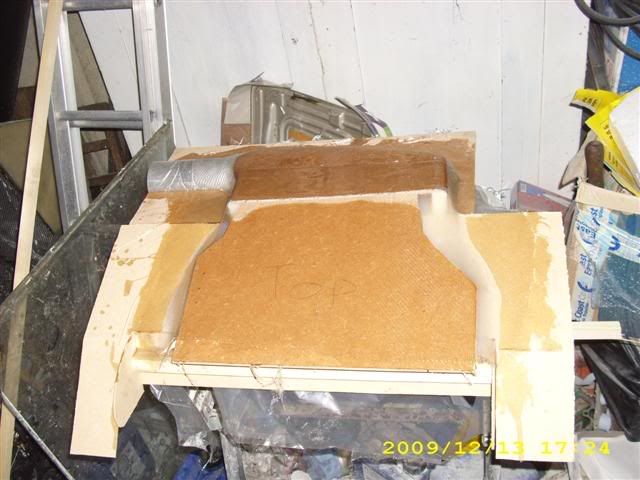
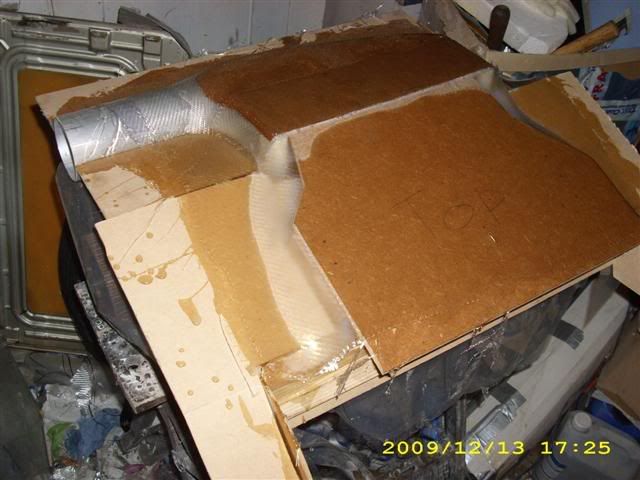
Once that's set, another layer can go on to make it more rigid. Then the process is repeated on the other side.
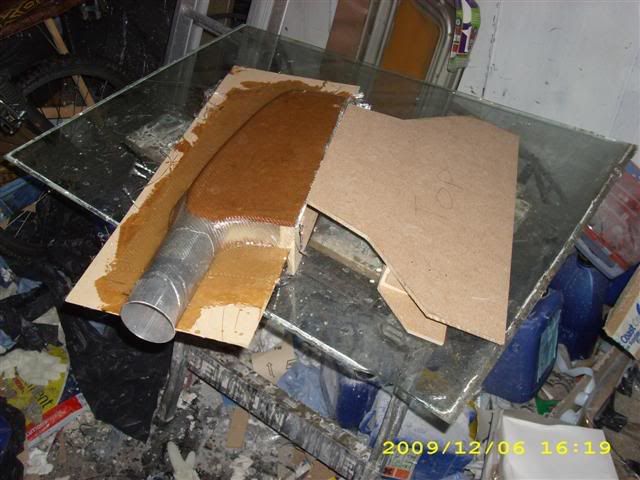
Having made the pattern, I'll be flow coated and polished. Molds can then be taken from the pattern, and finally some proper pre-preg carbon will be laid up into the molds to hopefully make a strong and light charge cooler.
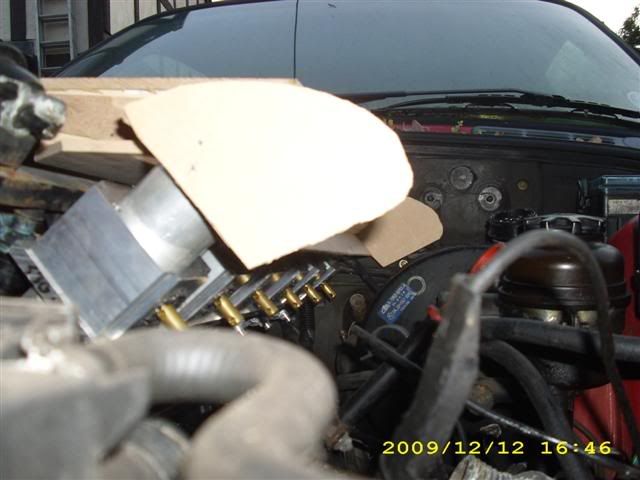
The cores will drop in via a door in the bottom of the assembly.
The large sheet of MDF in the middle of the skeleton is to act as a parting line. When the final moldings are done, they'll be bonded together along this line.