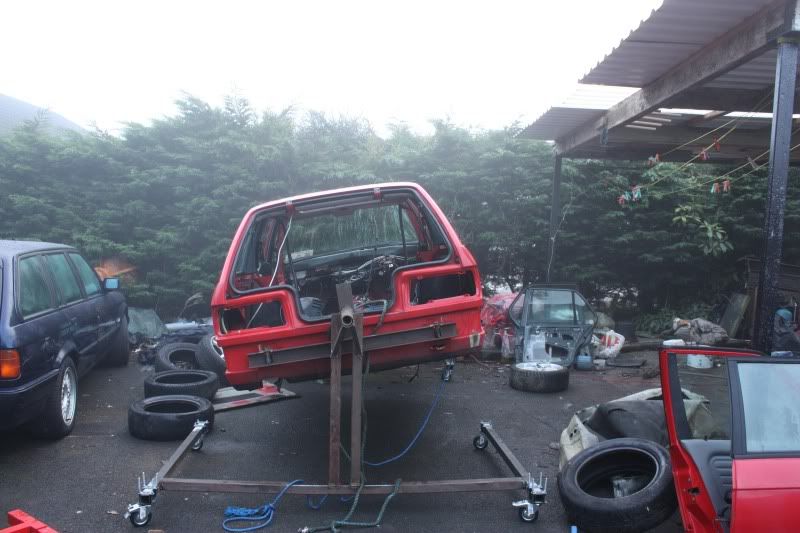
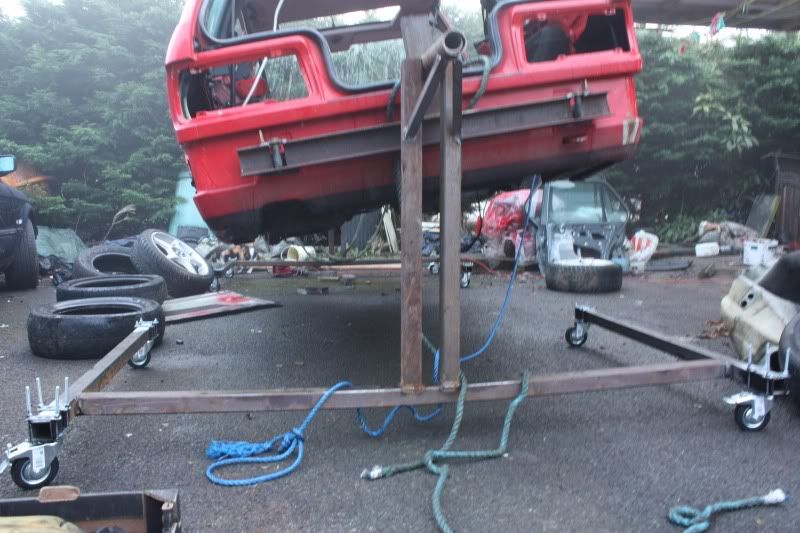
[could a mod move this to the photo gallerym, as there's very little m52 action going on here for now]
I haven't updated this thread for quite some time, haven't really done a whole pile since the last update.
Very little work was done in February:
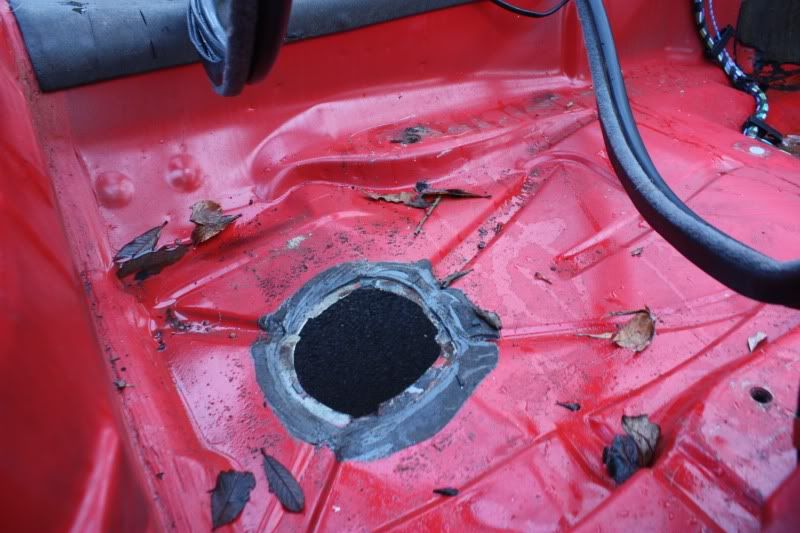
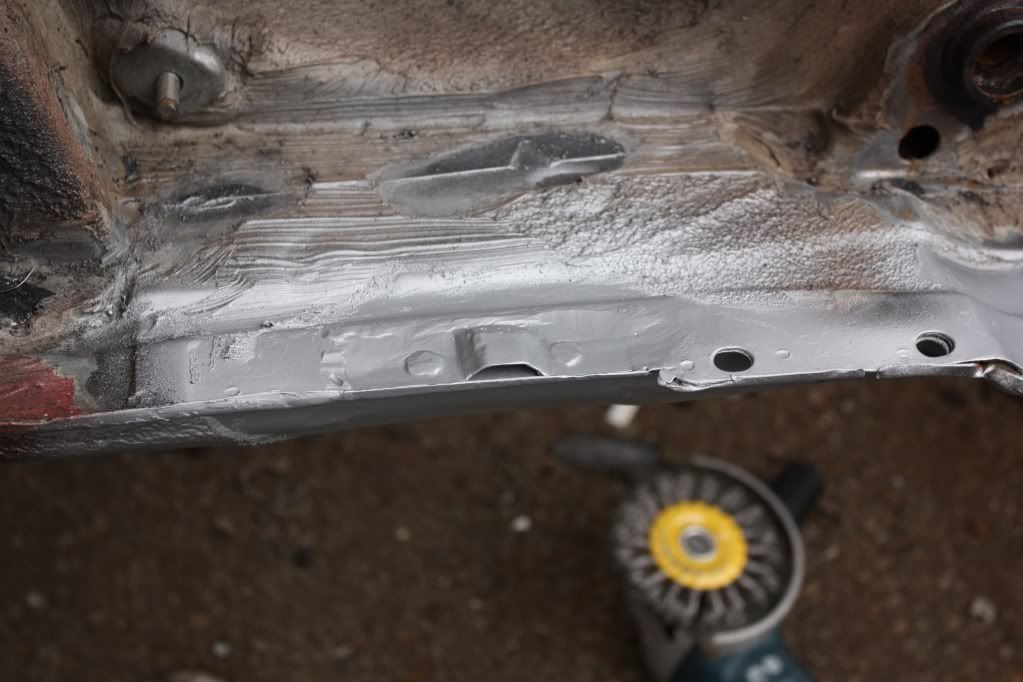
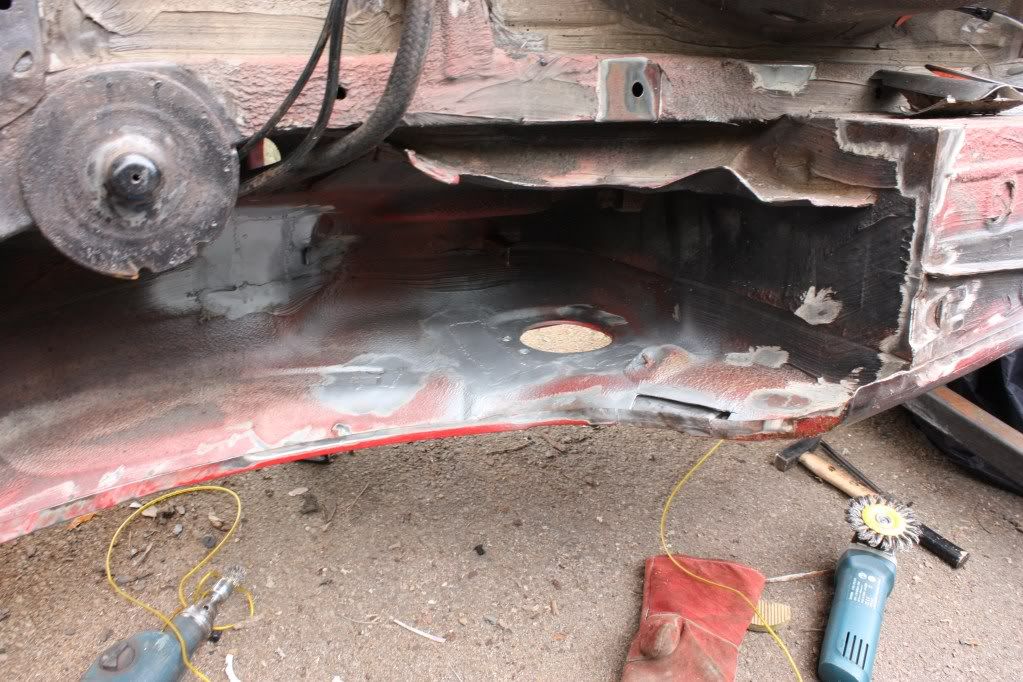
The hole that was made in the floor all welded up and ground smooth-ish
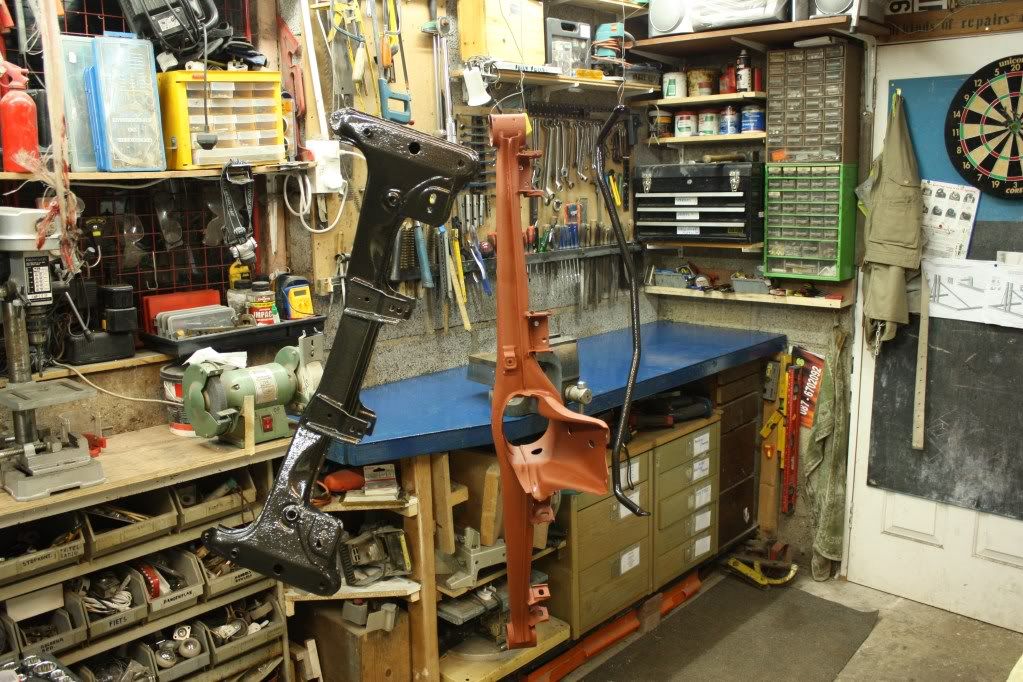
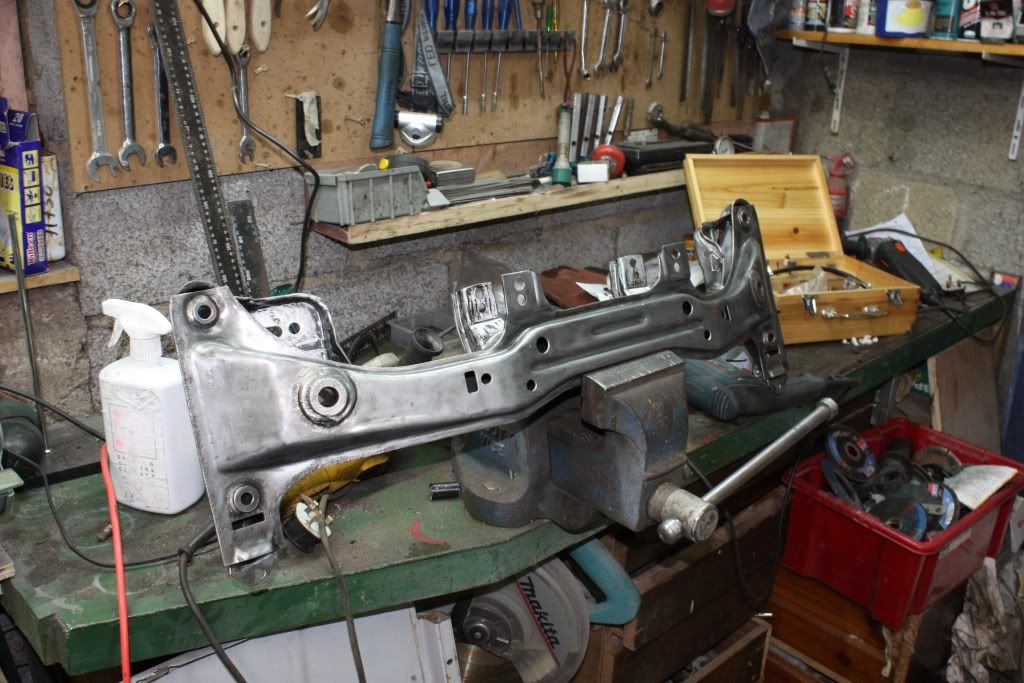
Introduced my front subframe to the wirewheel on the angle grinder, and evening of that and it was all bare metal. Have welded in subframe mount reinforcement plates, primed it 2x and 1 coat of hammerite smooth black. The front ARB got the same paint treatment, will add a few more coats once the body work is done and do the same with the rear beam and ARB.
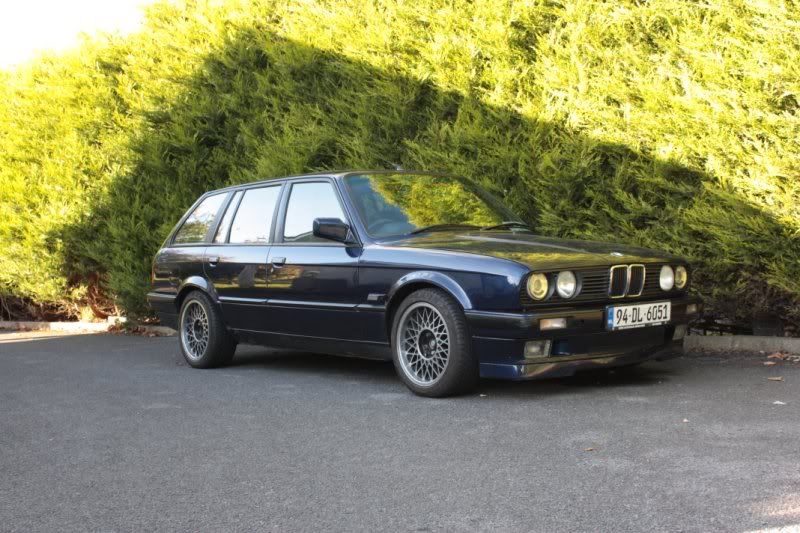
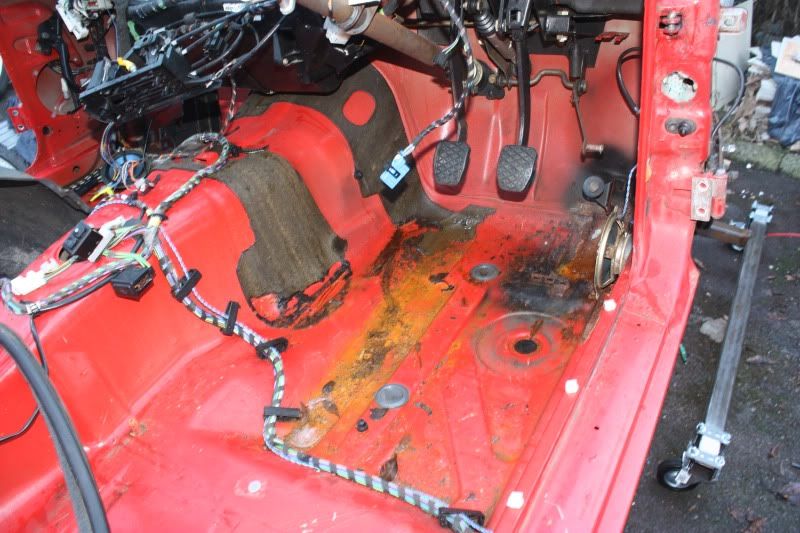
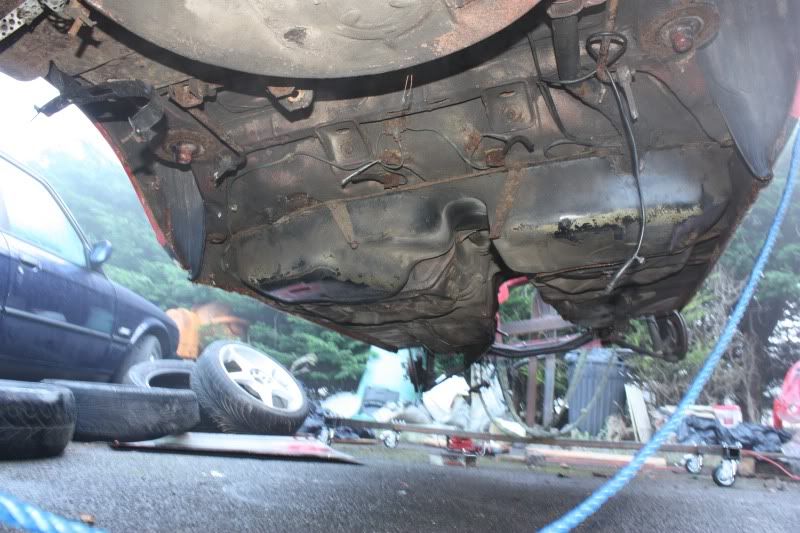
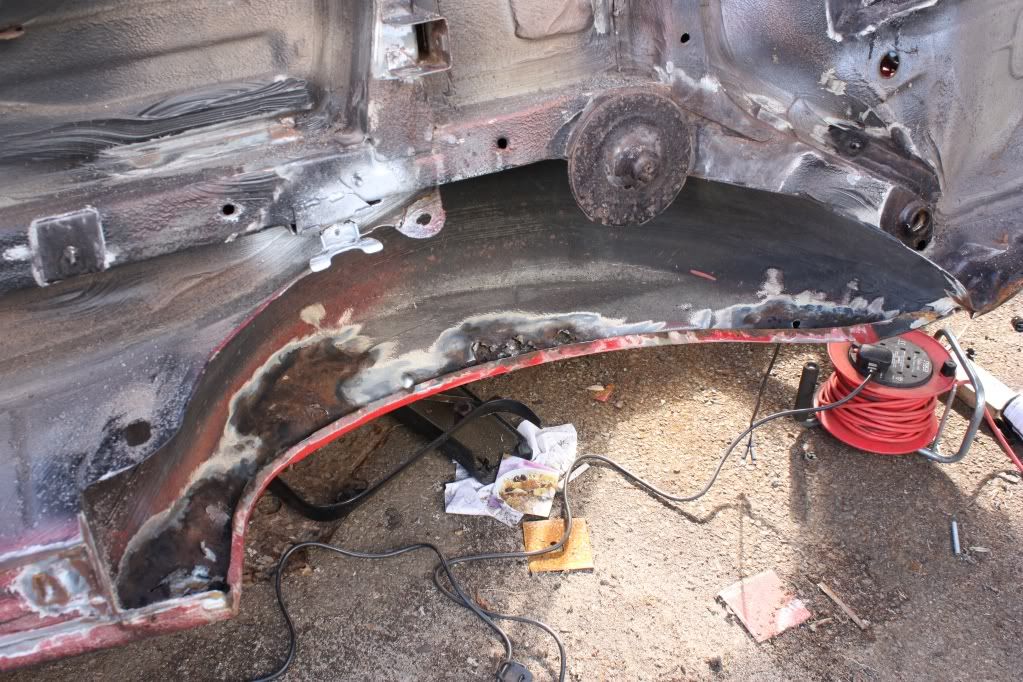
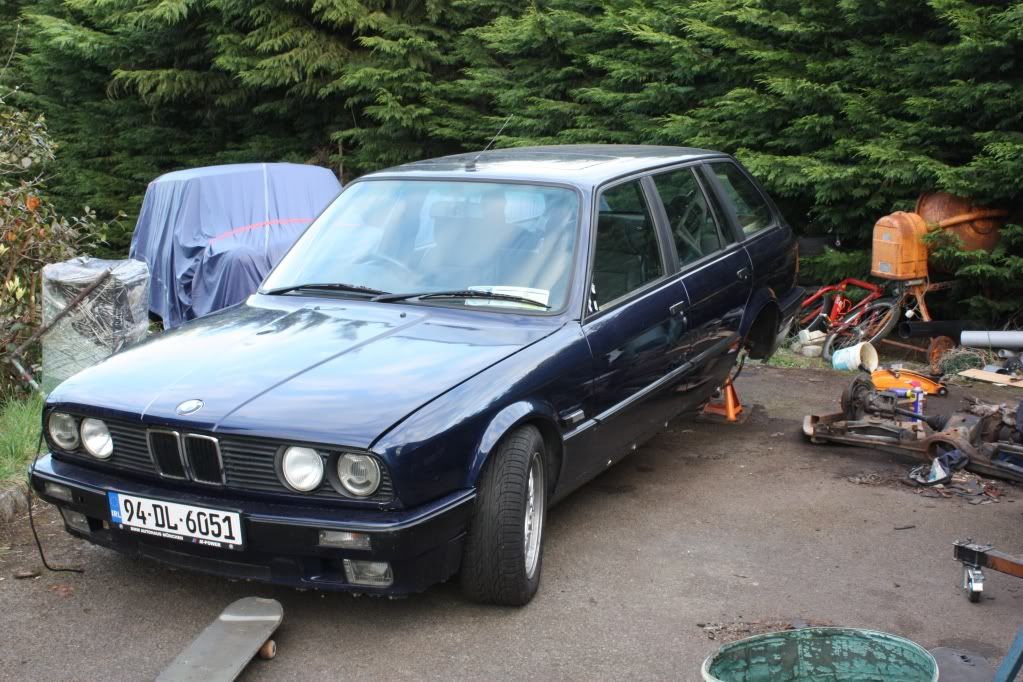
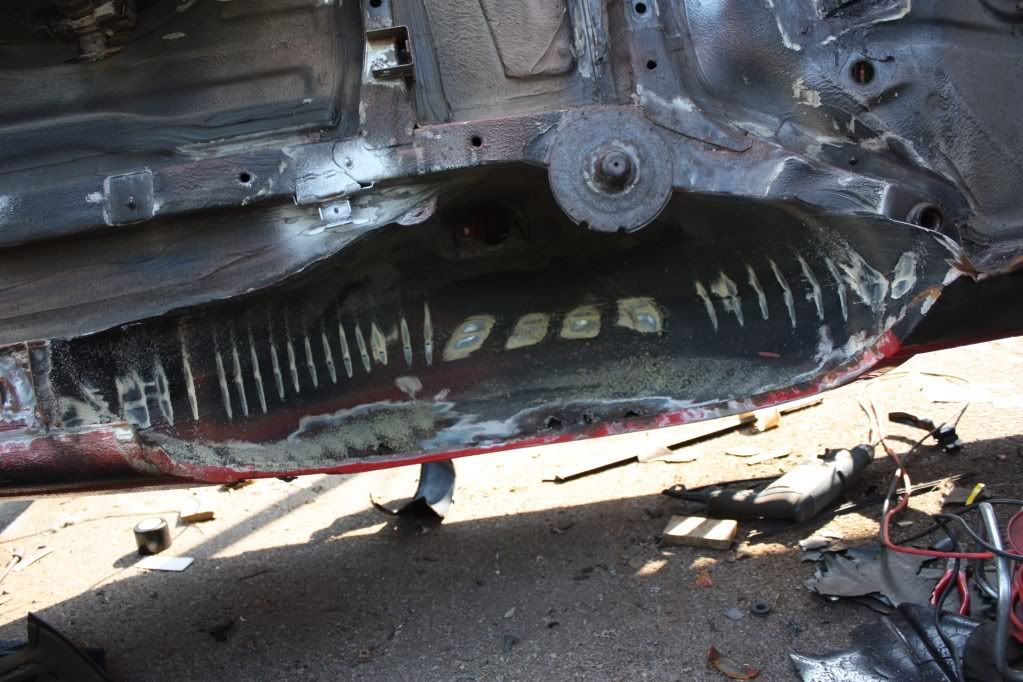
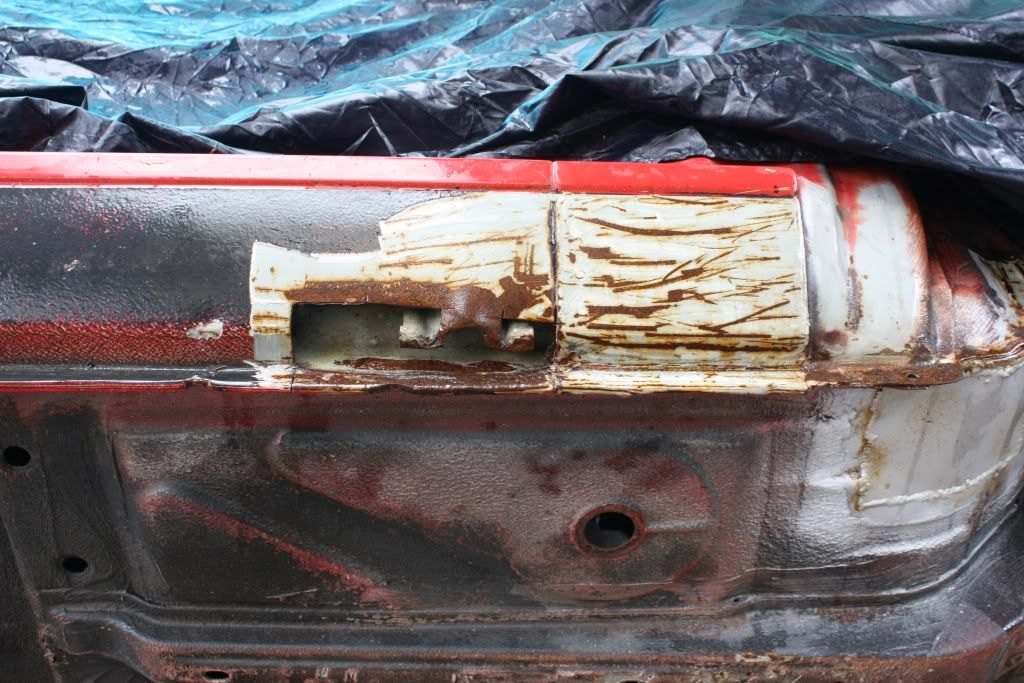
This was like this when I got the shell
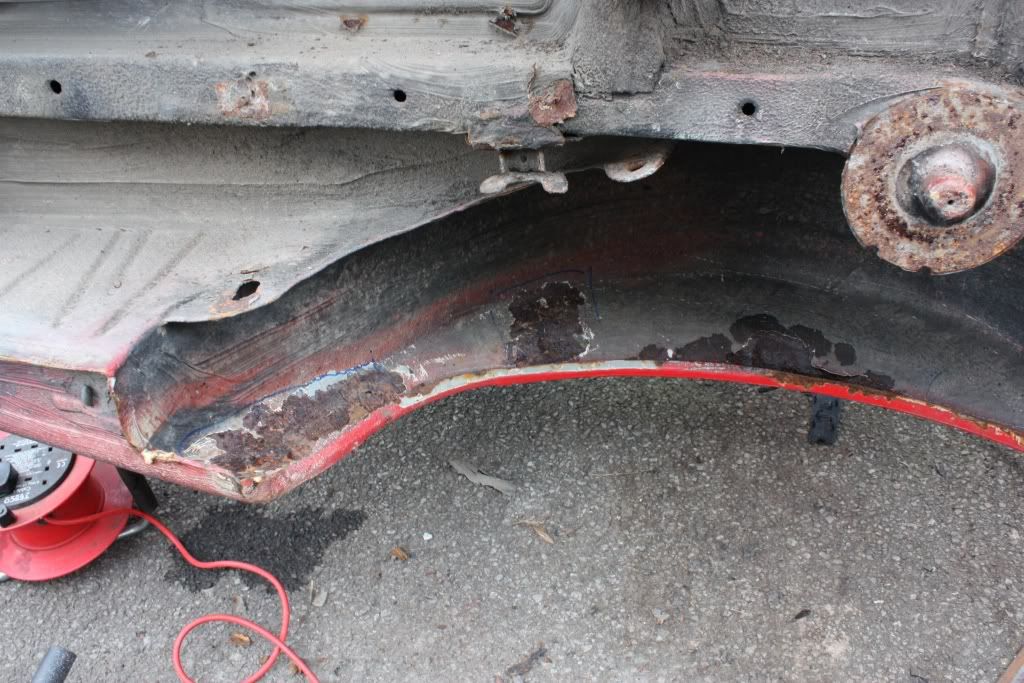
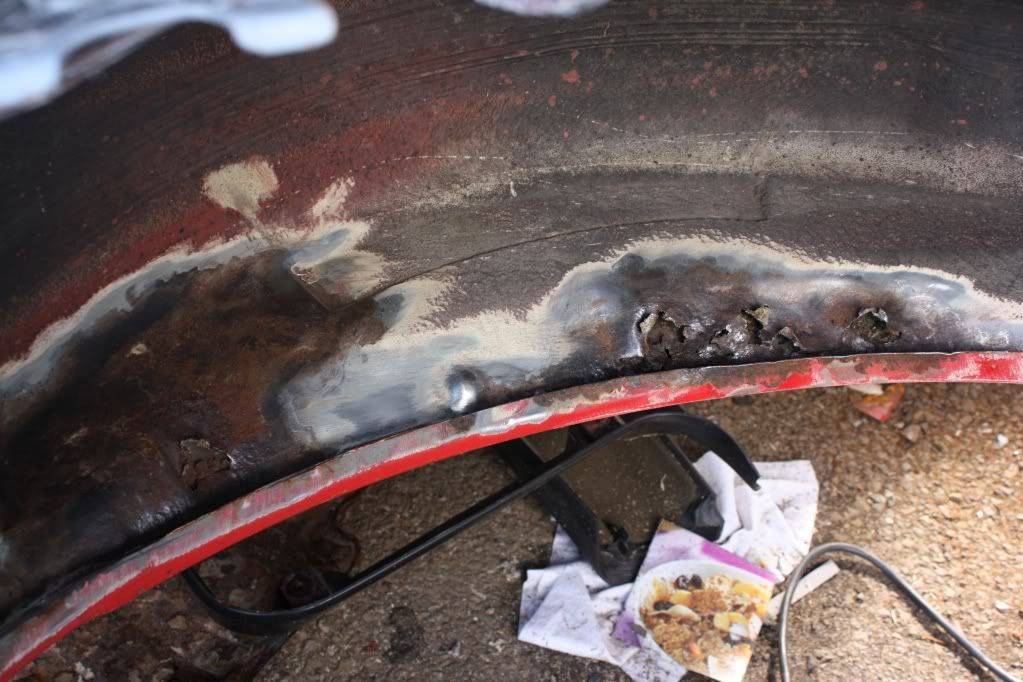
Rear jacking point got a coat of primer after meeting the angle grinder with wirewheel, might cut the jacking point out it tends to go a bit rotten there.
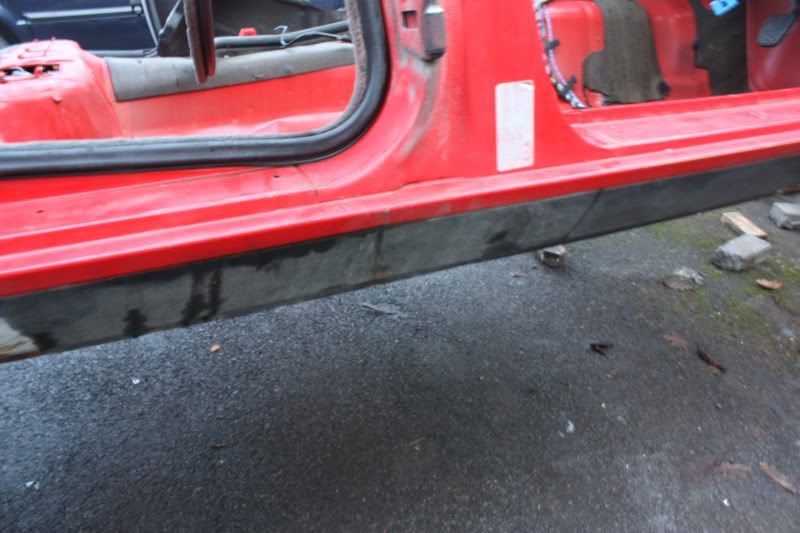
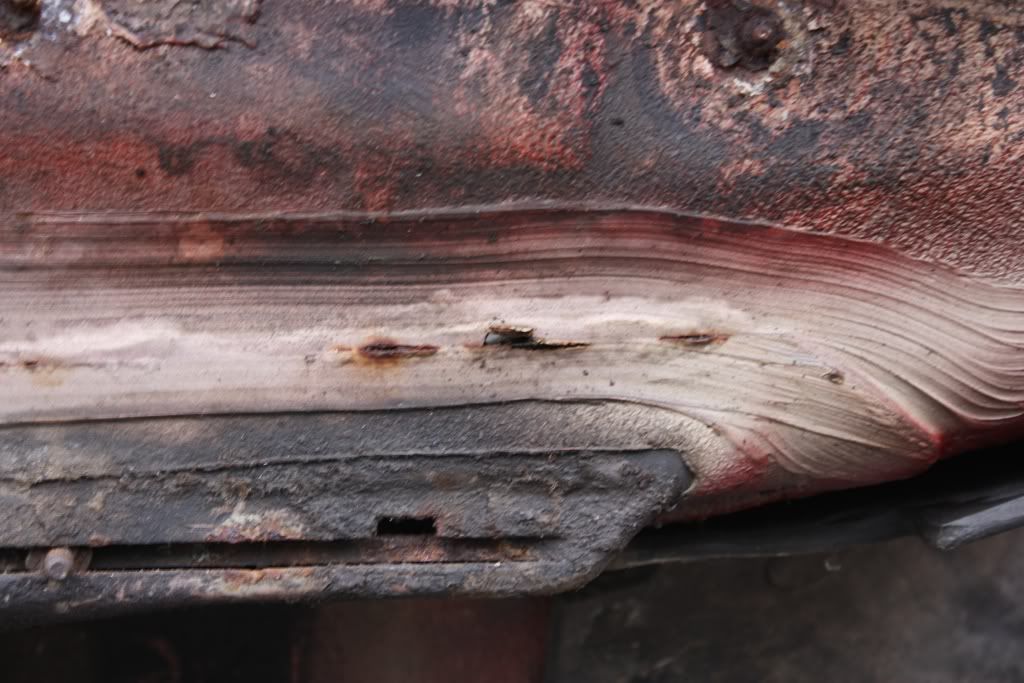
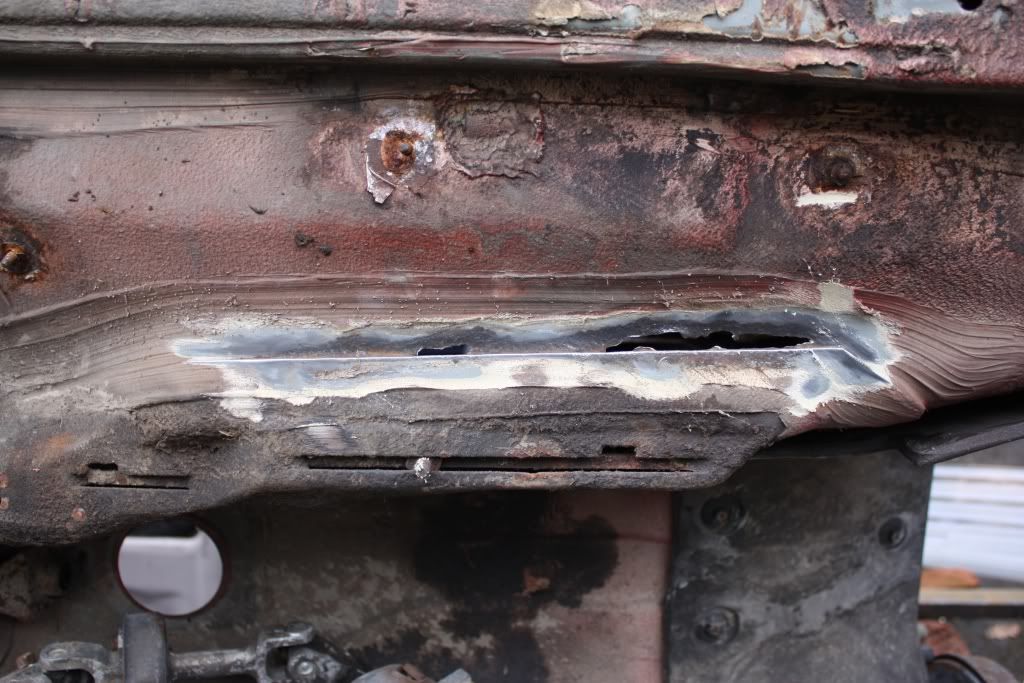
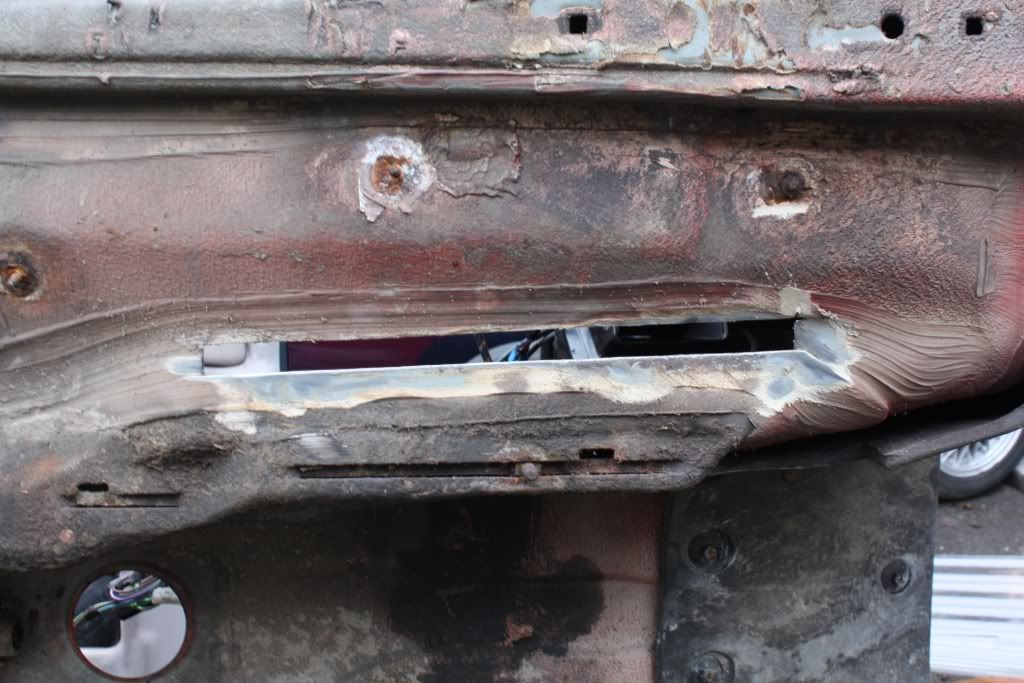
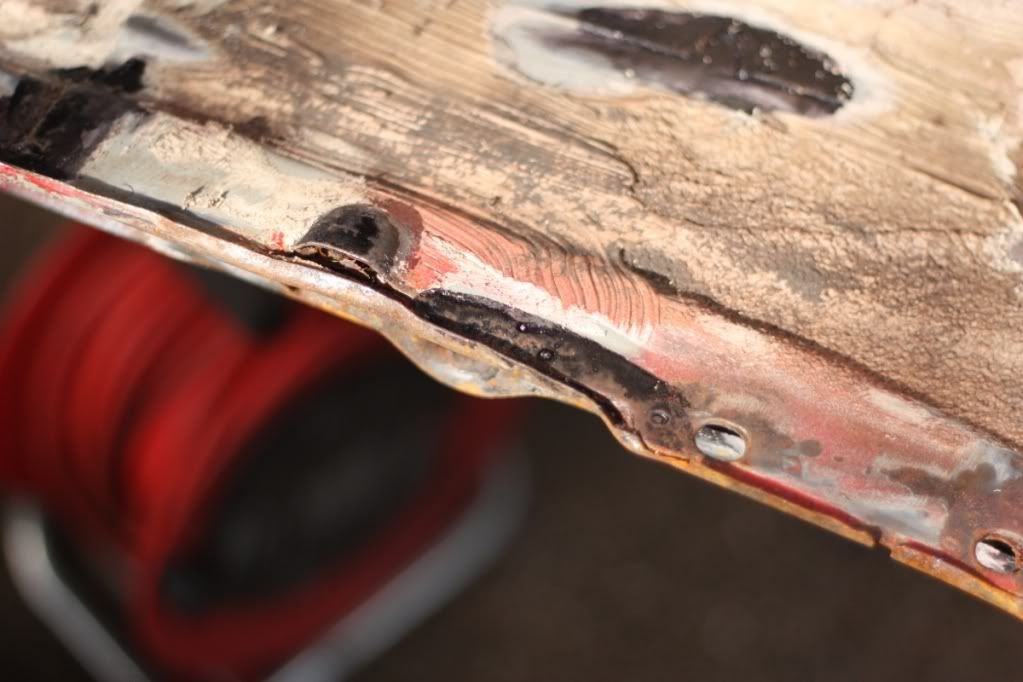
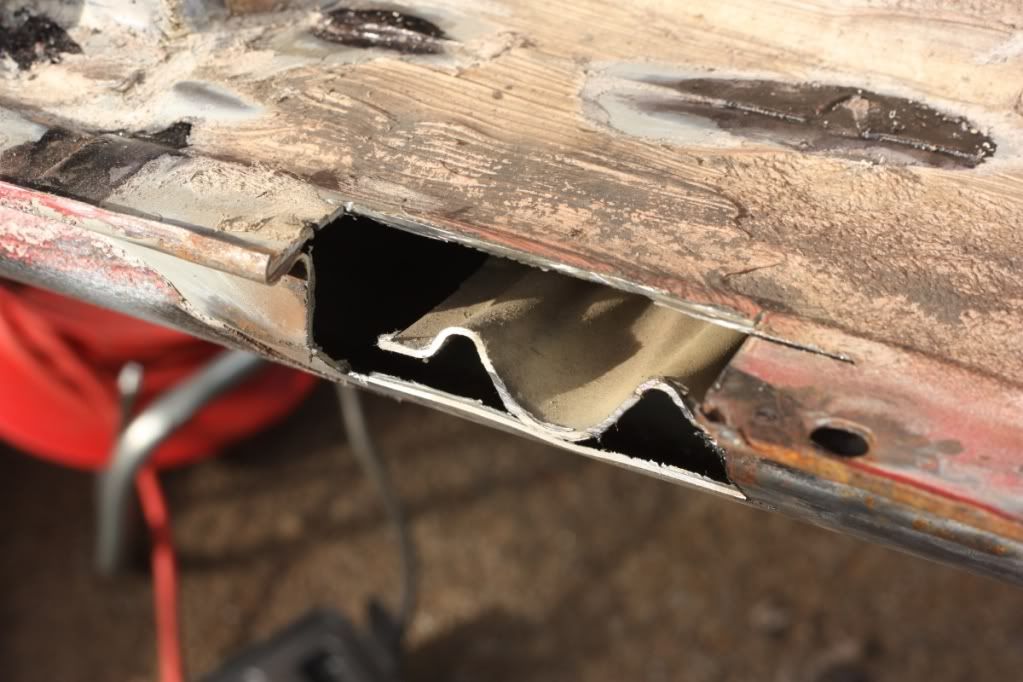
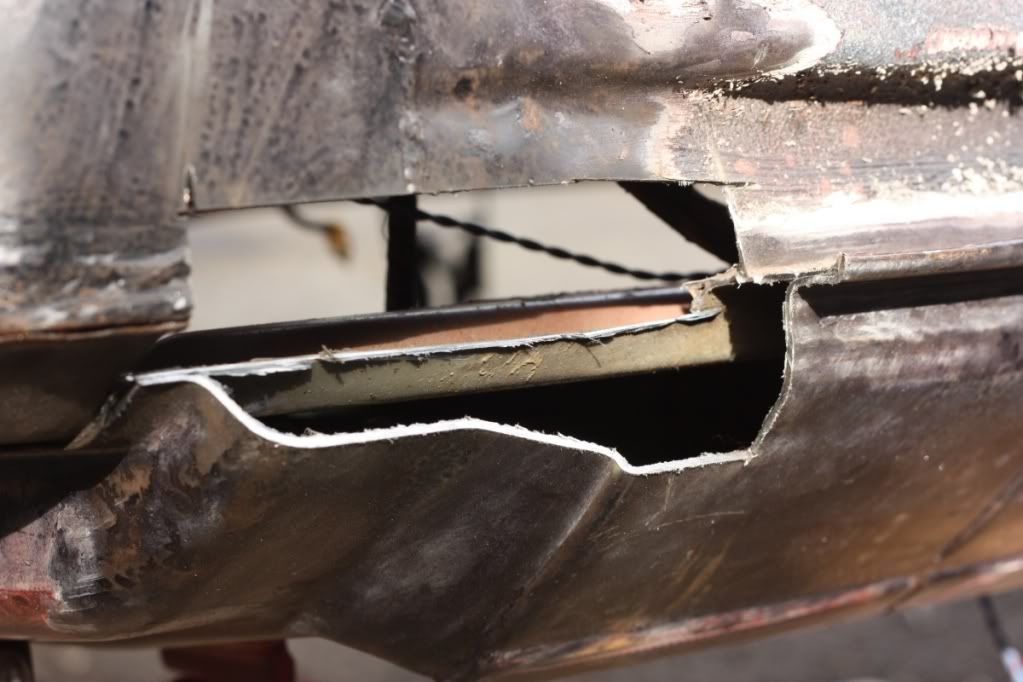
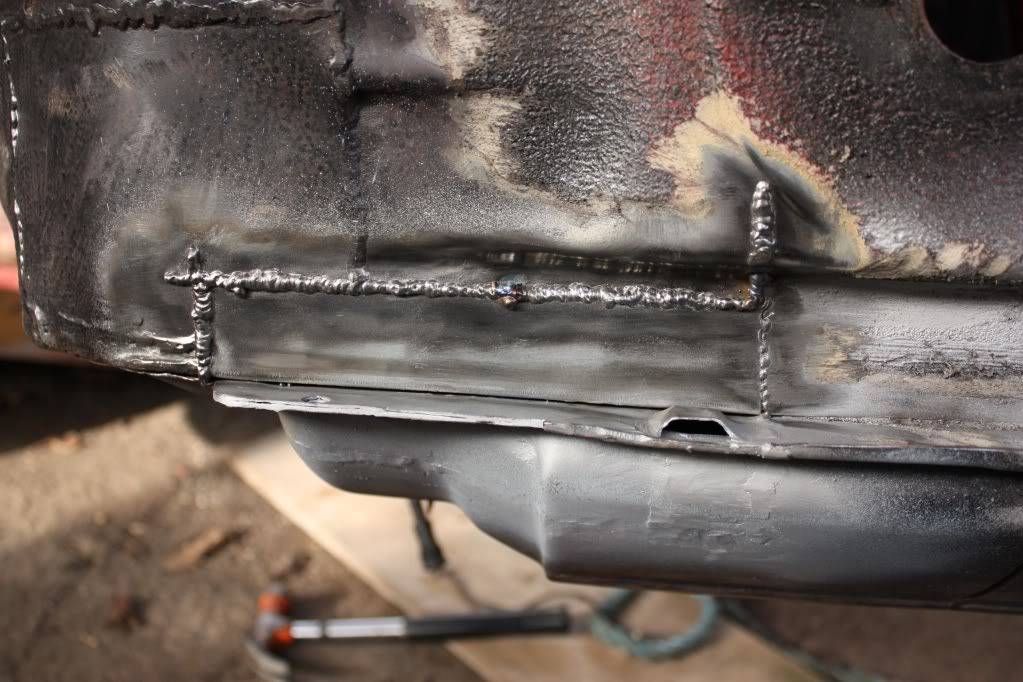
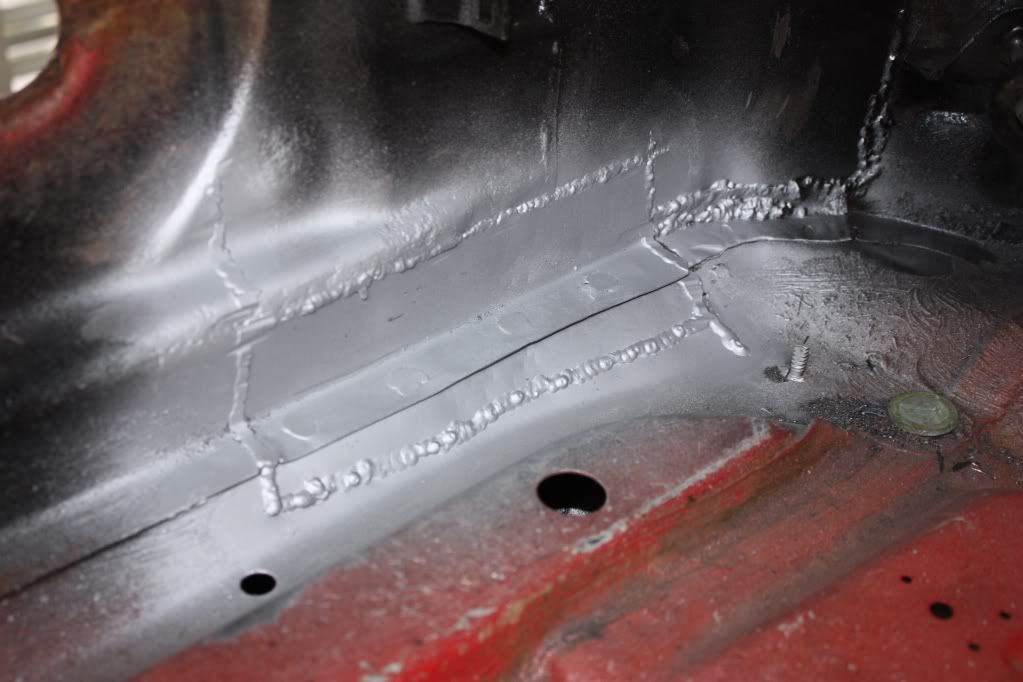
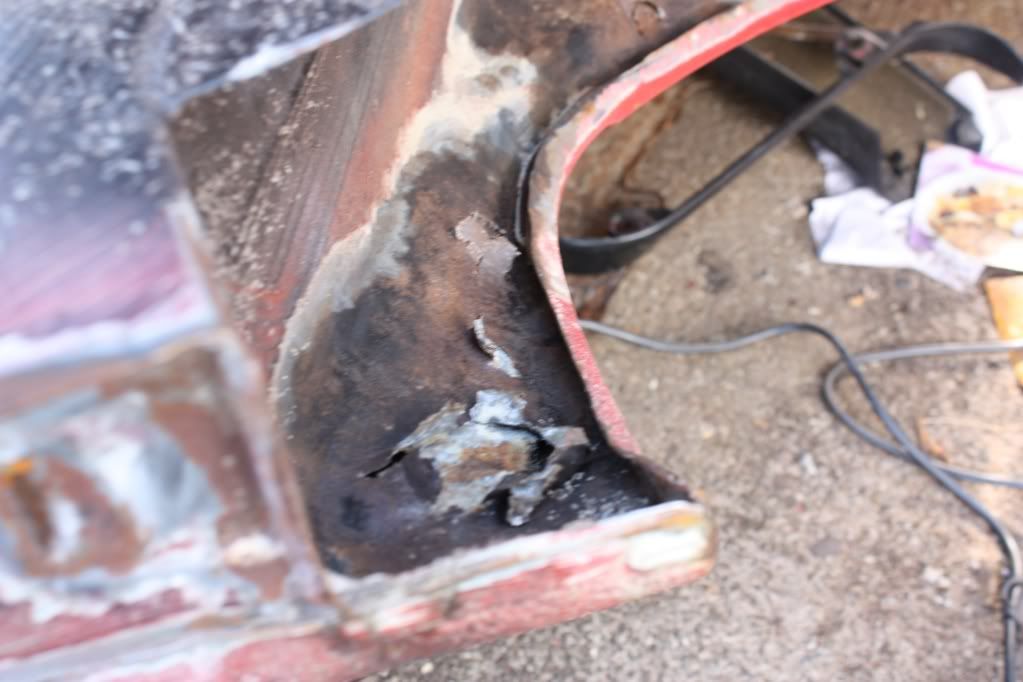
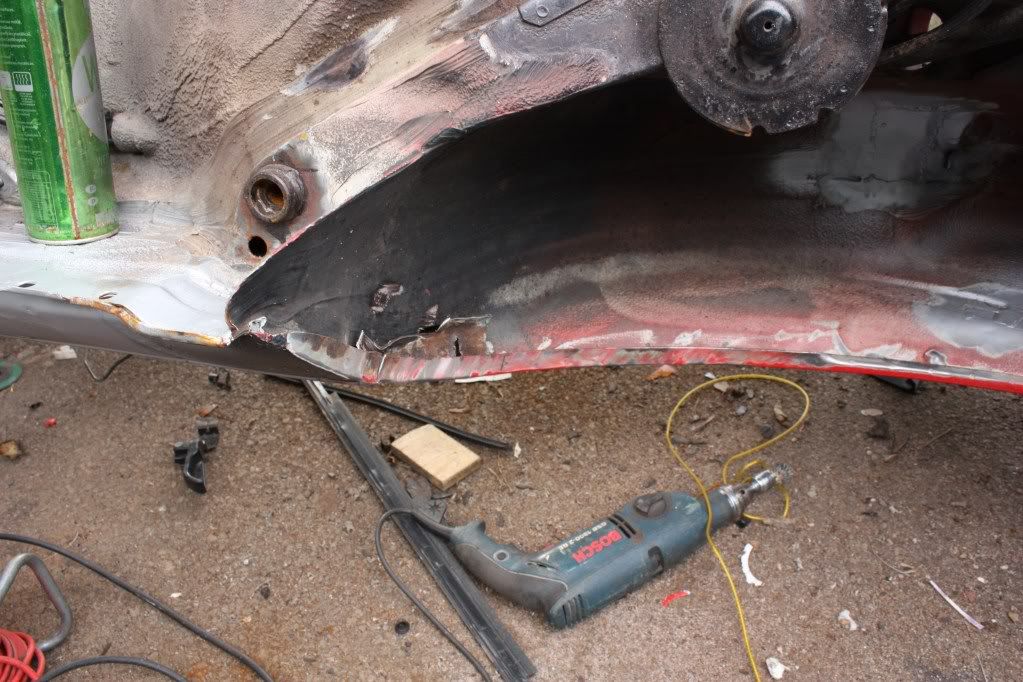
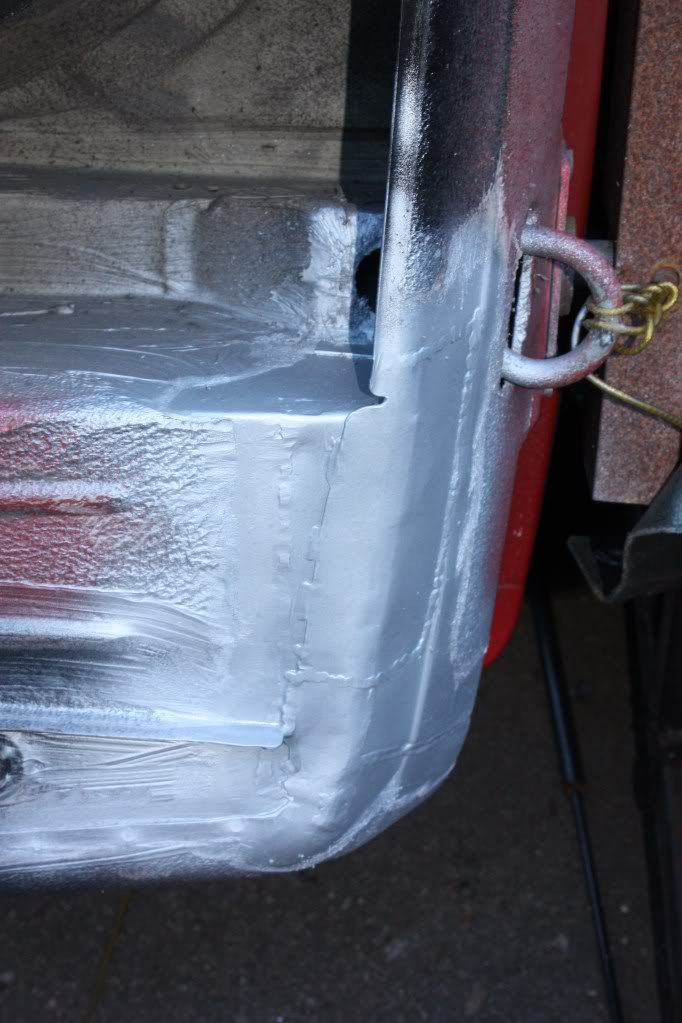
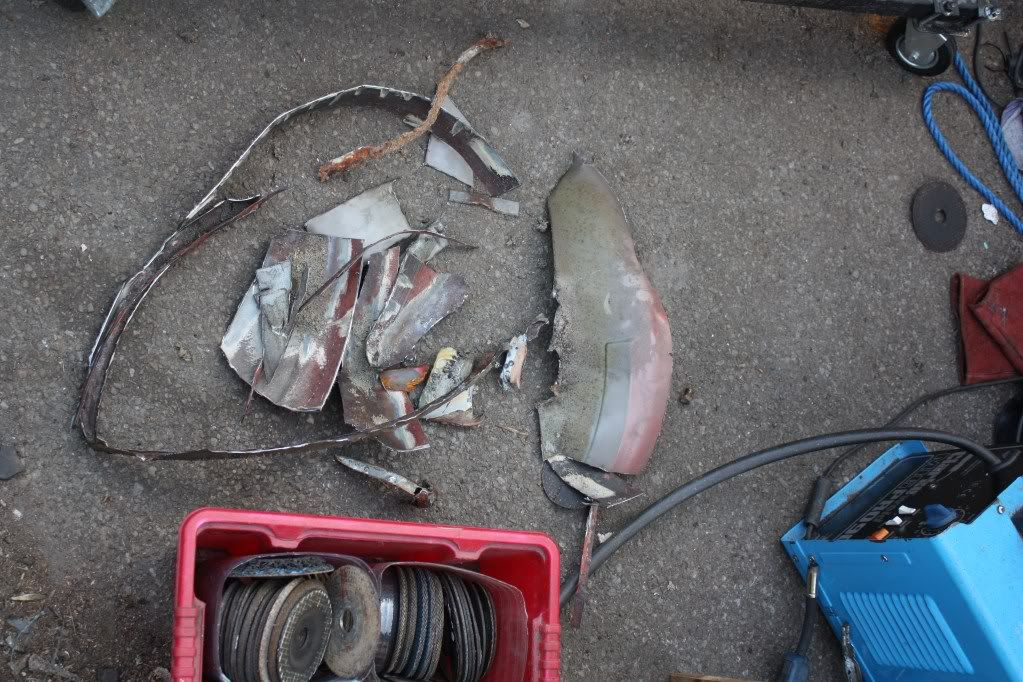
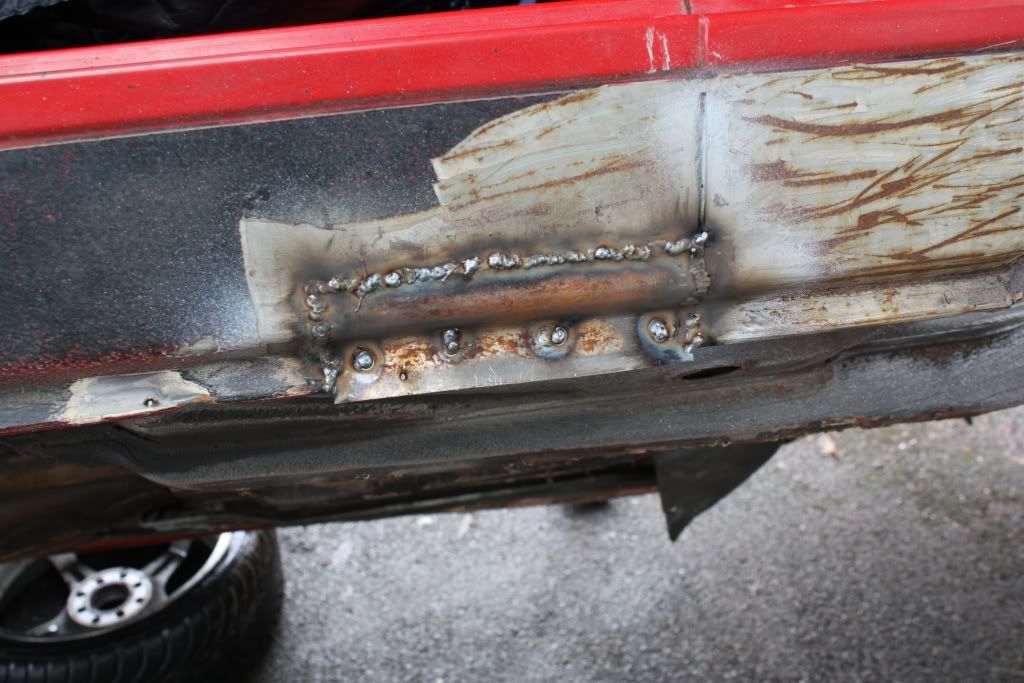
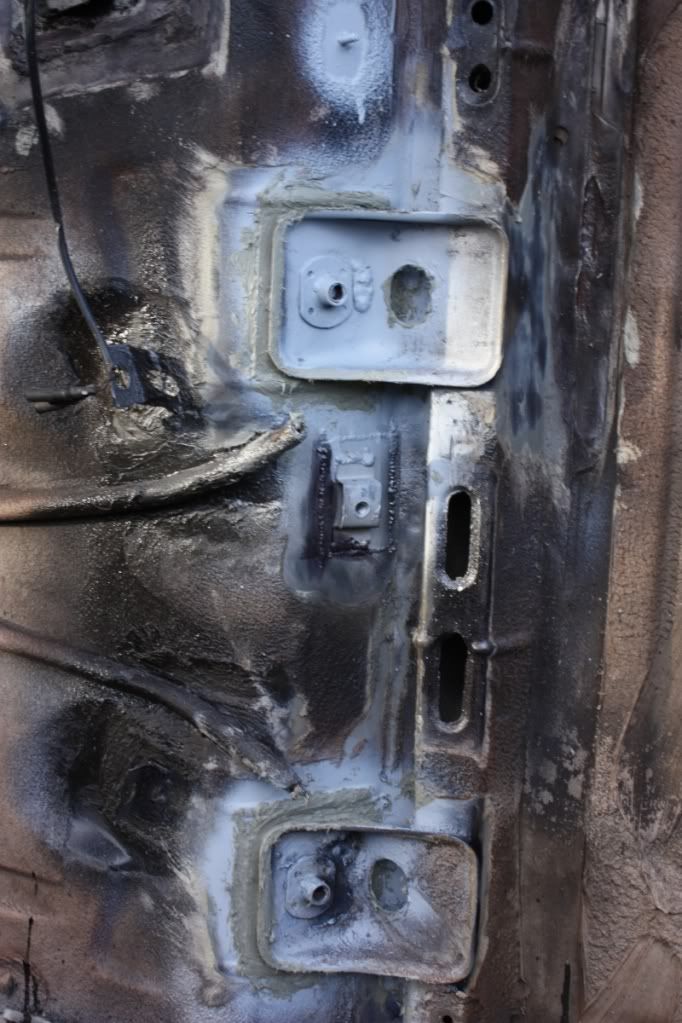
I had a picture of the drivers side rear cill, opposite as above, but I can't find it, here it is anyway with the rust cut out

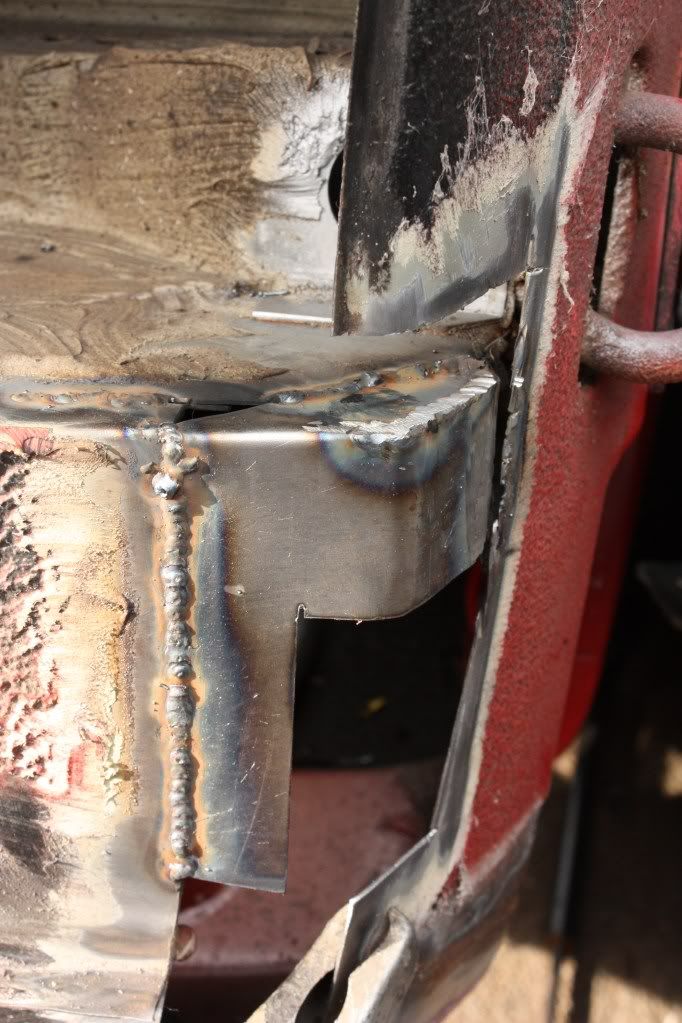
And 1 plate welded up

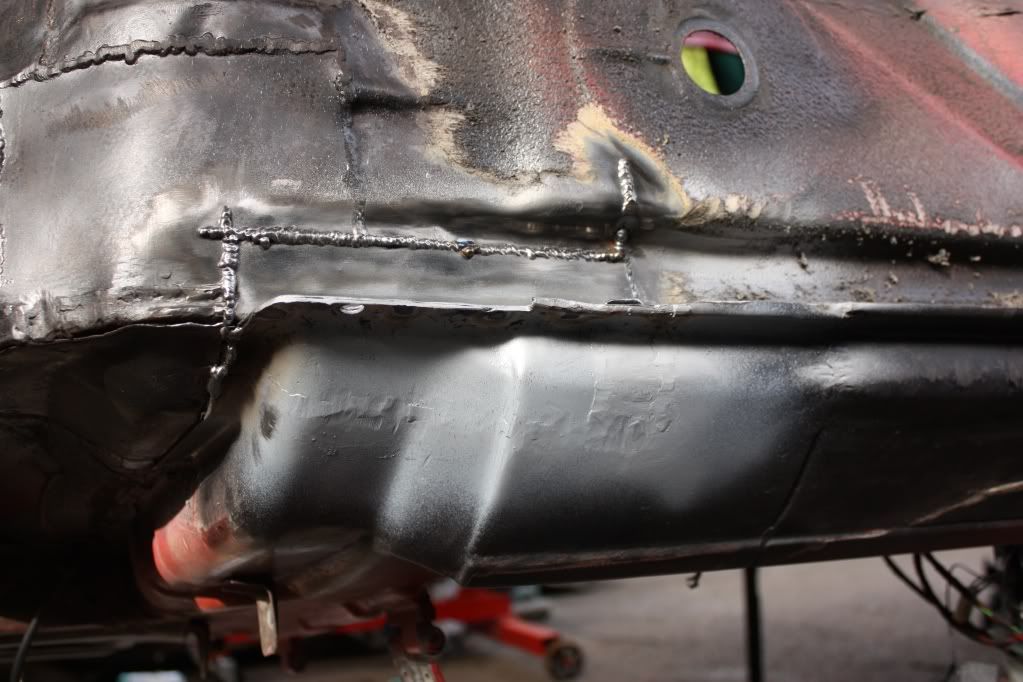
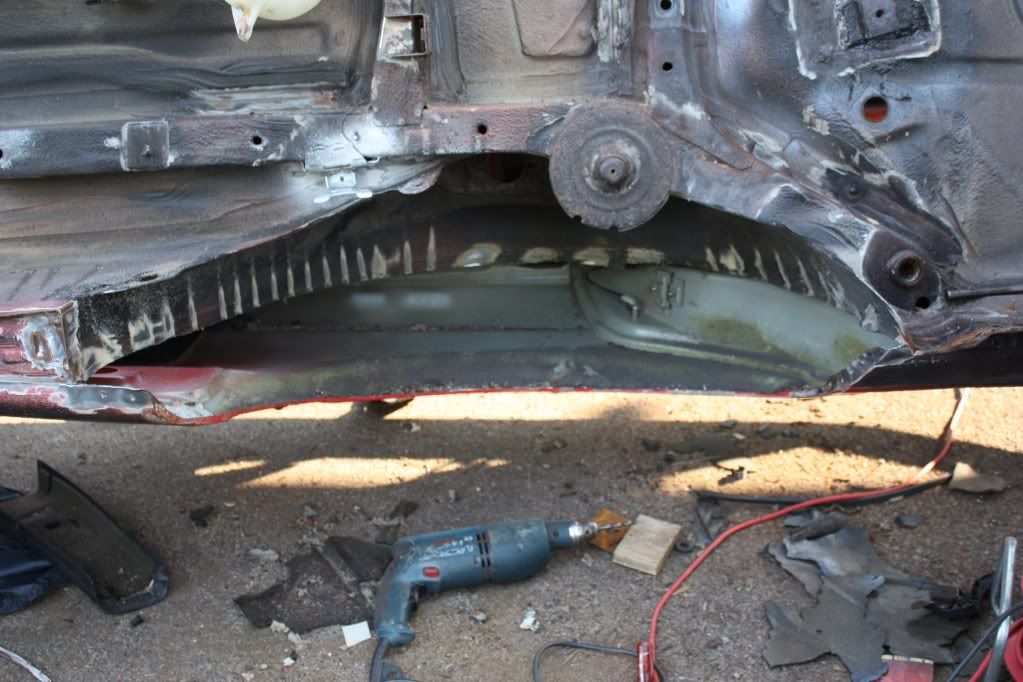
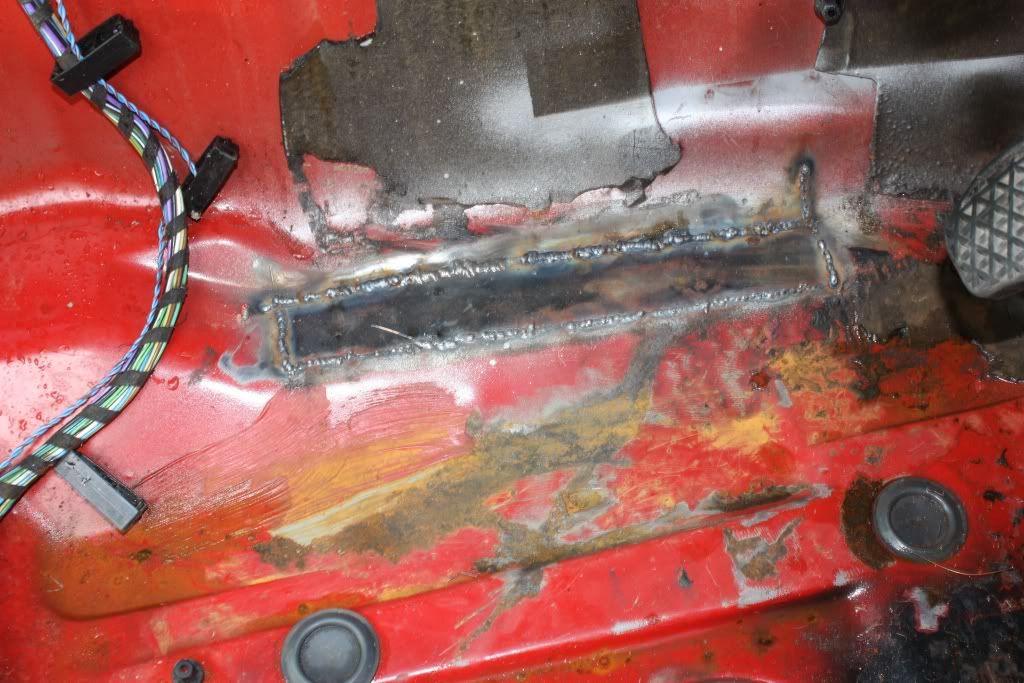
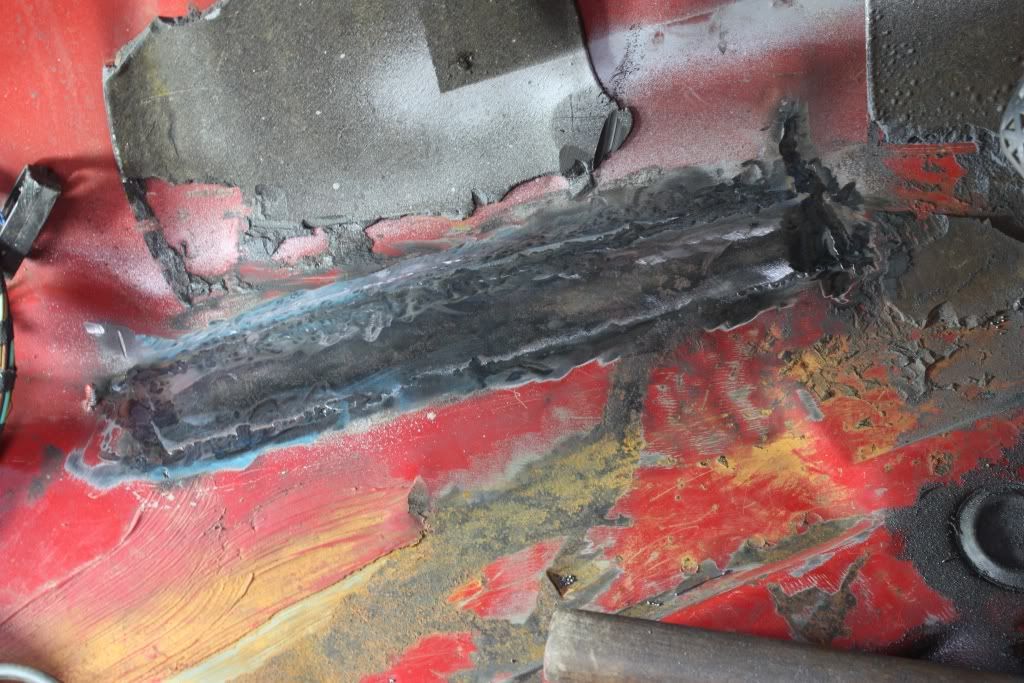
Ran out of light but got the plate on the inside of the arch nearly fully welded in, plug welds let go on me

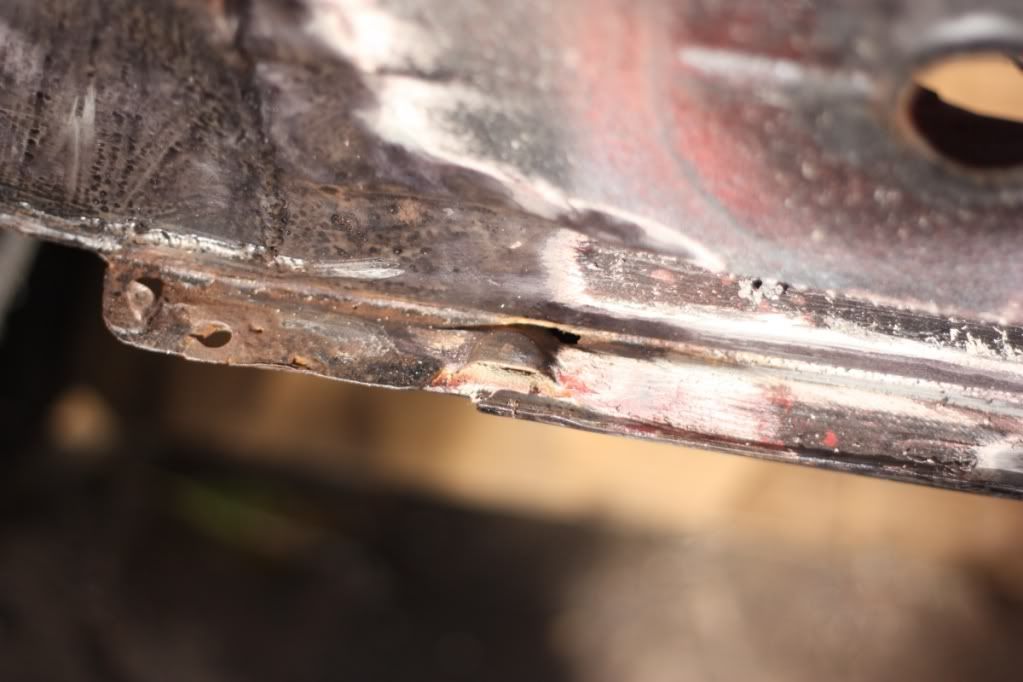
Anyone know should I have recreated the step or change of dept of the seam, only realised after having it all welded up there's a step. Will also drill the hole for the rear beam mounting once I fit the beam.
I patched up 2 other area's I'll get pics of them finish, no before pics of it though.
Thats all for now, will finish the above off tomorrow and then no more work on the car till Sat/Sun.
21/03/2011
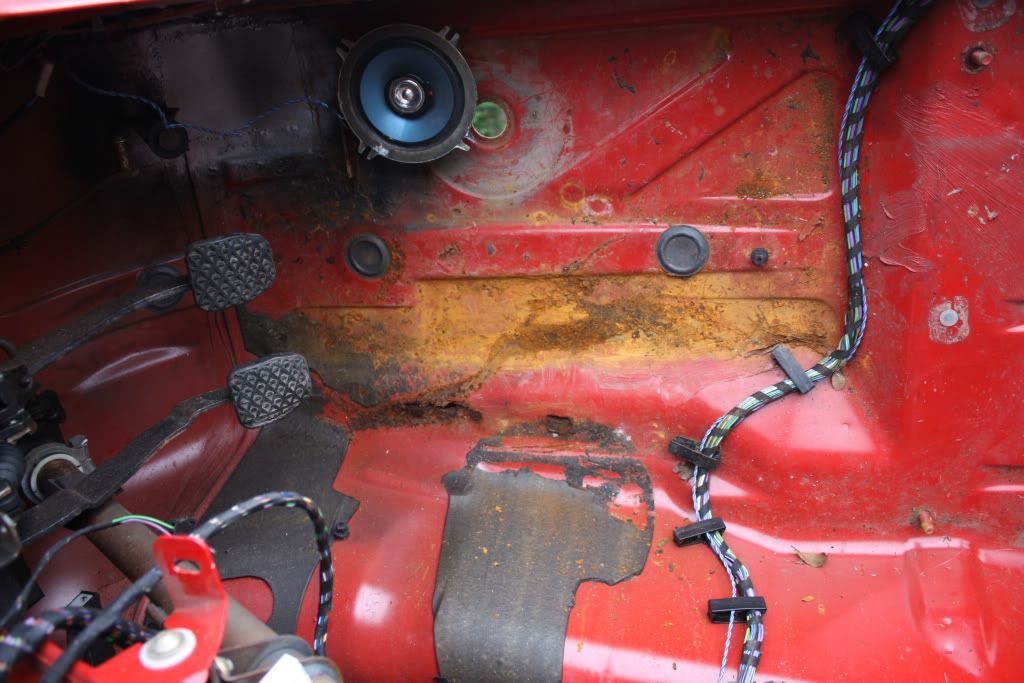
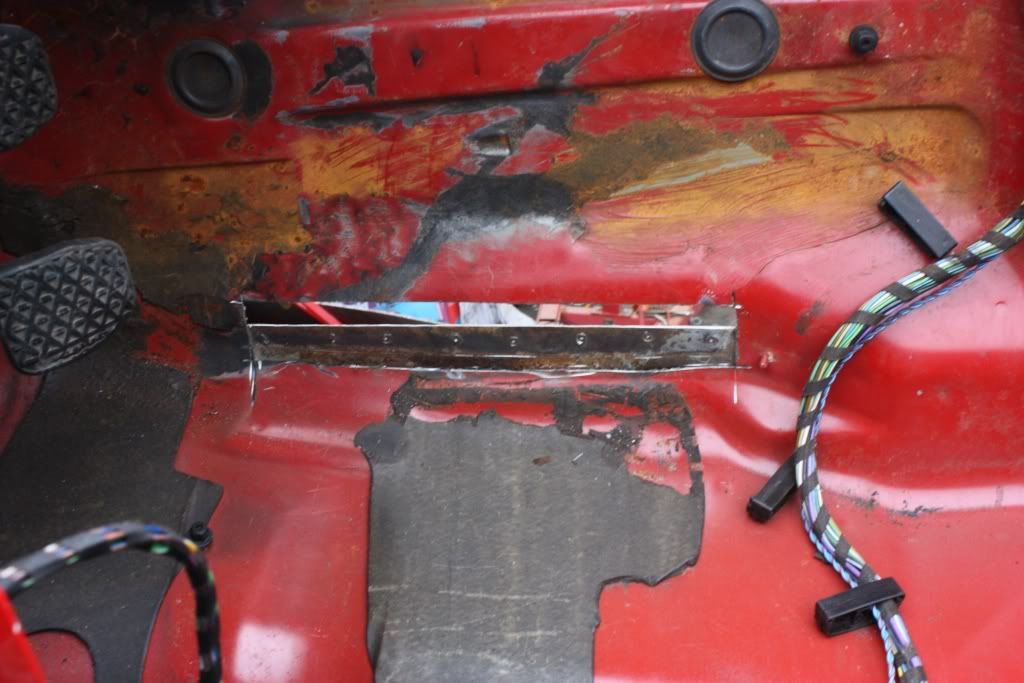
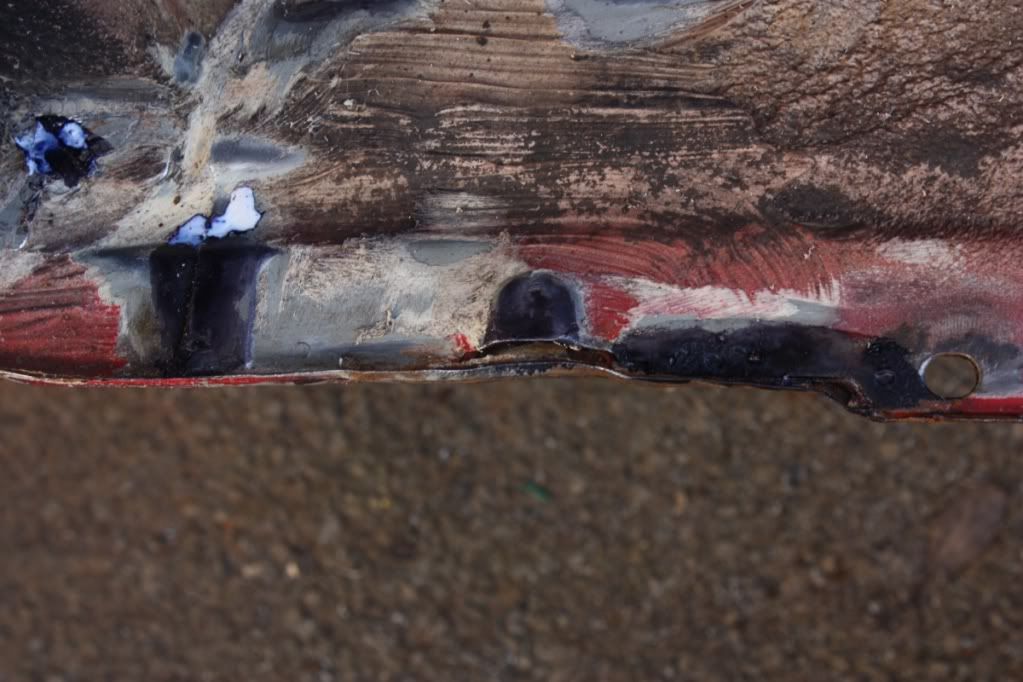
After a week+ of doing nothing I got the 2 fuel tank mounts cut out plated up and one new and the old bracket welded back on and seamsealed. Cut 2 other holes where the rear break lines go, will have to make up a new bracket or re-use the old ones tomorrow. Then it's onto the area where the handbrake cable is welded on, nice wee hole there as well.
23/03/2011
It's been 3 weeks now since any sort of real progress

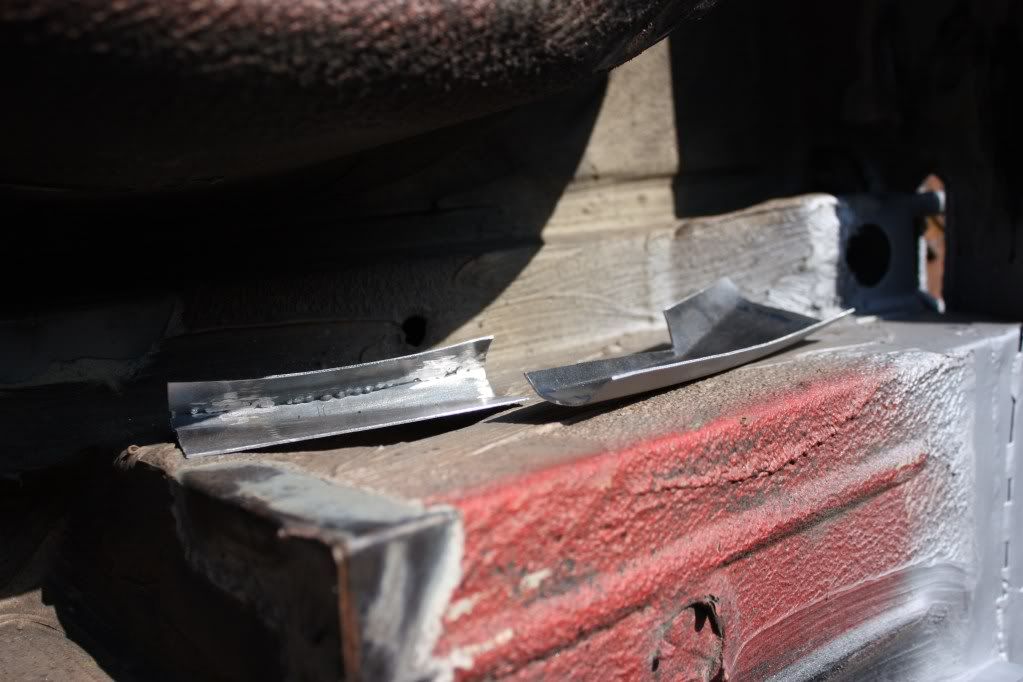
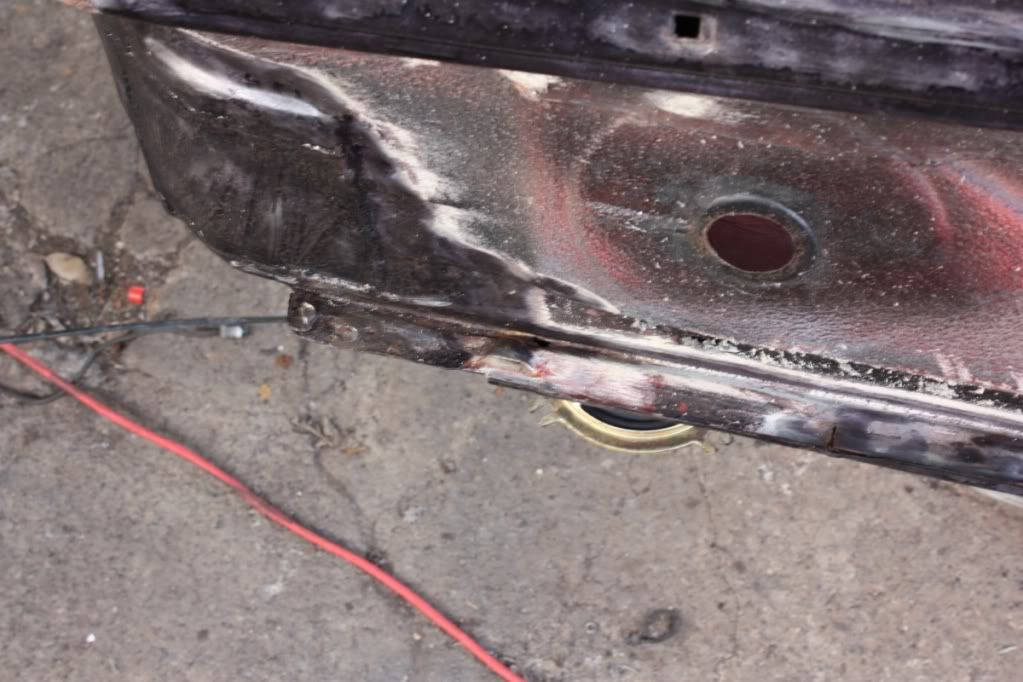
here's a few pics of the last two days worth of work. Had to make 1 new bracket to hold the tank, re-used the other and also the 2 brackets for the brake lines.
Up next

 24/03/2011
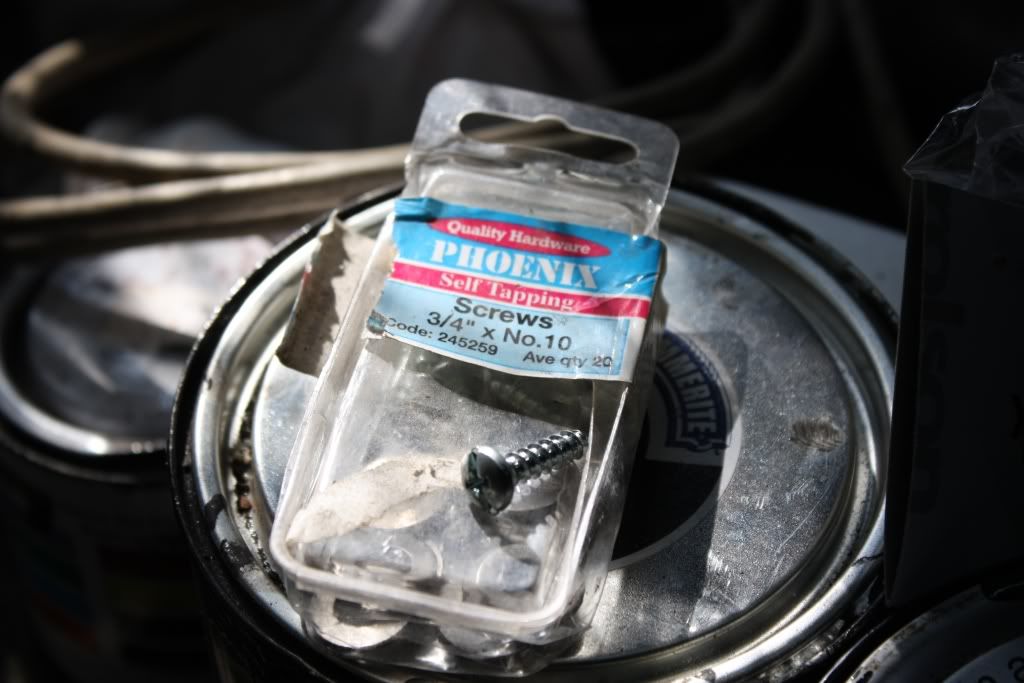
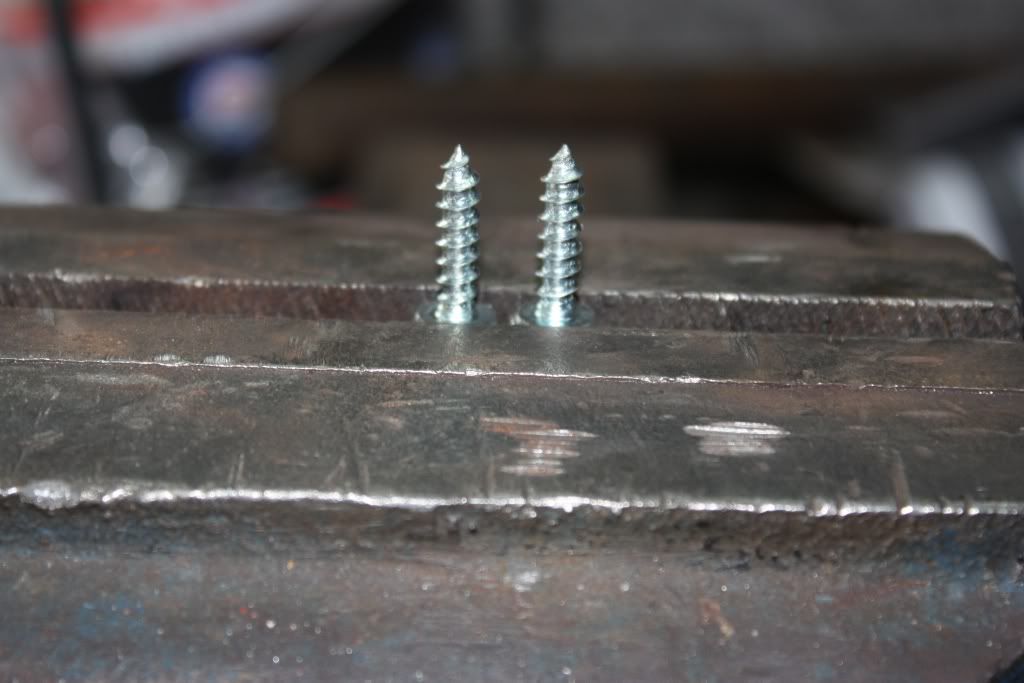
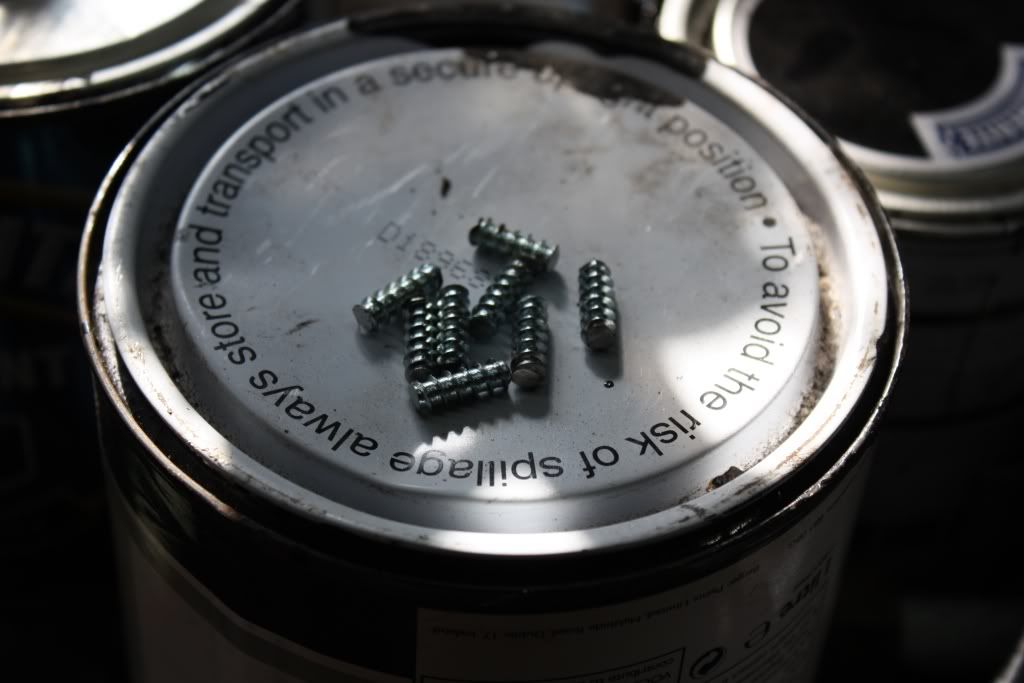
Started taking all the area's I touched up, removed rust or plated up back to bare metal yesterday with the intention of getting primer on it today. First up though, a few new studs.
Screws I ended up using (found them in the shed after I got back from buying some that were to small)
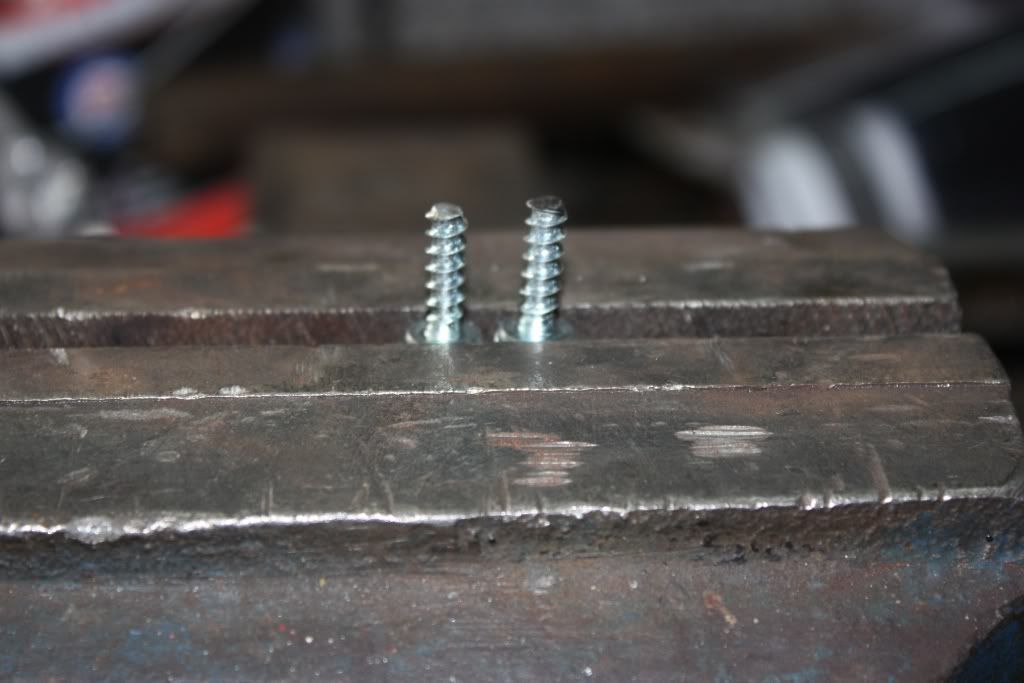
In the vice
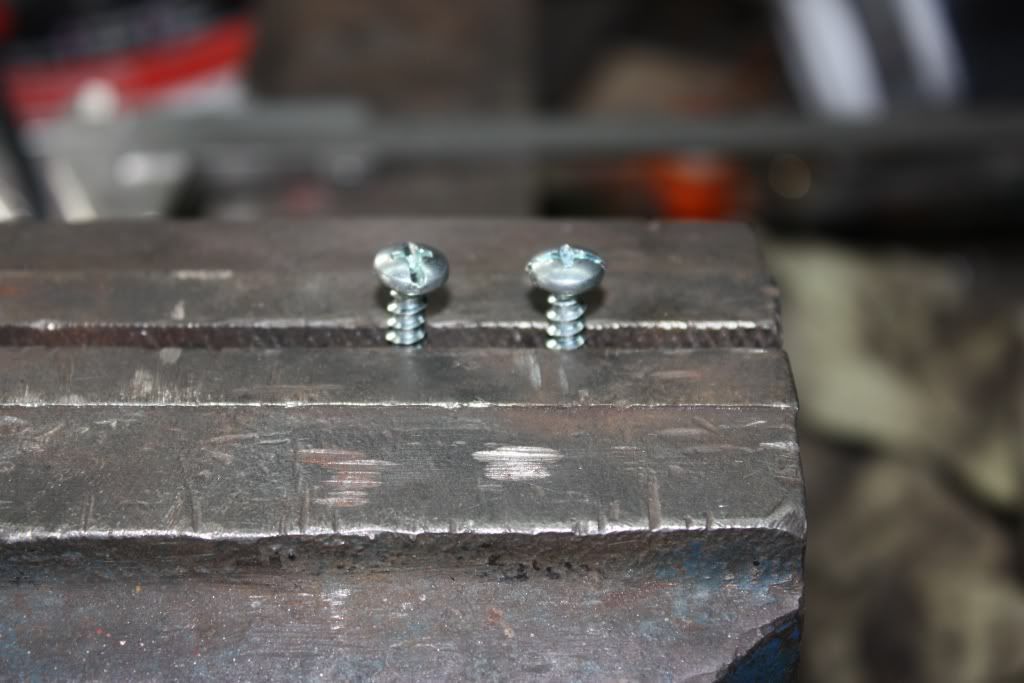
Flatten tip with the grinder
Flip it over
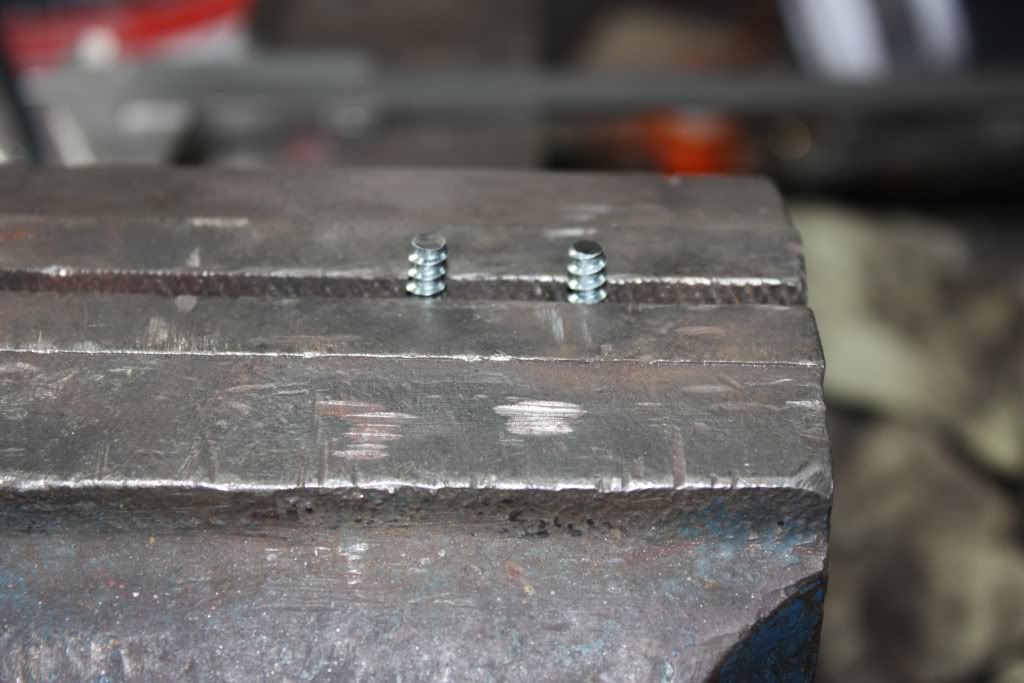
Cut the head of
And here's a few of them
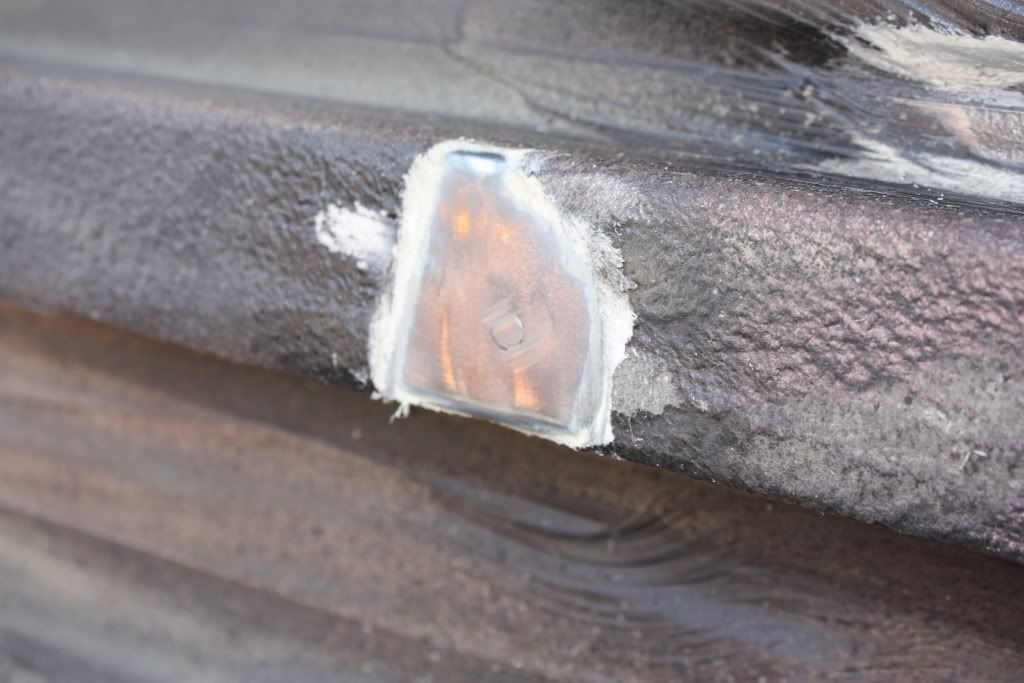
Rotten stud
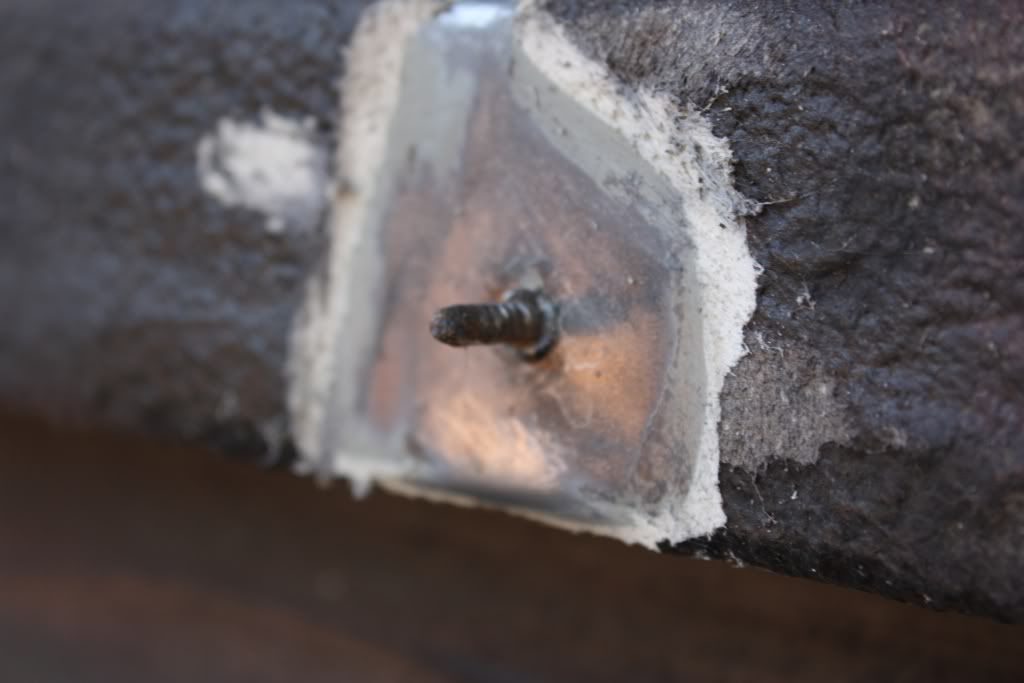
Cut of and area flattened a bit with the grinder
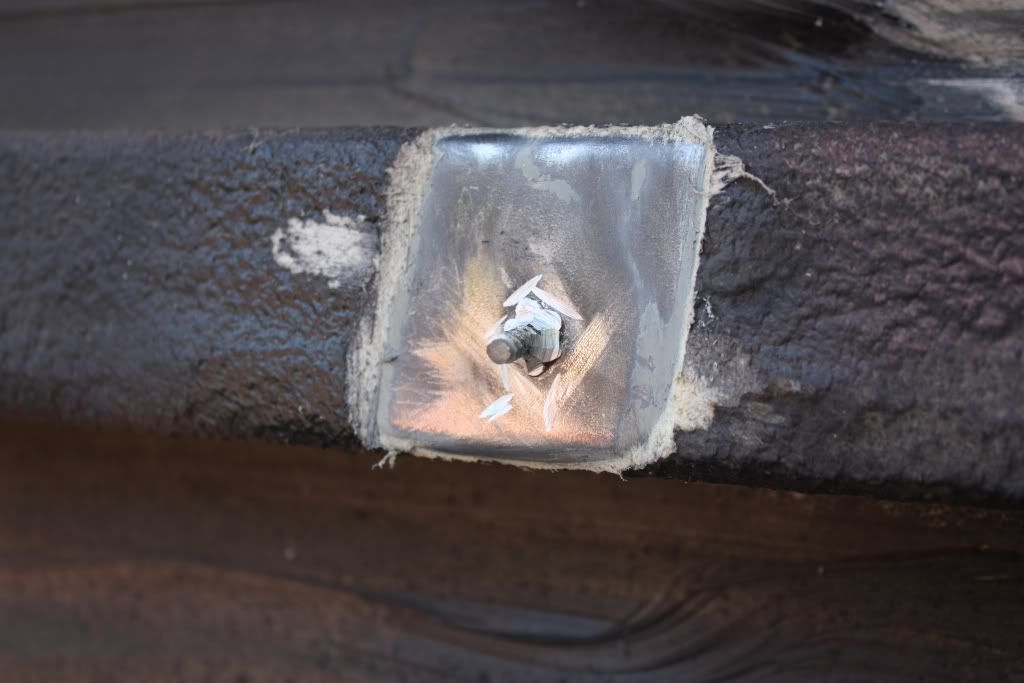
And one of the studs welded on
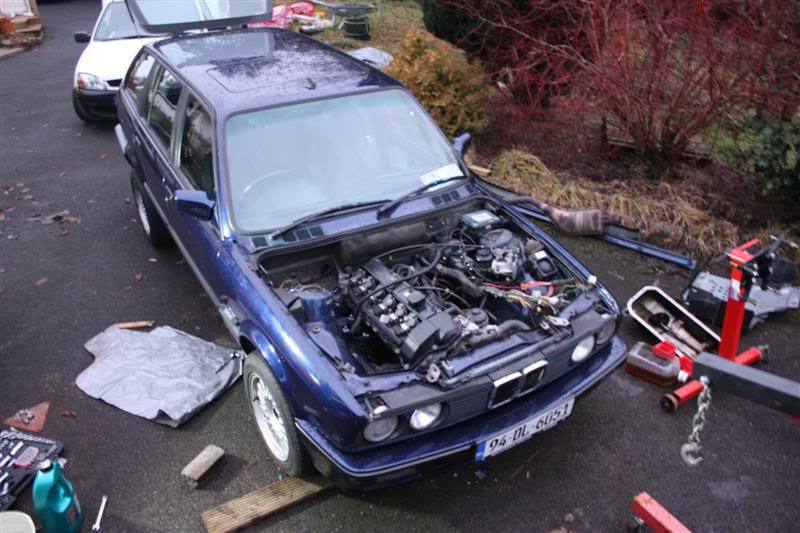
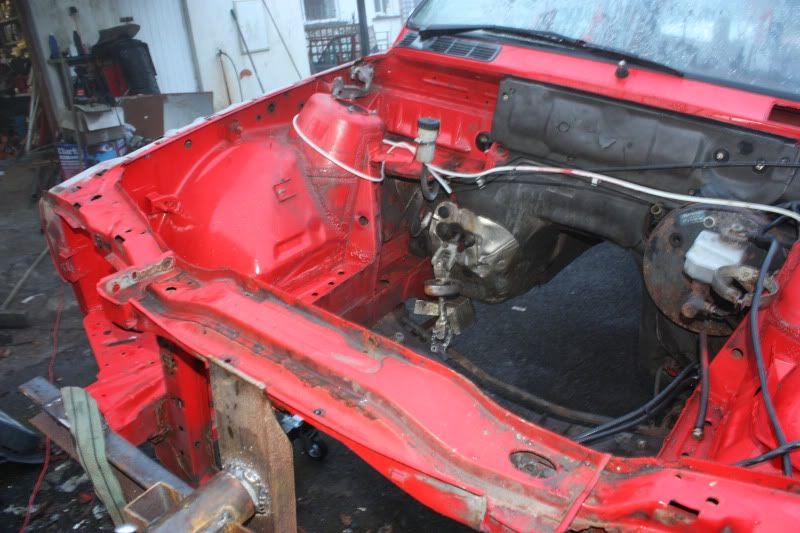
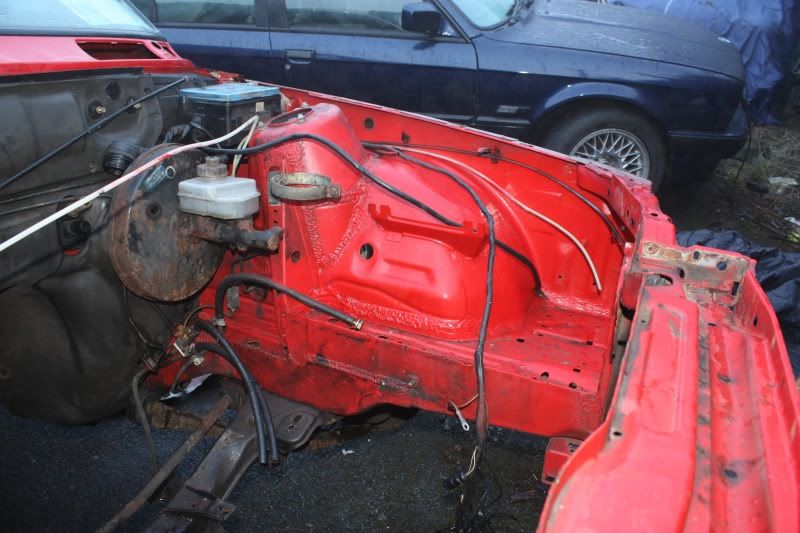
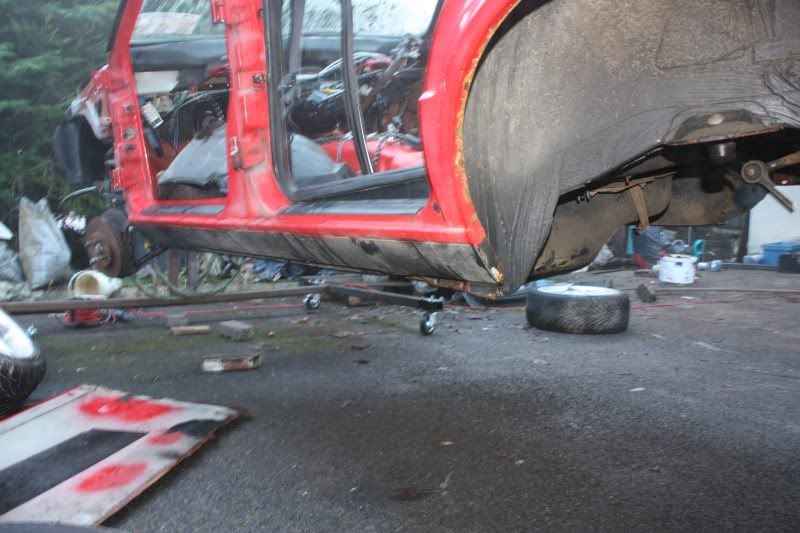
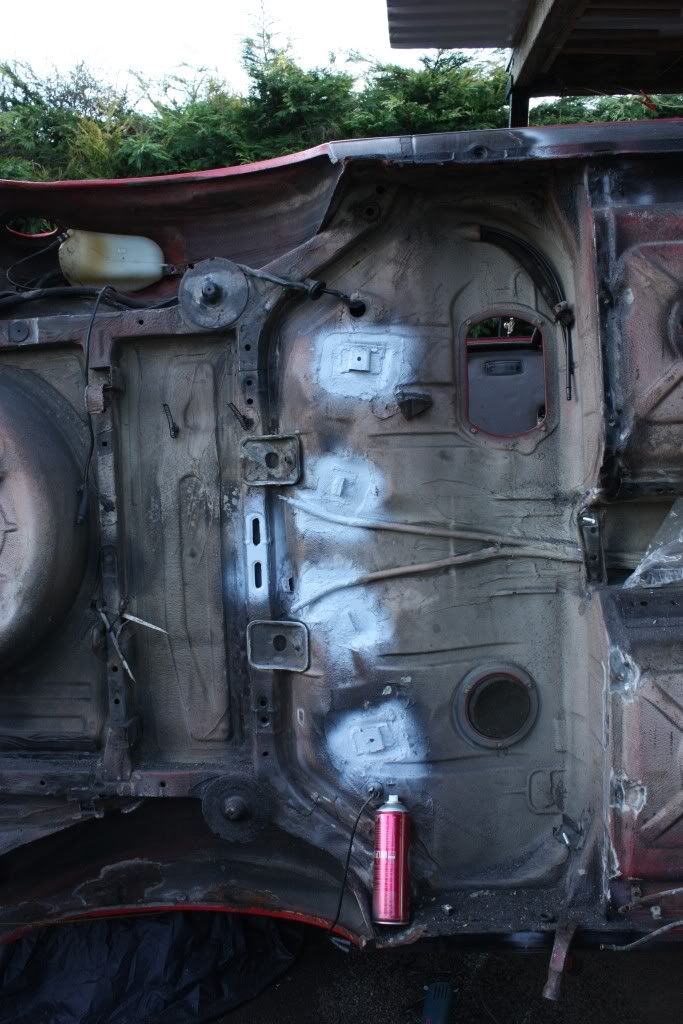
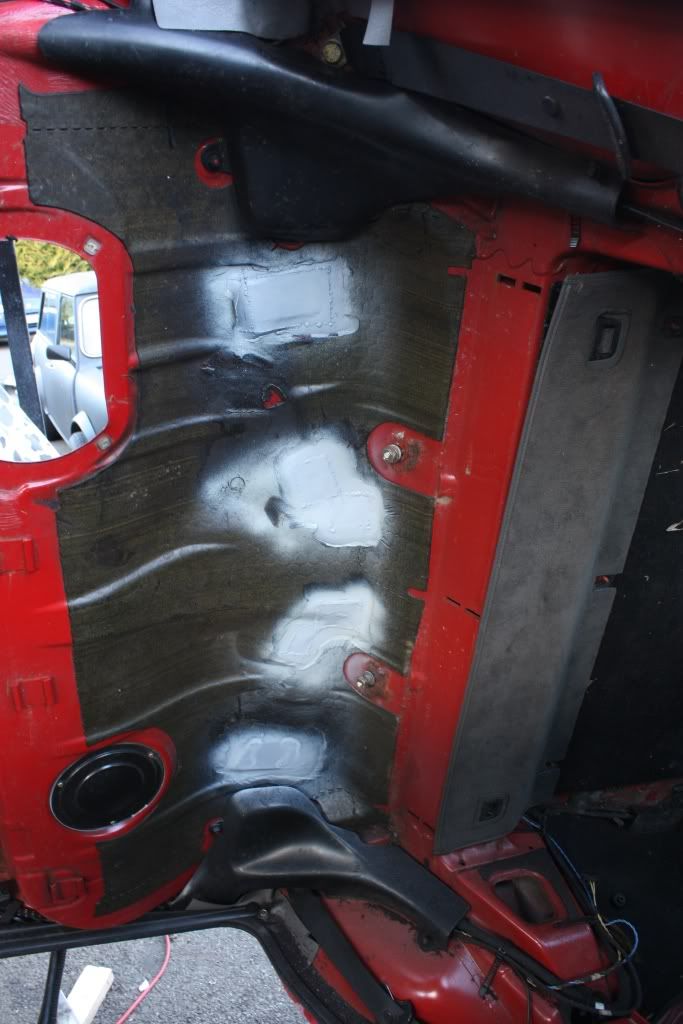
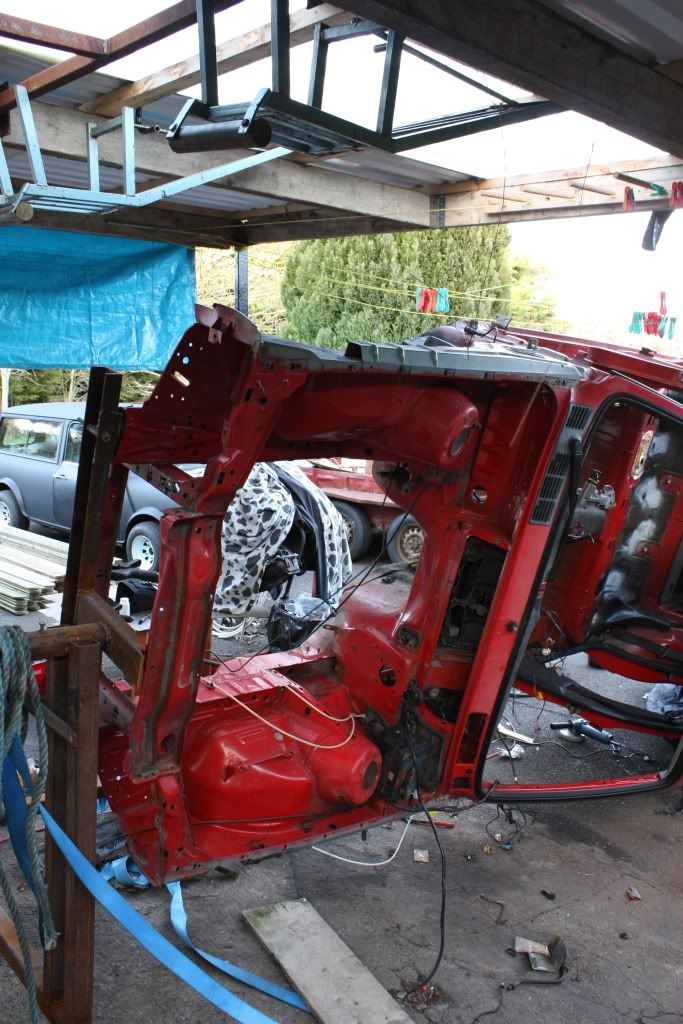
Here's where I'm at now, lots of bare metal

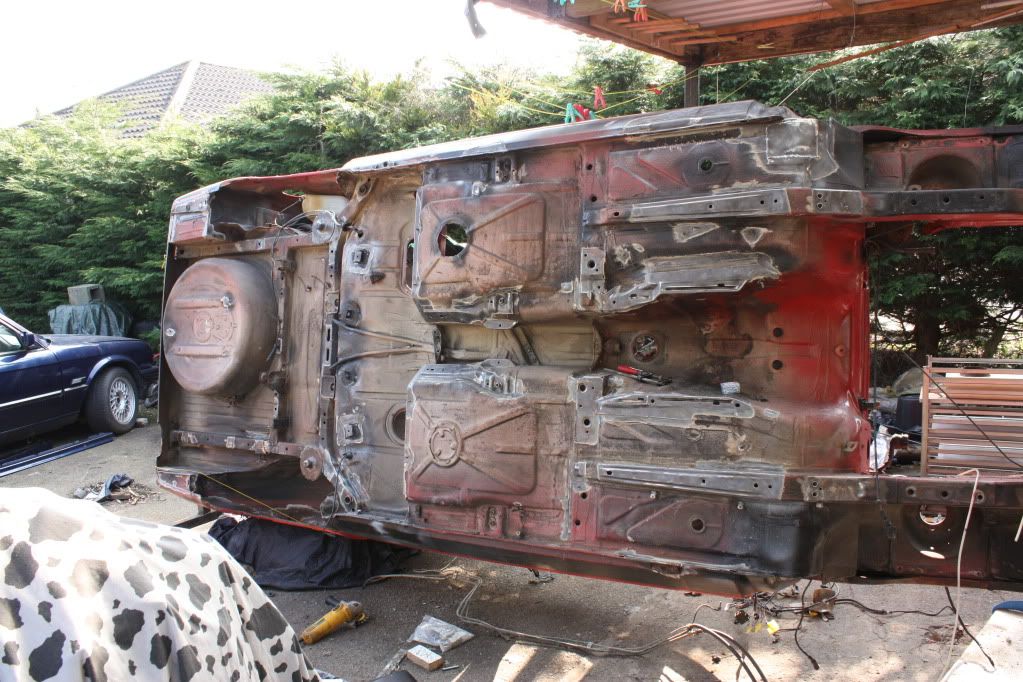
I was going to get sanding at the engine bay and have it primered as well, thinking I'll sand all the bare matal tomorrow and get some primer on it before moving on to the engine bay.
There's a couple of tricky brackets that need to be cleaned up by hand and the bolts holding the bumper mounts on will have to be replaced one it's of the spit.
31/03/2011
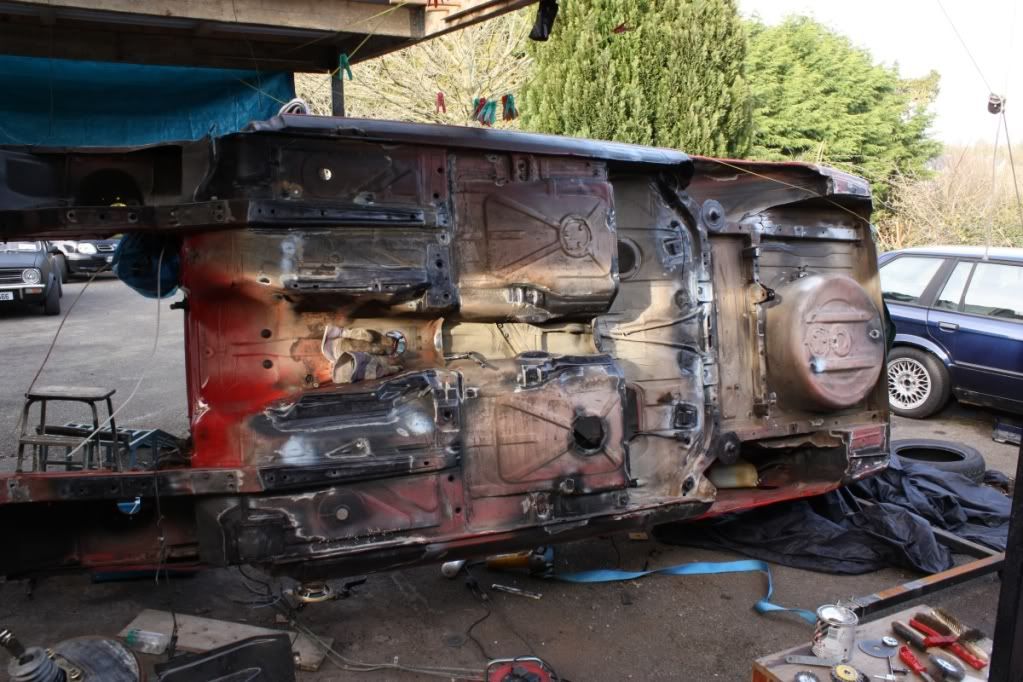
I think I got all the cracked underseal removed and all the rust found, finally. Few new holes as well that I will start at this evening, the end looks to be insight! A good clean-up and a sand and I can get some primer and paint on all the area's I cleaned up.
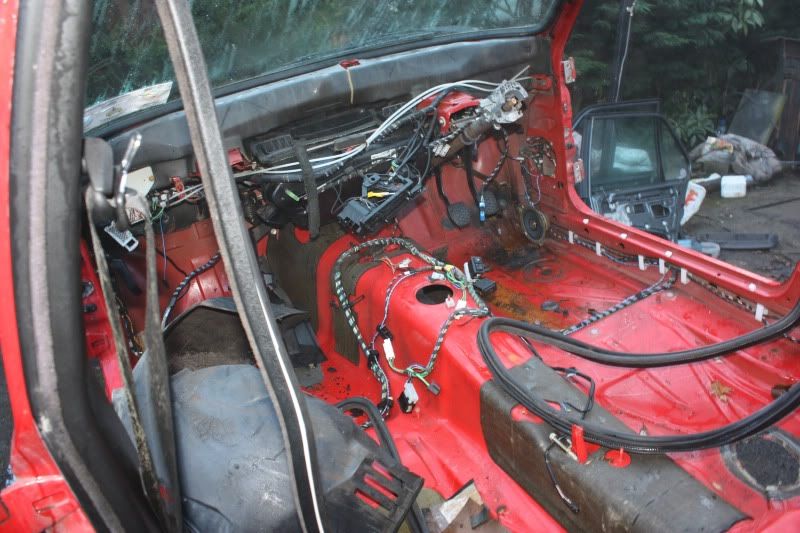
Then engine bay... then interior... then I'm sure...
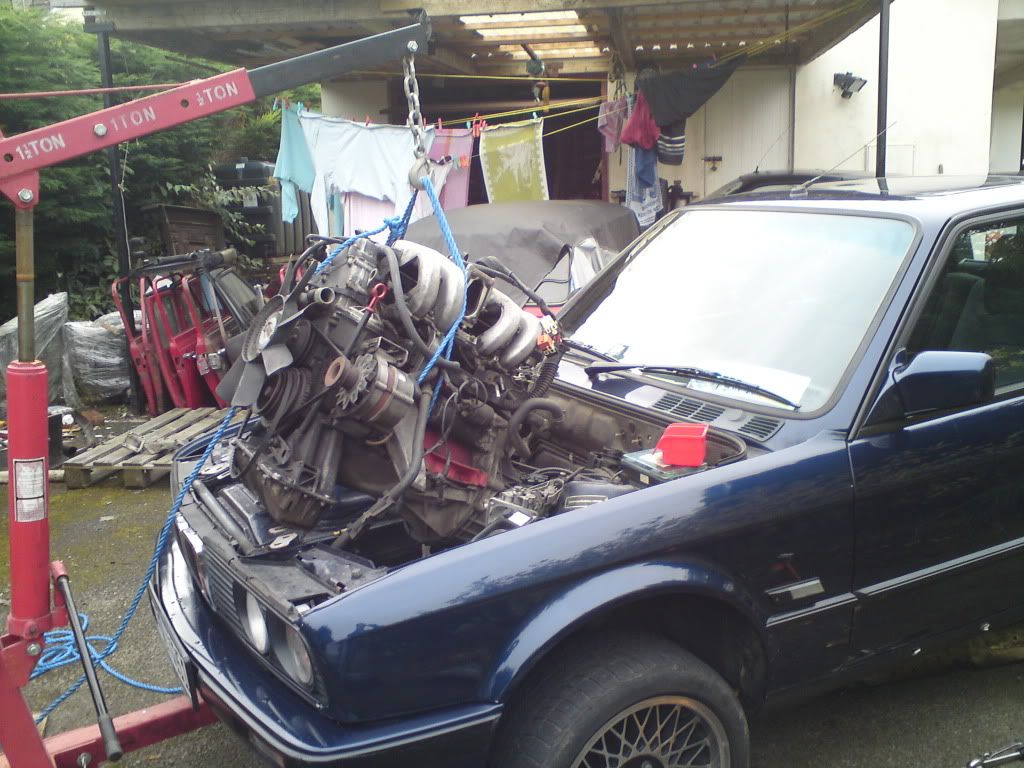
Haven't taken any pics in the last week or more, it's a bit time consuming and I'm not keen on the cam lying out all exposed.
Took a few pics:
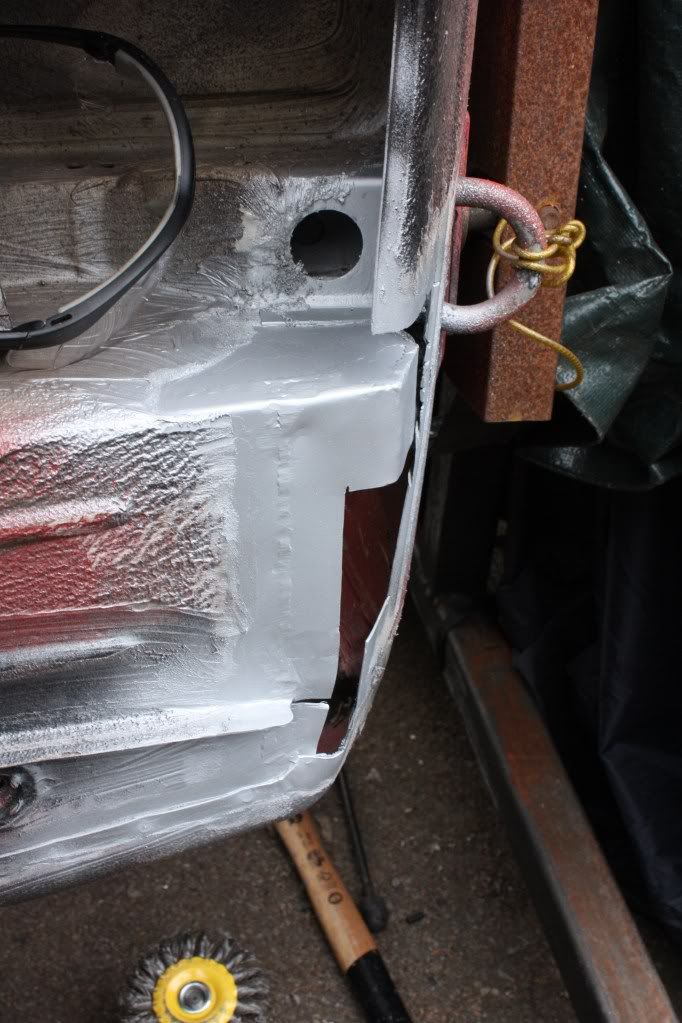
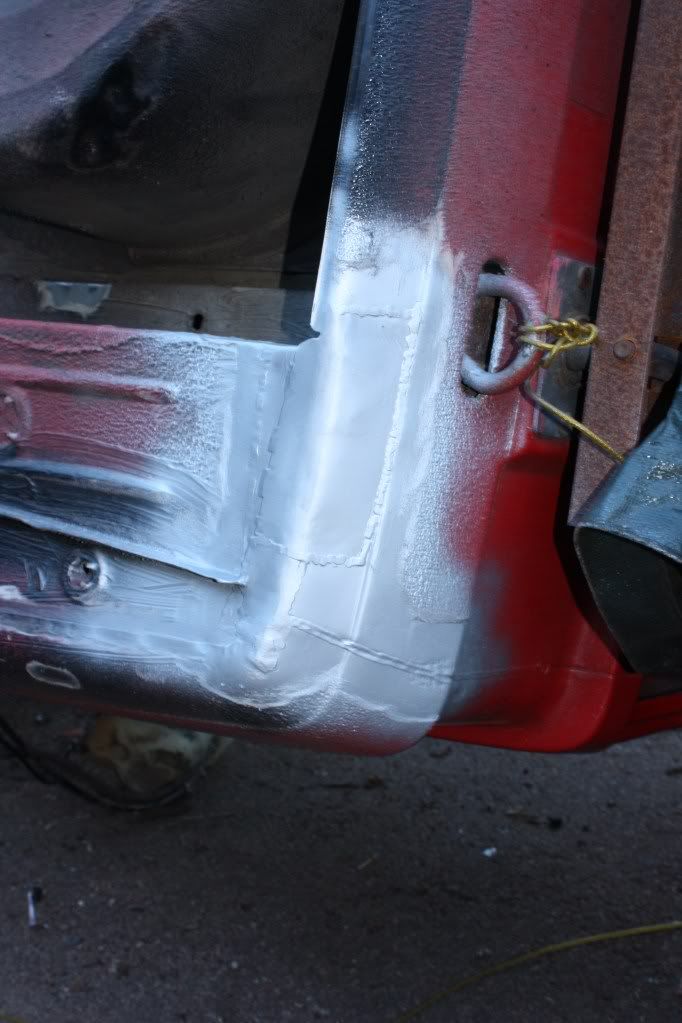
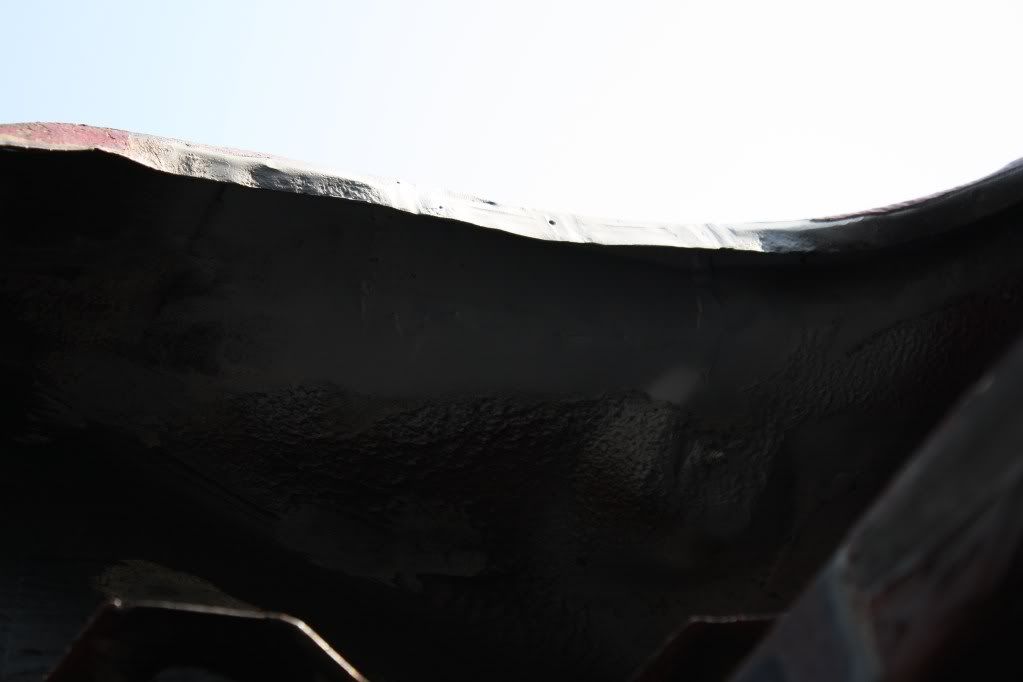
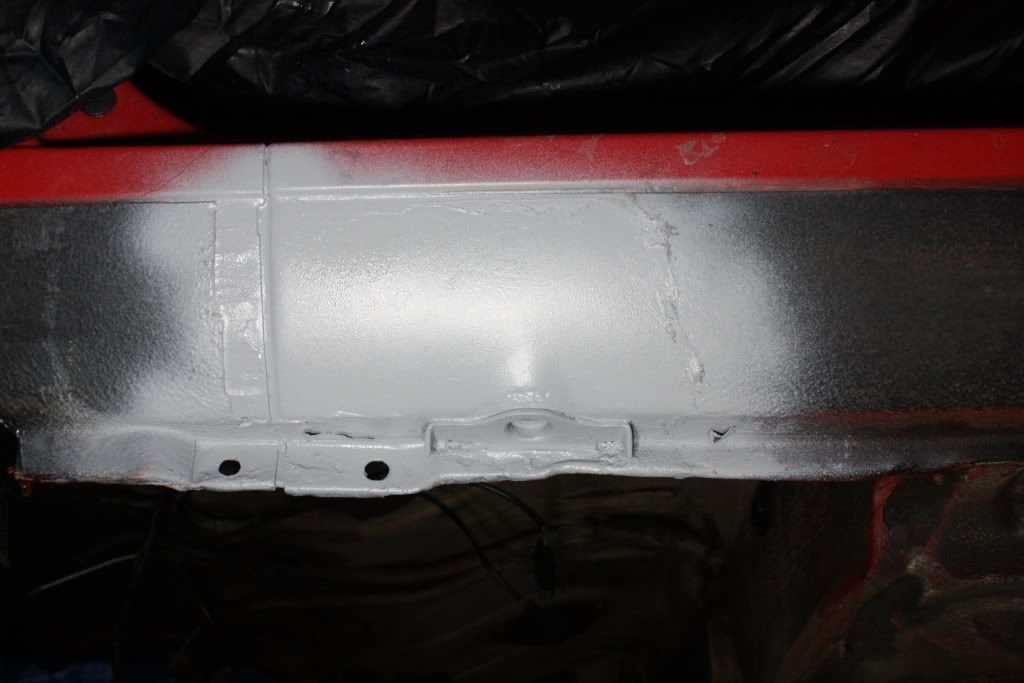
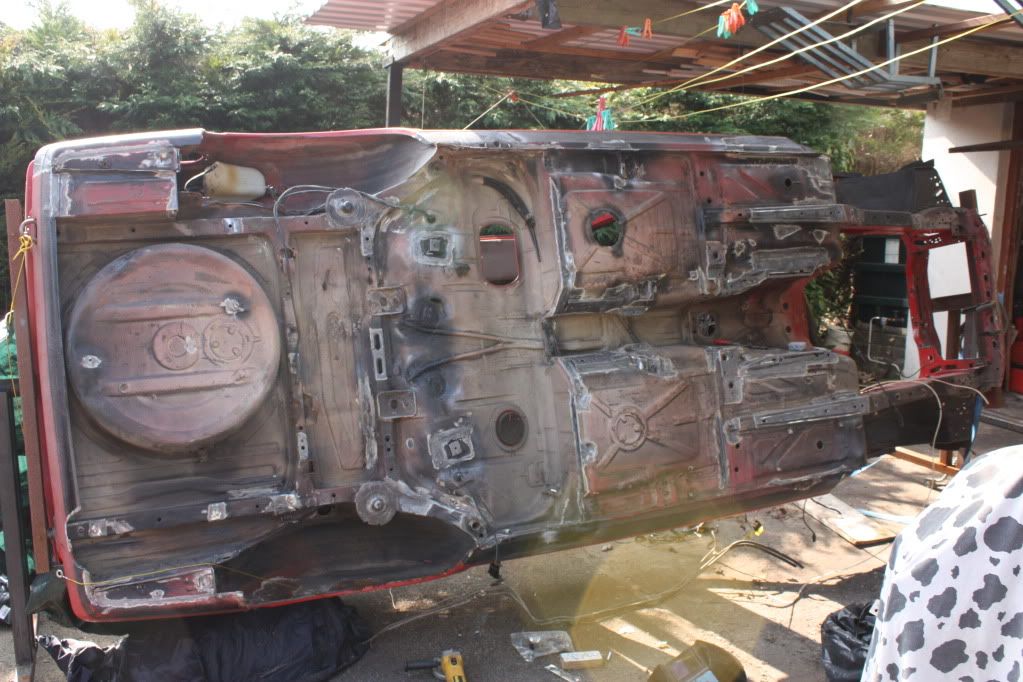
Here's where I'm at now, lots or bare metal all with a coat of kurust on it:

Soon to be primered and painted
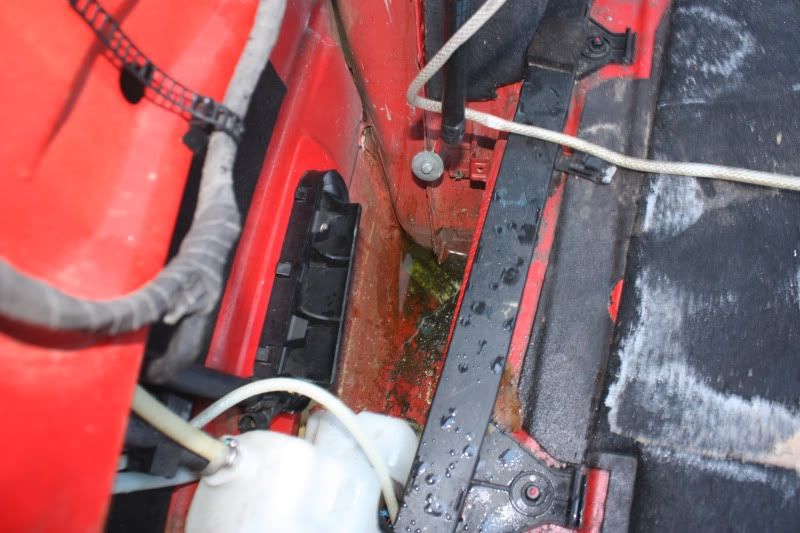
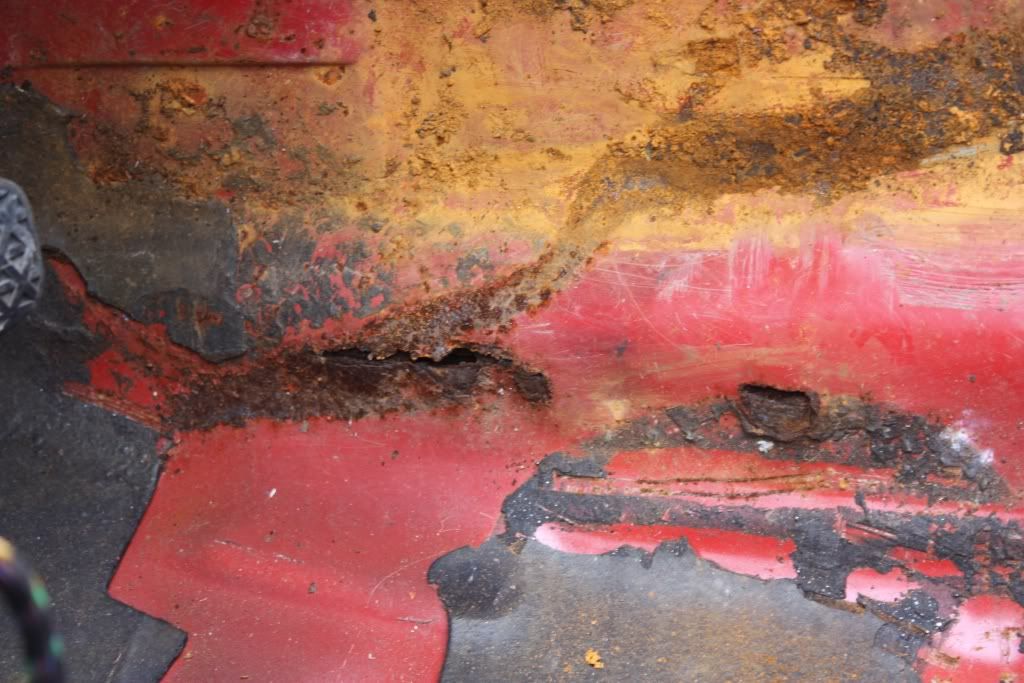
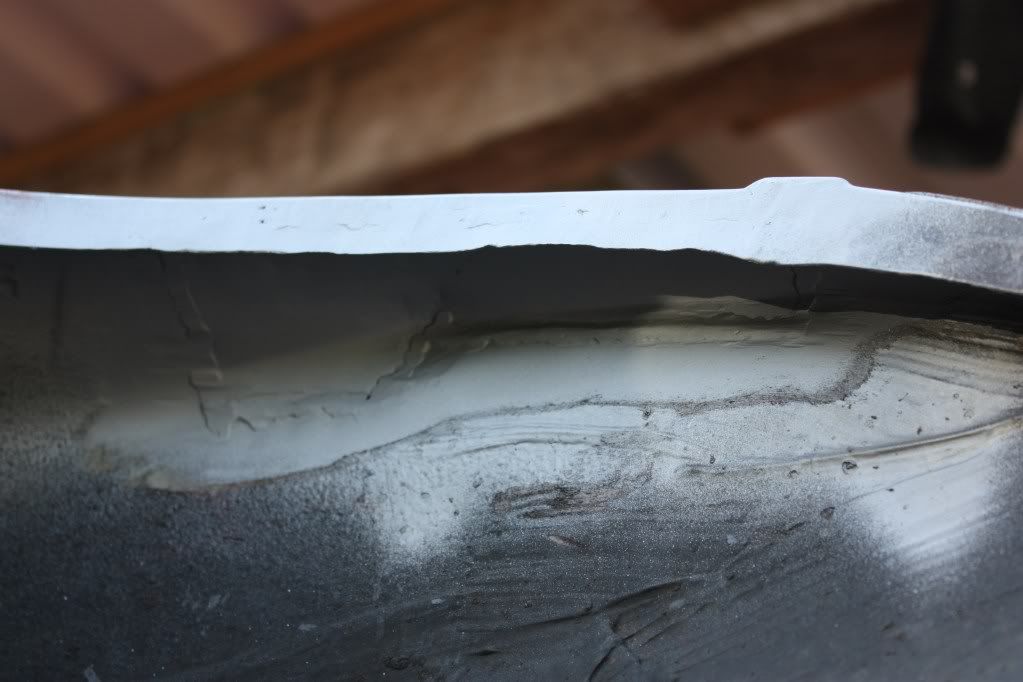
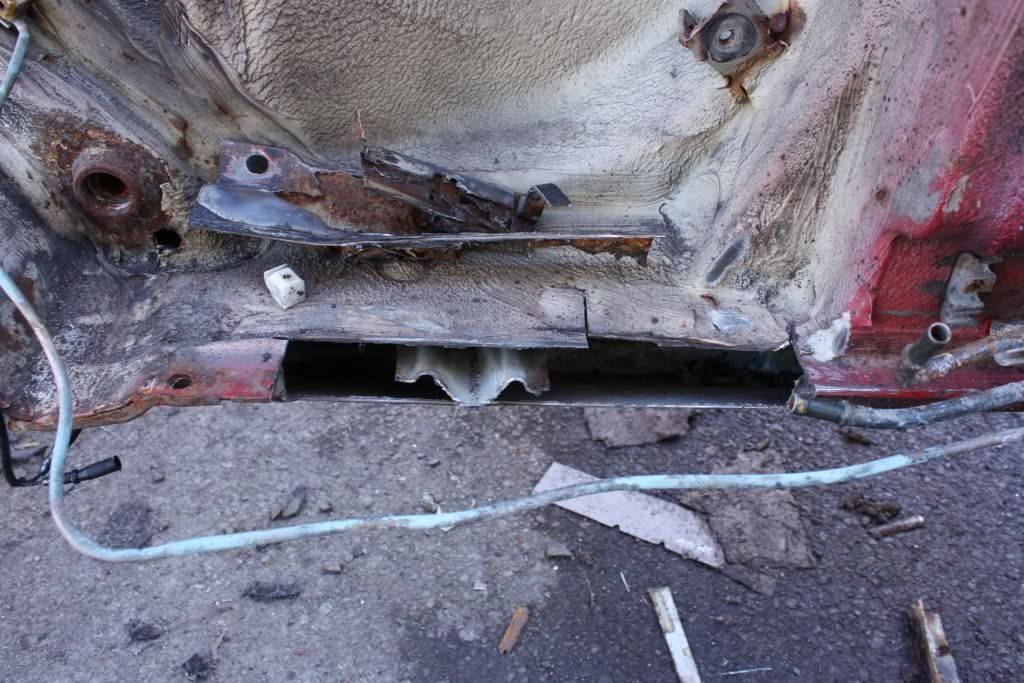
I decided to investigate why the seatbelt points? looked so flakey, 2mins later and not much metal left - another 2 holes
A few attempts at making a nice piece of metal later...
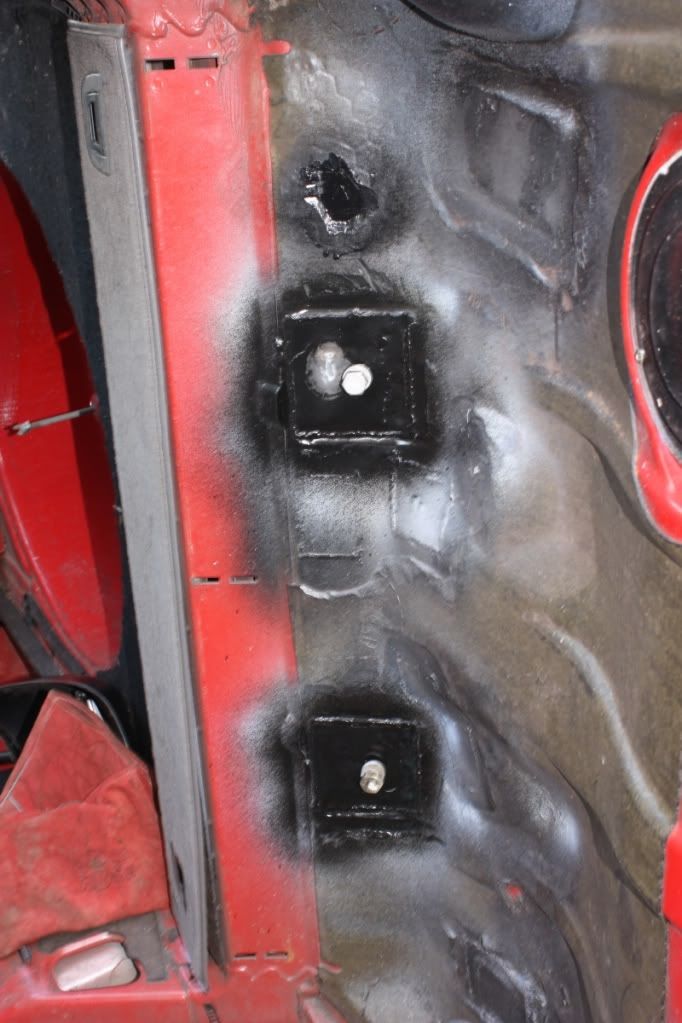
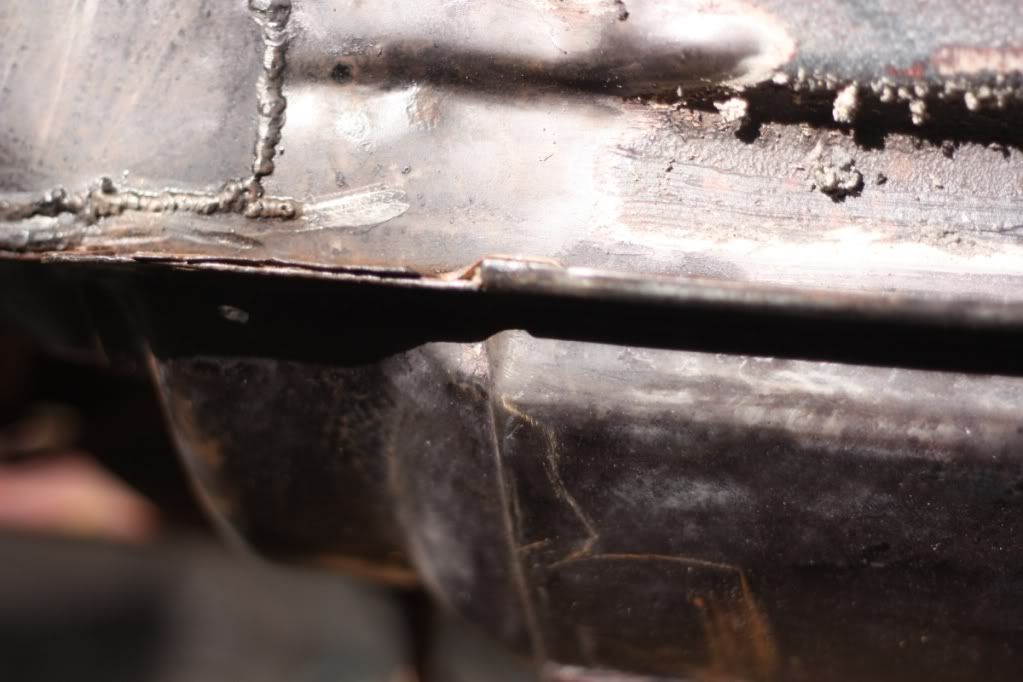
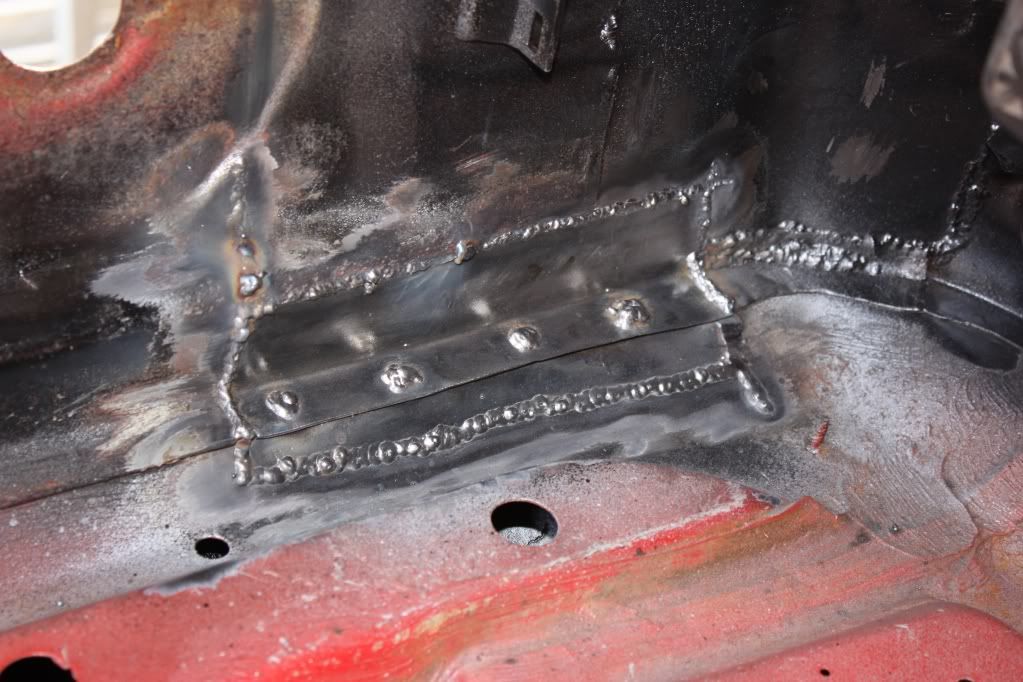
Getting better at the welding as well, got a few good runs of nice weld doing them 2 patches - not quite visible in the above pic. Both patches were also plug welded to the brackets behind them. Plug welds needed a bit of grinding to get them flat, prob could have done a bit more grinding on the other welds but didnt bother as it wont be seen.
Tried my best to seal the gap between the plate and the bracket with seam sealer. Trapped moisture here was prob the cause of the rot the had developed!
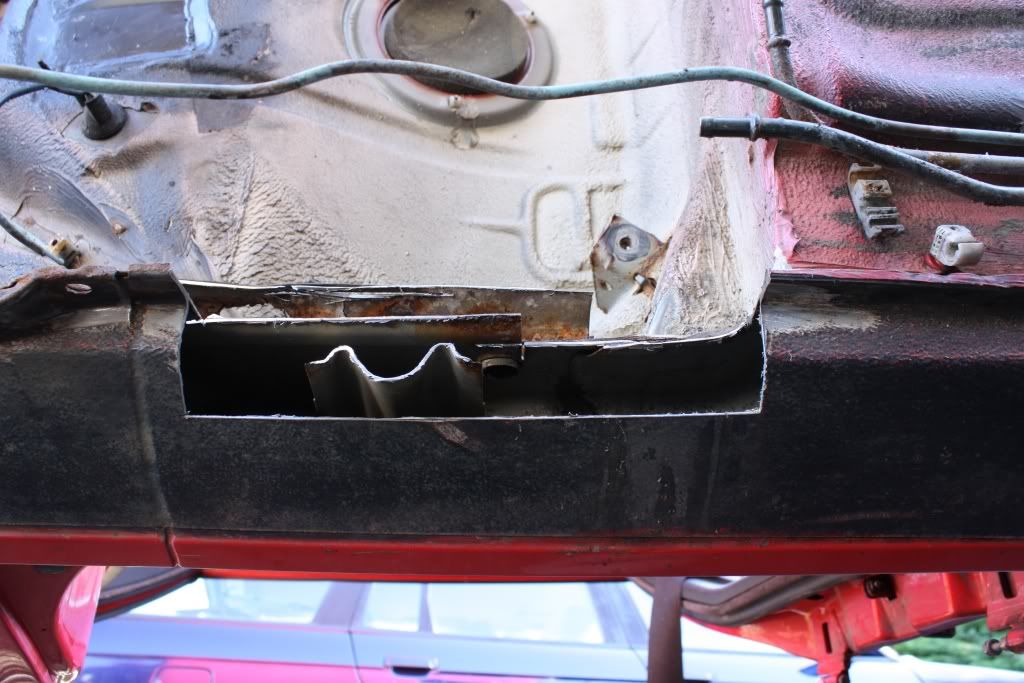
2 new holes, both on the cills at a drain opening, one by the front wing the other where the petrol tank is
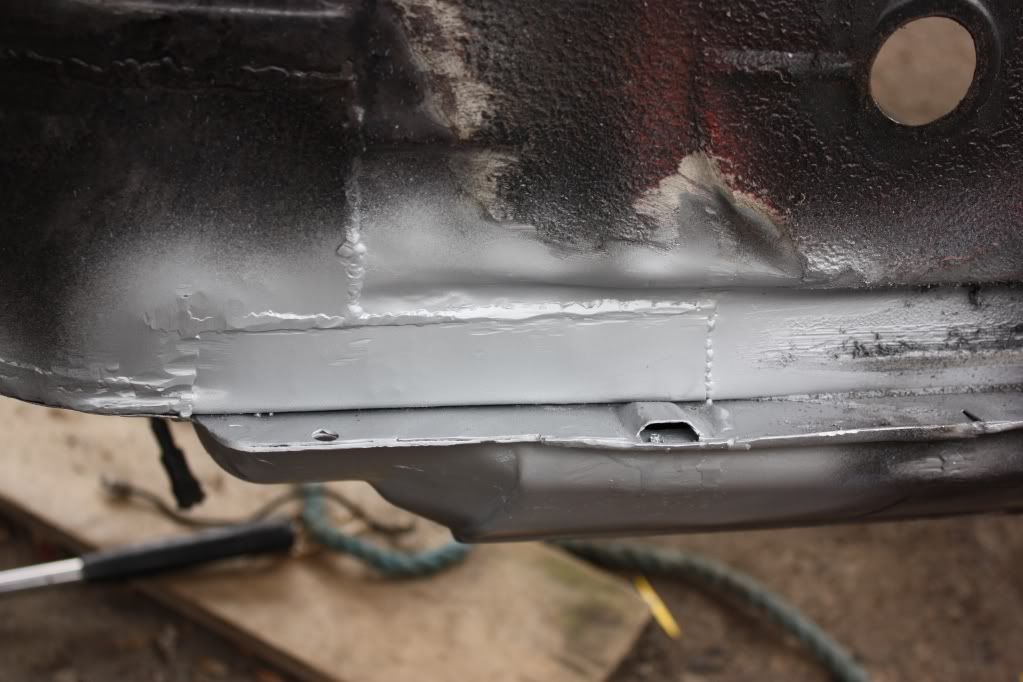
Will get these plated up and then prep for primer, paint and when I get it underseal.
Next up then:

Getting there, slowly
[04/04/2011[/i]
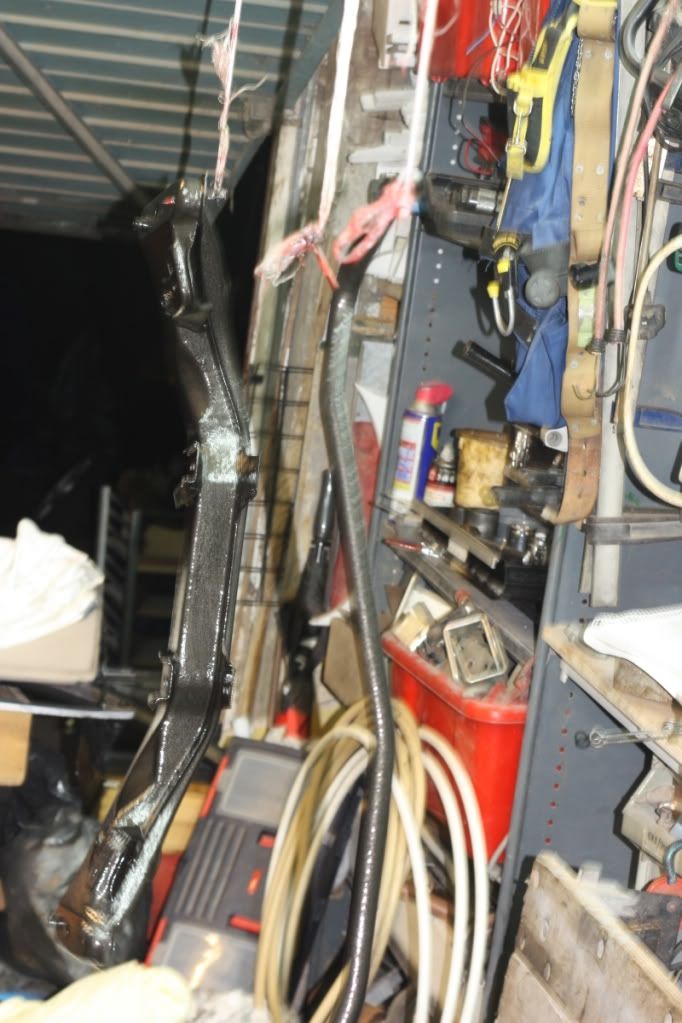
Some new parts collected at the weekend
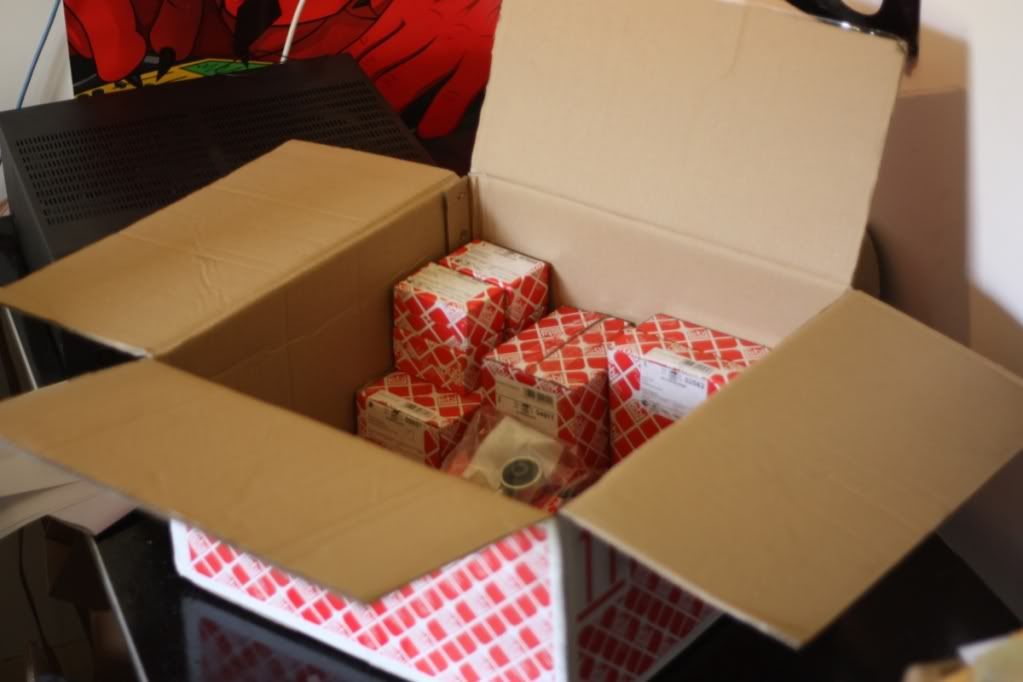
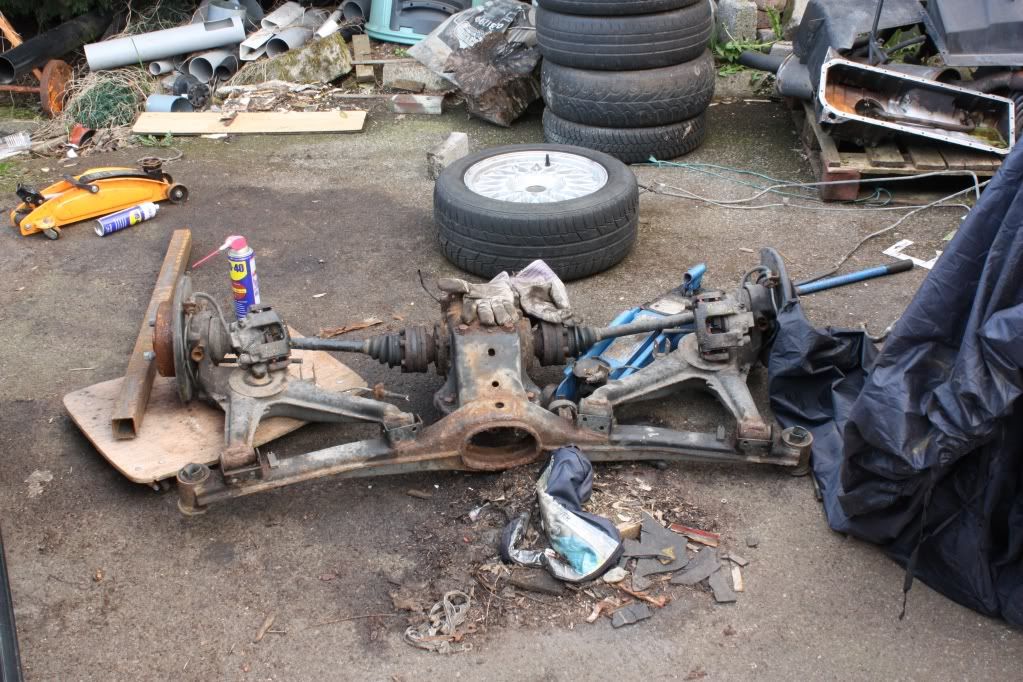
Rubber coupling (doughnut), Propshaft Bearing, Rear Subframe, Trailing Arm bushes, ARB Bushes (front and rear), Drop links (front and rear) and Gearbox Mounts. Eccentric control arm bushes will be carried over from the blue touring (attached to newish arms). No top mounts because I'm hoping to fit coilovers at some stage and had no trouble with them (as far as I could tell).
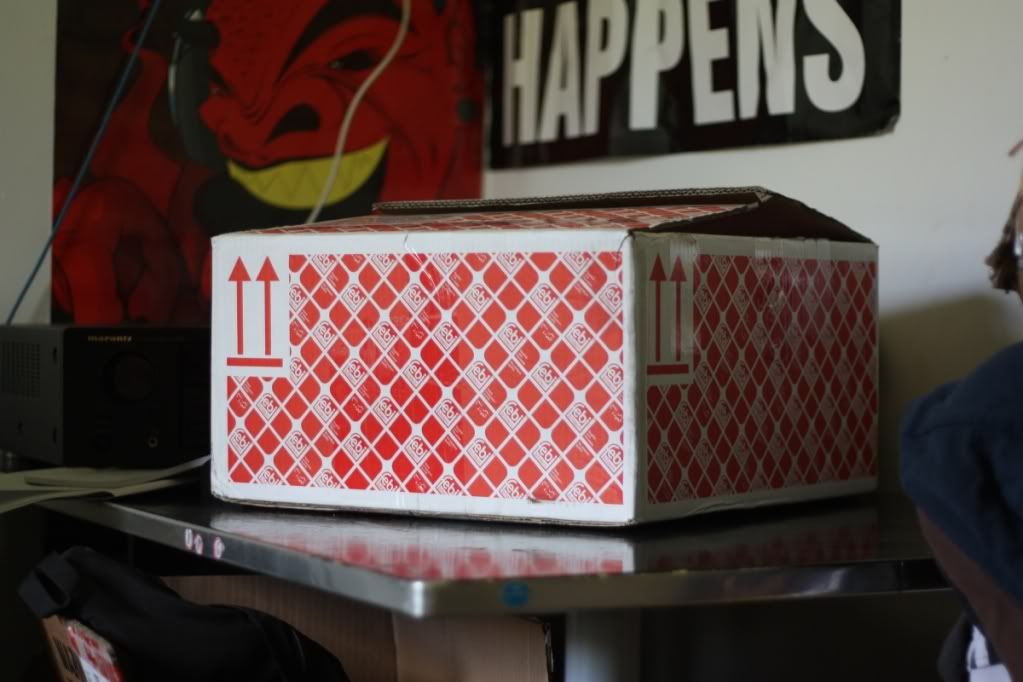
And I got this delivered just before the weekend

It's a rivnut tool with some rivnuts which will be used to hold on the brackets for the fuel lines and where ever else I can find a reason to use it :p
Break & fuel lines should be here this weekend as well, my to-get list (and wallet) is getting smaller and smaller (the amount of work to-do isnt though :p)
Brake lines also got delivered, two roles of kunifer pipe.[/i]