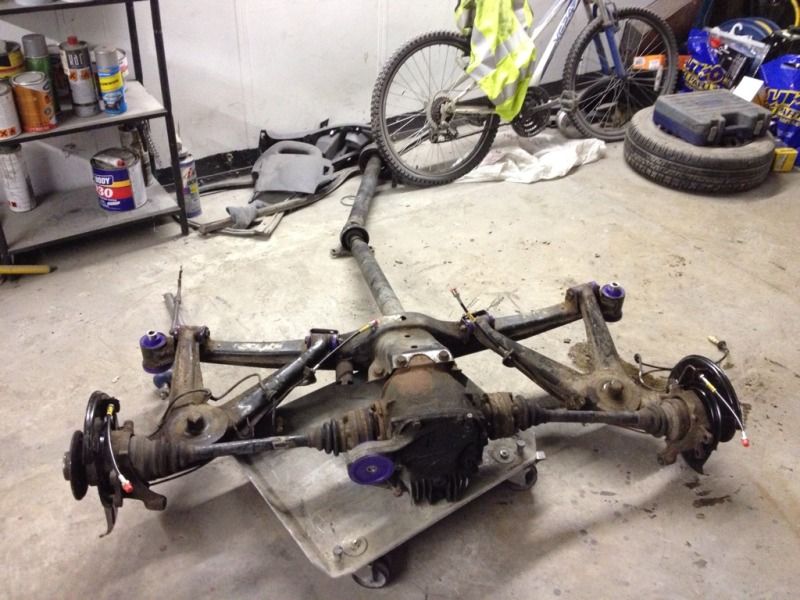
A tester shot of the side complete:

Till next time.

Moderator: martauto


Cheers Al i will do. The cab is in my mates garage at the moment but im hoping to get the paint done before Xmas and before my mates move back to Lithuania.Alex wrote:Superb Keep the updates coming
What happened to the cab did that get finished ?
Cheers mate.Tanveer wrote:awesome work mate, credit to you!
Cheers, they were filled after is was painted as i ask my mate to make sure everything was undersealed and done properly.johnl320 wrote:Looking superb, I would of been proper bricking it drilling those holes, you filling the sills with waxoil?


Spigot bearing I had to get for a manual conversion.l16ydl wrote: Does anyone know what seal i need to get for the manual gear box? BMW-Mad said there was i seal needed when taking the auto box off and fitting a manual one??
Cheers mate, just need a few more days of graft and it'll be ready for MOT!!shanehaward wrote:doing a good job! reminds me that ive got to pull my finger out and sort mine out
Cheers, managed to sort it out.Sanchez wrote:Spigot bearing I had to get for a manual conversion.l16ydl wrote: Does anyone know what seal i need to get for the manual gear box? BMW-Mad said there was i seal needed when taking the auto box off and fitting a manual one??
Around 8quid from BMW when i got mine a year or so ago.
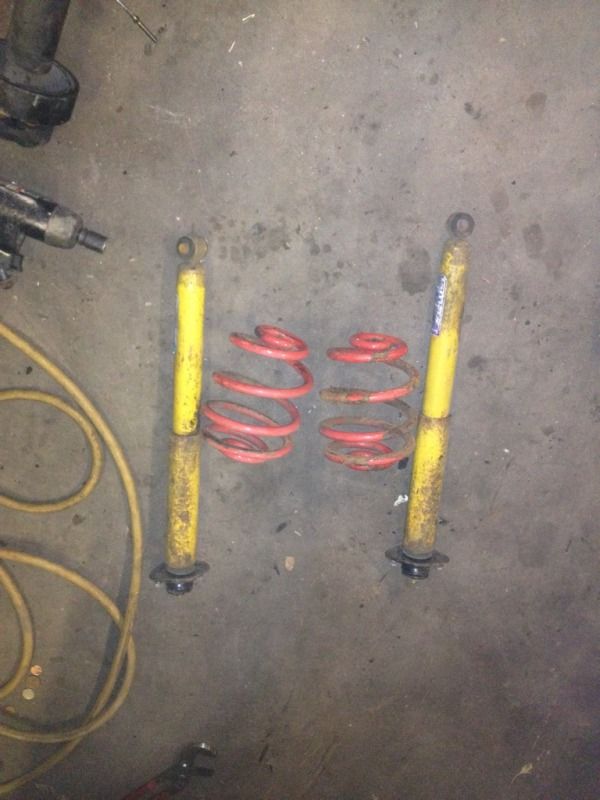
Cheers mate, i know what your saying about the Q Drive stuff but those boxes are for the engine mounts. Might see if there is another option on them.Alex wrote:Looking good.
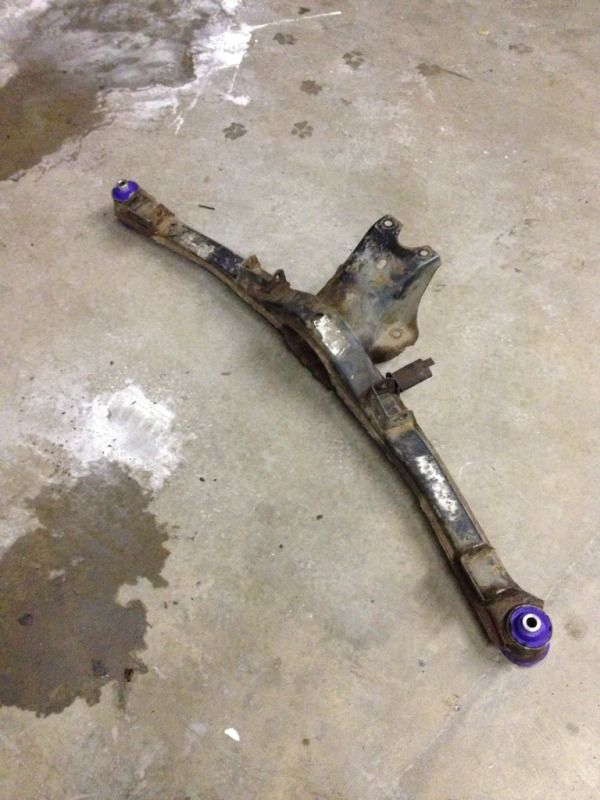
I wouldnt be fitting them q drive branded suspension bits mind, they will last 1000 miles and be worse than 20 year old bmw ones.
ive used there bits a few times and havent lasted long at all, i used a q drive wishbone on my touring lasted 5000 miles and the ball joints are banding like a bitch
Lemforder are the suppliers to bmw thats what you want
I hope to god you got some paint in those holes, really should've drilled the sills before painting.l16ydl wrote:
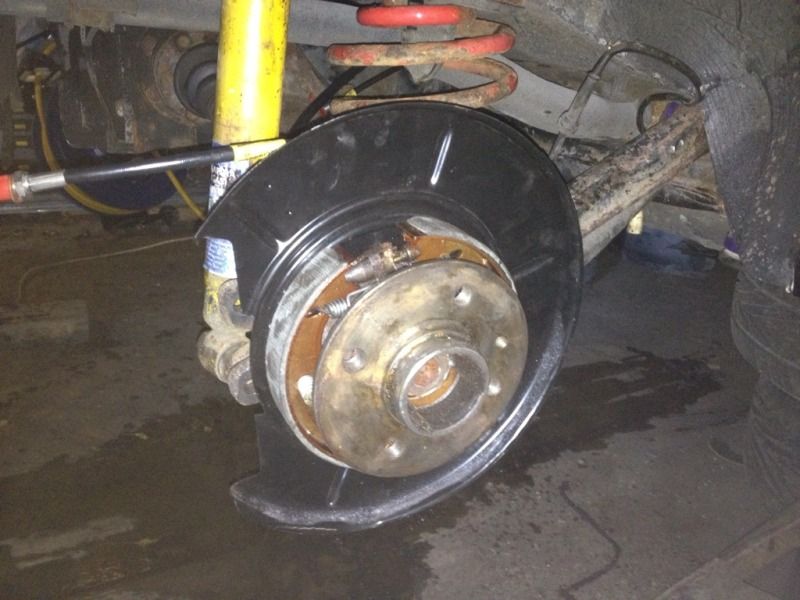
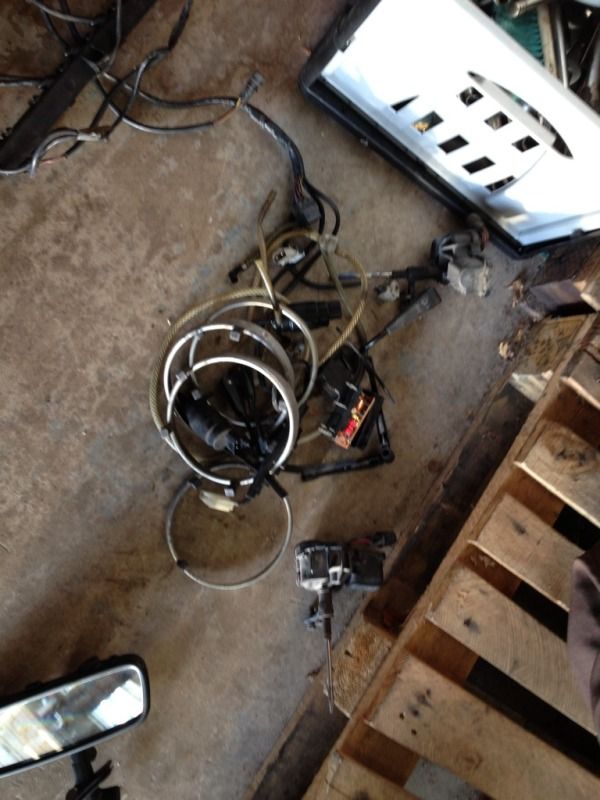
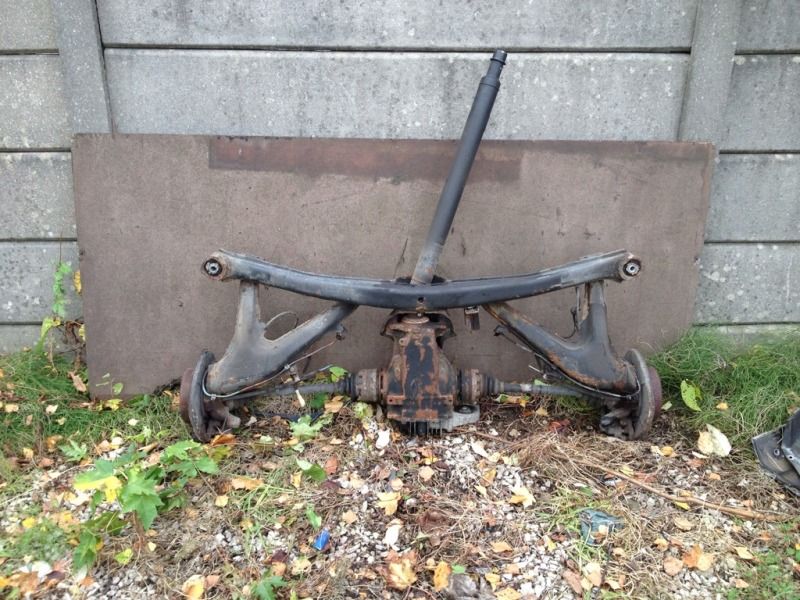
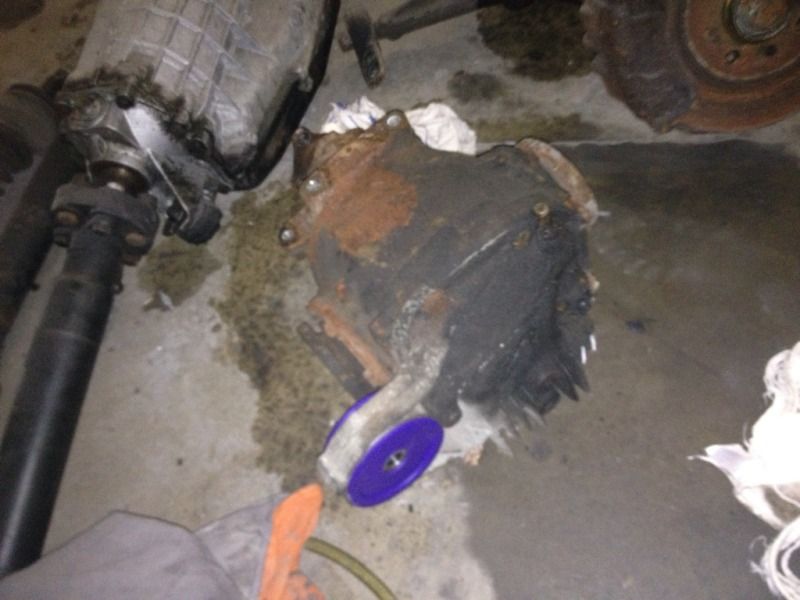
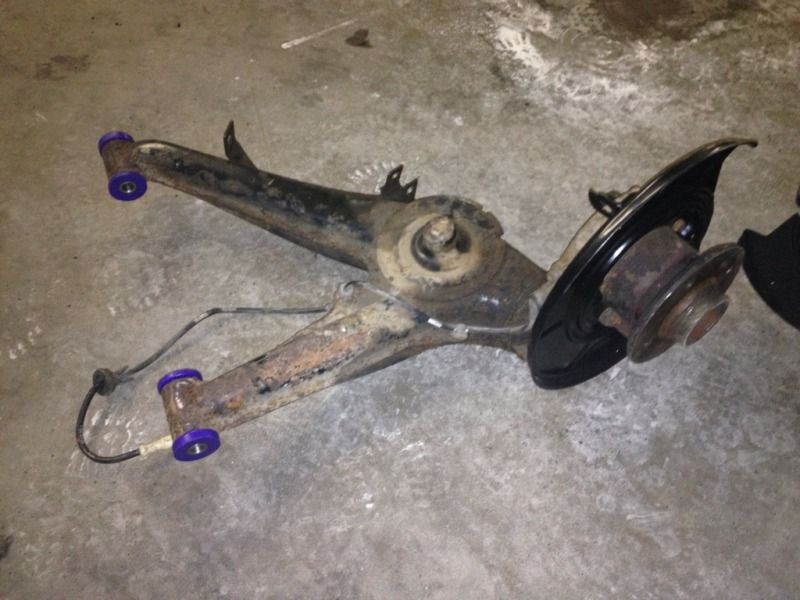
i was going to paint the diff but as i've put it all back together. I will clean it up and see how i feel from there.Kedge wrote:You not painting up the running gear before refitting?
I hope to god you got some paint in those holes, really should've drilled the sills before painting.l16ydl wrote:
I know, he needed the money!!Kedge wrote:Good stuff! An eager painter, that's a rarity!
Cheers RavRav335uk wrote:Nice work Lloyd
Cheers mate, must have been a long night, haha.G-Bear wrote:Nice project, the cars looking good.
sorry for my nonsensical post last night if you read it (I deleted it), was reading your thread last night and fell asleep on the couch got woken by a text and thought I had replied but realised this morning that I had posted it on here instead
Cheers, i've got some standard 15" BBS or i've got some 16" BBS RX's that i could put on but they need refurbing, will put both sets on and see.mcbonio wrote:Love a good resto thread.! Nice work. What wheels you gonna put on it?