e30 316i sedan restoration and some upgrades from Bulgaria

Doing a minor build / restoration or an epic one, post it here

Moderator: martauto

User avatar
steffgang
E30 Zone Newbie
E30 Zone Newbie
Posts: 30
Joined: Wed Nov 14, 2007 11:00 pm

Thu Feb 11, 2021 9:02 am

Hello e30zone world!

Before I even start bothering you with my build I want to thank you for being such a great inspiration and more importantly great source of information for all of us out there!

So here I go.. This is my first BMW and I got it in 2014 after falling in love with e30s long time ago. This is what it looked like when I got it:
Image

I have been running a local forum build thread on it: http://e30reload.com/forum/viewtopic.php?f=85&t=792 It is nothing special to make it worth sharing with the world, but why not plus the latter direction of the build brings me even closer than ever to E30Zone, but more on that later.

It is the very basic of a basic 316i, but the condition was good (or I though so) and it was what I wanted - black facelift sedan that hasn't been molested yet.

I wasn't sure what exact engine I wanted in it, but I decided I better start gaining experience starting with suspension and brakes first. 5-lug conversion was considered and promoted by almost everyone from the local community, but I decided I better stay 4-lug in an attempt to keep as much as possible the original character and looks.

I got a set of disk TAs and 51mm struts which were sandblasted, phosphatized and powder coated with a zinc coat plus gloss black on top:
Image
Image
Image
Image
Image

Brakes were fully inspired by the basic kit of 300mm.de. My research got me to the conclusion that the kit uses Focus ST170 front rotors and E36/46 328i rear rotors. I got a set of Boxter calipers, blasted and powder coated them and worked hard on designing the caliper adapters by myself:
Image
Image
Image

I got to here:
Image

And then decided I want ABS and adjustable rear subframe and I was gonna run coilovers so the front struts will need chop and weld... So almost all the fresly painted suspension things needed to be done one more time. New set of TAs for ABS, front strut got drilled for the sensors (this didn't go well at all):
Image
Image
Image
Image
Image
Image
Image
Image

I was really happy getting to here though:
Image
Image
Image
Image
Image

The caliper adapters took few iterations of me working on them on the home milling machine, but once I got the final design I had a professional do them for me. I did them out of steel as I was too worried on their rigidity. Now I am more worried on their weight :)
Image
Image
Image

The unavoidable topic on rust will be next..
steve_k
E30 Zone Team Member
Posts: 8044
Joined: Fri May 23, 2008 11:00 pm
Location: in the vale of mansfield
Contact:

Thu Feb 11, 2021 9:13 am

welcome to the zone buddy,

thats one hell of a start to the project, keep the update's coming.
if it's got t*ts or wheels it's bound to be trouble...............prove me wrong.
getting oral sex off an ugly person is like rock climbing.....don't look down ;)
User avatar
steffgang
E30 Zone Newbie
E30 Zone Newbie
Posts: 30
Joined: Wed Nov 14, 2007 11:00 pm

Thu Feb 11, 2021 9:55 am

OK rust not what I wanna talk too much about as you've all seen tons of it for sure, but let's say the car was not what I though it was and somebody already had her "restored" so it needed some proper work done on it's body.

I noticed that myself exploring the usual spots:
Image

I found a great guy (a friend now :)) to do the job and set on prepping the car stripped but able to travel to him:
Image

Few pics from him to give you an idea:
148266189_263491951813206_2255233178669787015_n[1].jpg
148520155_559505141688484_803272762275771607_n[1].jpg
148561349_1178116305951916_9022908926167440567_n[1].jpg
148706729_4467799209981491_8695830968015152594_n[1].jpg
148589185_854688908641990_7700456517962469932_n[1].jpg
It came back quite OK:
Image
Image

I got in the climate control unit body and let it ride without the carpet for a while and glad I did :)
Image

It was the heater radiator. Got a new one and renovated the heater valve like so:
Image
Image
Image
Image
Image
Image

Leak test:
Image

Then found even more rust:
Image
Image
Image

Fixed with slavic OEM parts:
Image
Image
Image
Image
Image

Enough with the rust..
User avatar
steffgang
E30 Zone Newbie
E30 Zone Newbie
Posts: 30
Joined: Wed Nov 14, 2007 11:00 pm

Thu Feb 11, 2021 11:57 am

Next came the suspension install:

*Note that I'd try describing the upgrades in a non-chronological order and focus on a topic rather than the cadence.

After the rust repair the car got into a full disassembly underneath. This was end of 2015 and early 2016. Shortly before the disassembly I got a set Brock B1 16" that according my measurements were perfect fit for the new brakes:

Image

There we go:
Image
Image
Image

Bye bye:
Image

Welcome:
Image

Did I say no more rust?!
Image
Image
Image
Image
Some of my first welding attempts (don't be harsh :)):
Image
Image

While in there I also replaced these:
Image
Image
Image

I discovered Deox gel as a good solution for mild rust spots:
Image
That result on the diff is after near 10 applications, and wirebrush + powerwash in between and a broken back as a bonus:
Image

Diff and remaining rear suspension bits overhaul:
Image
Image
Image
Image

Ready to go in:
Image
Image
Image
Image
Image

Next was the front:
Image
Image
Image
Image

Done:
Image
Image

In for alignment:
Image
Image
Image
User avatar
steffgang
E30 Zone Newbie
E30 Zone Newbie
Posts: 30
Joined: Wed Nov 14, 2007 11:00 pm

Thu Feb 11, 2021 1:12 pm

ABS install:

There were numerous discussions with e30 guys on how stupid the e30 ABS was and that it is better off than on the car, but I thought those opinions are coming from guys that just have been dealing with faulty ABSes and I still believe this is the case with the whole brag about the e30 ABS. It is an old unit and it is pulsing slower than the modern day ones, but the difference for me having no ABS and having the e30 ABS is huge while the e30 ABS behavior vs a more modern one is noticeable, but it is nowhere near as critical as the complete lack of ABS. I hate driving a car without ABS and I wouldn't feel comfortable driving one around the streets.

OK so this one began with me deciding I wanted ABS sometime early 2015 and restarting the renovation of TAs and so on, but I already covered that part.

I purchased the unit with harness, pipes and mounting plates from this touring car:
Image
Image

Welding the mounting plates of the pump must have been one of my very first welding attempts and I remember it took me almost an entire day, but result felt quite OK for a total newbie:
Image

Harness install:
Image

The tick red wire that has been cut on the harness goes on the fuse box. Here is how it was extended and attached:
Image

The red, white and blue plugs from the harness attach to C302. This is the pinout description of C302:
Image

But actually: The red one goes to pin A:
Image

Red/jellow wire comming from the engine connector (C101 pin 20). This one needed to go through the fuse box and into C101:
Image

White one goes on pins B and C. Pin B is a green wire coming from the tumbler (C200 pin 2) and it is also used on pin D of C302. It was available on pin D on my car so I took a spline from there into pin B. Pin C is blue wire coming from C101 pin 1 - alternator signal. I found it amongst the wires on the main harness and created a spline for it:
Image
Image

The blue one goes on G. It's a green/red wire from the brake pedal switch. It's also used on pin S. I found it amongst the wires on the main harness and created a spline for it:
Image
Image
Image

The schematic matching my instalation are these: http://www.armchair.mb.ca/~dave/BMW/e30/e30_89.pdf
* Note that the ABS wiring varied significantly with model years so there is no guarantee my findings will match your car and ABS harness.

This is the end result on C302:
Image
Image

Plugs inserted:
Image

It worked without any further interventions. Here are videos showing the behavior with and without ABS:

No ABS: https://plus.google.com/u/0/photos/1040 ... 2085252299
With ABS: https://plus.google.com/u/0/photos/1040 ... 2085252299

Of course the difference is huge especially on full brake pressure.
User avatar
steffgang
E30 Zone Newbie
E30 Zone Newbie
Posts: 30
Joined: Wed Nov 14, 2007 11:00 pm

Thu Feb 11, 2021 1:44 pm

Interior reassembly and back on the road:

The summer of 2016 the car gradually came together and was taken back on the road:

Interior main upgrade was to install a new interior wiring harness with central locking (yes the car had no factory central locking, but instead an aftermarket system that worked):
Image
Image

The harness needed a clean, up and some repair and was installed:
Image
Image

Back on the road:
Image

Brocks lips got polished in 5th gear:
Image
Image

Later that year the car went on its first E30 Bulgaria gathering:
Image

The following spring I added one of the best upgrades in my opinion - z3 rack:
Image
Image

That's where I stopped tracking the mods on the car in the local forum. I will put them together, but need to figure out how to embed google photos images in here first now that picasa is gone.
User avatar
martauto
E30 Zone Team Member
Posts: 6186
Joined: Wed Aug 31, 2005 11:00 pm
Location: leeds

Thu Feb 11, 2021 5:14 pm

Totally brilliant piece of work :clap: :clap: :clap: :clap:

Great to see people using the zone all over the world now, keep the pics etc coming, we all enjoy wright ups like this, brilliant work !!!!!

Mart.
Only the E46 cab left now.
Just got too old.
steve_k
E30 Zone Team Member
Posts: 8044
Joined: Fri May 23, 2008 11:00 pm
Location: in the vale of mansfield
Contact:

Thu Feb 11, 2021 5:52 pm

martauto wrote:
Thu Feb 11, 2021 5:14 pm
Totally brilliant piece of work :clap: :clap: :clap: :clap:

Great to see people using the zone all over the world now, keep the pics etc coming, we all enjoy wright ups like this, brilliant work !!!!!

Mart.
/\/\/\/\/\/\/\/\/\/\/\/\/\/\/\/\/\/\ what he said :thumb: :clap: :notworthy: :rock:
if it's got t*ts or wheels it's bound to be trouble...............prove me wrong.
getting oral sex off an ugly person is like rock climbing.....don't look down ;)
User avatar
BenHar
E30 Zone Addict
E30 Zone Addict
Posts: 3066
Joined: Sun Jul 11, 2010 11:00 pm
Location: Reigate, Surrey

Thu Feb 11, 2021 6:06 pm

You are doing a really good job on this. And the write up is superb.

One thing, the links to the braking videos don't seen to work and I would be interested to see them.

Keep it up.

Ben
User avatar
steffgang
E30 Zone Newbie
E30 Zone Newbie
Posts: 30
Joined: Wed Nov 14, 2007 11:00 pm

Tue Feb 16, 2021 2:01 pm

In 2018 the most major upgrade was electric sunroof:
Image
Image
Image
Image
Image
A pic for those that plan just adding a motor to the manual roof plate:
Image
Image
Image

Works perfect ever since.
User avatar
steffgang
E30 Zone Newbie
E30 Zone Newbie
Posts: 30
Joined: Wed Nov 14, 2007 11:00 pm

Tue Feb 16, 2021 3:10 pm

Jan 2019 I just couldn't resist going 6 speed and a cheap deal on a e90 small 6sp box came and the whole thing started:
Image

Intense calculations and checking all possible stock parts started:
Image

The recipe is:
e90 clutch
m20 7kg flywheel + m20 pressure plate
e21 release bearing

Image

Then to compensate for the longer gearbox I used:
propshaft from e30 325i for a small guibo
Gear linkage from e90 316/18/20i
Engine mount supports from e36 m40/m42 - this moves the engine ~50mm backwards
Engine mounts of e34 m20

Image
Image
Image

This is the only modified part in the whole setup:
Image

And that's it:
Image

At least that eased my wife choosing birthday present that year:
Image

I went few times to the track with the ridiculously slow engine and the 6speed gearbox, but added a 4.44 LSD final drive and it was fun for a track newbie like me for sure:
Image
User avatar
steffgang
E30 Zone Newbie
E30 Zone Newbie
Posts: 30
Joined: Wed Nov 14, 2007 11:00 pm

Tue Feb 16, 2021 4:31 pm

Last year I got a new set of rims and finally ditched the Brocks as they were rubbing on my rear arches every now and then since they are 9" ET15 no matter I ran a stretched 205 tire. The new PLW Bruning are again a staggered set 7.5"/9" but ET25 at the back so I now run a 225/40 tire and was able to also lower the back safely:
Image
Image

I also scored a rear blind and rear headrests:
Image

The biggest upgrade, though was AC finally put together, but using now an e36 electric fan and cooling rad.
Waved good buy to the viscous fan:
Image

On to the climate control harness:
I used the awesome instruction in here, but got a cold surprise opening the fusebox where I was supposed to find the connector for the interior AC harness. Guess what - it wasn't there. The car was really basic and lacks all such prewiring that the normal trim levels have:
Image

It is not like thy are so many wires anyways, but feeding them through the main loom in the drivers legs was not a pleasant job for sure. I took the connector and wires from a an old loom from an AC car that keeps saving me in moments like this:
Image

Fuse box connector added:
Image

There was also no connector existent for connecting to the ECU, so I had to make on of my own:
Image

Assembled back the fuse box and with the loom now connected I was able to perform electric dry test:
Image

I have that on video, but can't embedded it here. Basically the radiator fan starts and the compressor clutch engages when I press the AC on button.

Next thing was to put in a new AC radiator (no AC fan - I am running the rear electric fan only like in an e36), recondition the pipes and get them together. The pipe connecting the compressor to the radiator also needed extension because of the new engine position after the 6speed box install, but that was a pipe I was missing anyways so I kind of had it done by the AC shop almost from scratch.
Image

After all was connected the AC guy filled it up and there you go:
Image
User avatar
steffgang
E30 Zone Newbie
E30 Zone Newbie
Posts: 30
Joined: Wed Nov 14, 2007 11:00 pm

Tue Feb 16, 2021 5:51 pm

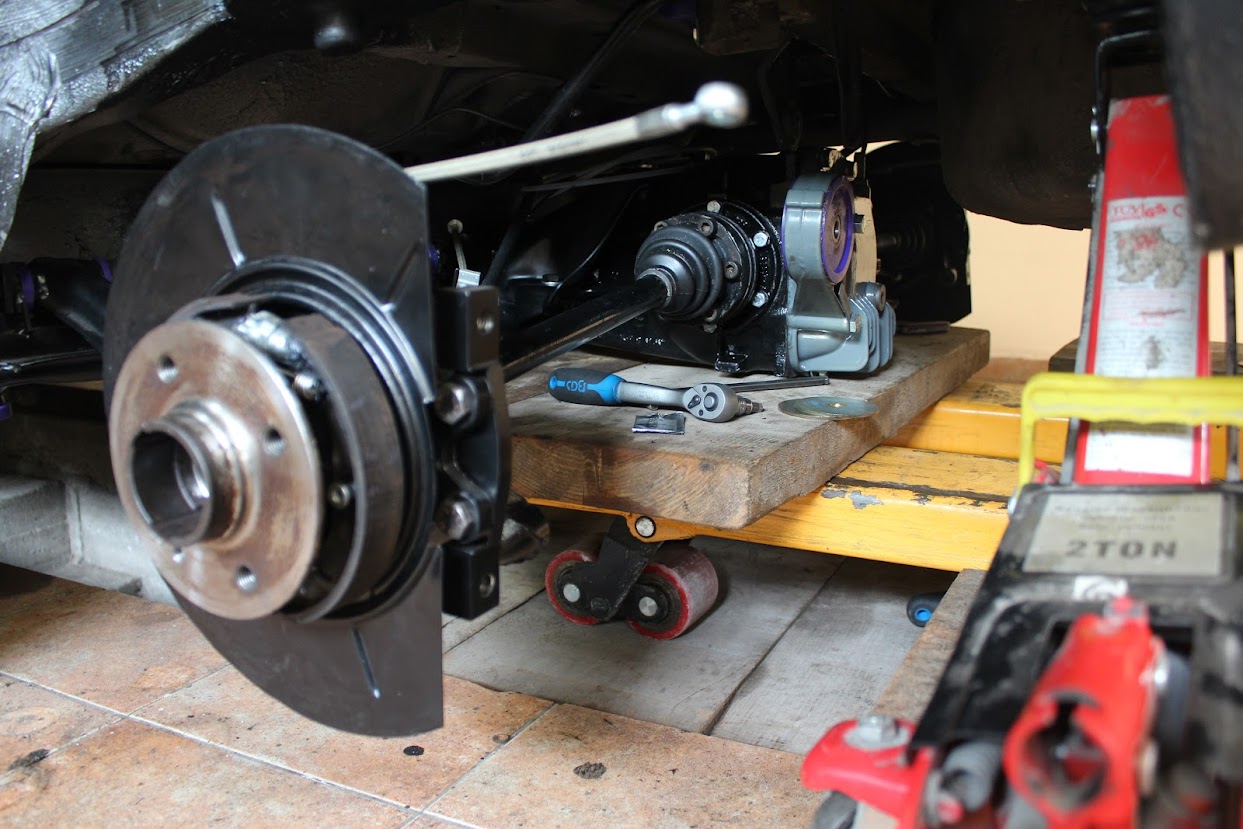
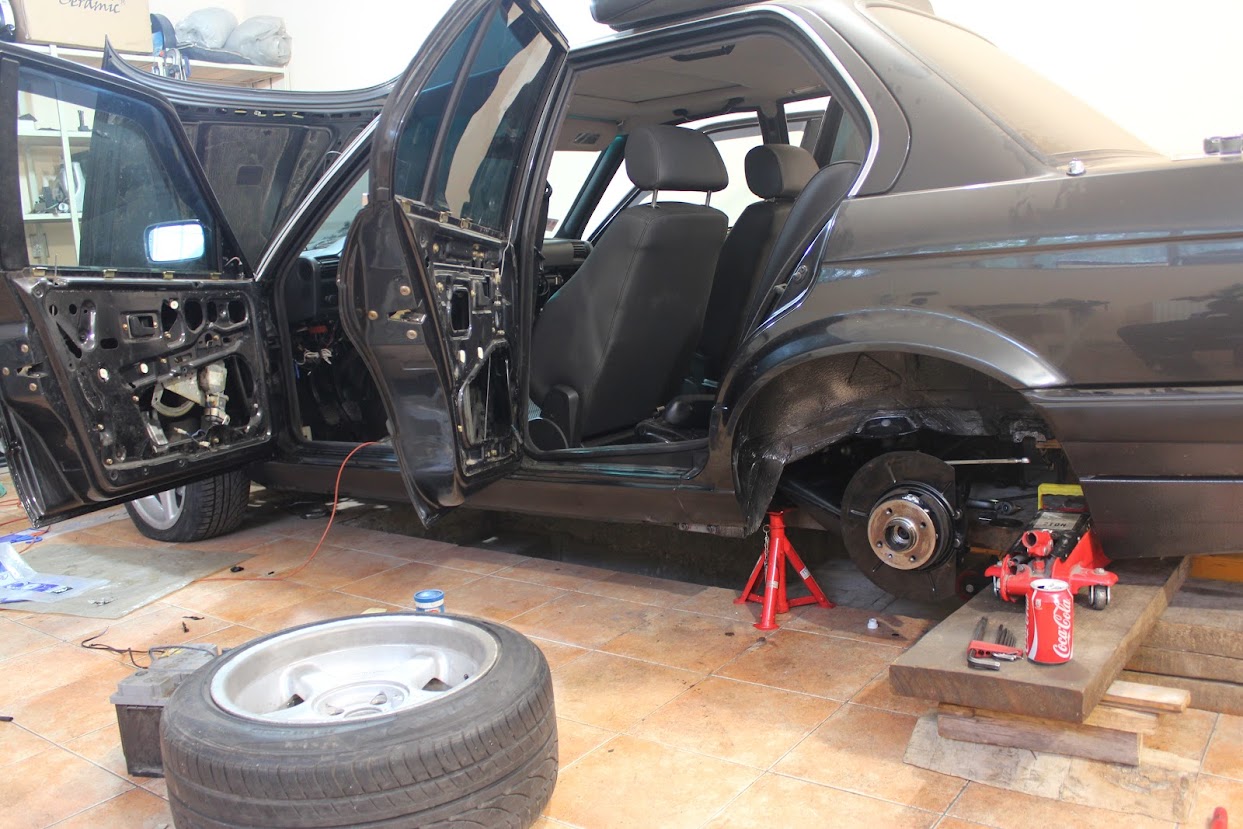
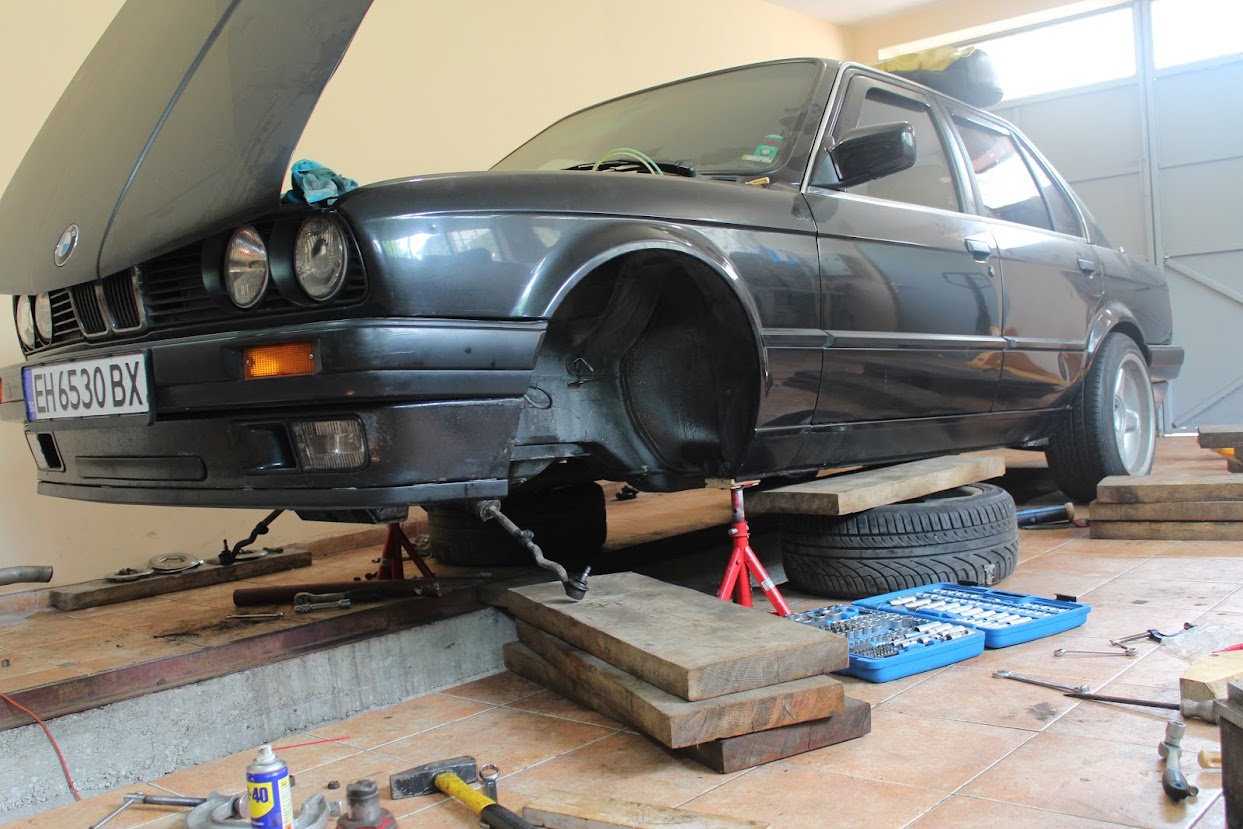
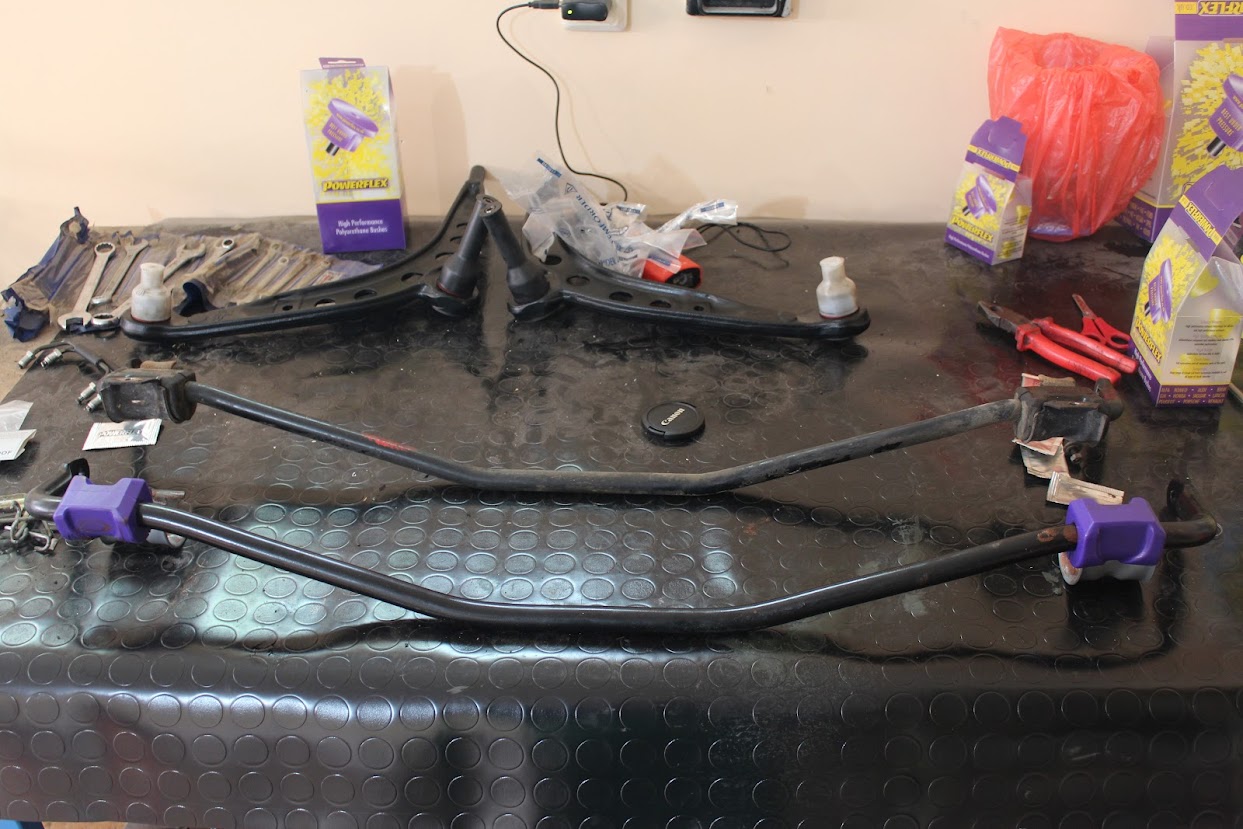
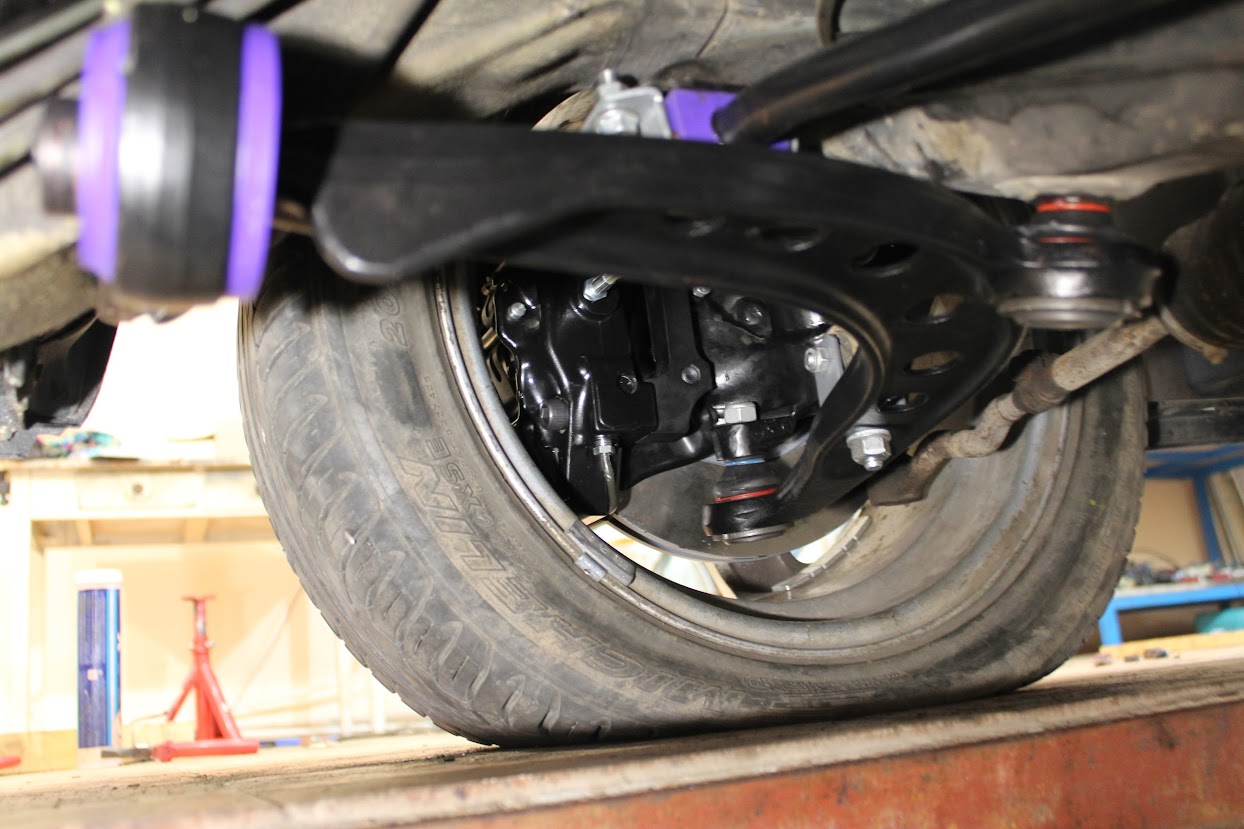
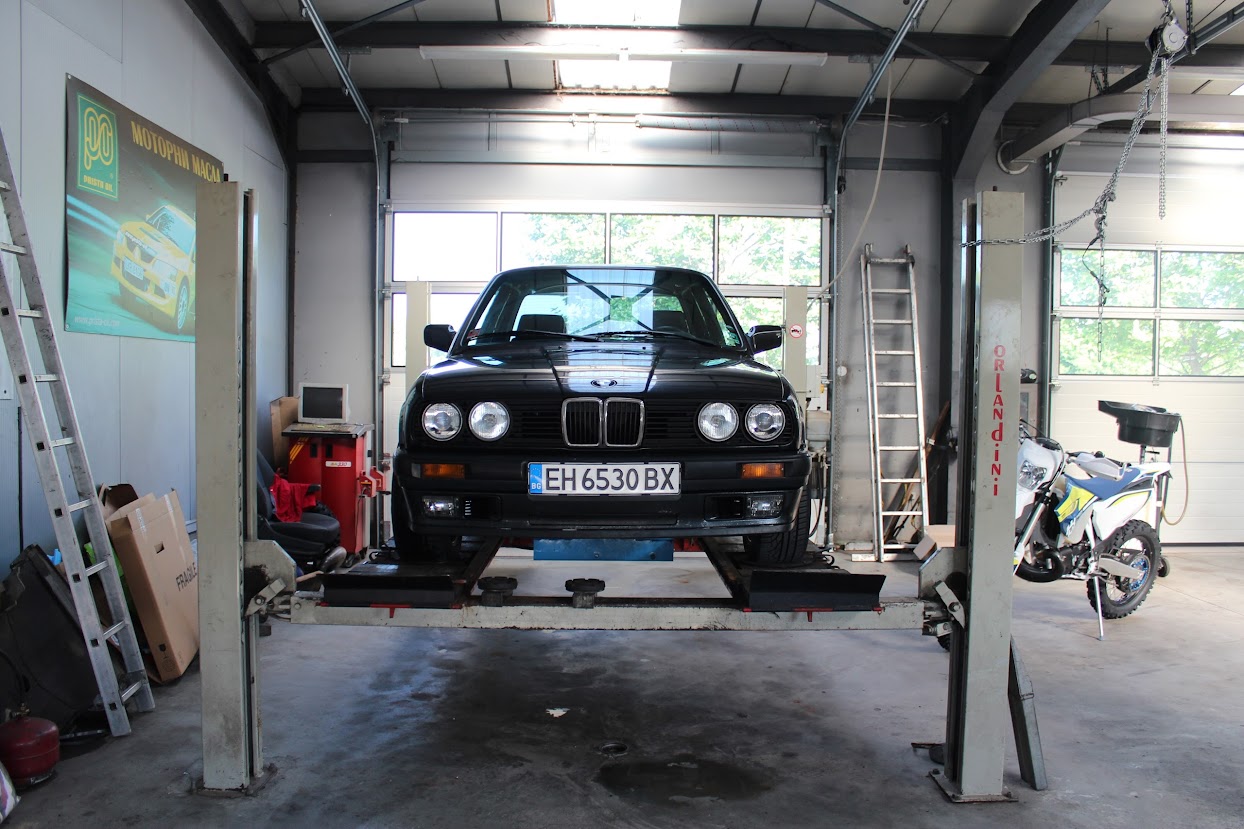
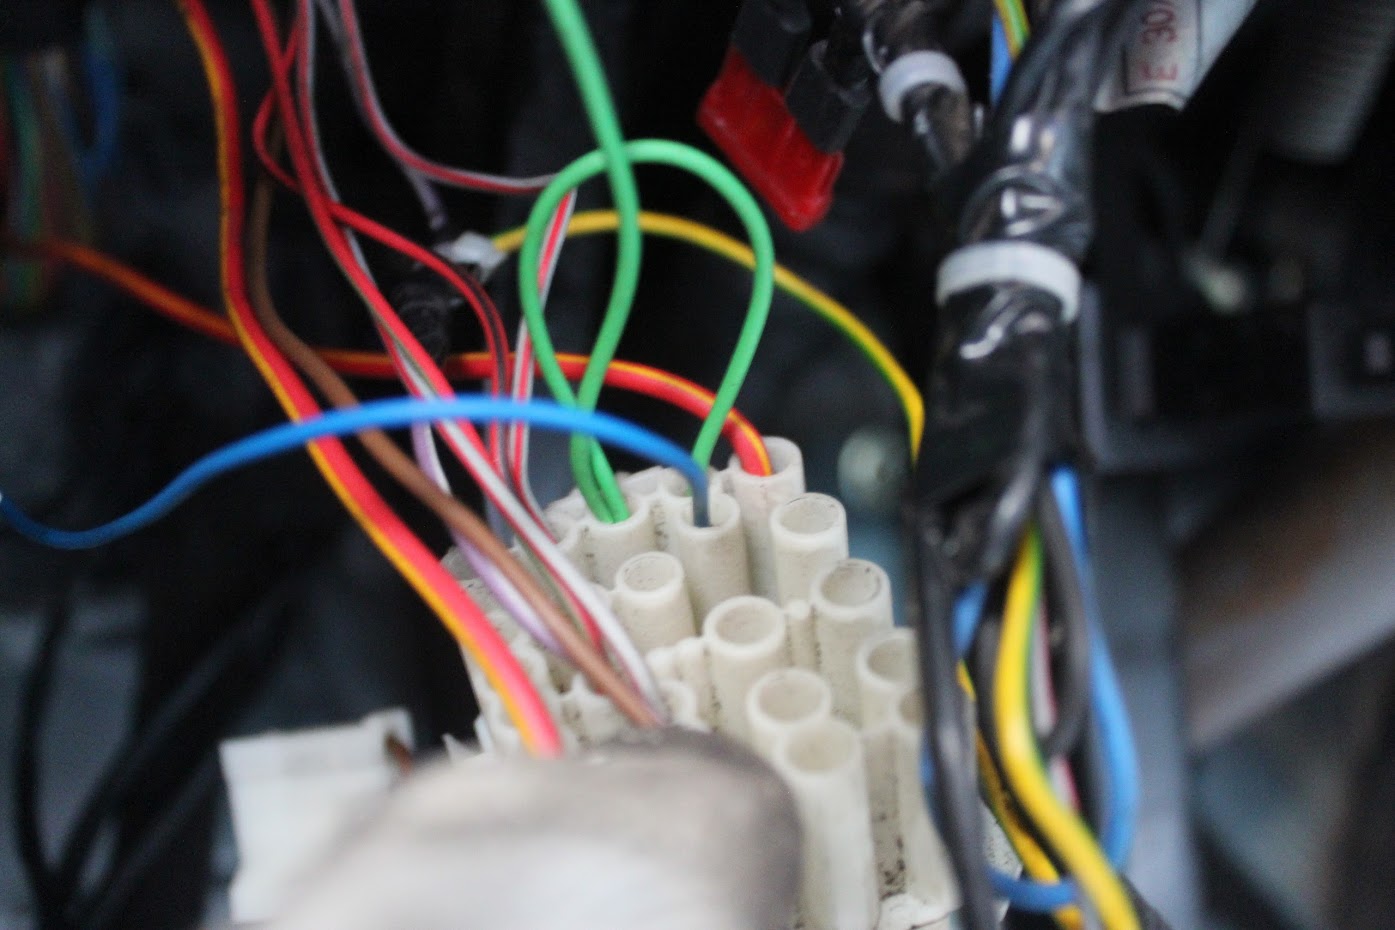
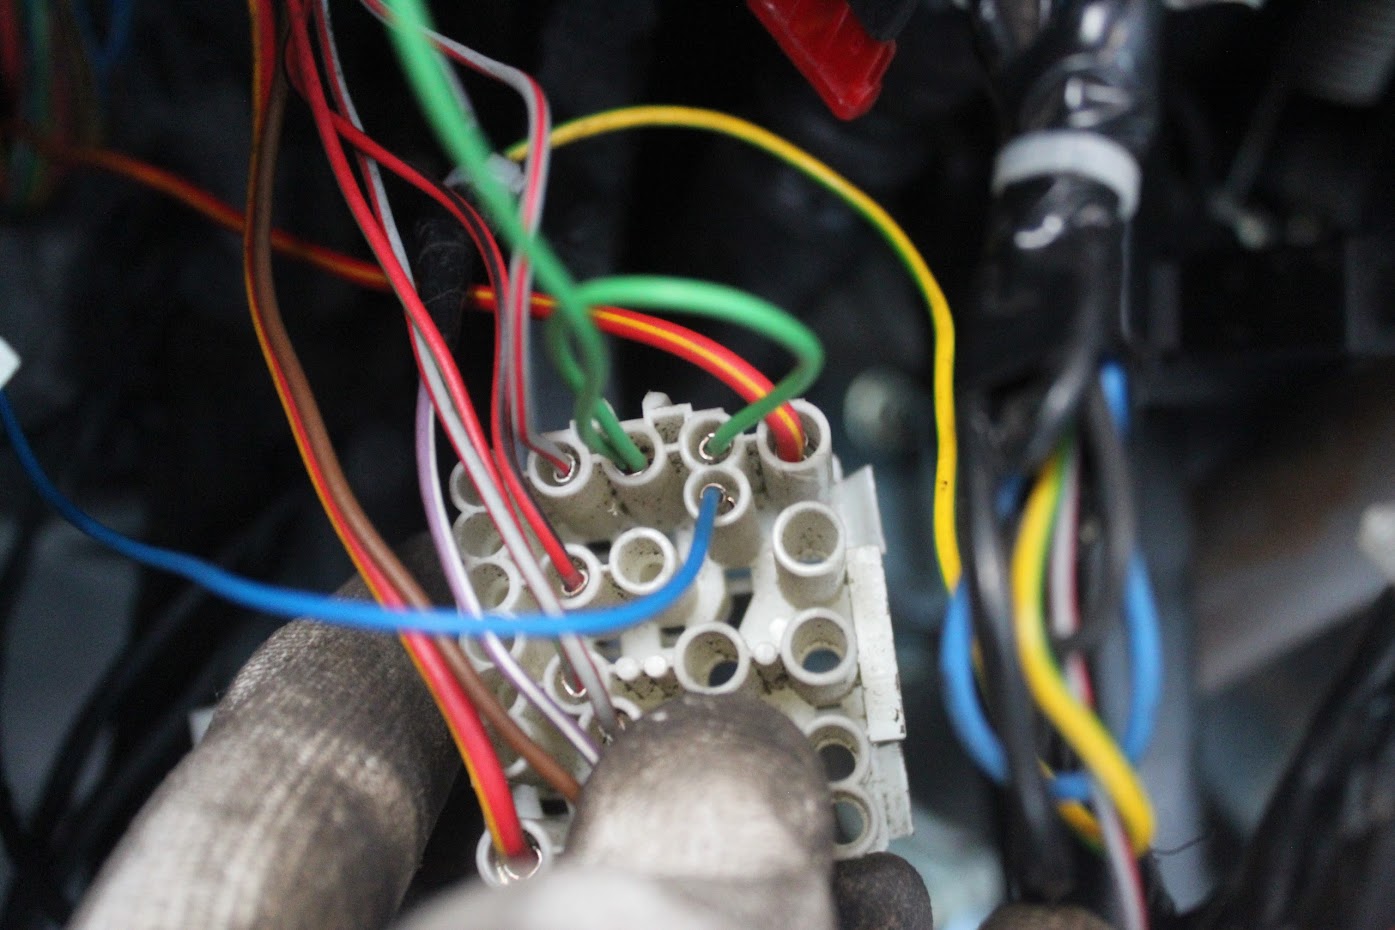
Now is the time I get to the real reason I started this thread in here. As you see that car got all kind of things, but kept it's m40b16 forever. Well first of all that engine runs great - zero issue whatsoever and I haven't even changed it's timing belt ever. No idea how old it is.. not proud of this, but I kind of didn't want replacing an engine that is alive and runs that well - no oil consumption, no camshaft issue like all the m40s, nothing. The big reason for postponing this, though was I kept going back and forth on my decision on what engine I wanted. Initially I was convinced it will be an m20 stroker as I just love it's sound and sudden coming to power pass 4k, but after spending my first few months with the car I felt in love mostly for it's lightness, but was also a bit upset on how bad the weight distribution is even on my m40 car. No offense to all the 6 cylinder guys here, but a 6 pot e30 is just not my thing.. Well a m20 convertible is what I want as a second e30, but that is a different car altogether.

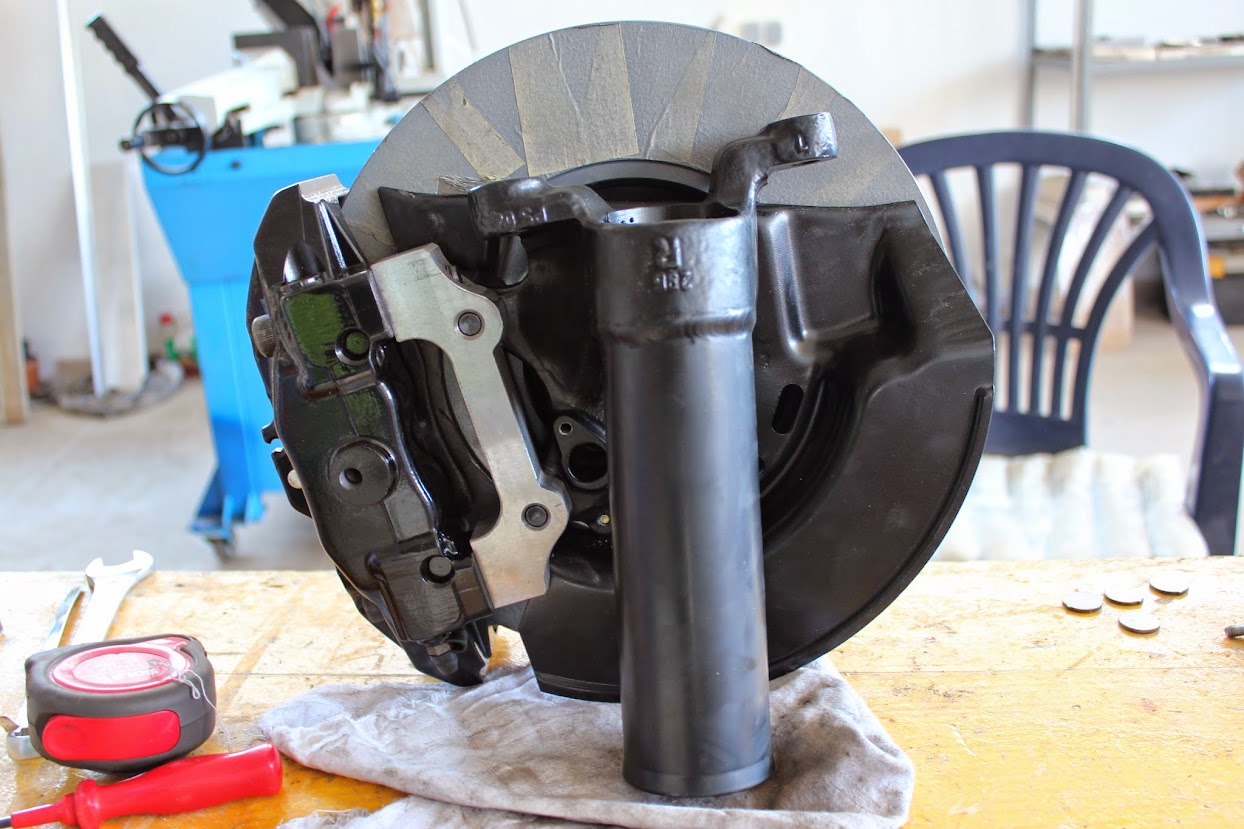
So the natural choice for a 4 pot would be a m42, which can deliver good power too with a stroke and so on. Another plus for the m42 way is that I could even use my original engine block and keep the car's OEM numbers. Therefore I prepared for this procedure and purchased all I need to build a 2L stroker. I kept postponing only because the m40 ran so good and refused to die and it felt unjust (financially too) to do it. Besides that though I also have a lot of things I don't like on the m42 - the nastiest would be the chain housing numerous always leaking gaskets which are a result of the fact that one block is used in both a belt driven and a chain driven engines. The other thing is that it seems not that light of an engine too - it adds a lot on top of m40 and is arguably comparable to an aluminum 6 pot engine though it sits further back which still makes it better choice from weight distribution perspective,

The n45b20 did catch my eye, but it's notorious reliability as well as the fact no one used it in an e30 was a complete no no. And that kept being the case until I saw this in 2018:
https://www.youtube.com/watch?v=NGaYA8JQ6Bw

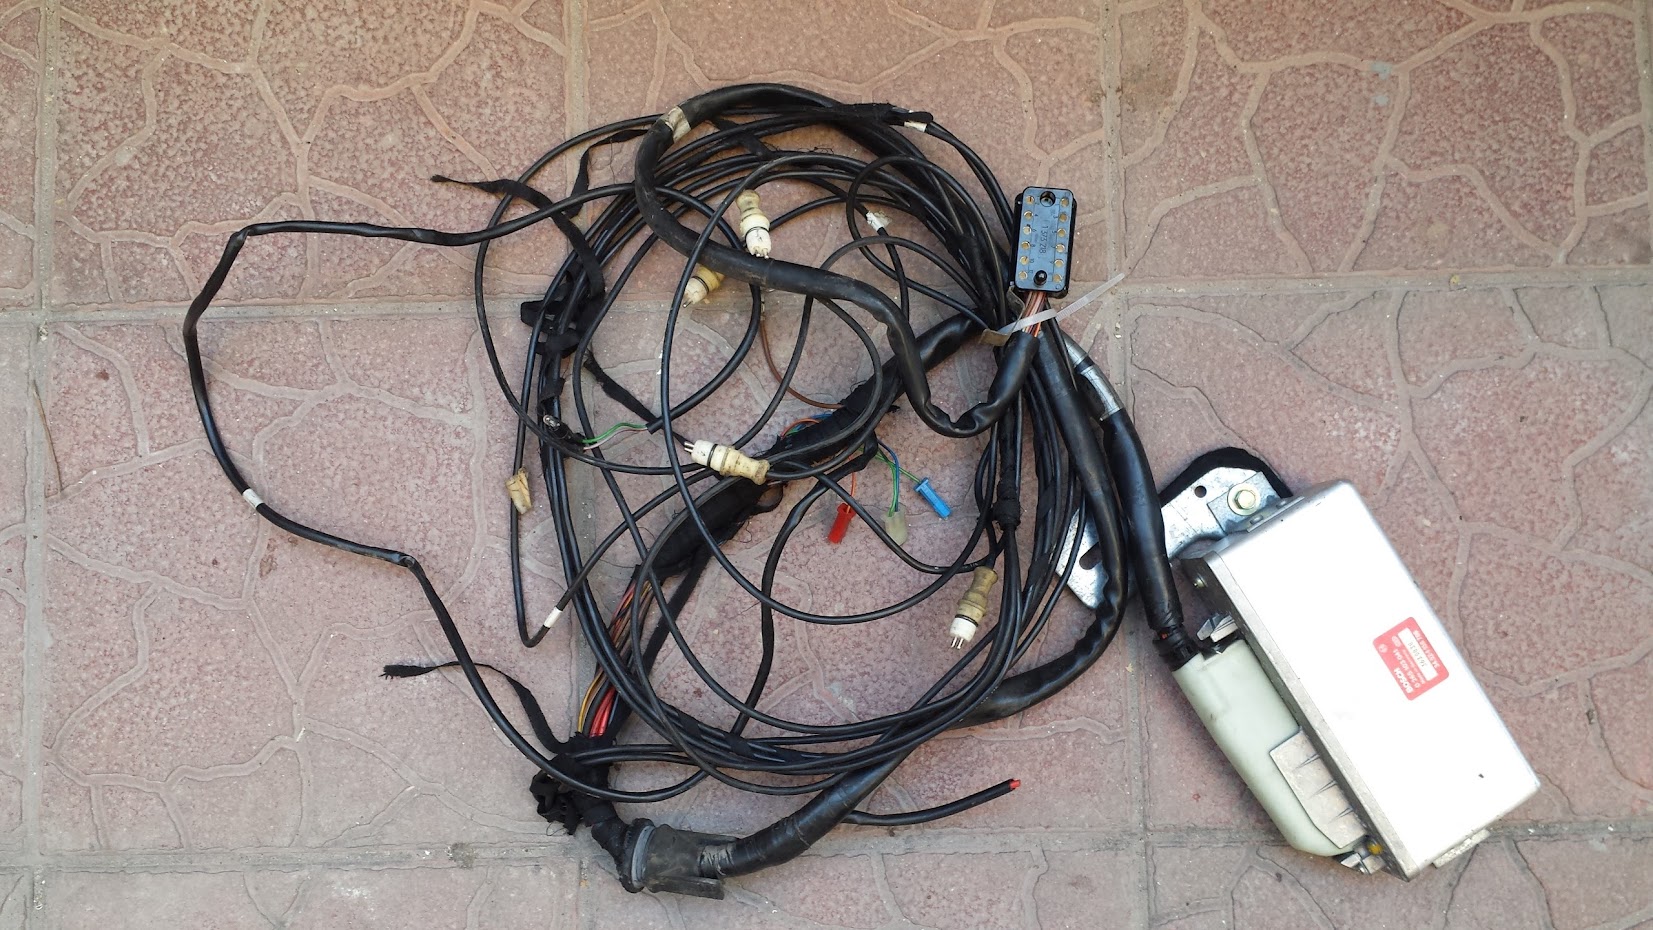
It just looks awesome! That enigine sits in an e30 bay like it is made exactly for it. It is light, it is designed for motorsport from the grounds up... so impressive. Then, of course I thought this guy will never do it, but I kept stalking him. Saw his thread on the Lynk forum and then last year he got it running and posted his next youtube vids and I went completely obsessed. Everyone has been telling me this is crazy and I should just do the m42 stroker and be done with it. Before Christmas last year I decided it is time to continue with the engine and got prepped with all the m42 things I need, but decided to do a final rant on the N45. I though what is the proper route doing an N45 - the engines on sale are broken ones only with their block probably beyond repair so the simple calculation shows I would be spending tremendous amount for an engine, new block, whatever else is broken as well and full rebuild. The estimate was just too high. Then I thought why not get an engine that is in good condition. If I do so I will be able to just swap it and drive it then rebuild it if and when it needs a rebuild. An engine like that, though will be in the car and the car will be on the road. I went on with that idea as the other thing I want to have is a race car that is for track use only so I was considering e36/e46, but then I thought why not an e90?! So getting a complete 320si seemed a good idea. The prices of them are not as high due to that same engine reputation. Shared this with my e30 friends - they thought I am joking. I told them if they find me a car that has low mileage engine at a decent price I will buy it. Guess what - they did. One of them browsed Marketplace in England and found a 65k miles 320si. I talked with the guy - all seemed legit, he gave me a price reduction and I bought it :) That was few days before Christmas - Brexit restrictions applied next year, Covid-19 new English type and all.. it took 40+ days and a bit more expenses on customs, but on Feb 4th it arrived:
Image

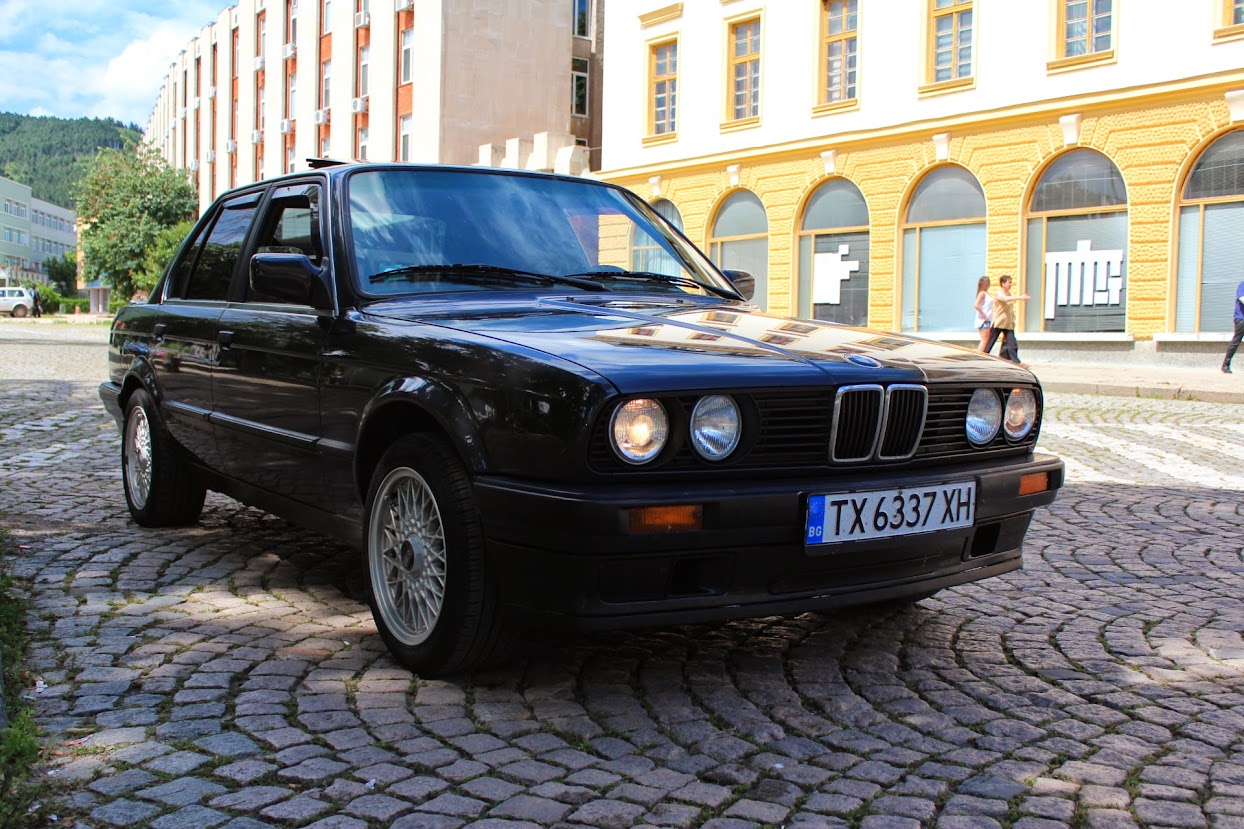
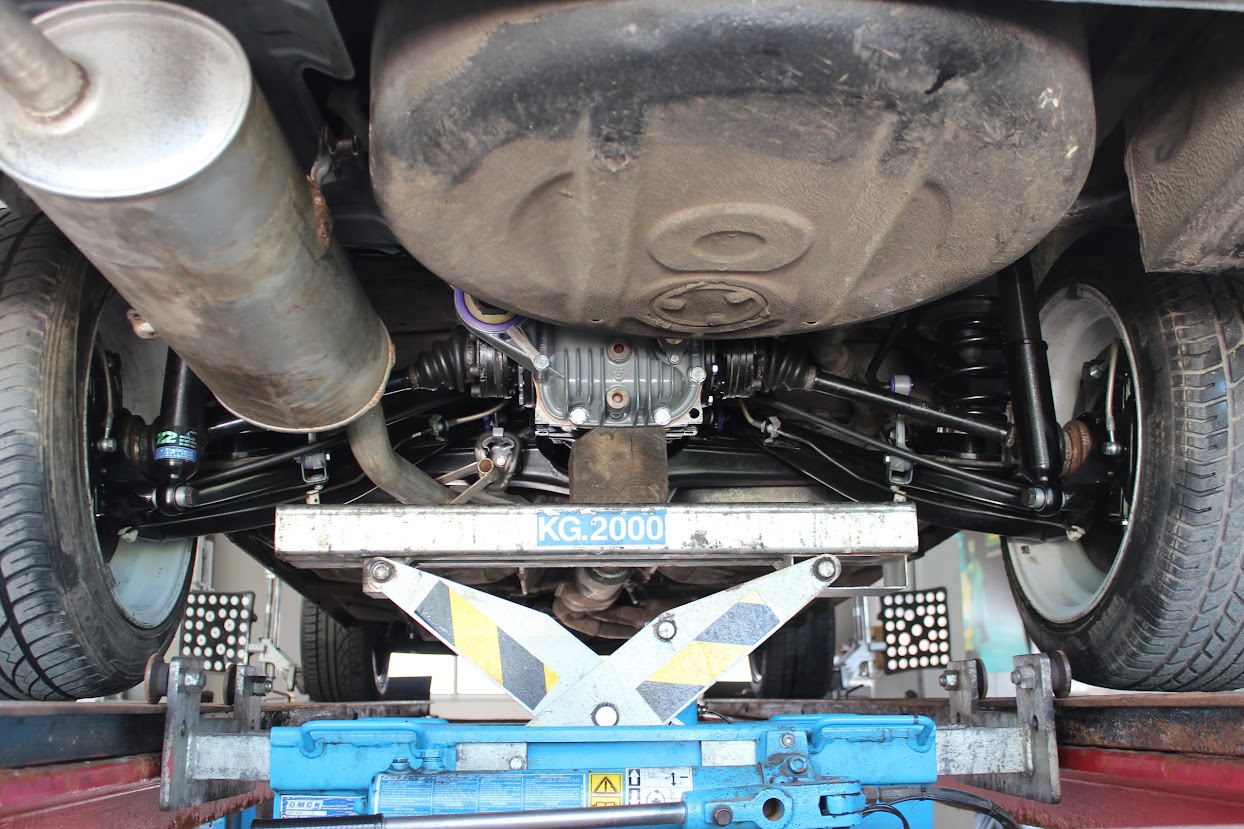
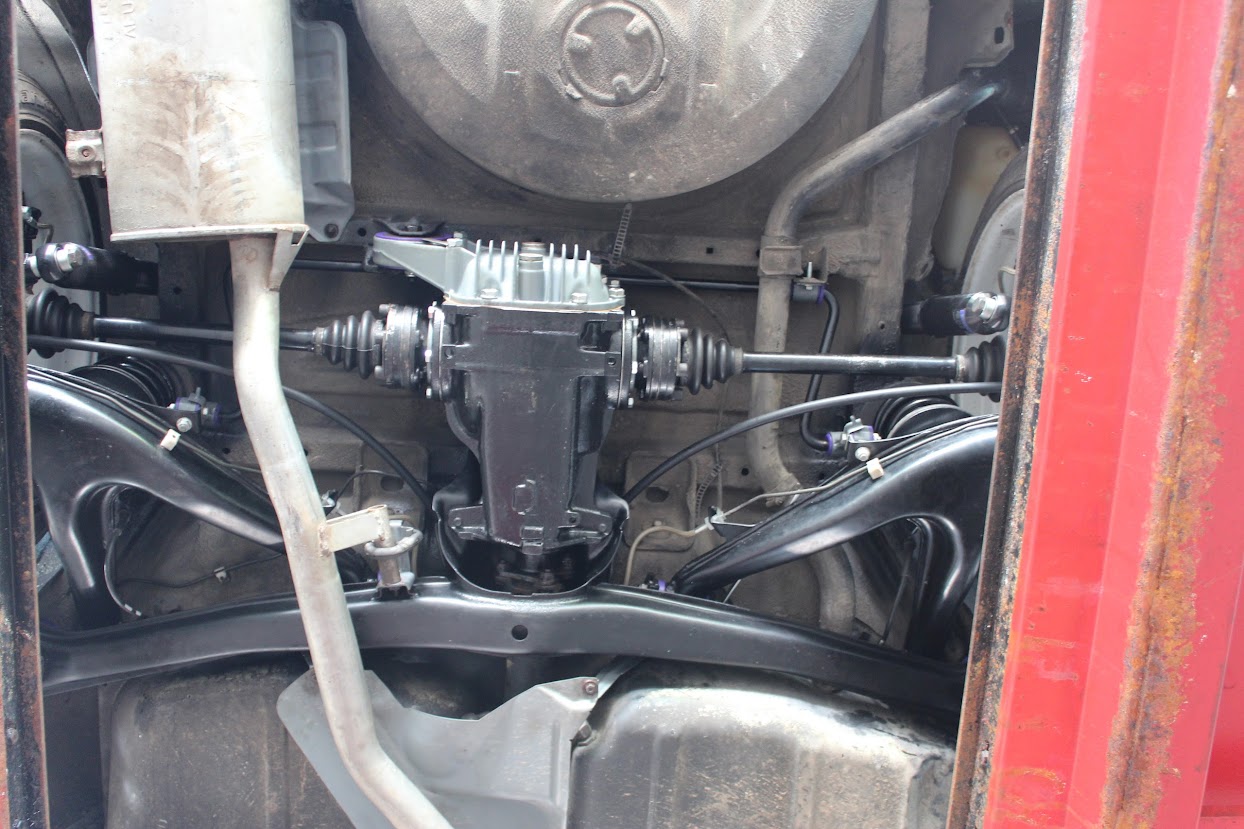
And it is great condition - has all the service history with it. Engine ran strong. The car looked to good to get on to that destiny:
Image

In the meanwhile I tried my best finding a contact with the n45 swap guy. He was certainly from England so I checked the Zone and found his thread: viewtopic.php?f=88&t=262963&start=35

jonknee1234 - Thanks a ton for being so supportive and sharing all your info with me and everyone else! You are the reason I though I also share all I have with the Zone - yes we live in a busy world where forums are not what they used to be, but if you ask me that is still the best way to share and get information on our crazy projects.

So I did enjoyed driving from the passenger side for few days, but before I get used to it and starting an e90 thread I pulled the trigger on it:
Image
Image
Image
Image
Image
Image
Image
User avatar
steffgang
E30 Zone Newbie
E30 Zone Newbie
Posts: 30
Joined: Wed Nov 14, 2007 11:00 pm

Tue Feb 16, 2021 6:05 pm

On St. Valentine's day I pulled the little heart of my beloved one:
Image
Image

And stored it aside:
Image

Yesterday I took the oil pan and exhaust manifold of the n45. Got the booster off of the e30 and got it in for a test fit:
Image
Image
Image
Image

Bolted with the gearbox in place:
Image
Image
Image

I will now adjust the engine height and position and start the mounts fabrication as well as the oil pan modifications. I am so far leaning towards a front oil sump as I'd be to make it stick out front and easily retain capacity without needing to widen it or deepen it, but let's see.

The intake is not leaving much space for the booster. I measured 160mm diameter would fit, but I don't know if sucha small one exists:
Image
User avatar
jonknee1234
E30 Zone Newbie
E30 Zone Newbie
Posts: 39
Joined: Thu Dec 06, 2007 11:00 pm

Tue Feb 16, 2021 10:40 pm

Hey. Great work and mega interested to see how you get on, could not agree more with your comments on engine selection, it isn’t the obvious (or cheap choice) but I love a light rev’ey 4 cyl over a 6cyl in the e30 any day. Keep up the good work...
User avatar
steffgang
E30 Zone Newbie
E30 Zone Newbie
Posts: 30
Joined: Wed Nov 14, 2007 11:00 pm

Thu Feb 18, 2021 6:46 am

Update from last night:

Decided to fully cut the oil pan:
Image

I think I might be able to reuse the rear sump as a front one:
Image

That would also need some hammer forming and I don't have the proper hammers and anvil, but I plan to get these things.

I chose m21 mounts and did some origami:
Image
Image

I have to now get these digitized and send them for laser cutting.
User avatar
jonknee1234
E30 Zone Newbie
E30 Zone Newbie
Posts: 39
Joined: Thu Dec 06, 2007 11:00 pm

Thu Feb 18, 2021 8:40 am

Hey. Are you going to leave the balancer shaft in or remove them ? Good work.. mounts look good
User avatar
Tzantushka
E30 Zone Regular
E30 Zone Regular
Posts: 457
Joined: Sat Nov 24, 2018 4:18 am
Location: Melbourne, Australia

Thu Feb 18, 2021 9:44 am

Sweet...
Cardboard Aided Design (CAD) always works a treat!. :)

Great progress.
User avatar
belozw
E30 Zone Newbie
E30 Zone Newbie
Posts: 7
Joined: Tue Jul 09, 2019 5:59 pm
Contact:

Thu Feb 18, 2021 10:50 am

Awesome! Waiting for every update! :D :clap:
1988 316i Sedan - Waiting for an M20B25
User avatar
martauto
E30 Zone Team Member
Posts: 6186
Joined: Wed Aug 31, 2005 11:00 pm
Location: leeds

Thu Feb 18, 2021 4:57 pm

Tzantushka wrote:
Thu Feb 18, 2021 9:44 am
Sweet...
Cardboard Aided Design (CAD) always works a treat!. :)

Great progress.
Just what this guy said :clap: :clap:

Mart.
Only the E46 cab left now.
Just got too old.
User avatar
steffgang
E30 Zone Newbie
E30 Zone Newbie
Posts: 30
Joined: Wed Nov 14, 2007 11:00 pm

Sun Feb 21, 2021 9:15 am

jonknee1234 wrote:
Thu Feb 18, 2021 8:40 am
Hey. Are you going to leave the balancer shaft in or remove them ? Good work.. mounts look good
Following you strictly on that one :) it's going out, but I now wonder what to do with the oil line :
Image
Image

It is threaded and I assume it has to be either tapped or some pressure regulator needs to go in there?!

Mounts drawing is still ongoing:
Image
Image
User avatar
steffgang
E30 Zone Newbie
E30 Zone Newbie
Posts: 30
Joined: Wed Nov 14, 2007 11:00 pm

Tue Mar 16, 2021 11:37 am

Time for some update, although I am in the nowhere:

I visited my dad's workshop and he helped making that:
Image

Into this:
Image

Using his metal bender and skills. I also got the sheet metal parts for the mounts and got them bended too:
Image

The oil pan started taking shape:
Image

But before getting too excited I knew this had to meet the reality of the engine position and all mistakes I've done for sure:
Image

Not too bad, but it rubs the oil pump on both sides. I made the sheet metal angle to steep to make sure I clear out the aircon compressor support bracket, but overdid it.. Nothing that hammer cannot fix..

The biggest limiting factor for the pan is the LHD steering rack pinion knuckle. You can hardly see it in here, but that's what the pan backside is laying upon (as well as the left subframe end, but that's way more easily fixable):
Image

The other expected problem is that there is barely any space for the oil pickup line to sneak at the front:
Image
Image

Although it doesn't look as bad on the above photos bare in mind I have to add a depression at the back of the pan to clear out the steering rack knuckle - you RHD guys are so lucky! That depression should go right under the oil pump input, so that's why I am pushing the pickup line path farthest left.. I can easily avoid that issue by just raising the engine position a tad, but that is something I don't want to compromise.

The engine mounts looked nice, but were totally messed and the grinder need to step in big time:
Image
Image
Image

They are ugly, no doubt, but the engine finally sits on them and not on the lift bar which is crucial in order to continue the more detailed work on the pan:
Image

I also got S65 ITBs:
Image

They are 98mm bore space. Instead of getting the reassembled to 91mm I am thinking of doing an intake like that:
Image

That front part is home made for m42 and I am planning to make similar one for this engine and these ITBs and have the runners extend from 91 to 98 bore space - this shouldn't be an issue. From all I've read on ITBs position it seems it should be actually better to have them more distant to the head, but I am sure you guys might have some opinion and actual experience on this topic and would love to see it.
User avatar
martauto
E30 Zone Team Member
Posts: 6186
Joined: Wed Aug 31, 2005 11:00 pm
Location: leeds

Wed Mar 17, 2021 5:04 pm

Excellent workmanship :cool: :cool:
Keep the pics and story coming please !!

Mart.
Only the E46 cab left now.
Just got too old.
steve_k
E30 Zone Team Member
Posts: 8044
Joined: Fri May 23, 2008 11:00 pm
Location: in the vale of mansfield
Contact:

Wed Mar 17, 2021 7:02 pm

really good update,

if you could make those sumps again i wouldn't be surprised if a few folk didnt order one.
if it's got t*ts or wheels it's bound to be trouble...............prove me wrong.
getting oral sex off an ugly person is like rock climbing.....don't look down ;)
User avatar
steffgang
E30 Zone Newbie
E30 Zone Newbie
Posts: 30
Joined: Wed Nov 14, 2007 11:00 pm

Thu Oct 24, 2024 1:02 pm

3 and a half years later is about time for updates! Obviously the project went in a deep hiatus, but some baby steps progress was there and I will cover that in a fast forward to get to where I am today.

Most tedious thing was definitely the oil pan. I've been obsessed by keeping the engine position that low and backwards and that meant lots of back and forth until I manage to clear out the steering rack knuckle and still allow the oil feed to somehow find its place from the back of the pump to the front pan:
Image

To locate this additional protrusion needed to clear the rack knuckle I was able to take a peek through the holes in the edges that were left to allow for bending:
Image

Same process was used to find the shape of the oil pickup:
Image

The oil pickup creation is not well pictured but I basically superglued together pieces of straight and curved sections of standard m20/m42 pickup pipes to mimic what the final result shall be and then gave that thing to local shop that has a capable pipe bender and skills to replicate at their best. The result miraculously worked with very correction on the spot by me and compensating the angles at which I welded the flange to the pump and the suction cone to make it parallel to the pan bottom:
Image
Image

Once I gained full confidence with the final corrections of the pan I had it sealed by a professional welder who also did a leak testing:
Image

Note the oil trap doors - hope they'll do the job:
Image

Then I got this ugly thing zinc plated:
Image
Image

And powder-coated on the outside:
Image

Image
And with that I was able to finally seal that engine bottom after it sat open for almost an year.
User avatar
steffgang
E30 Zone Newbie
E30 Zone Newbie
Posts: 30
Joined: Wed Nov 14, 2007 11:00 pm

Thu Oct 24, 2024 2:22 pm

Keeping this thread up to date is actually essential to the build process as the info I left behind here was quite useful to myself remembering where I was after such big time gaps in actual progress and that is a main motivation to keep up with the update. Perhaps it is fun for those of you under the same infection and hopefully a good warning to those just about to start a "small BMW project" that could steer them away from that straight path to hell. Enough BS for now.

Updates are not necessarily in chronological (neither logical) order, but I guess parallel to the oil pan saga I've been scratching my head on the intake design, the exhaust manifold and the oil cooler. So some flanges got designed and ordered:
Image

I'll start with went (so far) not to bad - the oil cooler. I ordered a dirt-cheap kit of ebay and am actually happy of what I got:
Image

Then one additional design effort and quick order got me here:
Image
Image
Image
Image

Plan is keeping the oil filter and thermostat intact and delete the oil to water heat exchanger using this flange (it now also has connector fittings from the kits filter relocator added for connection to the hoses too):
Image
User avatar
BenHar
E30 Zone Addict
E30 Zone Addict
Posts: 3066
Joined: Sun Jul 11, 2010 11:00 pm
Location: Reigate, Surrey

Thu Oct 24, 2024 6:15 pm

Looking good.

Ben
twenty
E30 Zone Regular
E30 Zone Regular
Posts: 594
Joined: Wed Jun 24, 2020 11:43 pm
Location: London

Thu Oct 24, 2024 6:29 pm

Oh wow! How did I miss tis thread? Excellent work. WIll be following this build with much interest.
User avatar
jonknee1234
E30 Zone Newbie
E30 Zone Newbie
Posts: 39
Joined: Thu Dec 06, 2007 11:00 pm

Thu Oct 24, 2024 6:38 pm

Keep up the good work.. my e30 320si made it out a few times this year for track days Still love the n45 b20 engine with itb’s
User avatar
steffgang
E30 Zone Newbie
E30 Zone Newbie
Posts: 30
Joined: Wed Nov 14, 2007 11:00 pm

Thu Oct 24, 2024 9:12 pm

jonknee1234 wrote:
Thu Oct 24, 2024 6:38 pm
Keep up the good work.. my e30 320si made it out a few times this year for track days Still love the n45 b20 engine with itb’s
Hey John, so glad to hear from you and am very happy your n45 runs strong and gives you the smiles! Your help has been of great use to me. I will fast forward a bit to give an update on one thing that came from you directly - banjo bolt added at the back of the head to accommodate neat connection to the heater radiator:
Image

That's one of things that didn't go smooth at all - the bung was about to mess up the threads as it seemed sealed with a permanent glue. It came out with a freeze spray and luckily the damage was on the bung threads and not the head:
Image

Required a quick clean up/straightening with a 26x1.5 thread tap:
Image
Last edited by steffgang on Sat Oct 26, 2024 5:22 pm, edited 1 time in total.
User avatar
steffgang
E30 Zone Newbie
E30 Zone Newbie
Posts: 30
Joined: Wed Nov 14, 2007 11:00 pm

Thu Oct 24, 2024 9:37 pm

Next thing that went on was the exhaust manifold. That I've had done for me by a great guy living in another city though. He happened to have a block out of N43 or N46 and head form a 320si as well as e30 subframe and a cut right front inner wing. He only asked me to send him over my engine mounts and flanges I already have created. I boxed all that and sent it to him:
Image
Image

It took quite a while, but I was anyways not having any chance to progress further due to lack of spare time. Several months later he sent these:
Image
Image
Image

They are really well built and the runners are quite lengthy yet compact. The guy definitely understands exhausts and I believe this one is going to perform.
User avatar
steffgang
E30 Zone Newbie
E30 Zone Newbie
Posts: 30
Joined: Wed Nov 14, 2007 11:00 pm

Thu Oct 24, 2024 10:29 pm

This is anyways a project beyond many of my (dis)abilities, but with the minimized opportunity to focus on it - it seemed impossible to progress. Finally a good friend - Yordan, who is quite the guru of engine swaps, professional tuner and obsessed with e30s gave up ranting at me to just ditch that nonsense of an engine and put in a m54 instead and agreed to enter the project and carry on my main struggles - engine cooling, intake, wiring, overhaul, final assembly and tune. He was the guy that did the arrangements for the exhaust manifold so he was anyways one foot in it already :)

He had one condition though - change the ITBs from s65 to s85 (very close design to s54 but more affordable atm). Here is what went on with the S65 ITBs prior that point in time:

The nature of design of the s65 doesn't allow a close fit but I was anyways convinced that placing the ITBs prior the runners is a good idea. First attempt was to use 67 degree aluminum pipes beaten up to the port shape:
Image
but didn't quite agree on the tight curve that will certainly be a restrictor of airflow so I did a new iteration and created runners from a straight pipe we bended on a machine and intentionally used flat rollers to also reach the port design:
Image
Image

I think it turned out great:
Image
Image

According to Yordan though this is not gonna run okay near idle speeds plus the s85 ITBs do fit good:
Image
User avatar
steffgang
E30 Zone Newbie
E30 Zone Newbie
Posts: 30
Joined: Wed Nov 14, 2007 11:00 pm

Fri Oct 25, 2024 2:33 pm

The S85 ITBs Intake design got started by Yordan prior him getting the car at his place:
Image

Then a month ago the car got out of its cave for the first time in a while, got a much needed pressure wash and headed over to Yordan:
Image

He took the engine out and started yelling at me that everything is loose in the oil pan. In my defense - I never said it's not. On the first visit I helped locating an obstruction between the insides and the oil pan utilizing professional product from the kids store:
Image

Luckily it was nothing that the grinder can't fix:
Image

Yordan was hesitant whether the timing chain needs replacement, but I insisted as I have zero trust on these newer motors phony internals - a close friend of mine's Skoda 2.0TFSI have jumped few teeth on 120k km and the old chain was significantly stretched. Honestly the whole kit is quite cheap so it makes zero sense to skip this while we are there anyways:
Image

And my worries were proven right:
Image
That is the chain of a 65k miles motor...

We ordered a timing lock tool that was supposed to be n40/n42/n45 + 320si compatible per spec but it is not:
Image

It turned out that the Vanos gears lock can be done using the engine hook as a tool - Yordan read this from the manual and used it (I haven't witnessed that myself), but so far the valves are synced at a relative position as we need to have the rear locking tool - @jonkee - how the hell did you manage to do the timing on your motor?
Last edited by steffgang on Fri Oct 25, 2024 3:11 pm, edited 1 time in total.
User avatar
steffgang
E30 Zone Newbie
E30 Zone Newbie
Posts: 30
Joined: Wed Nov 14, 2007 11:00 pm

Fri Oct 25, 2024 2:52 pm

Though the timing is not completed it allowed the oil pan to be sealed for good as it will be finally adjusted only from the top. Few more things to point before we forget about the oil pan and its belongings:
1. Oil scraper is from N52 with some more than obvious cut-outs and I think on the photos I have it is oriented @ 180 degrees of what is supposed to be its position - that was corrected before sealing. I assume it makes some difference considering the direction of engine rotation although regardless of how you mount it it will clear the conrod bolts.
2. Oil feed to the long gone balance-shafts got tapped with a bolt and a copper seal as instructed in John's (jonknee1234) thread.
3. Yordan shaved the suction cone on the oil pickup in the shape you see to guarantee it will not be blocked against the bottom of the pan after a mild scrape.
Image
Last edited by steffgang on Sat Oct 26, 2024 5:28 pm, edited 1 time in total.
DanThe
E30 Zone Team Member
Posts: 28640
Joined: Sat Sep 10, 2005 11:00 pm
Location: Staffs
Contact:

Fri Oct 25, 2024 8:04 pm

Great work!
Loving the exhaust :D
Post Reply