
Il show how to
clean bay
polish metal risen parts
paint rocker/inlet
paint/polish other metal parts like throttle
hide or cover bottles + cables
A lot of guys dont care about their bays ( barx I remember said he doesnt care, aslong as it works which is fair enough ) I totally can understand this viewpoint but i prefer it looking nice and tidy.
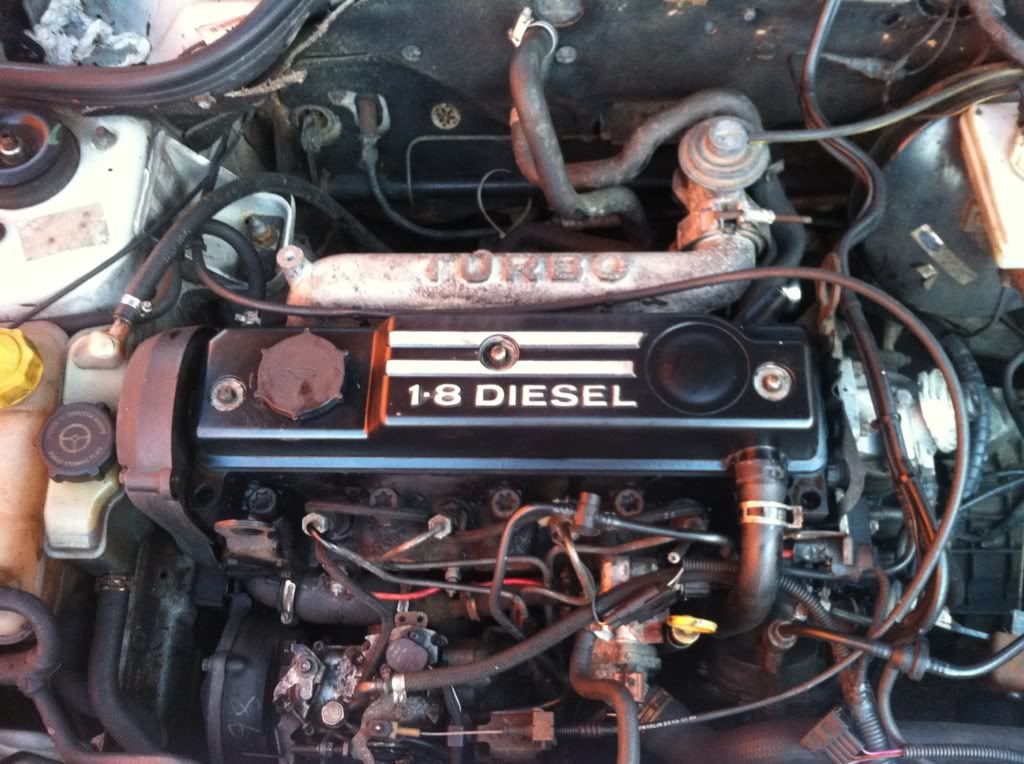
I got it to this point a few weeks ago but it was a rough job and now im doing it all properly

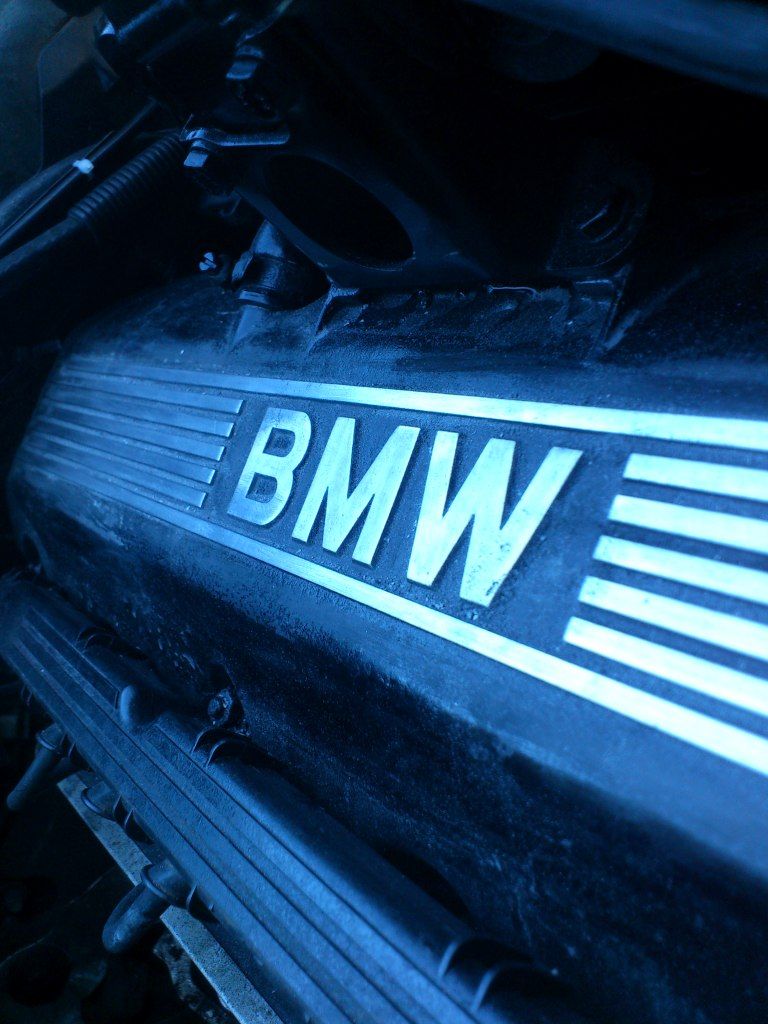
As you can see here...there pitting on the metal and its annoying me greatly
I decided to redo it as I want my car to look as German as possible plus there was ALOT of pitting on the polished parts.
Iv decided on this as a design

Before you start, heres a little inspiration. Iv been called dubscum but thats pretty accurate, it was vw that got me into the euro scene and made me remember e30s...it also gave me a love for clean bays
[youtube][/youtube]
First off you will need
SANDPAPER
120/ rough grit ( this is if you have extreme pitting like I did )
600 grit ( this is to get the parts shiny-ish )
1200 grit - to get rid of the scoring left by the 600
1200 waterproof or emery cloth - this is to get to the final point before polish
METAL FILE - this is to bring out the metal on the emblem/bars on the intake ( often these corrode and fade ) the best way to right this is to file them a little
AUTOGLYM - or other metal polish
PAINT
This part is very important, decide what you want very carefully ( I have been informed that you do not need engine paint for the rocker, normal spray paint shall do just fine....you will need heatproof for the manifold )
MASKING
masking tape/tape
paper,newspaper or bin bags
Step one
The best way to start is by getting the shiny parts shiny...this is because innevitably you will score or mark the inlet/rocker whilst doing so and if youve already painting it this is a pain in the gentleman vegetables.
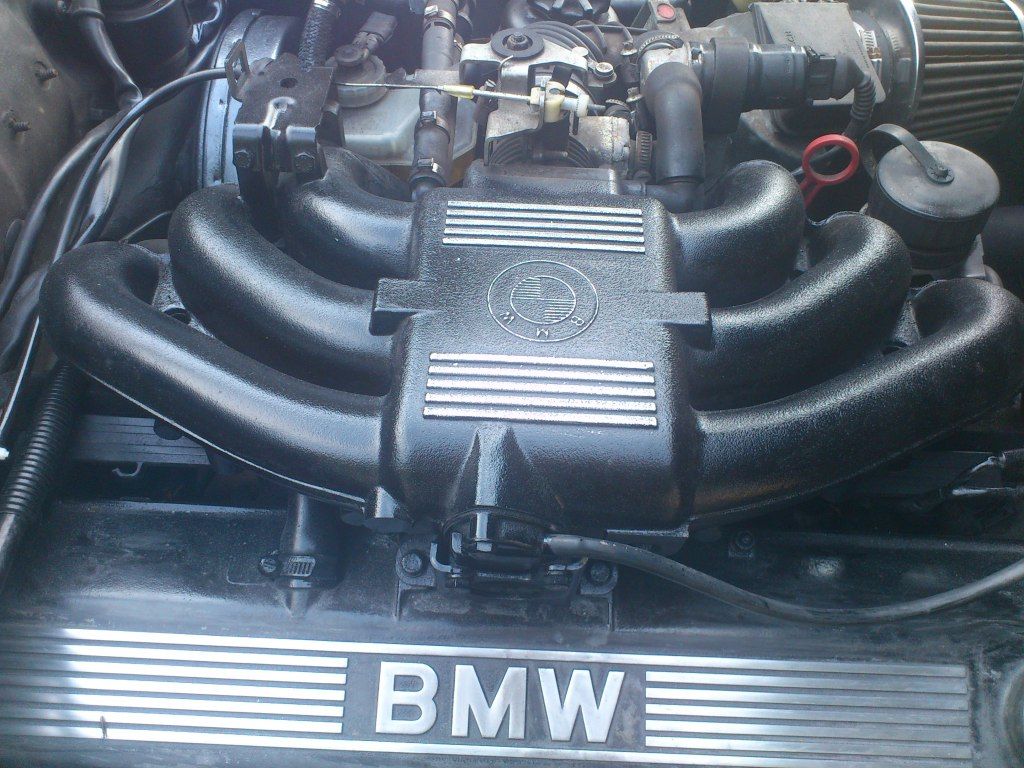
Start off with the emblem and bars on the inlet manifold...take a metal file and very carefully file the raised parts
CAUTION!
This is soft metal and wears down VERY quickly, if you file too much it will disapear completely, keep the file very horizontal so you dont angle it all. Use 1 or 2 strokes on each part...this is plenty to get it shiny.
STEP 2
Once youve done this you can start on the rocker cover. If you dont have pitting ( chip like marks or deepened fades ) ignore this, if not read on mofos. Take your heavy grit paper and begin to sand the letters...start on the letters for the same reason and youve started on the polished parts, if you shine up the bars you will score them when doing the letters. Yes I learned this the hard way this afternoon. Keep all the sanding in the one direction. Vertical for the letters, horizonal for the bars. This may take a while but trust me its worth it.
TIP
This job is utterly soul destroying but if you dont do it you will regret it...I did a half assed job and now im having to redo it all, dont make my mistake aswell. If theres pits get them out, when the rest is mirror shiny they will show up even more than usual.
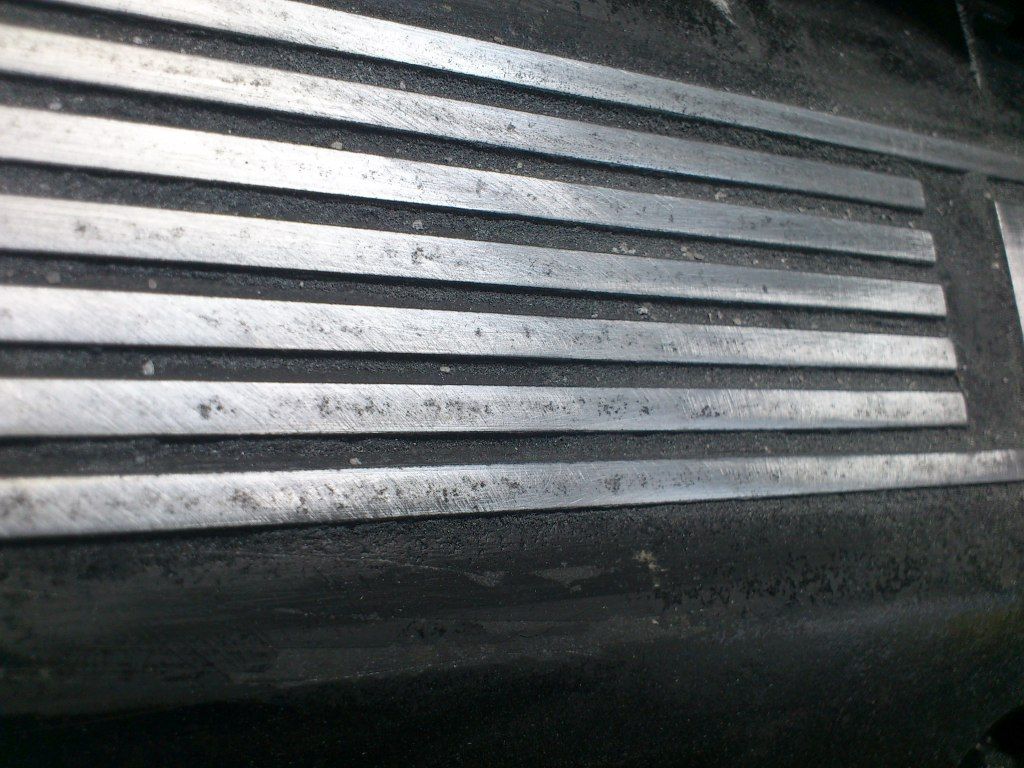
Almost done....
STEP 3
Once youve got all the pit marks out and the fades your ready to get the scoring out left by that nasty 120 grit. Get the 600 and follow the vertical on the letters ( doing the letters first ) and then the bars horizontally until they look smoother and there are no scores. You want to be keeping the area clean as possible, dusting and sorta cleaning so you can see whats done properly. Then take the 1200 and do the same. Once its all smooth your ready to autoglym ( wait )
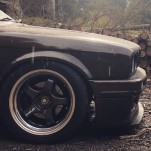
No more pits!!
Step 4
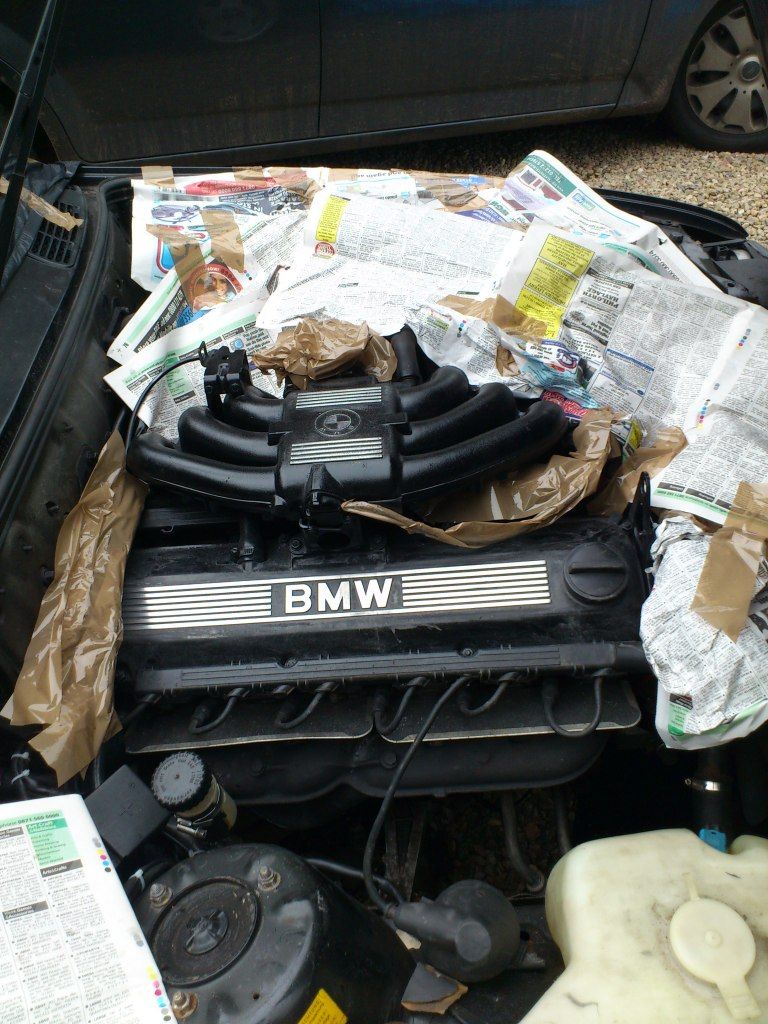
Take your tape and very carefully mask off the raised areas youve just slaved over for between one and ten hours ( dont mess this up or youl feel like a dafty.
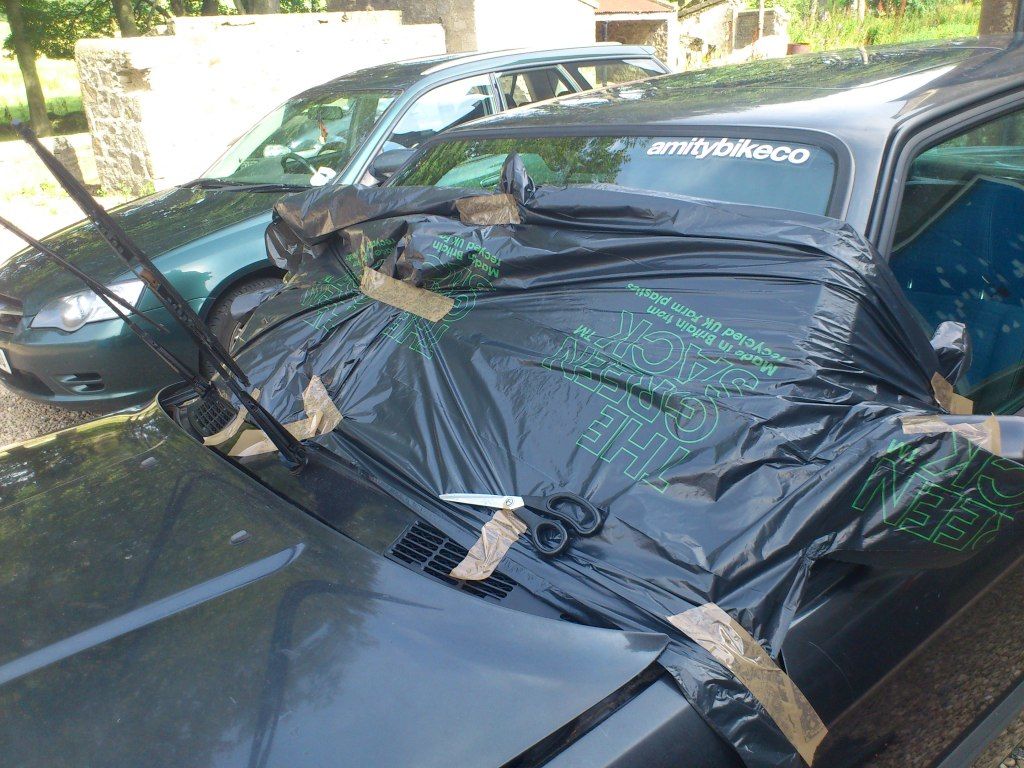
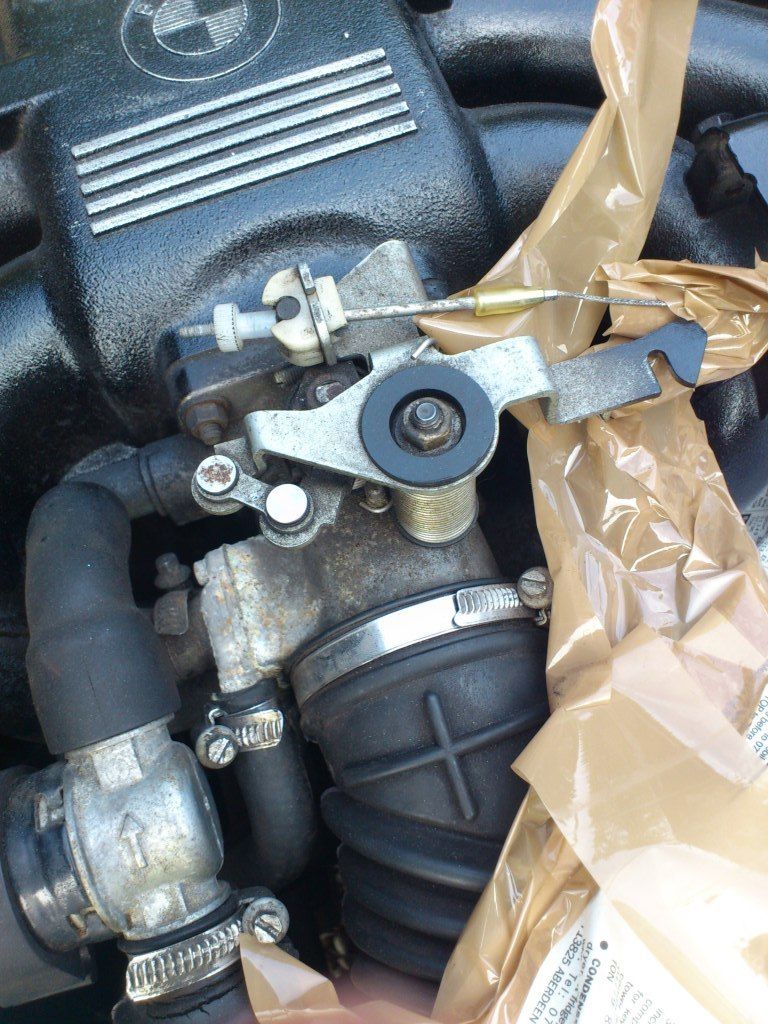
You then want to remove the harness bar ( 6 bangers ) the black bar that sits above the plugs, its just held on with 2 or 3 little nuts. You then want to cover the windscreen in bin bags or newspaper. carefully mask off the throttle assembly and cable ( DO NOT GET PAINT ON THE CABLE ) as it may get sticky or jam on. If you do, sand it off or itl bite you in the ass later. Take great care masking off the hoses and radiator, just use your brain, if your gunna be painting near it, cover it up.
Make sure to leave no gaps, over spray on the screen = BIG PROBLEM
Make sure to tape round the tricky parts like the throttle carefully, you dont want sticky paint jamming the throttle waiting there for you on a sunny day when you decided to give it some tits.
( will be showing how to mark the letters as soon as the feckin rain stops )
Step 5
Take the 600 grit and roughly sand the rocker and intake main parts. Blow off the dust and wipe the area clean. ( pictures of this and masking to come )
Step 6
Carefull spraying evenly around 6-8 inches away from the parts, apply the colour of your choice to the area. You want to apply two or three coats leaving 10 minutes between.
Step 7
Once dried take off all the masking on the bars and letters and look at your work so far,. Take your metal polish/autoglym and a cloth, applying a small amount to the cloth, in circles begin to polish the metal on the rocker ( this will not work on the soft intake ) Be careful not to get too much on your new paintwork. Once its looking nice and shiny, take a clean cloth and wipe off the excess metal and polish.
Step 8
Take clear coat ( If you want a matte finish remember to get matte clear ) and apply to the whole of what youve just painted including the metal ( this will stop it coroding again )
Remove all of the other masking and go get yourself a fucking beer, youve earned it!
There will be more parts to come, including how to hide reservoirs and paint other pieces like the manifold. Silicone hoses and the like - I will also be getting more photos as i finish my bay over the next few days.
Hope this helps a few of you