Touring Rear Headrests
Introduction
Similar procedure for all E30s with head rests not fitted as standard.
I don’t know about you, but I reckon the E30 Touring looks a lot better with a pair of rear head-rests, but sadly few had them fitted from new. However, for less than £20 and no more than an hour’s graft, you too can sport a set of rear head rests in your Touring.
The following procedure may apply to other E30’s, i.e. 2-door and 4-door, but I haven’t proven this, so proceed at your own risk if you wish to do this on your car.
Parts Required
Depending on your thriftiness, there are two ways of acquiring your parts. The cheapest way is to cannibalise some front seats; the headrests themselves, plus washers and clips, are all identical to those used on all E30 front seats so you can grab them from any scrapyard donor.
If you insist on going "new", then you'll need to order the following parts directly from BMW:
- Cover (x 4) BMW part no. B52.10.8.191.245 £0.73 each
- Washer (x4) BMW part no. B52.10.8.838.969 £0.19 each
- Guide (x4) BMW part no. B52.20.8.132.020 £0.77 each
(My local dealer had to order these parts from Germany, which took about a week.)
- One pair of matching rear headrests (I got mine from the local scrappy for £10)
Tools Required
- Sharp knife
- Scissors
- Flat blade screw-driver
- Pen
Procedure
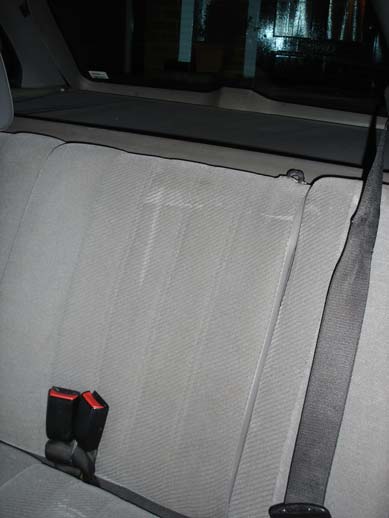
So, you start off with your rear seat looking like this – dull and boring:
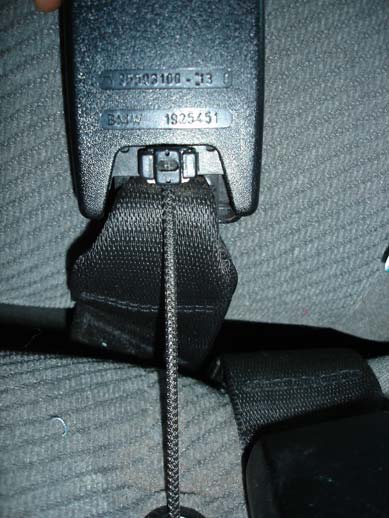
First step is to unclip those seat-belt buckles from the elastic retainer cord. This is done by sliding up the little black plastic “plug” that is attached to the elastic retainer cord, so it comes free of the buckle. See below.
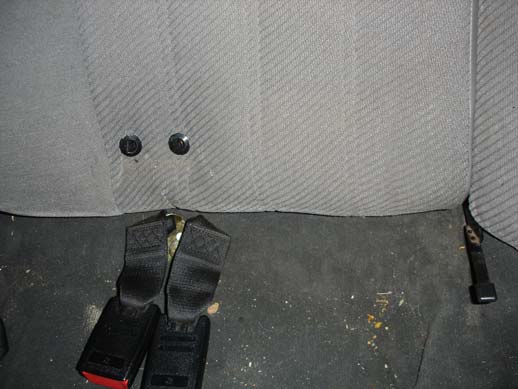
Now you have to remove the seat cover from its frame. First, lift the seat base up out of the way.
This is a good time to get the hoover out if your car is anything like mine!!
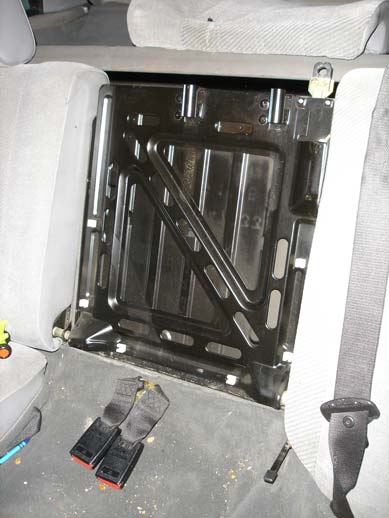
Now get your fingers under that bottom edge of the seat back cover, feel where it joins the seat frame and pull it forward at one corner first – it’s just held on with a number of clips. Be extremely careful at this point; there are very sharp clips located just in the place that you naturally push your fingers in to pull the back off, and these clips will rip chunks out of your finger tips. So pull tentatively along the bottom edge and up both sides about half way up. There are 6 white plastic clips in all – 2 along the bottom and 2 up either side, as shown below in the photo below. You can then pull the seat back cover towards you slightly and lift it up off the top of the frame to remove it totally, leaving you with something looking like this.
Now identify the two tubes that are already mounted at the top of the frame, looking like this:
Slide one of the black plastic guides into each of these tubes, noting that there is a key in the guide that has to line up with the slot in the tube as shown below.
Push the guide down fully home so that it clips in at the bottom. Do this in both tubes.
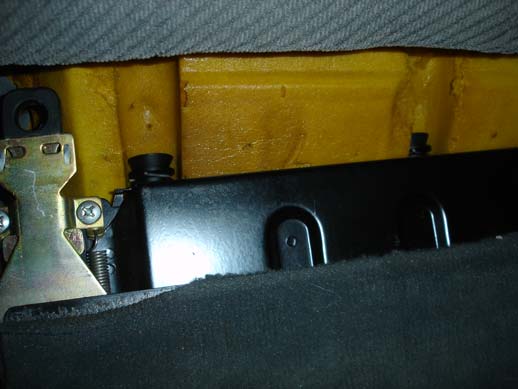
Now put the seat back cover back on, noting that there are channels in the foam that the above tubes sit in, as shown below. Don’t bother trying to get the clips in at this stage as it will be coming off again in a moment.
With the seat back cover sitting fully home again, feel where the top of the black plastic guides are and mark with a pen where the centre is of both.
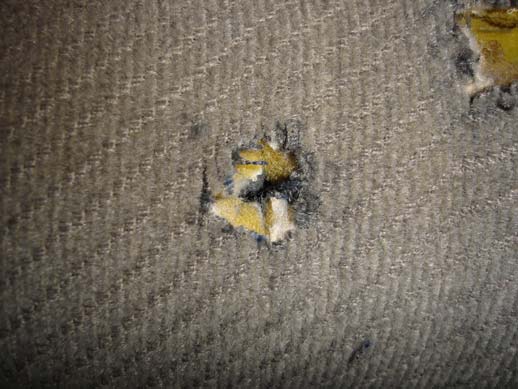
Now you have to remove the seat back cover again and carefully cut open a circle in the cloth and foam underneath to take the black plastic trim (cover). The part of this cover that goes through the hole is only about 15mm in diameter, so don’t make the hole too big. I found the best way to do this is to cut along the lines of the cross you made, always cutting from the outside in towards the centre of the cross, otherwise you may end up slipping with the knife and cutting more than you planned. Now you can lift up the bits you’ve cut and cut round with scissors to remove some of the material. It doesn’t need to be perfect either as long as the cover can push through. Mine looked like this before I put in the cover.
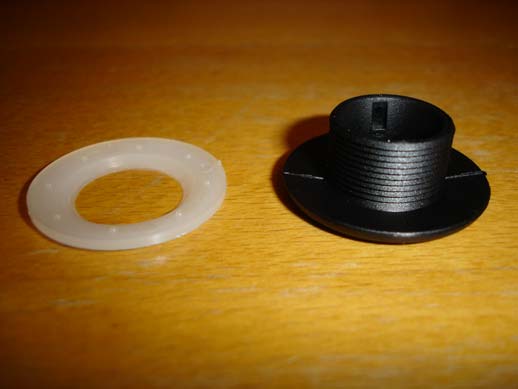
This is the cover and washer that you need to fit in the hole you’ve just cut.
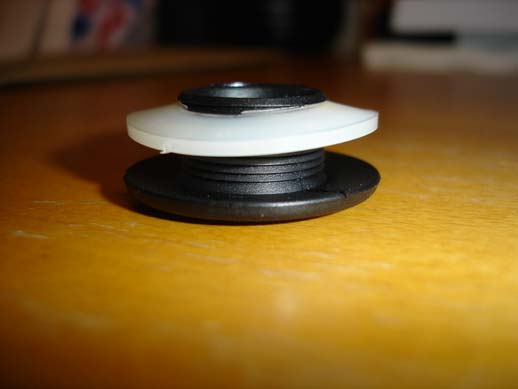
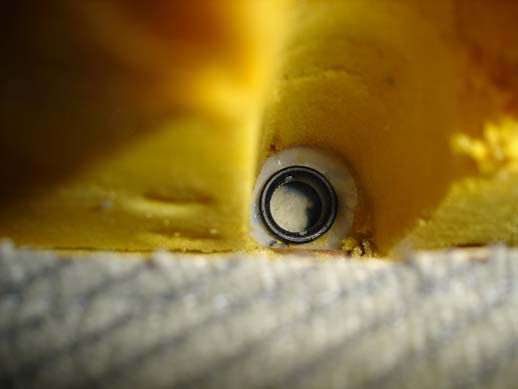
The idea is that the white washer pushes down over the ridges on the barrel of the cover and locks in place as shown below (I didn’t push it right down as it’s not designed to come off again!) So, the black plastic cover goes through the hole you’ve just cut from the outside and the white washer goes on the inside to keep it in place. This is probably the most tricky part of the whole job!
The difficulty is pushing the washer down in the limited space of the channel down the back of the seat back cover. I found it best to push down on one side of the washer with a finger and the other side with a flat blade screw driver. You need to ensure the white washer grips all round the barrel of the cover. The photo below shows it all in place.
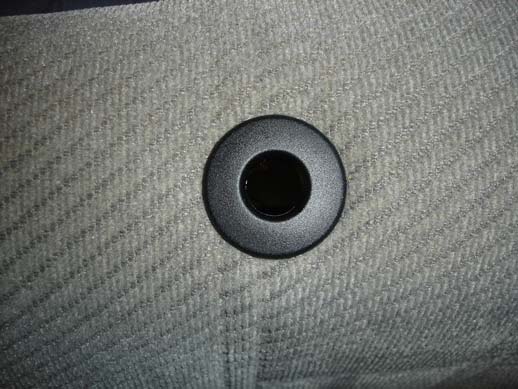
Turn the seat back cover over and you should see this!! Nice and neat!
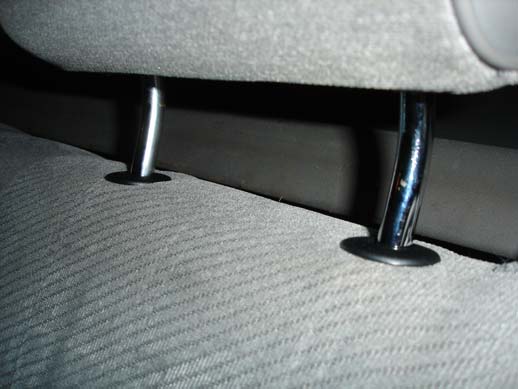
Now you can fit the seat back cover back on the frame, ensuring all six clips hold it in place. Put the seat base back down and clip the seat-belt buckle retainers back in place. Now the exciting bit – fitting the head-rest! If you’ve got it all right, it should slot in easy enough..
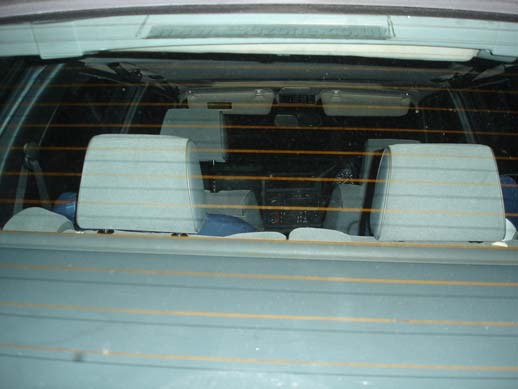
Now stand back and admire your handywork!
Now stand back and admire your handywork!
This article is copyright to E30zone and must not be replicated without prior permission. Written and photographed by Pete
