Replacing Touring Rear Top Mounts
The Rear Top Mounts are a simple part of the rear suspension. These rubber bushes hold the top of the rear shock absorber in place, allowing it a degree of flexibility as it moves.
Over time, the rubber in the top mounts will perish and fail. In most cases this leads to sloppy, wallowy suspension, but in the worst cases the shock absorber will punch up and into the suspension tower, collapsing the suspension on that side. For that reason, they need to be replaced after a certain length of time.
For performance vehicles or aggressive driving, more rigid top mounts can be fitted. Polybush examples will yield a stiffer back end, increasing traction but making the ride harsher.
As an upgrade to the standard parts, we recommend fitting the top mounts from an E46 Cabriolet. These top mounts are the same dimension as the OEM parts, but have a sturdier construction offering better life and marginally improved performance.
Contents
Removal
The rear top mount can be seen from inside the wheel arch, but access is through the boot. On any normal Saloon or Cabriolet, you'd be able to see them on the inside, but since the Touring's boot is trimmed with all sorts of carpet and panelling, we're going to have to dismantle most of the interior to get to them. Don't worry, it's not that hard.
PREP: If the top mount replacement is part of a complete rear suspension overhaul, learn more about replacing the rear shocks and springs first. Use that guide to dismantle as much of the rear suspension as you need.
1. Open the boot, and remove the cubby hole doors. They're only held in places with clip-hinges at the bottom, so be gentle and prise them out of the clips, and put them somewhere safe.
2. If you've got a load liner fitted, you'll need to remove that too. At the same time, fold down the rear bench.
3. Now we'll start unscrewing the rear panels. The first screw is at the end, right next to the tailgate pillar. Don't worry about the screw holding the load-liner hook.
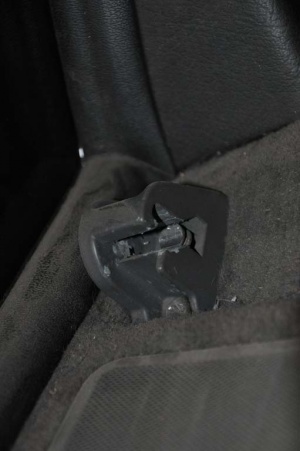
4. Next is the load liner clips next to the seat belt. That's held in place with two screws, so undo them and put the clip somewhere safe.
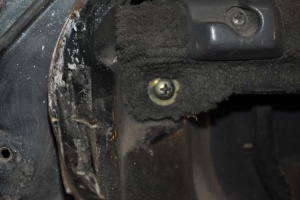
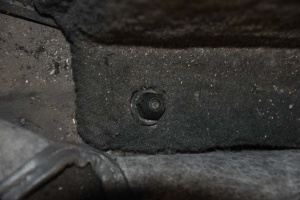
5. And finally is a plastic nut at the base; you'll need to lift up the edge of the floor carpet to find it, but it's there. This needs a 10mm socket to remove. Once it's undone, you can pull the panel from the bottom, and wiggle it out from under the window trim.
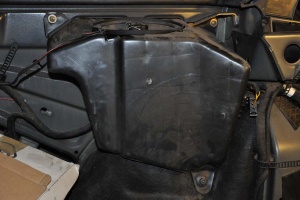
6. With that out of the way, you should see the rear speaker pod. There's two screws at the top and one plastic nut at the bottom for this baby, plus the plug-and-socket on the side for the audio system.
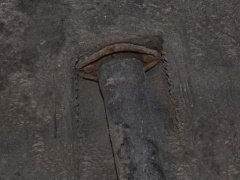
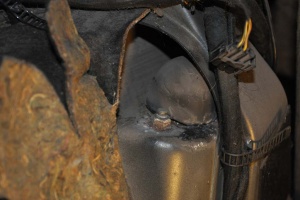
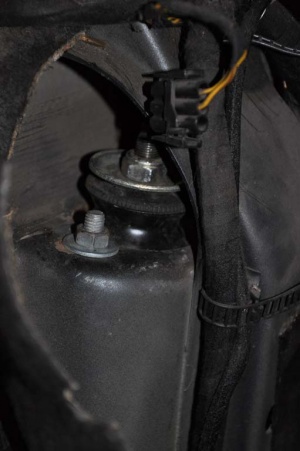
7. You'll now be able to see the top mount, covered with its rubber dust cover. You'll also be able to see one of the two 10mm nuts holding it in place, which you can whip off with a 13mm socket. Trouble is, there's no way to get to the other nut, so we have to take a less direct route.
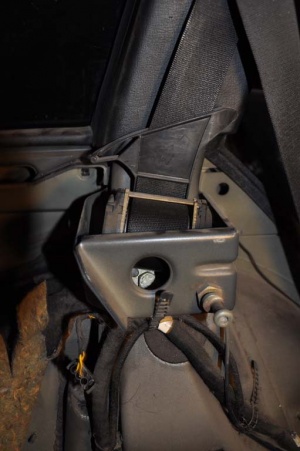
8. Here's the seat belt, mounted to the C-pillar. Looking at it face-on, you can see the bolt holding it in place. Go through that hole with a 17mm socket and get it out.
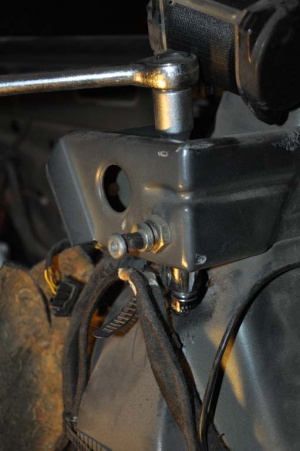
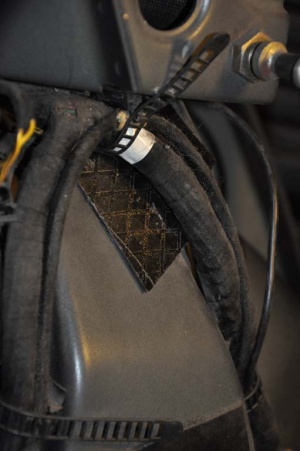
9. From there, you need to go down through the seat belt mount to get to the other top mount nut. The hole is covered by some sound-proofing, but that should easily prise off with a screwdriver. If you're doing this in a minus 12 degree garage in the middle of a Polish winter, like I am, then it'll be as brittle as a pensioner's wrists.
You'll need a long extension to get to the nut, and it's a pain in the arse trying to find it blind. A good tip is to stuff a rag past the top mount first to block the hole on the side of the suspension turret; that way you won't drop your socket, or lose the nut once it's undone. If you do drop something down there, it'll be rattling around for the rest of the life of the car.
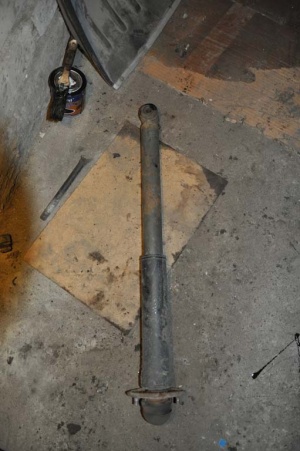
10. Once the two nuts are off, you can go back outside the car and gently tug the shock absorber and it'll simply drop out. If you're doing this with the trailing arms and springs still in place, then you'll have to unscrew the top mount from the shock from here. If this is part of a more general refurb, then the shock can be unbolted from the trailing arm for disassembly and refitting.
Components
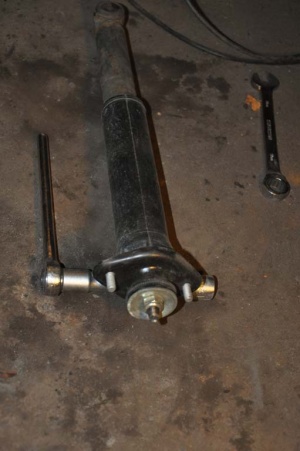
With the shock on the floor, you'll realise how simple it really it is. All the stuff on the top is held in place with one nut, which you undo with a 17mm spanner. You'll need to grip the square tip of the shock while you do so, either with pliers or in a vice.
Once you've got the nut off, a little tugging will get everything off. Here's it all laid out for you:
| No | Component | Image |
|---|---|---|
| 1 | Shock Absorber | 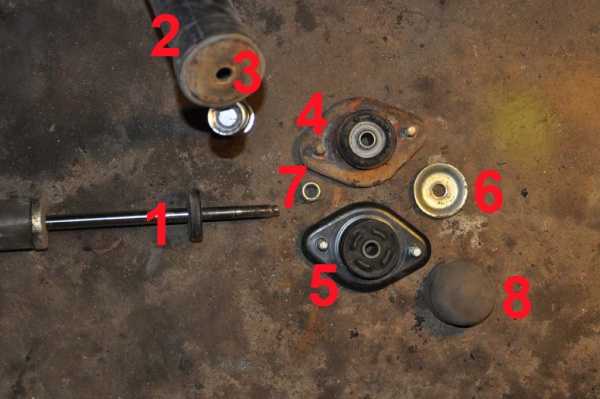
|
| 2 | Dust Sleeve | |
| 3 | Spreader Washer | |
| 4 | Old Top Mount (E30) | |
| 5 | New Top Mount (E46) | |
| 6 | Top Washer | |
| 7 | Nut | |
| 8 | Dust Cover |
Refitting
1. Once you've got it all your pieces, you can screw it all back together in the sequence listed above. it is ESSENTIAL that you fit part 3, the spreader washer. This washer is a standard part of OEM shock absorbers, but isn't always included with aftermarket or performance components. Failure to fit this washer will cause the top mount to fail within a week, and then you'll be doing this job all over again.
2. Offer the shock up through the hole, and get the two nuts onto it. Again, keep your rags or cloth stuffed into the hole next to the shock turret, so that you can get the second nut onto the top mount without dropping it.
3. Finally, go back through the Removal steps and bolt everything back together. Don't forget to replace the soundproofing material you removed in step 9.
And that's it! Once the rest of your suspension is bolted back into place, you're good to go!
