Recovering Headlining
As these cars age, one of the most serious cosmetic defects is the Headlining. The foam backing starts to degrade, causing the fabric to come away and sag depressingly. When this happens, the only solution is to remove the headlining and recover it.
It's generally not worth trying to re-use the original fabric, as two decades of hair grease, nicotine stains and damp patches will have turned most headlinings into a manky den of filth. But it's perfectly possible to recover the headlining with other fabrics; here's how.
Parts
For this task, you will need:
- Headlining panel (from your car or donor vehicle)
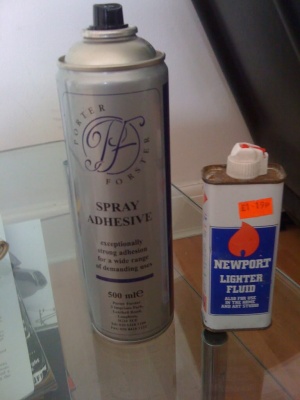
- Spray on adhesive
- Lighter fluid
- Brush
- Replacement fabric (the thinner and stretchier the better)
Removing Headlining
First thing to do is get the headlining out of the car. You will NOT be able to do this job upside down inside the vehicle. Follow our guide on removing the headlining to get the panel out of the car and into your house.
Preparing Headlining
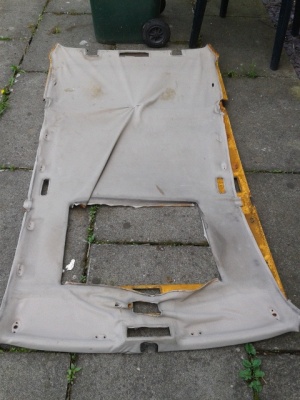
Once you have the headlining removed from the car, you need to strip the fabric off the hardboard base. Do this gently if you insist on re-using the fabric, but be warned that it is very very fragile and could tear at any moment. If you hate your existing headlining, rip it off like a plaster:
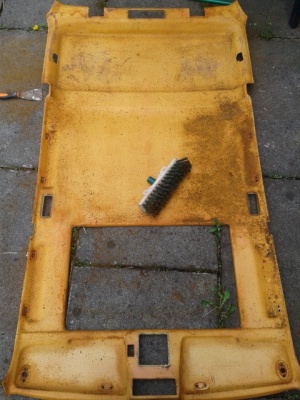
Then attack the baseboard with a stff brush. It is essential to remove every last crumb of the existing foam from the board. Leave a single particle behind, and you can guarantee sags in the near future. Brush, vacuum, repeat until the board is completely cleaned.
Recovering
To get your new fabric onto the board, use gentle squirts of the adhesive spray, then press the fabric in place. Top tip: if you overspray this sort of contact adhesive onto the fabric, get some lighter fluid on a sponge and dab it on to dissolve glue. This will get the glue off cleanly without ruining your fabric.
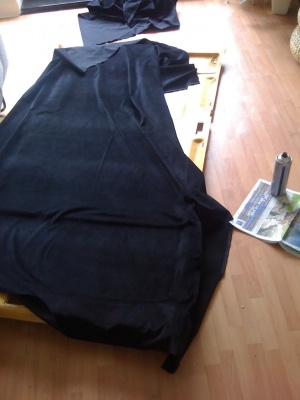
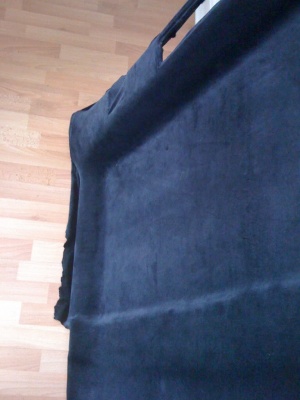
The recommended way to approach a headlining is to work from the centre out to the edges, which is why this picture shows the work starting in one corner:
It isn't too difficult once you get going on some sections, but on others fiddly isn't really a strong enough word to describe the fiddlyness of this job. "Extremely fiddly" is still at the lower end of the awkward spectrum.
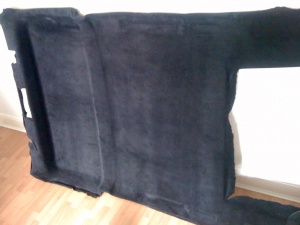
But after a couple of hours the following shape can be achieved
The minor imperfections, especially around the sunroof section, are proof that starting from a corner is daft thing to do. If anyone is ever going to attempt this then starting front and centre, then working backwards is the only way fabric will stretch out and lay the length of the roof correctly.
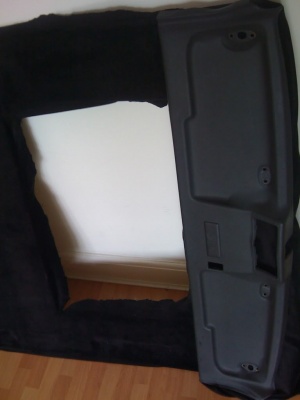
If you are having trouble getting the best results, a sport front panel can be fitted over the front section to keep it all looking neat. This will require cutting the Touring headlining front section out so the sport panel can bolt in and sit ok.
You may want to spray the front panel black to match the headlining, depending on which colour fabric you have used.
Once the fabric is all in place, refit it to your car and enjoy!
