M20 Head Gasket Change
When your M20 is drinking coolant and producing mayonnaise, there's a high chance the head gasket has failed. Let's get that fixed.
Contents
Please note, the pictures are from a facelift 325i. Details will vary for pre-facelift cars.
Parts
Cylinder Head Gasket Set. Cylinder Head Bolt Set. Cam Belt. Copper grease so that you can change your cambelt in 2 years time. Lots of Coolant (in theory you only need 2 litres but M20's can be tough to bleed).
These parts can be reused but should be changed if worn: Water Pump. Cam Pulley. Aux Belts (power steering, alternator). Distributor cap and rotor. Viscous fan coupling. Radiator.
Procedure
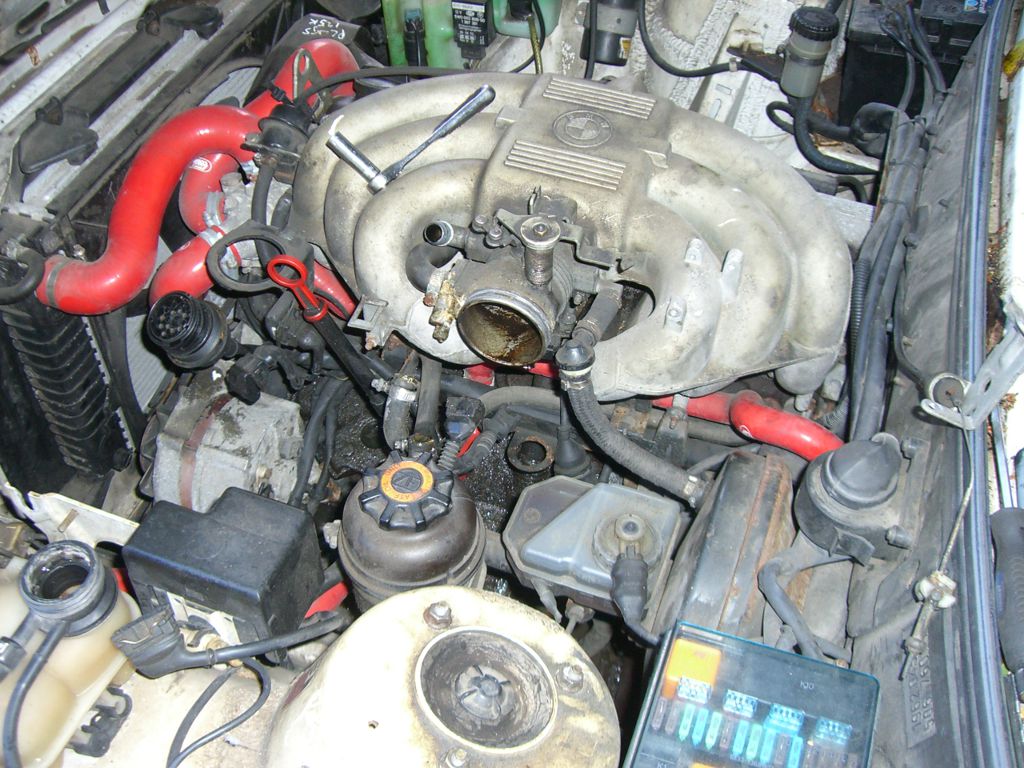
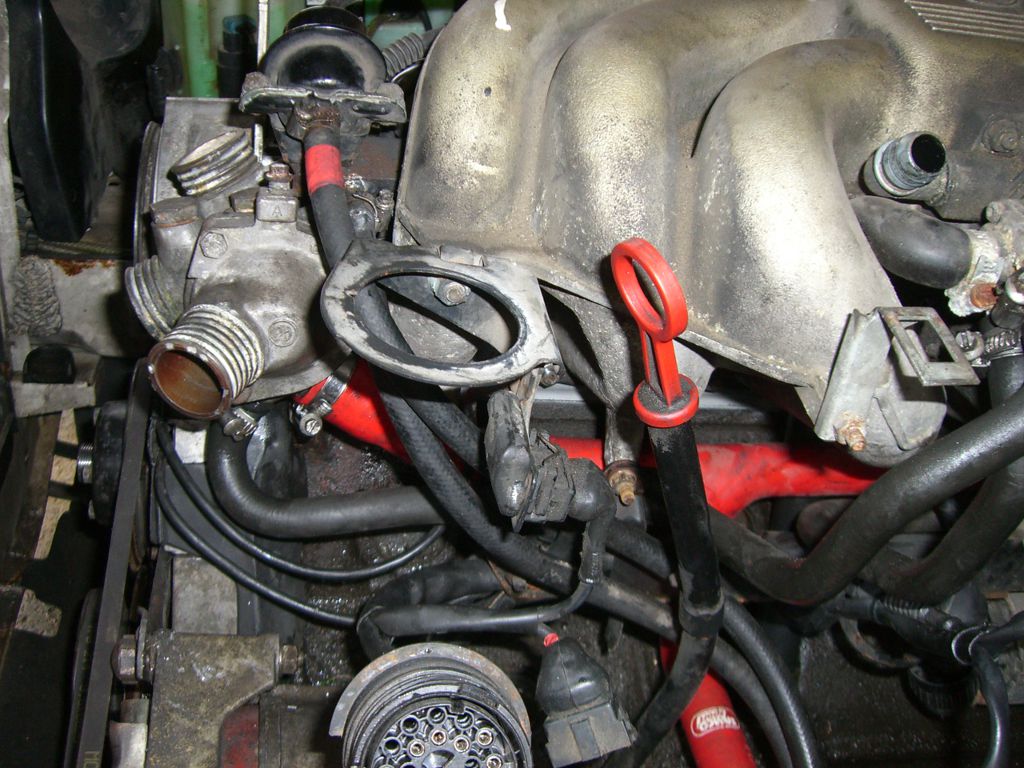
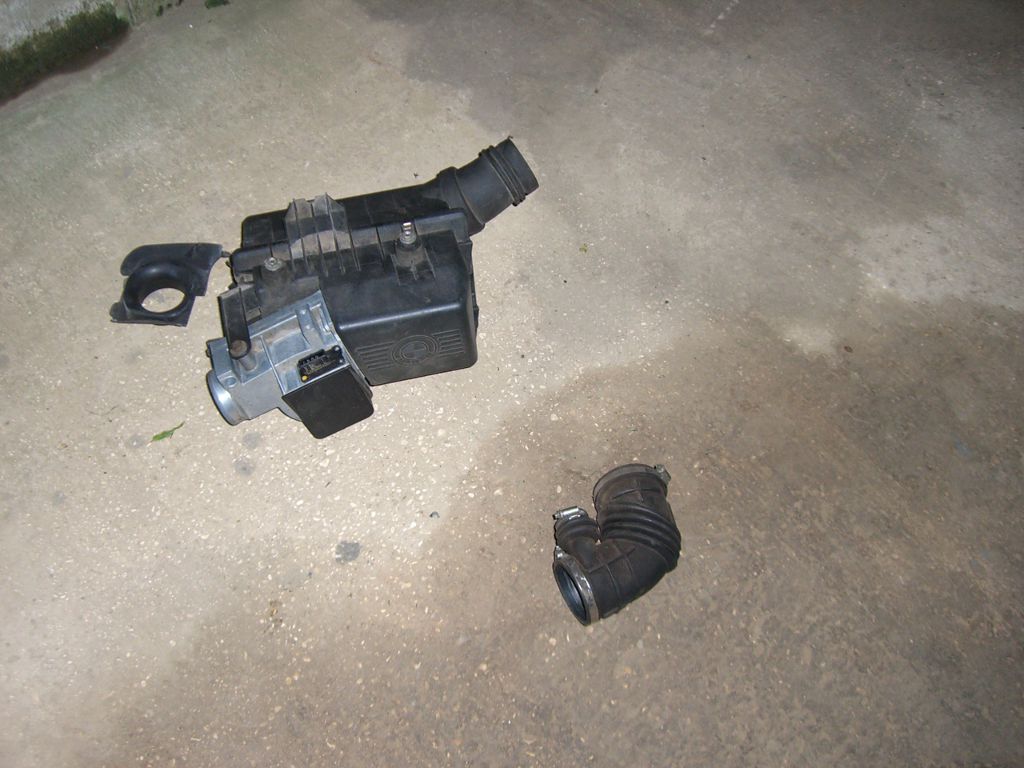 The airbox and ICV were the first bits out. Basically, anything that attaches to the cylinder head needs to be undone...
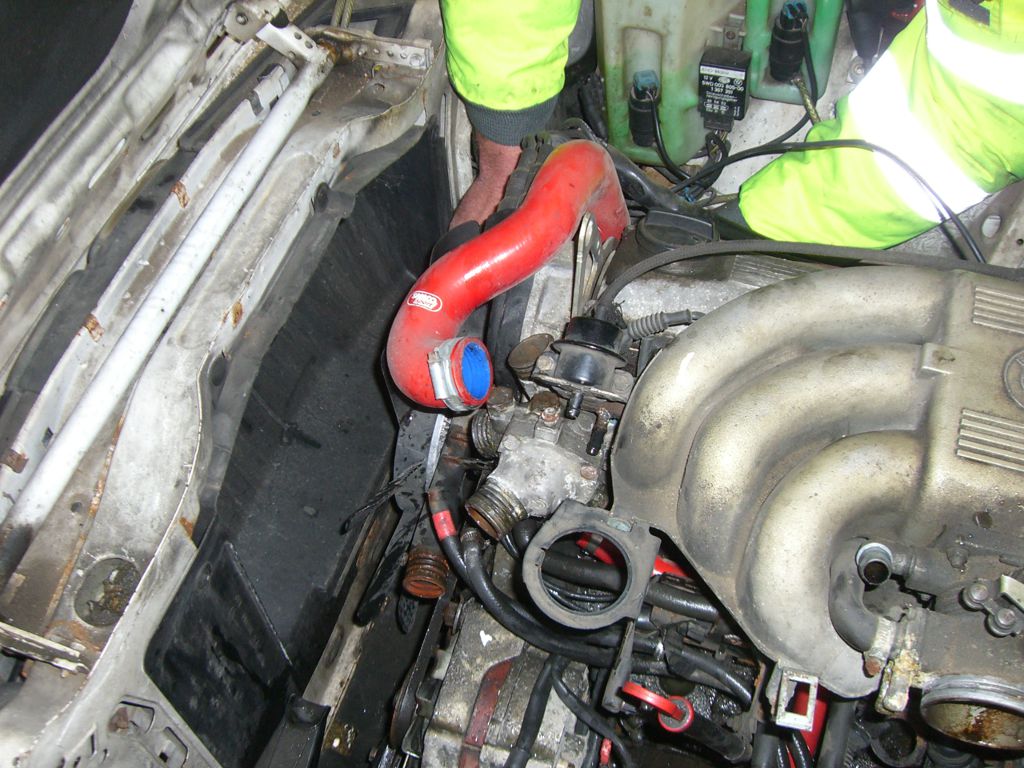
To get access to the cambelt, the rad comes out. First the rad hoses, then the clip at the top of the rad that holds it down into the bracket. The rad then slides up vertically and taken out.
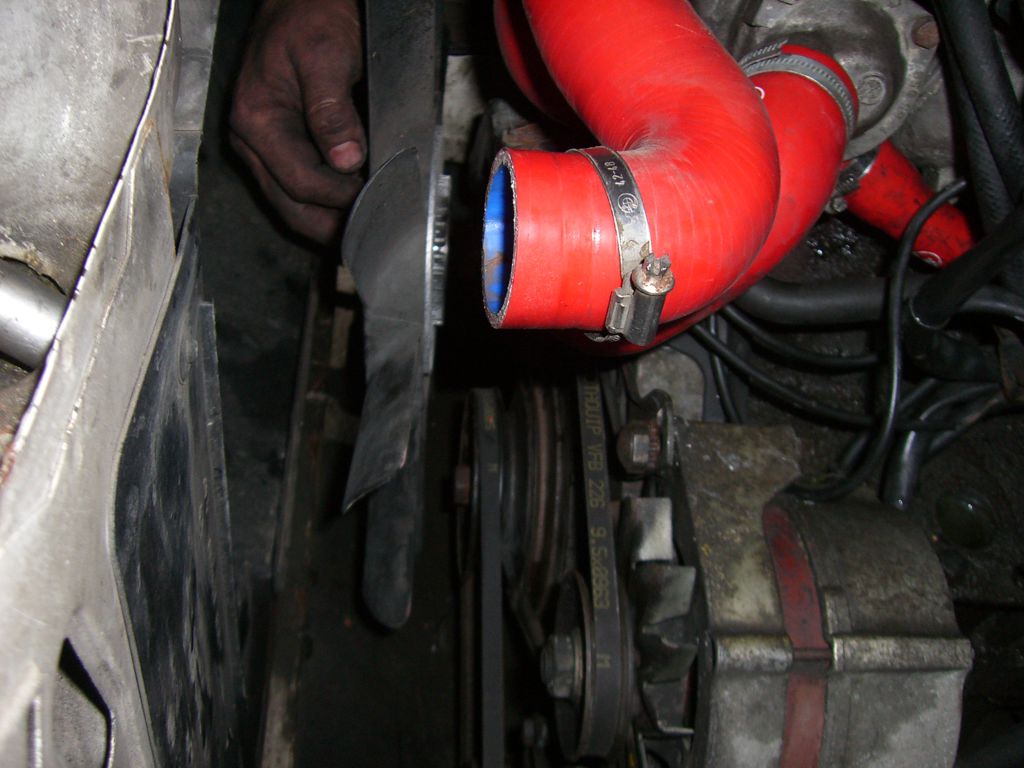
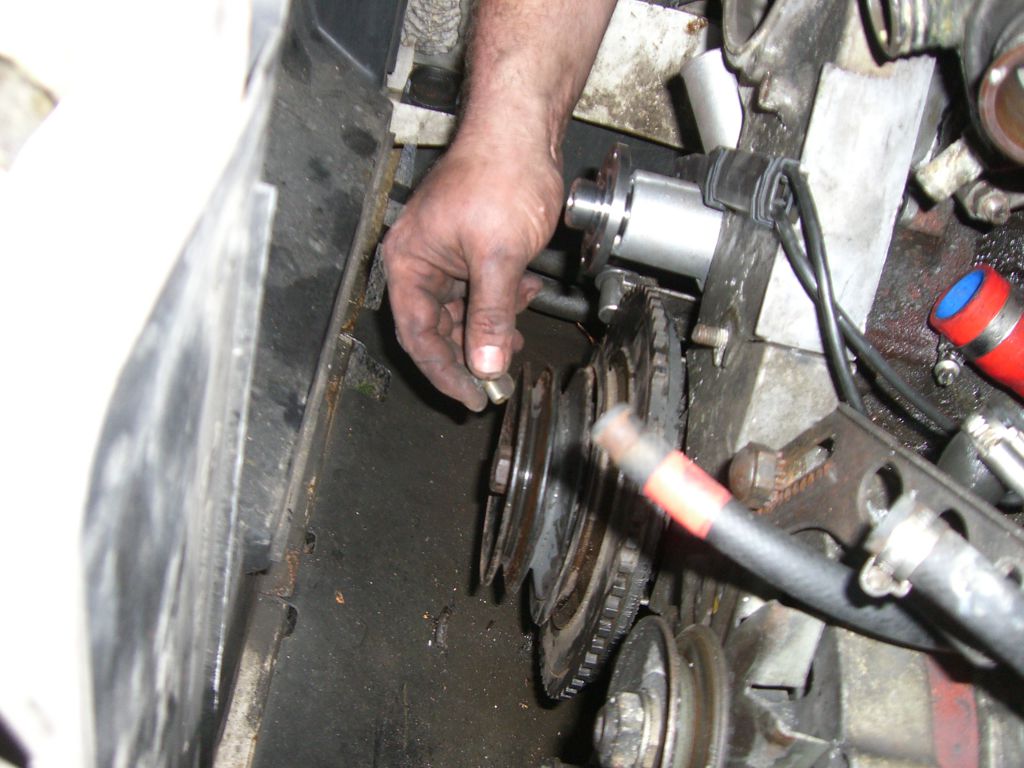
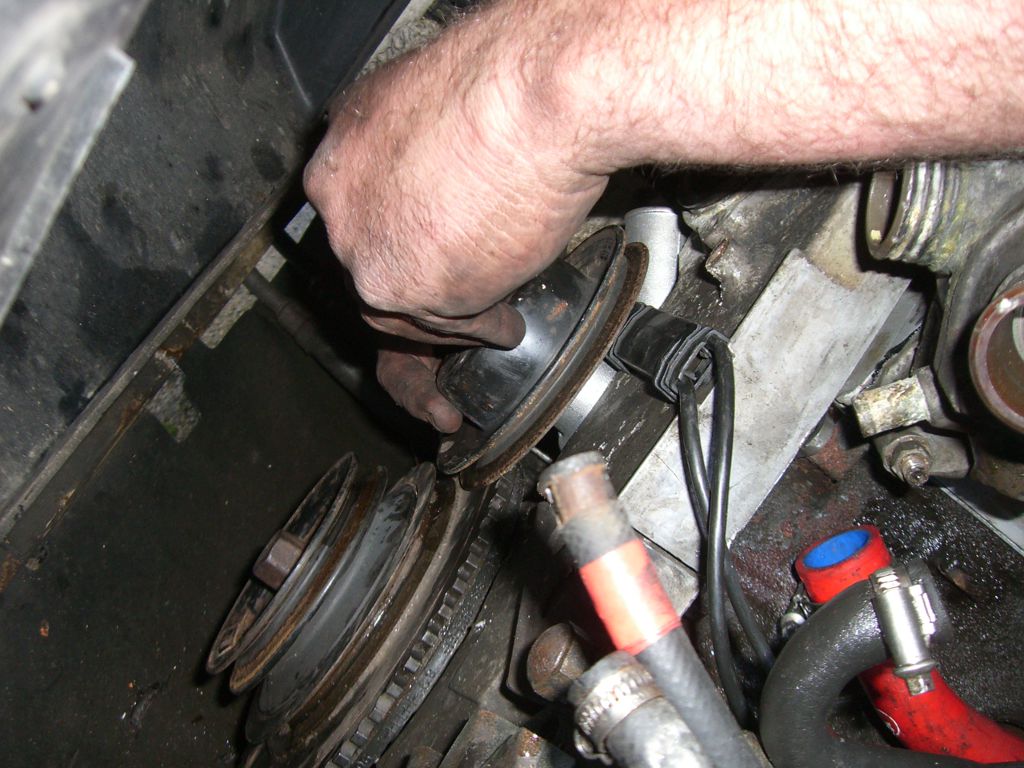
The fabled viscous fan! 32mm ring spanner is the weapon of choice. If the last mechanic to change this used copaslip or similar you'll be fine. If they didn't, there could be swearing.
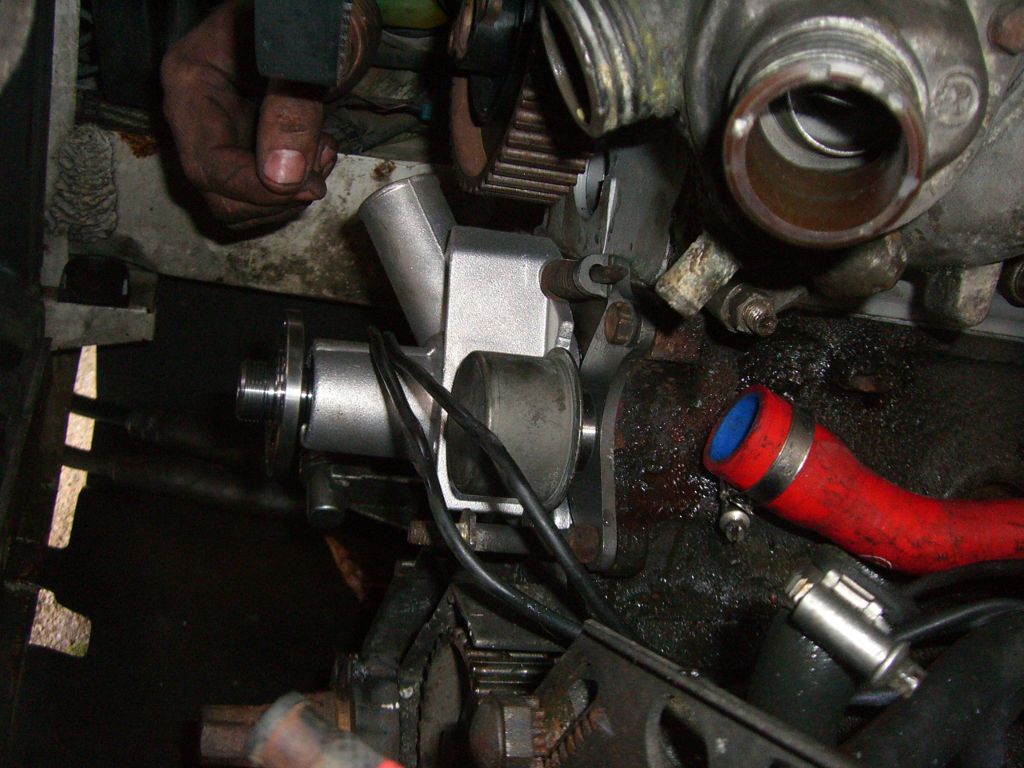
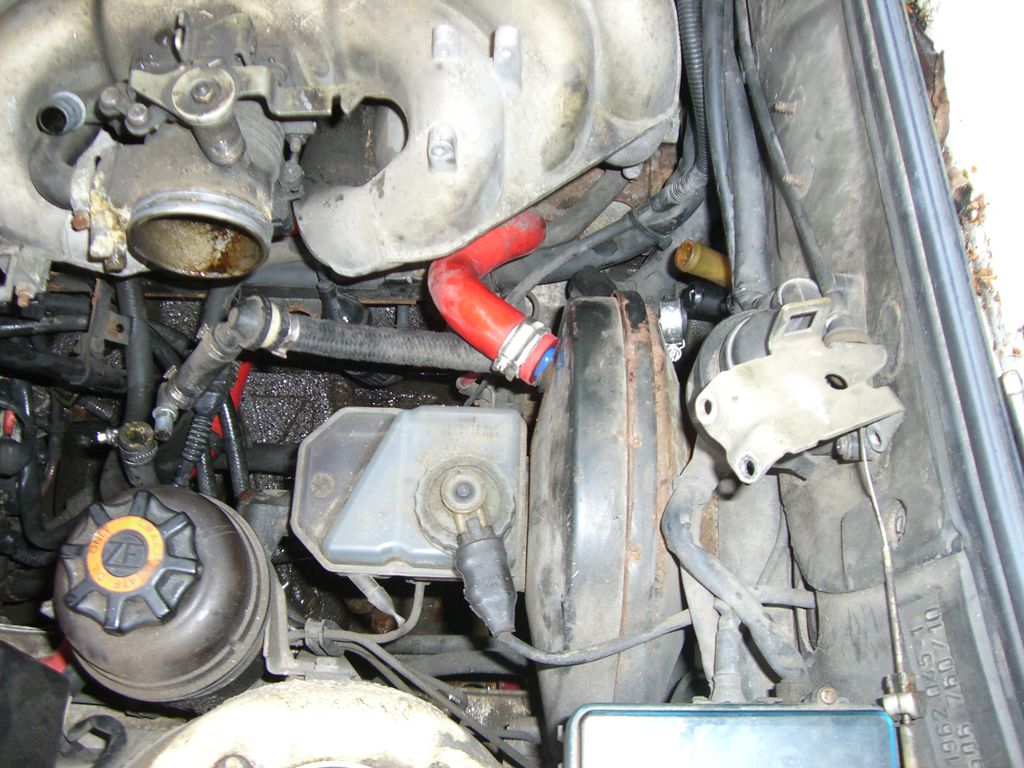 I'm not sure why these pipes had to come off the heater matrix stubs but they did.
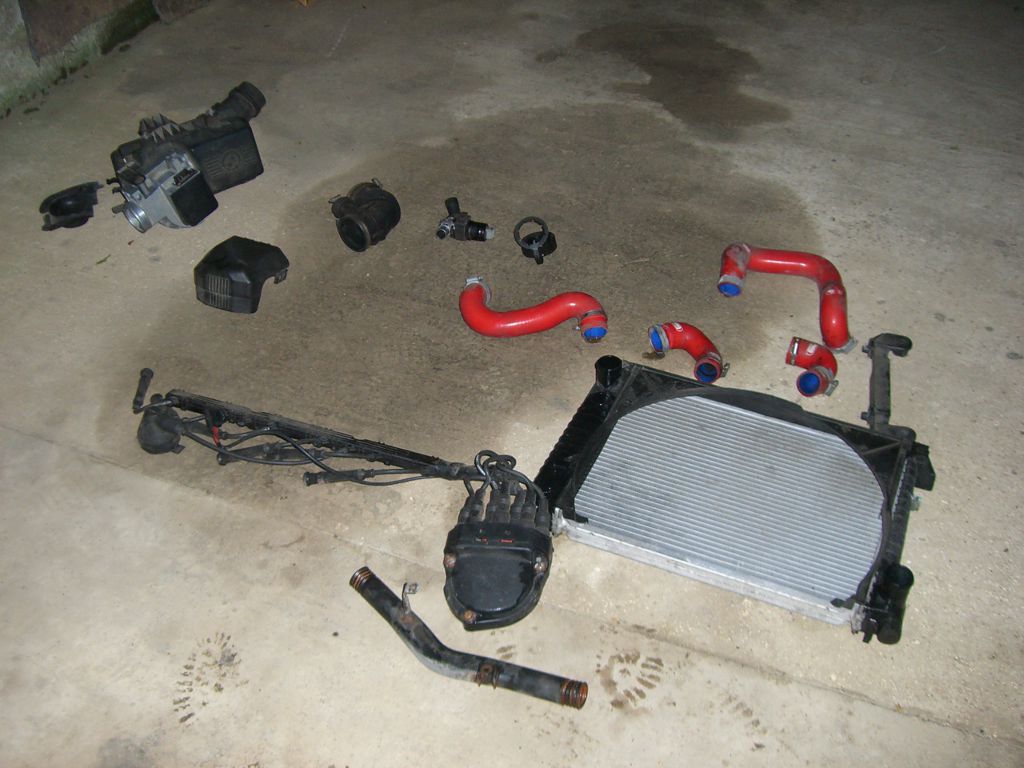
These are the main bits that had to come out before the head was free.
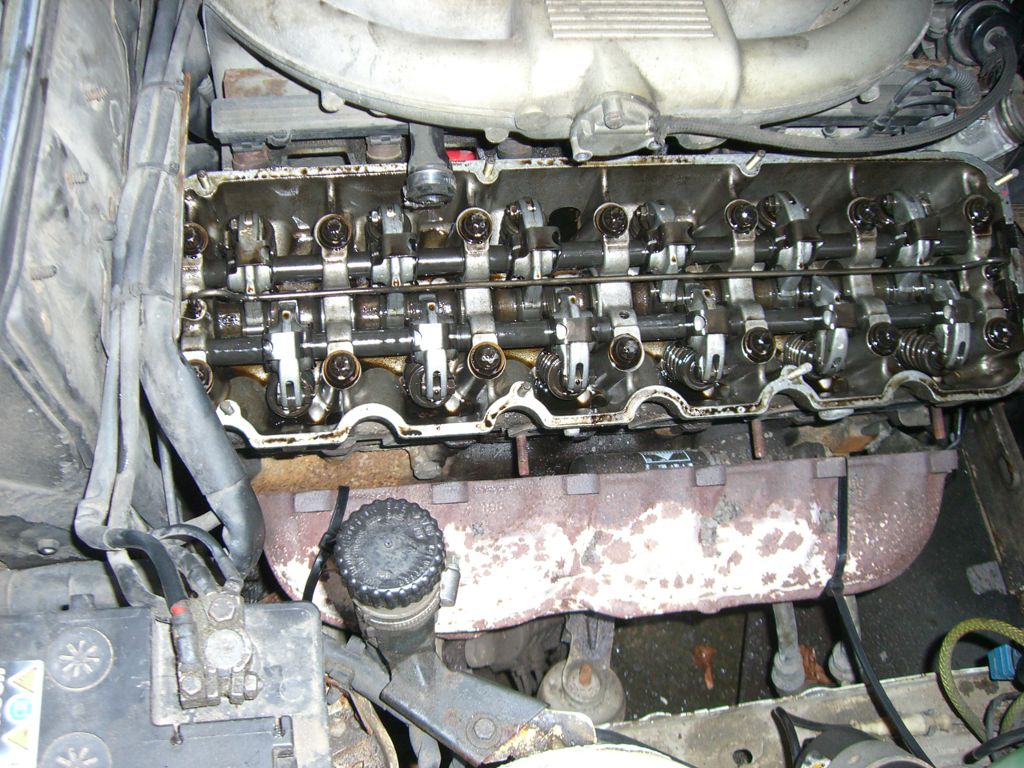
town undid all the exhaust studs and zip tied the manifold back so the head could be lifted clear. It saved going under the car.
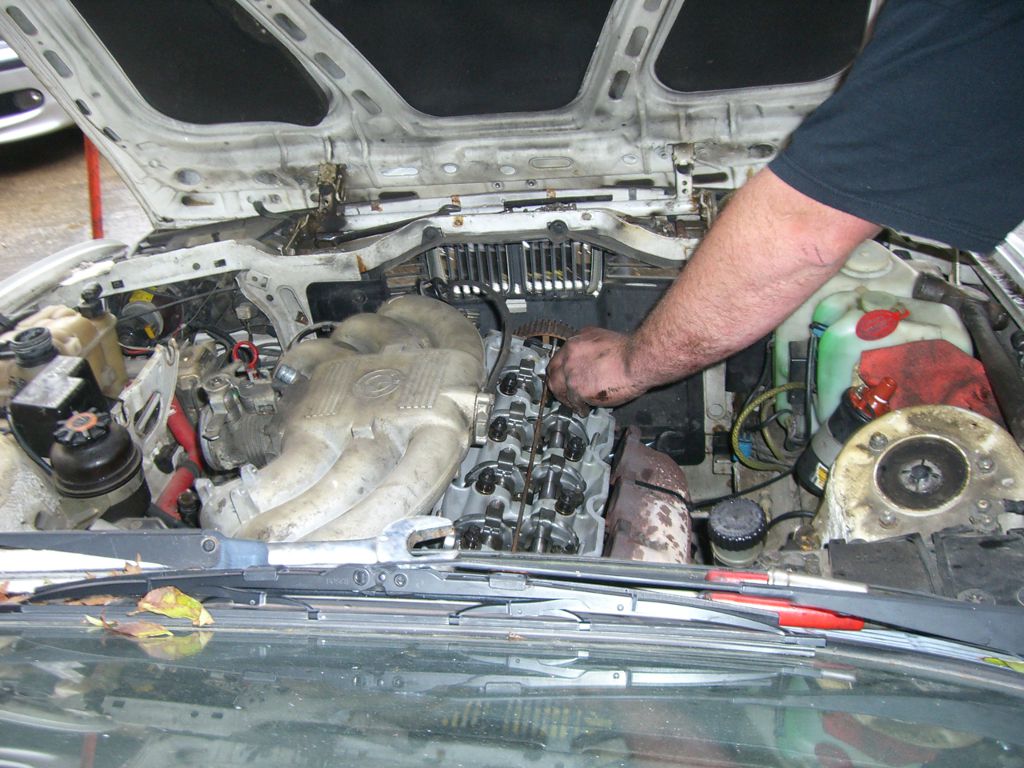
General shot of the hole where the airbox would normally be, with lots of disconnected hoses for you to compare with your own.
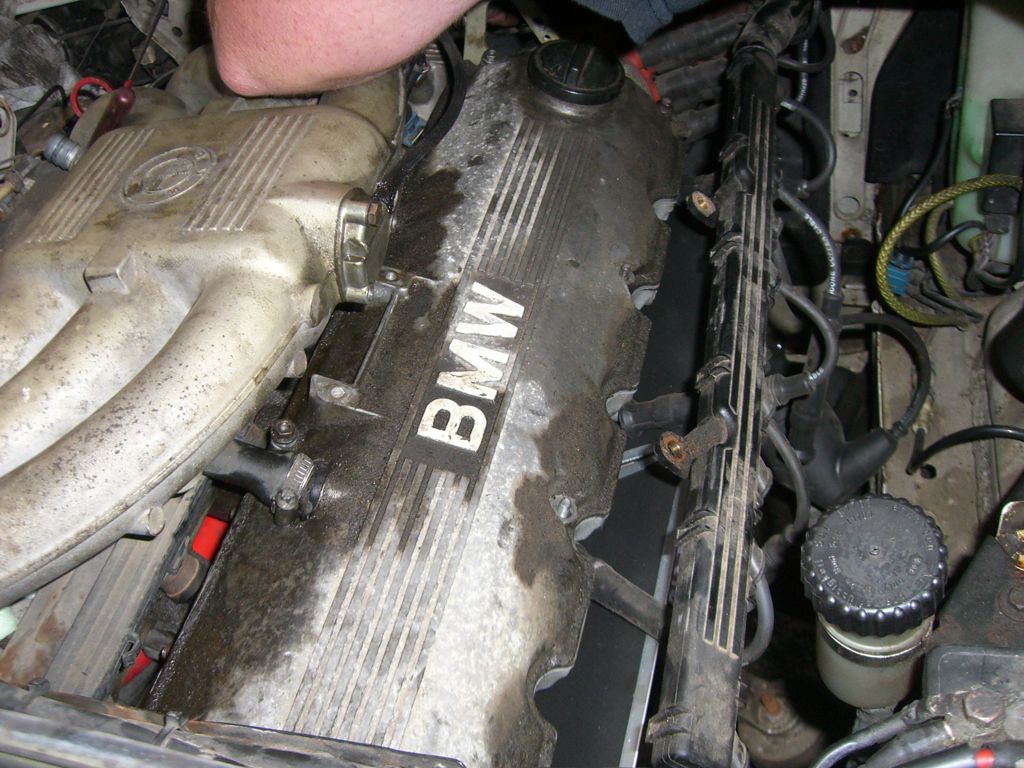
The ignition leads all come off in one lump...
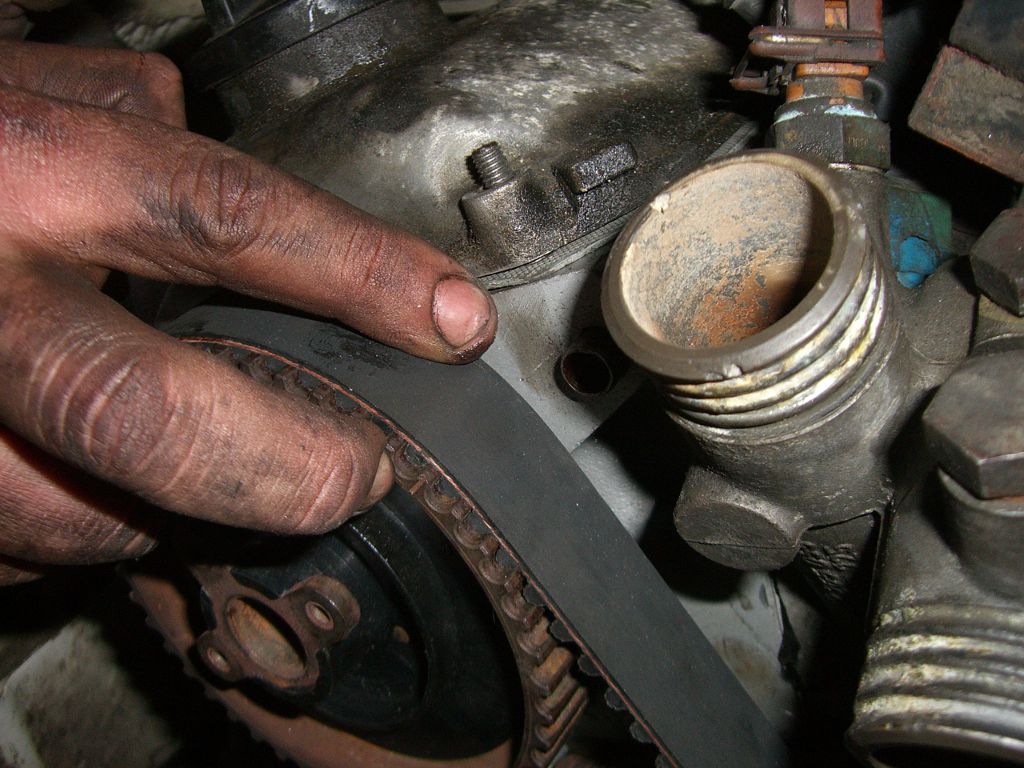
All these come off including the cam belt.
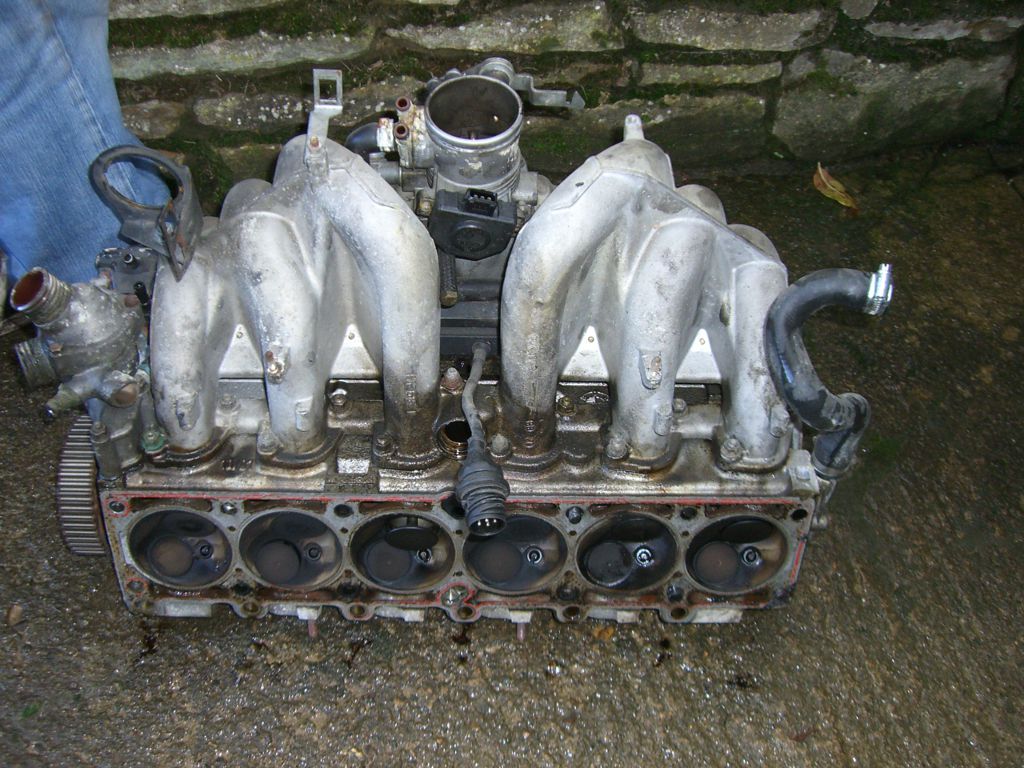 Undoing the bolts has to be done in the right order or you might bend the head.
Order to follow!
We lifted the head out with the inlet manifold and thermostat housing in place. At this point you have three options.
1. Follow the Stripping_and_Rebuilding_an_M20_Cylinder_Head Guide (you should read this anyway)
2. Take the head to a local engineering shop and open your wallet
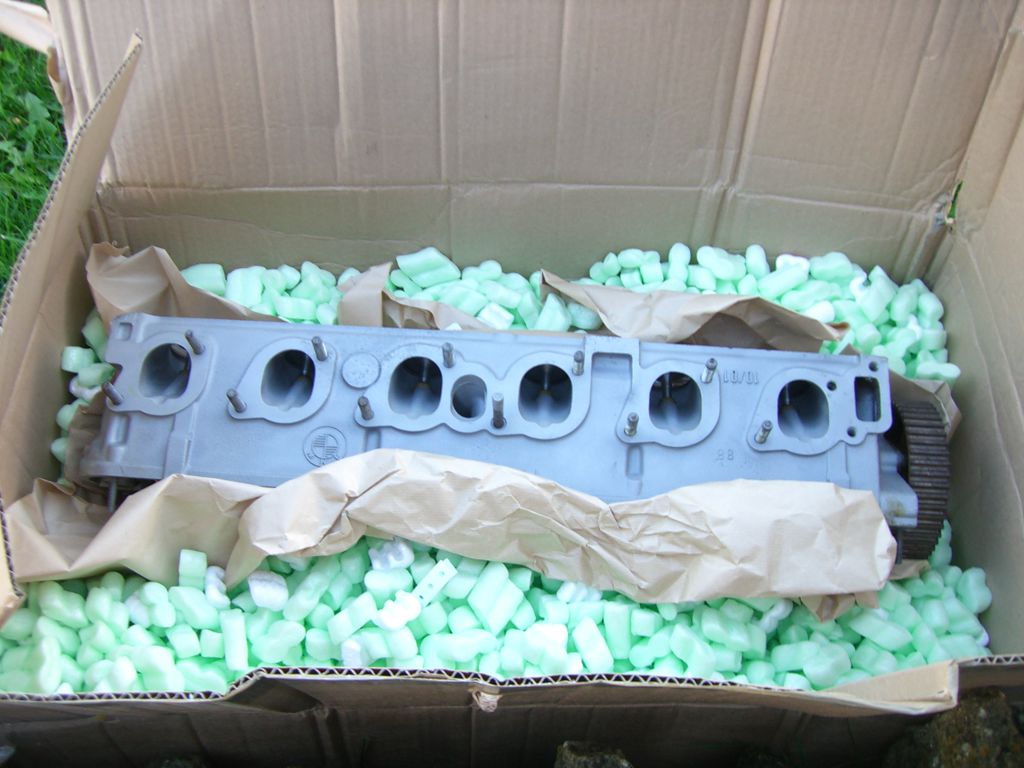
3. Produce your spare cylinder head and keep the pressure on!
However you do it, you'll have to take the inlet manifold off the head (short studs), then the Thermostat housing (two long studs). These studs can be nasty and corroded or easy as pie. Make sure you have enough working studs and nuts before you start putting it all back together. Your head will need a skim, and you may as well get it pressure tested at the same time.
As if by magic.
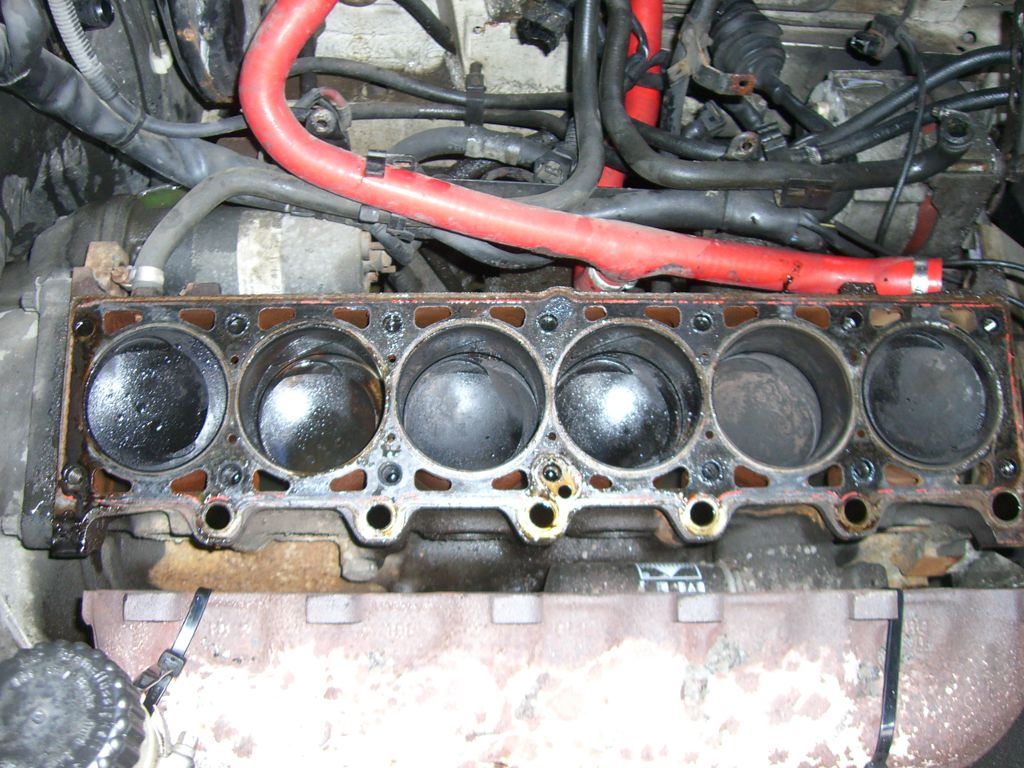
All that nasty gunk on the top of the block needs to go before the gasket can make a good seal.
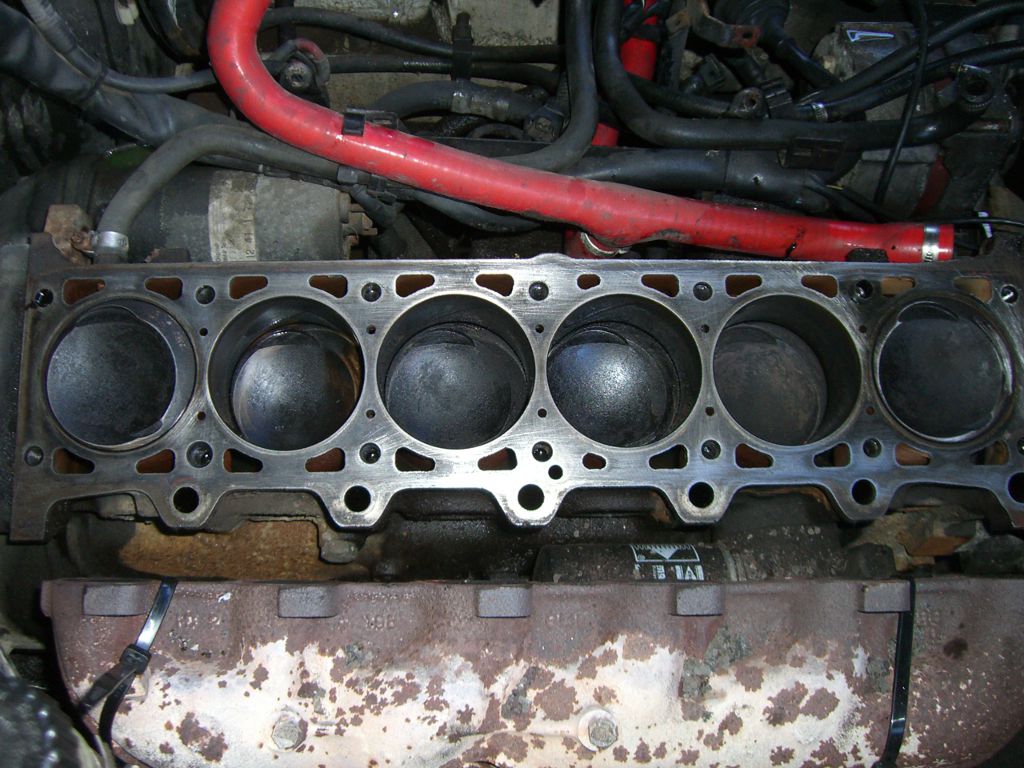
After scraping and a good dig out with wet and dry.
The gasket goes onto the block and the two spacing studs are put into the right place, sadly I don't have picture of this stage. Then you lift the head back onto the block, being careful not to drop the thing onto anything sharp that will knacker the nice smooth skim on the gasket surface.
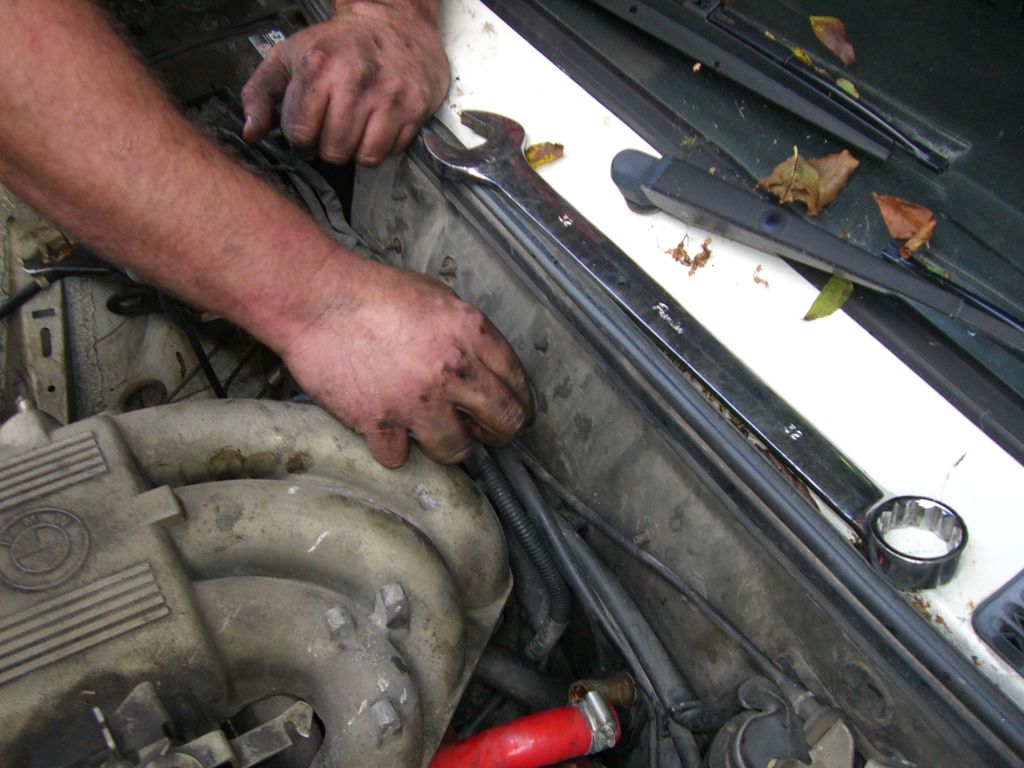
This little cable tray will stop you getting the head bolts in the back of the block so just move it to one side
In go the head bolts. There is a specific tightening method which you should follow here....
Town325i has a shortcut here that stops you having to take the rocker cover off twice to tighten the bolts a second time.
re-assemble the front of the engine.
This is the timing mark you're looking for on the head to line up with the mark on the cam pulley.
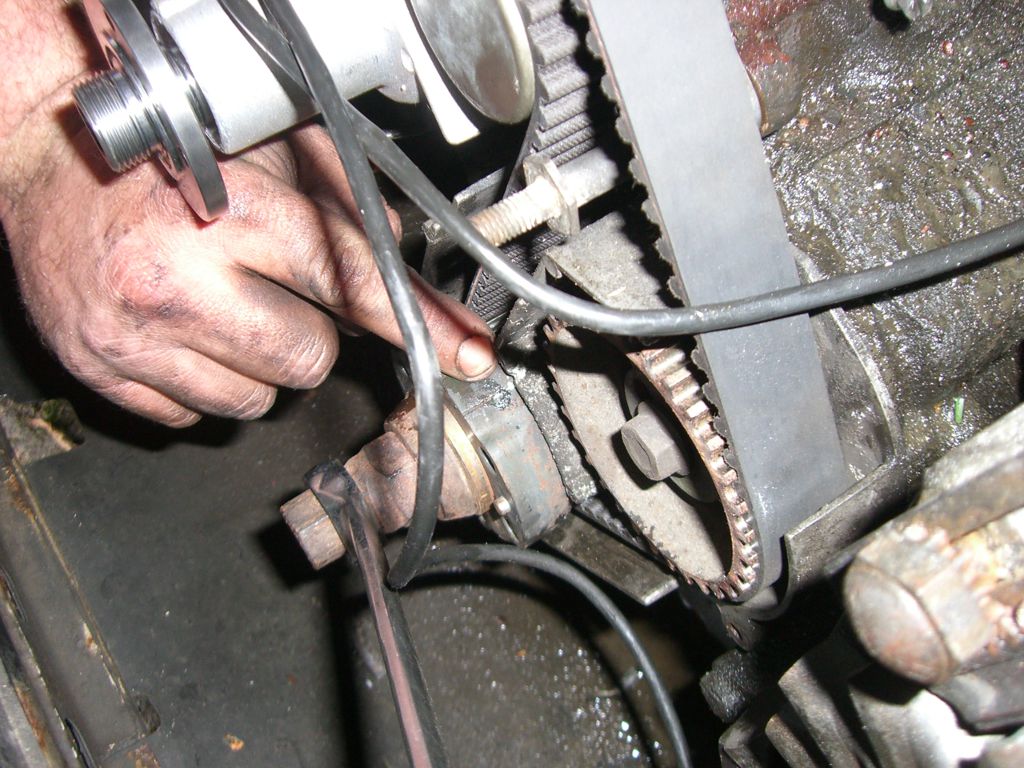
The marks on the Crank Pulley/Block
You can't take shortcuts here and expect your engine to work!
Once you have the cambelt back on and you have checked the timing by hand cranking the engine a full revolution, you may as well do your valve clearances.
After all that, you've just got to put everything back together and then bleed it!
Lights and Camera - Morat
Action - town325i
