HID Headlight Conversion
(Originally Submitted on the E30 Zone by Morat)
Fitting is very simple. The kit only touches the existing wiring where you connect up the red/black terminals on the back of the HID bulb to the yellow/black wires inside the headlight. First of all I used a Dremel to make a hole in the back of each headlight rear cover. The holes in the picture aren't finished. They ended up about the size of a 50p (and about as round!) so that the new bulb and wires could be threaded through.
To hook up the bulbs, first you thread the new bulb into the place where the old one was. It fits, but only just. You need to be careful to approach the headlight straight or you could damage your new bulb. I shifted the water bottles out of the way to get a bit more space on the right hand side, and moved the coolant hose/cables to get some space on the left side (which is even tighter because of the ABS pump).
Then you just use the red/black spade connectors in the picture below to connect to the brown/yellow ones in the existing wiring (you can see them in the picture above). Its obvious which goes where, due to the different sizes. I spent some time cleaning up the old connectors which were pretty filthy and corroded - probably the reason that the original headlights were so dim in the first place. The connector in the black wire fits inside the circular connector on the yellow wire which normally connects to the headlight reflector. It looks a bit dodgy but works fine. I taped up the bare copper so that they won't short out inside the headlight and laid them round the inside of the rear cap so that they wouldn't get in the way of the new bulb.
After that you can just pop the grommet into place to make a seal. I'll probably put some silicon sealant on it to make it really waterproof but it looks OK as it is. Here's the right hand light fitted, easier than the left hand side to see what’s going on...
Fitting the ballasts should be easy but it found it more tricky since I couldn't actually get under the car. In the end I just zip tied them in place for a temporary measure (which may well end up permanent depending on how well it works). Connecting the ballasts to the lights is simple. 3 connectors which can't go on the wrong way round - the kind of wiring I like!
Here's where I put the left hand one. If anyone comes up with a better place - please tell me. I'm not really happy with it there.
The good news is that they work! Awesome light and no radio interference or noise that you can hear in the cabin. If you turn the lights on with the bonnet open you can hear a whine from the ballasts but it doesn't matter in use.
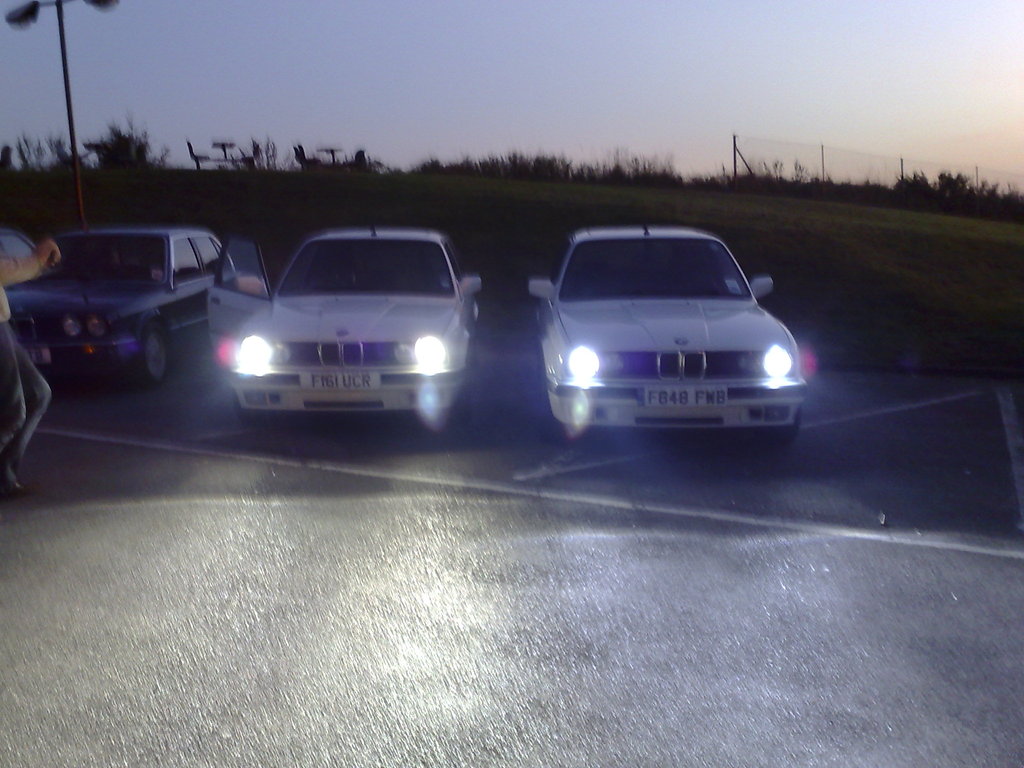
This is a shot taken at Squires Cafe just after dusk. The car on the left has 4300k HID's fitted and the car on the right has 6000k burners. Its a very hard thing to capture on camera but the light from the car on the right is slightly but noticeably bluer on the 6000k HIDS. It is impossible to see here but the car on the left has standard sidelight bulbs which look very yellow in comparison to the HIDs. The best LED replacements look much better, but you'll probably have to see it "in the flesh" unless a pro photographer can capture it. Photo by Stonesie.
Here's another comparison shot, this time between 35W and 55W HIDs. The drivers side HID has been replaced with a 55W setup. A better test would be to compare two cars back to back because the difference isn't particularly great from the driver's seat, but there is considerable overlap in the beam pattern anyway. The good news is that noone flashed me on the test drive so it seems 55W HIDs don't cause any extra dazzle. Sadly, they are so bright within their pattern that you can't really see the main beams beyond.


