Basic cleaning guide
Contents
Basic car cleaning
This article will guide you through the best ways to clean you cars safely and giving great results.
First things first, Never use washing up liquid to wash your car. Washing up liquid is a degreaser and will strip any polish or wax you have applied to the vehicle. If the paint has no protection it will fade and oxidise.
The most common complaint about older vehicles paintwork is that it feels rough and dry, this is due to oxidisation. Red vehicles seem to suffer the worst with this, Leading to pink panels, or in really severe cases white panels!
Please use a proper wash solution, even if it's a cheap wash and wax, it will still be better for the paint than washing up liquid.
Step 1: Preparation
Get all of the bits ready before you start cleaning, the last thing you want to do is get half way through and then have to hunt for your drying towel or wheel sponge.
When cleaning my car I have to hand the following:
- Two large buckets
- Wash solution (Meguiars shampoo plus is a very cost effective one)
- Wash mitts (1 x Lambswool + 1 x Microfibre)
- Wheel cleaning solution (Bilberry wheel cleaner by Valet pro is good value, as is Chemical guys premium blue as used in this guide)
- Small soft brush
- Drying towel
- Hose or watering can
- Bug and tar remover
Step 2: Wheel cleaning
I always start with the wheels, This way if I get any of the wheel cleaner on the panels, it will be washed off when cleaning the rest of the car. Using a wheel cleaner that is safe for all finishes (Meguiars hot rims is an easily available one) makes life easier, cleaning cars doesn't need to be a chore.
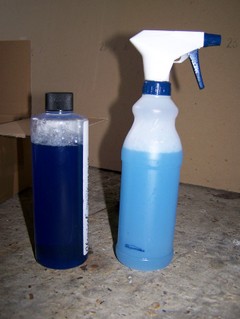
In this article I will be using Chemical guys Premium blue wheel and rim cleaner. This is a concentrate that you dilute 3:1 so the 1 litre bottle will make approx 4 litres, so this works out to be a very reasonably priced product.
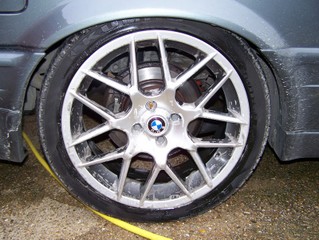
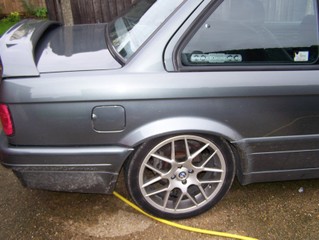
Using a spray bottle and a small soft brush (1" paintbrush is ideal but please tape the metal section to avoid scratching the wheel) I start at the valve spraying a small amount of solution on to the wheel, working it into the corners of the spokes with the brush. Continue this all the way around the wheel, leave for 2-3 minutes then rinse with a hose/watering can.
Before:
During:
After:
That's pretty much it. Very easy to use and gets the wheels clean with little effort, My kind of product!
The trigger spray bottle was full to the brim when I started, and it used that little doing all four wheels, The concentrate was full too and used roughly 1/8th of a bottle to make 500ml of solution.
Step 3: Prewash
Before you start soaping down the car, give it a good rinse with clean water from either a hose or watering can, this will remove any large dirt particles that can scratch the car when washing.
During the summer it may be helpful to use a bug and tar remover before rinsing to remove the bugs from the front of the car and wing mirrors.
During Autumn/Winter it is important to clean the inner arches making sure the return lip does not have a build up of mud and leaves sitting on it, The mud/leaves will hold water causing the arch to rot away.
Give the inner arch a good hose down on a high pressure setting, then whilst it is wet run a finger along the arch lip to scoop out any debris in there.
It is advised that a thick rubber glove (marigold is perfect) is worn when doing this as the lip can be sharp and also may have small sharp stones in there.
A good way of preventing the build up is by smearing a thin layer of petroleum jelly (Vaseline) over the inside of the arch to act as a barrier.
Step 4: Washing
The most important part of this step is to use either a lambs wool or micro fibre wash mitt. This will pick up the dirt rather than pushing it along the paint surface as a normal sponge would do.
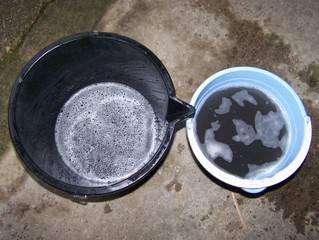
To minimize the risk of scratching I use two buckets of water when washing, one with the wash solution and one with clean water. The clean water bucket is used to clean the mitt between using the wash solution i.e. the mitt goes through this cycle Wash solution ~ panel ~ clean water ~ wash solution ~ panel ~.. and so on. This is to stop the dirt that has just come off of the car contaminating the wash solution.
This step is quite important if you have a dark coloured car or Kandy paint as these show up scratches more than light colours.
A small amount of wash concentrate is placed in to the larger bucket, here I am using Meguiars soft wash gel.
Then fill both buckets with clean water.
Start from the top of the vehicle and work down to the bottom, remembering to rinse the mitt after each panel.
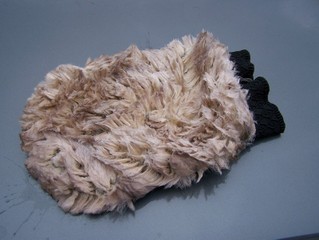
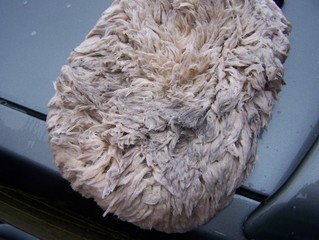
This is the before and after shot of the mitt, top is before rinsing and bottom is after
You really don't want to put that back on the car like that!
The colour of the "clean water" will probably shock you!
Bearing in mind this article is written in early December so that why the car was that dirty.
Step 5: Rinsing the car
Again starting from the top, rinse the suds off with clean water, try to flow the water over the pane on a low pressure setting rather than misting onto the panel, this helps the water sheet off of the car and reduces the effort required to dry it later on.
The small water marks you see on some vehicles when washed in hot conditions are caused by the water beads which contain more water and magnify the heat from the sun.
Pay particular attention to door/boot shuts as suds can hide here.
Step 6: Drying the car
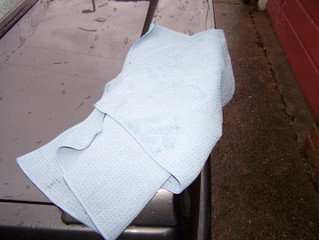
Using a high quality micro fibre drying towel (Poorboys do a reasonably good quality one ~ Available from Serious performance)
Start from the top and worth methodically around the car drying each panel properly. Pat the panels to dry them rather than wiping, This helps reduce the chance of inflicting swirls.
After a while, You will learn your particular traits, water traps and tricky areas, and you can keep an eye out for them.
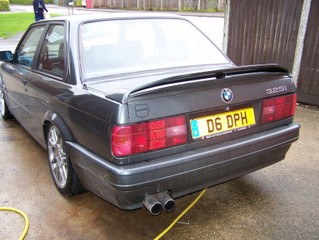
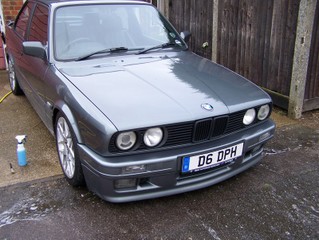
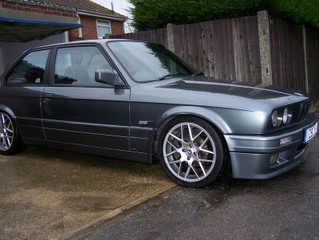
Here are some before and after shots, But I forgot to clean the exhaust!
Before:
After:
I hope this has been of some use to you all.
Any questions, please feel free to ask me.
Thanks for reading Dave.


