Difference between revisions of "Door Removal"
Grrrmachine (talk | contribs) (New page: Regardless of how many Doors your E30 has, there comes a time when you want take one off; either due to repainting, rust or for an entire [[Restorat...) |
Grrrmachine (talk | contribs) m |
||
| Line 33: | Line 33: | ||
If the door doesn't want to move, the hinges may have some rust in them. You can either use some WD40 to clear it, or call in a friend to assist with the yanking. I had an assistant hold the door steady while I slowly jacked the door upwards from the door lip; it simply popped off its hinges and into his arms. | If the door doesn't want to move, the hinges may have some rust in them. You can either use some WD40 to clear it, or call in a friend to assist with the yanking. I had an assistant hold the door steady while I slowly jacked the door upwards from the door lip; it simply popped off its hinges and into his arms. | ||
| + | |||
| + | [[Category: Technical]] | ||
| + | [[Category: Bodywork]] | ||
| + | [[Category: Repair]] | ||
Latest revision as of 07:49, 12 May 2012
Regardless of how many Doors your E30 has, there comes a time when you want take one off; either due to repainting, rust or for an entire restoration. Here's how it's done.
Tools
- 10mm ring spanner
- Flat-bladed screwdriver
- Small hammer
- cloths, carpet or cardboard
Procedure
For this example we're removing a driver's door so we're looking at the A-pillar, but it's the same concept for the rear doors.
Open your door as wide as you can, and crouch down so that you can see the hinges, and wedge your cloth or carpet in the front corner between the door and the sill; this is to protect the paintwork in case the door drops.
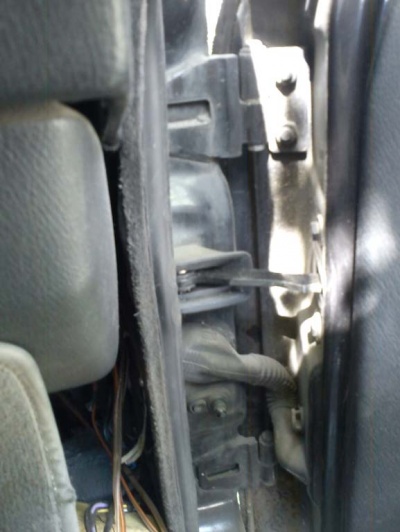
Despite the blurriness of the pictures, you should be able to see the top and bottom hinges, the door stay arm in the middle, and the wiring loom. We'll start with the wiring loom, so pull the rubber boot away from the pillar so that you can see the plug.
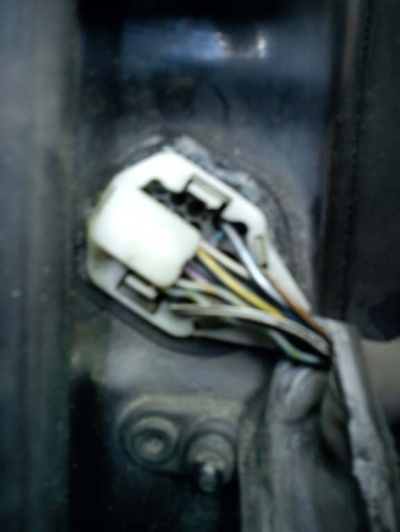
Here you can see how the plug clips to the pillar. GENTLY use your screwdriver to prise back the clips, and use a bit of force to pull the plug out of its socket. After 20-odd years it will be reluctant to move and the clips will be brittle, but there's no easy trick to this; just patience and wiggling. It'll pop off eventually. If you're removing a rear door, the wiring plug is hidden behind a plastic cover in the B-pillar, but is much easier to separate.
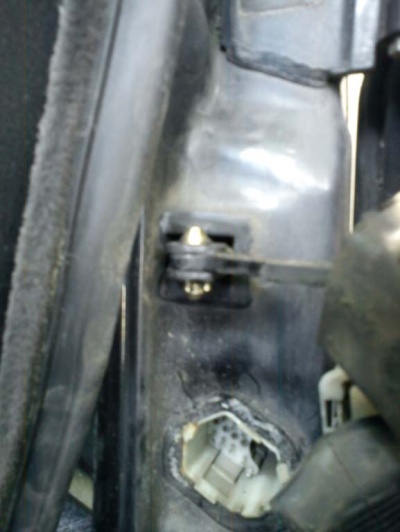
Now you can tackle the door stay catch. This uses a simple dowel pin, held in place with a circlip on the bottom. Use your screwdriver to prise off the circlip, and then give the dowel a swift upwards tap to knock it out.
With that done, you can finally approach the hinges. DO NOT undo the four nuts you can see on the door; leave those in place, because they allow the hinge itself to be repositioned. If you undo them, you'll bugger up your panel gaps and possibly scratch the paintwork somehow.
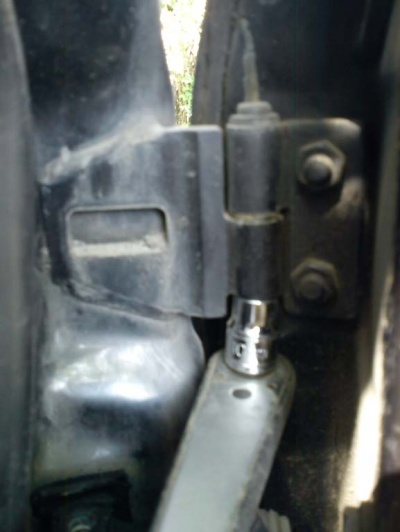
Instead, get your 10mm spanner or wrench onto the bolts inside the hinges. Don't be scared, the door won't drop when you remove them, so take your time and get them out slowly. Once they're undone, grab the door firmly and lift it straight upwards; it should just lift off its hinges.
If the door doesn't want to move, the hinges may have some rust in them. You can either use some WD40 to clear it, or call in a friend to assist with the yanking. I had an assistant hold the door steady while I slowly jacked the door upwards from the door lip; it simply popped off its hinges and into his arms.


