So my hand has been forced a bit with this one.
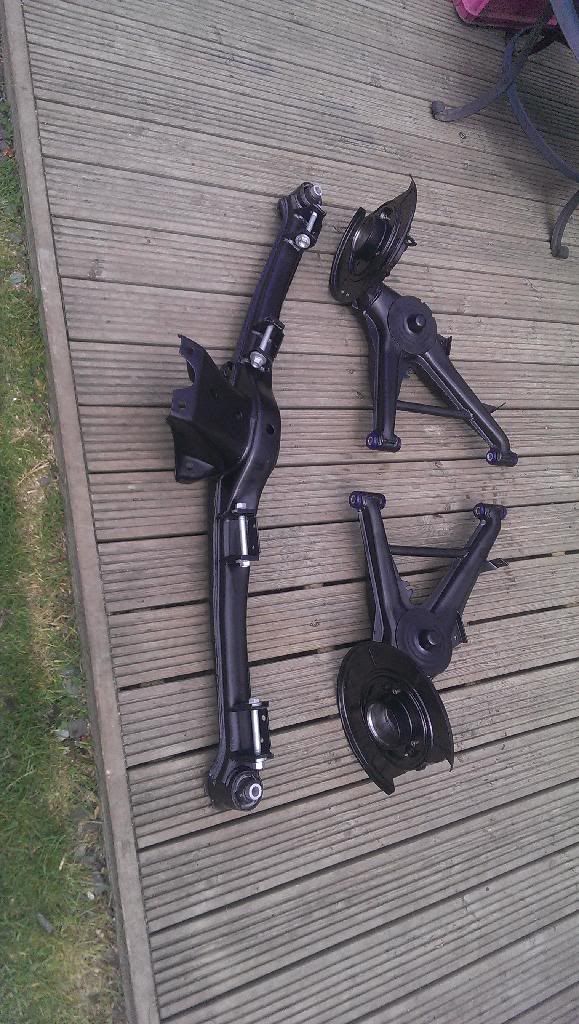
Had some spare time the other week so thought I would start and drop the rear subframe with a view to fitting my nice shiny new one with camber and toe adjustment.
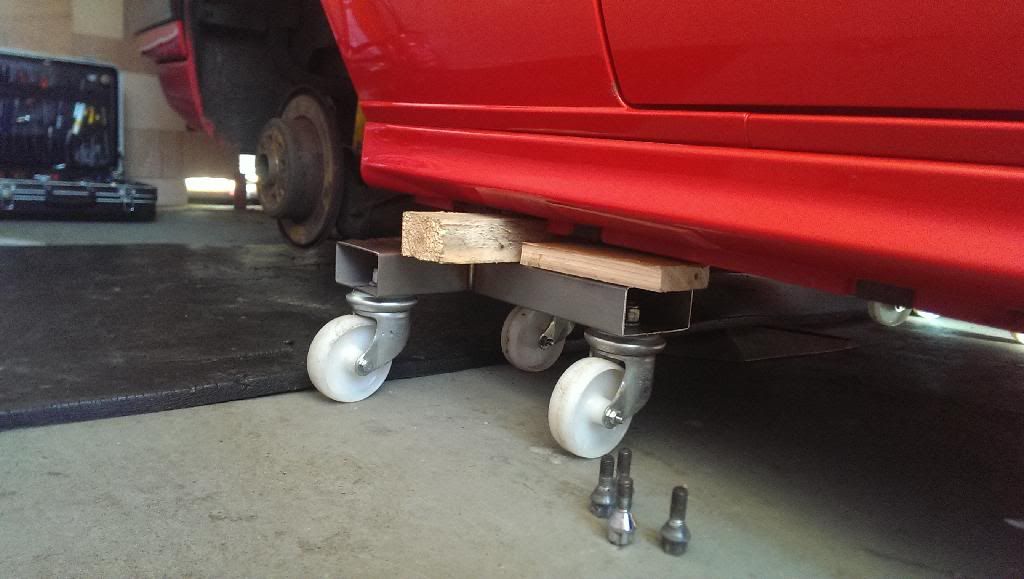
So I made some skates so I could move the car around while I’m doing the work, there a little lightweight as we didn’t have any thick wall box section at work.
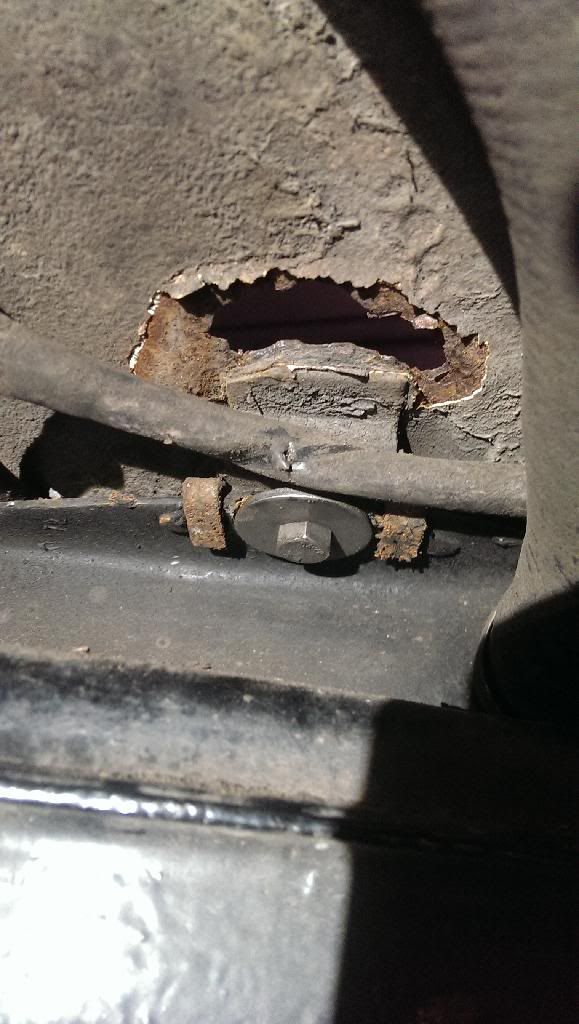
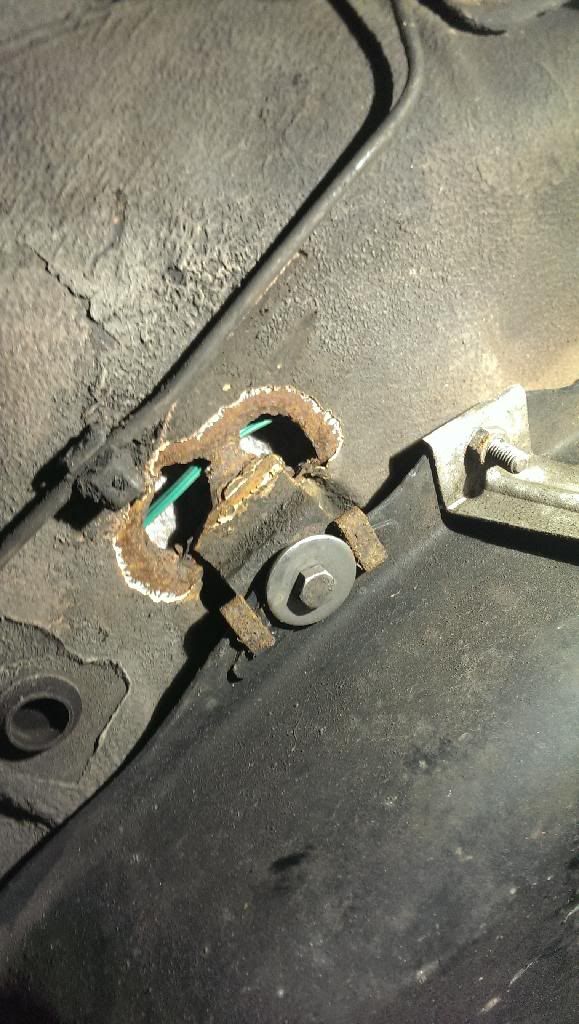
It was all going well until from looking underneath I saw a tiny bubble on the bracket for the tank, so as there’s no point being shy, a gave it a good poke with a screw driver and made a hole....
[/URL]
Checked the other side, although there was no bubble, but after a poke again....
[/URL]
So after some thought I decided that as to fix the holes I would have to grind inside the car I would be best to pull the interior and as I had gone that far why not pull the carpet and die it black.
So pulled the carpet out and took it to work and steam cleaned it with truck wash, it came up really well and as it was a sunny day left it to dry in the sun.
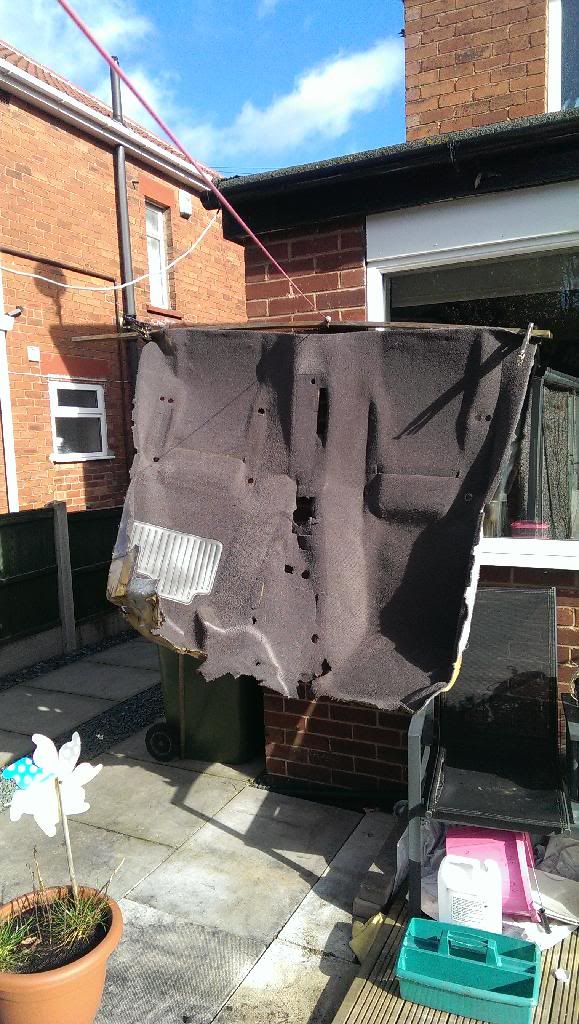
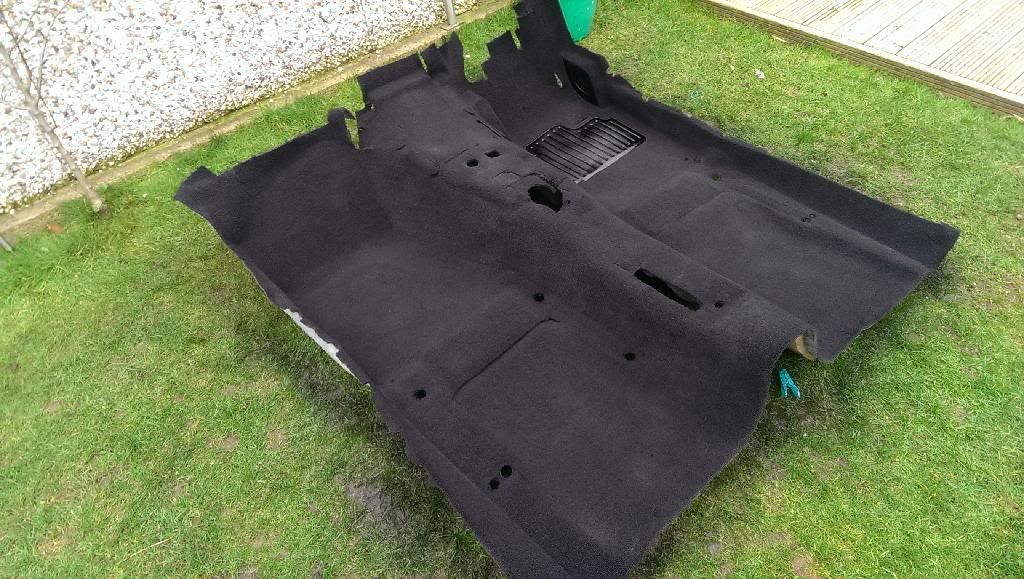
After a day in the sun and a few nights in the garage with the dehumidifier on it was dry enough to die, I used the valitors pride the same as X-works used and it did a really good job, very pleased with the outcome.
Now with the carpet out the decision was made that it was pointless removing the full interior again in the future to do the sunroof tray so why not just do it now.
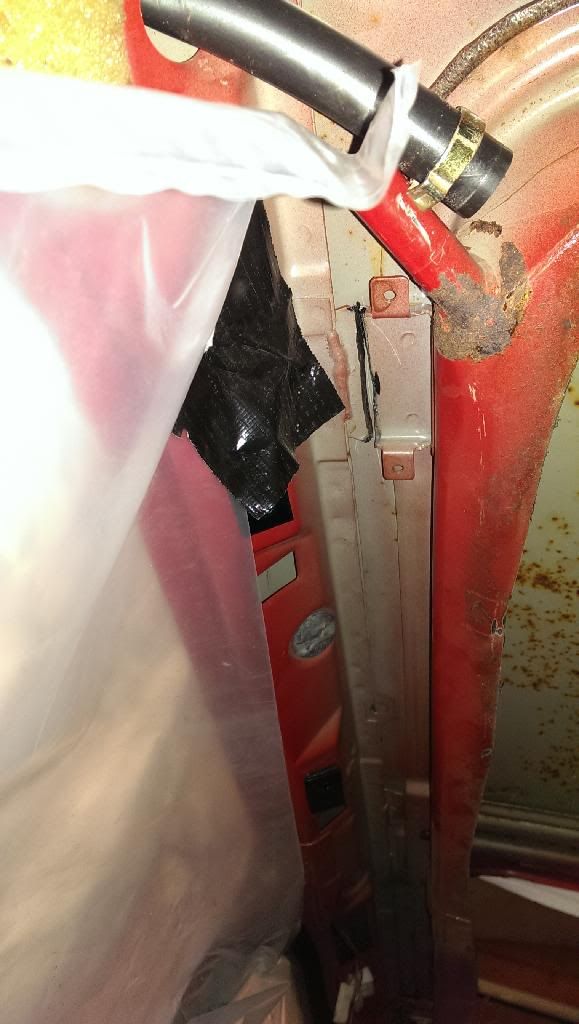
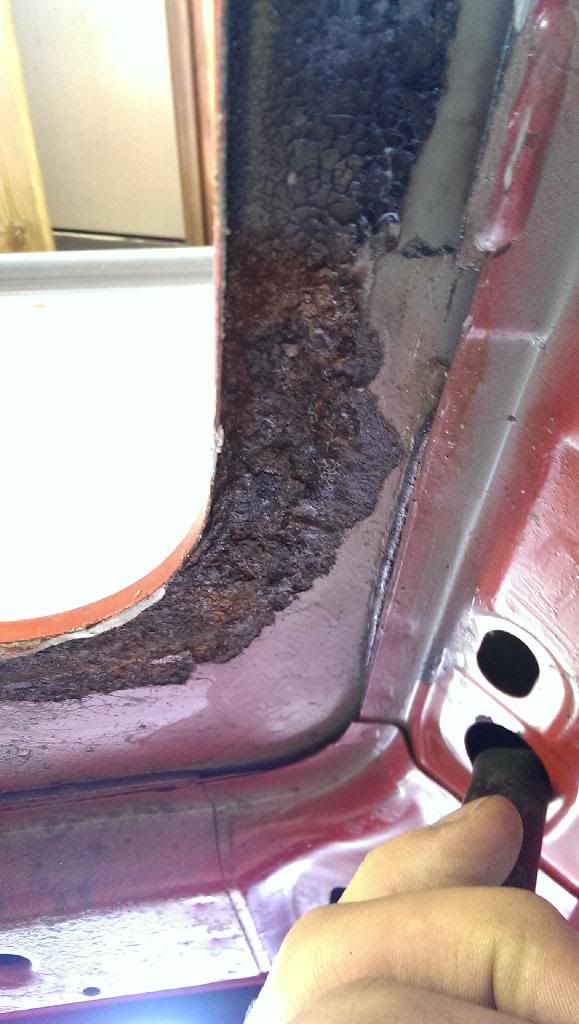
This the problem I’ve known about for a while.
Slight bubbling on the outside....

Nasty on the inside though...
Removing the sunroof panel liner was a absolute 8astard of a job for some reason it would not slide back and fought all the way!
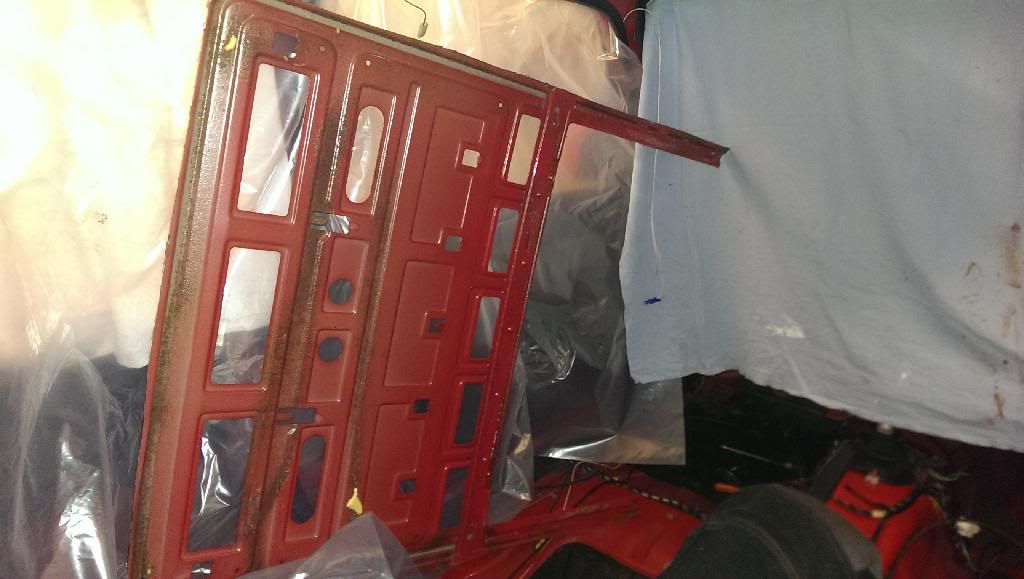
After this panel was removed it was easy enough to remove the metal panel and drop the head lining down.
Today was a nice day so stripped out all the sunroof mechanism and masked up the car with old bed sheets.

Inside.... let the cutting commence 1mm slitting discs are the dogs 8ollocks for this job!
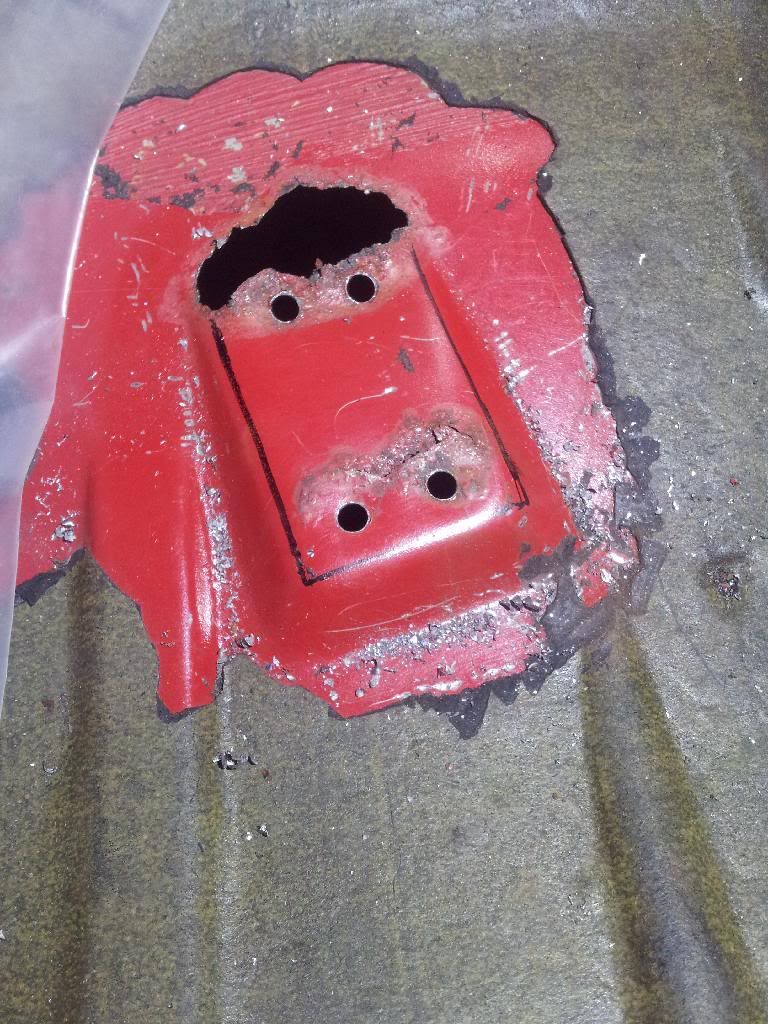
Started by cutting the centre section out of the tray to make access easier.
Then cut the tabs which hold the tray to the roof rails, I put a hacksaw blade behind the tab so as soon as the disc went through it moved the blade along and I knew not to go in any further and mark the roof.
Next using a spot weld drill, drill out the spot welds on the centre brace.
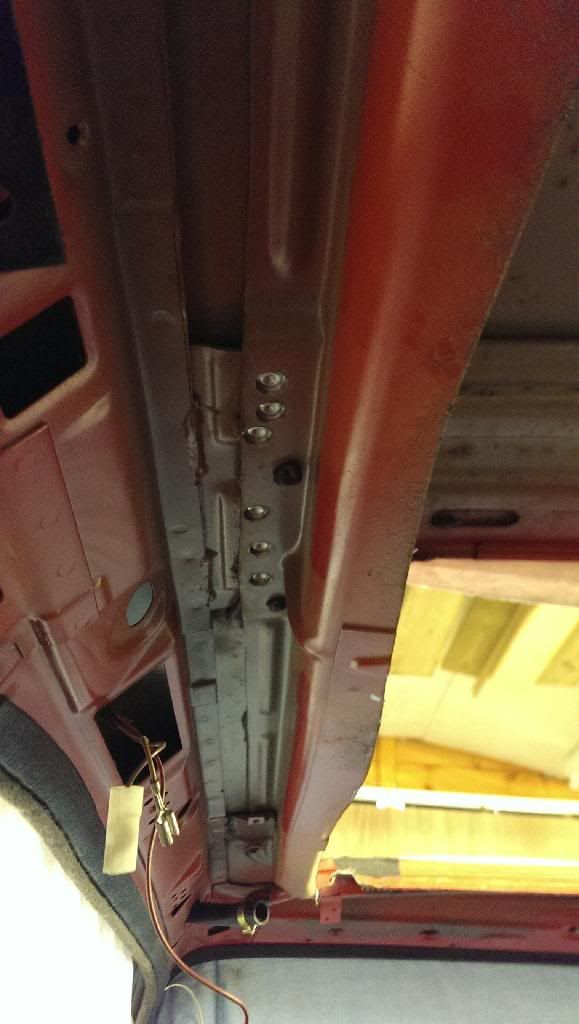
As I want to keep the roof in as good a condition as possible I ground through the spot welds around the sunroof hatch from the tray side.
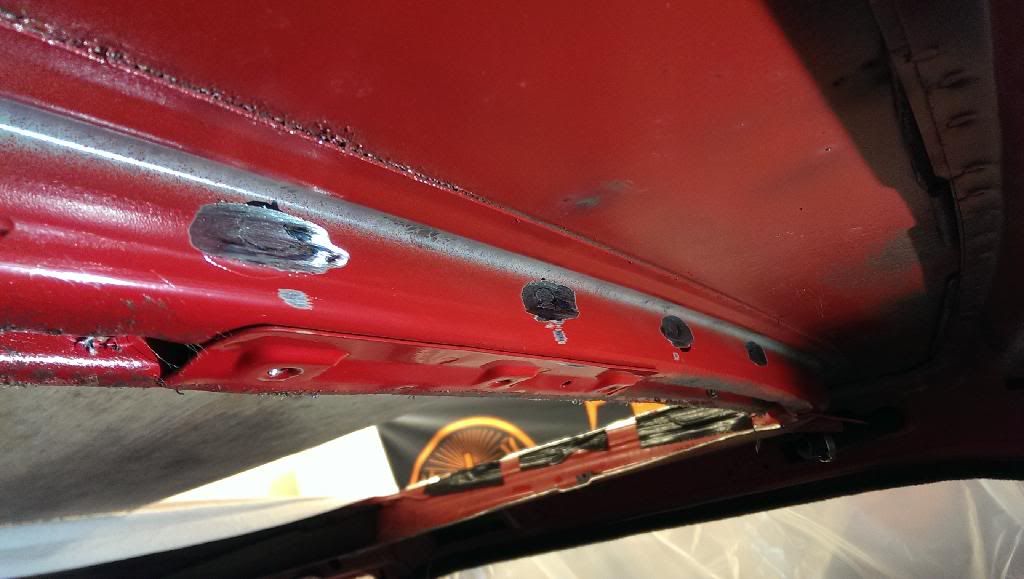
With a hacksaw blade between the roof skin and the tray work it around to cut through all the bonding.

Lastly I used Stanley knife to cut the seam sealer around the sunroof hatch along the front and sides then used a blow torch on the front section and the job lot just fell down.
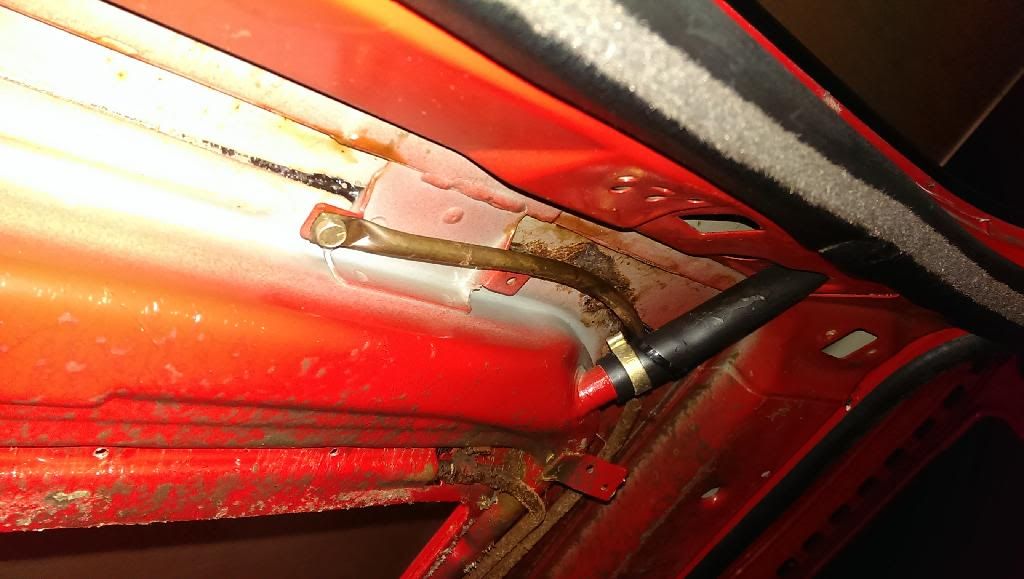
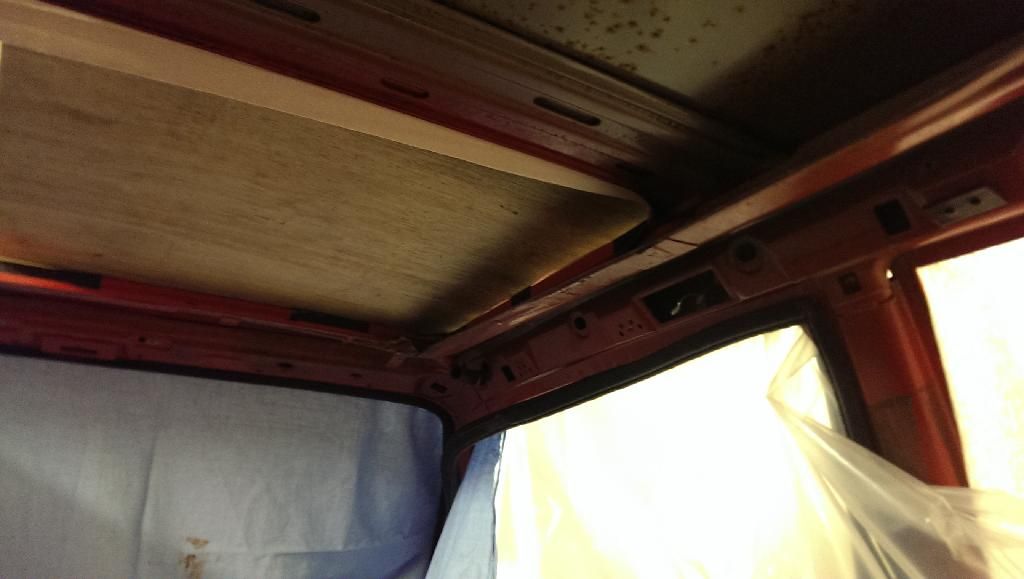
Now it’s all removed and the dog can see the rabbit there’s some rust on the other side and also in the rear section but the majority of the roof is saveable.
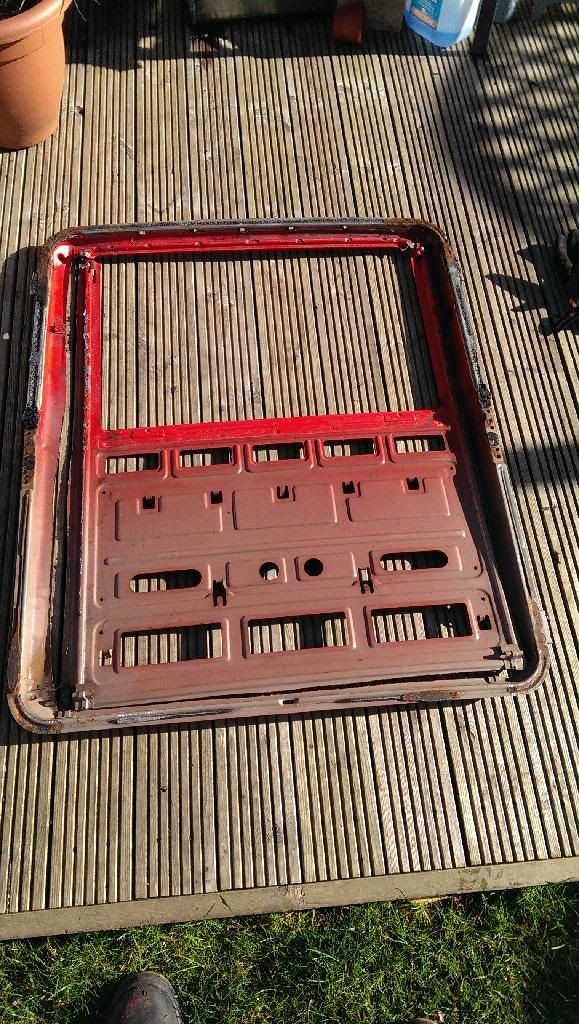
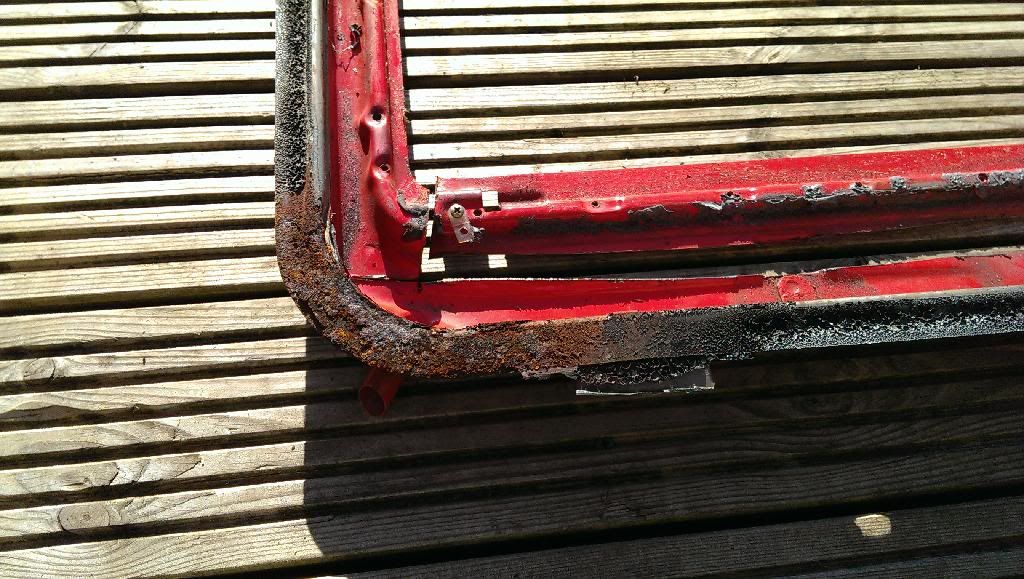
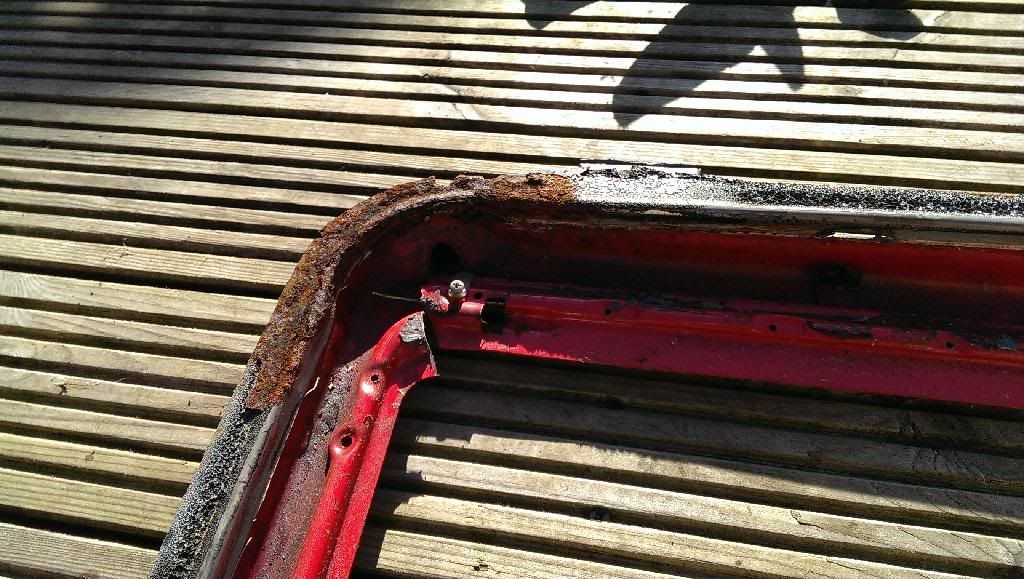
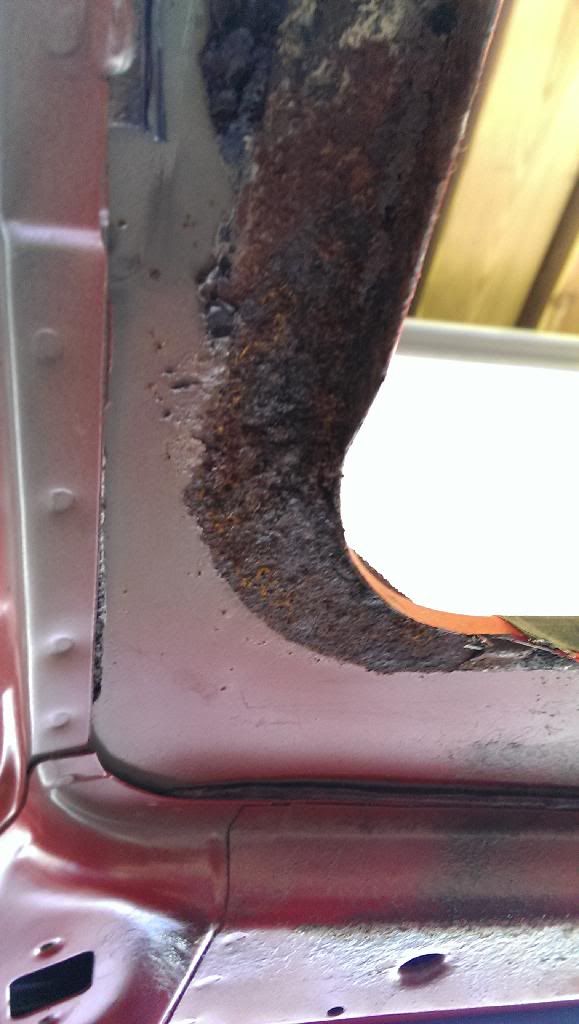
The rust Isn't as band as it looks in the pictures although the drivers side will need a section replacing, the pics just show it as I dropped the tray down so some of the uneven nasty looking rust is the bonding that's still attached. Think I'm going to get some Deox gel on it like Jozi used on his and see what it comes up like
As for re placing the tray I’ve been thinking that rather than weld the new tray in I’m going to make a clamping arrangement as, as far as I can see there is no way of rust proofing the area above the weld once it’s in place as it is almost touching the roof skin.
So a good bit of work done but a bit sad at what I’ve found, shame really as the car is in really good shape in all the other areas , especially the back arches, I’m never going to sell this car so it will be getting sorted properly.
luckily enough the internet was there to cheer me up!


 [/URL]
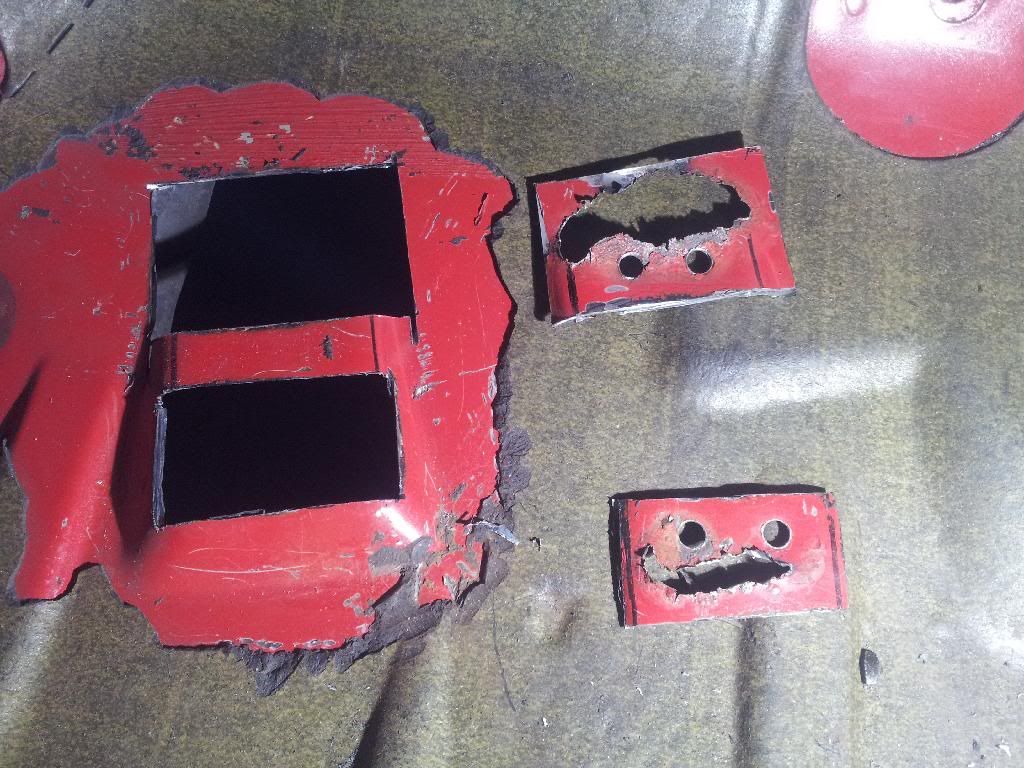 [/URL]
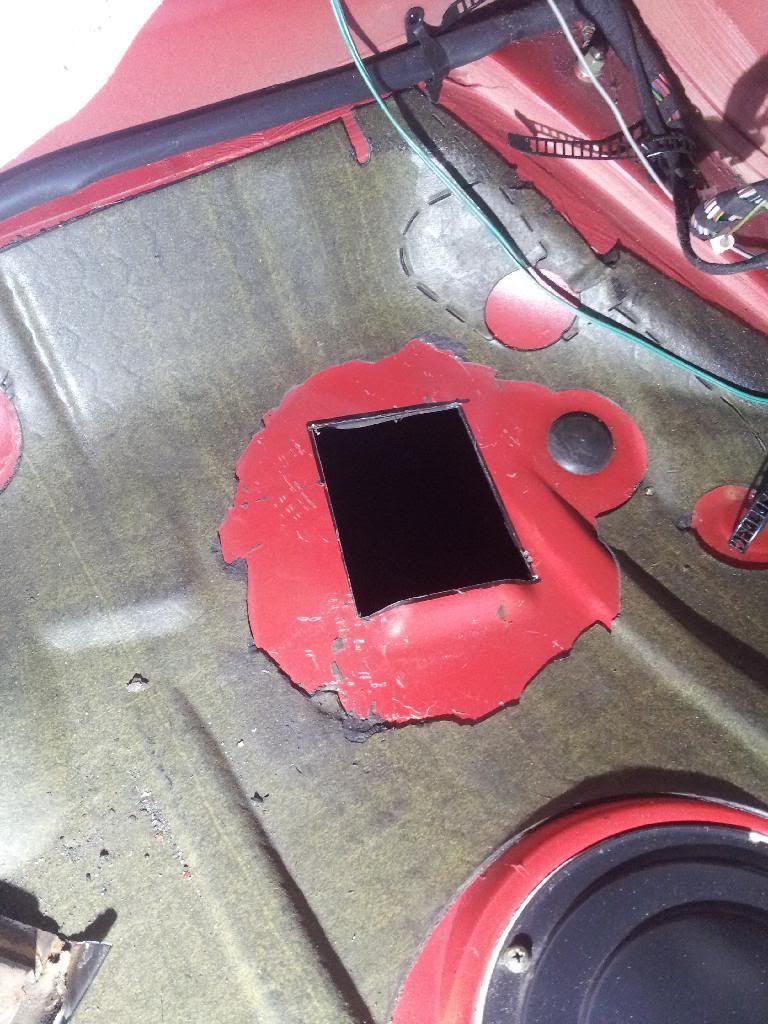 [/URL]
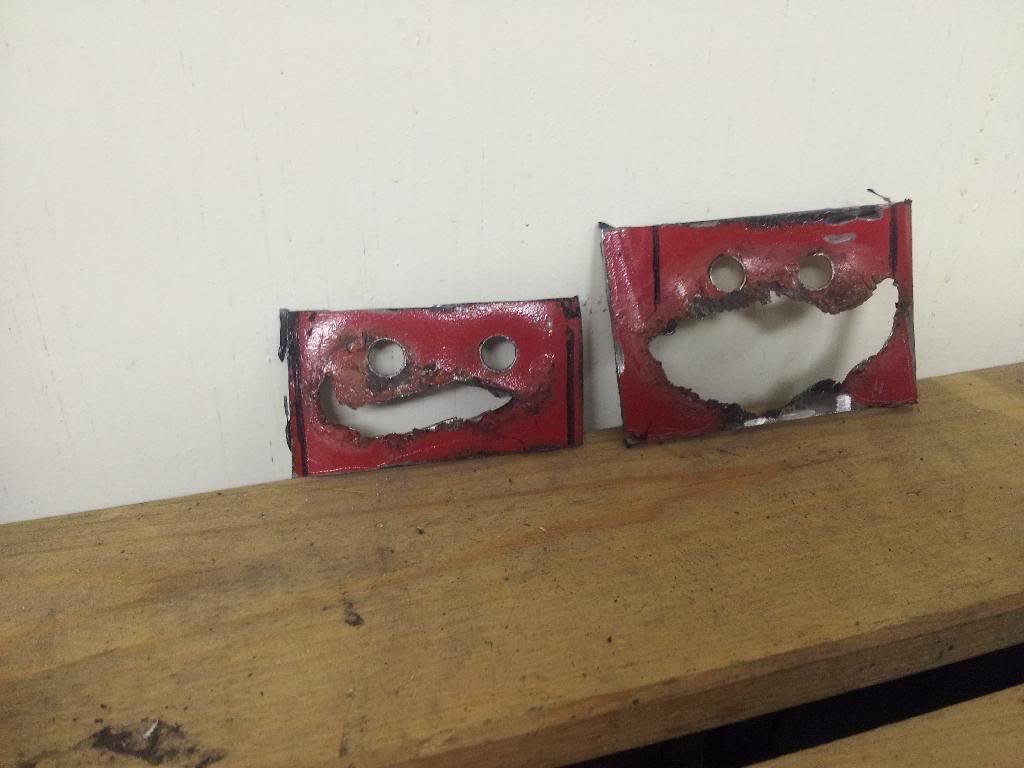 [/URL]
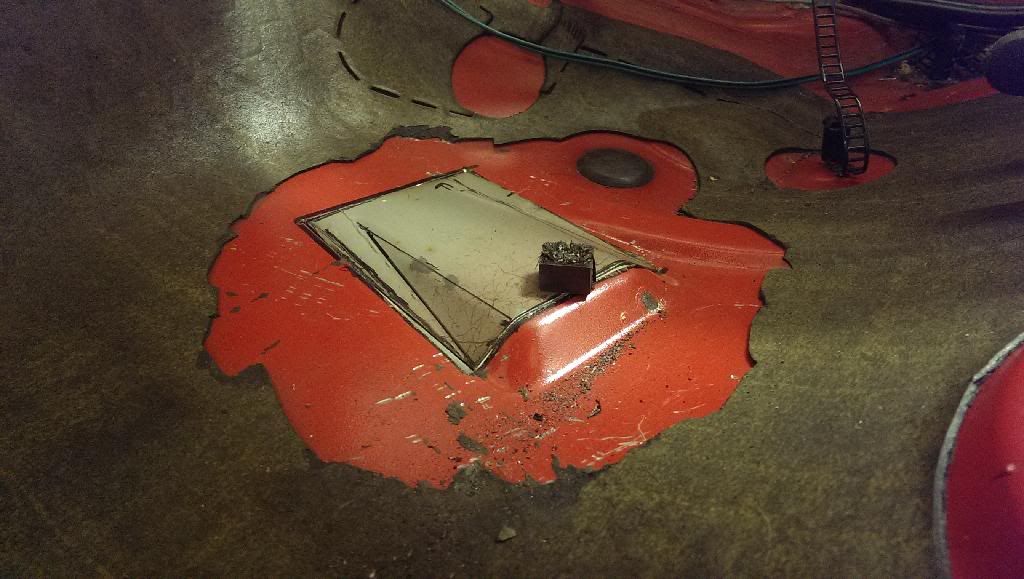 [/URL]
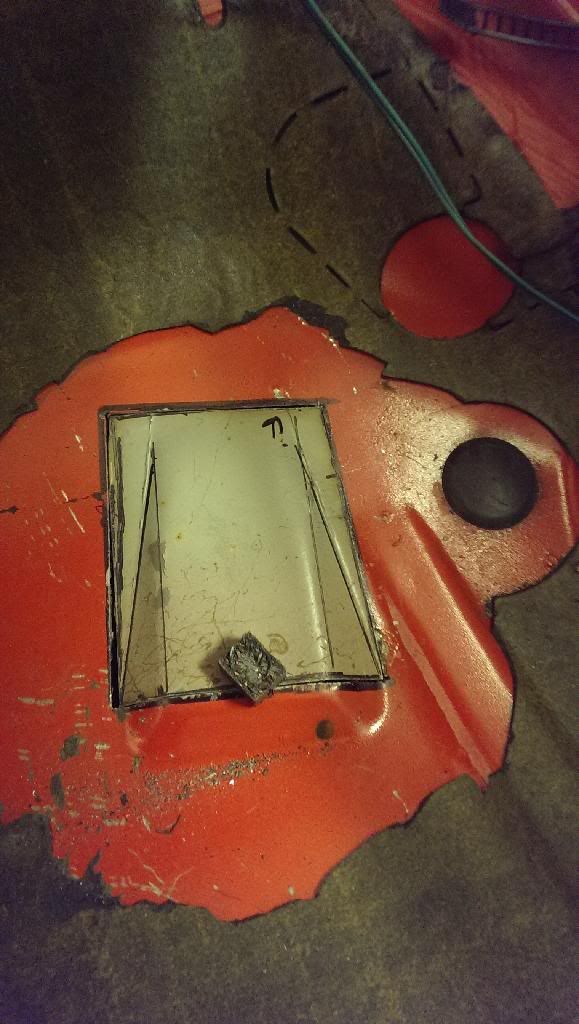 [/URL]
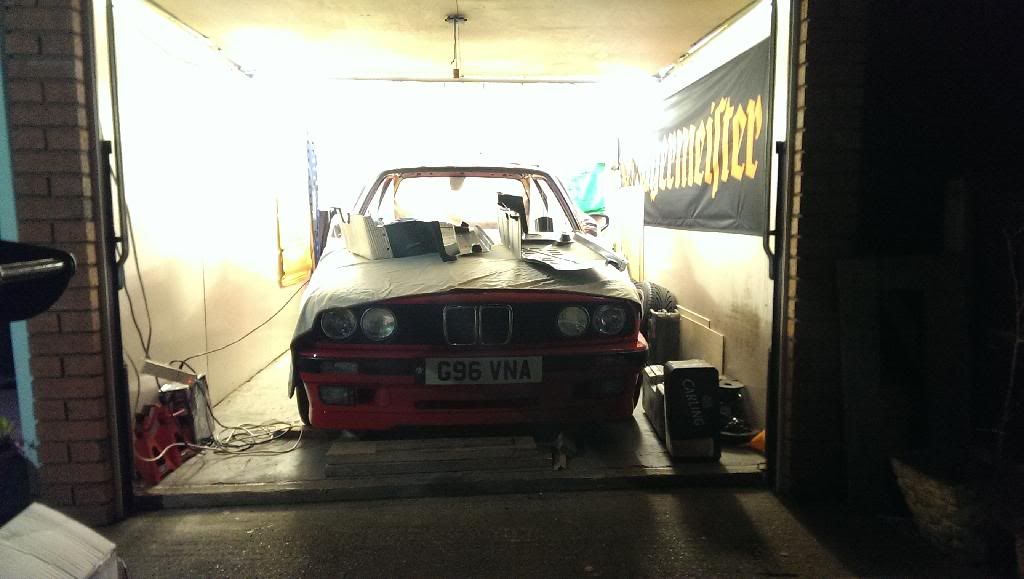 [/URL]