Page 1 of 1

Because Racecar [Lots of pics :D]

Posted: Mon Feb 20, 2017 11:56 pm
by JakeusSnakeus
Hi Guys,

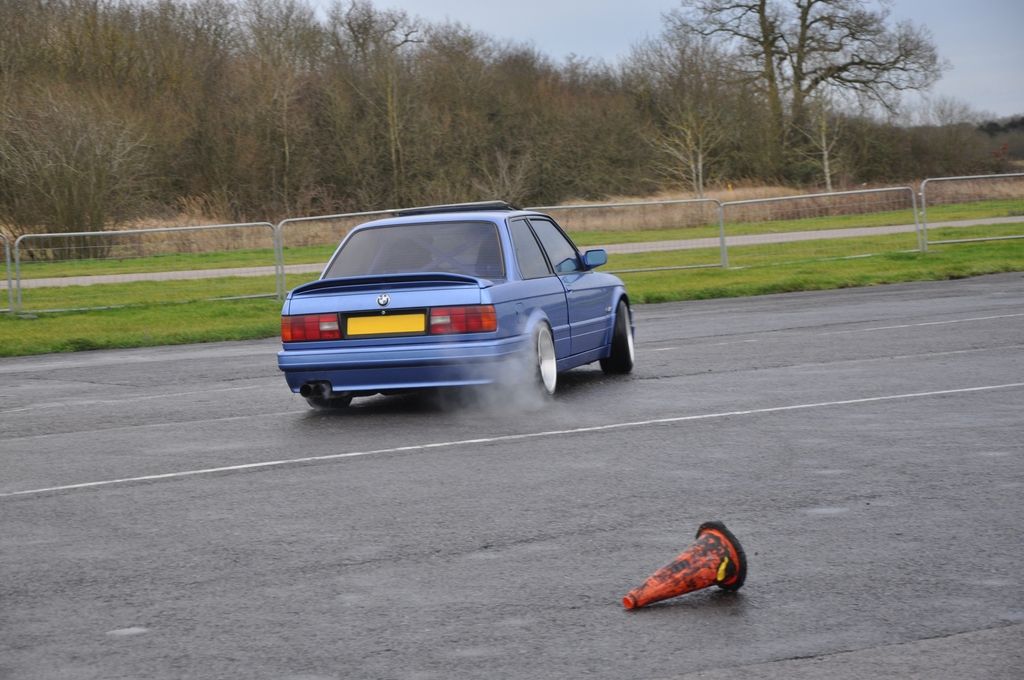
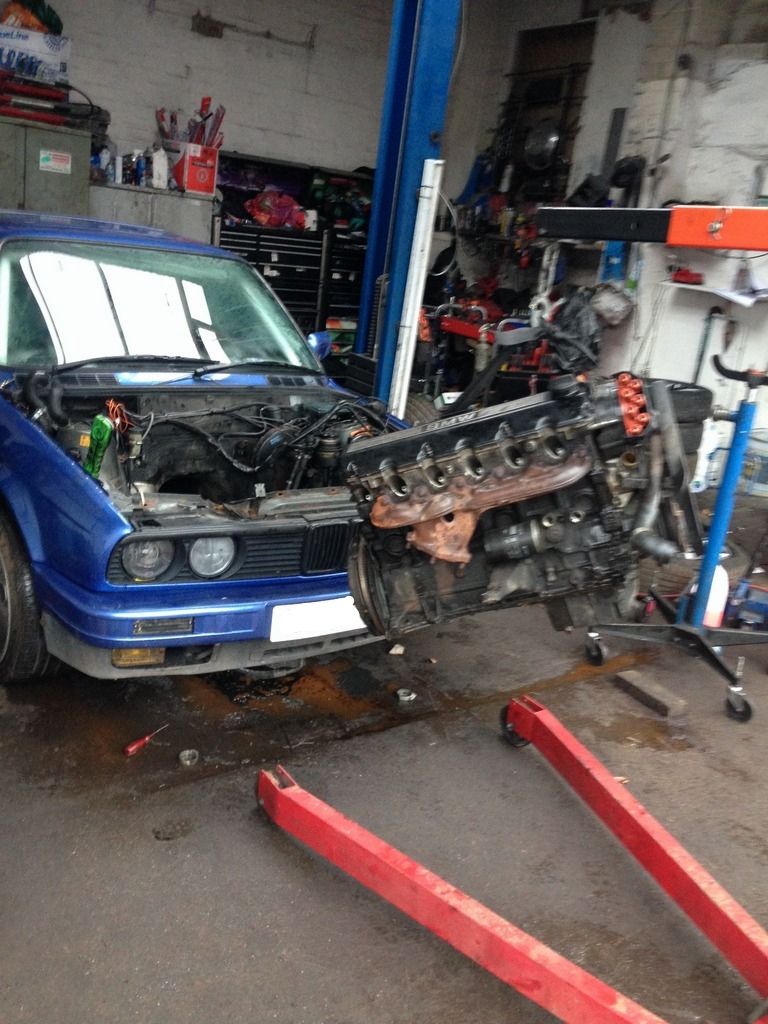
So last year at around 140mph the bottom end went on my M20 and some lovely rod knock started. I limped home and pulled the oil drain plug and found lots of sparkly bits in the oil, Yay!

Here's a pic of the car before i blew it up:

Image
Image

So i pulled the lump and started searching for a donor, i wasn't too upset because it was the perfect excuse for an m50 swap.
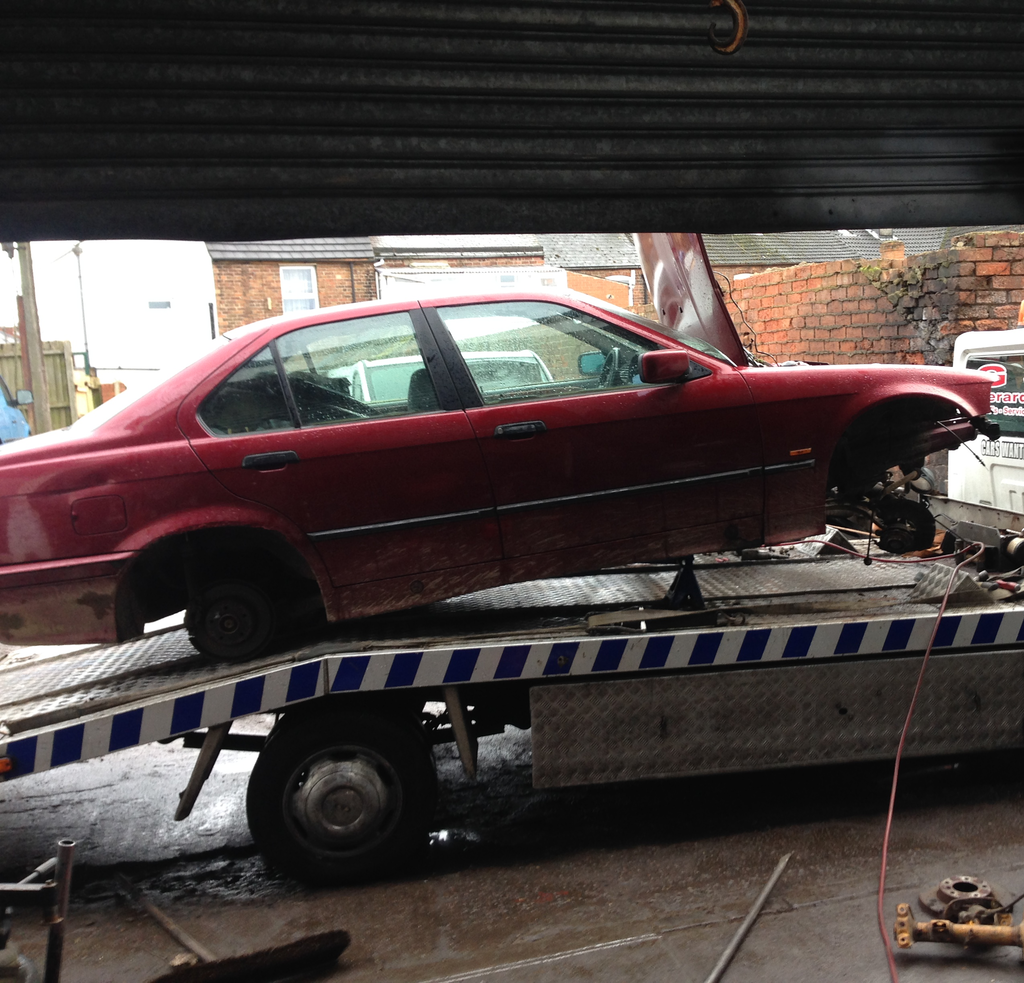
Image


Donor found!

Image

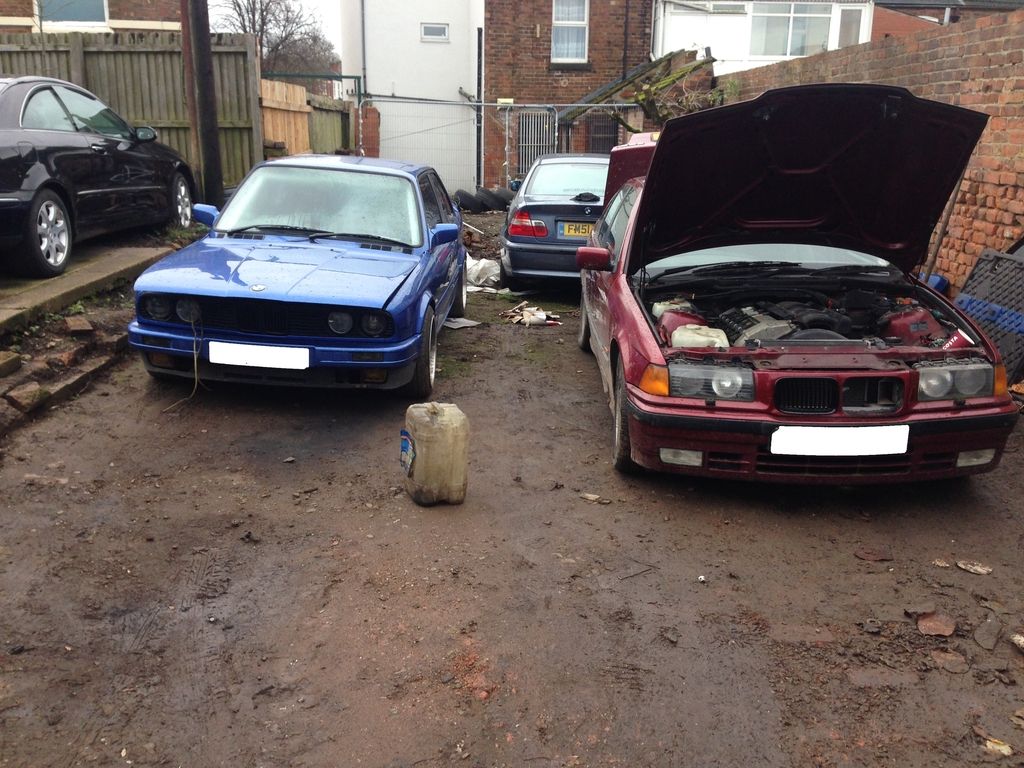
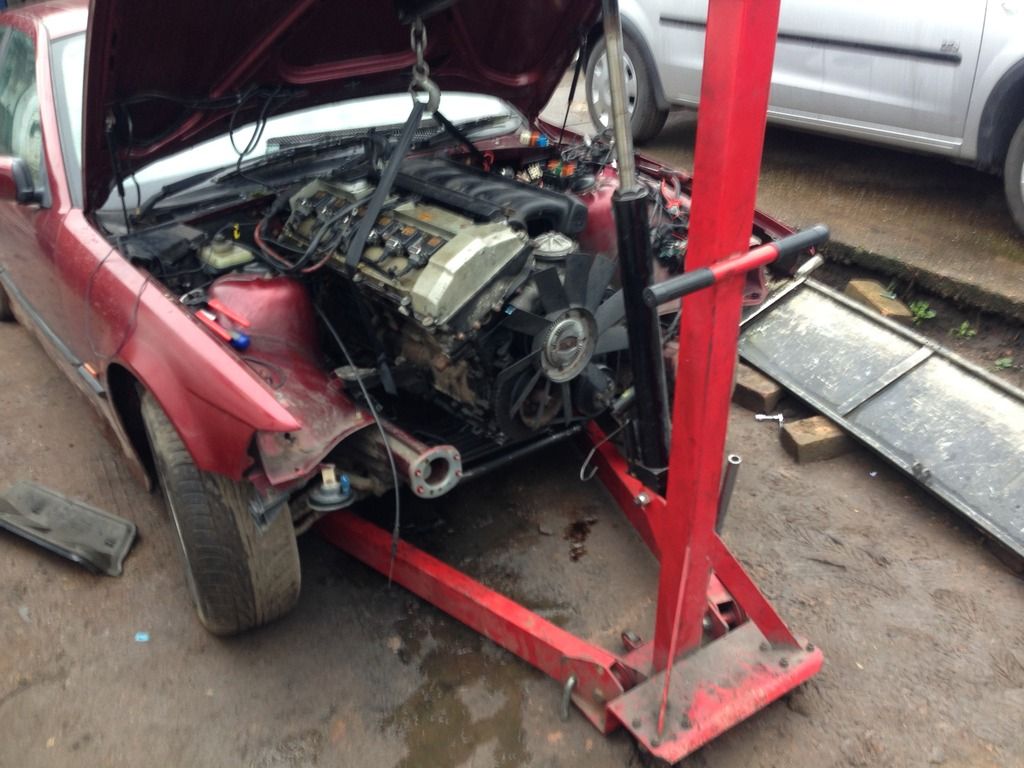
Time to start tearing it to bits, sorry E36 fans :o

Image

Image

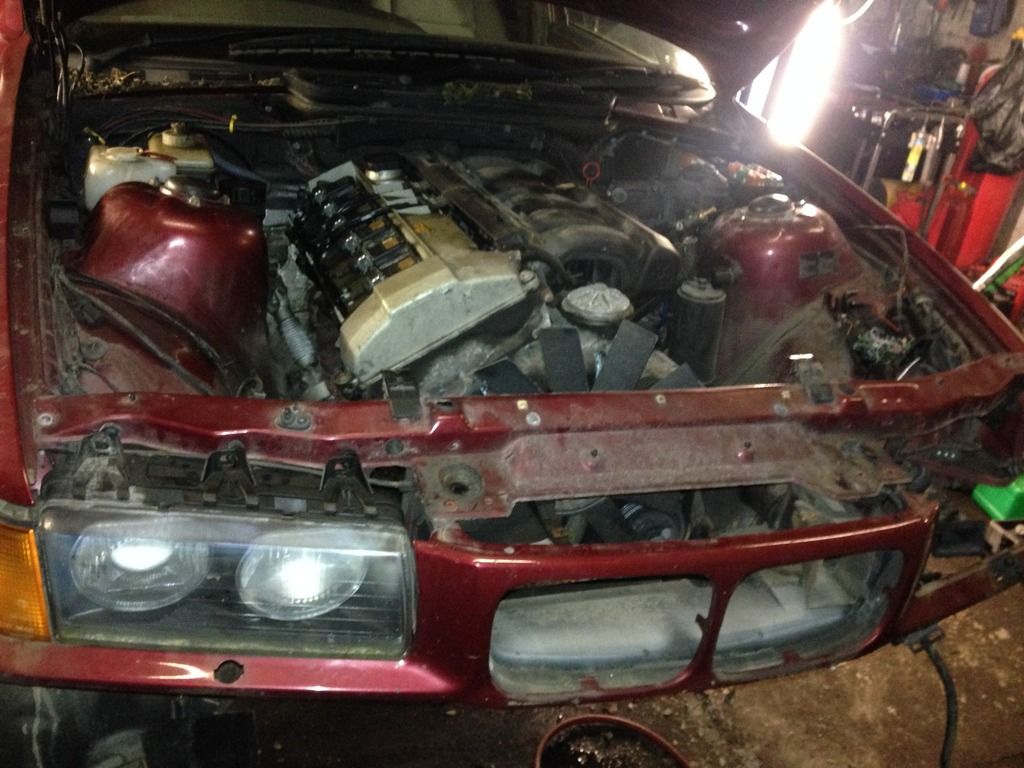
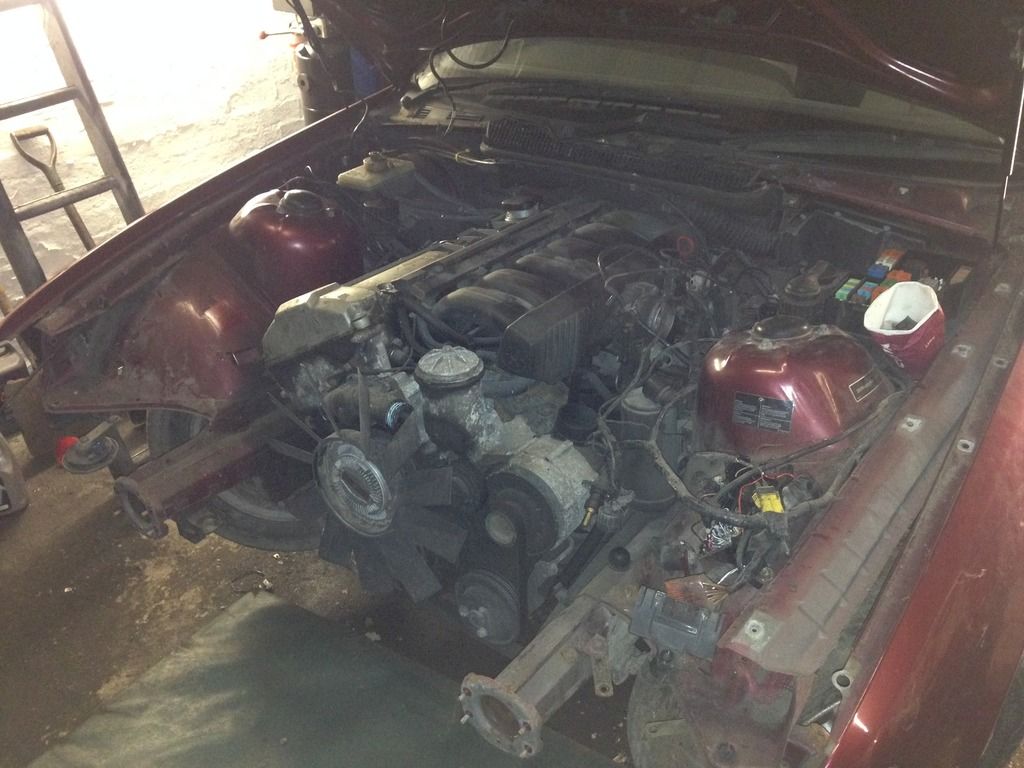
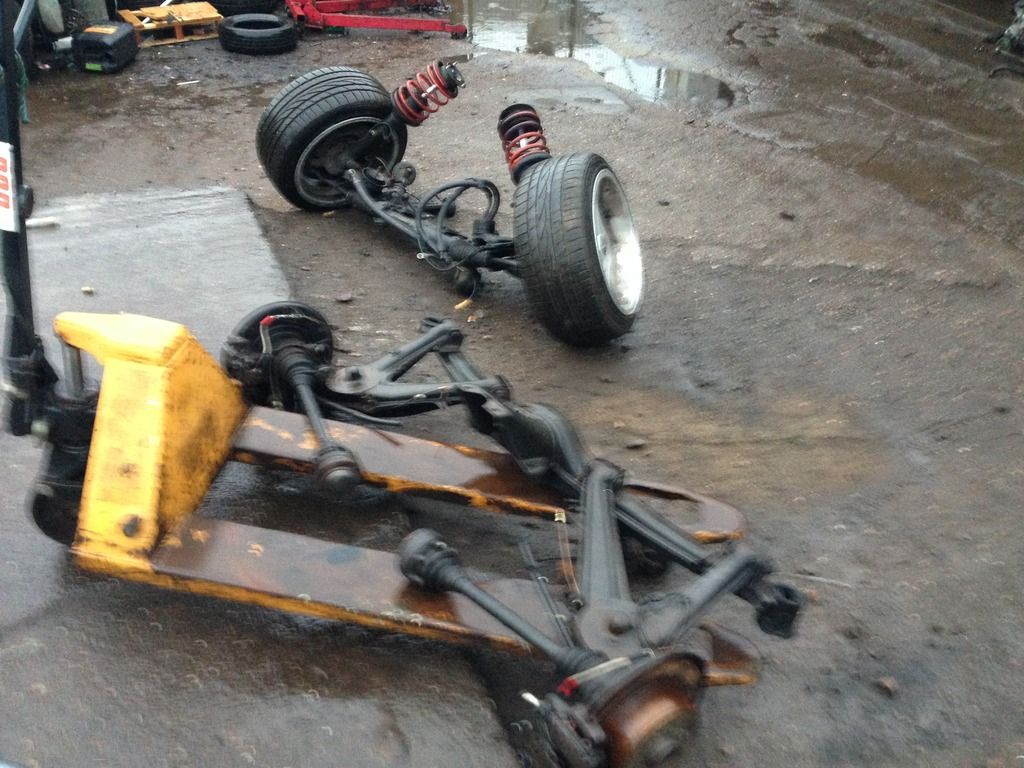
So after swearing and snaping lots of rusty bolts:
Image

Image

Thew this bit in the bin lol. What a shed, anyway the engine ran nice so...

Image


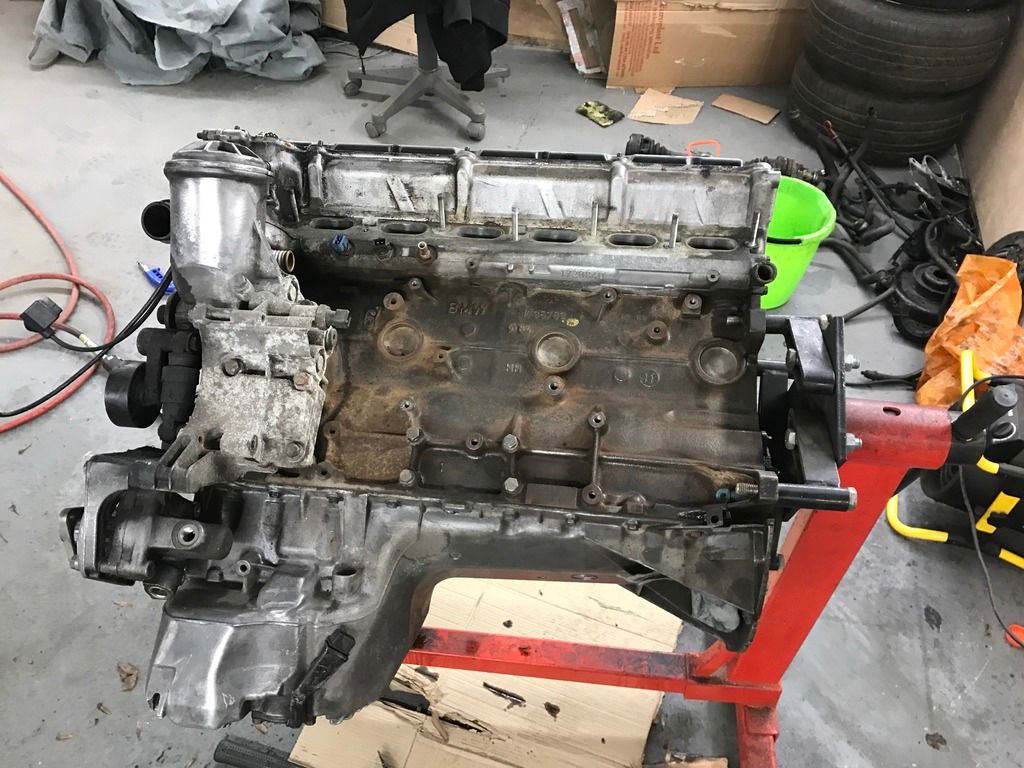
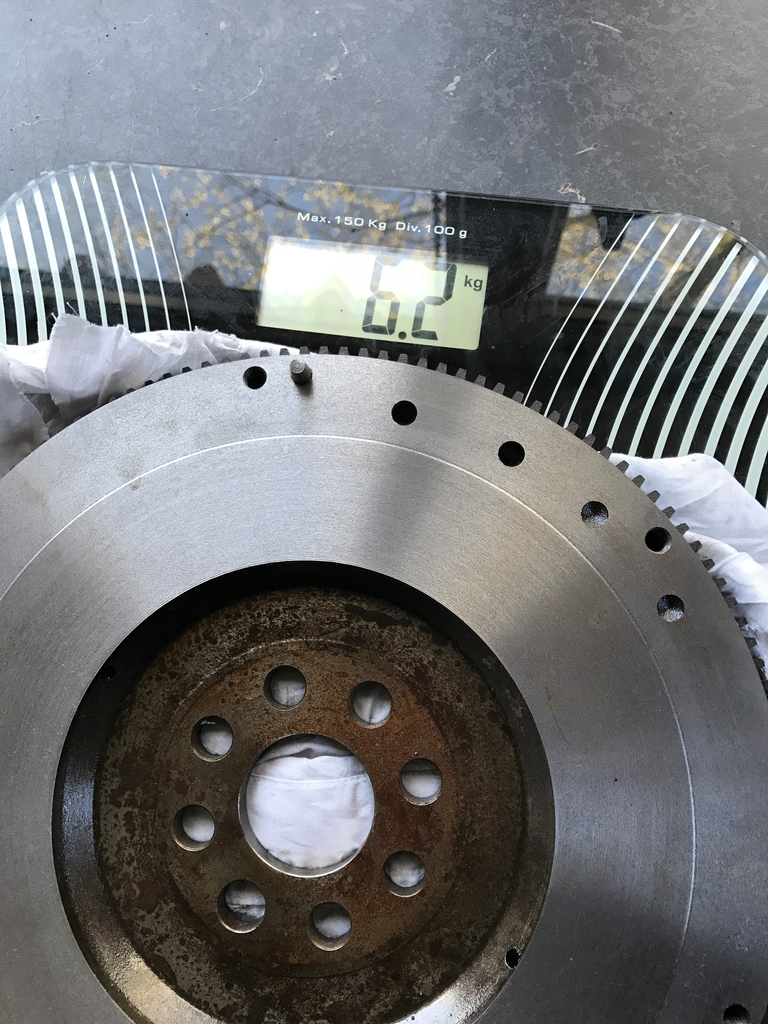
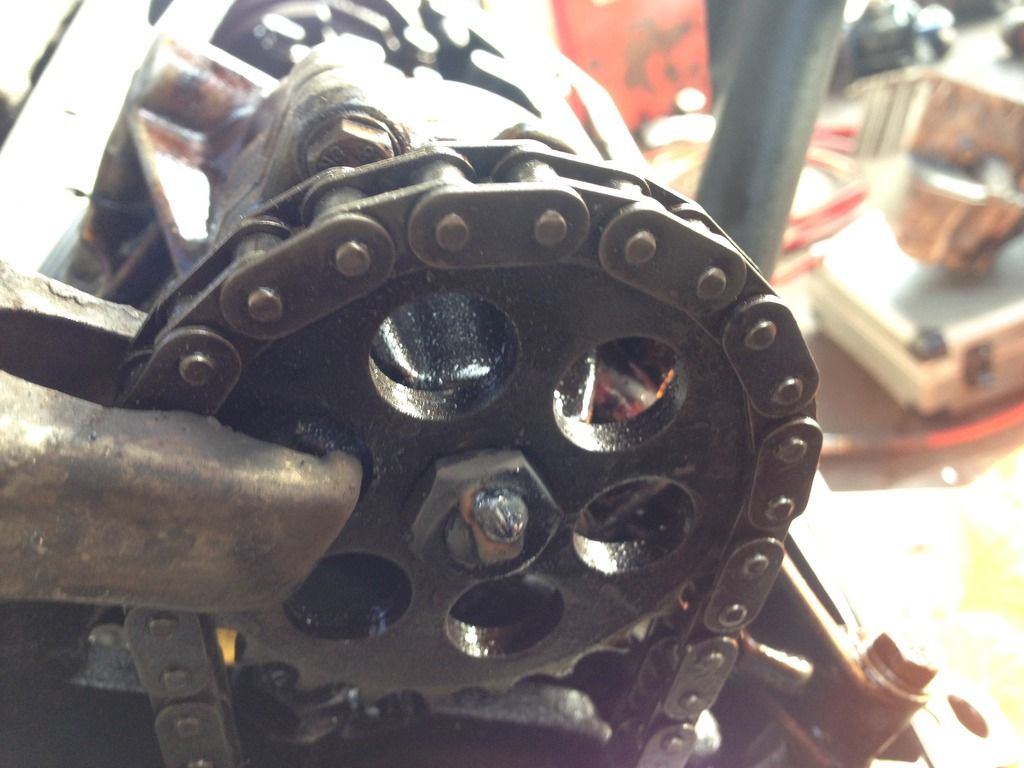
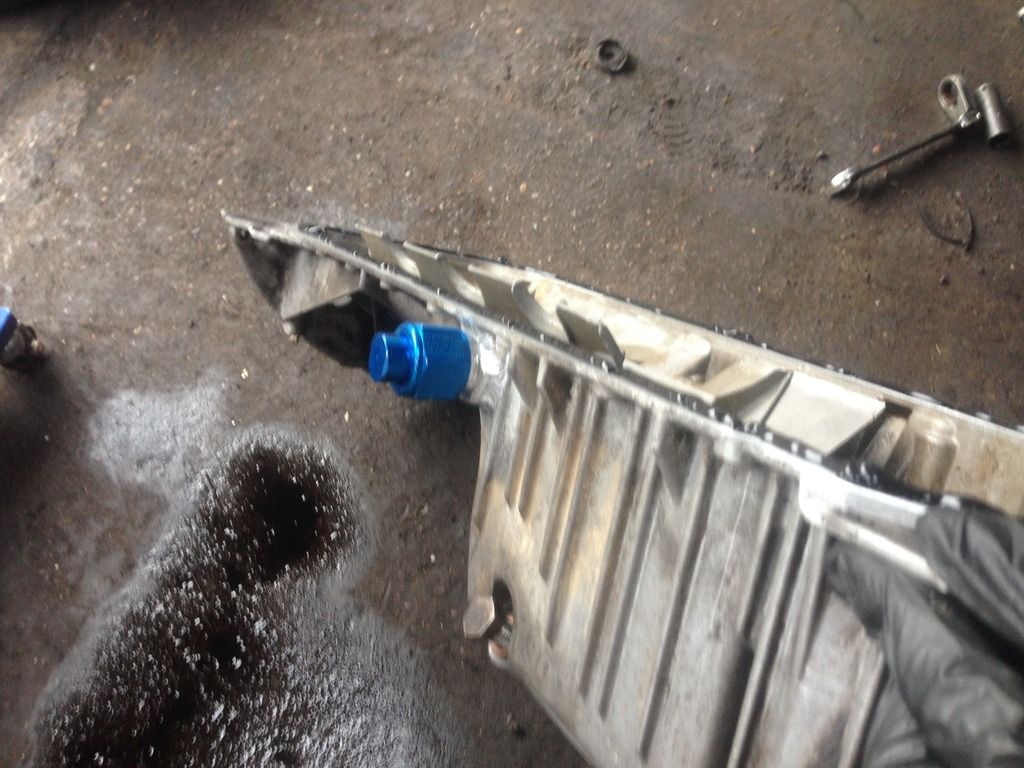
Bought an engine stand and removed the sump to swap the oil pump and pickup.

Image

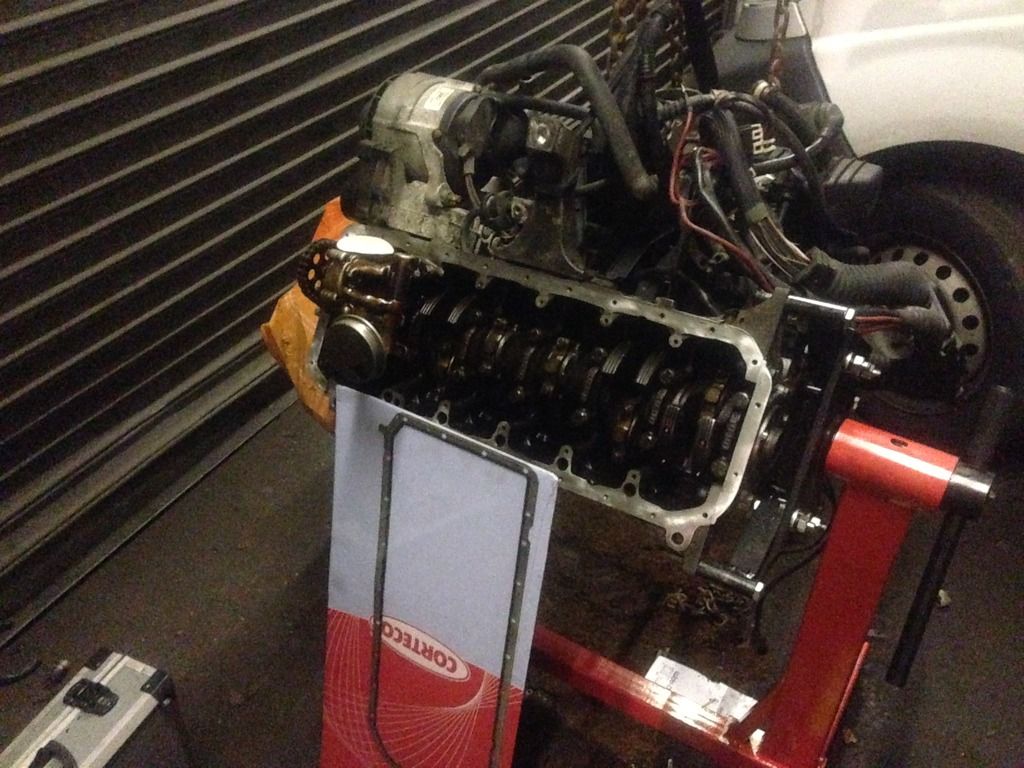
This because i've read all the horror stories

Image

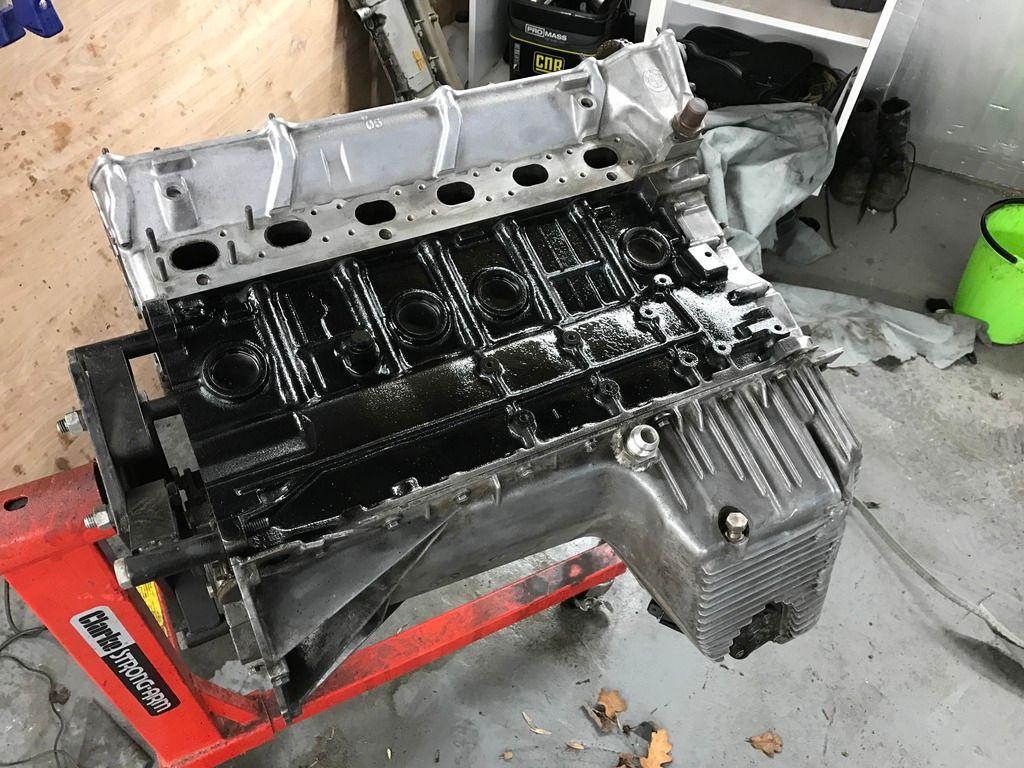
525i sump that i had modified for future snail draining needs.

Image

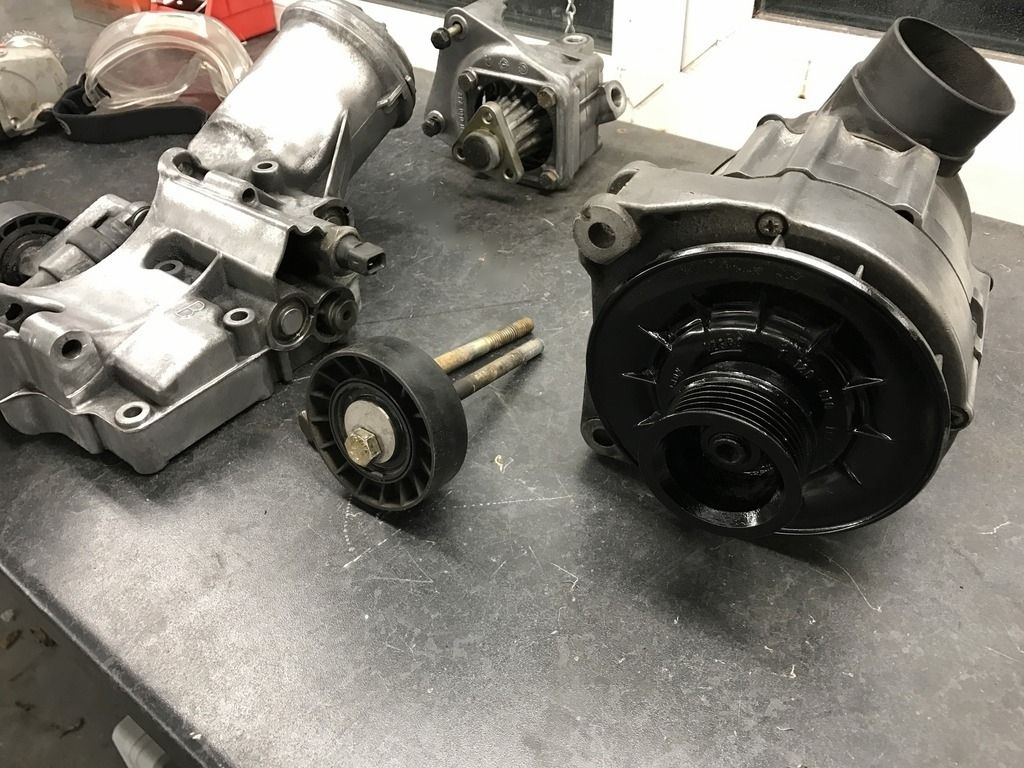
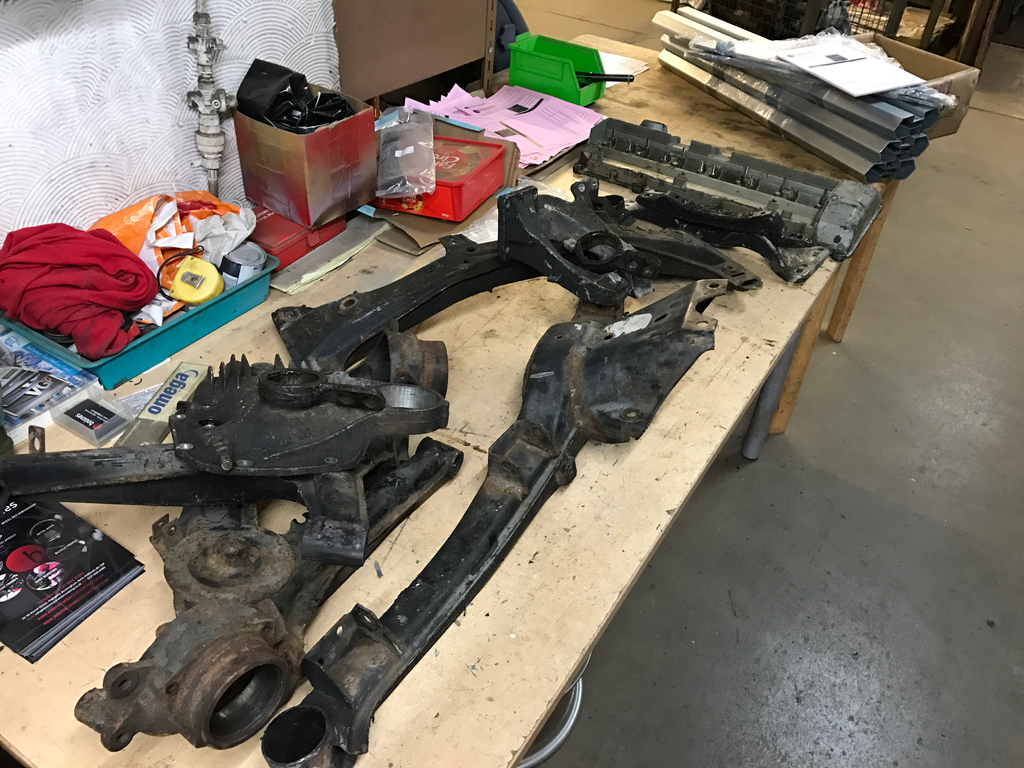
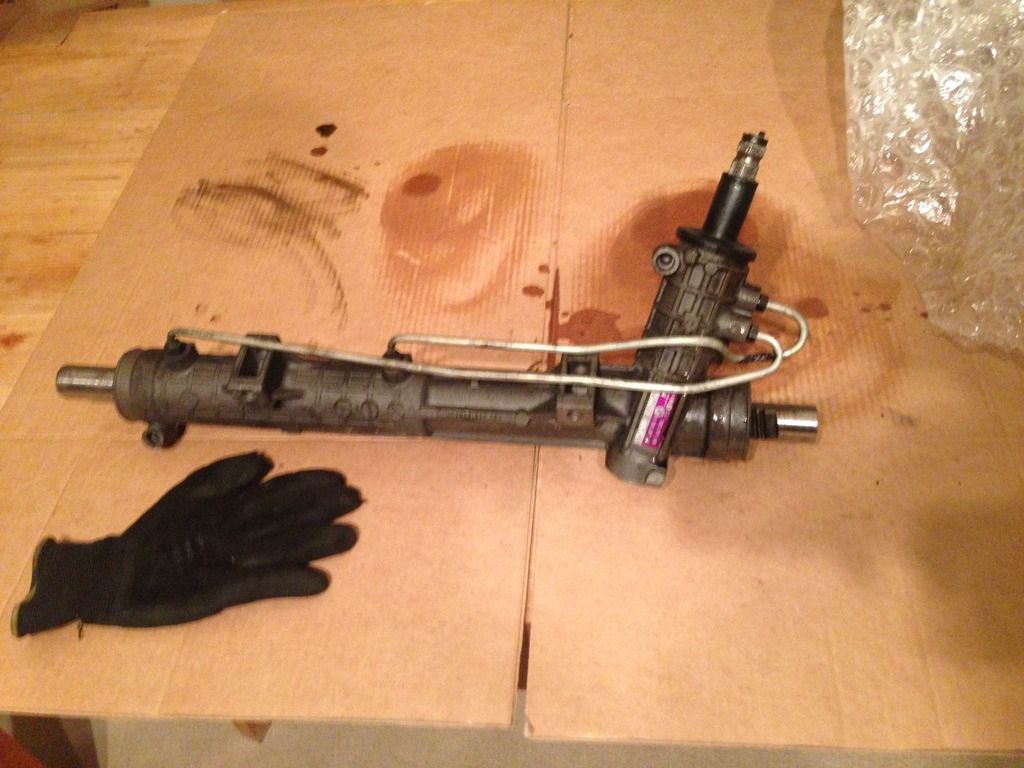
Picked this up for a good price
Image

Then I started to look at my E30 and realised how unhappy I was with the condition of the body shell. It looked nice in pictures but was by no means up to the standard I wanted and as we all know e30’s are prone to a bit of rot.


Image


So i decided to pull the trigger and acid dip the shell!

Image

Image

Image

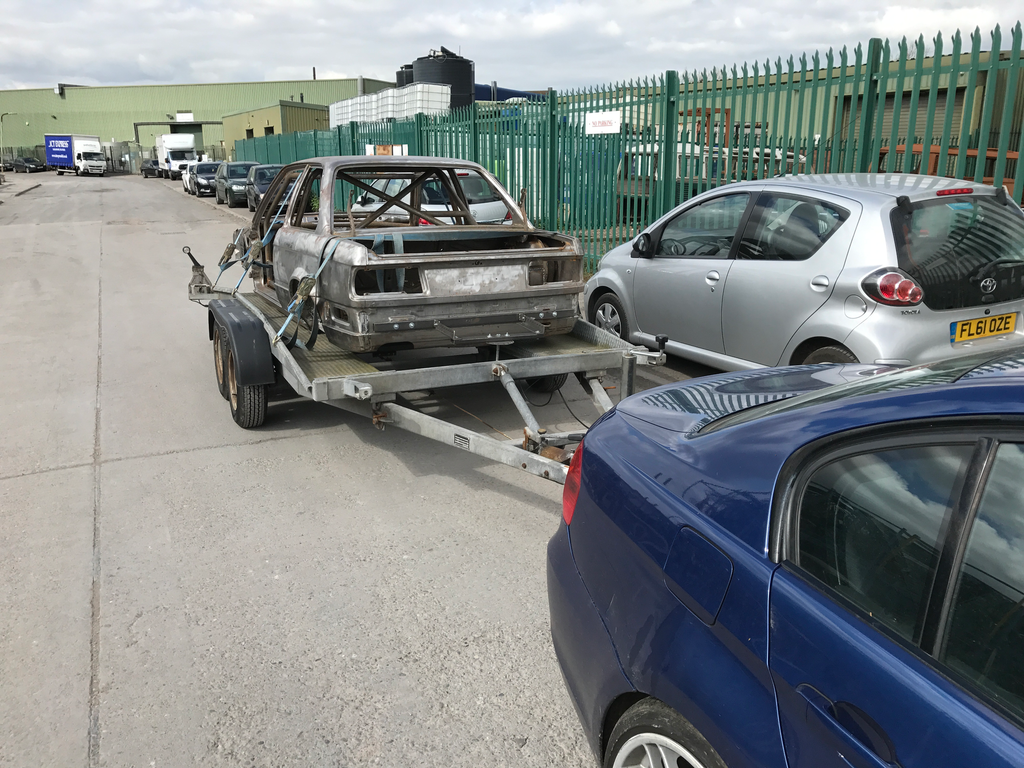
Dropping the shell off to get dipped
Image


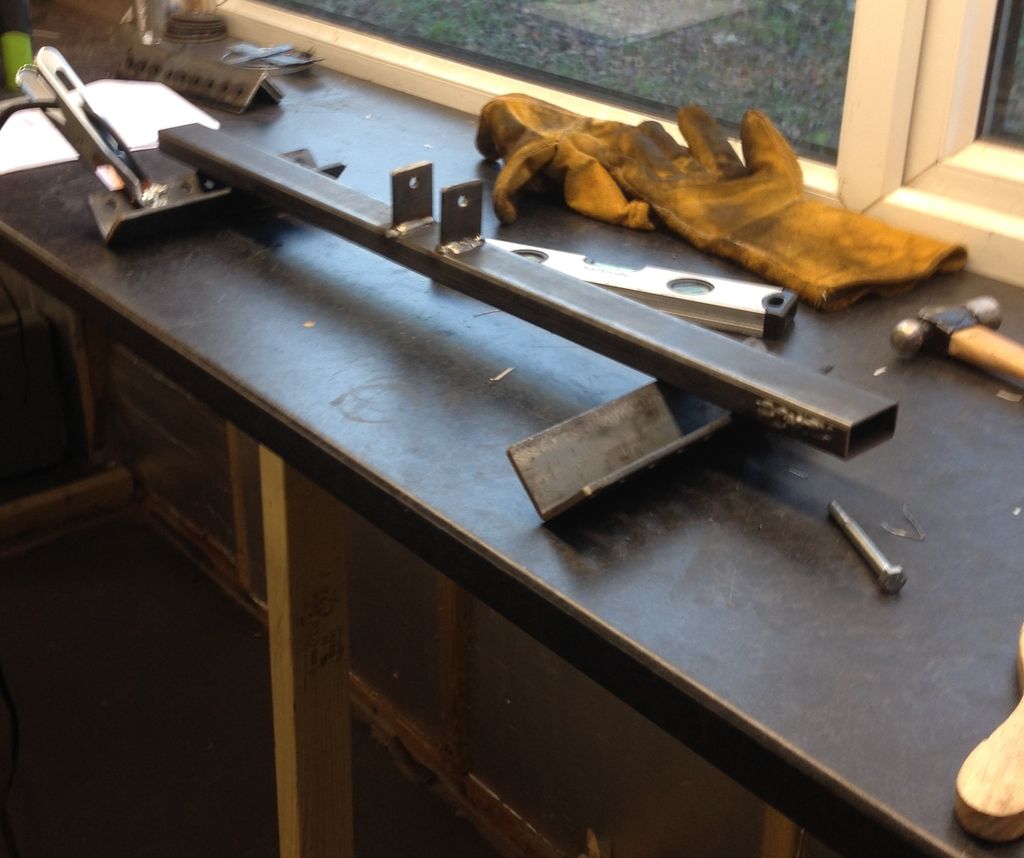
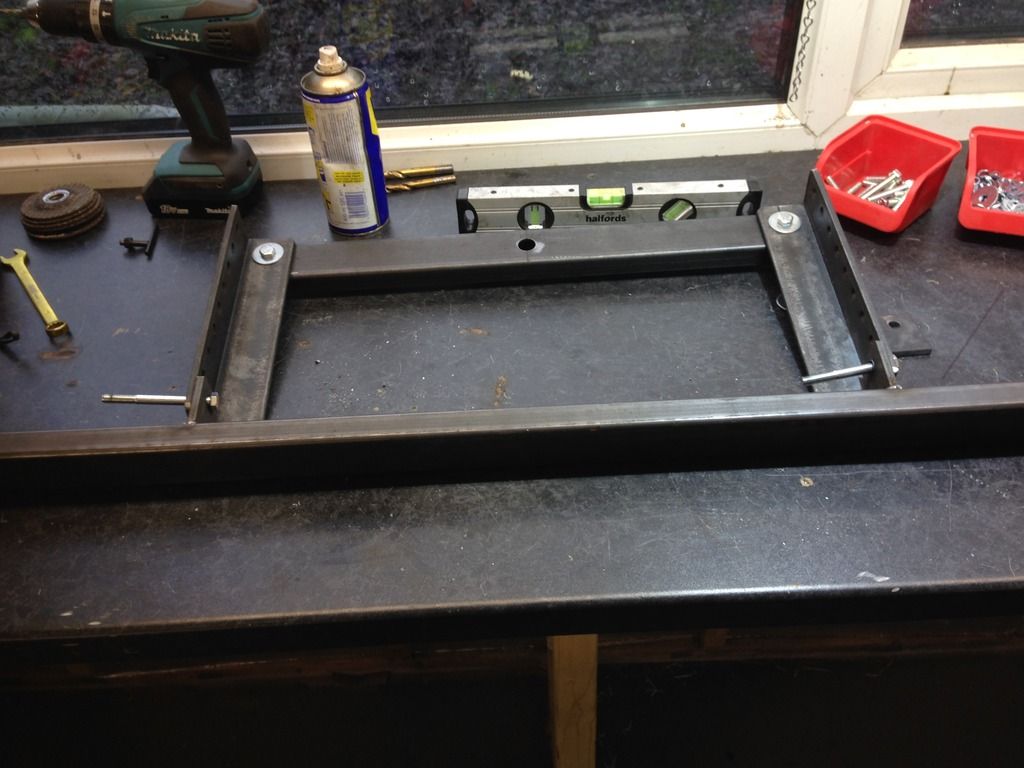
Oh yea, and then i kinda got delayed by this little project cause using my friends unit was becoming impractical.

Image
Image
Image
Image

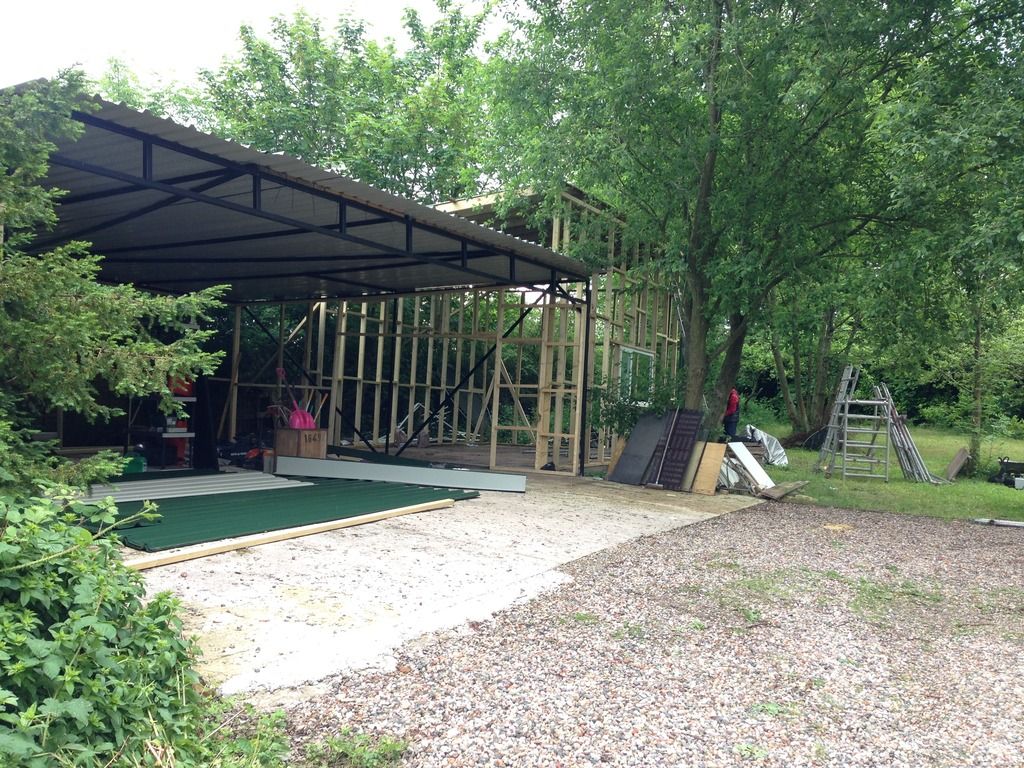
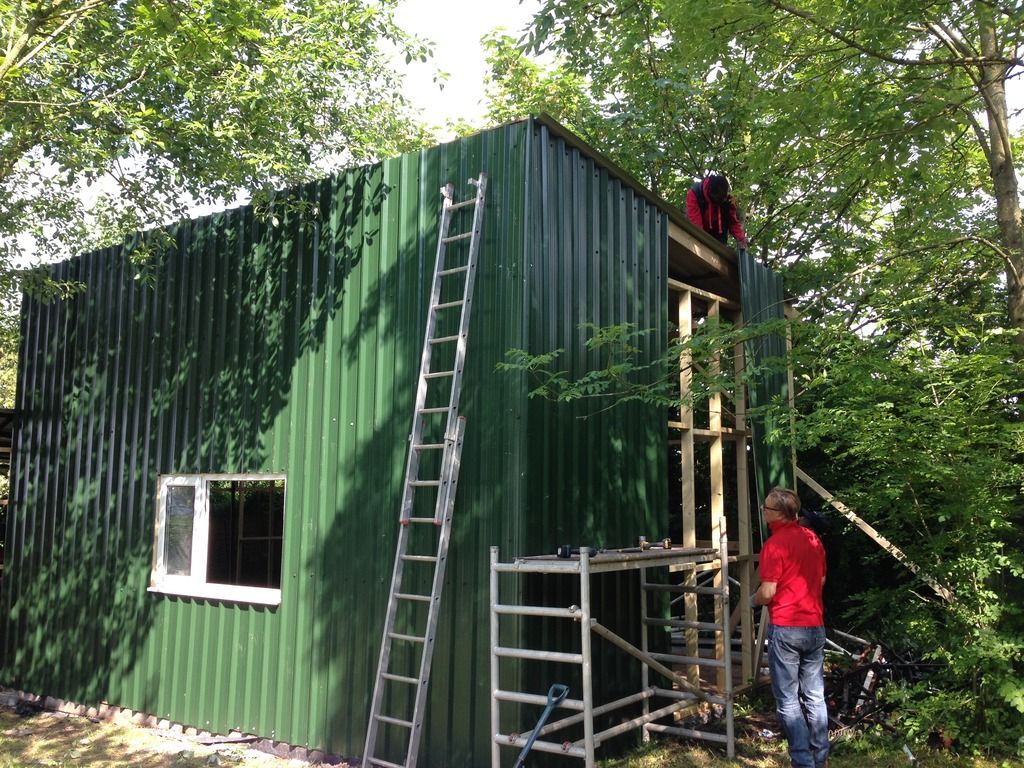
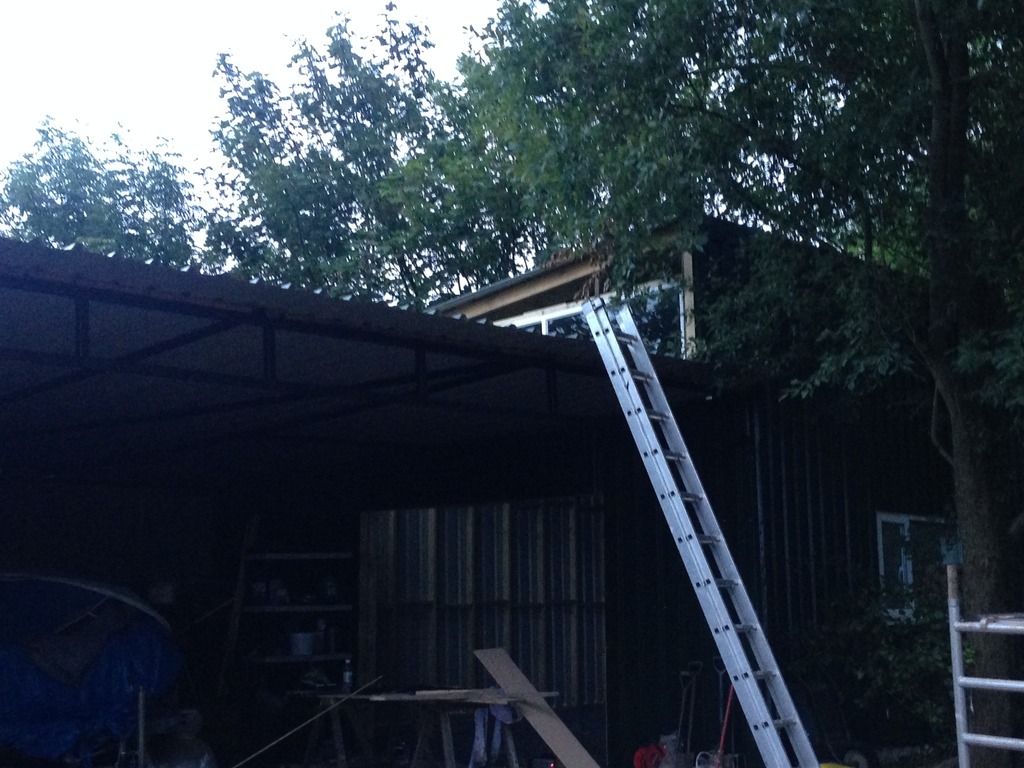
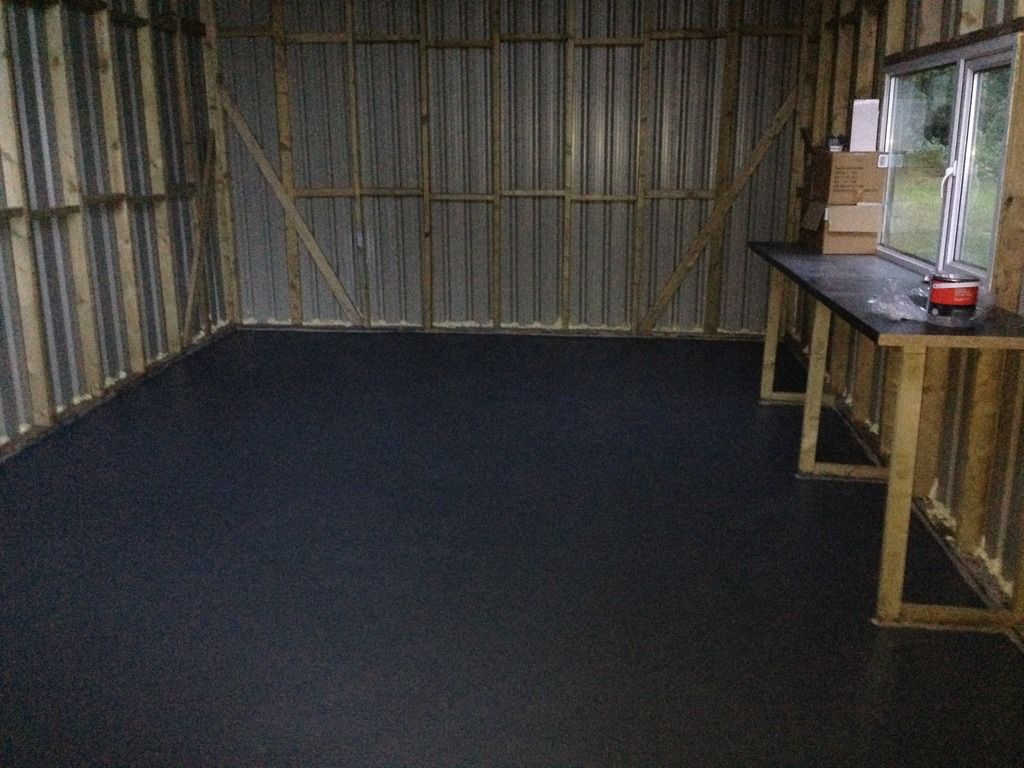
So yea, got there in the end

Image

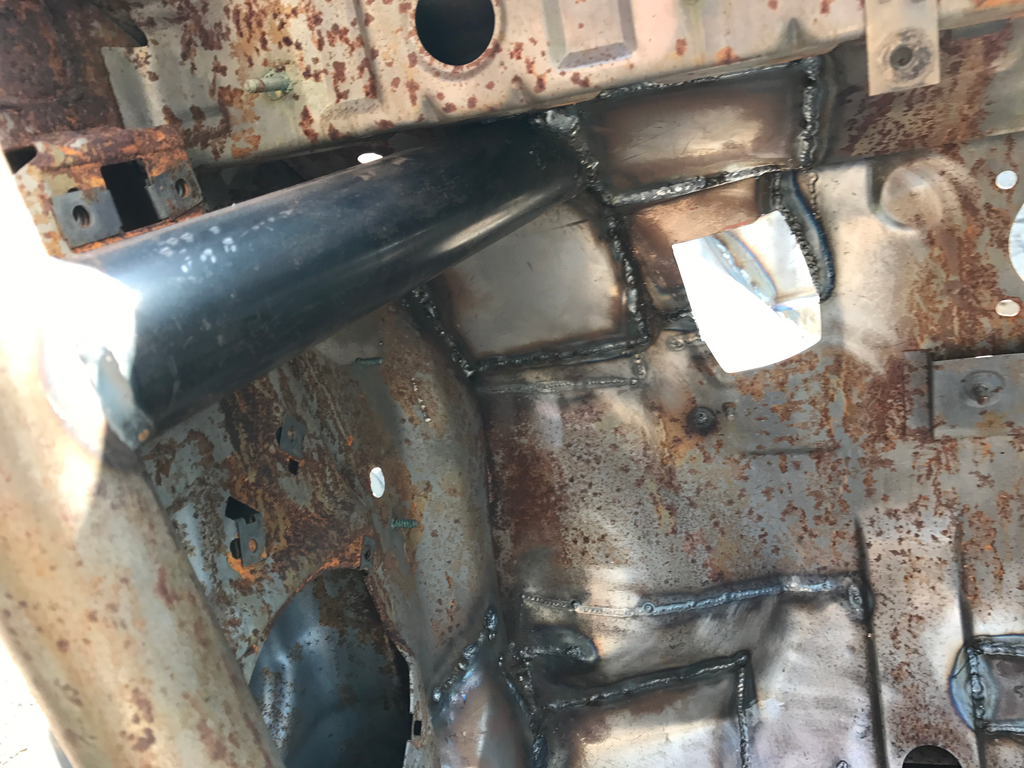
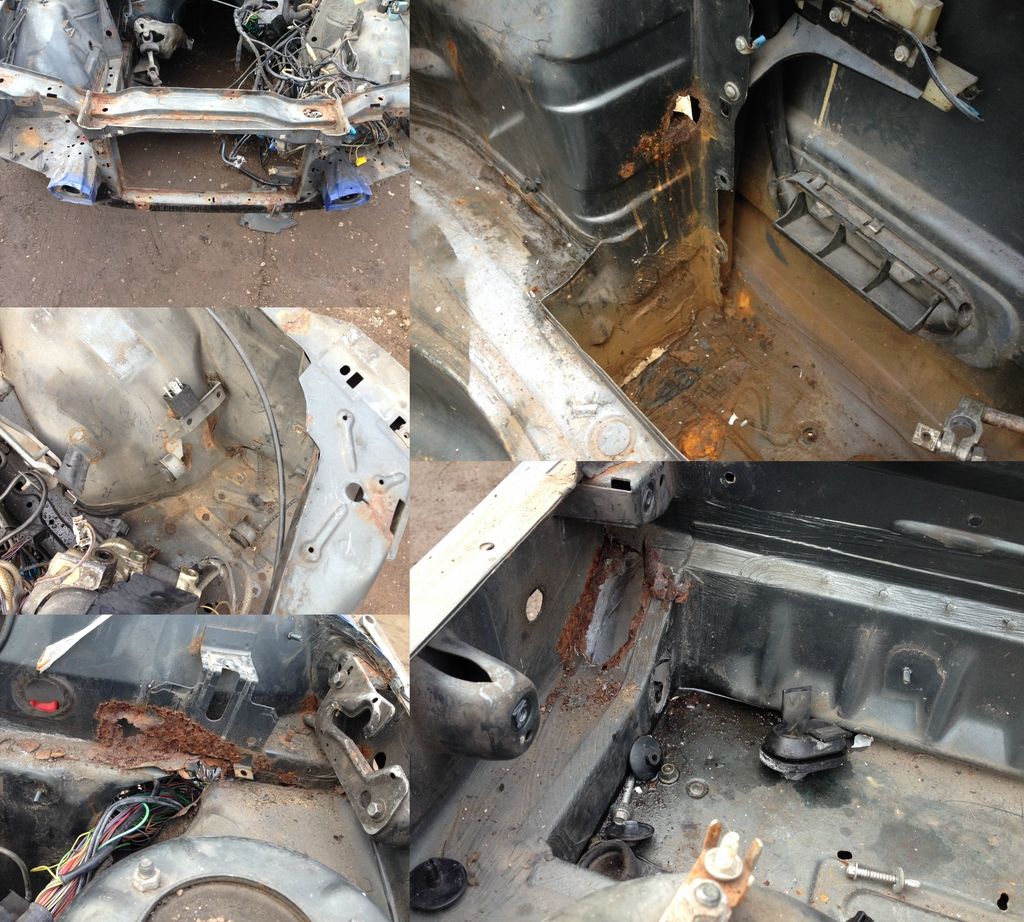
Only problem is the shell got rained on, badly... so it has surface rust everywhere :cry:
Anyway crying over spilt milk just leaves you with.... erm... dead cats or something like that.
So, life goes on. Once all the repairs to the shell have been completed it will be getting dipped again and then painted.


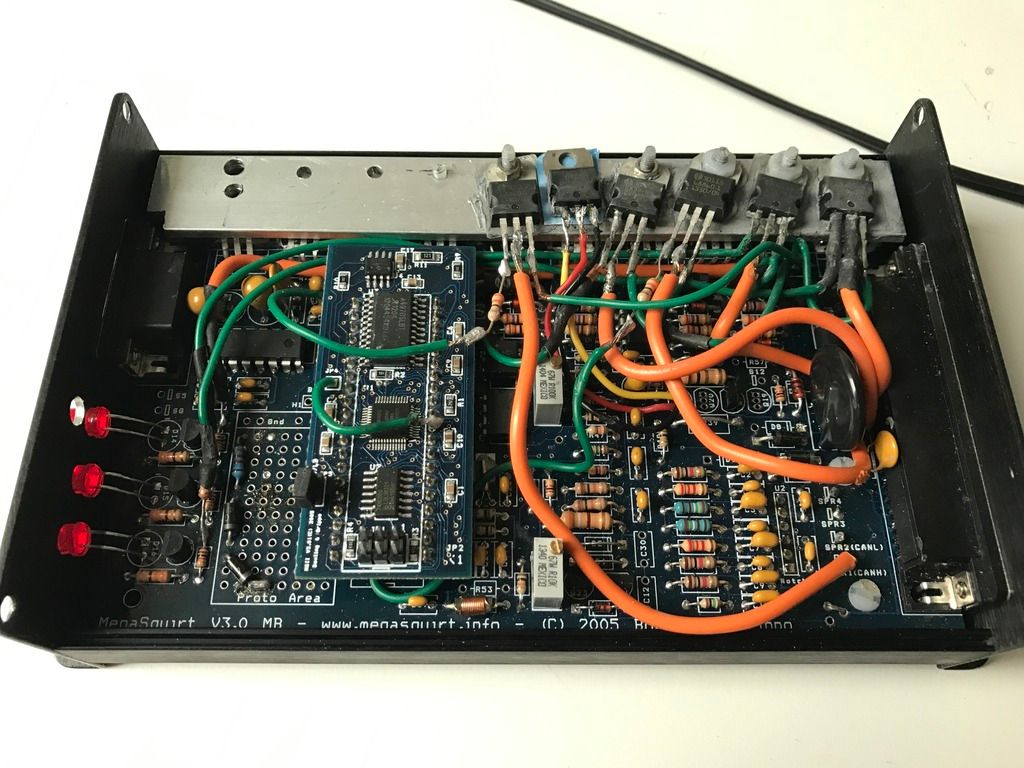
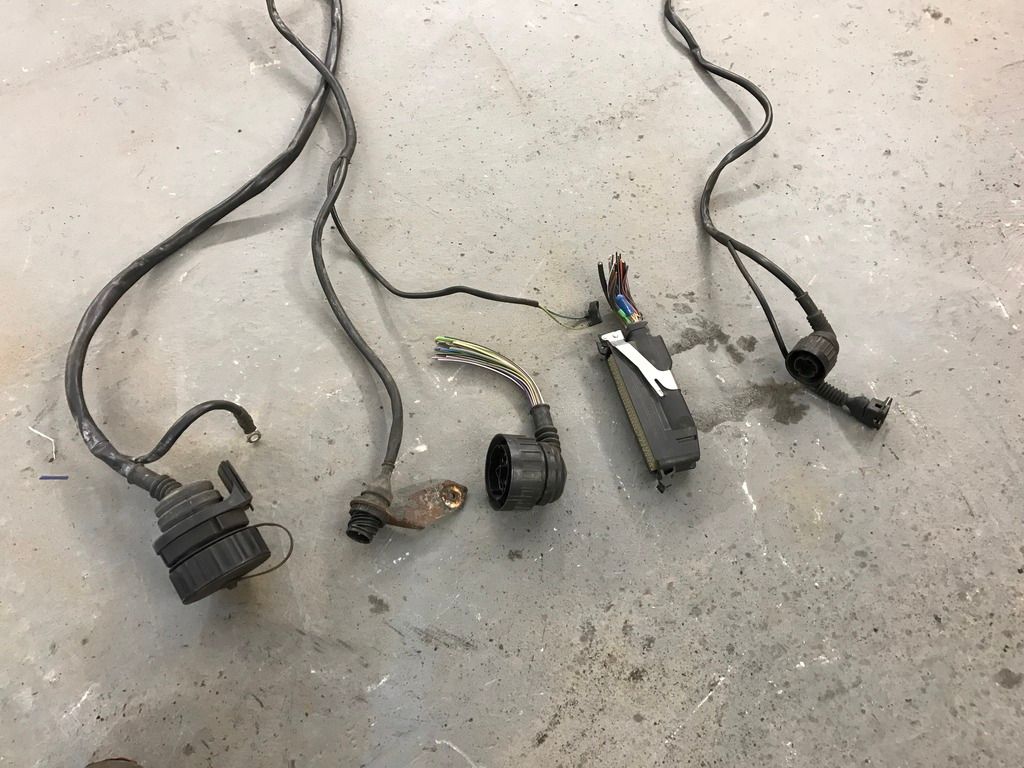
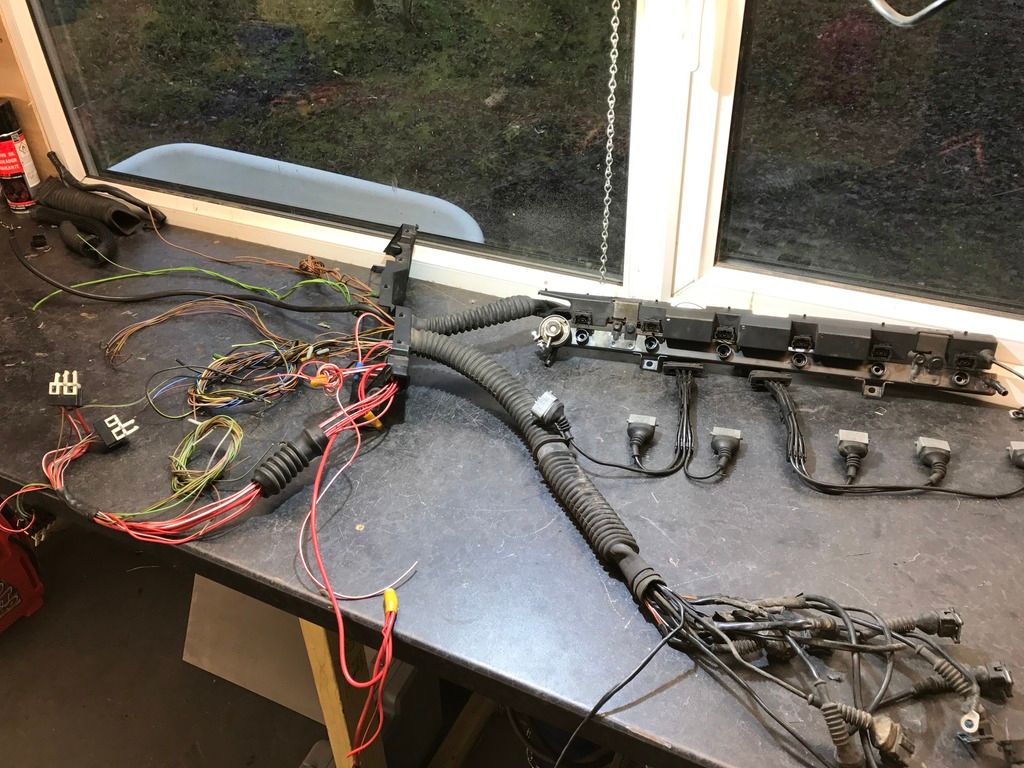
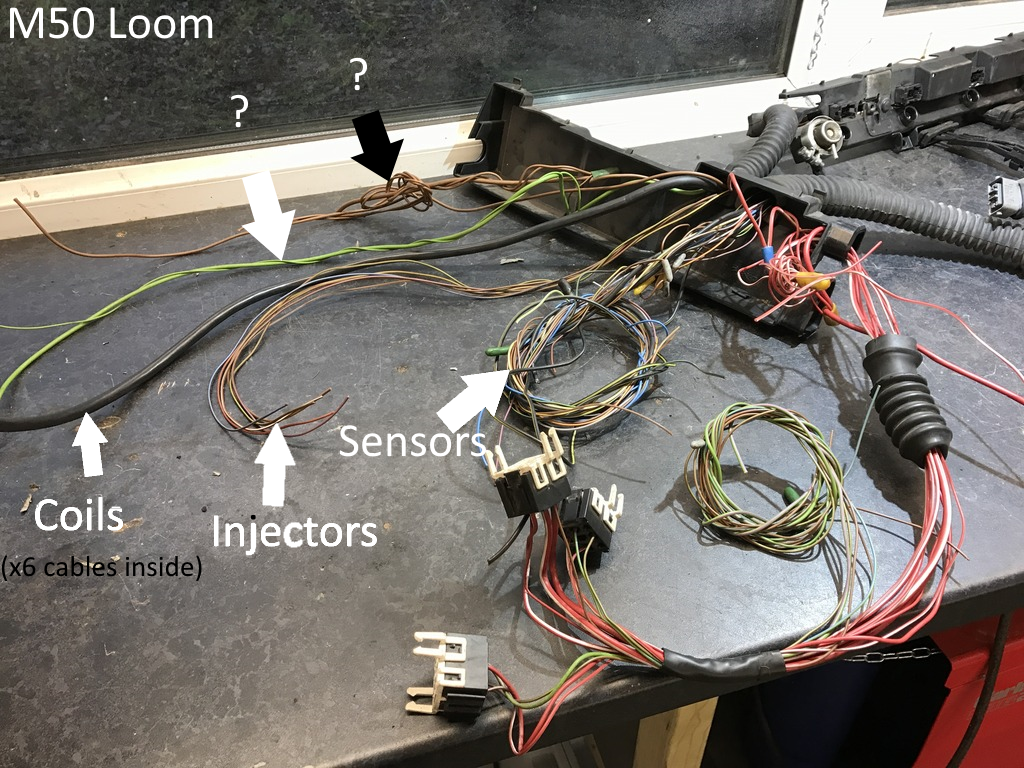
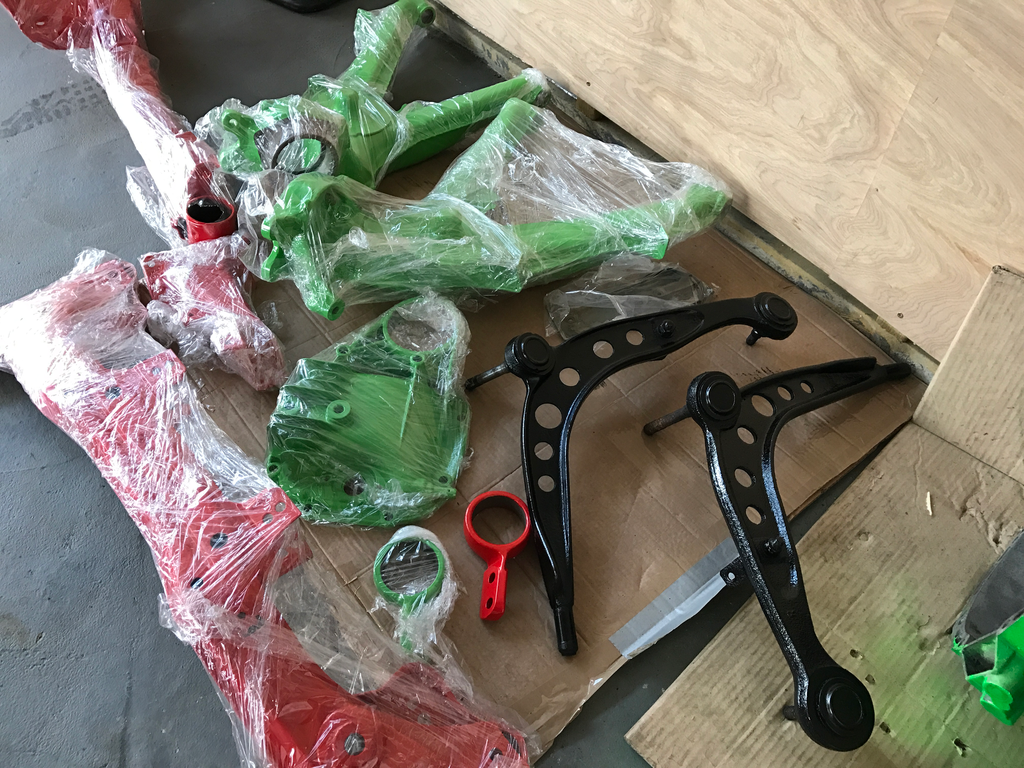
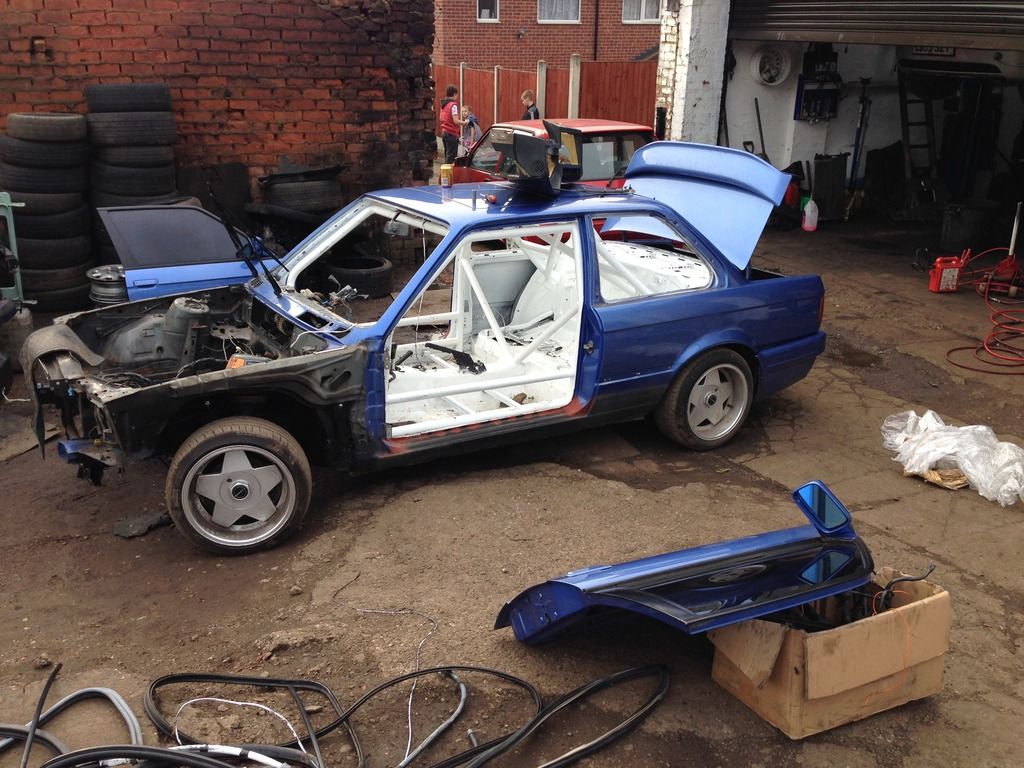
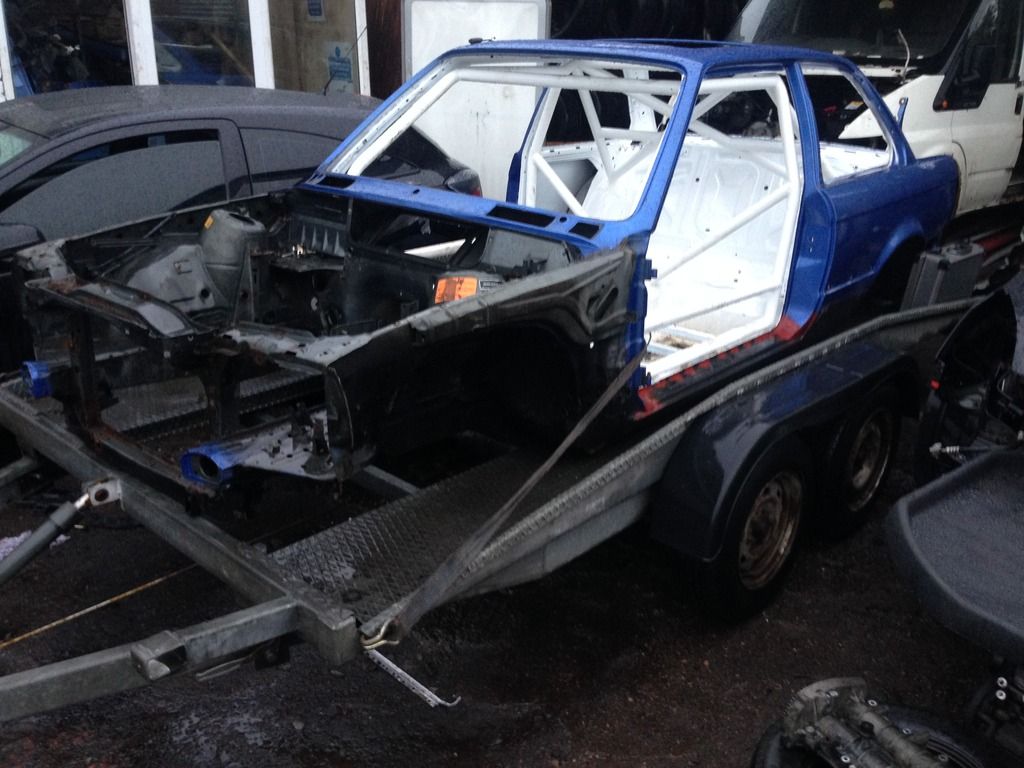
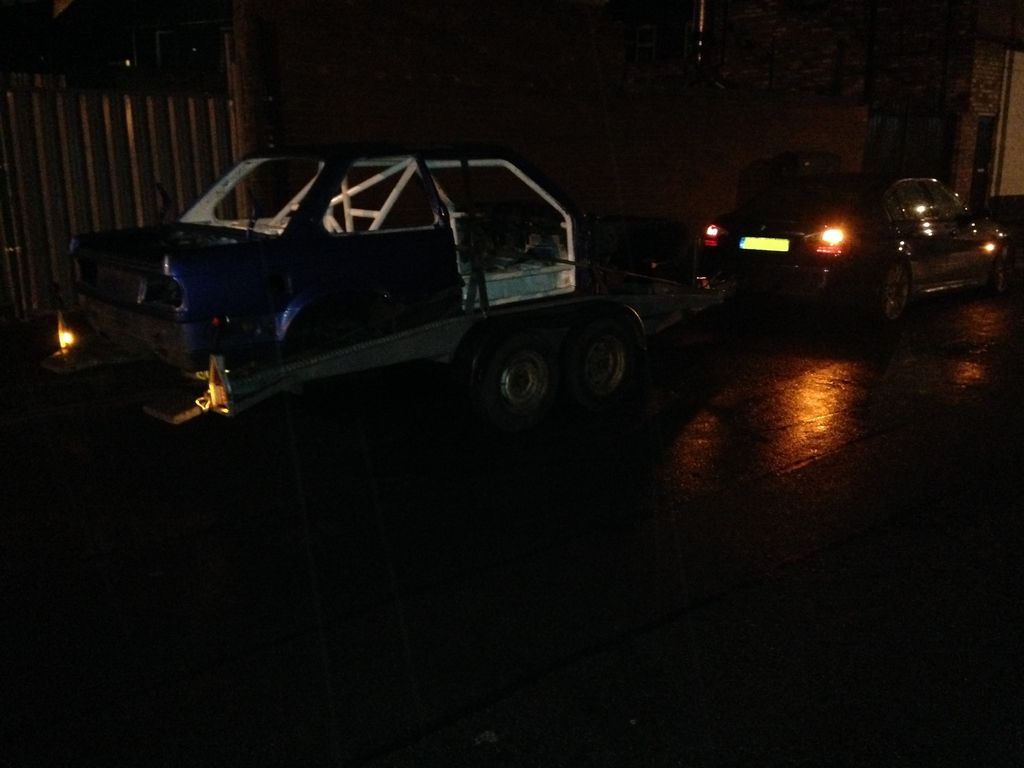
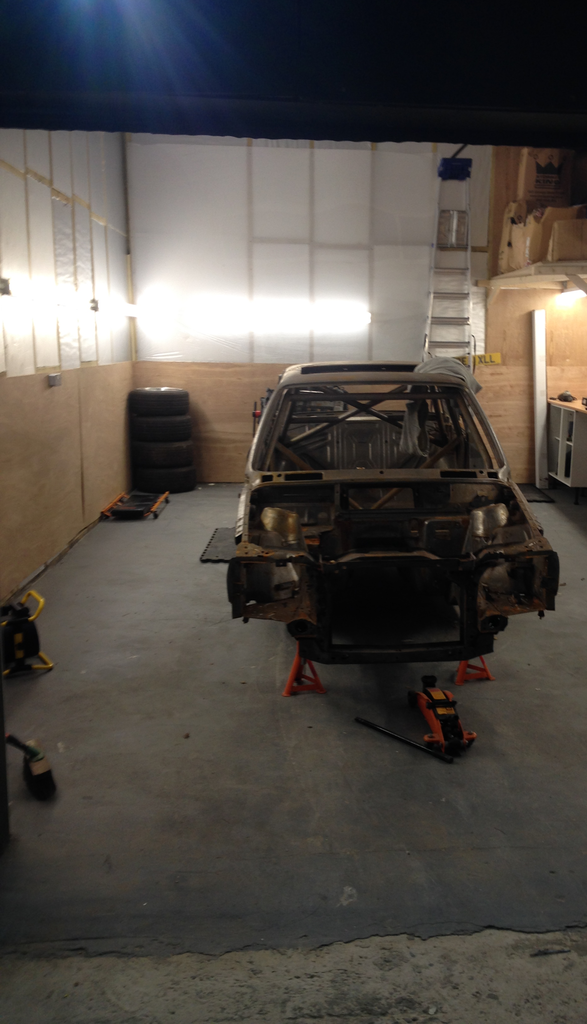
Anyways! I missed going sideways so much i put this kit together:
Image
Image
Image


See what i did there
Image

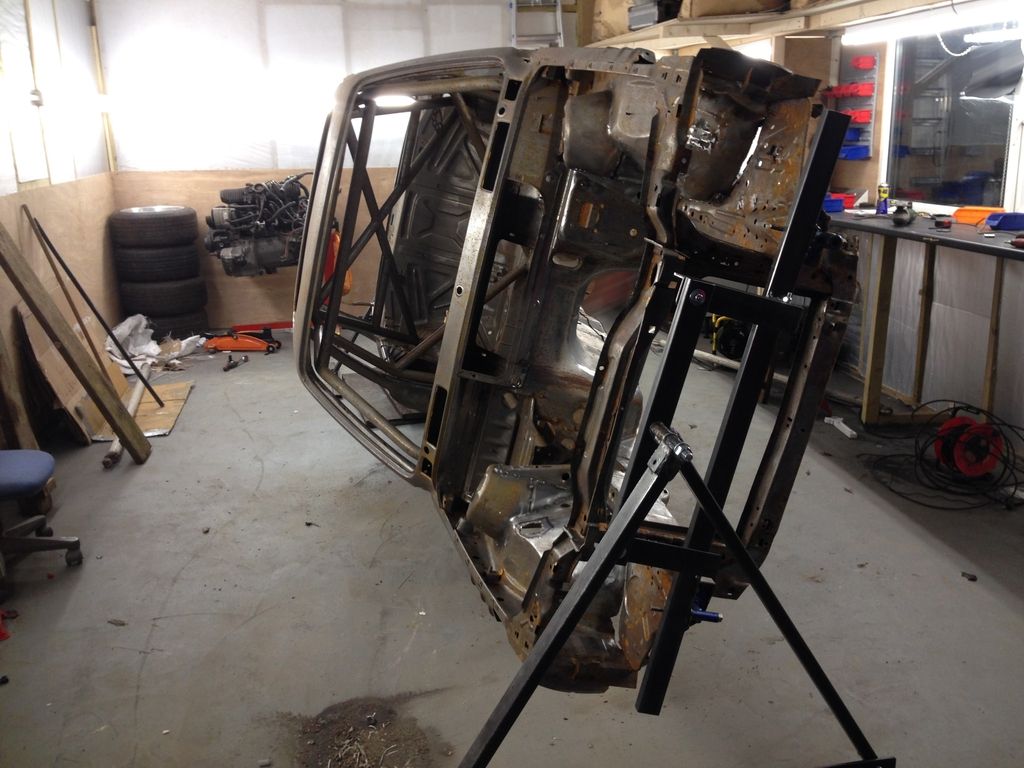
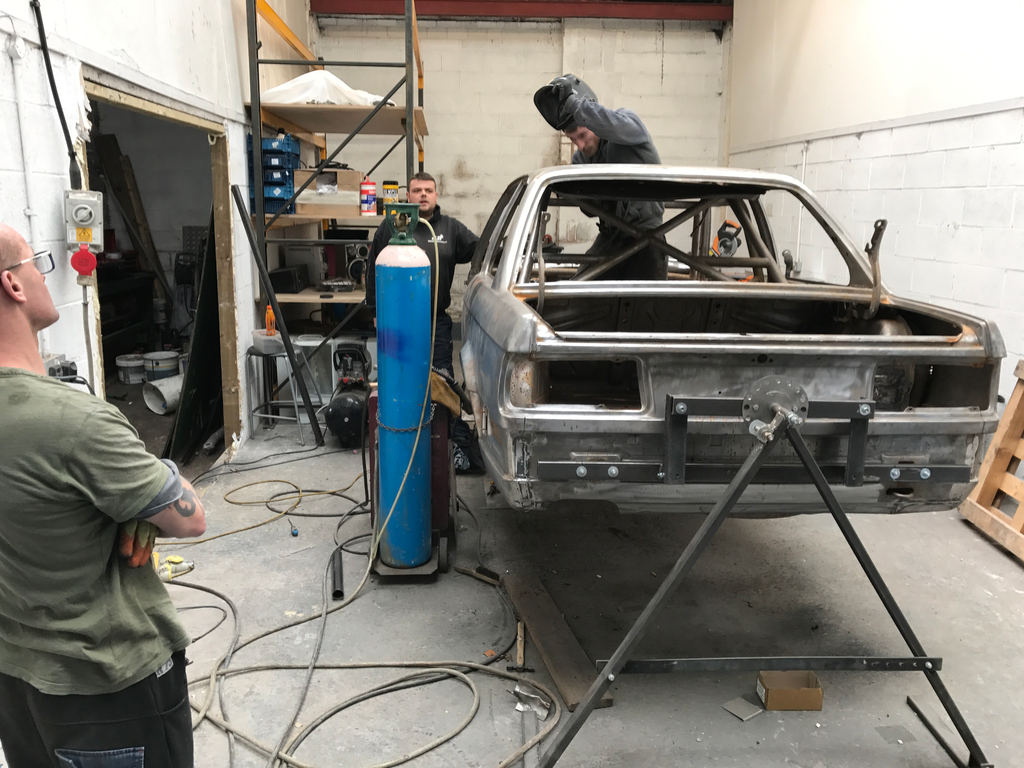
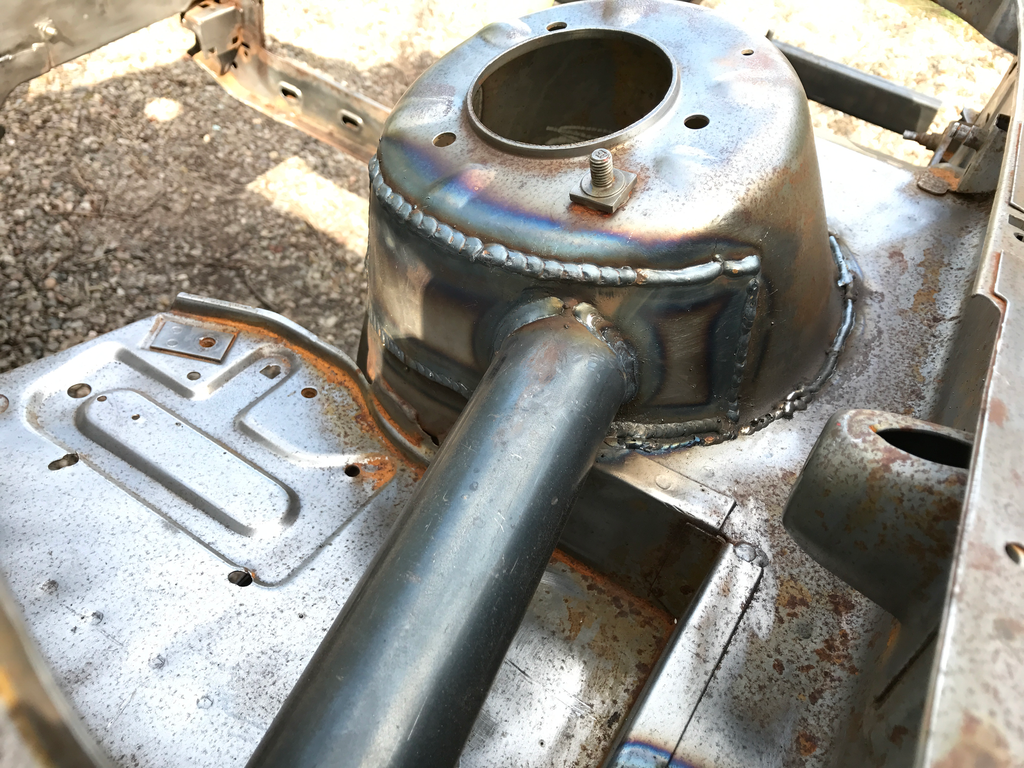
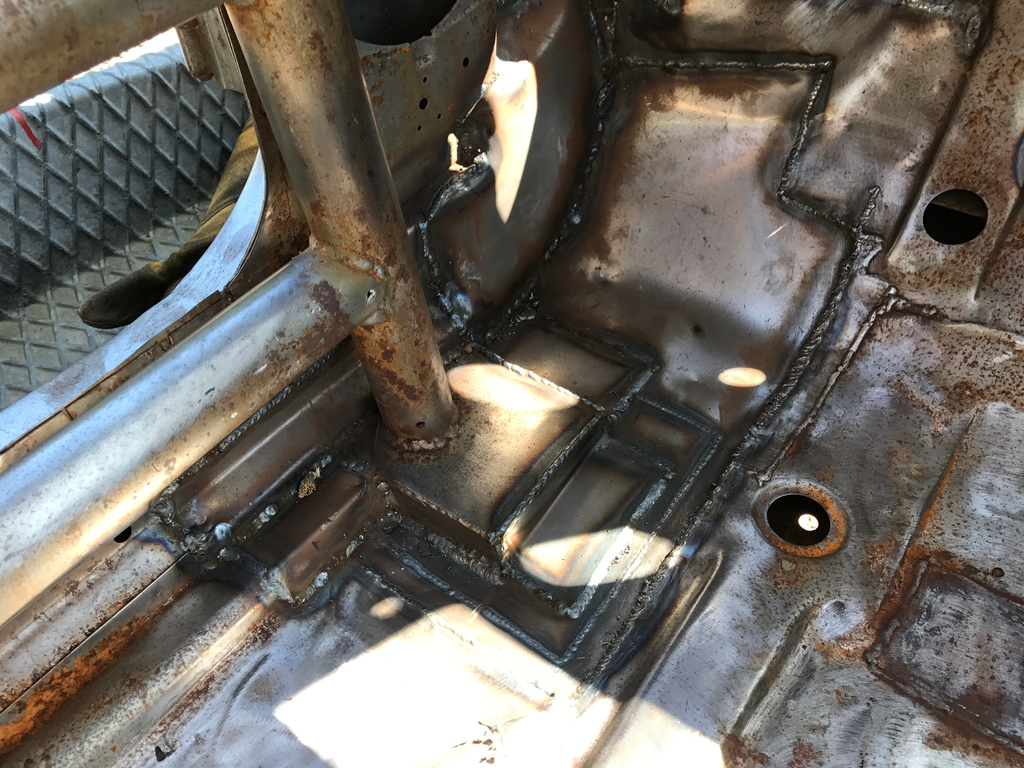
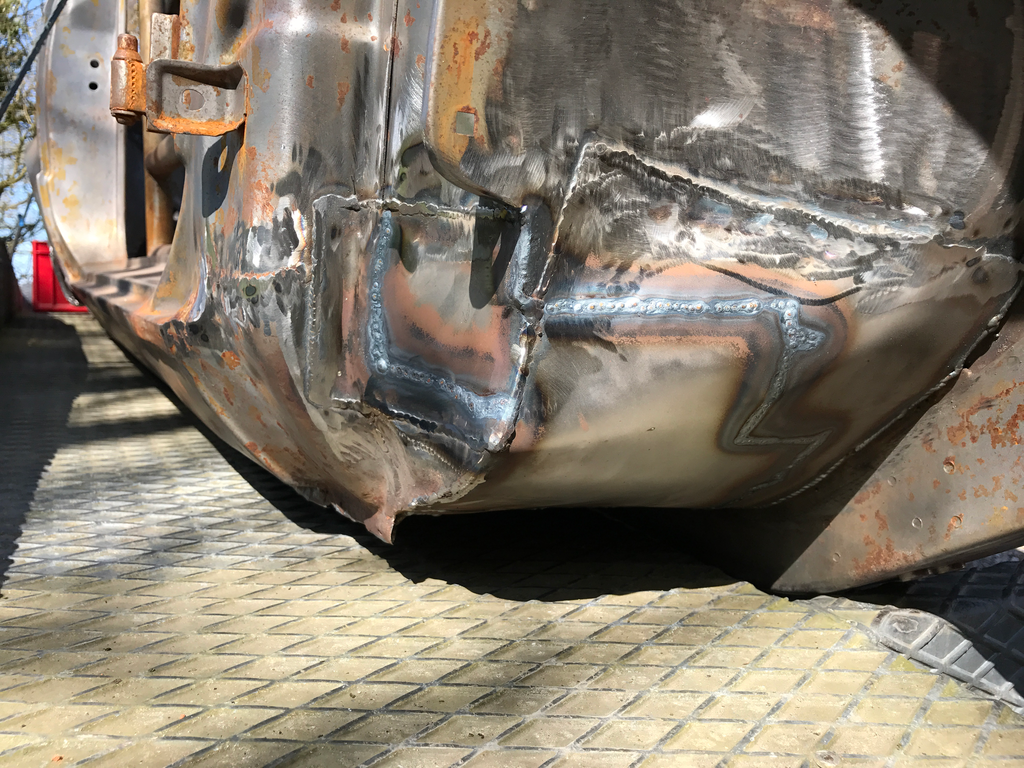
And here we are at present day. I've found some mobile welders who are coming out this week to start repairing all the holes, fully seam weld, extend the cage to the front shock towers and reinforce the cage mounting points etc![/b]

Re: Because Racecar [Lots of pics :D]

Posted: Tue Feb 21, 2017 7:58 am
by milescook
Excellent new blood :D Tuning in...

Megasquirt Upgrade

Posted: Tue Feb 21, 2017 3:58 pm
by JakeusSnakeus
Upgraded the Squirt with 3 more coil drivers for 6Cyl sequential Coil on Plug, excuse the pikey soldering :roll:

Image

Re: Because Racecar [Lots of pics :D]

Posted: Tue Feb 21, 2017 4:11 pm
by JakeusSnakeus
milescook wrote:Excellent new blood :D Tuning in...
:D :D

Oh btw I'm looking to race in the Kuhmo once done...

Loom ✂ï¸￾ time

Posted: Sun Feb 26, 2017 4:40 am
by JakeusSnakeus
Ok So the shell has been collected and is off to get welded! In the meantime i've been striping down my m50 lump to clean off all the caked on oil and grime. I intend to give it all a lick of paint too at some point. Injectors are out, baged and soon off to injectortune for a bath.

Then i started chopping out unnecessary stuff to create a hybrid megasquirt loom:
Image

So i ended up with this. I wanted to keep the factory injector, spark and sensor plugs:
Image

Thought I'd make this diagram just incase someone wants to do the same in future. Can anyone point out what the mystery green and brown wires are for?

Image

Re: Loom ✂ï¸￾ time

Posted: Sun Feb 26, 2017 8:55 am
by jimbom30cab
Best thread on here for ages :)


Subscribed

Nice work

:cool:

Re: Loom ✂ï¸￾ time

Posted: Sun Feb 26, 2017 10:37 am
by Brianmoooore
JakeusSnakeus wrote: Can anyone point out what the mystery green and brown wires are for?
Plain brown, with no tracer, are normally earth wires. Plain green, also with no tracer, are normally ignition switched, unfused, 12 volts +.
For more info, I'll need to know where they end up.

Re: Loom ✂ï¸￾ time

Posted: Sun Feb 26, 2017 11:23 pm
by JakeusSnakeus


Re: Loom ✂ï¸￾ time

Posted: Sun Feb 26, 2017 11:41 pm
by JakeusSnakeus
Brianmoooore wrote: Plain brown, with no tracer, are normally earth wires. Plain green, also with no tracer, are normally ignition switched, unfused, 12 volts +.
For more info, I'll need to know where they end up.
Yea they're all plain with no tracer.
They all head towards the little track of wires above the fuel rail leading to injectors and coil connectors etc... I'l take a picture tomorrow if you think it will help

In other news

Posted: Mon Feb 27, 2017 1:06 am
by JakeusSnakeus
Murdered 60 odd quid today in halfrauds buying spraypaint, degreaser and a few wire brushes etc ect so i could start cleaning up this lump. I forgot to take a before pic but it was absolutely caked in grease at least a few cm thick... I have to say this stuff works great, not sure if i'm preaching to the quior here but the grease just melted away with only a paint brush

Image


So yea here's the block after some degreasing and a going over with a wire brush in the grinder

Image

Paint

Image

More bits removed degreased and wire brushed, lick of black paint to hide the rust
Image

Stay tuned folks!

Re: Loom ✂ï¸￾ time

Posted: Mon Feb 27, 2017 9:44 am
by Brianmoooore
JakeusSnakeus wrote:
Brianmoooore wrote: Plain brown, with no tracer, are normally earth wires. Plain green, also with no tracer, are normally ignition switched, unfused, 12 volts +.
For more info, I'll need to know where they end up.
Yea they're all plain with no tracer.
They all head towards the little track of wires above the fuel rail leading to injectors and coil connectors etc... I'l take a picture tomorrow if you think it will help
If they're heading for the coils, then the greens are the 12 volts supply to the coil primaries, straight from the ignition switch, and the browns are the earth returns for the coil secondaries, which should ultimately connect to the earth terminal on the top of the RH suspension strut.

Re: Loom ✂ï¸￾ time

Posted: Wed Mar 01, 2017 10:21 pm
by JakeusSnakeus
Brianmoooore wrote:
JakeusSnakeus wrote:
Brianmoooore wrote: Plain brown, with no tracer, are normally earth wires. Plain green, also with no tracer, are normally ignition switched, unfused, 12 volts +.
For more info, I'll need to know where they end up.
Yea they're all plain with no tracer.
They all head towards the little track of wires above the fuel rail leading to injectors and coil connectors etc... I'l take a picture tomorrow if you think it will help
If they're heading for the coils, then the greens are the 12 volts supply to the coil primaries, straight from the ignition switch, and the browns are the earth returns for the coil secondaries, which should ultimately connect to the earth terminal on the top of the RH suspension strut.
Thanks this will help once i start making the loom up.

Re: Loom ✂ï¸￾ time

Posted: Thu Mar 02, 2017 9:33 am
by DanThe
Think I have seen this at Oulton Park several times a few years ago, looks familiar anyway

Would be nice to see a self built E30 racing in the Kumho :D

Re: Loom ✂ï¸￾ time

Posted: Thu Mar 02, 2017 12:46 pm
by JakeusSnakeus
DanThe wrote:Think I have seen this at Oulton Park several times a few years ago, looks familiar anyway

Would be nice to see a self built E30 racing in the Kumho :D
Maybe she has a twin?

Thanks Man, i like the building almost as much as the driving, btw i like the shifter in the E36 on your FB page. I'm looking for something similar for a good price what do you recommend?

News Flash

Posted: Tue Apr 18, 2017 10:46 am
by JakeusSnakeus
Sup people,

Haven't updated the thread in a while as not a huge amount had happened, but anyway here are some updates.

before:

Image

After:

Image

Image
Image

Had the flywheel Shaved:
Image

Got the shell back from the welders:
Image

Cage extended to front shock towers:
Image


Image

Image

Floor plates strengthened
Image

Also nine trillion other holes fixed:
Image
Image

Shell being dropped back off for a quick re-dip and Epoxy coating

Image

So..... more waiting :(

Re: News Flash

Posted: Tue Apr 18, 2017 11:49 am
by milescook
Colourful parts!!

:mad:

Good to see you sorting out the shell properly, would love to do that on mine!

Where are you dipping and epoxying, and can you give us a rough idea of budget?

Posted: Tue Apr 18, 2017 12:27 pm
by JakeusSnakeus
Haha yea hoping to blind all my competitors...

Got the car dipped by these guys http://www.envirostripgbltd.com they are a professional well established place.

Had the shell dipped the first time for about £850. I would have just painted it to be honest but after it getting soaked it needed dipping again and they offered me a good deal on a re-dip and epoxy

Re:

Posted: Tue Apr 18, 2017 12:34 pm
by JakeusSnakeus
Ha! just looked at the video on their website and they have actually used my Shell!

http://www.envirostripgbltd.com/wp-cont ... -video.mp4

Re:

Posted: Tue Apr 18, 2017 1:42 pm
by JakeusSnakeus
Also could someone give me the dimensions of the e30 spare wheel well?