My 325i Trackcar Project
Posted: Thu Feb 05, 2009 4:56 pm
Sorry for the length of this first post 
This is my build diary from another site I use thought I would share with you.
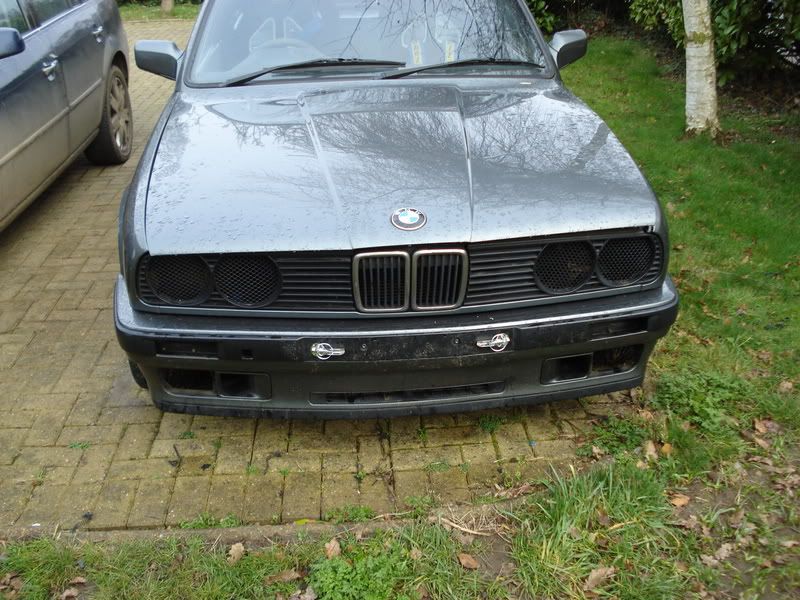
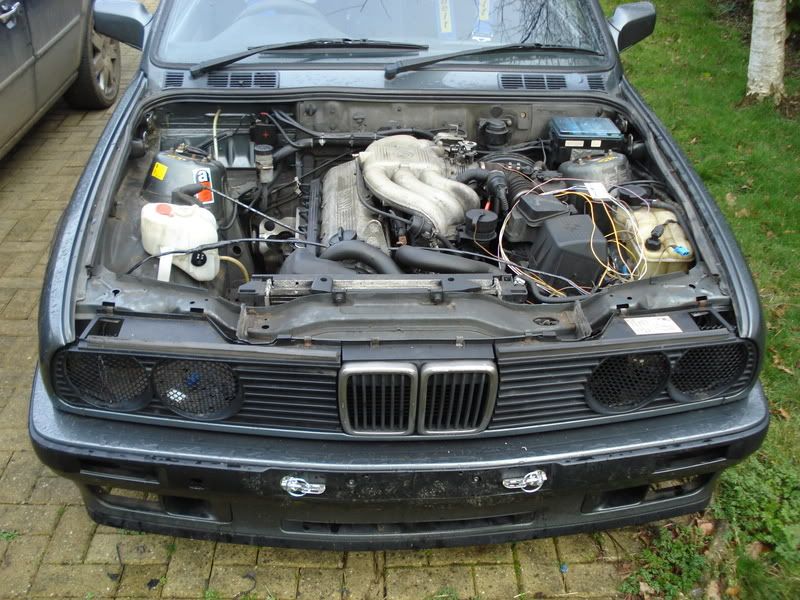
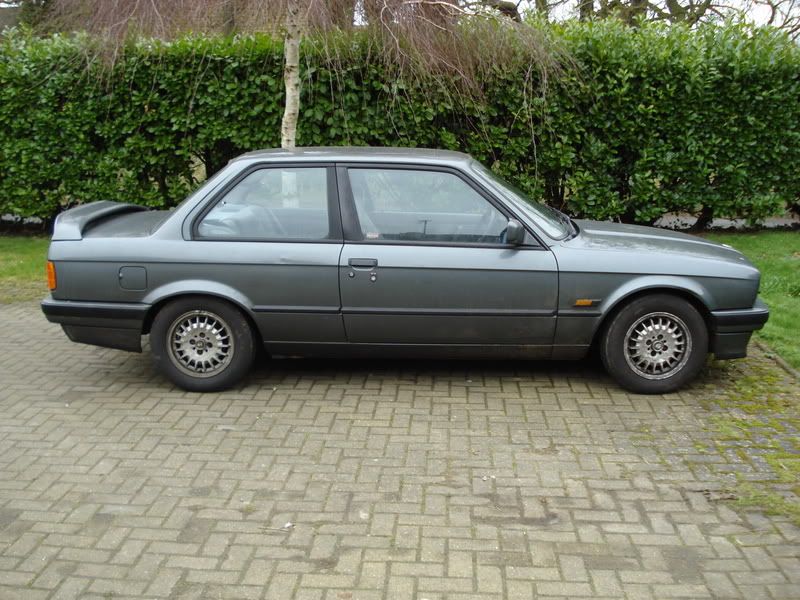
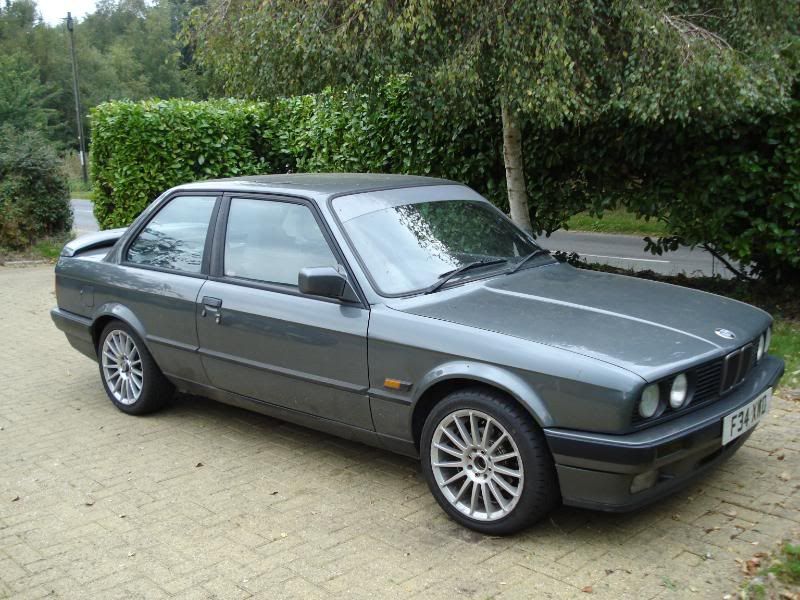
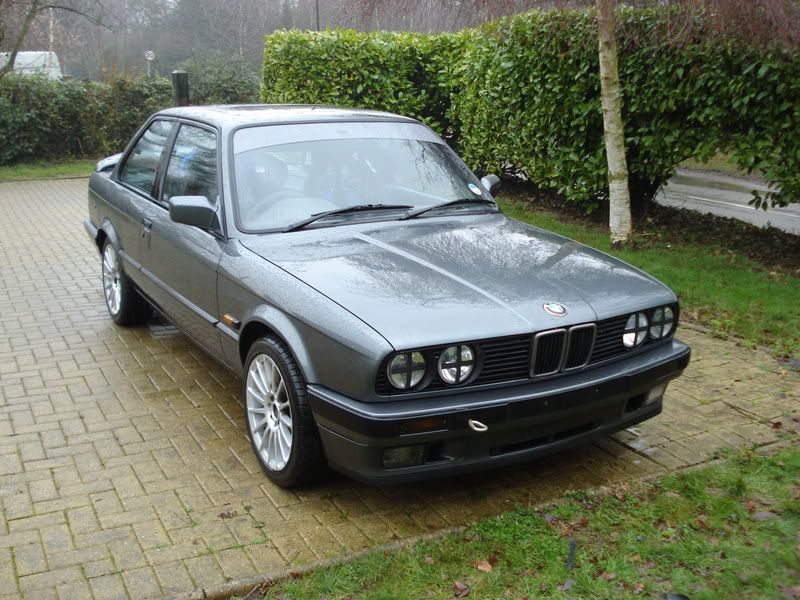
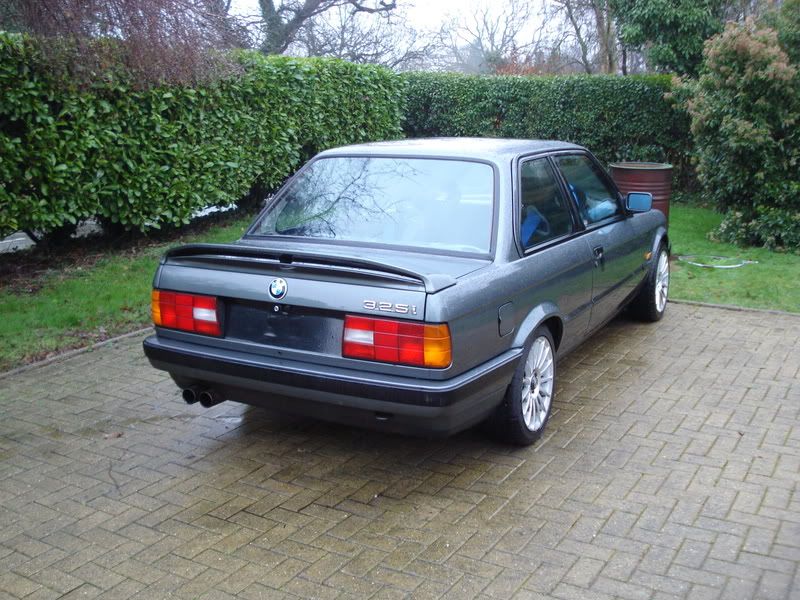
Some pictures of my new project
Needs a bloody good clean but here you go
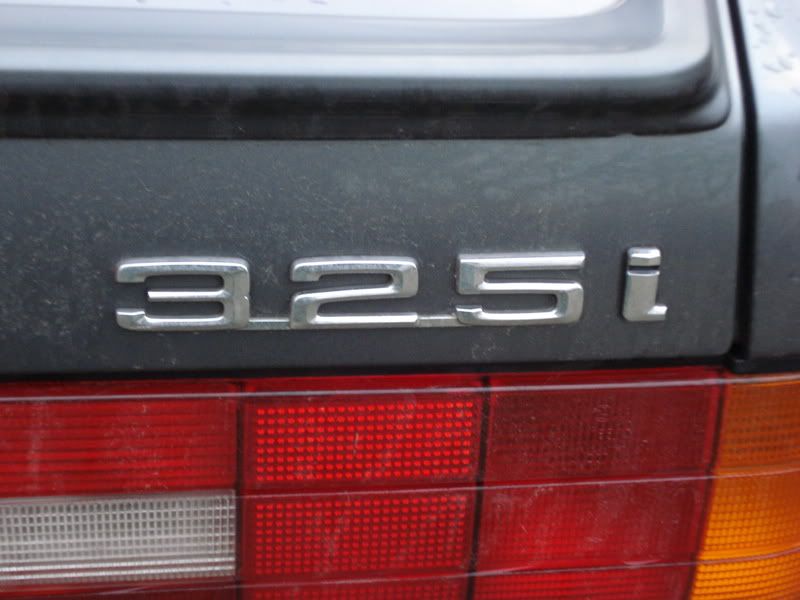
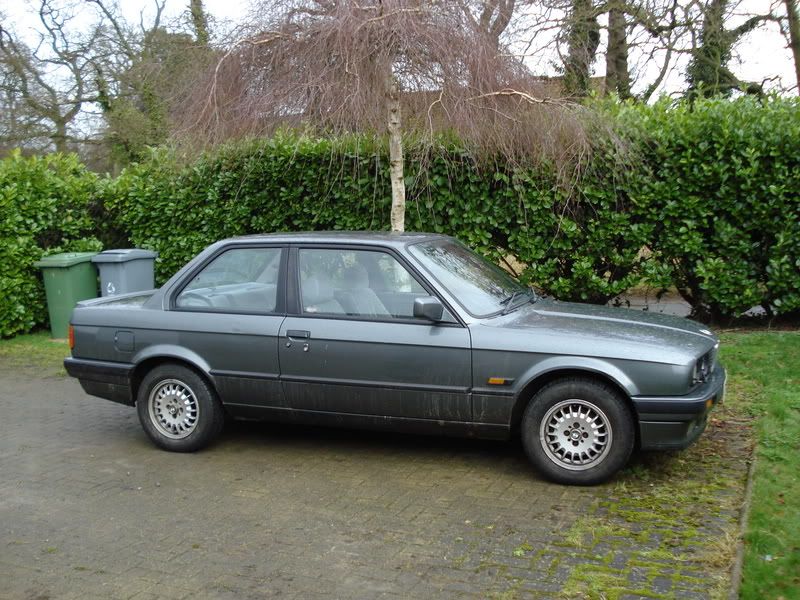
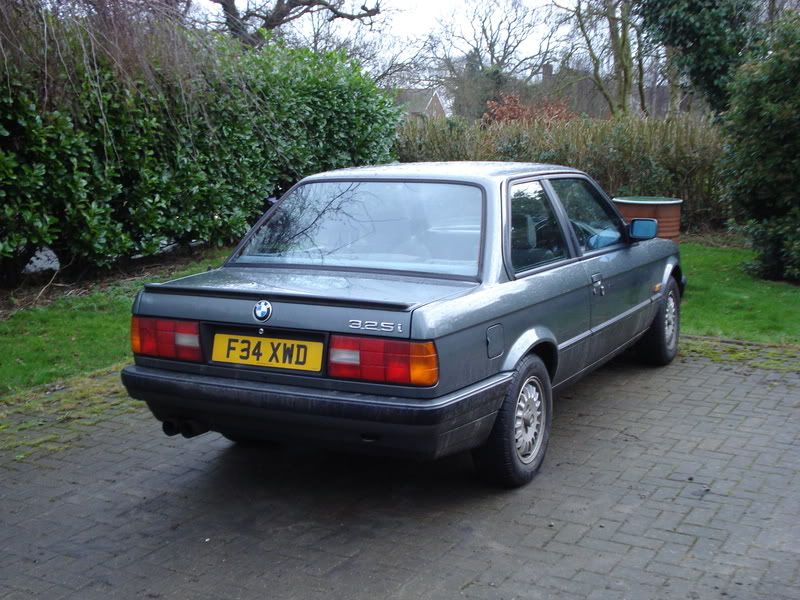
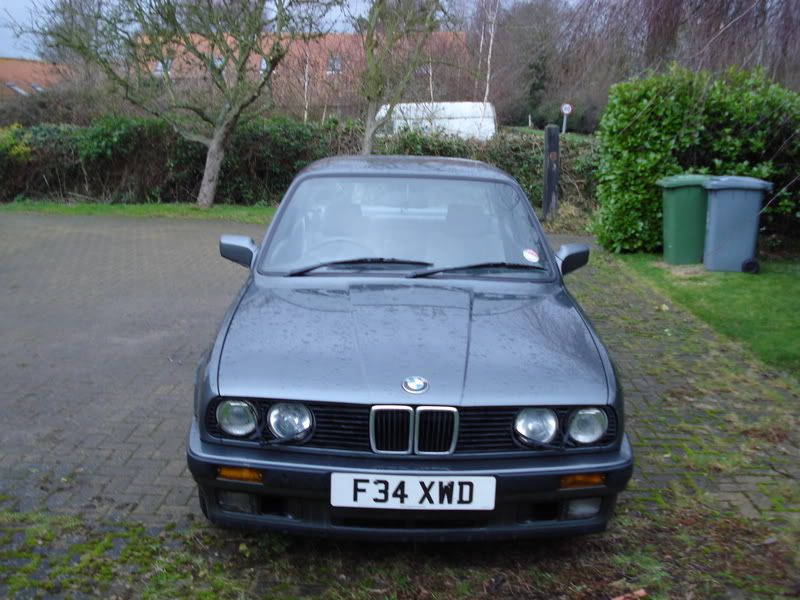
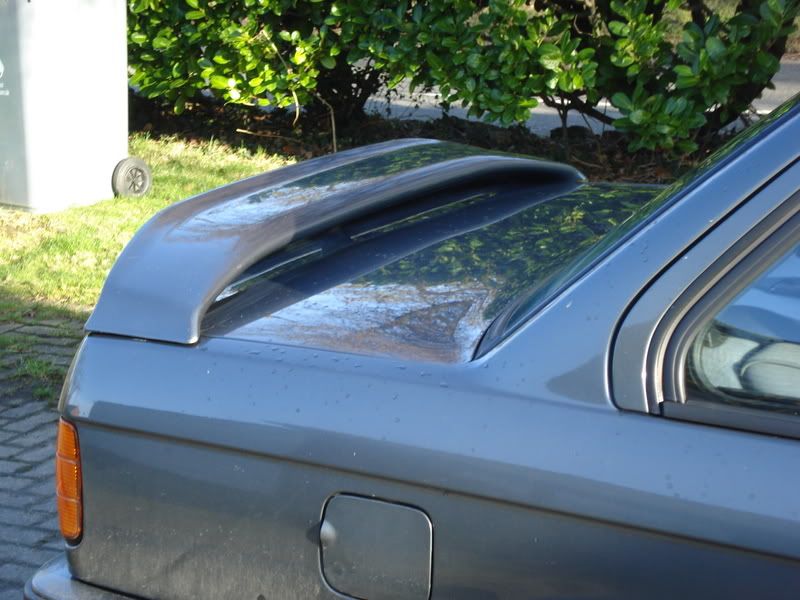
Have brought a M-Tec 2 rear spoiler to go on and have a list of mods I want to add to it more details as I add these
--------------------------------------------------------------------------------------
Well the plans (so far) are as follows:
Fit a set of coilovers
Better tyres and maybe a bigger set of wheels
ARB
Polybushes
New seat
Harness
A smaller steering wheel (The original is Huge!!!)
Get on track again!!!!
--------------------------------------------------------------------------------------
More bits arrived this morning
M-Tec 2 rear spoiler

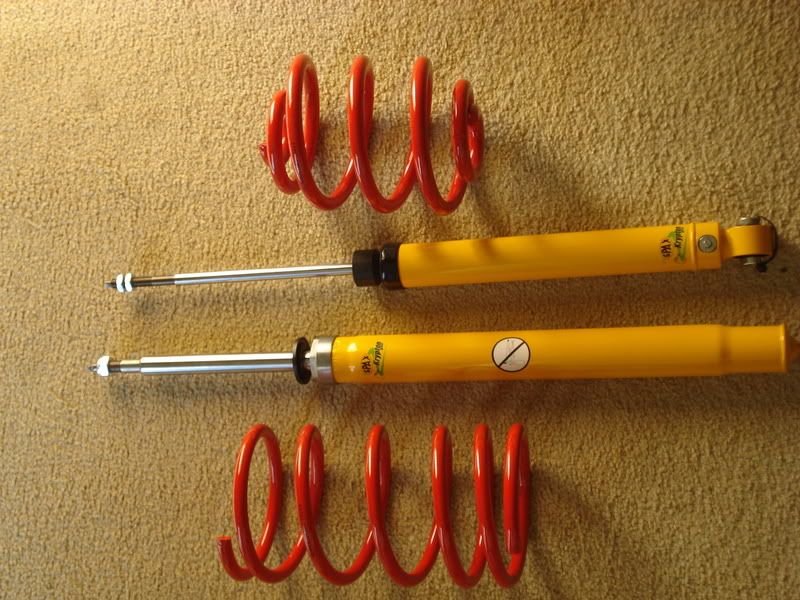
And my Spax shocks that I brought from the Autosport show
I have ordered a full Polybush set for the car and Front and Rear adjustable Antiroll bars.
This little lot should make the old Bm handle a lot better
Bring on the trackdays!!
--------------------------------------------------------------------------------------
First delivery of Polybushes arrived today courtesy of Fast Eddy

The collection of parts just seems to keep growing!!
--------------------------------------------------------------------------------------
Spent the last few days fitting some of the parts that I have aquired.
First thing we did was to strip down the front suspension this accually went quite smoothly and within a hour we had the front strut out of the passenager side and on the bench ready to strip down, the shock and spring on this side was knakered to say the least, as we compressed the spring the shock compressed at he same time not releasing the pressure on the spring we had to almost completely compress the spring before we we able to relase the shock.
Then removing the shock from the strut there is a screw in fitting at the top of the strut and this was rusted to hell we were thinking this is never going to move so out came the trusty WD40 and soaking this fitting we left it for a while and attacked it with a pair of stilsons and it moved straight away and unscrewed completly fine couldn't believe it this has probably been there for 20 years and undone like it had just been done up.
Once undone the shock pulls out of the strut then all the shock oil came out as well! Think it had been leaking but was traped in the strut. Fitting the new shock was easy push in screw up fitting the new spring was even eaiser as they were so much shorter than the original it could be done up without compressing the spring. (This is where I made a mistake as putting it back together I refitted the original bump stop this came back to bite me later.)
To the front wishbone and I pretty much followed exactly how Sidewaysfletch did his, cut out the front rear bush with a hacksaw cut off the inner sleave with a grinder then cut a slot in the outer sleave with a hacksaw then colapse with a hammer and chisel and push in the new one with a vice (forgotten how many times I lined it up before pushing it on )
)
I brought new anti roll bar links for the front but I pushed the bushes out of these and fitted the poly bushes supplied by Fasteddy
This was the time we removed the drivers side strut and again had all the same issues but having done it once we knew how to get over them. Out with the old anti roll bar in with the new Whiteline 24mm antiroll bar the worst part of fitting this was trying to get the new poly bushes to fit in the mounts a little persuation and they were home.
Fitting the struts back was next and fitting everything else back.
Wheels on and drop down I was keen to see how low it would sit with a 40mm drop
It was lower but not as low as I had expected.
On to the rear and this was where I hit on a problem as I don't have a pillar lift I didn't feel safe dropping the rear beam with the car on axle stans so at the moment all I have done is fit the rear shocks and springs
This was pretty easy as with the car fully jacked up the spring only needed a little compression to get out and to remove the shock is just 3 bolts. I had new top mounts for the rear so a few pieces had to be removed from the old shock then fitted on the new and straight back on the car.
Wheels on and the car back on the floor the rear looked to sit lower than the front anyway time for a test. What a hard ride got back and the rear seemed to have settled even more then as you have probably guessed we realised that the front was accually running on the bump stops
Jacked up the car and with a little help from Mr Stanley and his knife the bump stops were removed.
With the car back on the floor it sat a lot flatter and now with a few tweeks of the suspension a hard but much improved ride.
All I have to do now is fit the rear anti roll bar and the rear poly bushes.
I'll put some pics up later
--------------------------------------------------------------------------------------
Before
After
--------------------------------------------------------------------------------------
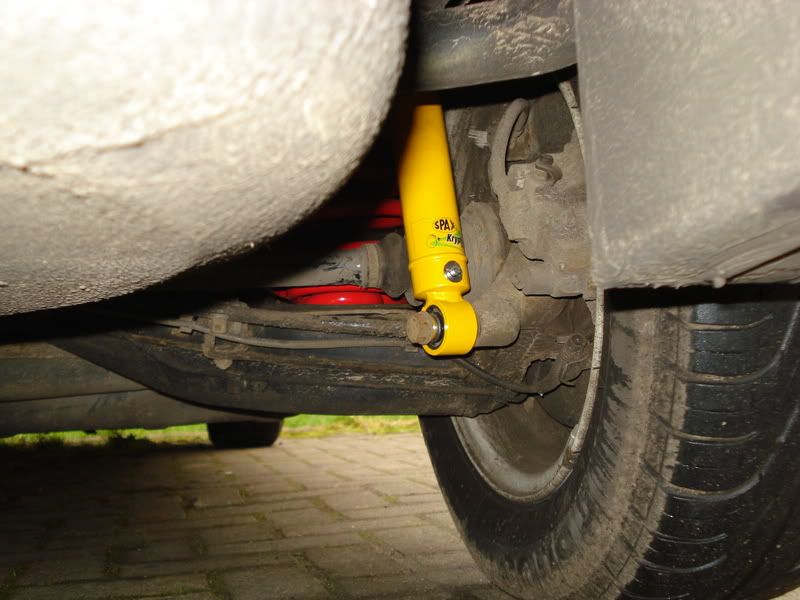
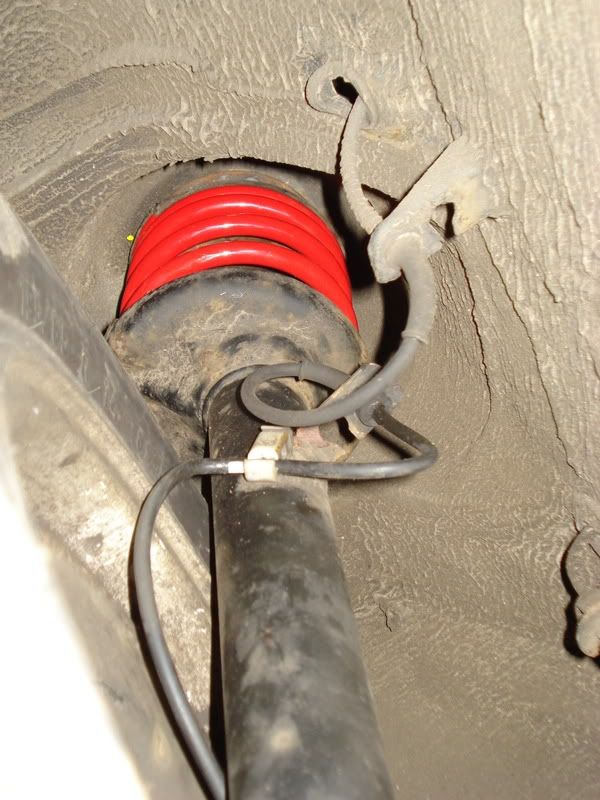
Rear strut
Front strut (just noticed the Abs wire is rubbing on the tyre!)
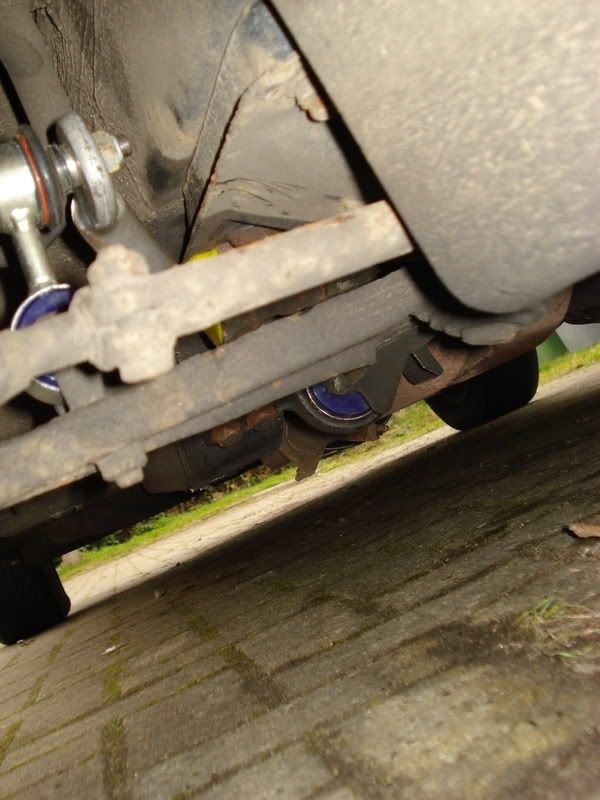
Polybushes, New droplinks and Whiteline Arb
--------------------------------------------------------------------------------------
Just got some 16" wheels for the bm just need to get some tyres now.
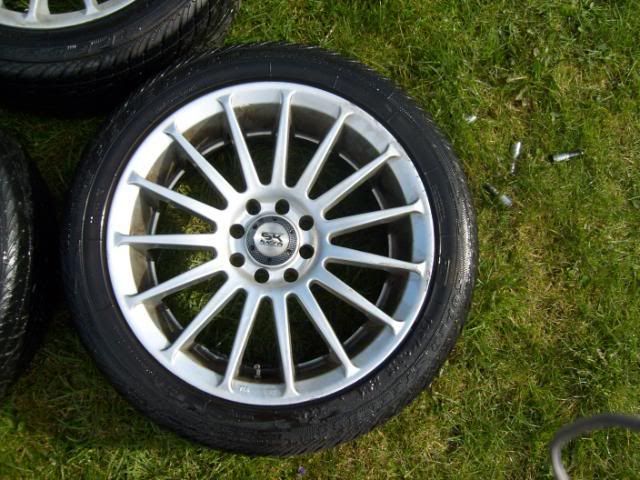
Cost £120
--------------------------------------------------------------------------------------
Rear seat is now out along with the parcel shelf, rear seat belts, rear blind, rear speakers, rear quarter panels and all sound deadening from under the seat.
It's not actually as loud as you would think.
Would think everything i have removed would add up to about 100kg maybe a bit more.
Get some lighter seats in there and loose a few of the other heavy parts and should have saved quite a bit of weight.
--------------------------------------------------------------------------------------
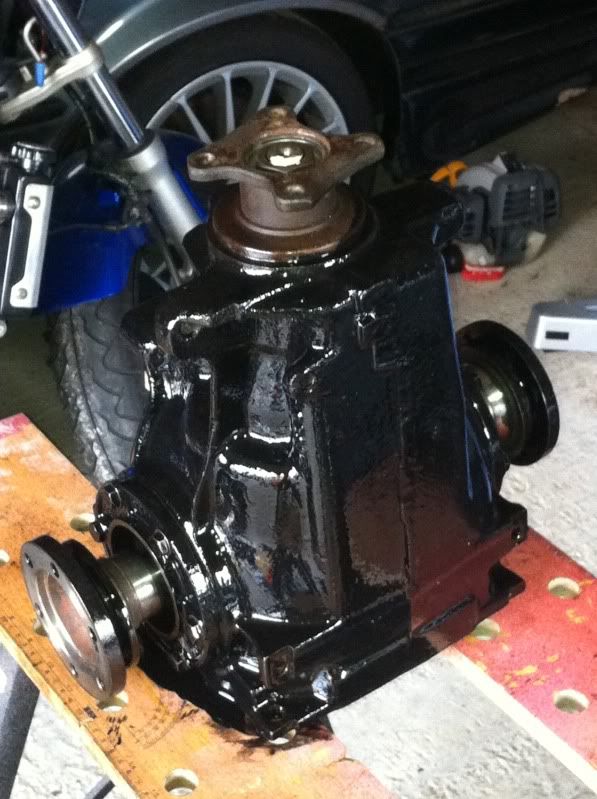
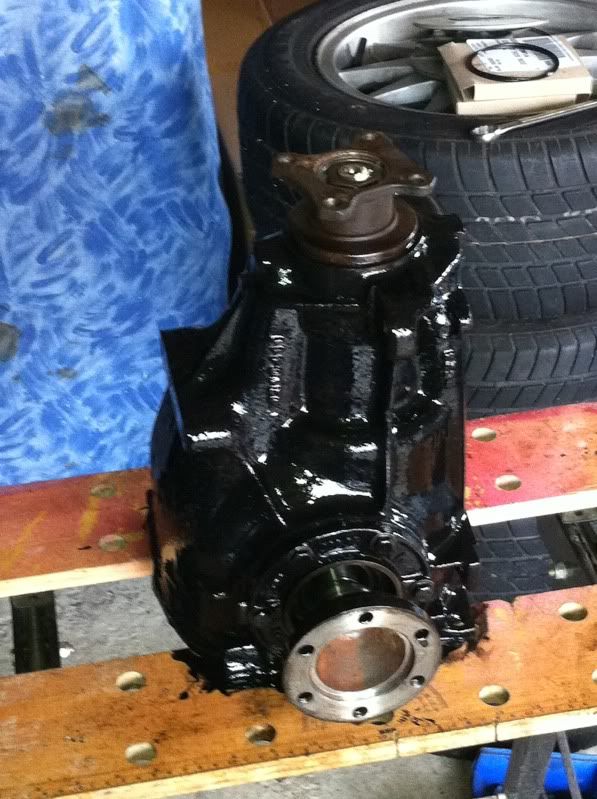
Got the next week off work so going to fit the Rear bushes, ARB, Diff mount and the Stainless brakelines work starts tomorrow and hope to have it all done but Wed as it is the Bigpower Autotest night at Snetterton
Also got a few little bit today (Steering wheel boss and harness mounts)
And so it begins!!!
--------------------------------------------------------------------------------------
Some updates for you that I forgot to copy over to here from BP
--------------------------------------------------------------------------------------
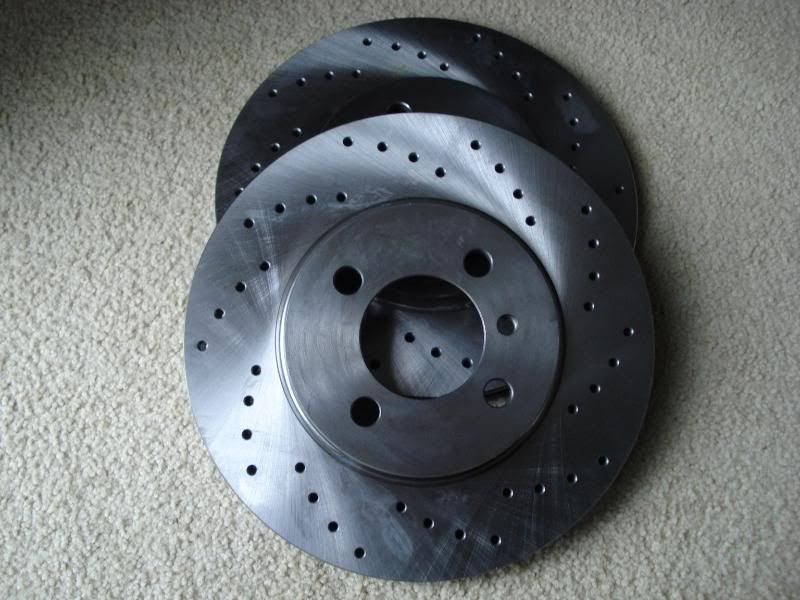
New Zimmermann X drilled Discs and Yellowstuff Pads Fitted.
Just got to Flush out the old brake fluid and fill with Race brake fluid.

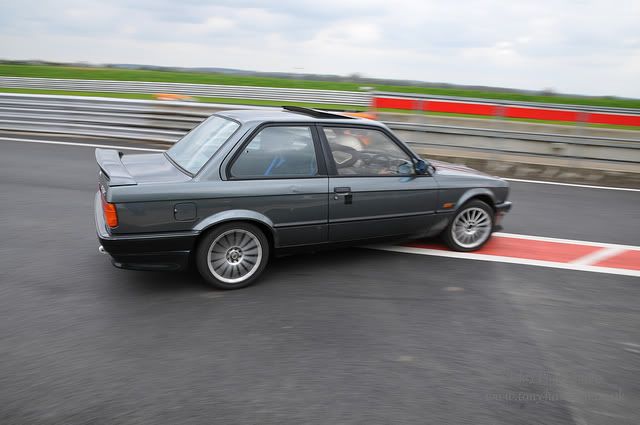
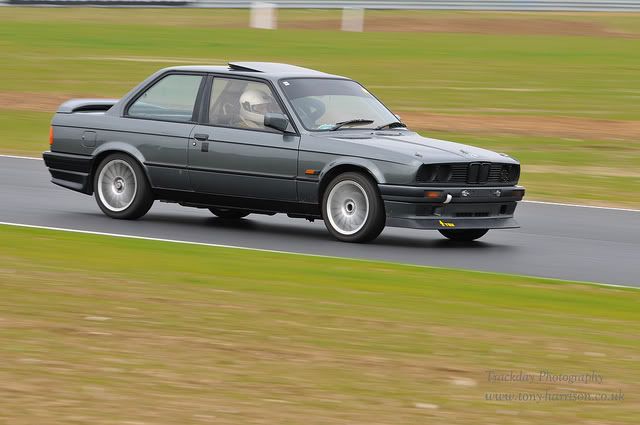
How the Car is Looking now
--------------------------------------------------------------------------------------
Got a bit of an Ebay bargain the other day 2 brand new 3" Sabelt 4 point harnesses for £135
Fitted 1 today and will finish the other tomorrow also had a crack at removing some of the sound deadening tar but my blow torch run out of gas so will have another go at this tomorrow as well.
--------------------------------------------------------------------------------------
Sound deadening is out Not as bad a job as I was expecting it to be.
Centre console has completly gone now along with a shed load of wire!!
Got about 3 very small areas of rust that will need sorting other than that all good
--------------------------------------------------------------------------------------
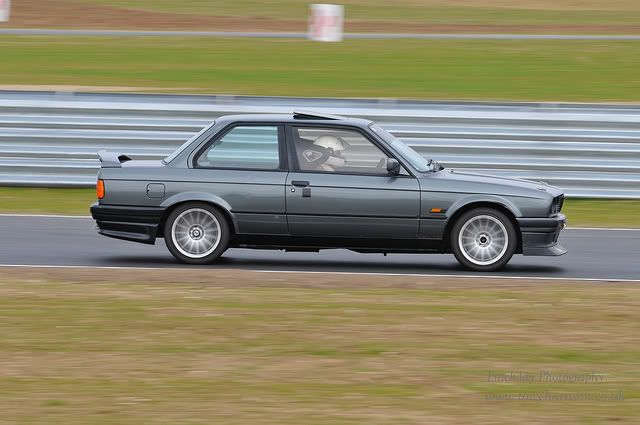
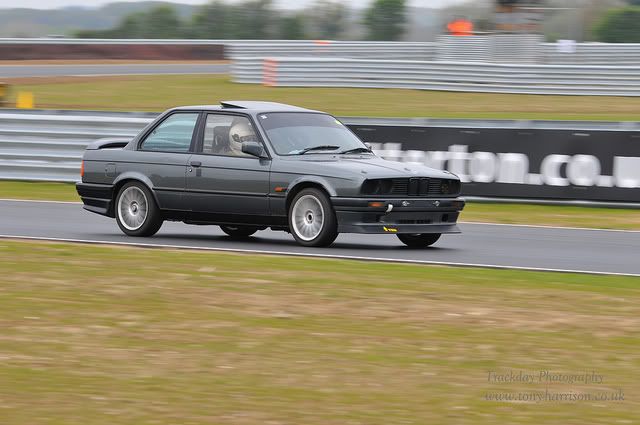
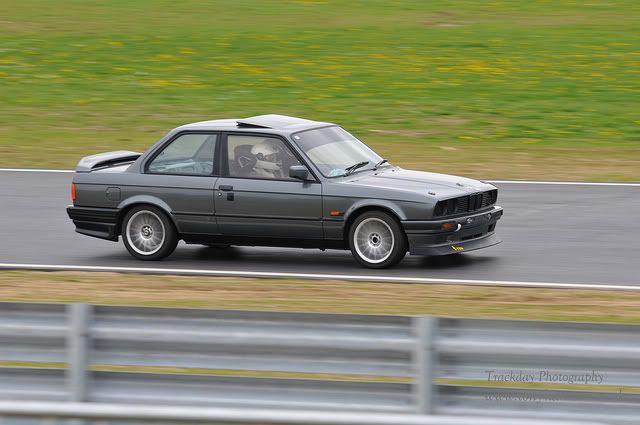
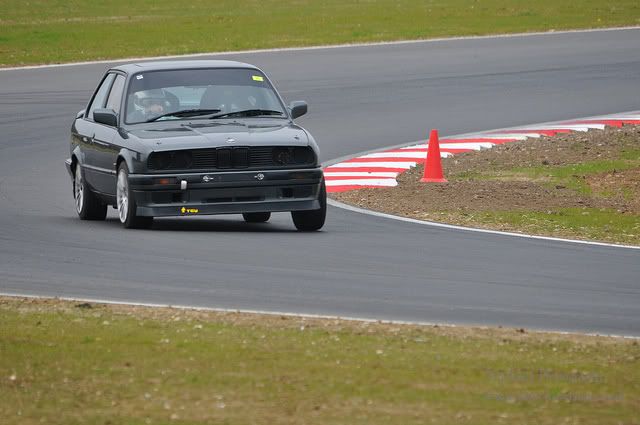
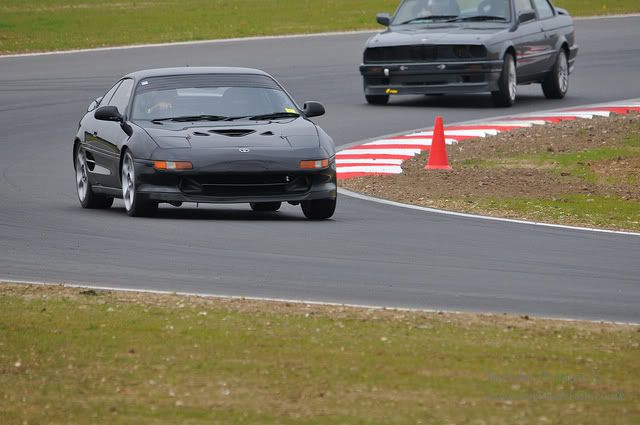
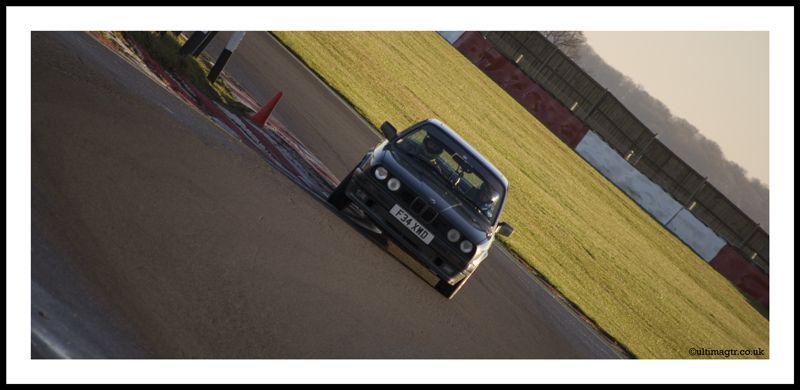
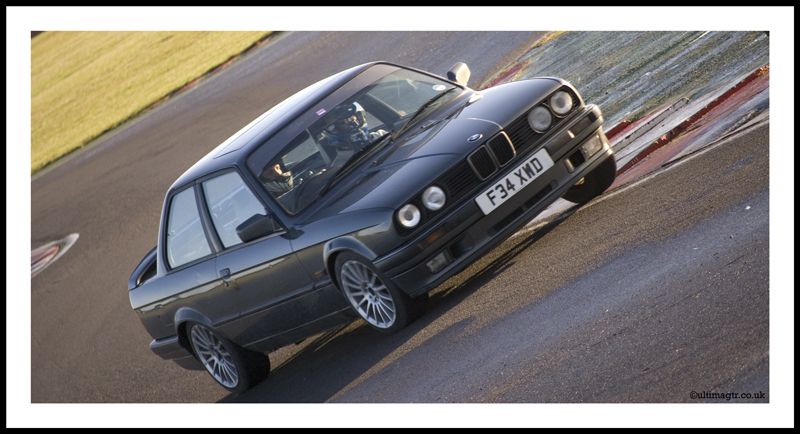
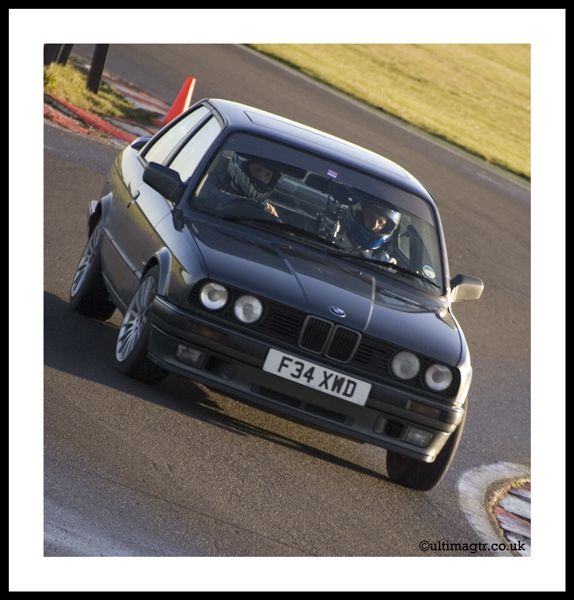
First track session today since the the lastest mods and the car performed superb.
Really happy with how it went just a few more little tweeks and it will be a serious track car. Car felt well balenced and when it did start to go it was easily corrected.
Rich seemed to be impressed with the old girl.
The second session I had went even better I had alot more confidence in the car and was pushing alot harder into the corners than previously and it stuck to the track well only a couple of moments but thats all about learning a new car just need more track time now to get use to it.
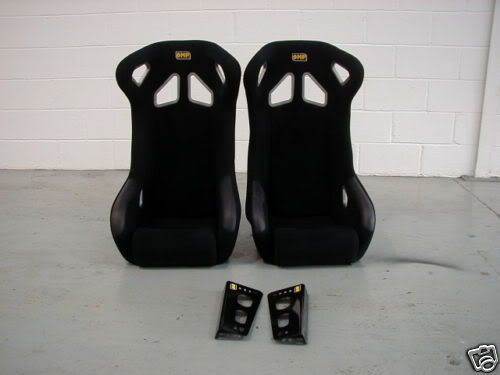
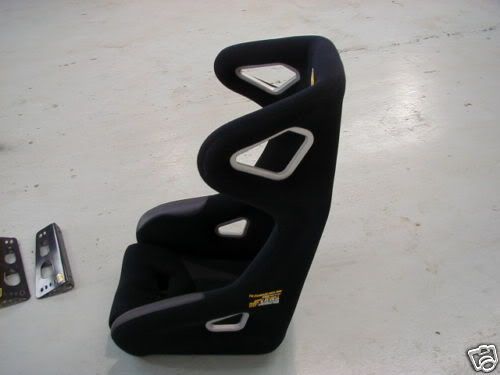
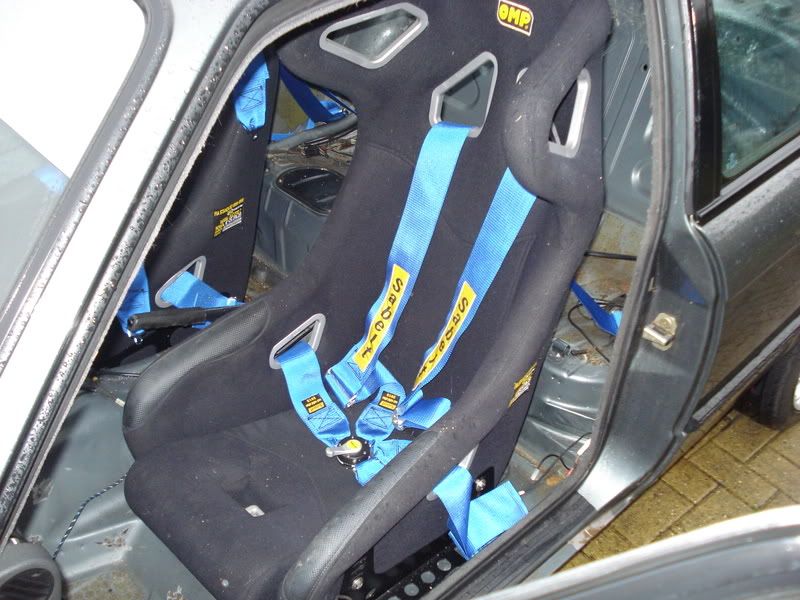
Also brought 2 OMP Record 2 seats this afternoon off Ebay so get them fitted and it's almost there.
--------------------------------------------------------------------------------------
Omp Record 2 seats
--------------------------------------------------------------------------------------
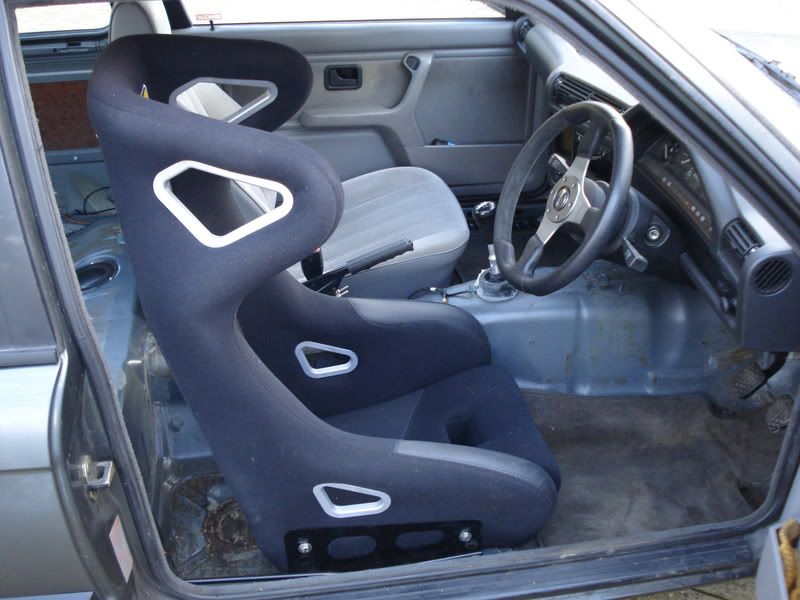
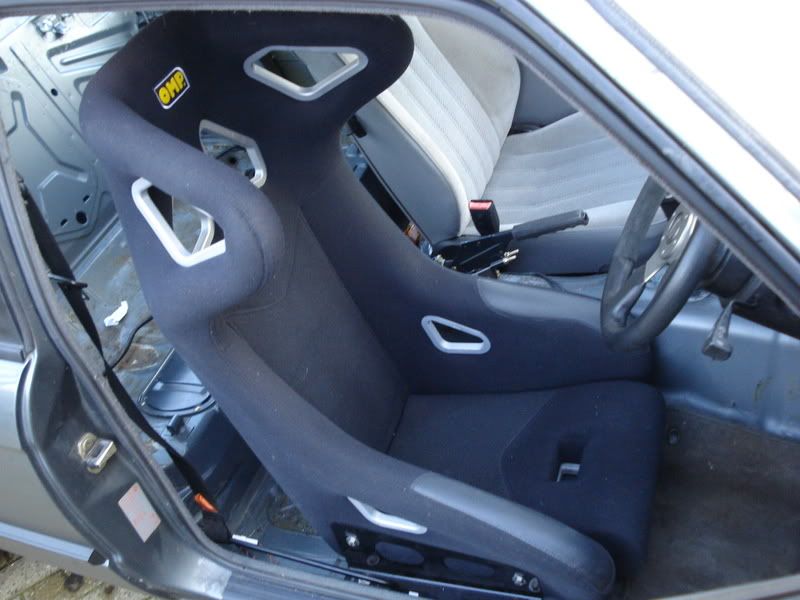
Test fitted the seat
Currently you sit about 4 1/2 inches lower in the car, may have to raise it slightly but really happy with how it fits
--------------------------------------------------------------------------------------
Some video from Snetterton on Dec 7th
--------------------------------------------------------------------------------------
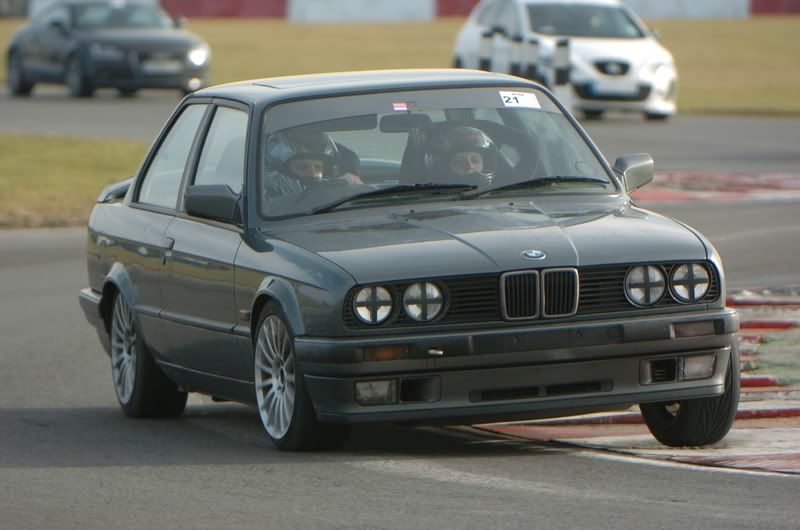
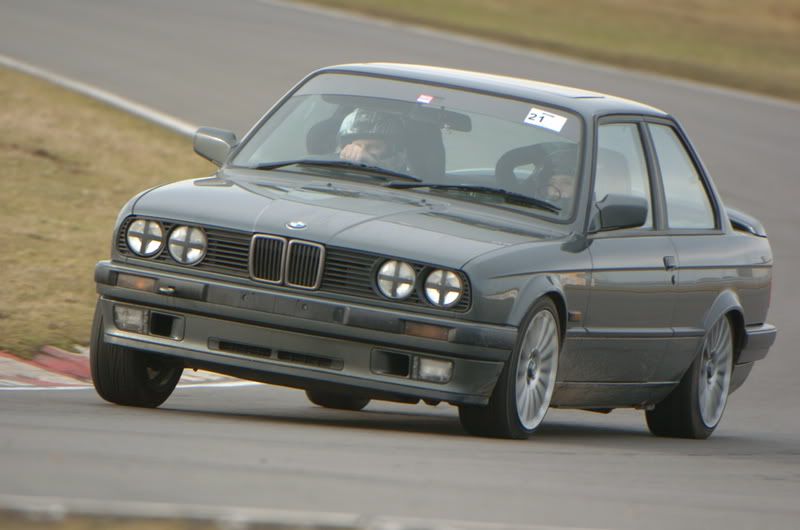
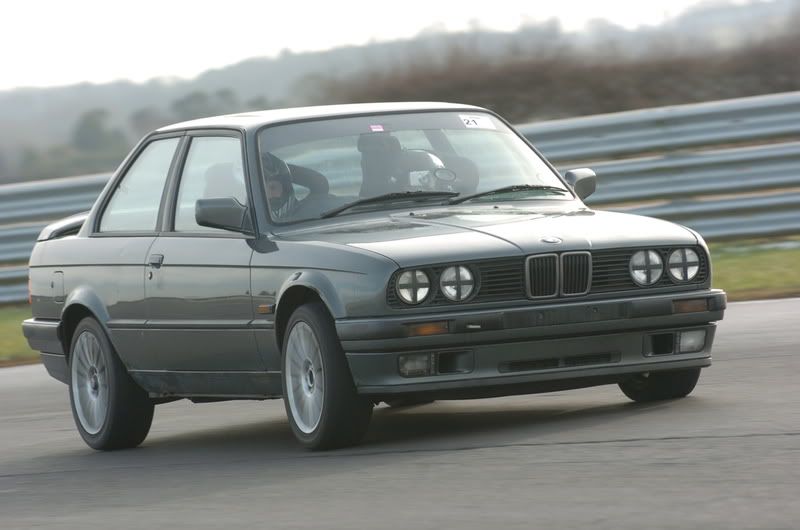
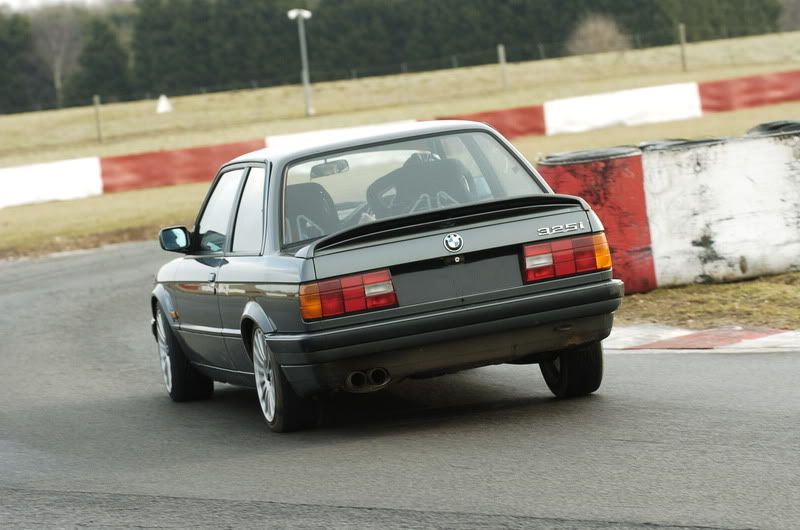
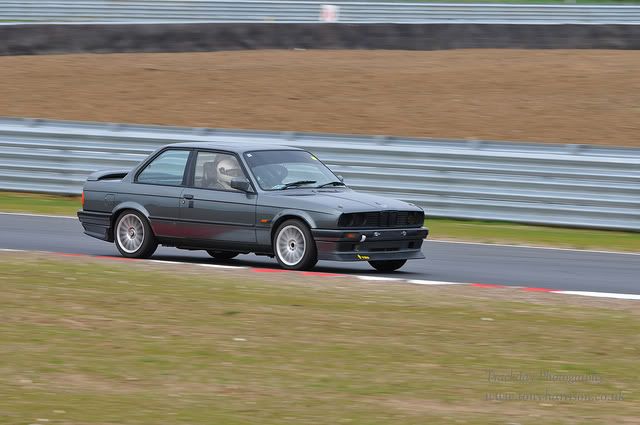
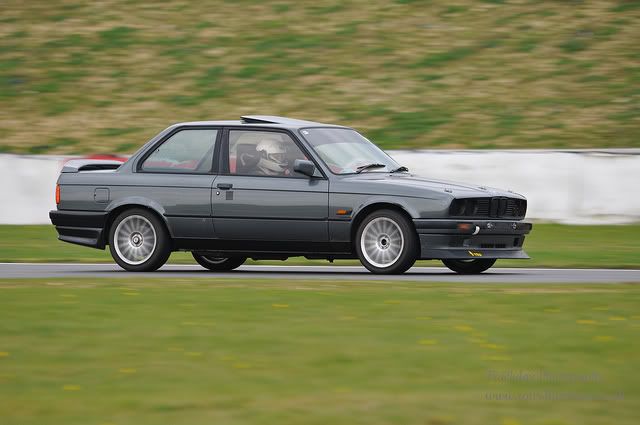
Pics by Sam


--------------------------------------------------------------------------------------
Trackday booked for Feb 8Th
Got a few things to do before hand
Welding (got a few holes to fill)
Fit both seats to car
Weld in a bar to attach/ wrap the harnesses to
Hope to be able to make and fit some aluminiun doorcards
Give the old girl a service
Think that will be it for this one but have a few other plans
Fit a checker plate floor in both front footwells
Re-route the brake lines and fit a bias valve ane refill with race fluid
Paint the inside of the car with Hammerite
Fit a dead pedal next to the clutch
-----------------------------------------------------------------------
Both front seats and harnesses are now fitted ready for Sun.
Just need to give the car a service and all good to go.
-----------------------------------------------------------------------
New Track Spec

This is my build diary from another site I use thought I would share with you.
Some pictures of my new project
Needs a bloody good clean but here you go
Have brought a M-Tec 2 rear spoiler to go on and have a list of mods I want to add to it more details as I add these
--------------------------------------------------------------------------------------
Well the plans (so far) are as follows:
Fit a set of coilovers
Better tyres and maybe a bigger set of wheels
ARB
Polybushes
New seat
Harness
A smaller steering wheel (The original is Huge!!!)
Get on track again!!!!
--------------------------------------------------------------------------------------
More bits arrived this morning
M-Tec 2 rear spoiler
And my Spax shocks that I brought from the Autosport show
I have ordered a full Polybush set for the car and Front and Rear adjustable Antiroll bars.
This little lot should make the old Bm handle a lot better
Bring on the trackdays!!
--------------------------------------------------------------------------------------
First delivery of Polybushes arrived today courtesy of Fast Eddy
The collection of parts just seems to keep growing!!
--------------------------------------------------------------------------------------
Spent the last few days fitting some of the parts that I have aquired.
First thing we did was to strip down the front suspension this accually went quite smoothly and within a hour we had the front strut out of the passenager side and on the bench ready to strip down, the shock and spring on this side was knakered to say the least, as we compressed the spring the shock compressed at he same time not releasing the pressure on the spring we had to almost completely compress the spring before we we able to relase the shock.
Then removing the shock from the strut there is a screw in fitting at the top of the strut and this was rusted to hell we were thinking this is never going to move so out came the trusty WD40 and soaking this fitting we left it for a while and attacked it with a pair of stilsons and it moved straight away
Once undone the shock pulls out of the strut then all the shock oil came out as well! Think it had been leaking but was traped in the strut. Fitting the new shock was easy push in screw up fitting the new spring was even eaiser as they were so much shorter than the original it could be done up without compressing the spring. (This is where I made a mistake as putting it back together I refitted the original bump stop this came back to bite me later.)
To the front wishbone and I pretty much followed exactly how Sidewaysfletch did his, cut out the front rear bush with a hacksaw cut off the inner sleave with a grinder then cut a slot in the outer sleave with a hacksaw then colapse with a hammer and chisel and push in the new one with a vice (forgotten how many times I lined it up before pushing it on
I brought new anti roll bar links for the front but I pushed the bushes out of these and fitted the poly bushes supplied by Fasteddy
This was the time we removed the drivers side strut and again had all the same issues but having done it once we knew how to get over them. Out with the old anti roll bar in with the new Whiteline 24mm antiroll bar the worst part of fitting this was trying to get the new poly bushes to fit in the mounts a little persuation and they were home.
Fitting the struts back was next and fitting everything else back.
Wheels on and drop down I was keen to see how low it would sit with a 40mm drop
It was lower but not as low as I had expected.
On to the rear and this was where I hit on a problem as I don't have a pillar lift I didn't feel safe dropping the rear beam with the car on axle stans so at the moment all I have done is fit the rear shocks and springs
This was pretty easy as with the car fully jacked up the spring only needed a little compression to get out and to remove the shock is just 3 bolts. I had new top mounts for the rear so a few pieces had to be removed from the old shock then fitted on the new and straight back on the car.
Wheels on and the car back on the floor the rear looked to sit lower than the front anyway time for a test. What a hard ride got back and the rear seemed to have settled even more then as you have probably guessed we realised that the front was accually running on the bump stops
Jacked up the car and with a little help from Mr Stanley and his knife the bump stops were removed.
With the car back on the floor it sat a lot flatter and now with a few tweeks of the suspension a hard but much improved ride.
All I have to do now is fit the rear anti roll bar and the rear poly bushes.
I'll put some pics up later
--------------------------------------------------------------------------------------
Before
After
--------------------------------------------------------------------------------------
Rear strut
Front strut (just noticed the Abs wire is rubbing on the tyre!)
Polybushes, New droplinks and Whiteline Arb
--------------------------------------------------------------------------------------
Just got some 16" wheels for the bm just need to get some tyres now.
Cost £120
--------------------------------------------------------------------------------------
Rear seat is now out along with the parcel shelf, rear seat belts, rear blind, rear speakers, rear quarter panels and all sound deadening from under the seat.
It's not actually as loud as you would think.
Would think everything i have removed would add up to about 100kg maybe a bit more.
Get some lighter seats in there and loose a few of the other heavy parts and should have saved quite a bit of weight.
--------------------------------------------------------------------------------------
Got the next week off work so going to fit the Rear bushes, ARB, Diff mount and the Stainless brakelines work starts tomorrow and hope to have it all done but Wed as it is the Bigpower Autotest night at Snetterton
Also got a few little bit today (Steering wheel boss and harness mounts)
And so it begins!!!
--------------------------------------------------------------------------------------
Some updates for you that I forgot to copy over to here from BP
RobCallow wrote:A little Update
Car has lost a little more weight (got a big pile of E30 in my garage now
Still need better brakes, tyres a seat and harness but things keep croping up so can't buy them just yet
After buying a set of 16" wheels for the car I have changed my mind and now looking to put 15" wheels on the car.
Got a few issues with the electrics on the car think there is a bad earth somewhere as I get some weird things happen every now and again.
Apart from that not a lot to report.
RobCallow wrote:Right been on a bit of a spending spree
New discs ordered from GSF (Zimmermann X drilled)
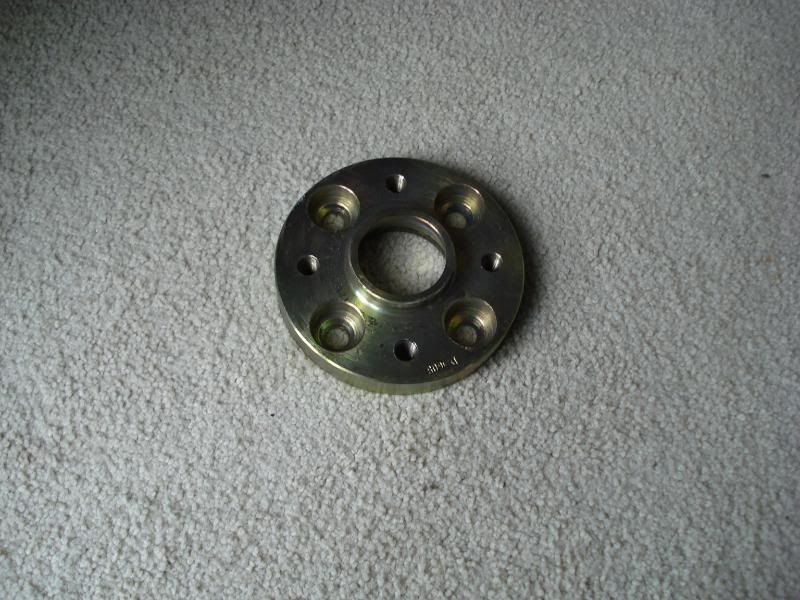
Some 20mm wheel spacers to fit my 16" wheels and some wider tyres
Got 4 New Toyo T1-R tyres (205/45/16) being fitted Mon morning
Eddy is getting me a set of EBC yellwstuff pads and better brake fluid
So with all them fitted I may be able to keep the old girl on the Track and not halfway across the grass!!
Picked up Brake pads and fluid today so hope to get the brakes fitted over the weekendRobCallow wrote:New tyres are now on
Just got to get the new brakes fitted then I think I'm starting to get somewhere with it
Looking at how far the car has come I'm quite pleased with myself as most of the work has been carried out by me.
Jobs done:
Fitted suspension
Fitted polybushes
Fitted stainless brakelines
Fitted new Antiroll bars front and rear
Fitted new tyres
Removed carpet, rear seats and other non required items
Jobs to do:
Fit Brake discs and pads
Get the geometry set up
Remove sound deadening tar
Remove more weight
Buy and Fit Bucket seat
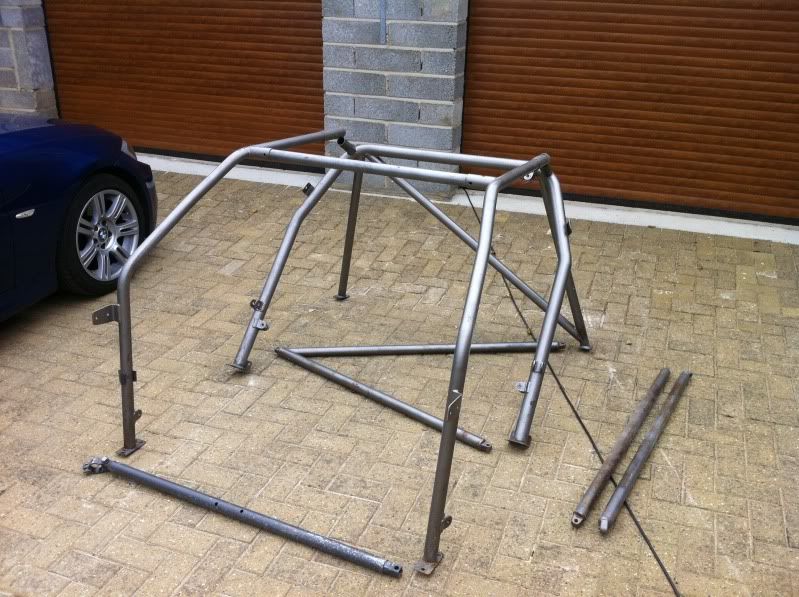
Buy and Fit a Rollcage
Then maybe:
Lightweight bonnet and bootlid
Respray the car!!
I'm sure loads more little jobs will crop up on the way.
--------------------------------------------------------------------------------------
New Zimmermann X drilled Discs and Yellowstuff Pads Fitted.
Just got to Flush out the old brake fluid and fill with Race brake fluid.
How the Car is Looking now
--------------------------------------------------------------------------------------
Got a bit of an Ebay bargain the other day 2 brand new 3" Sabelt 4 point harnesses for £135
Fitted 1 today and will finish the other tomorrow also had a crack at removing some of the sound deadening tar but my blow torch run out of gas so will have another go at this tomorrow as well.
--------------------------------------------------------------------------------------
Sound deadening is out
Centre console has completly gone now along with a shed load of wire!!
Got about 3 very small areas of rust that will need sorting other than that all good
--------------------------------------------------------------------------------------
First track session today since the the lastest mods and the car performed superb.
Really happy with how it went just a few more little tweeks and it will be a serious track car.
Rich seemed to be impressed with the old girl.
The second session I had went even better I had alot more confidence in the car and was pushing alot harder into the corners than previously and it stuck to the track well only a couple of moments but thats all about learning a new car just need more track time now to get use to it.
Also brought 2 OMP Record 2 seats this afternoon off Ebay so get them fitted and it's almost there.
--------------------------------------------------------------------------------------
Omp Record 2 seats
--------------------------------------------------------------------------------------
Test fitted the seat
Currently you sit about 4 1/2 inches lower in the car, may have to raise it slightly but really happy with how it fits
--------------------------------------------------------------------------------------
Some video from Snetterton on Dec 7th
--------------------------------------------------------------------------------------
Pics by Sam
--------------------------------------------------------------------------------------
Trackday booked for Feb 8Th
Got a few things to do before hand
Welding (got a few holes to fill)
Fit both seats to car
Weld in a bar to attach/ wrap the harnesses to
Hope to be able to make and fit some aluminiun doorcards
Give the old girl a service
Think that will be it for this one but have a few other plans
Fit a checker plate floor in both front footwells
Re-route the brake lines and fit a bias valve ane refill with race fluid
Paint the inside of the car with Hammerite
Fit a dead pedal next to the clutch
-----------------------------------------------------------------------
Both front seats and harnesses are now fitted ready for Sun.
Just need to give the car a service and all good to go.
-----------------------------------------------------------------------
New Track Spec