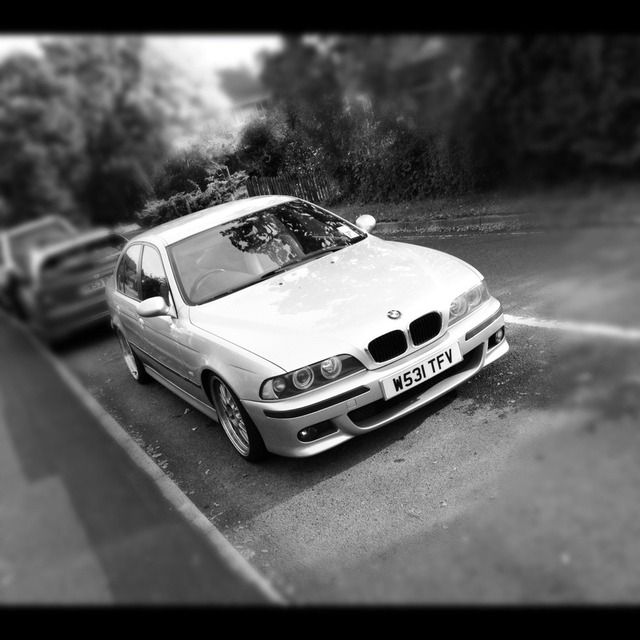
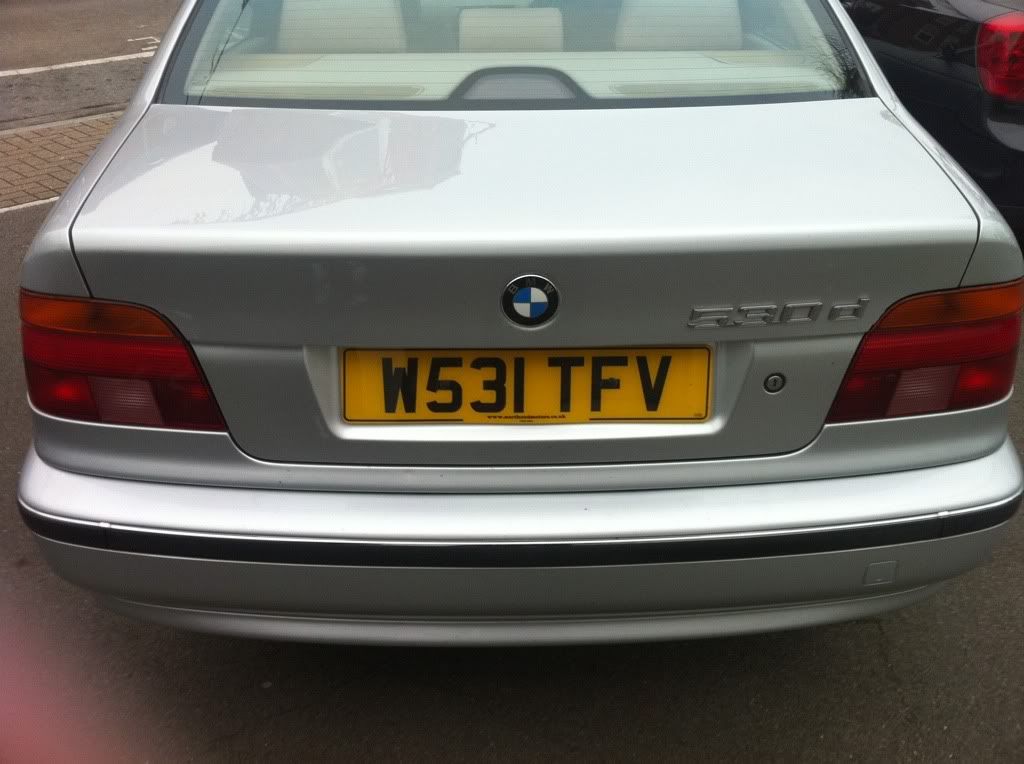
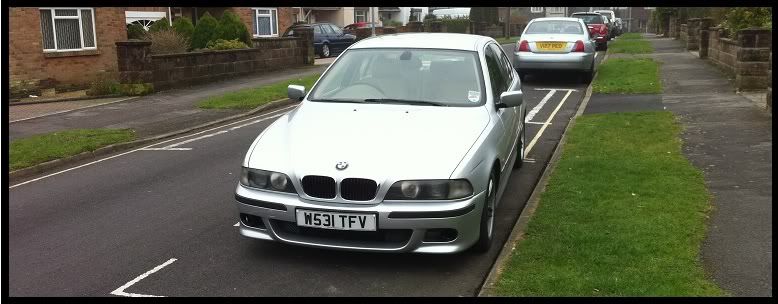
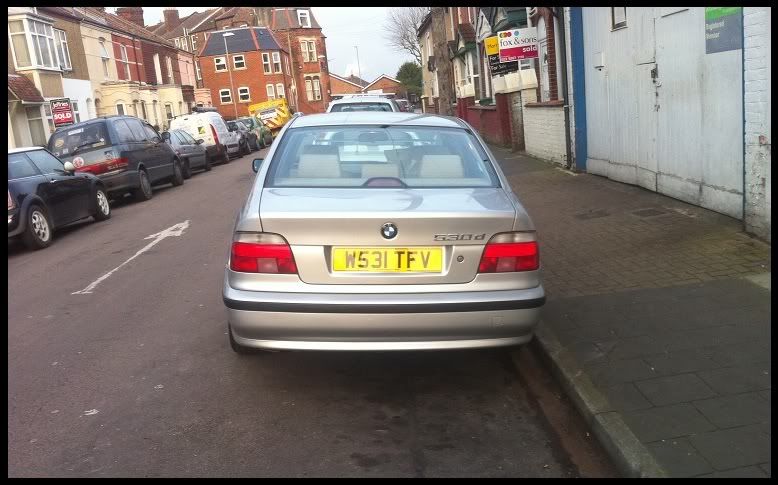
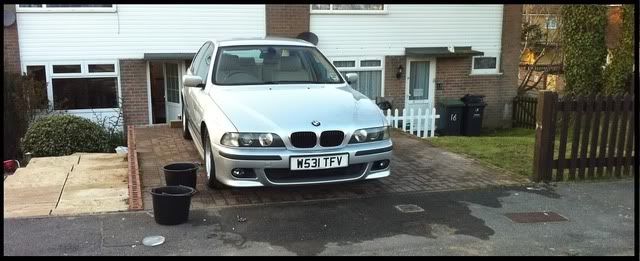
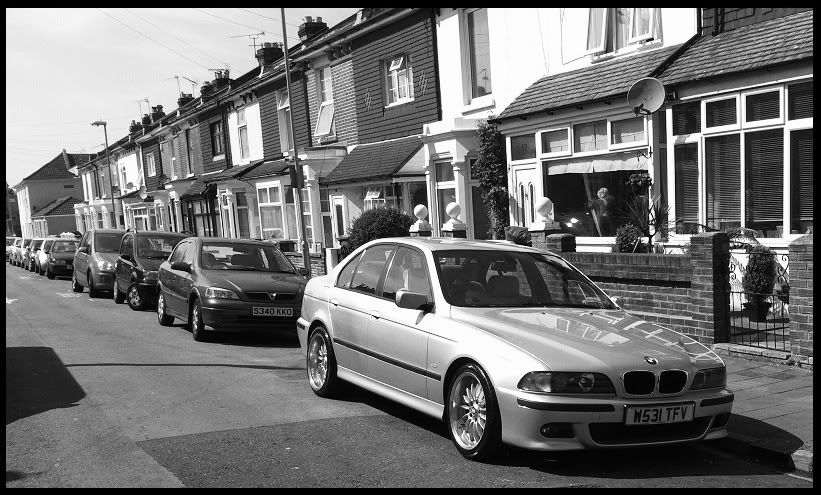
530d. With 95k Full BMW Service History. One owner for the last 8 years. Silver
So this morning I took it for a test drive and I fell in love. Now it does feel a bit like a old mans car with the cream leather all over but I love it. Everything works just needs 2 front tyres but I will be changing the wheels anyways.
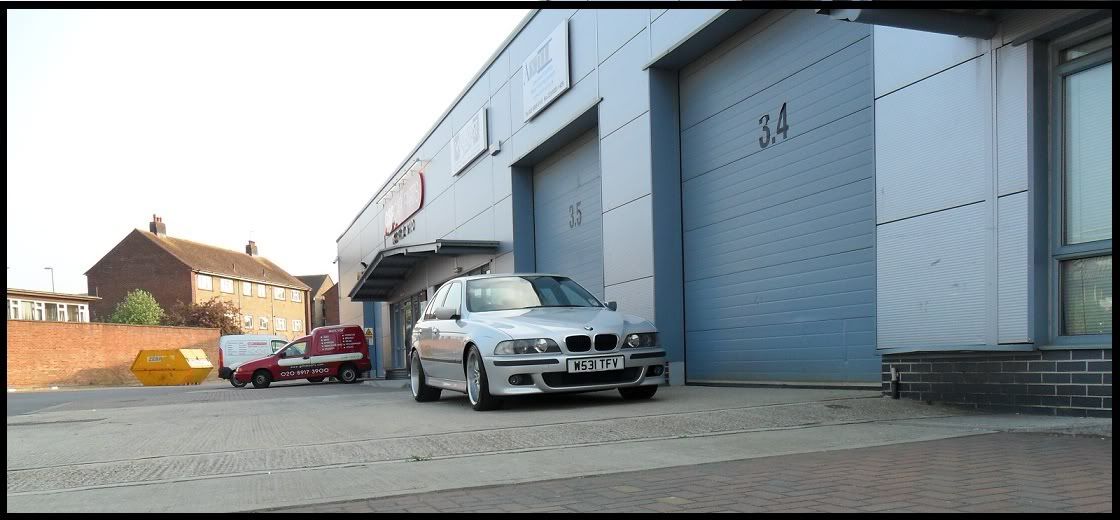
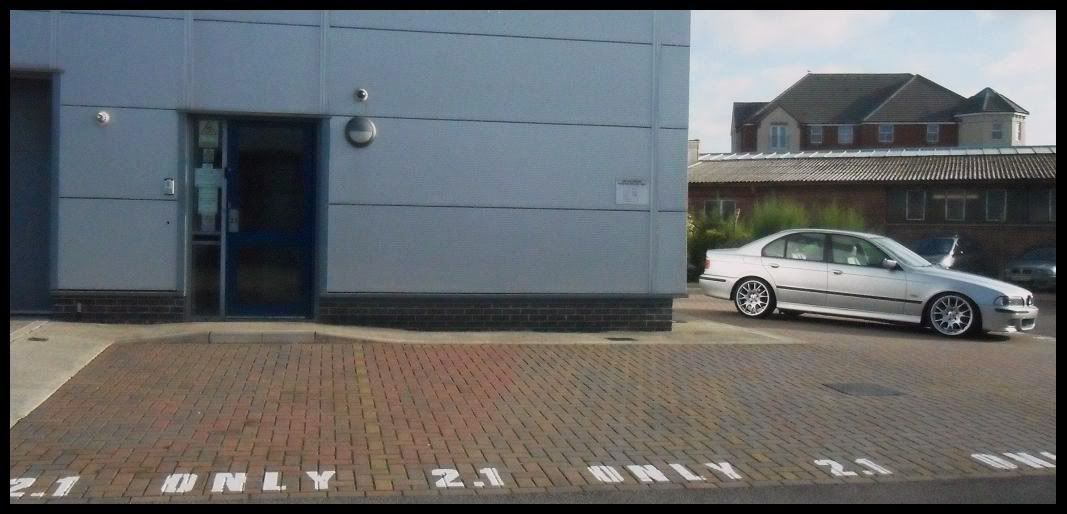
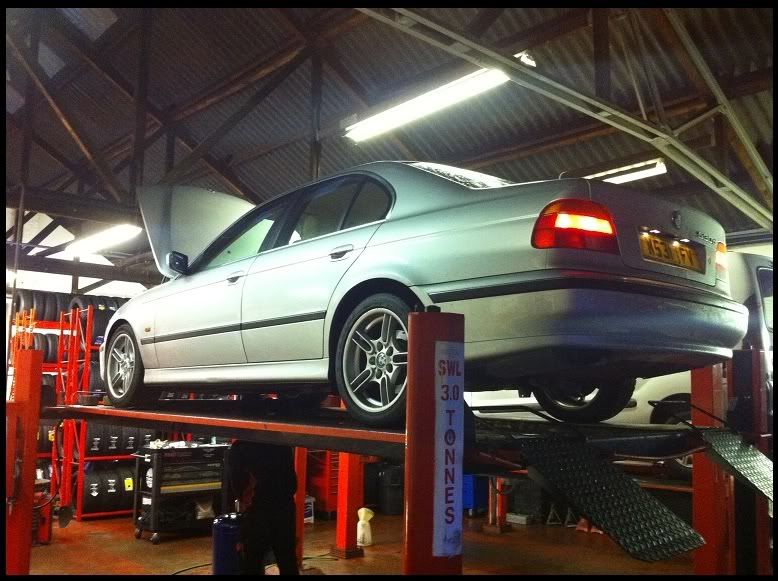
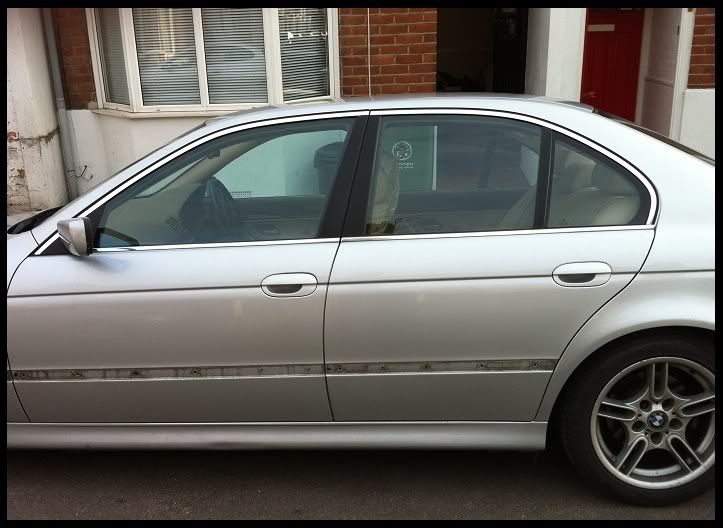
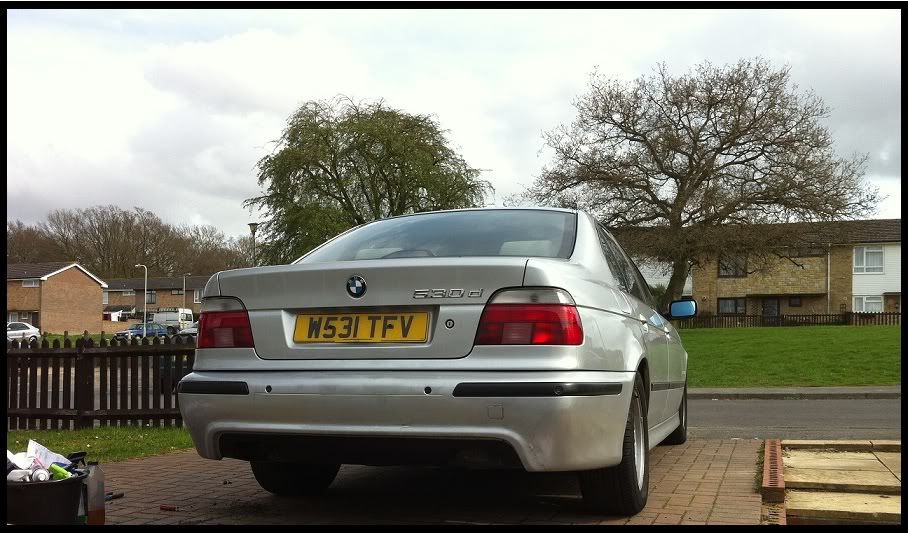
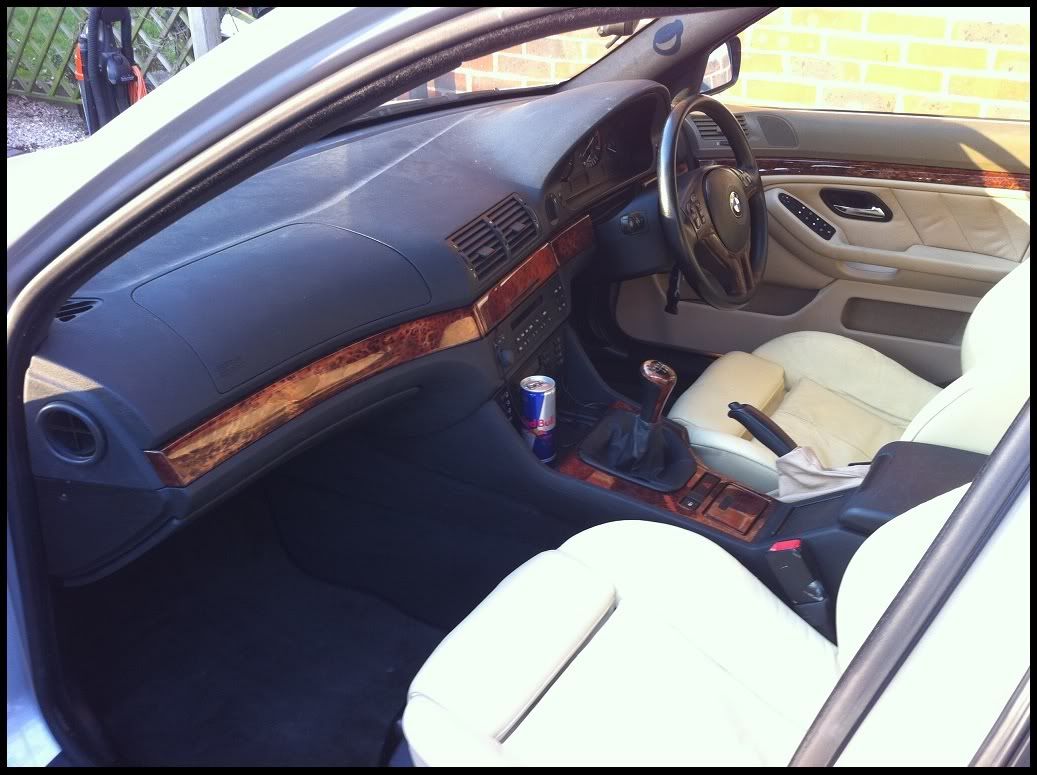
So here is a quick pic nothing special. Will be getting a full detail this weekend.
Nothing exciting yet.
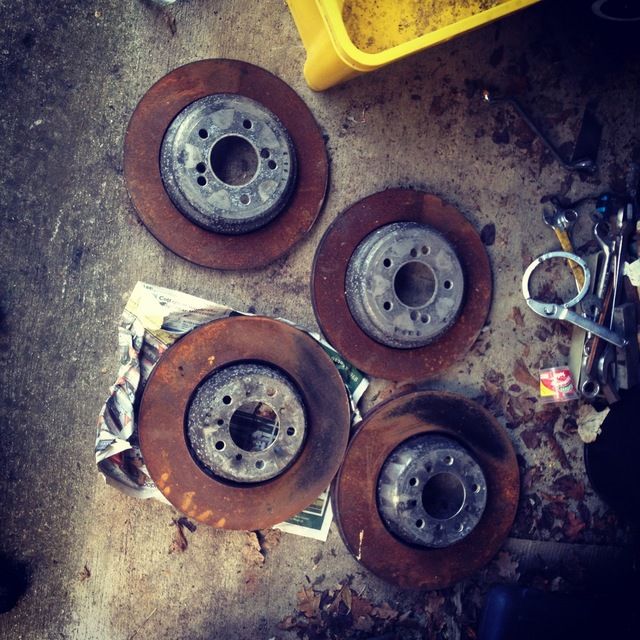
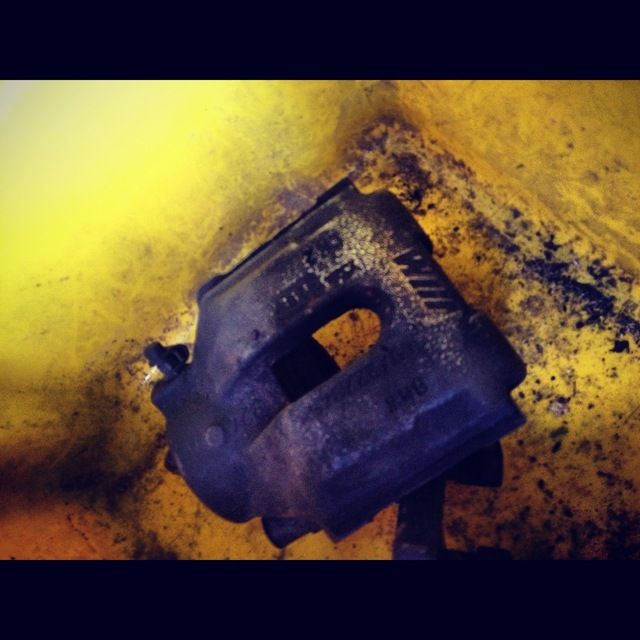
Car just passed Mot with brake pipe needing to be done and a couple of brake hoses. These were done by the garage for free.
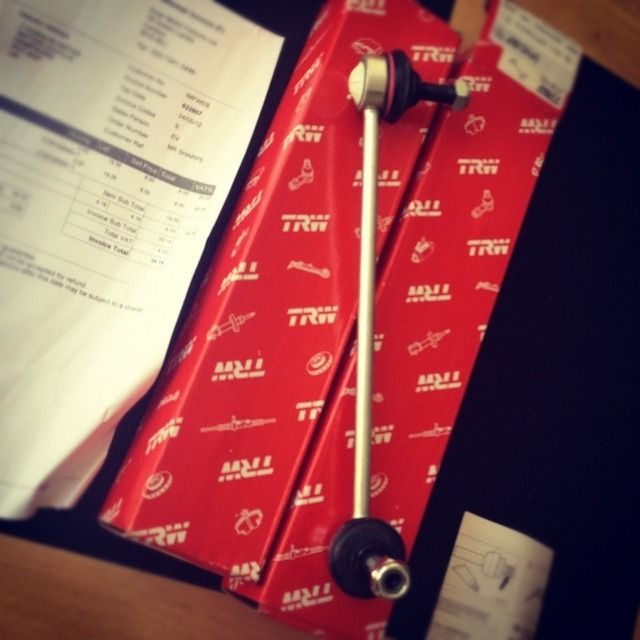
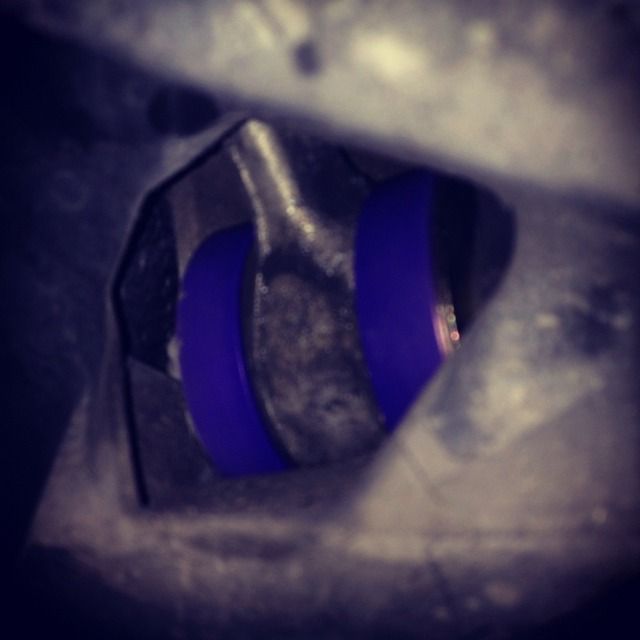
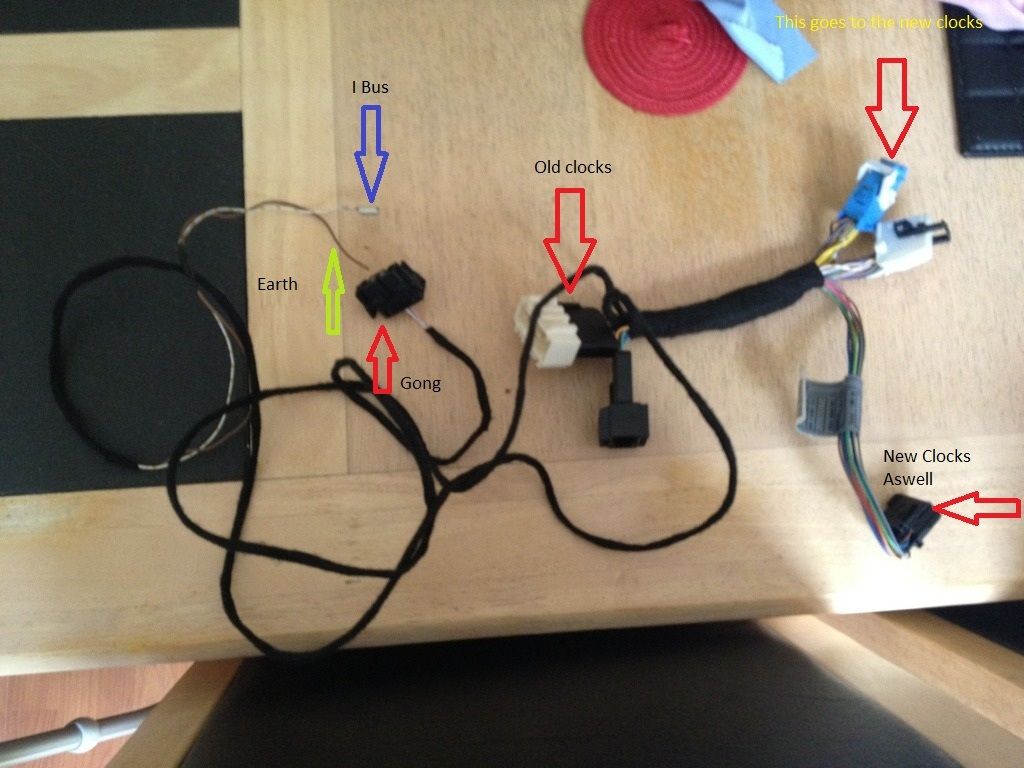
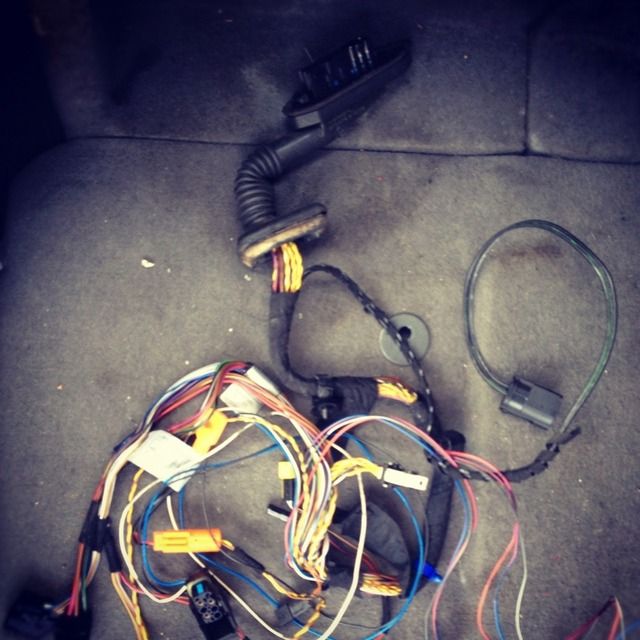
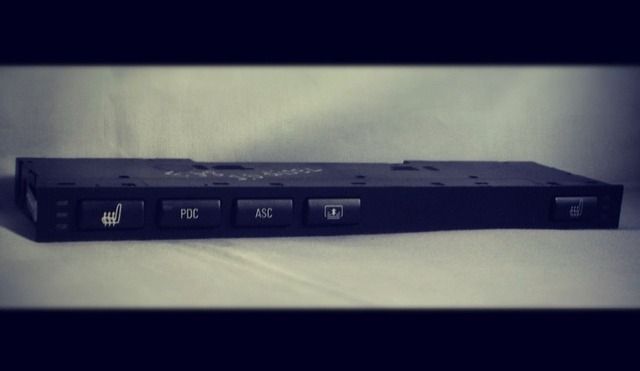
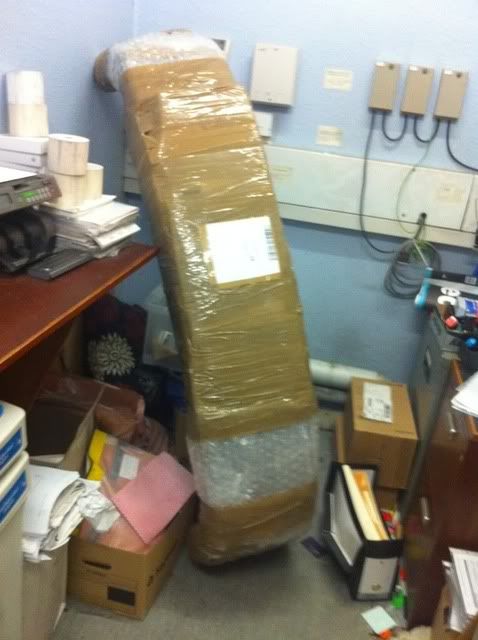
Also got a few goodies in the post today.
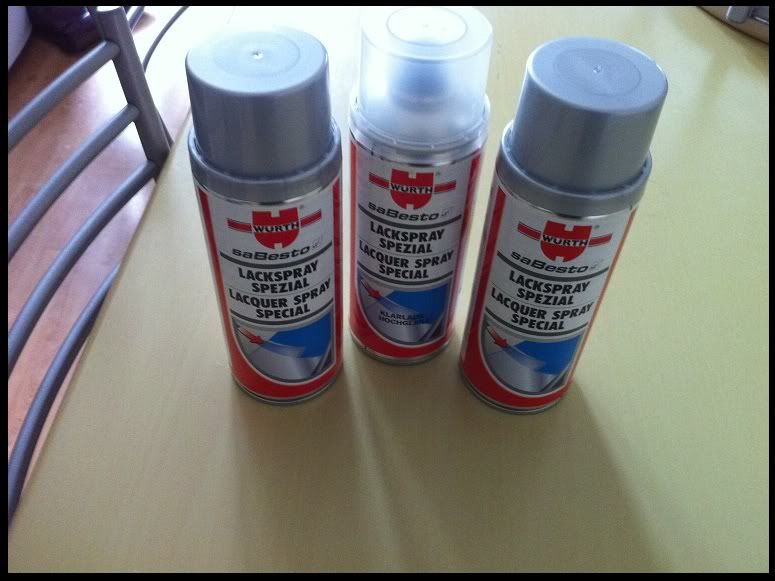
M spec front bumper ready to be sprayed up.
And when ever I get a car I always like to give it a service as I don't really trust anyone who previosly owned the car and j like to do it as piece of mind. So while opie oils had a big of a sale on I thought I would treat the engine to some top quality oil.
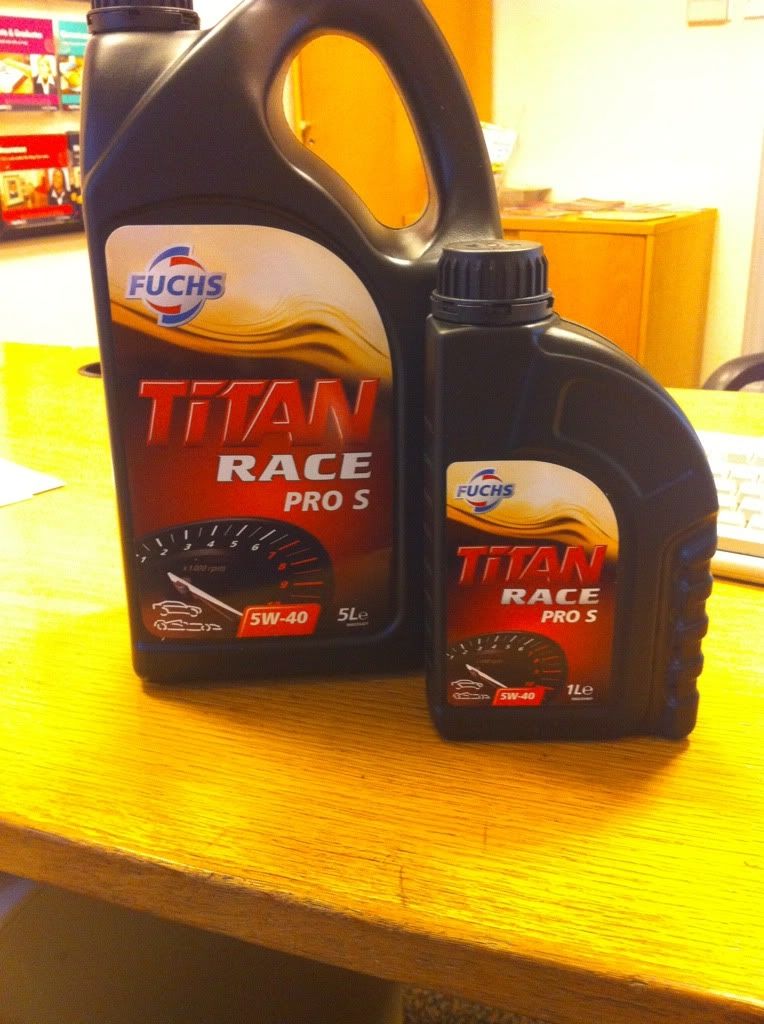
Apprarently it's not selling aswell in the new name. But I was very happy with it in the M3 so should be fine for the 330. Gonna call BMW and get filters and bits. Also got some BMW coolant & cans of dot 5 brake fluid left over from the m3. So will so a flush and get my mech to bleed the brakes.
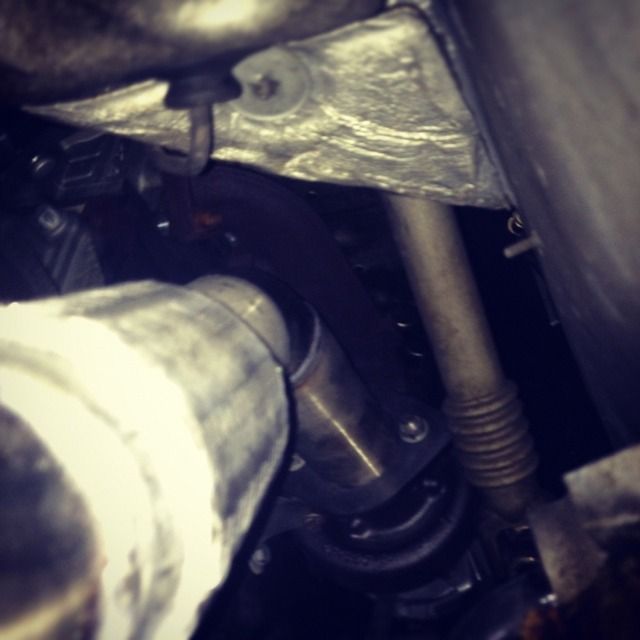
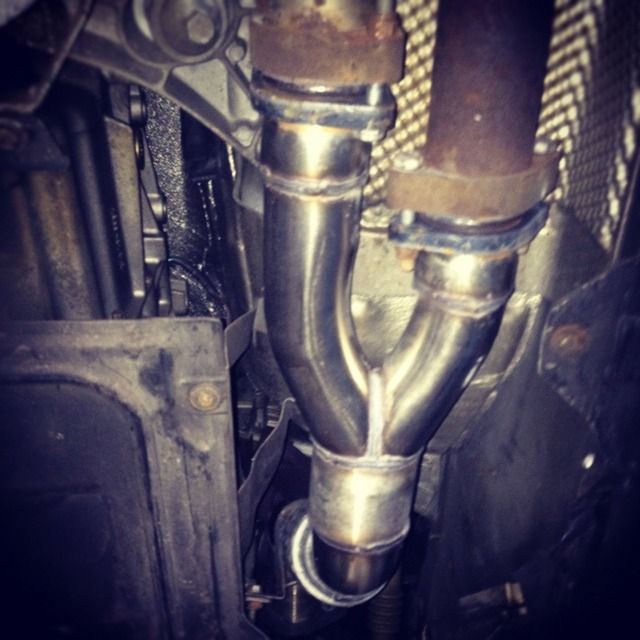
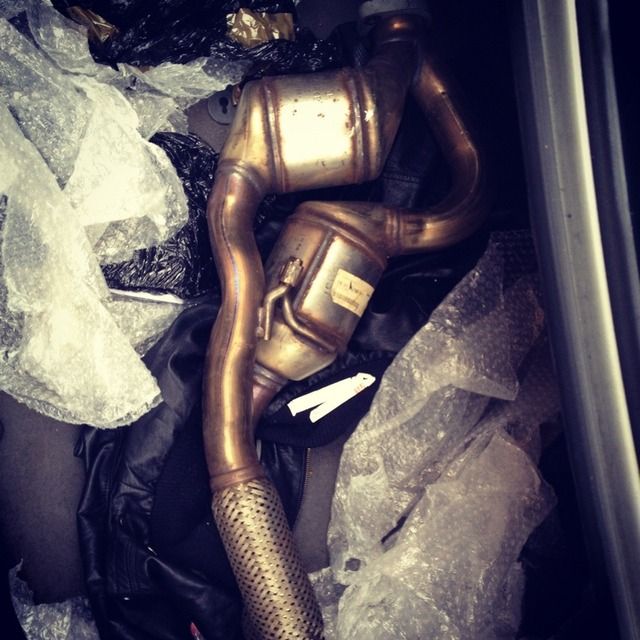
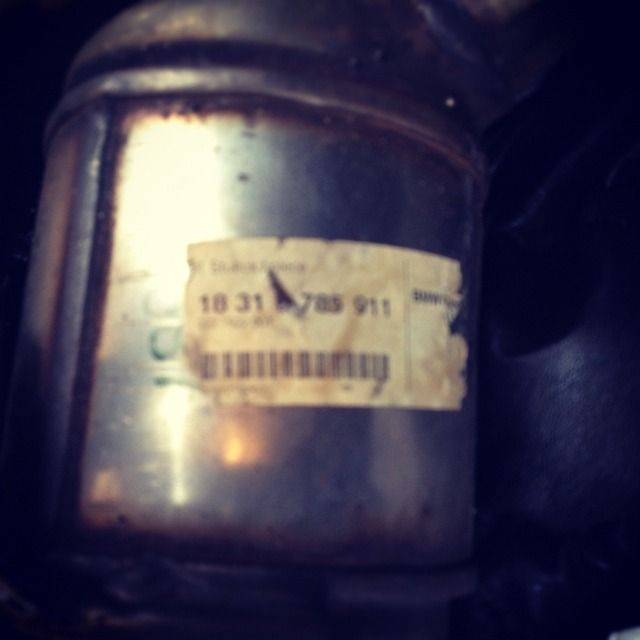
I have also sourced a company called E-maps who I'm going to arrange to remap the 330 they have said I'm looking at about 225 and 400 lbs once done. But before that is done I'm going to do egr bypass and decat. I'm still unsure on the decat at the moment but it should release a bit of power. I'm hoping for around 230bhp. And 400lbs torque.
As the bumper is here now this will hopefully be sprayed and fitted over Monday/Tuesday and coilovers will be fitted next weekend. As my mate is gonna help me fit them. Don't get me wrong iv fitted them before to my old Mk1 golf but that was 4 years ago so wanna make sure it's done properly.
Absolutely loving having a new project. Will get some proper process pics up over the next week or so.
still not got anything substantial.
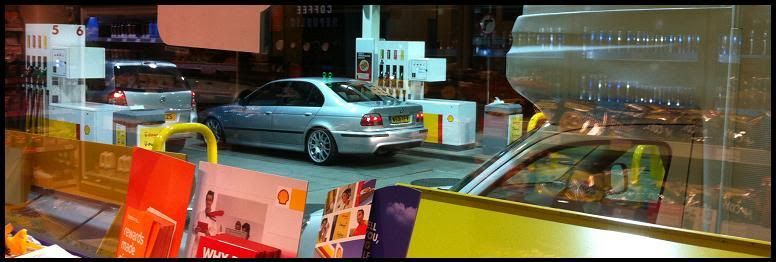
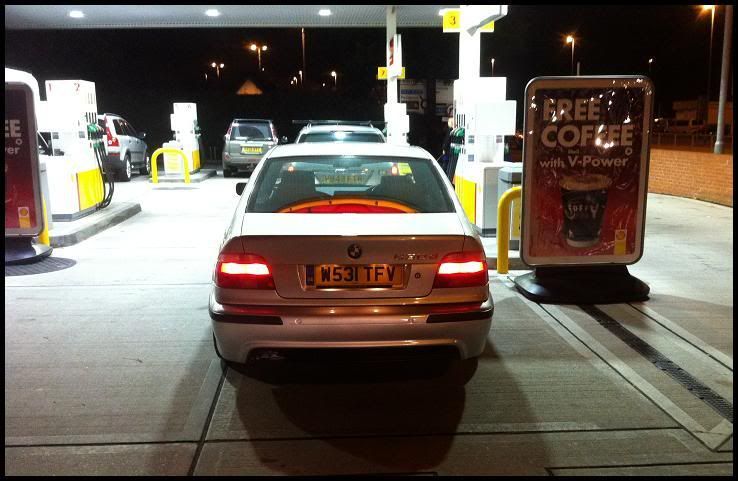
Took the car to oxford for the weekend. Drove up perfect got around 40mpg. Stayed in the Oxford Spires hotel and ate at Jamie Olivers restaurant which I would reccomend to anyone.
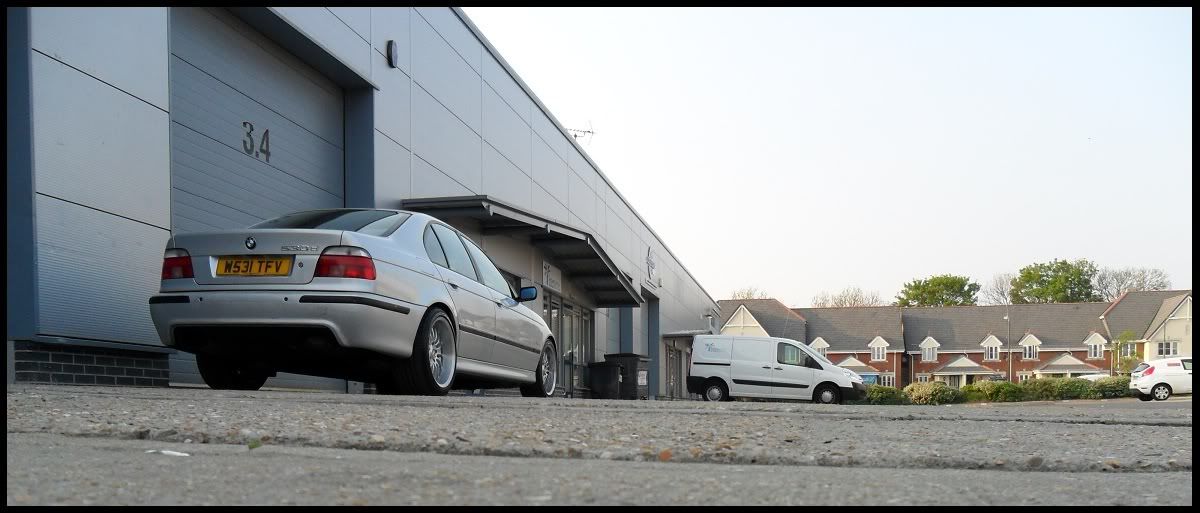
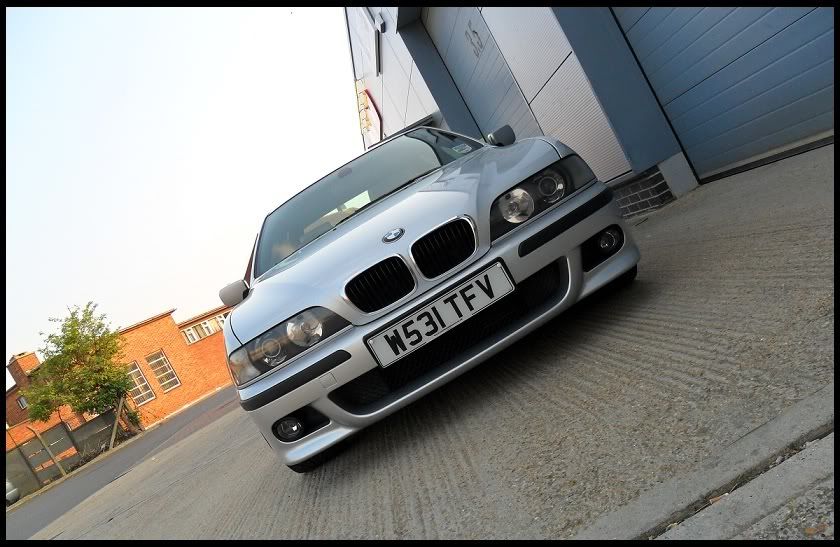
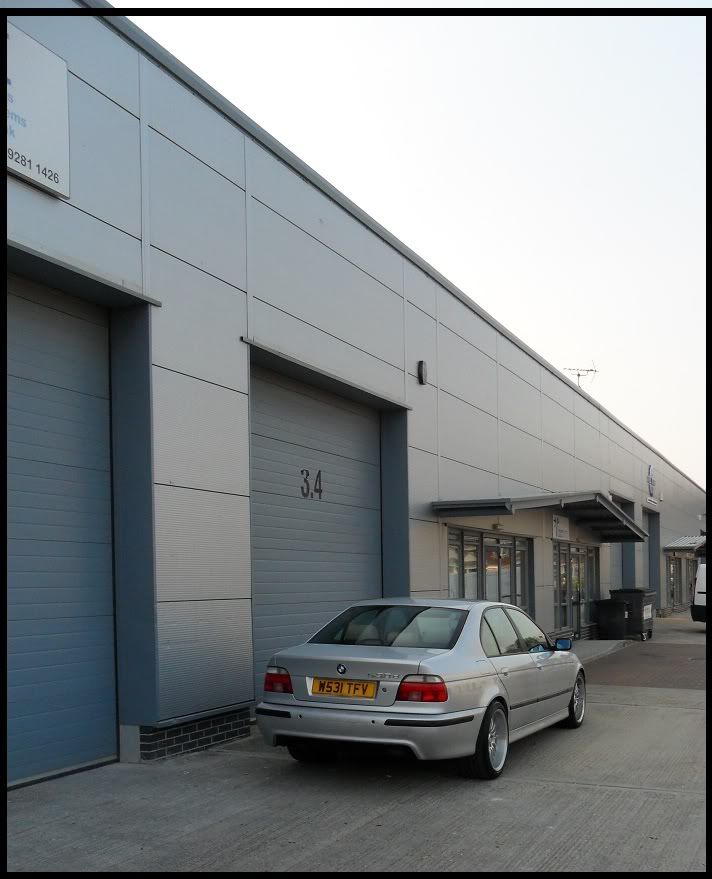
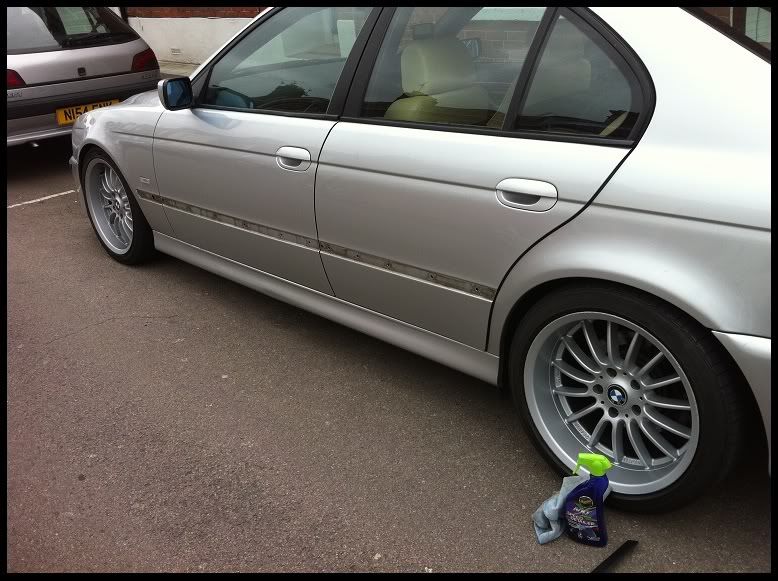
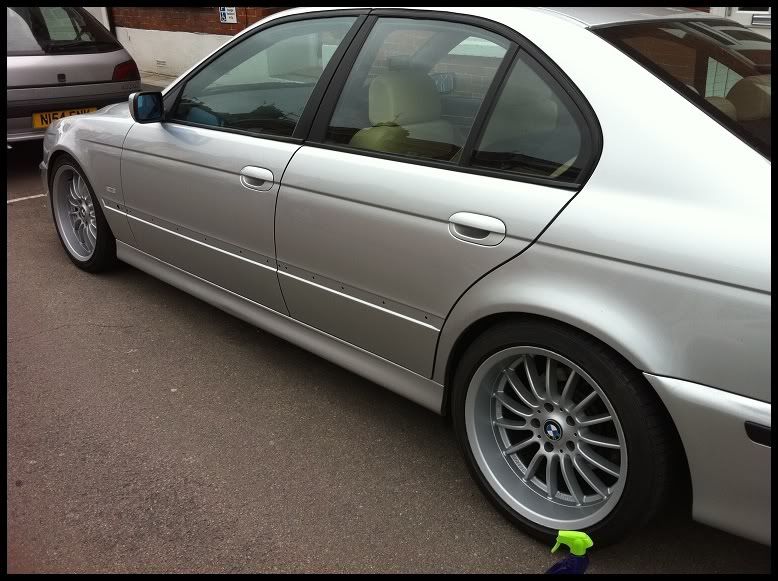
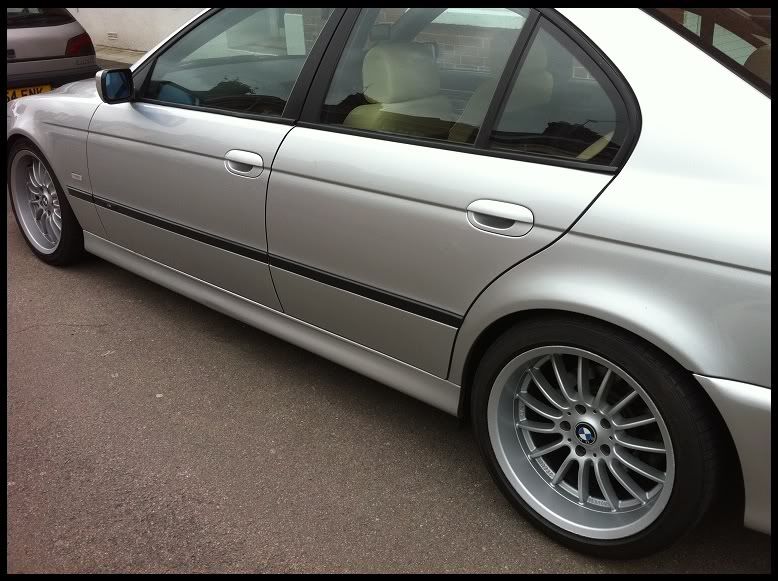
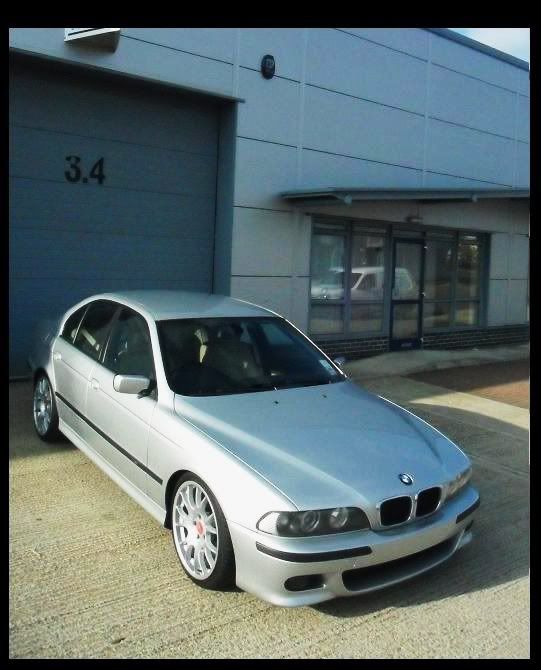
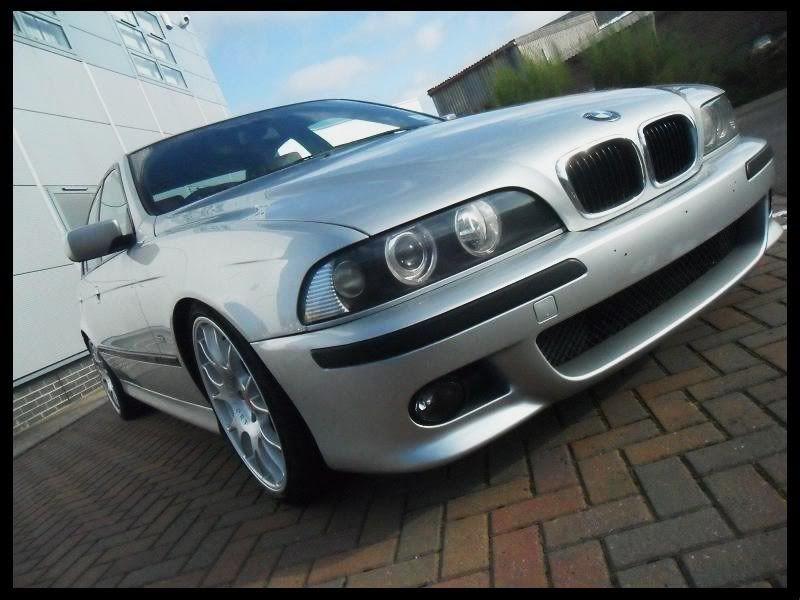
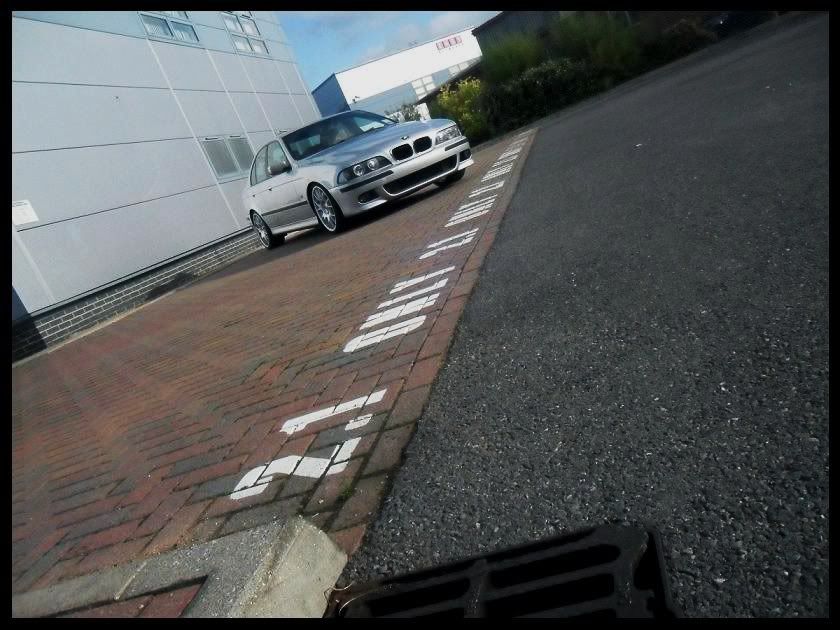
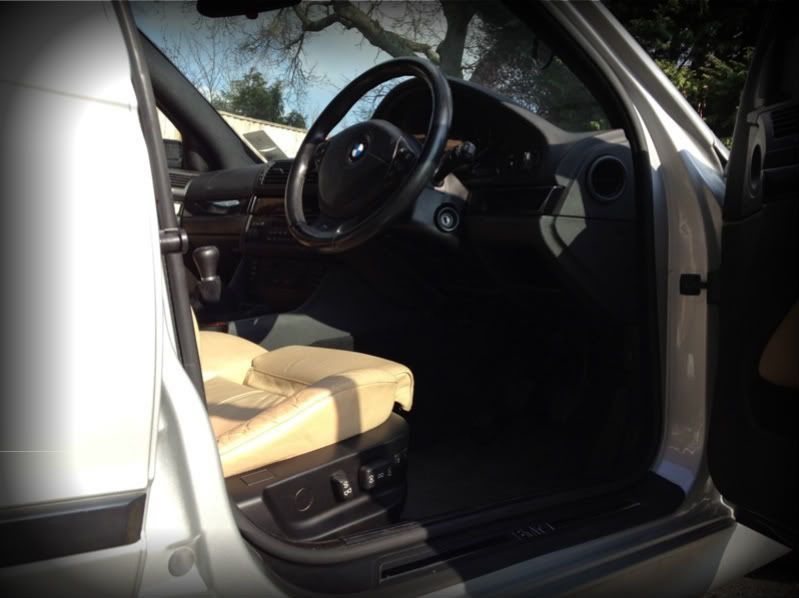
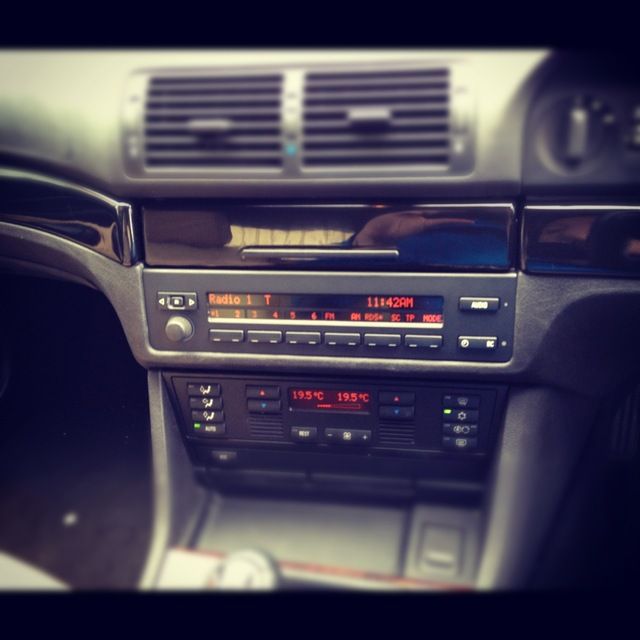
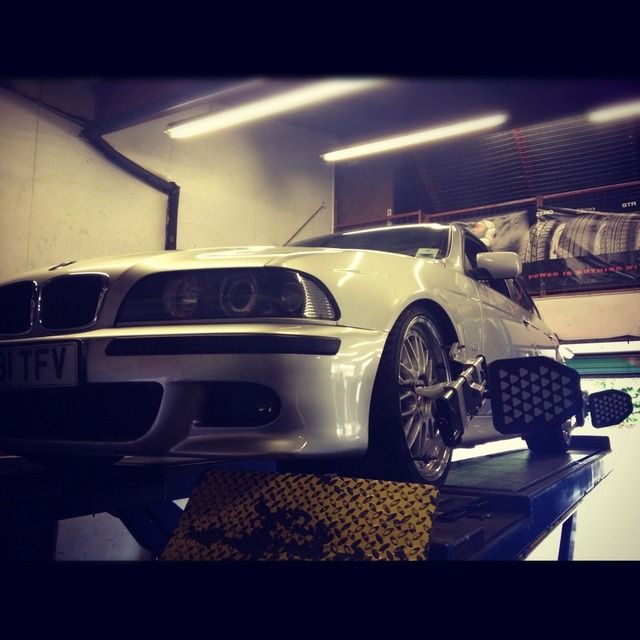
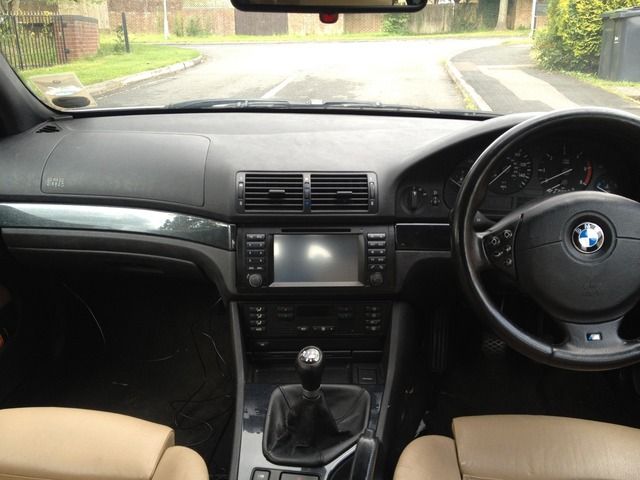
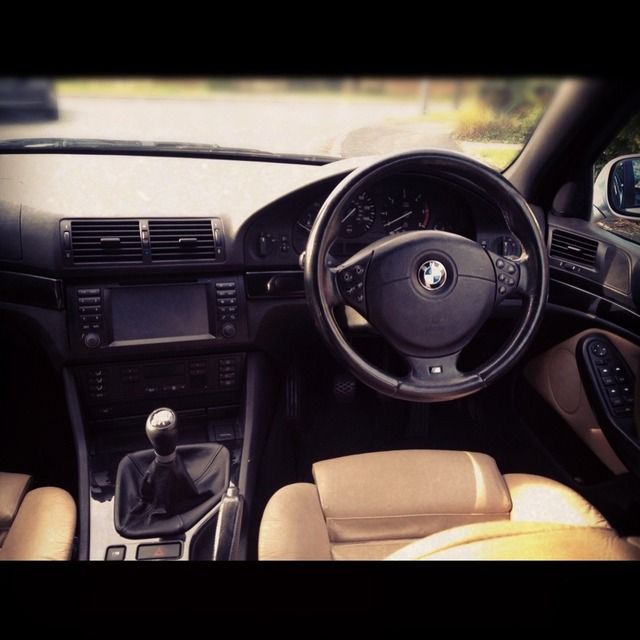
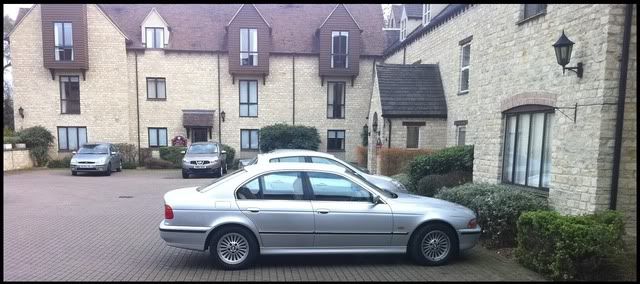
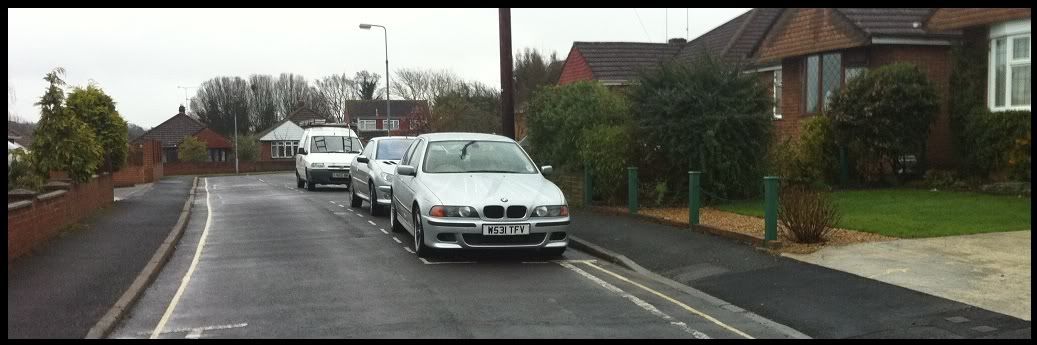
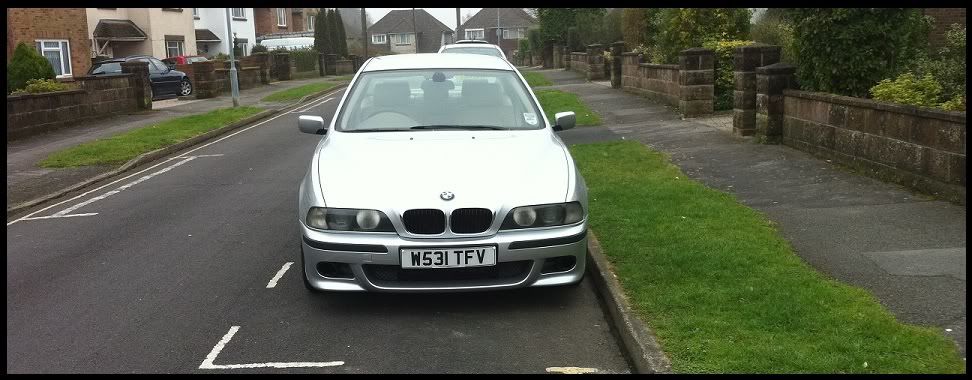
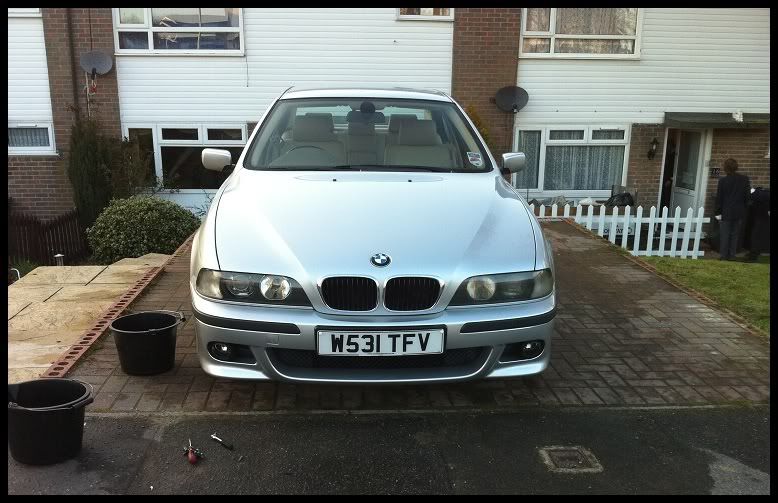
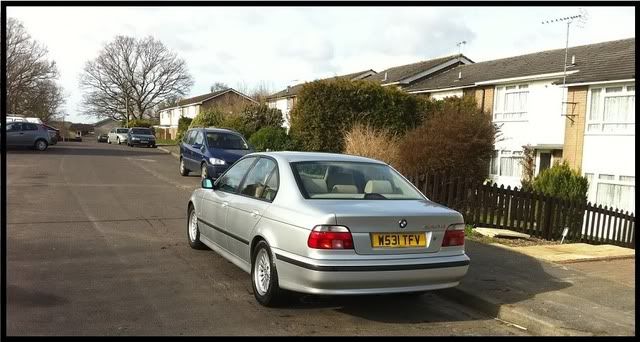
Here Is a pick of the car sitting in standard form
I had hoped that all the parts would come over the weekend and I could get the coilovers and bumpers fitted up mon and tues. unfortunately this didnt happen. I got a complete shred of man flu and have been bed ridden pretty much the last 3 days.
I have now dropped both front and rear bumpers at the painters. He is doing them on the cheap for me as a favour so make take a week or so to get done as he is doing them in his spare time for beer money and a quater of the price I would pay at any decent bodyshop.
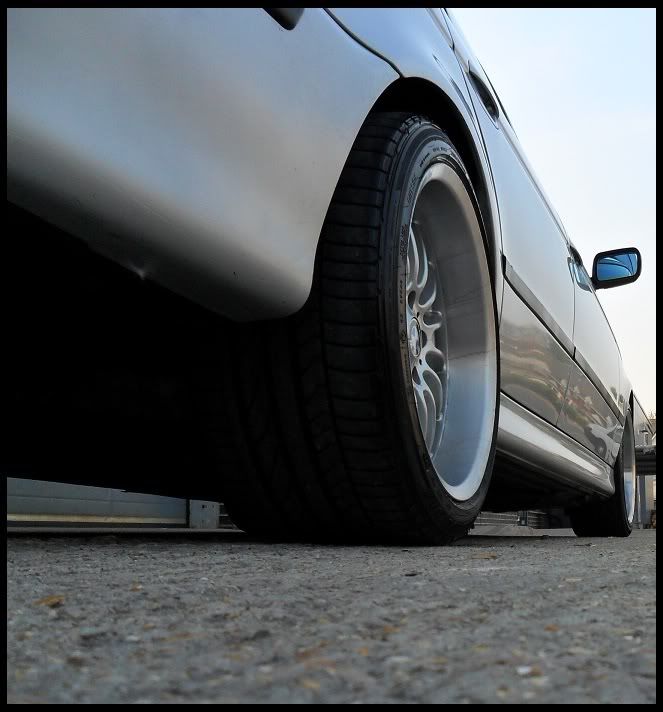
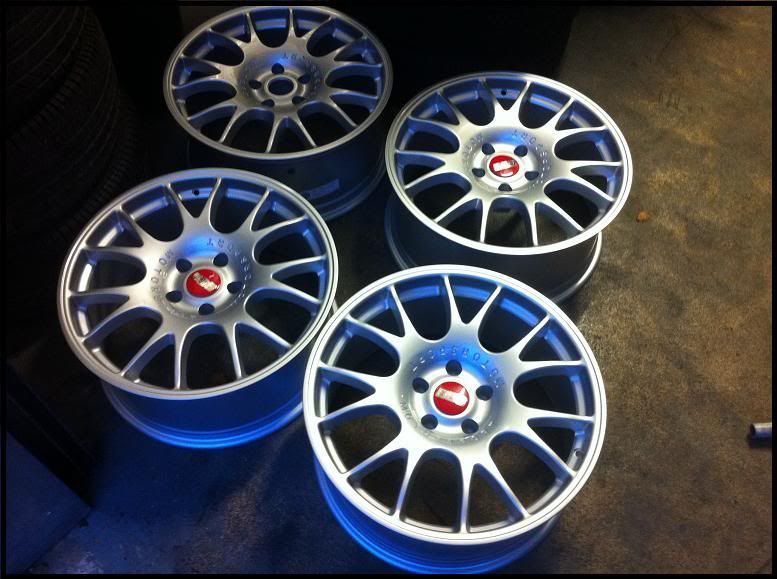
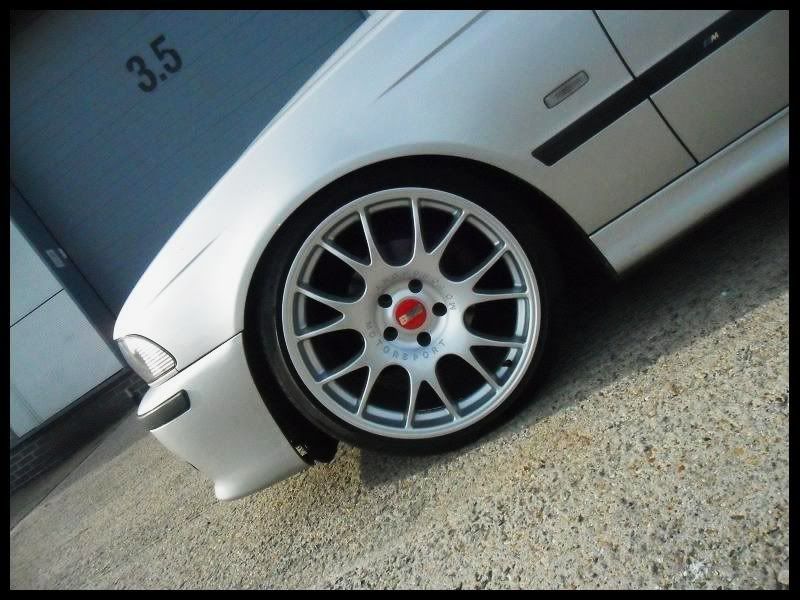
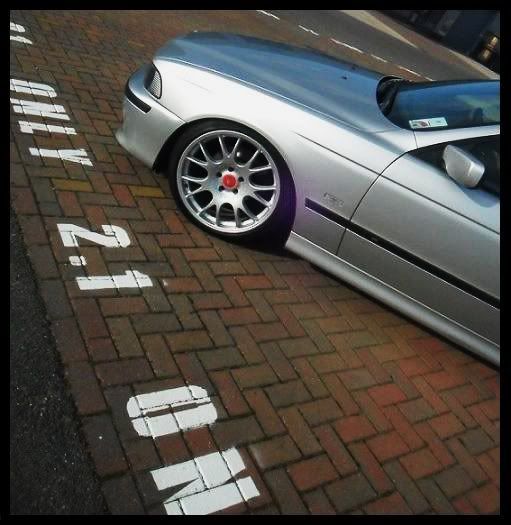
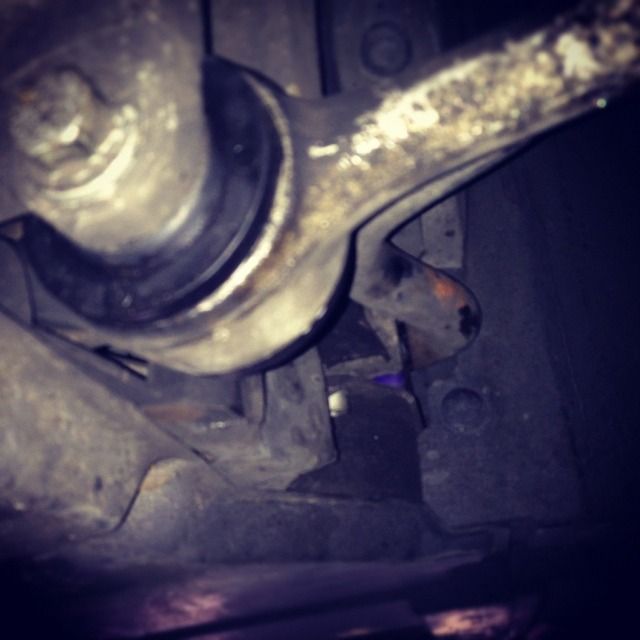
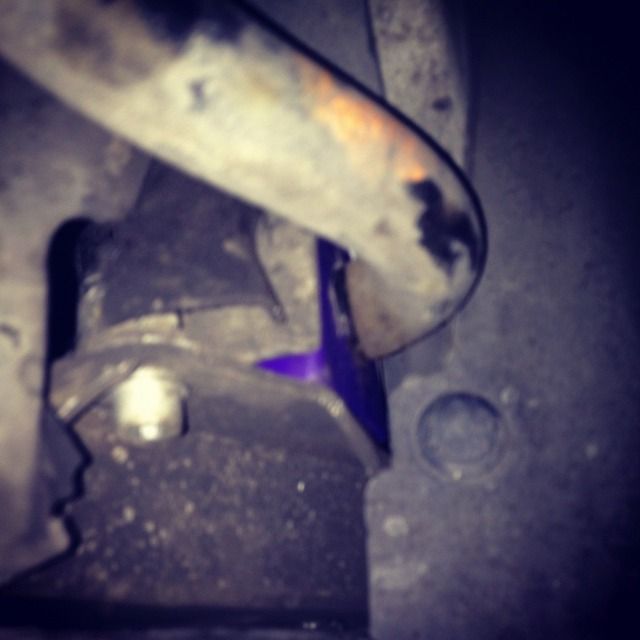
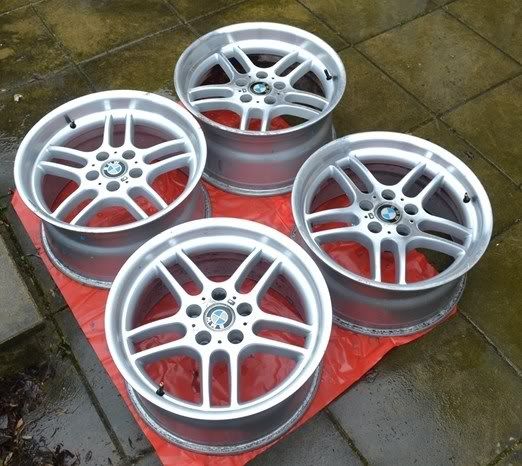
Anyway I bought a set of Sport wheels with good tyres on so once I got back from oxford they went strait on as the front tyres were not in good shape. I then got a bit of a chance yesterday to have a go at fitting the coilovers. Managed to get the front two on. OMFG everything is seized on took me and a mate half a day just to get the front two fitted! I coudln't for the life of me see how I get to the back struts so I have asked on some e39 forums and will have a go on the weekend. But because of all the arsehole the front were I might get my mech to do it for me. Wish I had air tools and ramp! (deffo on the lottery wish list)
As I put in my previous post I bought some Fuchs Titan Race, I called opie oils and asked for their reccomended oil for the car. they said either Castrol Edge 5-30 or Fuchs Titan Race, I obviously went with the race only to find out my car takes 7-7.5 ltrs of oil not the 6 ltrs opie oils sold me. So I called Opie asked for another ltr but I would not be paying postage because of this. this didnt go well and I will not be ordering from them again to be honest.
Fast forward to today. I made some calls to my friend in the trade for some Castrol Edge 5-30W and he tolde me to give National Tyres a call as they over a Oil service for something stupid like £40 much less than the price of the oil. So after a quick call to them I droped in and waited while they changed the oil.
to be honest for the amount I paid I was very impressed. The guys were very proffesional and let me have a good old look under the car while it was up on the ramps and commented on how clean the car was. I asked why it was so cheap and they told me its a gimmick to get customers in so they check tyres and everything else and they buy the oil in by the boat load.
So for a Oil Service with Castrol Edge Fully Synthetic 5-30W I provided my own filter. which they said they wouldnt let me do but after a quick chat he was fine with putting mine in. not that I dont trust the filters I provide. but no one can beat OEM. £38.70inc Vat. He even filled out my Service book and signed it.
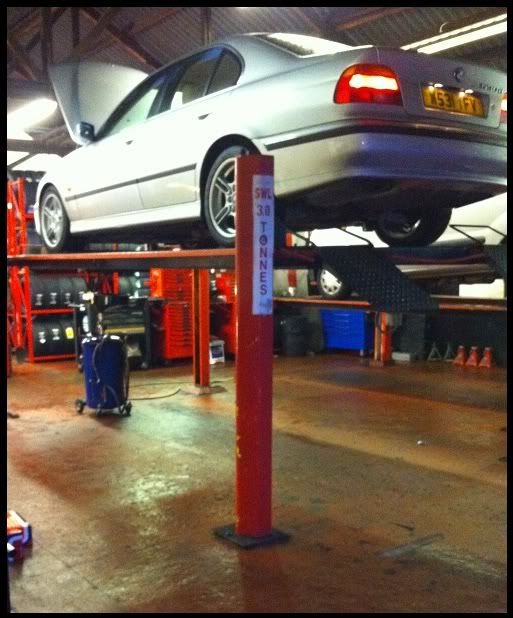
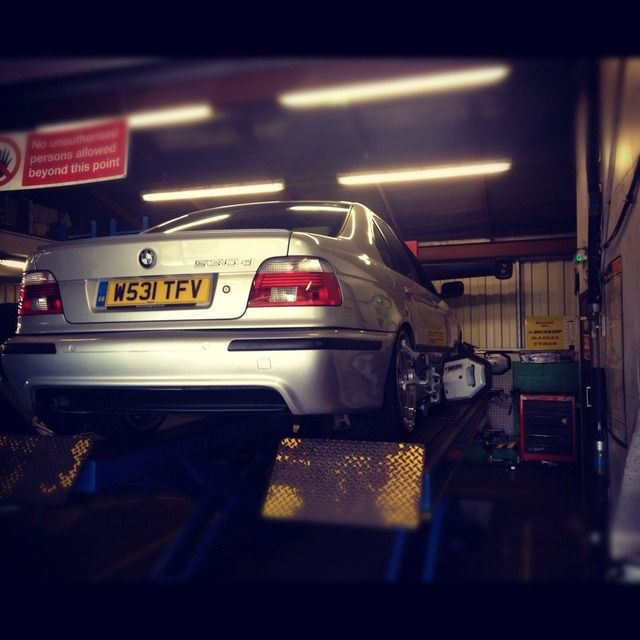
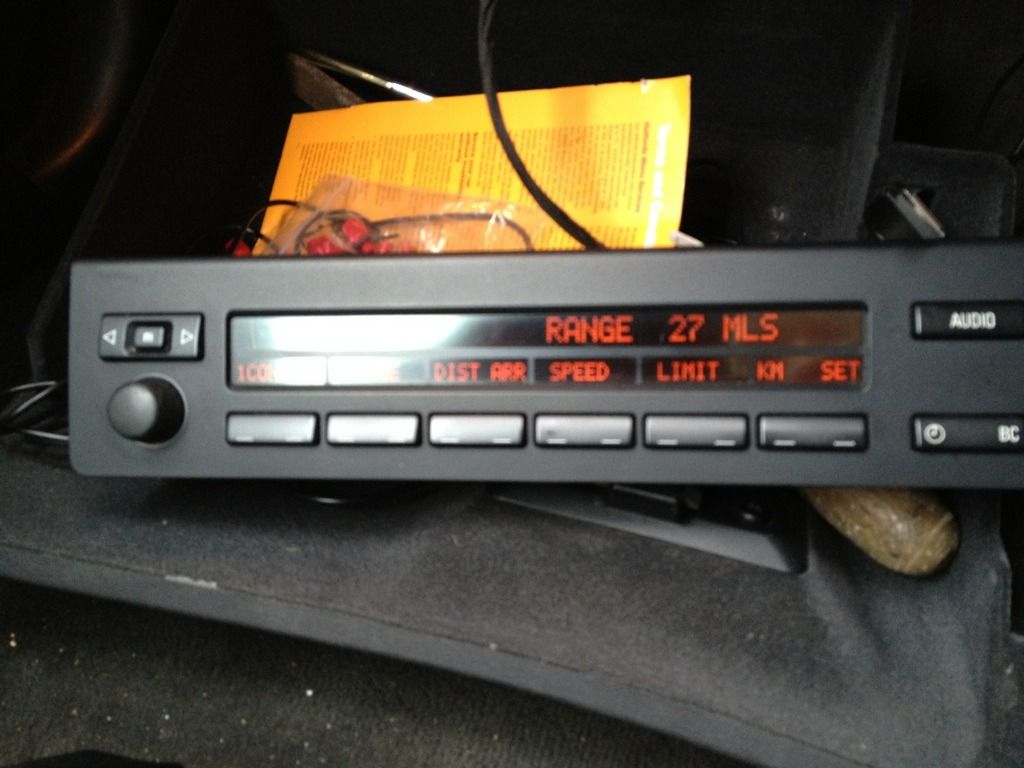
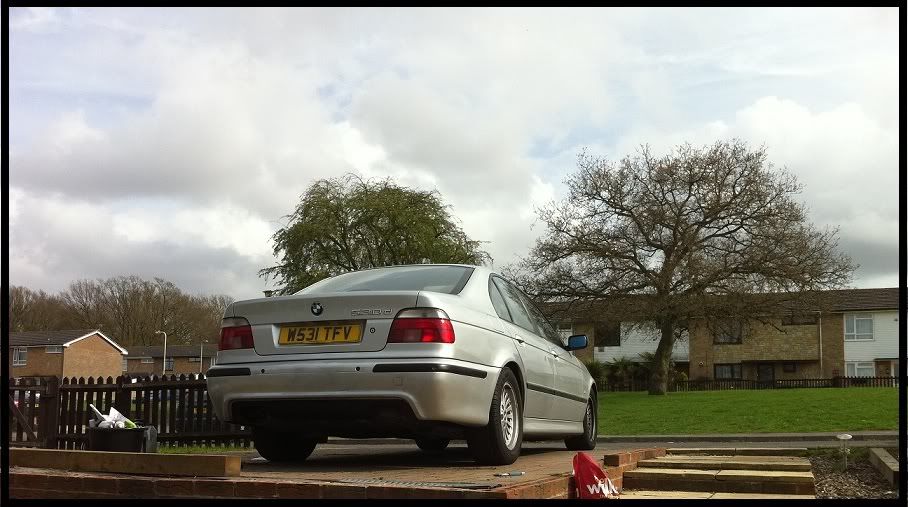
The keen eye of you will notice the nose dive the car has atm, the car is feeling alot better for the oil service.
Next on the list
inspection II
Change Brake Fluid
Coolant Change
Bumpers Fitted Up
Facelift Lights All Round
Facelift Kidneys
Mtec Steering Wheel
Black out the chrome trim
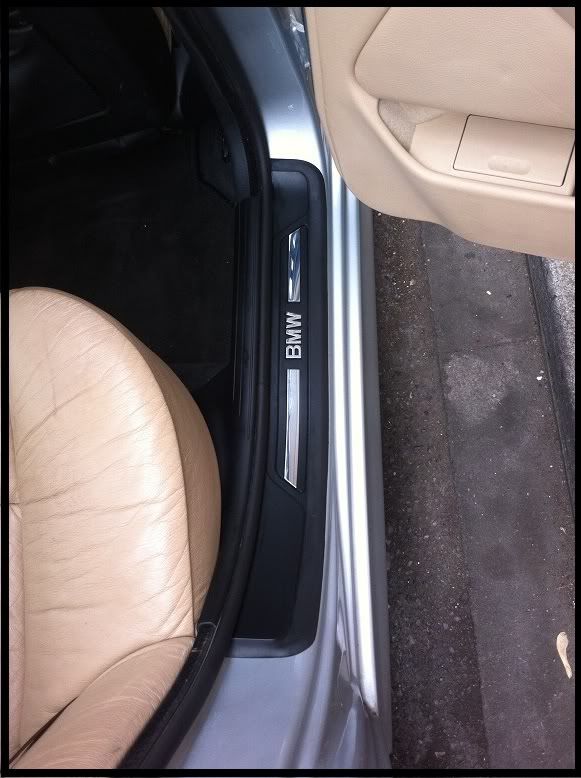
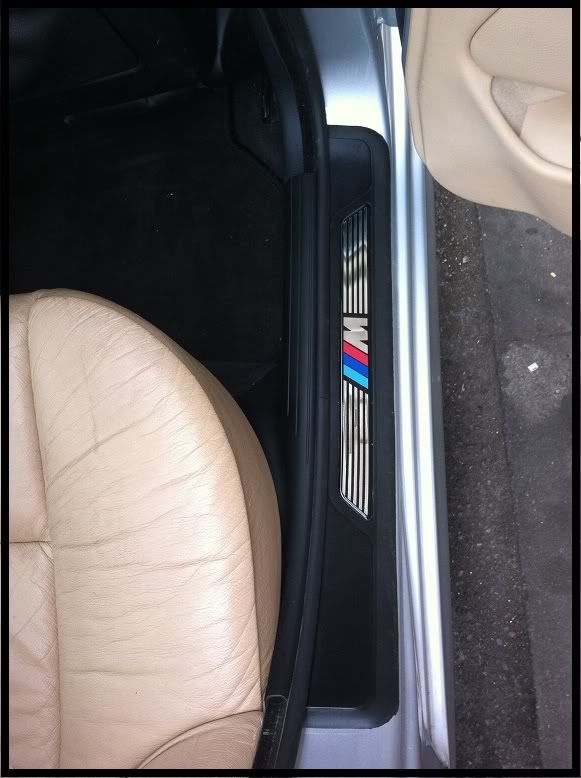
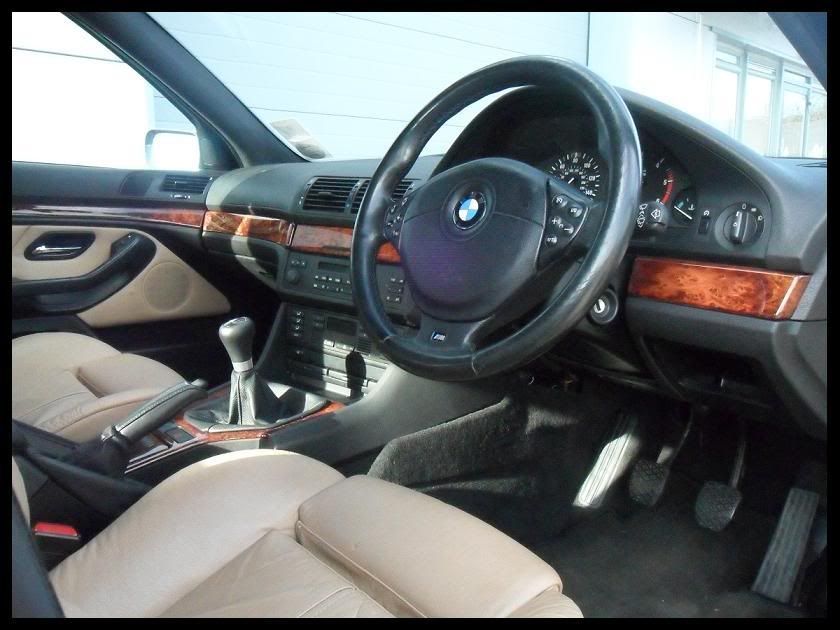
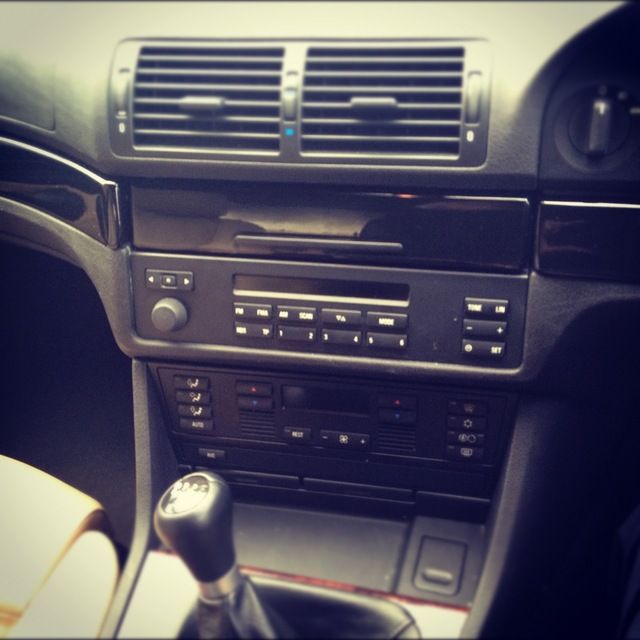
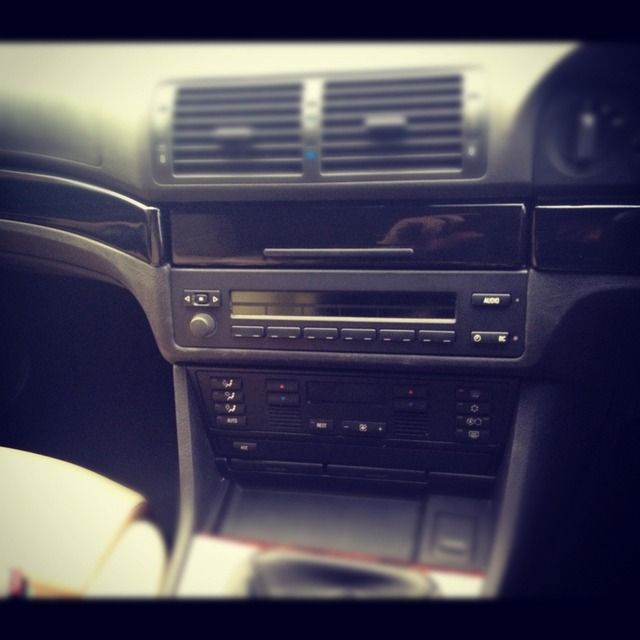
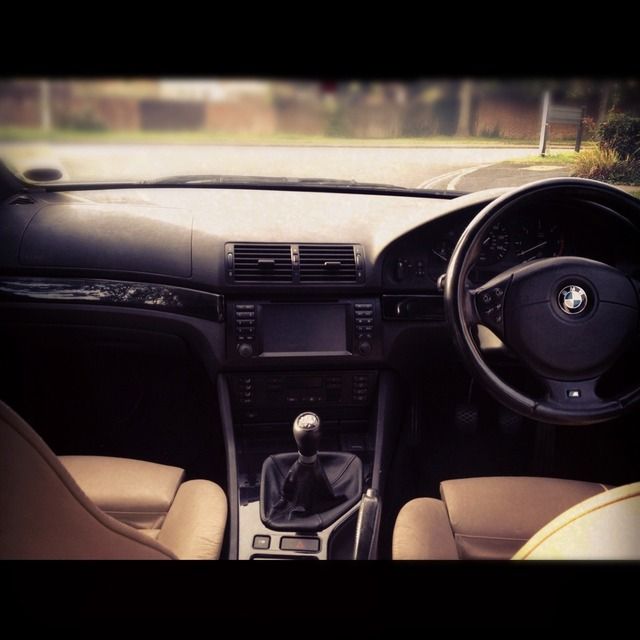
Get some decent pictures up on the car and interior
Sort the handling and brakes. then remap, egr bypass and decat.
Another Small Update.
My sprayer called me on satuday to tell me the front bumper was finished. So I will be going down on Wed eve so I can fit the bumper and and make sure I'm happy. Cant wait M5/Sport front bumper totally transforms the way the car looks in my opinion. Can't Wait to get the Rear done.
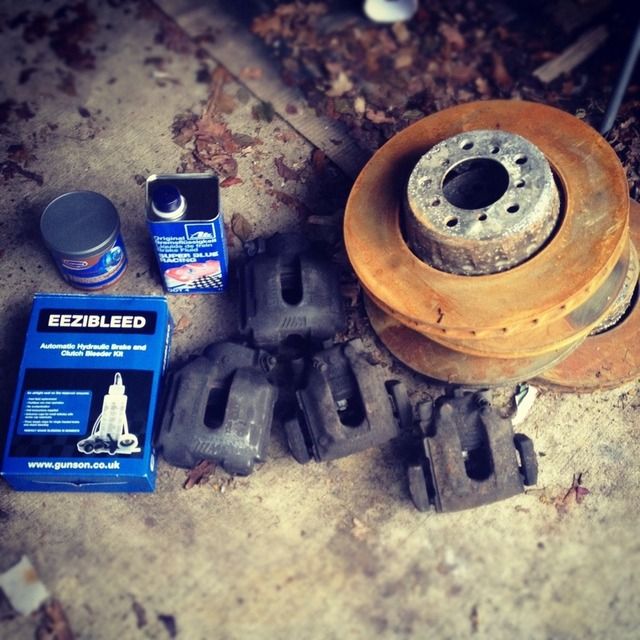
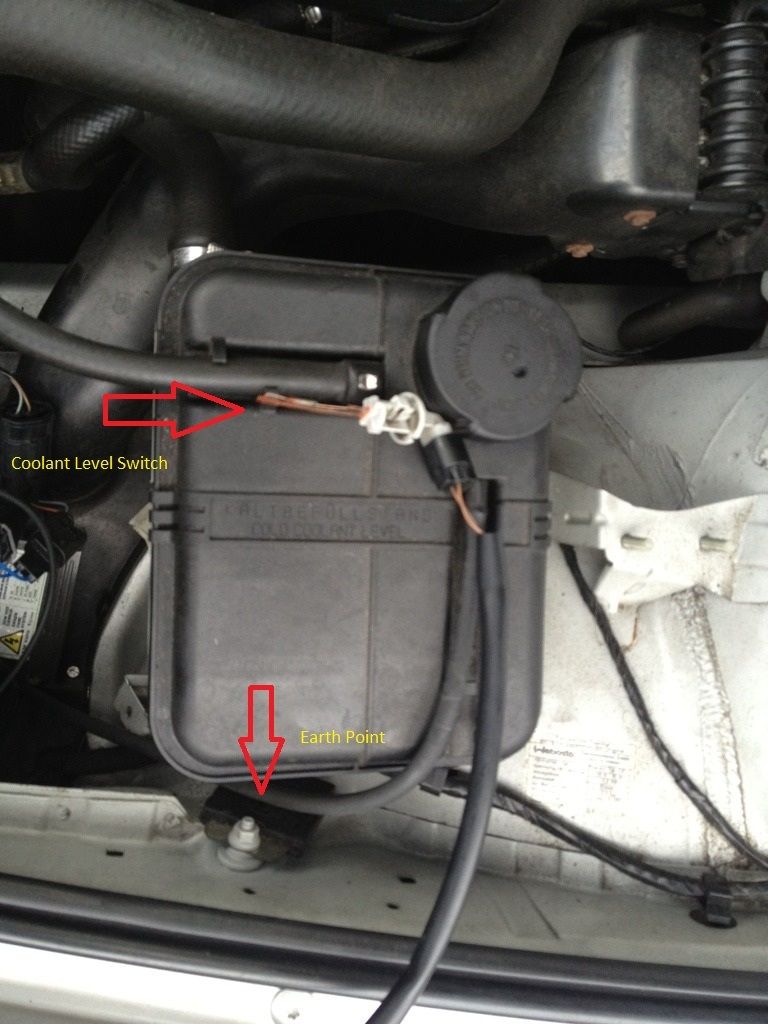
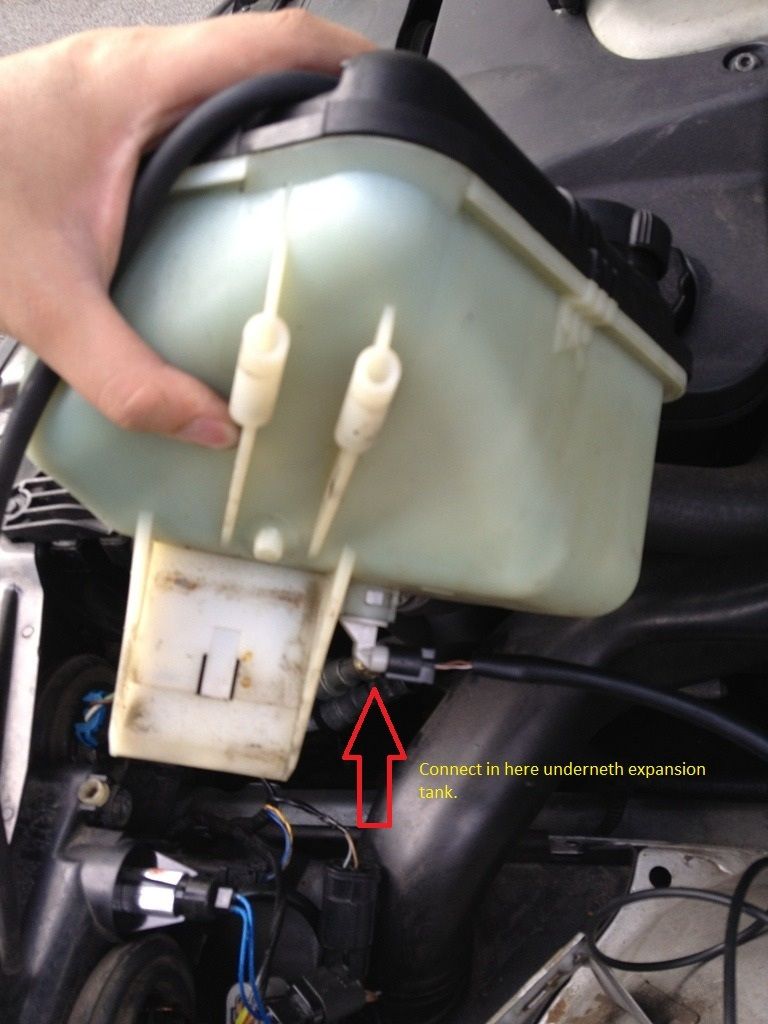
I'v now fully serviced the car. I managed to get hold of an inspection 2 check list and I went to town. I borrowed a friends ramp on friday evening and checked off eveything I could. Even took the brake pad thickness using this special tool he had. The only but I had a little problem with was after changing the air filter getting the bit that goes from the microfilter to the cabin bay back on was a total bitch must of took me 20 mins to get it to sit right. Last things to do on the list for the service is Change the coolant & brake fluid. as they are around a year over due.
I still have not fitted the rear coilovers yet. think im gonna get this done some point next week, just really cant be arsed to be pulling my whole back seats out including the seat belt mounts just to get at 3 bloody bolts!
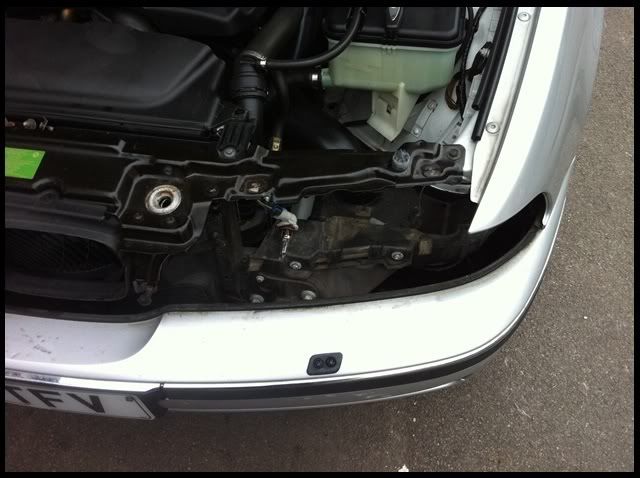
Today as money is now low from spending out on coilovers and bumpers I decided to do something that costs nothing. When I first picked up the car I noticed that the Passenger headlight was full of condensation and as I had an hour spare while the girlfriend was out I could use the oven without her knowing.

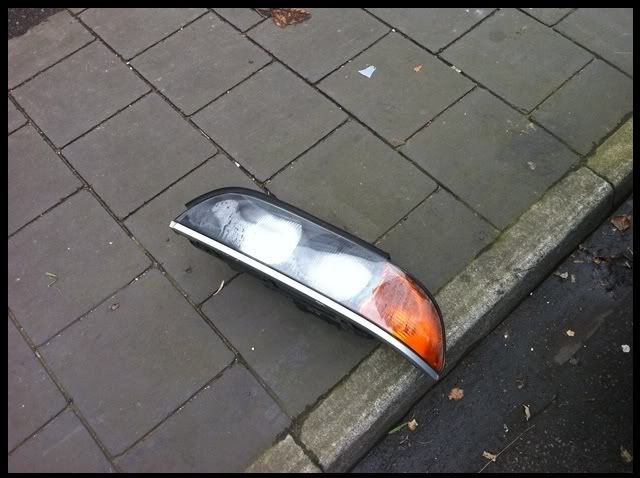
Headlight came out easy enough some of the bolts holding it in were pretty rusty, I've put it down on my list of things to buy.
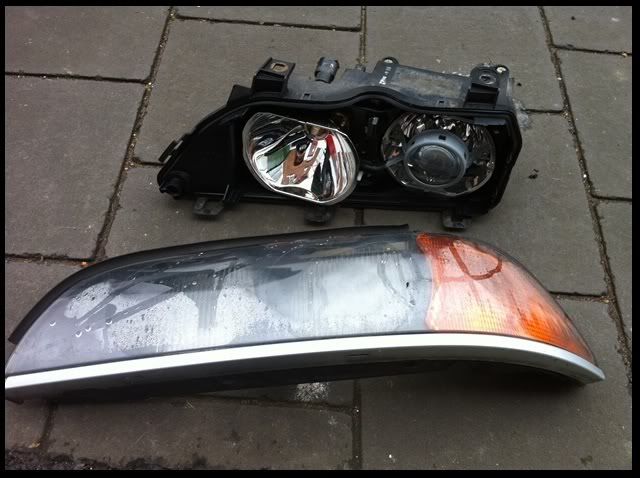
Headlight out I gave the area a bit of a clean but there wasnt to much poop around it which was good.
It comes apart with about 5 clips which make it really easy. I'm gonna be on the look out for some new headlights later on but as they are £200+ for a set of good genuine angels they will have to wait for a bit.
Headlights apart. I took the glass out and gave the insides a good scrub then stuck the unit inside my oven about 180c for 10 mins.
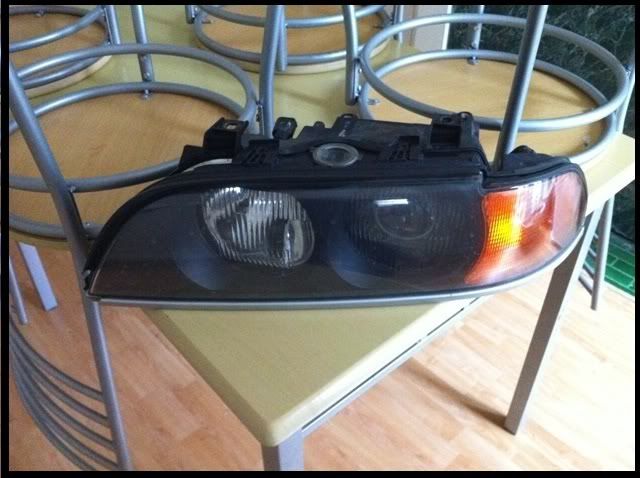
They came out perfect. I didnt have any sealant so they will need doing again. but I made sure everything was back together properly so hopefully it will take a while before I have to do this again.
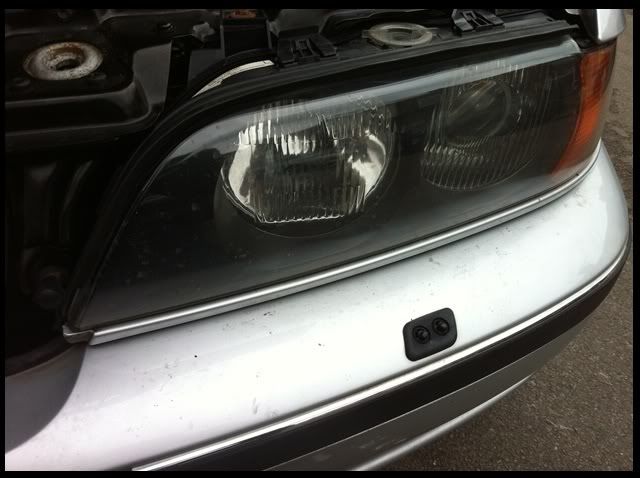
All back in.
So by the end of next week im hoping to of:
Fitted the front bumper and I will get some decent pics up and also some pics of the interior.
Rear Coilovers
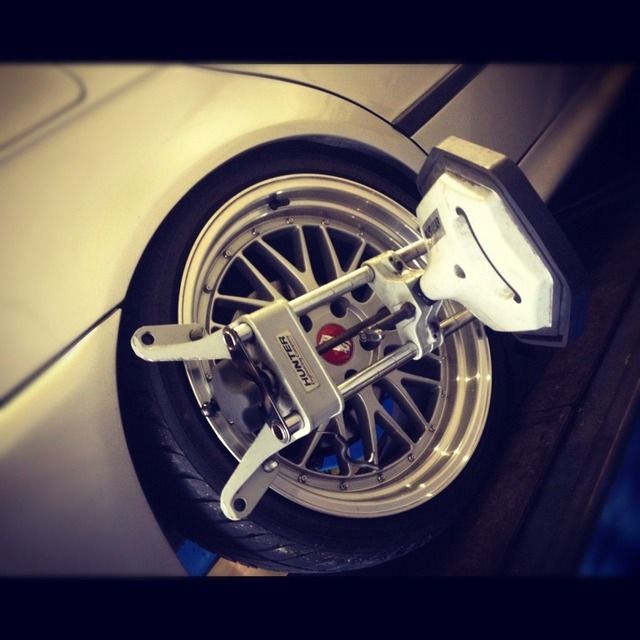
Laser Alignment
Really enjoying 5 series ownership.
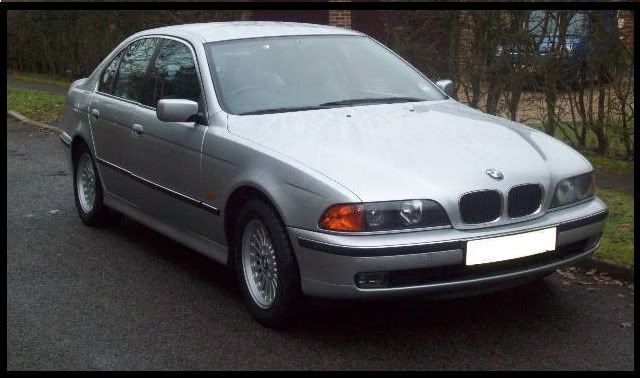
Ok so i've had the car around 3 weeks now. At first I thought wtf have I done.
First: it was silver and Its not a colour I really go for
Second: It was a derv and I have always been against them as they just seem to run out of steam so quickly (constant gear changes)
Third. It was an SE so no sport seats no mtec bumpers nothing special.
Well as the past few weeks have gone on I've really started to enjoy the car and get used to how to drive it fast. I've blown one particluar boost hoses off 3 times. Found out the car was overboosting this was an easy fix. Had the car checked by my local indy who gave it the all clear on the turbo side. I would suspect at the 98k milage its had a replacement in its life but I need to call bmw and see what hey have done as its full Bmw service histroy. If not I am gonna keep some money aside to get this done if needed. Since the front coilovers were fitted its sharpened the front right up and taken it from feeling like a big barge to something you can put into a corner and know its gonna come out. Rear coilovers are being fitted on wed next week as the bolts are too seized for me to get them out and my toolbox just isnt up to it so my mech is gonna let me use his air tools in the evening.
I still cant get used to have traction control I keep turning it off as I feel like the car could do more. One great part about the car as its very easy to handle. rear slides seem alot easier than they did with the M3? no idea why? maybe because the tyres are not as good as the PS2 I had on the M3.
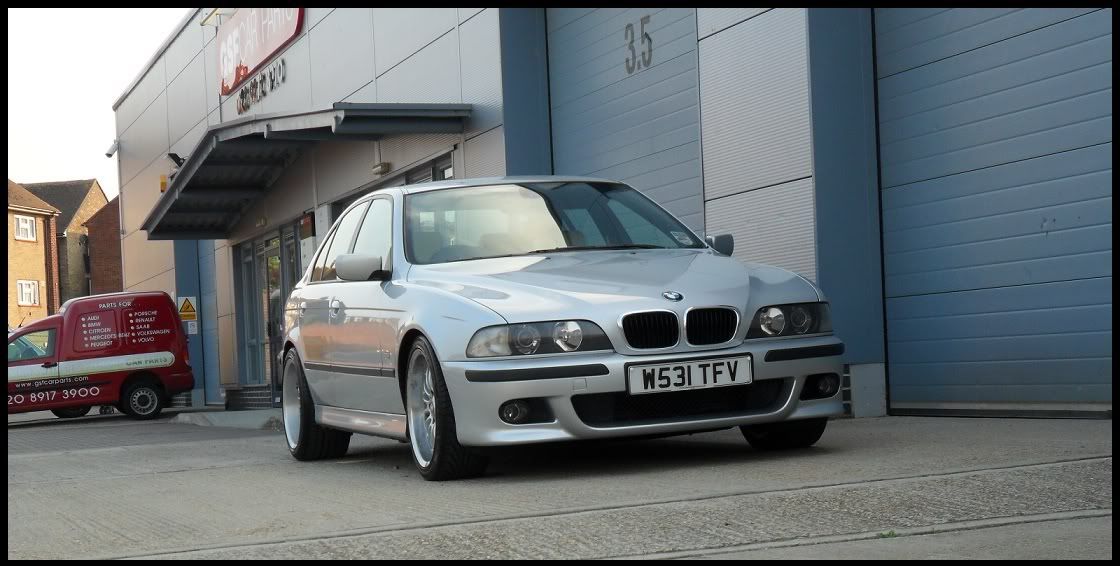
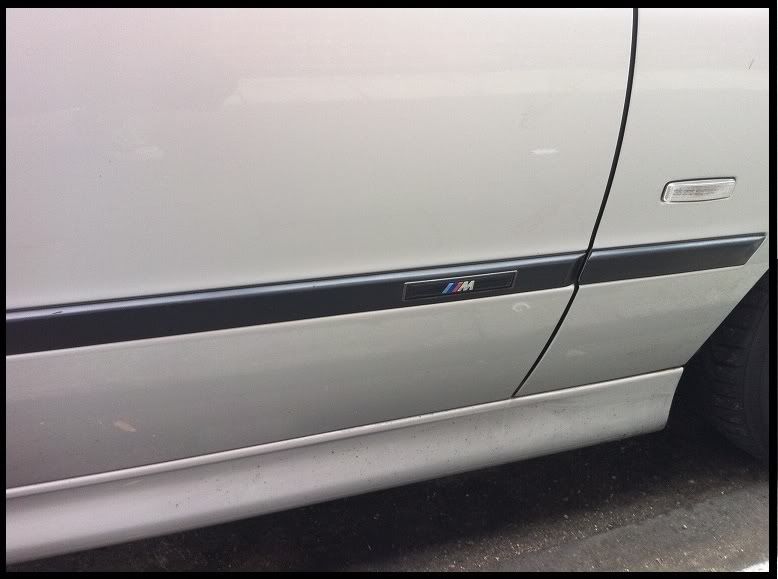
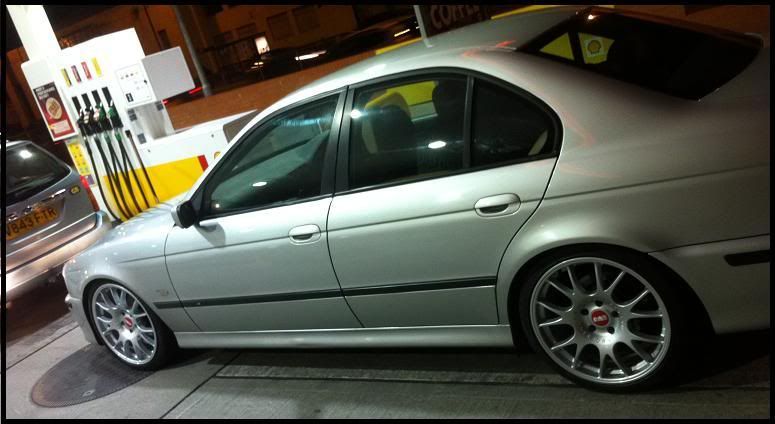
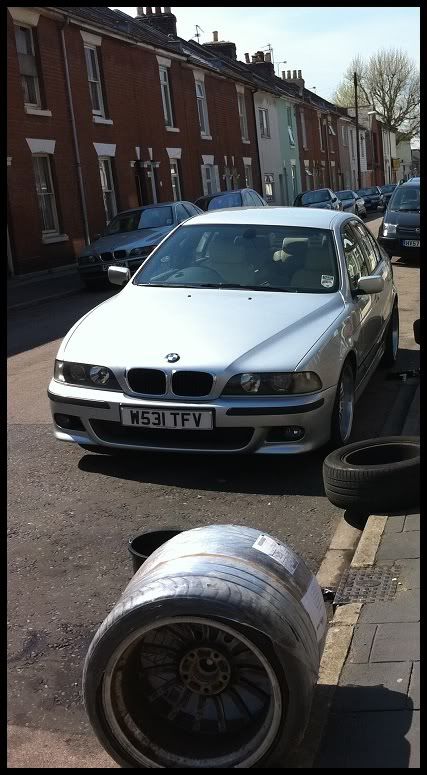
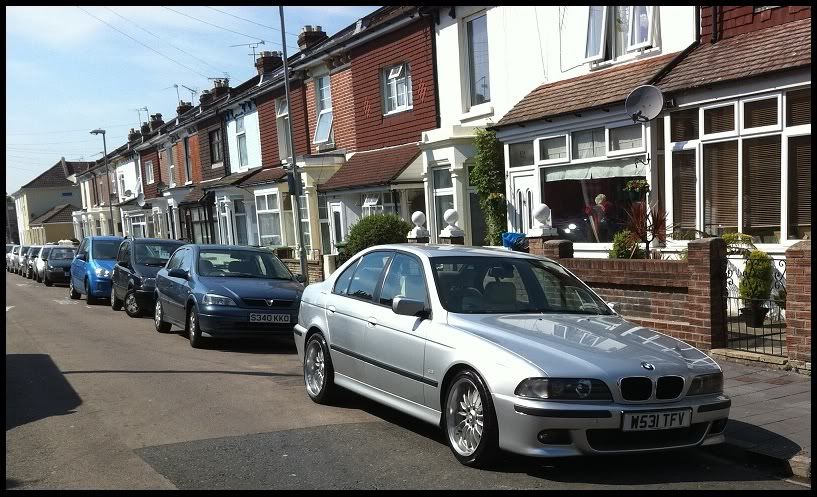
Well as soon as I bought the car I knew I couldnt keep it in standard form as thats just not me but i still prefer to keep things OEM as possible. So I picked up an M5 front and Rear bumper.
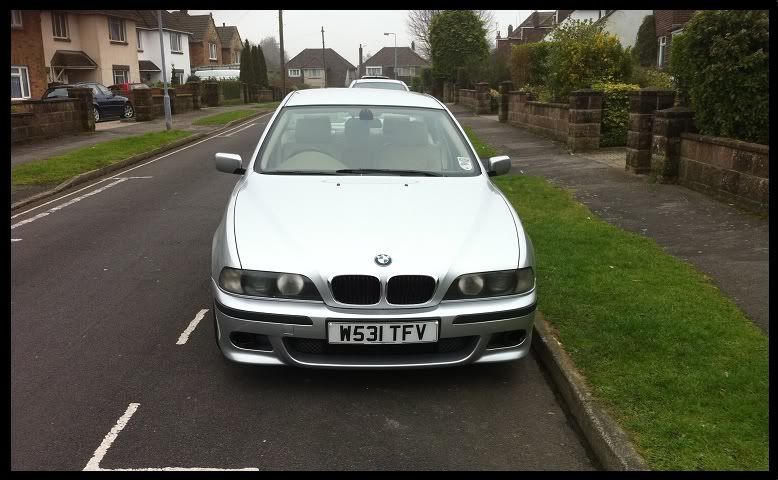
The front bumper went into the sprayer a week or so ago as the rear bumper needs a bit of work and Im a bit short on funds but the front was sprayed on monday but I wasnt happy with the finish so I asked him to do it again which he did. Here are some pics now finished.
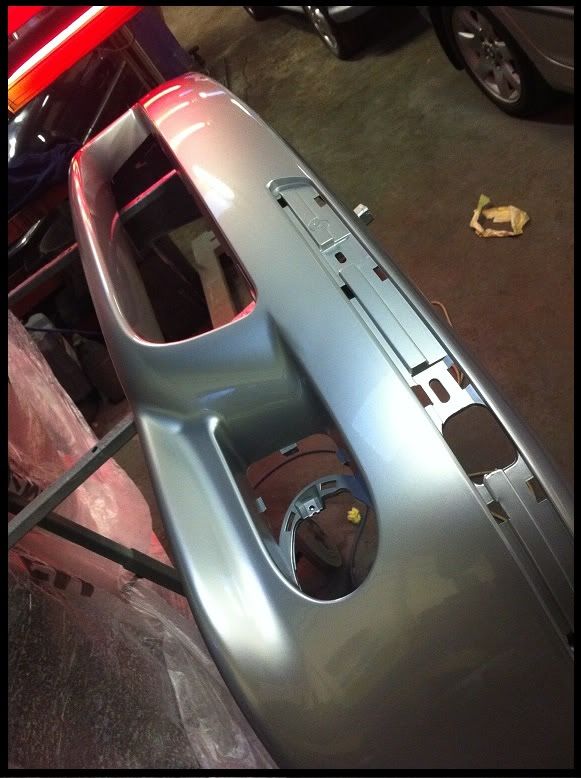

So After alot of of swearing and a bit of triming here and their I finally managed to get the bumper to fit.
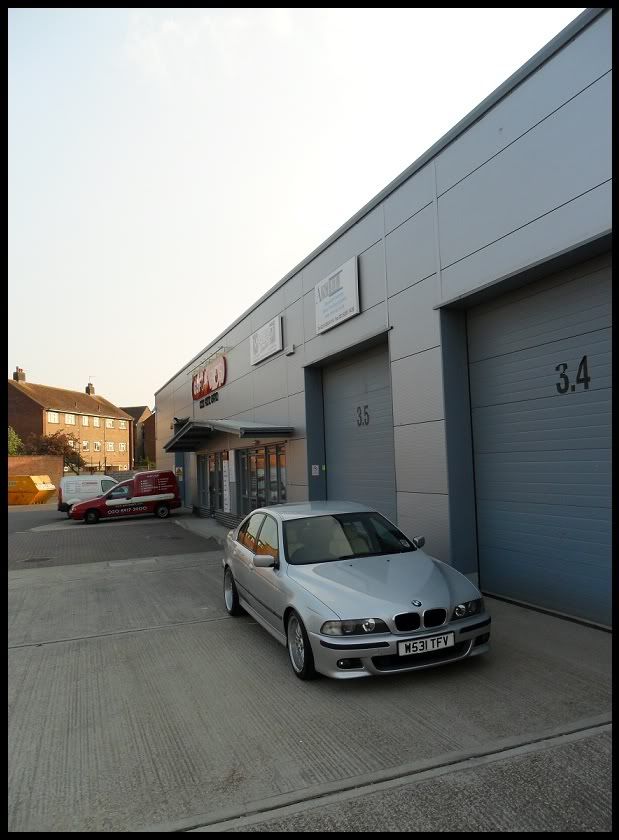
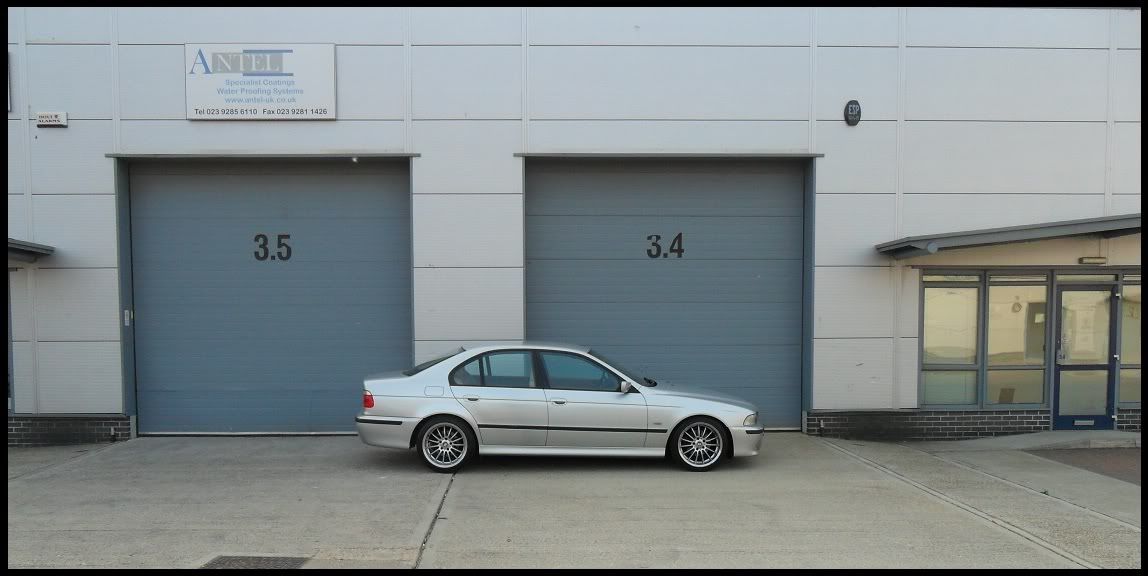
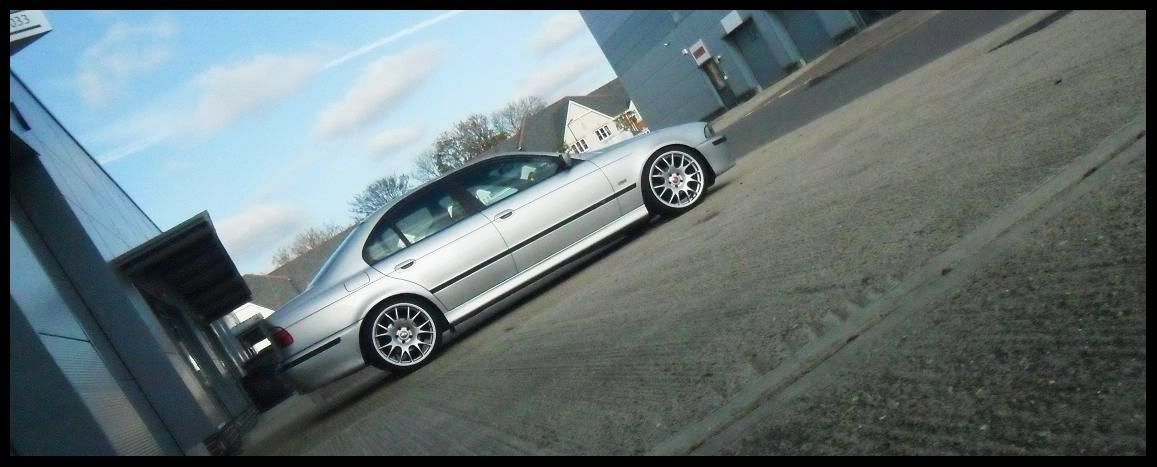
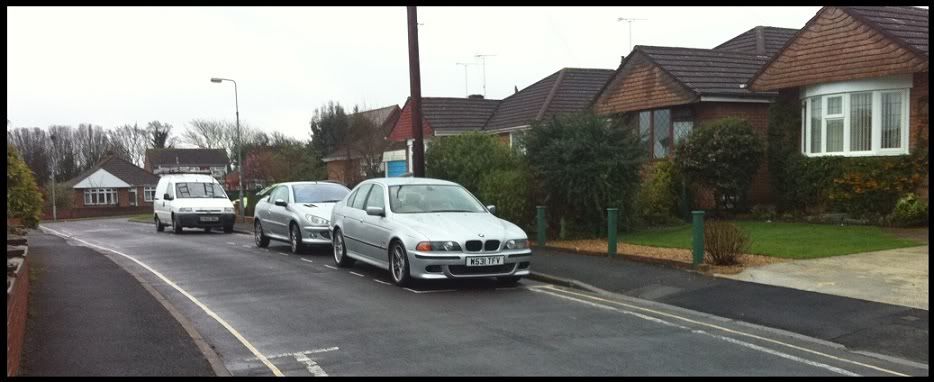
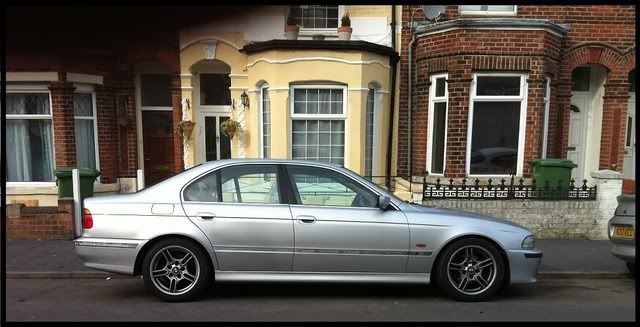
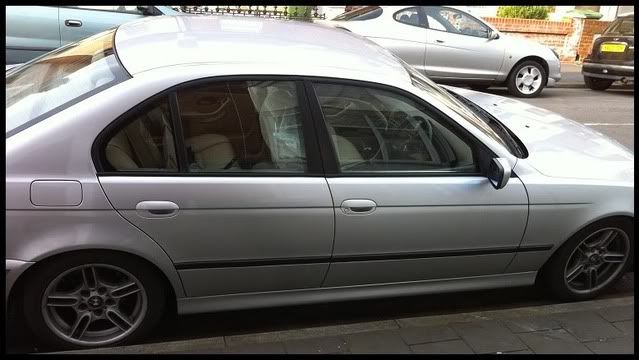
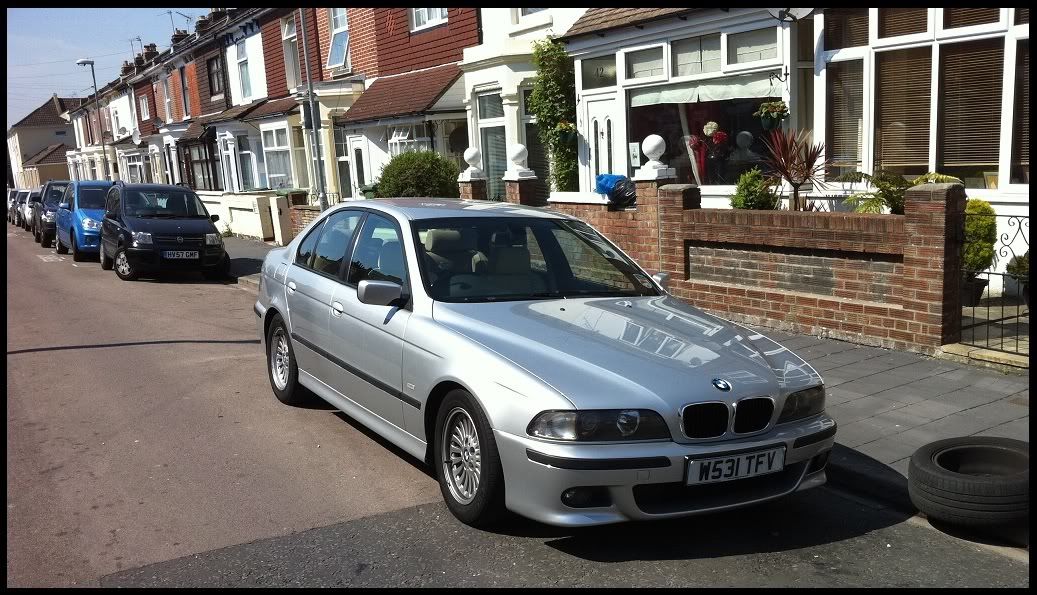
So here is the car 3 weeks ago
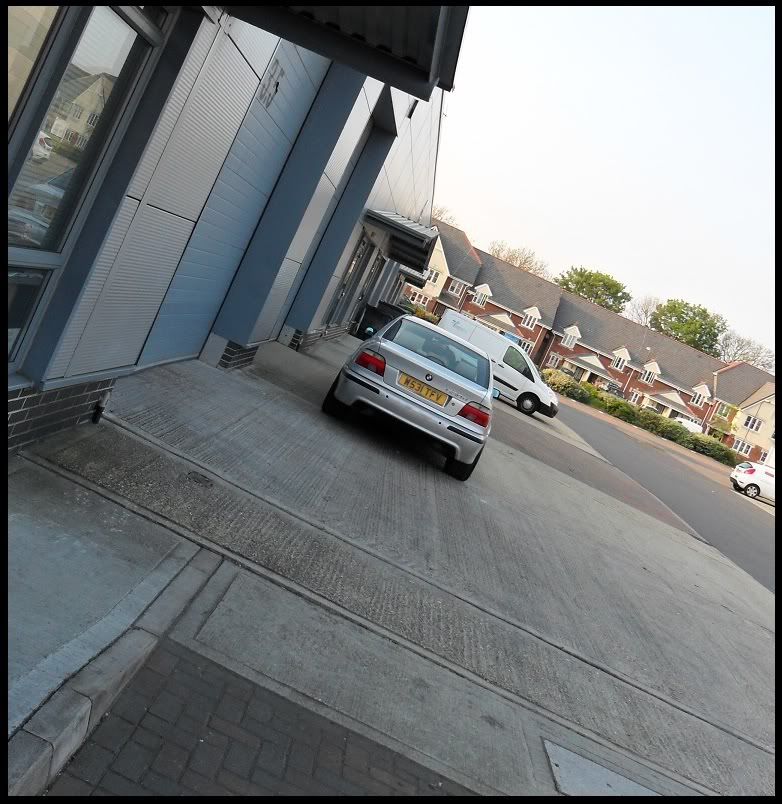
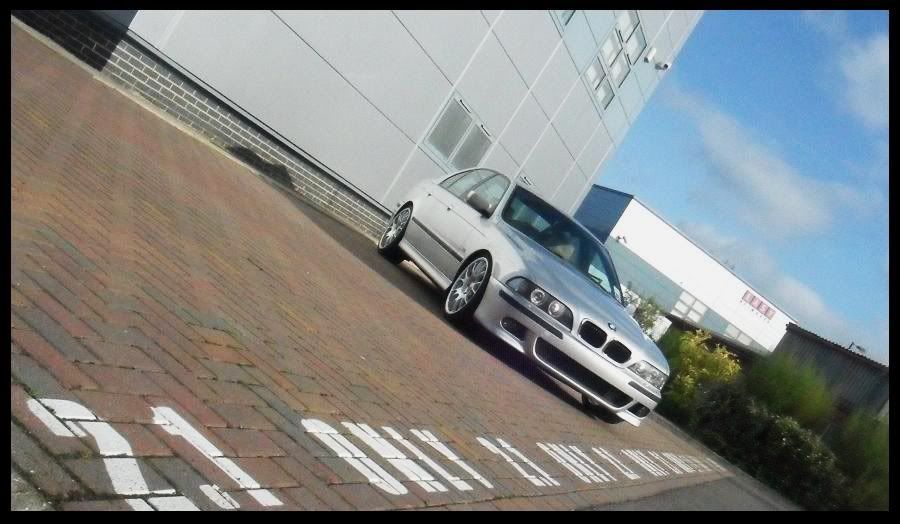
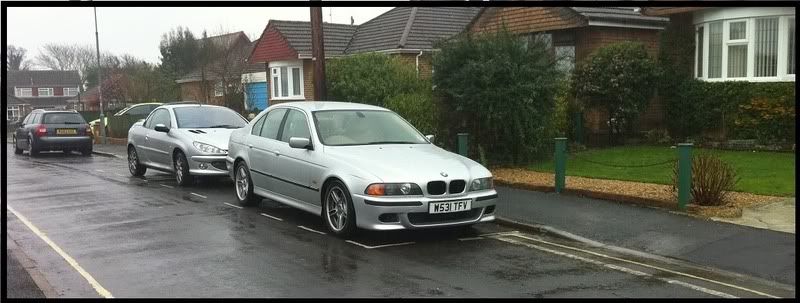
And now this is how it sits today. Really needs the new angel eyes and facelift grills. also you will observe that It has no fog lights. well they have not turned up yet but should be here soon.
All in all im very happy with the finish and fit of the bumper. and extremely impressed with the 5 series, My plan is to keep the car a long time so many more mods will be done over the comming months. let me know what you guys think
Chi
So got my new facelift grills and clear headlights. Im leaning towards doing the grills black.
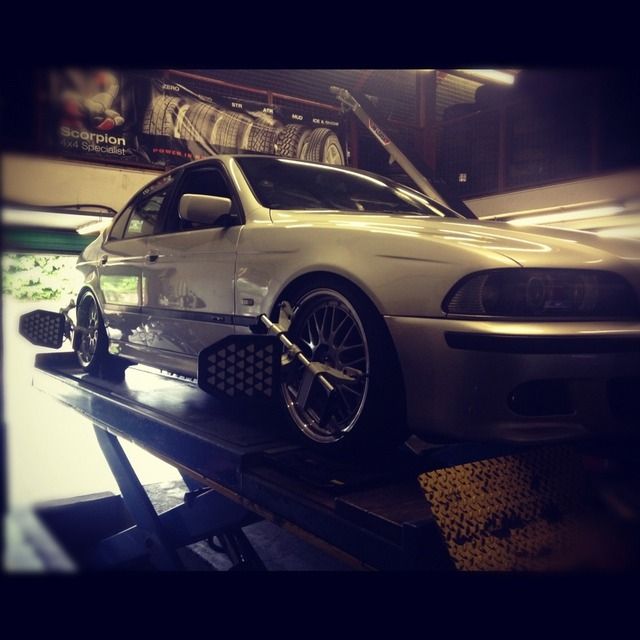
Coilovers are fitted front and rear. Im just waiting for them to settle before I lower it down and get a 4W Alignment. Also Im considering changing the wheels for some Staggered 19" BBS CH or 19" LMs
If I get time I'm gonna dechrome it this weekend.
Chi
Well what a saga I thought the car was fixed but it clearly wasnt as all power from about 2k revs was just gone took ages to get anywhere so back to the garage it went. did some 0-60 runs and I know there not that accurate but I was getting 10-11 seconds
I took it in wednesday and it was transported to Panda Diesel http://www.pandadiesel.co.uk/ in fareham near me who are Bosch approved diesel center. It was in there for the total of 9 days with me getting very worried as the days went on. this is a list of things done to the car while in for repair.
Injectors taken off and tested (THANK GOD!)
All vac pipes replaced
Fuel filter replaced (needed doing)
thermostat broke while in so this was replaced and a coolant flush done (needed doing to be honest so I was happy)
Maf taken off and tested with another no fault found.
Pressure converters swapped and tested found to be holding vacumm, filters cleaned
Manifold taken off to check for cracks.
(MAP) Boost pressure sensor replaced at back of manifold
Oil breather checked.
Turbo accutator checked
HP pump removed striped and tested found to be working.
Air pressure through the system tested and fuel pressure tested.
There was more. baisically all of the fuel system and vaccum system was taken off and put back together. It was found that I had a broken MAP and some foobar'd vac lines in the end. but it scared me for a while because they just could not figure out what was wrong with it.
Bill came to over £700 luckily I didnt pay it as I had bought the car off a garage. So friday lunchtime I went and picked the car up. Jesus It was like a new car. pulls well in every gear. just got to get used to it these cars done seem to have alot below 1500 revs until the turbo kicks in. but when it does you certainly do feel it. I did some more runs last night and was getting in the mid 7's for 0-60 traction control all over the place as it was a bit wet. (i know it doesnt mean much and no one races off the lights but It was a good way for me to measure its performance against what the book stated. which is 7.8 sec btw. Car felt like a total license looser its easy to find yourself getting close to tripple figures but I like being able to drive so wont be going that way.
Decided I would fit my new rear lights and my Shadowline windows trim. pretty impressed with the results. Gonna do some more tomorrow now and fit the rest up and give it a good clean because the car is filthy.
Before
After
before
After
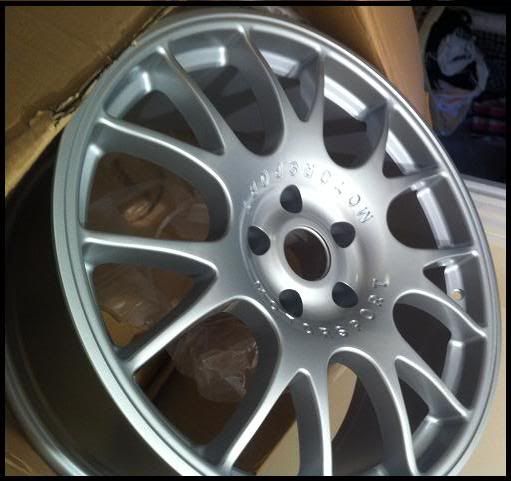
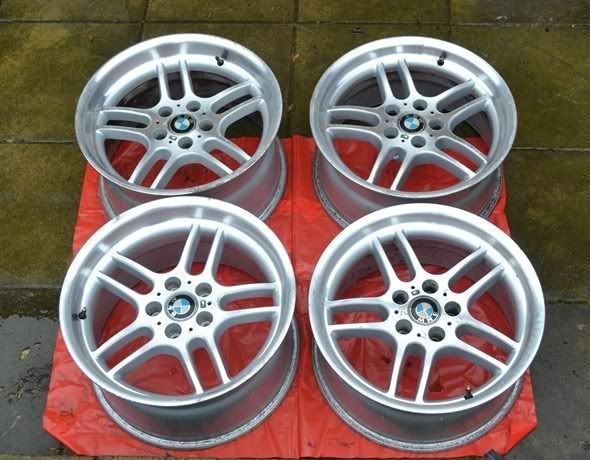
I have also sold the style 66 alloys on the car and they will be replaced with these. Once they come im gonna set the ride height and get a 4 wheel alignment
Fronts 18 x 8.5 ET15
Rears 18 x 9.5 ET25
Starting to enjoy 5 series ownership.
Time for a little update. I've been busy on the car today. Had a bunch of bits laying around that I had ordered while the car was being fixed so I wanted to get them fitted.
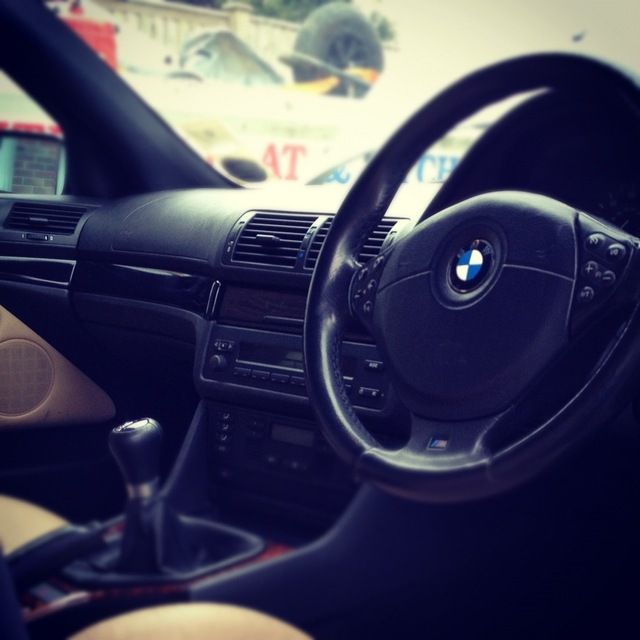
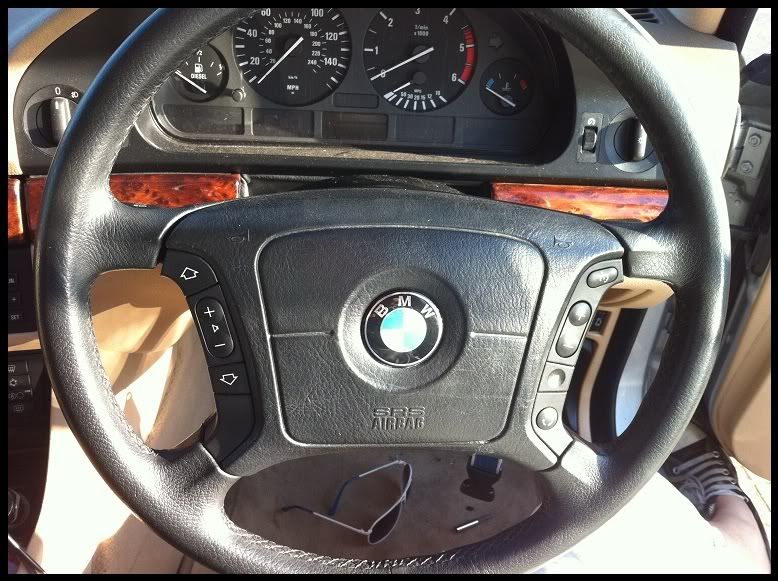
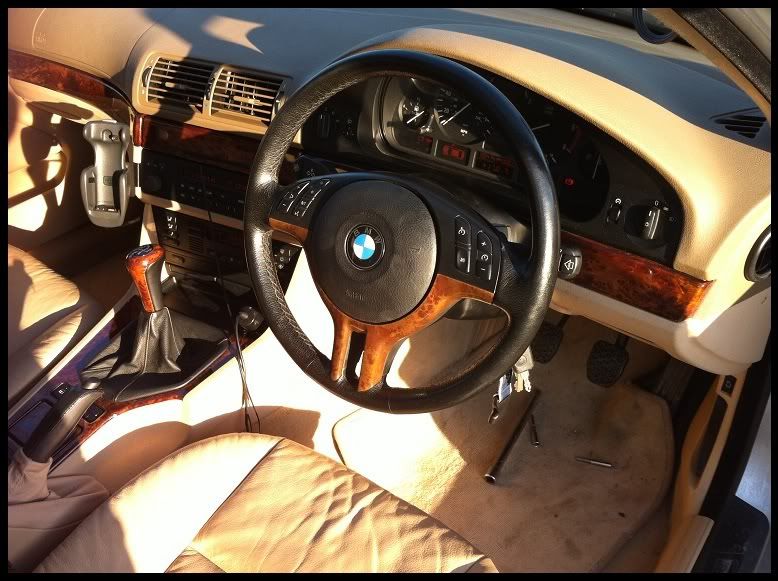
First I got a Mtec Steering wheel from ebay for a good price which arrived a few days ago. Now if anyone has ever tried to removed the air bag from one of these you will know what a bitch it is. for some reason the right hand side clip would not move at all. took me the best part of an hour to get the air bag of the mtec wheel. The old wheel took like 5 mins to take off so here is a before and after.
Ugly massive steering wheel
Less ugly steering wheel
The bumper I had never came with sport fogs and some of these fetching up to £80 for two I waited for a good deal to come up and got these for £40 for the pair I also took the time to delense the car. Pictures dont show it that well looks much better in real life.
Left hand Delsensed
Both done.
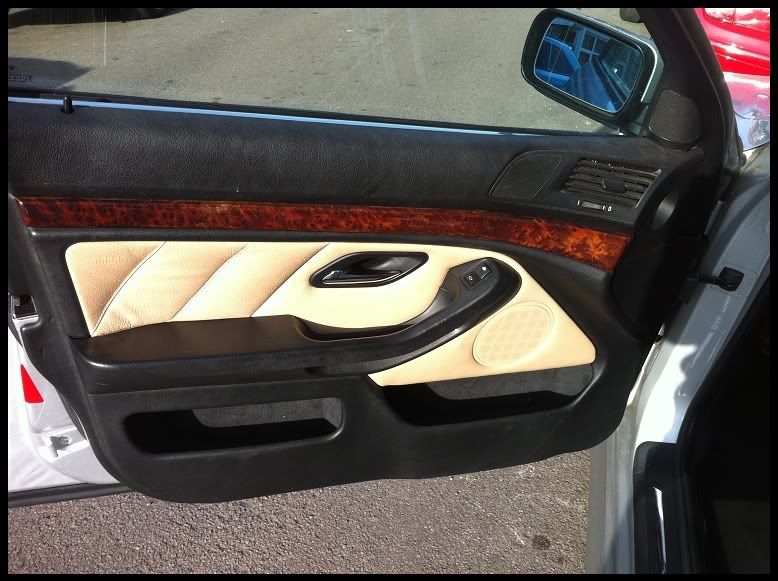
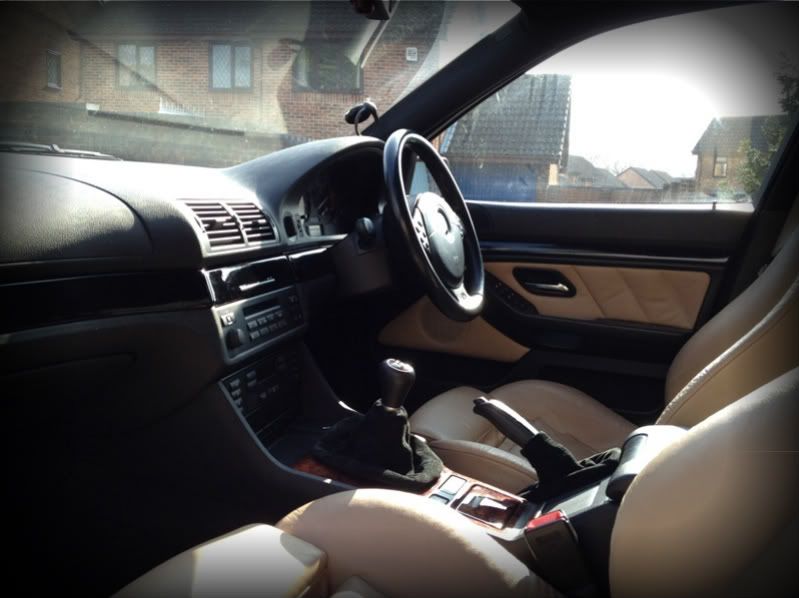
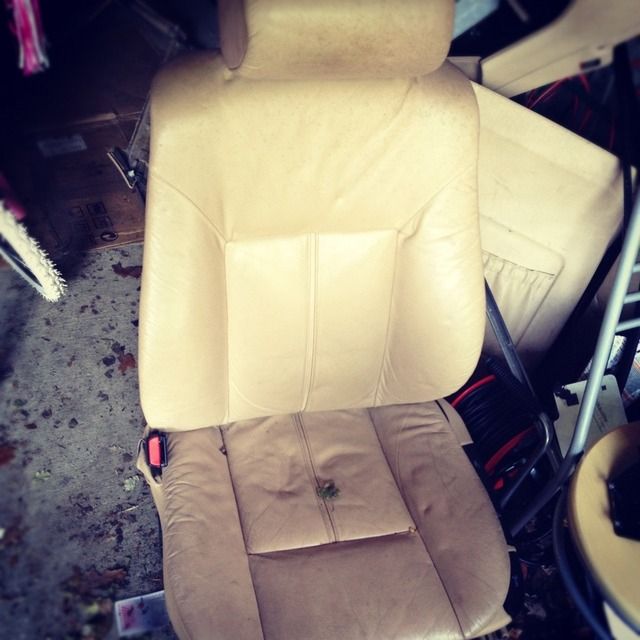
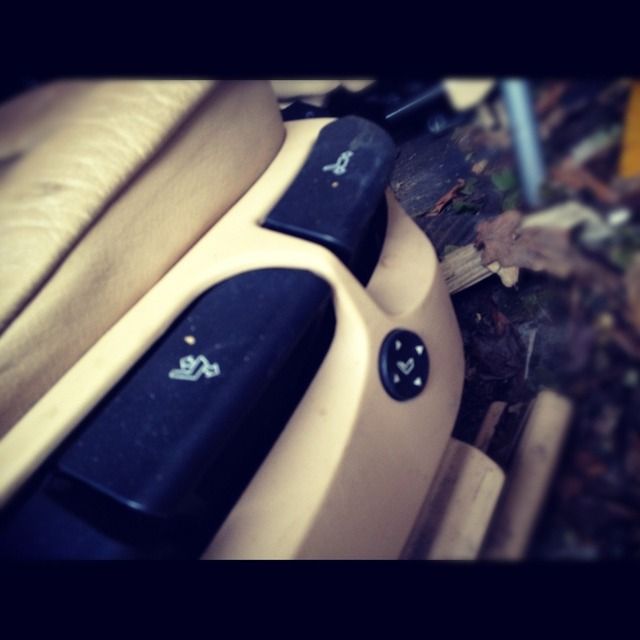
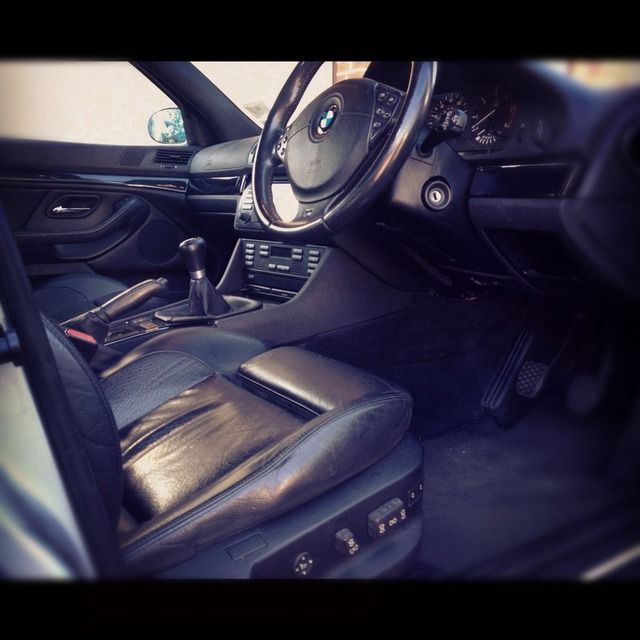
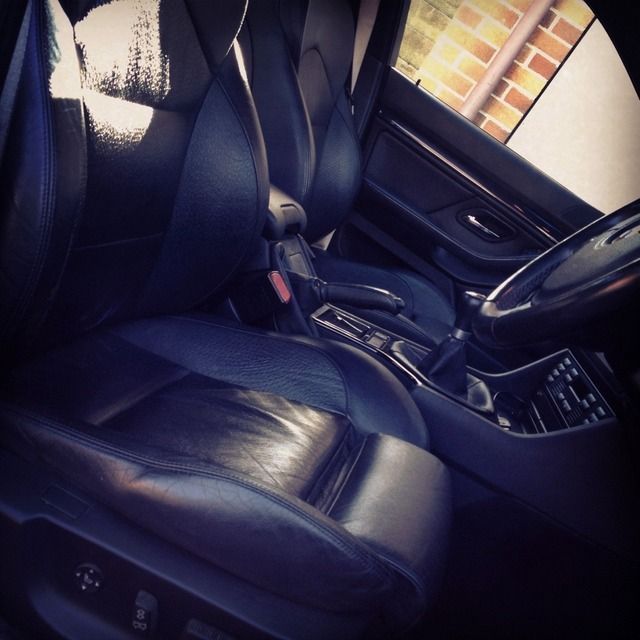
I also managed to pick up a set of black leather sports seats
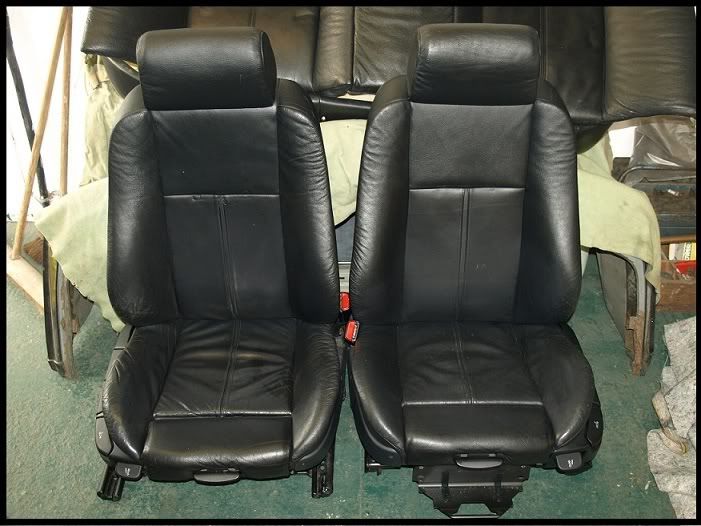
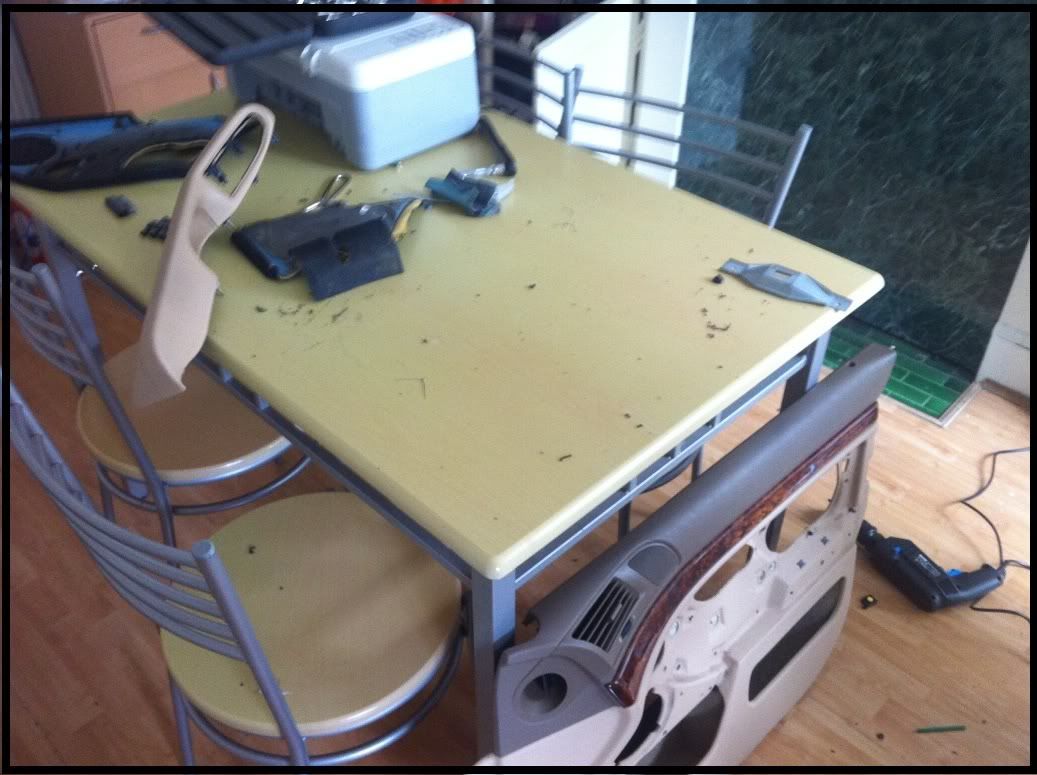
These wont be this colour for long. and my interior wont be beige and brown for long either. I have black dash on the way with new doorcards hopefully and black pillars and rooflining. Thats about it for now will update again in a few weeks.
Chi
Time for a bit of an update.
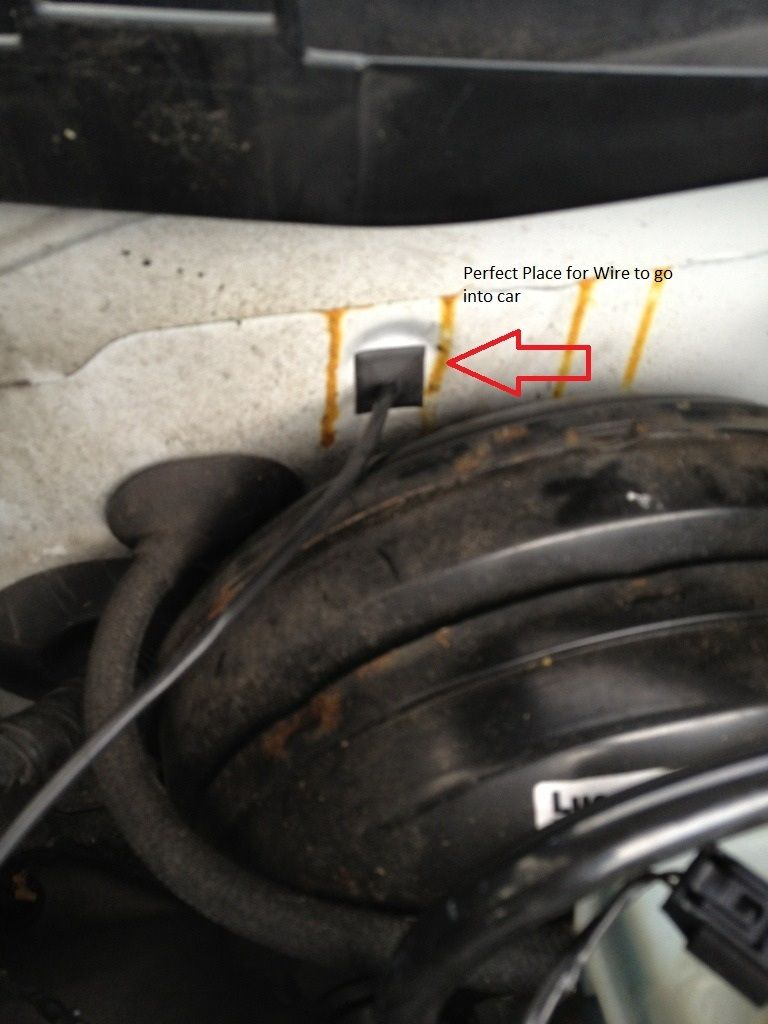
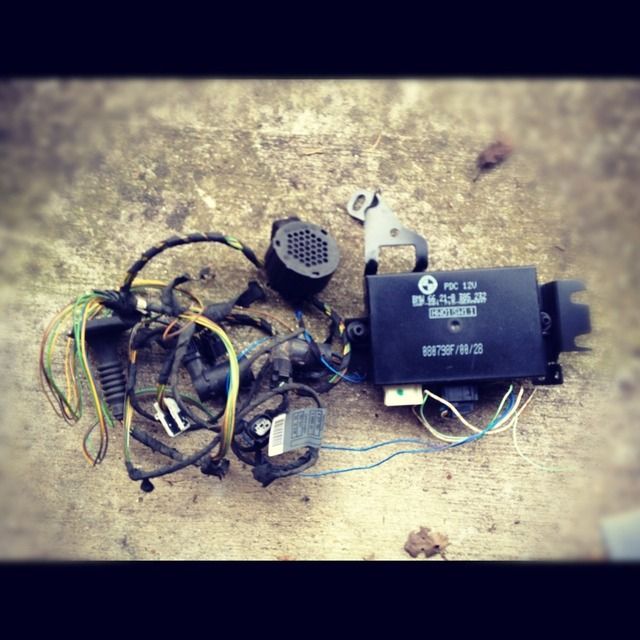
I've been waiting to have enough ££ to get my rear M5 bumper done and since its quater end and I did very well at work I decided to get the rear bumper done. As some of you may notice the parking sensors are in there. I am currently sourcing the bits to do a full retrofit rear PDC as I really miss the one from my M3 and with the 5 series being so big I deffo think its one of them things thats needed on the car.
So the rear end before. (Excuse the wheels)
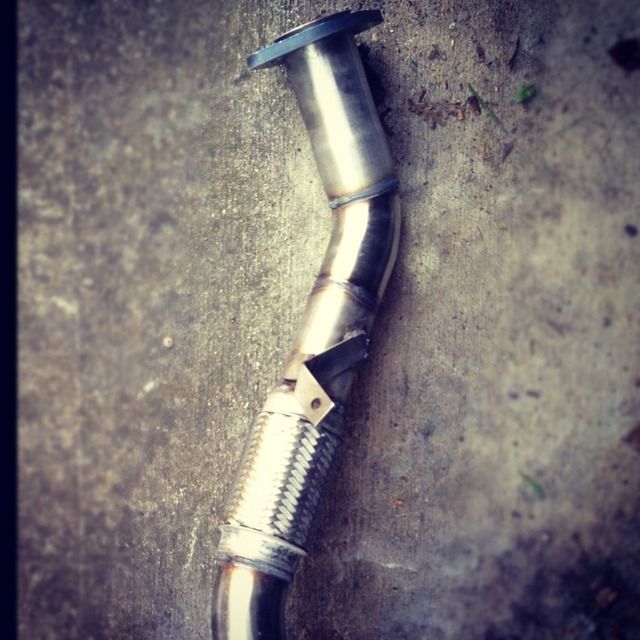
After. the car it was taken from was an M5 so its got the space for two exhuasts so this will need to be changed at some point.
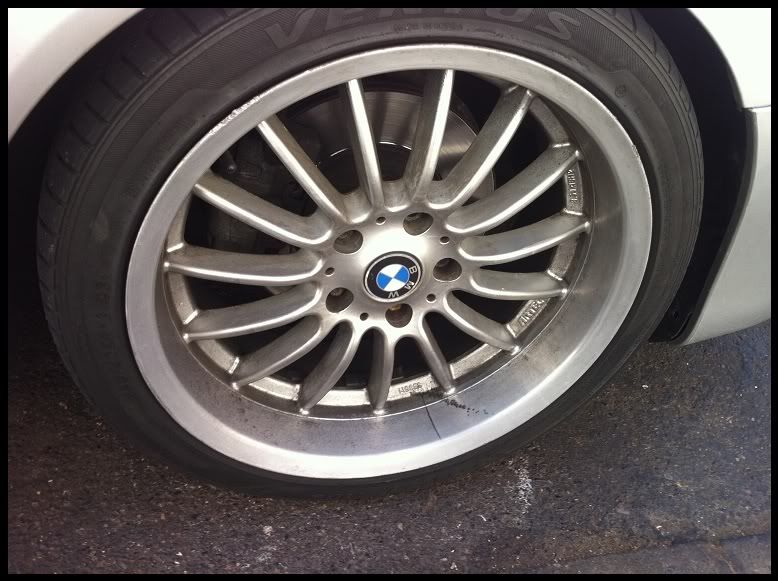
I now need some new plates so gonna order some from BMW in the next few days and the car needs a good clean because its filthy. My 18" M Parras have been refurbished now but I've not had a chance to go and pick them up. they will have to wait for tyres at the moment because iv been spending in other areas.
I have booked the car in with Simon at E-Maps on the 14th of April to get the car remapped. I've spoken to him on the phone and he has a really good replutation in the BMW community. He said you can take it from standard 193bhp to 220-230bhp so anything in this region is a good 40bhp increase and standard 400nm to 480nm which is not too shabby either.
I had a massive drive through Basingstoke country side to go and pick up some parts from a guy who had broken his M5. He got 5k for the engine and box! The car handled extremely well on its new coilovers and the guy behind me was in an M5 and we were all doing a good pace through these single country lanes. I was very impressed with the car and for such a big barge it really does shift so im really excited to be getting an extra bit of power.
Chi.
Another eventfull weekend.
I managed to pick up a decent headliner the other week to decided to fit it. really didnt take any pics as to do it quickly its a 2 man job and it was only me, but I got stuck in and I really enjoyed taking bits apart and seeing how it all came apart.
I fitted all the pillars bottom pillars rooflining. I now need a black carpet, center console, under dash and dash bits to finish the interior. I also decided to spray the ugly cream/beige parcel shelf. So out it came. you wouldnt believe the amount of effort just to take the bloody parcel shelf out. all the rear seats, headrests, then rivets its C pillars. trust me in this heat its an effot!

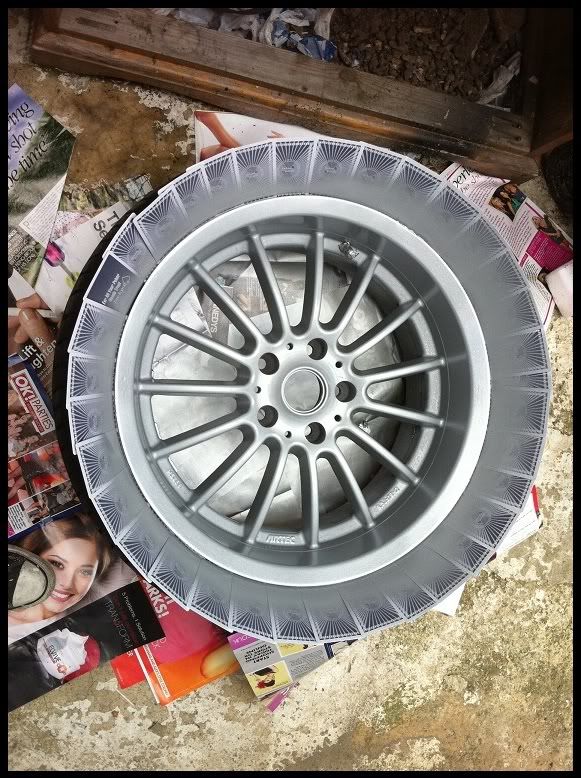
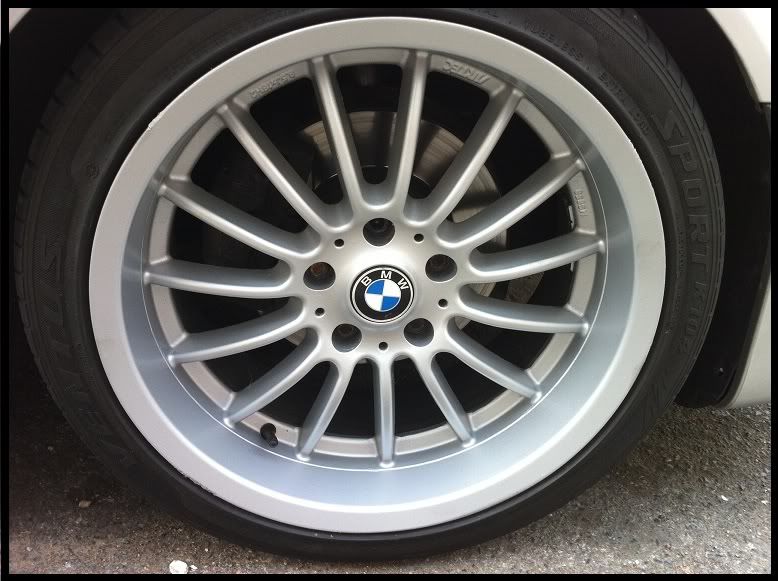
Well my new wheels arrived today and I thought I would bolt them up to see how they fit. I really like them they are Artec MS wheels in 18" flavor with 8.5 up front and 10j on the rear with lots of dish. the centers of the wheels are perfect but the dishes need a bit of work but I was planning to refurb them anyway. The ride height is not set at all it needs to go lower on the front and loads lower on the back but im gonna be 4 up with luggage going to wales on wednesday so I dont really wanna lower it and scrape all the way
So here are some pics
Before
During
After
Lovely
Chi.
Right well what can I say but massive props to Paperjams who took the day off today and helped me get or this sorted. I would of never got this done on my own at all so really owe you one mate.
So the morning started at about 6:30
8:45 we set off to the scrap yard to have a good old gander at all the lonely E39's. the place we went to was a little bit of a gold mine to be honest. Is anyone is interested there is from what I could see a genuine facelift alpina splitter in good condion. bumper is mashed but the bit you need it fine. Did take a photo on my phone but its dissapeared for some reason?
9:15 we found a nice Titan silver in E39 flavour and went to town on the dash and carpet. the dash seemed to come out pretty easy to be honest but I guess it is when you dont give a monkeys how bits come off
10:45 back on it we get all the seats out and the dash and had a good old mosey about looking for a lower dash, center console, doorcards and seatbelts. we managed to get everything bar the seatbelts unfortunately I totally forgot to be honest and some people kept trying to borrow tools and I didnt want him to loose them.
12:00 we loaded the car up with dashboard, lower dash, carpets, doorcards and some genuine black mats and side trims.
12:30 went for quick maccy d's and a recharge, then on to the pressure washer to have a good go at the mats as they were proper manky.
13:00-18:00 back on the car to fit it all. we had some hairy moments with a angle grinder and my new dash
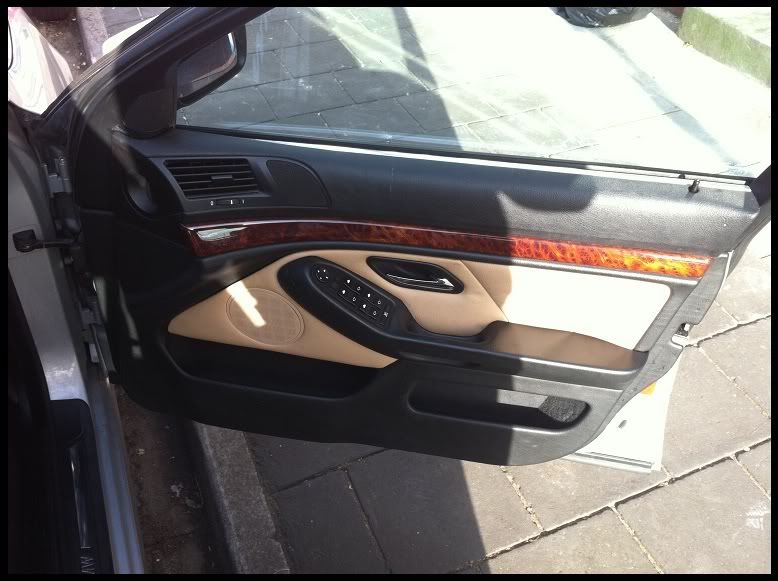
I am extremely impressed with how it now looks and there are no rattles and you would not tell it was not all black from factory. so once again thankyou for your help mate. Im really sorry I didnt take many pics, I just wanted the bad boy in. Door cards still need to be done but its getting there.
Chi.