Page 1 of 2
318Is m52 turbo and restoration
Posted: Tue Dec 08, 2015 8:36 pm
by jasp
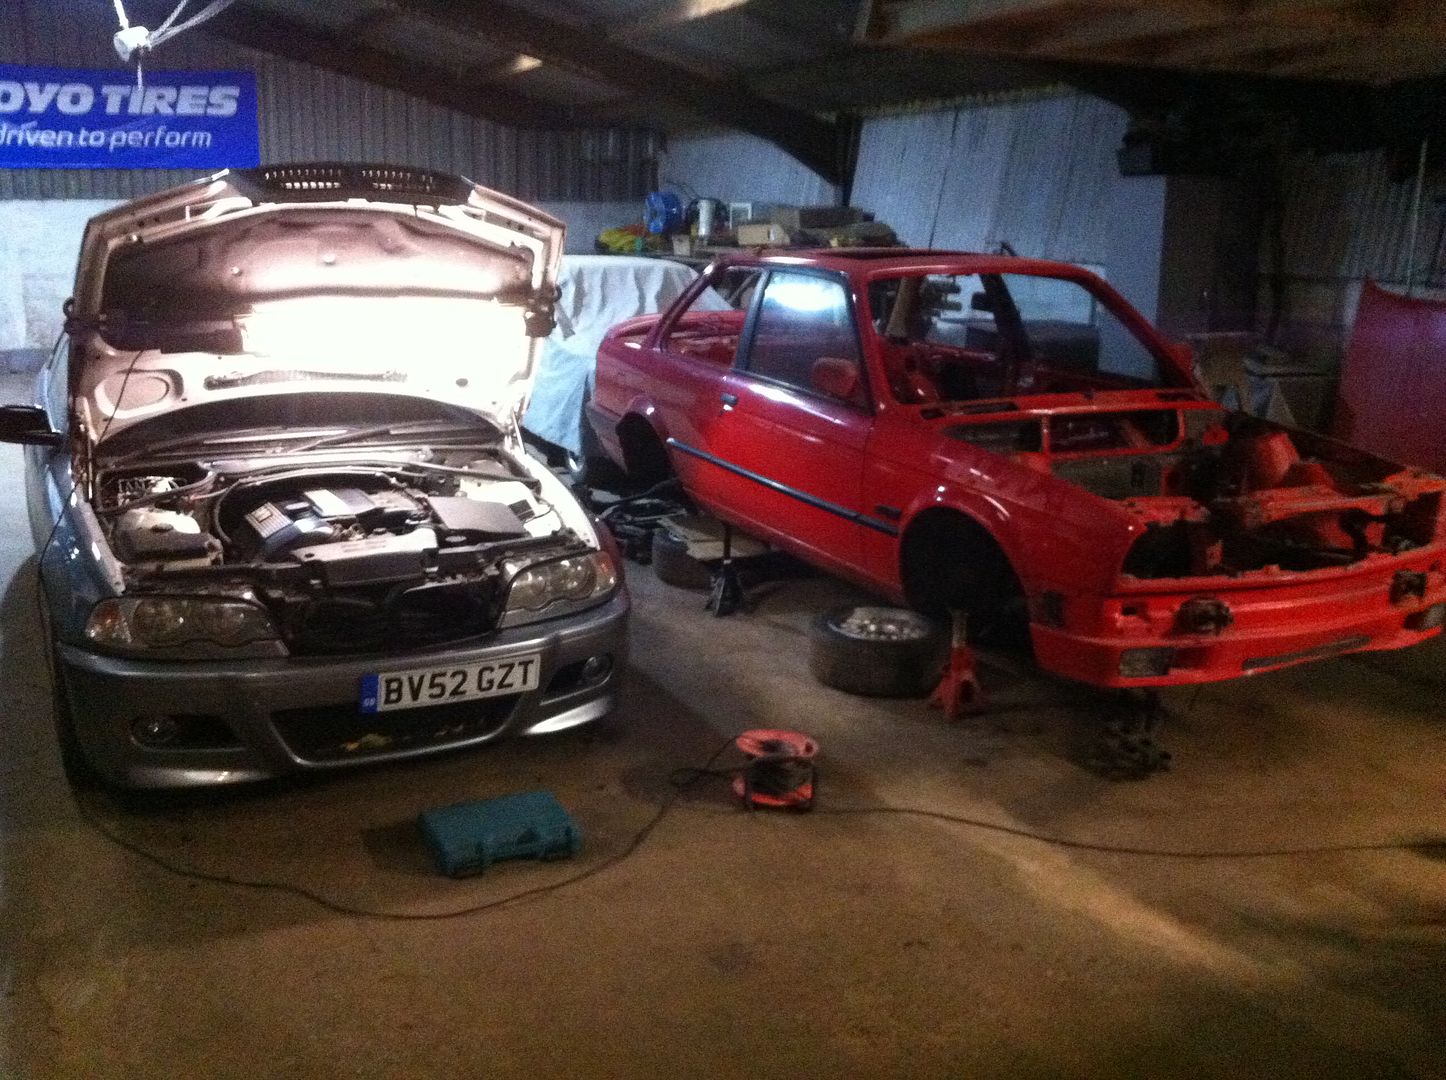
The plan is to have a mint rust free shell with a turbo m50, 5 stud conversion, 325 sport diff, z3 rack and short shift, a set of bilsteins and some nice 16s
I think 350 whp will be nice for a suday blast on a sunny day.
I'm still undecided on gearbox and management choice.
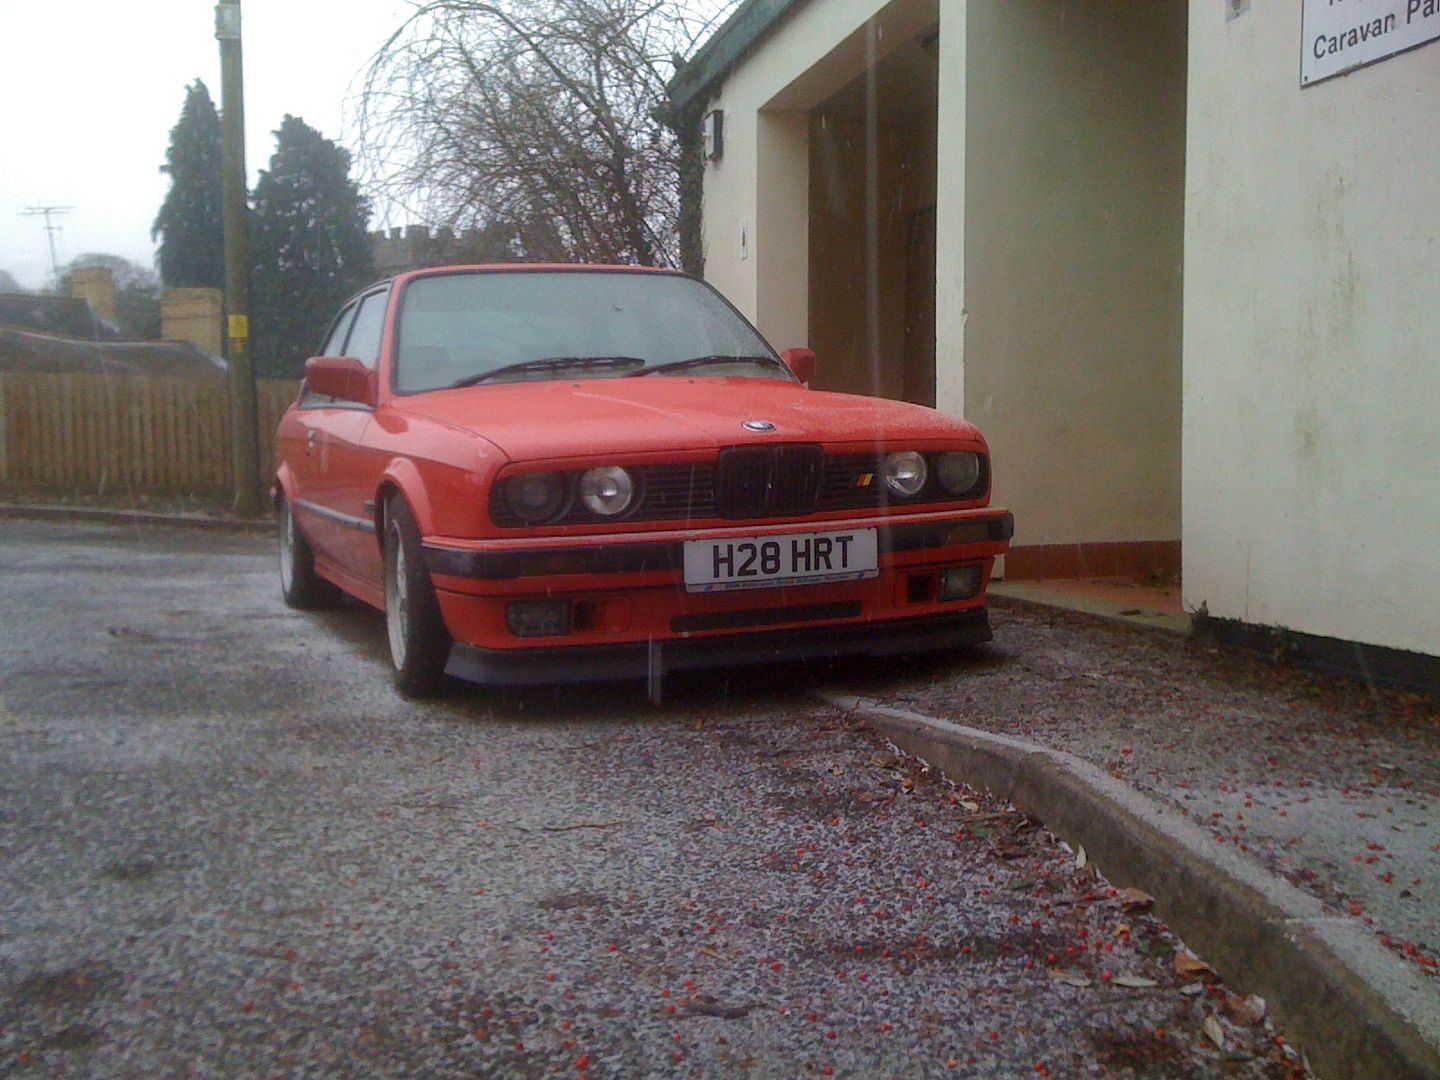
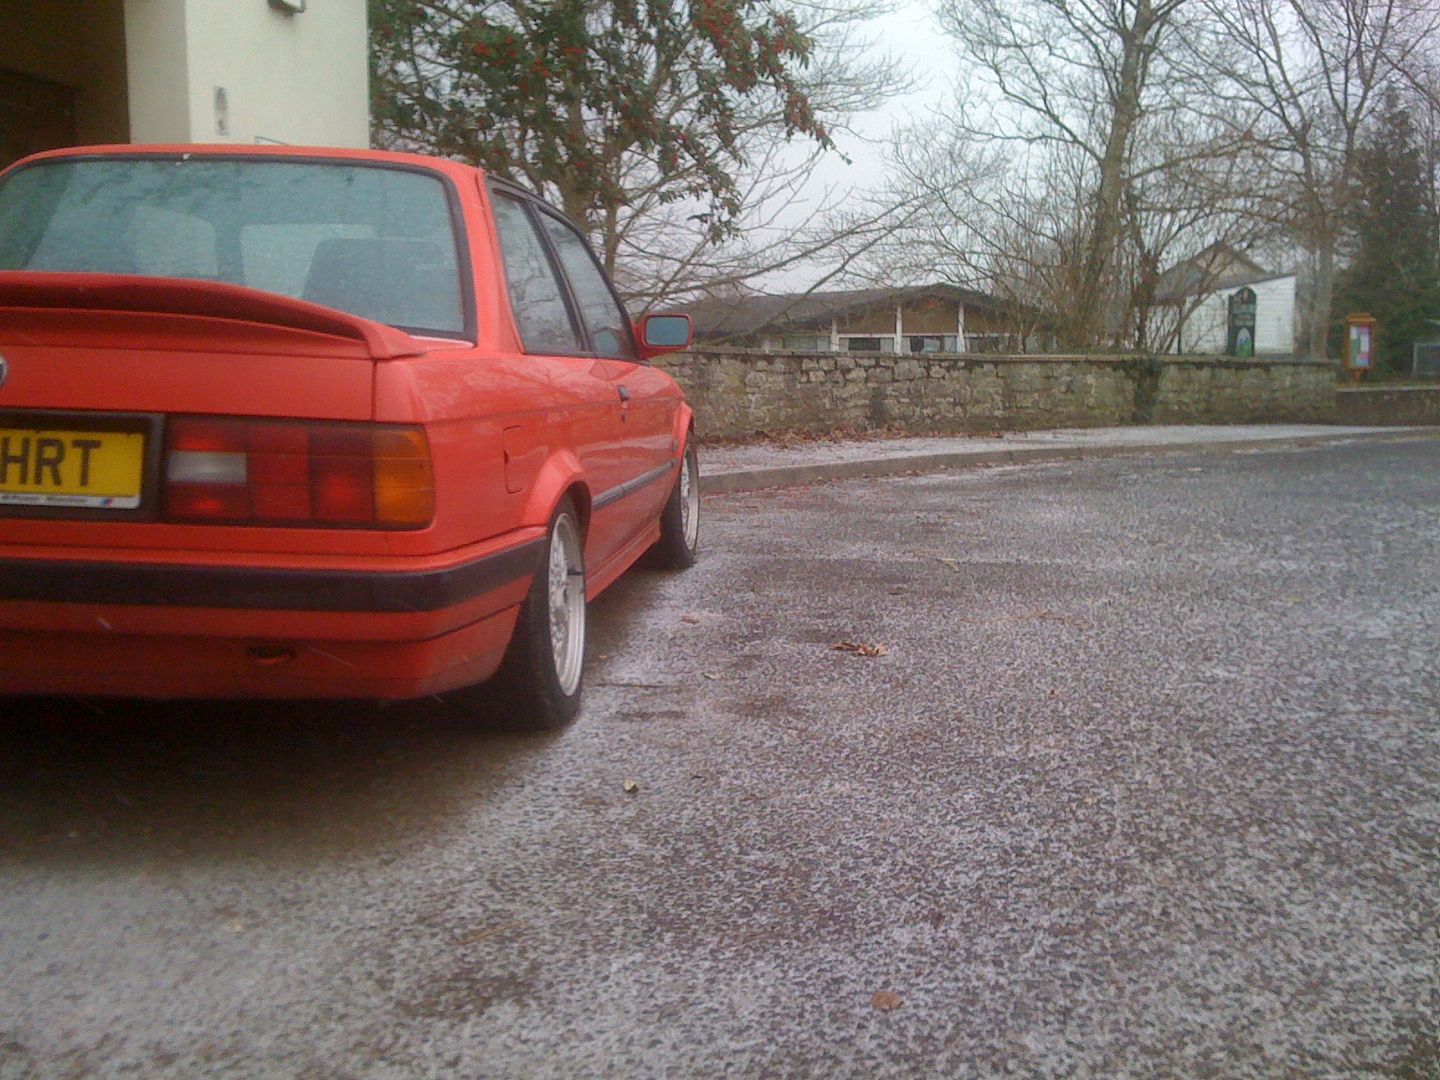
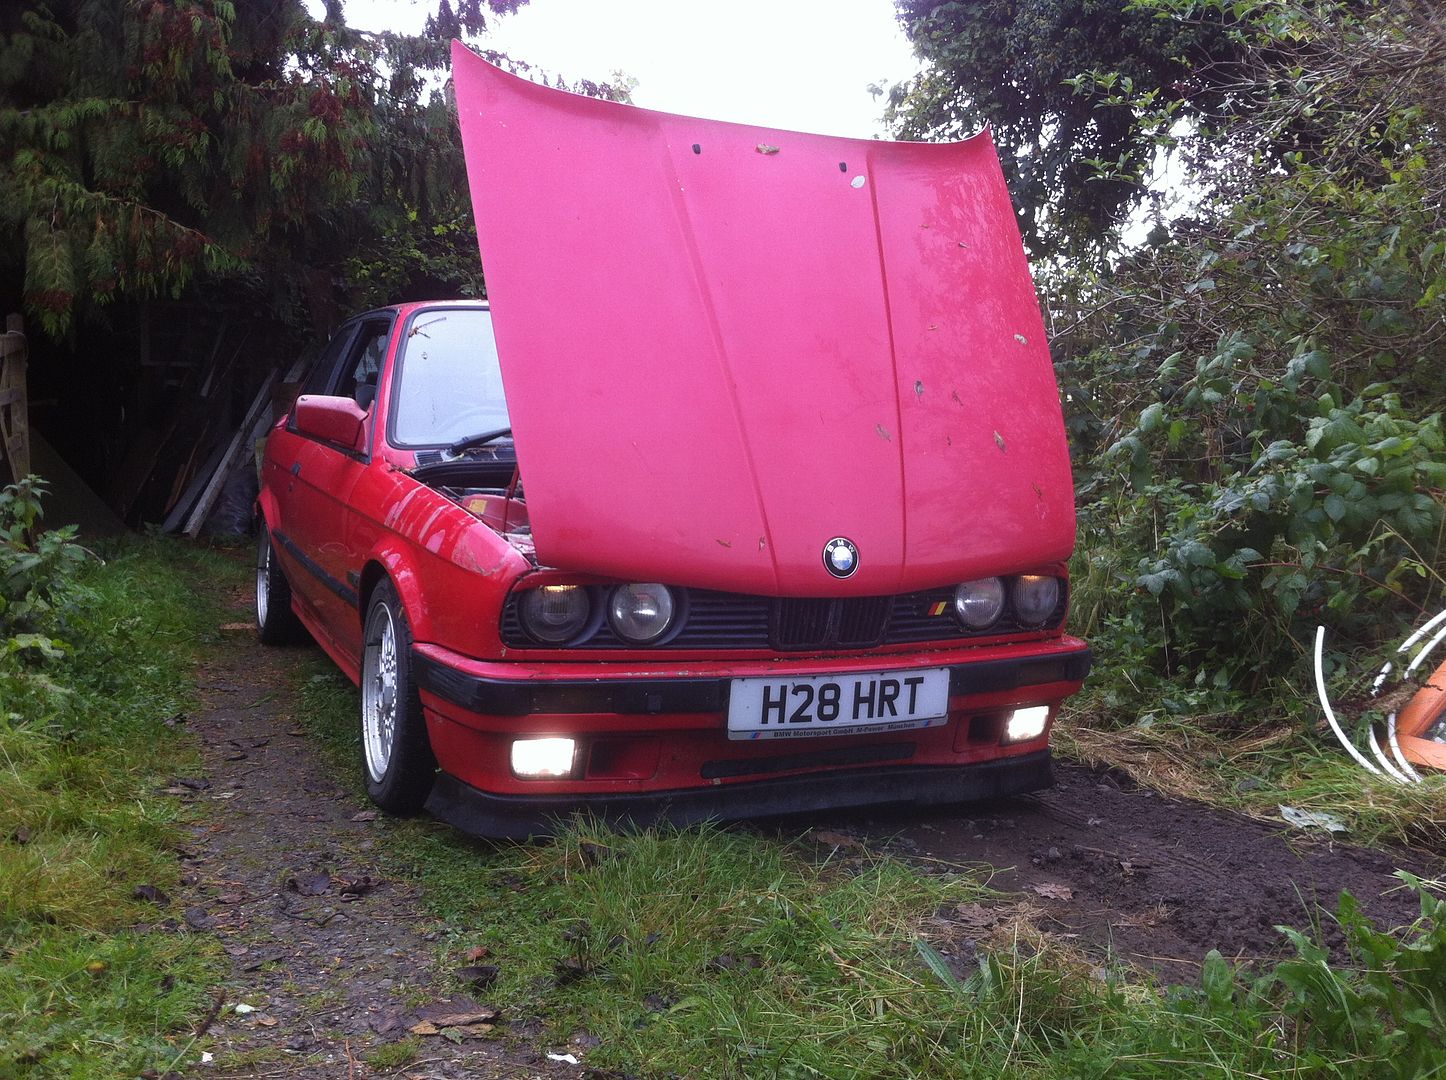
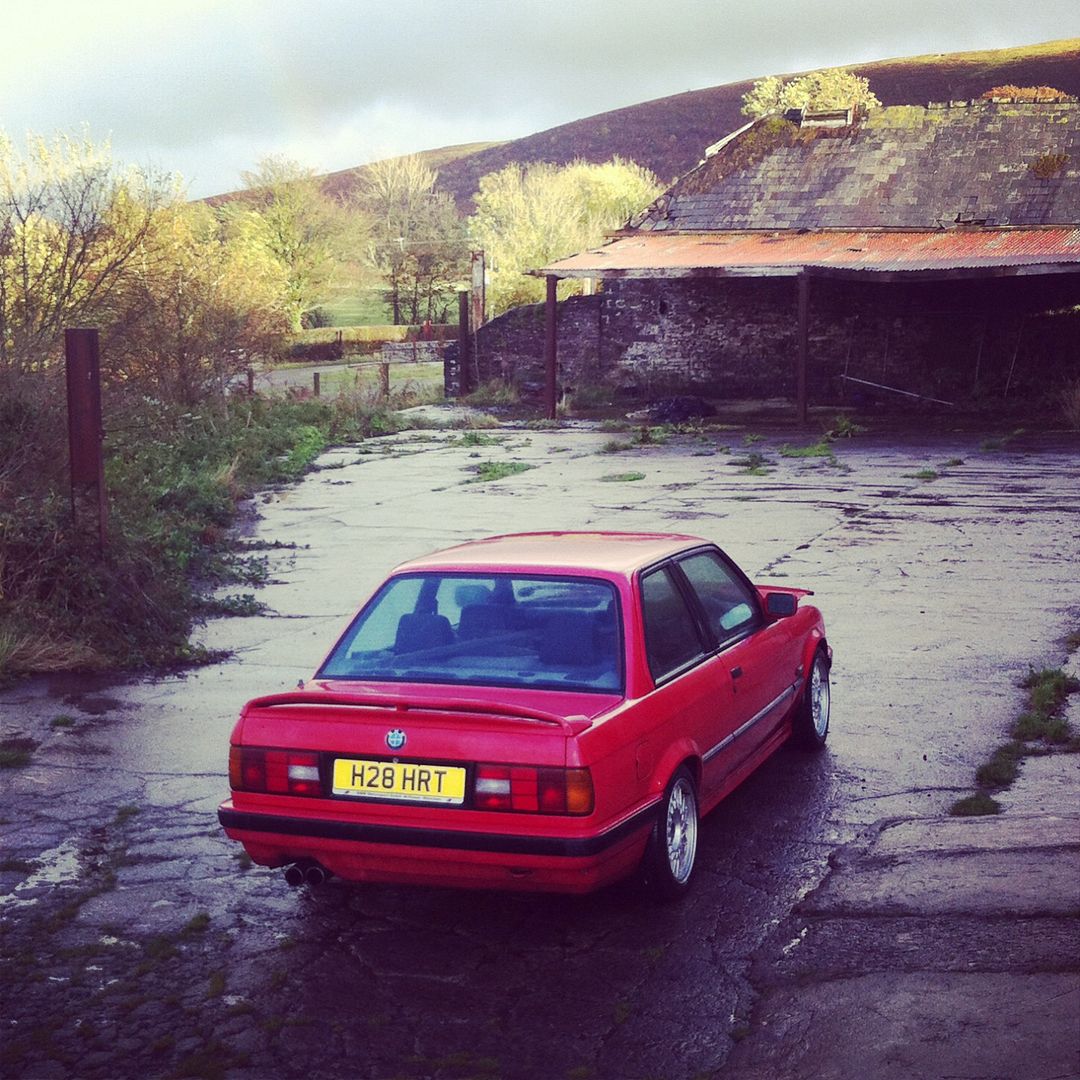
I bought my second e30 three and a half years ago, a 318is. It came lowered on apex suspension a blowing exhaust and pretty much everything else was standard.
The first and only mod i put on was a volvo splitter
I used it daily for a year untill i started poking the inner arches, which turned out to be rusted through and hidden by a lot of stonechip and a bit of fibrefill.
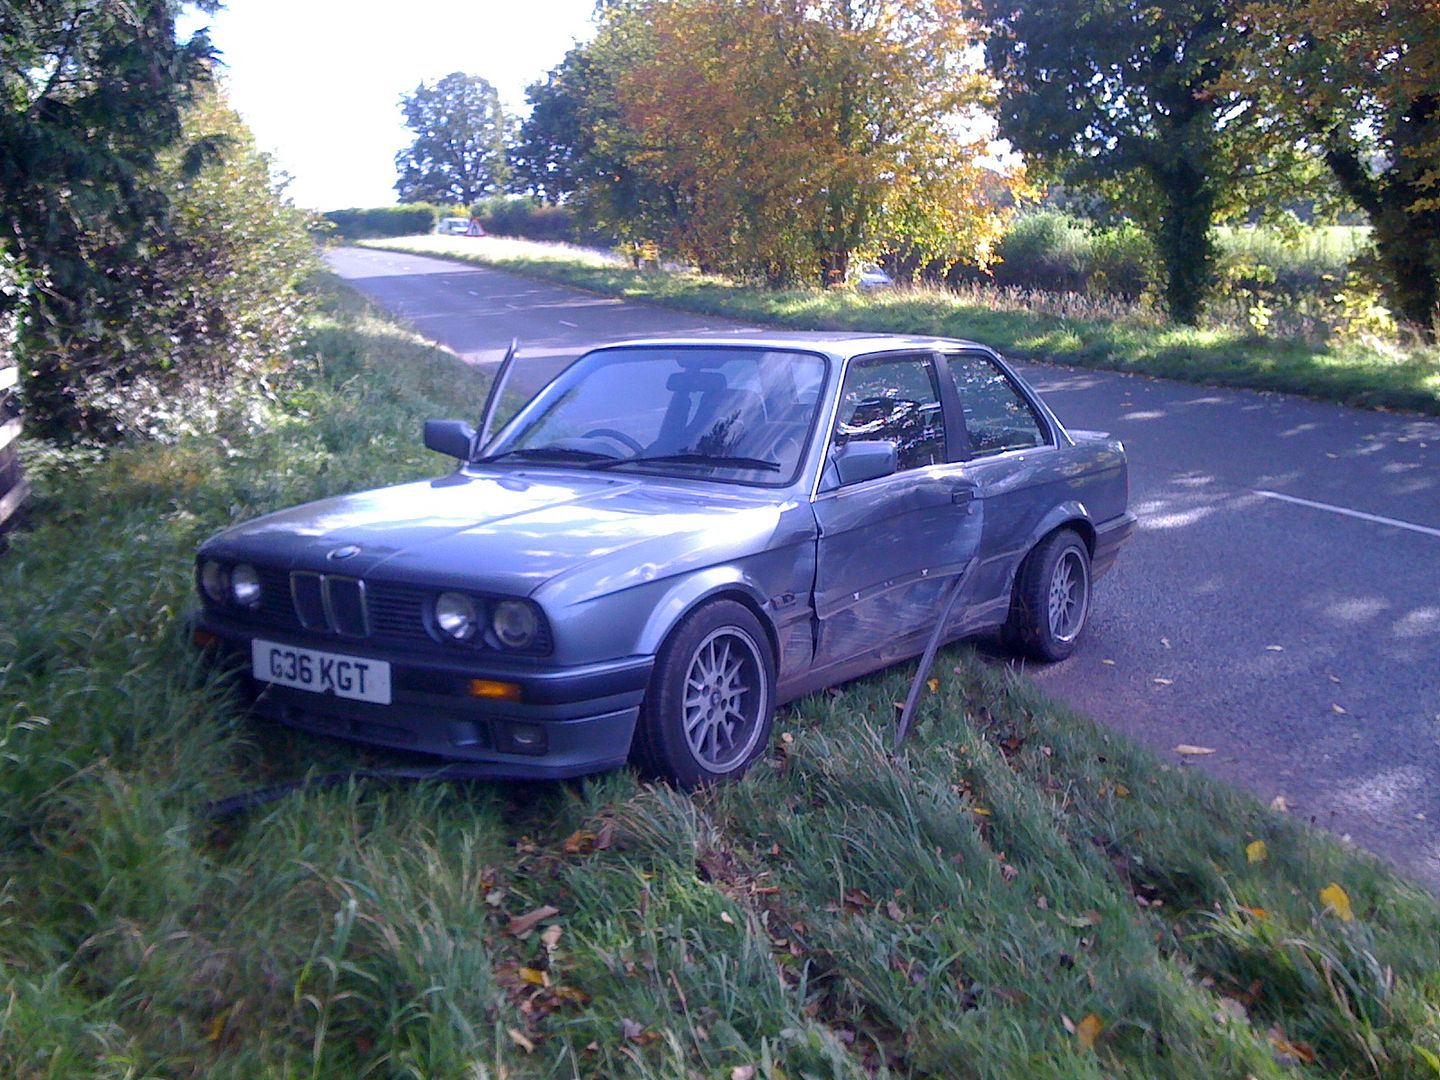
So i bought e30 number three, a 325 which had been parked in a garage for a few years with no interior. The shell was immaculate not a patch of rust to be seen. A set of mims, cheap interior, headgasket change and second hand rad and she was good to go.
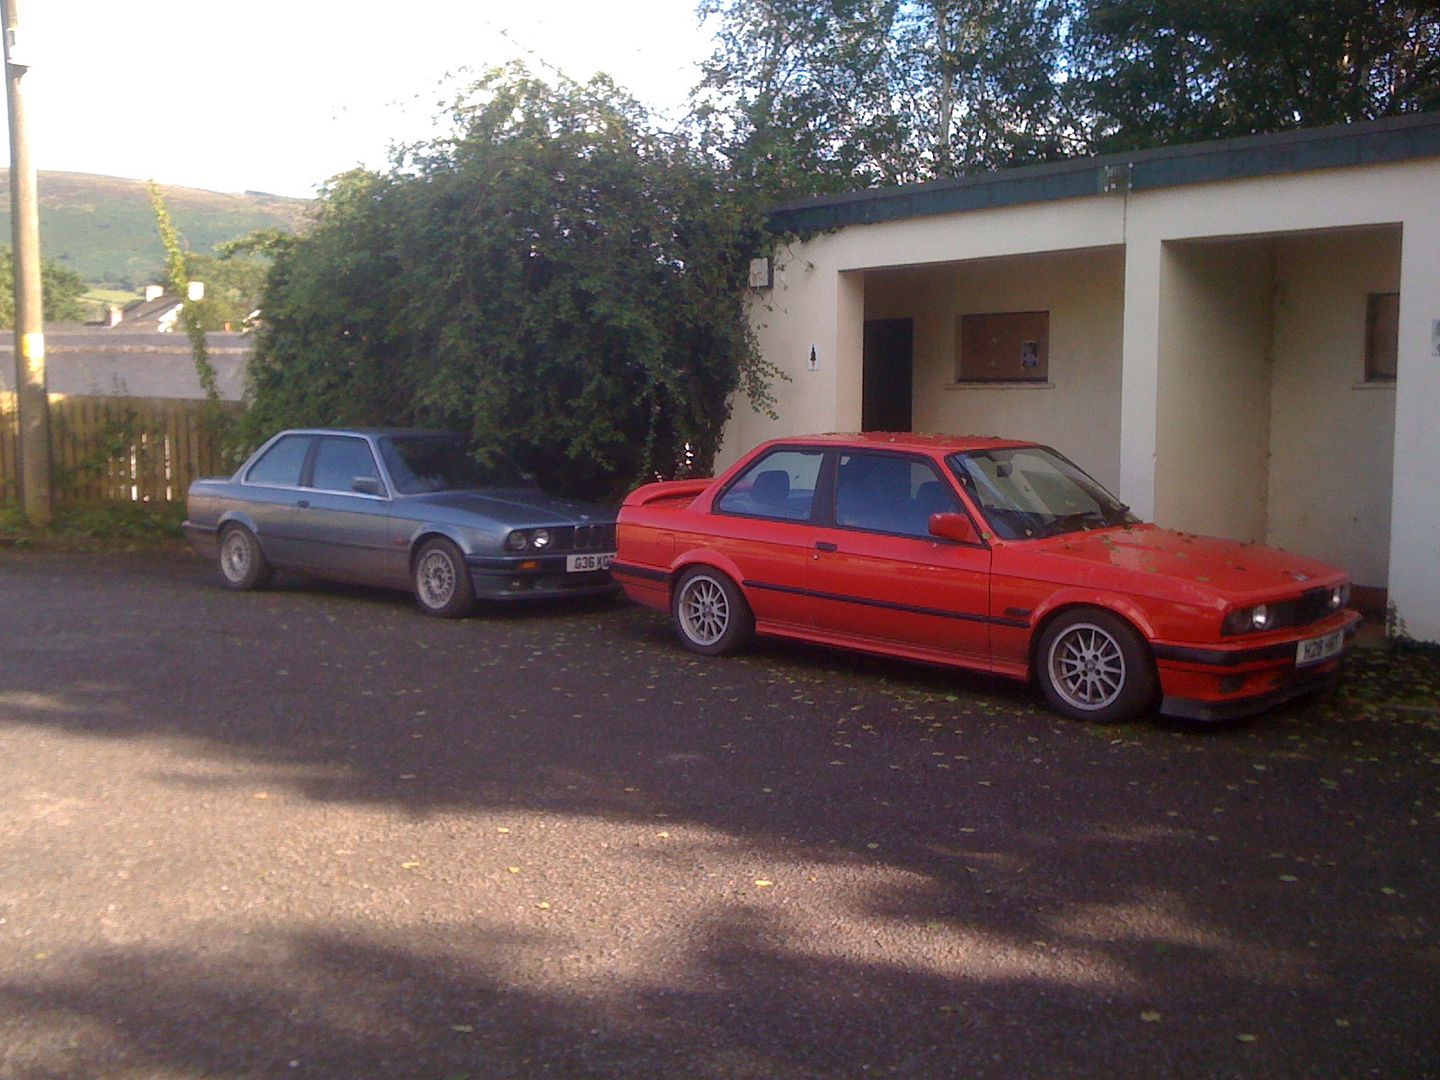

A week later minding my own business some kind woman decided to drive straight into the side of it
Yes i did throw my toys out of the pram a bit
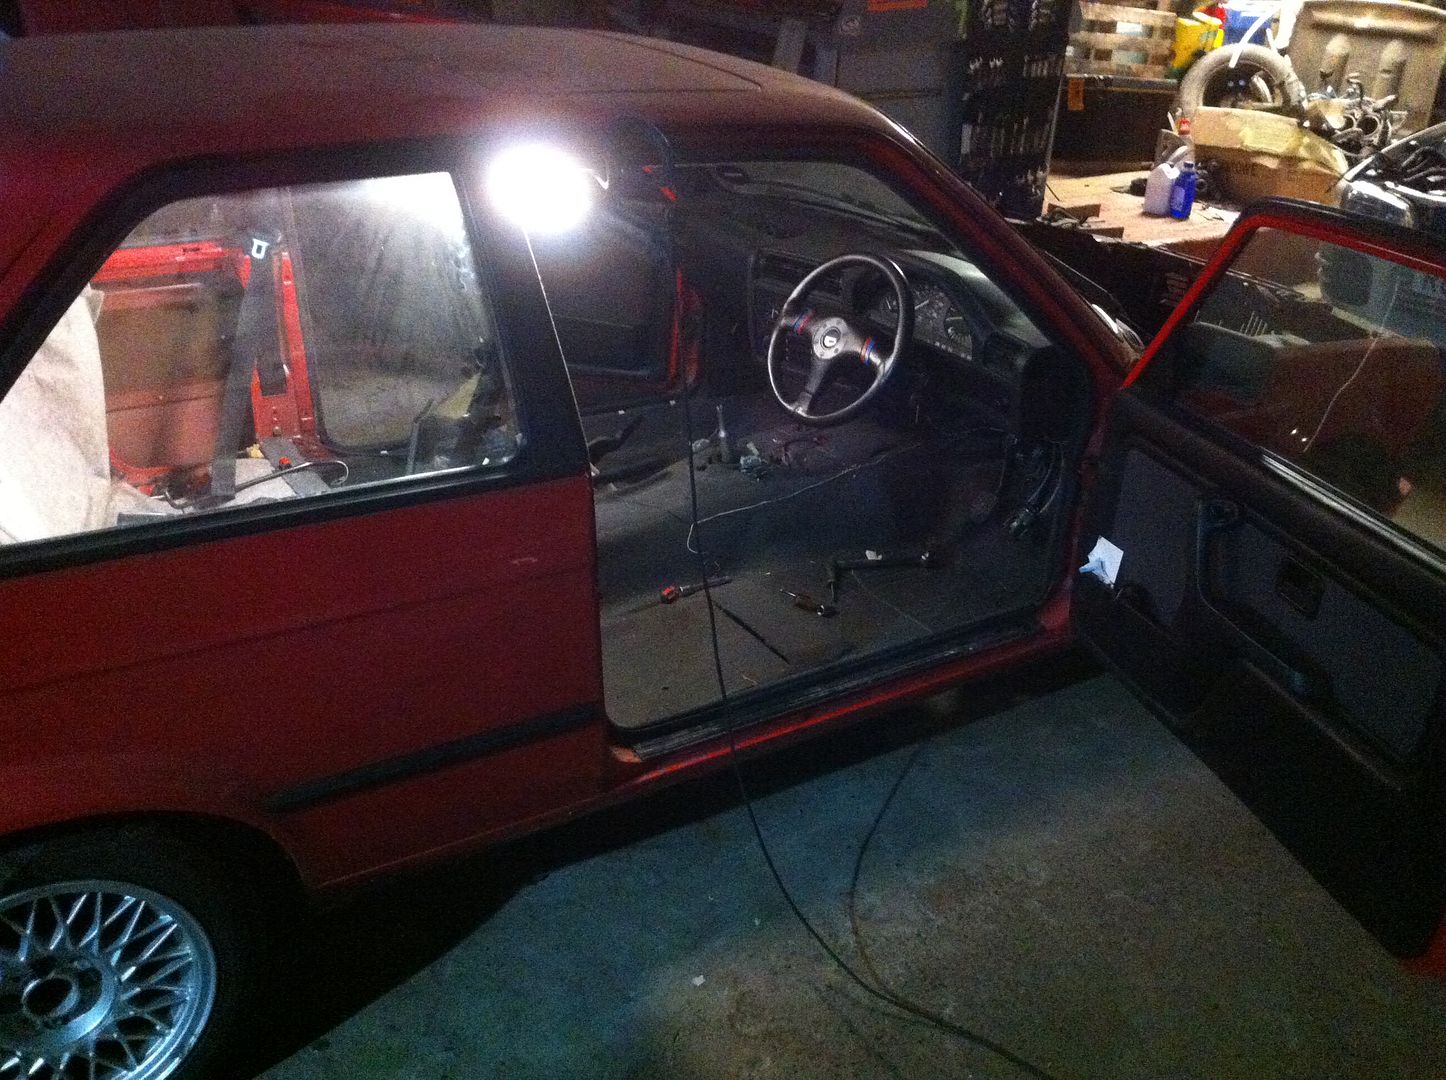
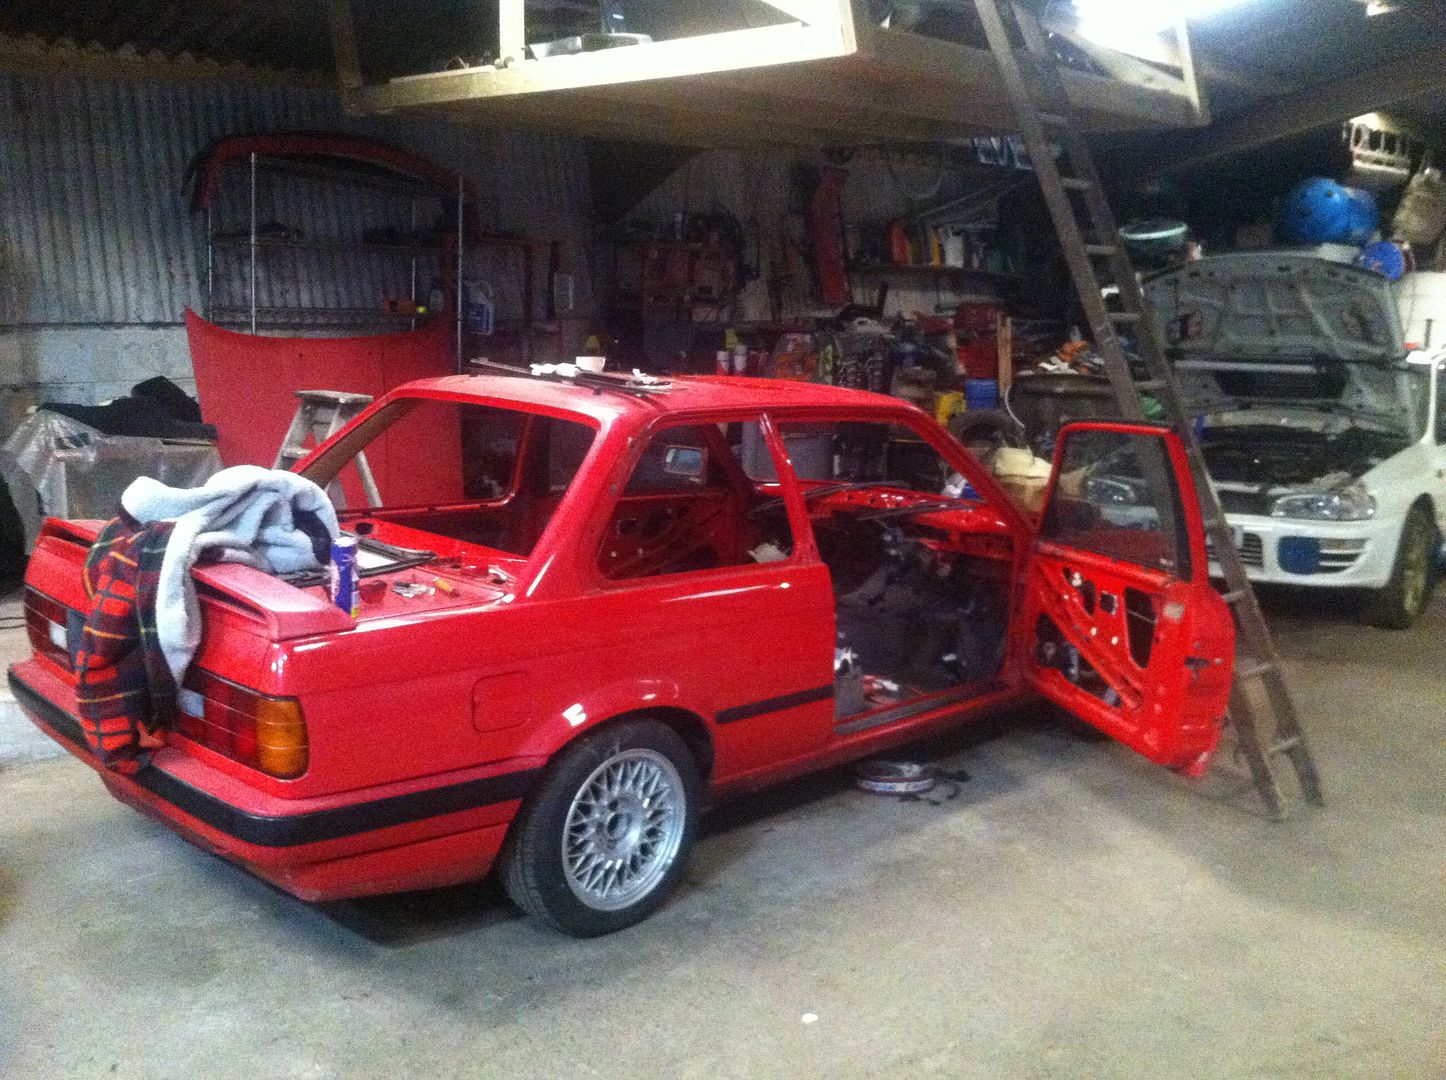
My Is had been living on the drive looking sorry for itself for just over a year due to lack of time and a place to work on it untill recently
stole the battery off my scooby and she fired straight up
sold the engine to a friend for his Is
then i decided to go to Australia for 9 months so very little happened.
Came back 3 months ago and made a bit of a start
bit of work on the daily
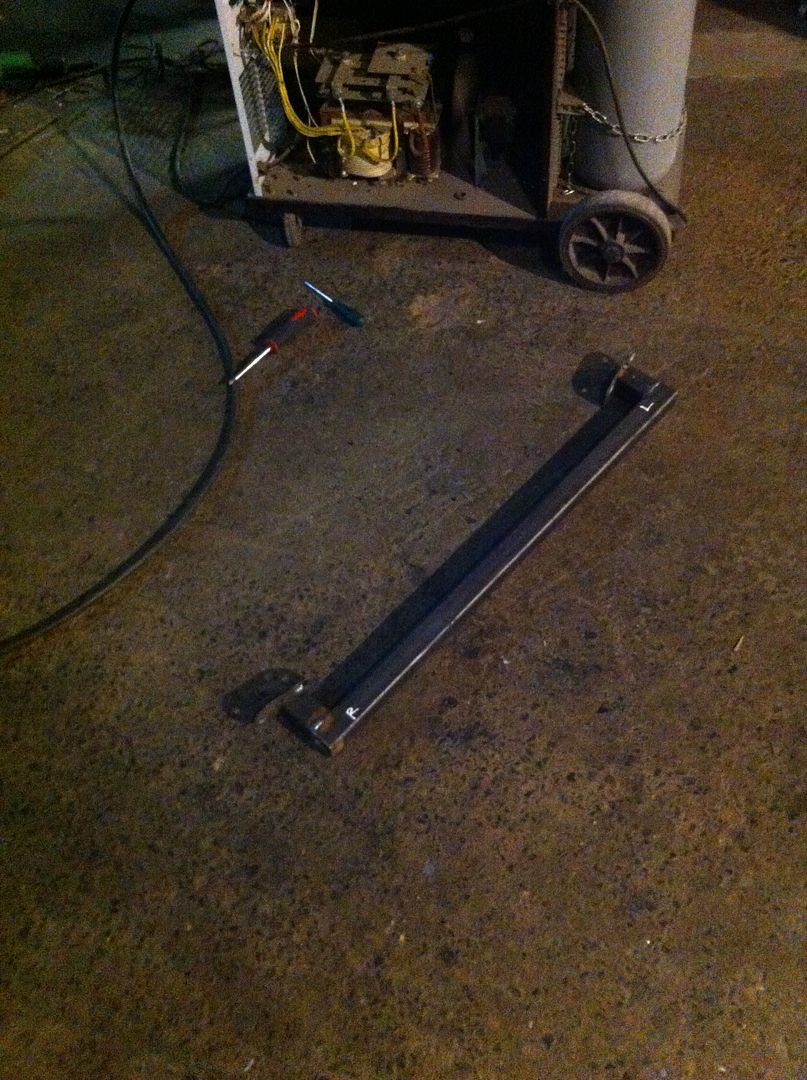
making some brackets for a spit
which brings me to were i am now, ready to start attacking all of that pesky rust
Re: 318Is m50 turbo
Posted: Thu Dec 10, 2015 2:35 pm
by toby
Getting stuck in there then! Shame about the 325i. Was it a write off?
Re: 318Is m50 turbo
Posted: Fri Dec 11, 2015 5:30 pm
by jasp
Yeah unfortunately it was another e30 which will never see the road again. The insurance tried to pay out peanuts for it saying it was only worth £1000
Re: 318Is m50 turbo
Posted: Wed Dec 16, 2015 10:52 pm
by jasp
Re: 318Is m50 turbo
Posted: Sat Dec 26, 2015 10:43 am
by choppermeir
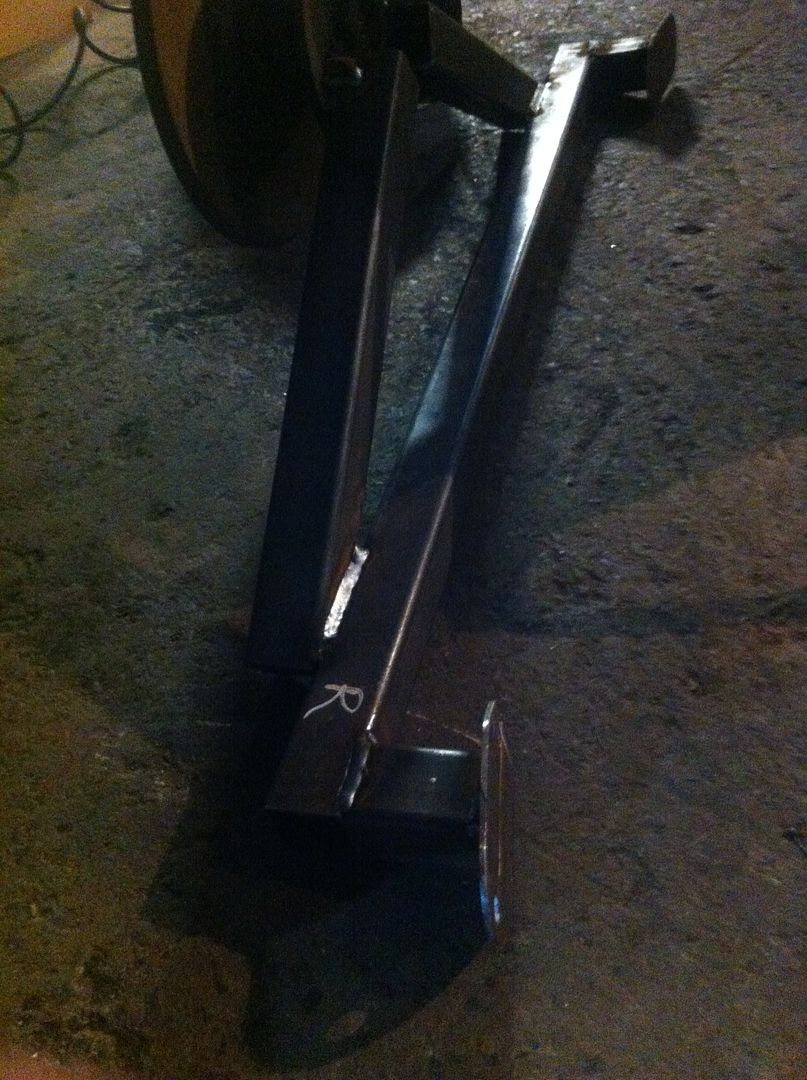
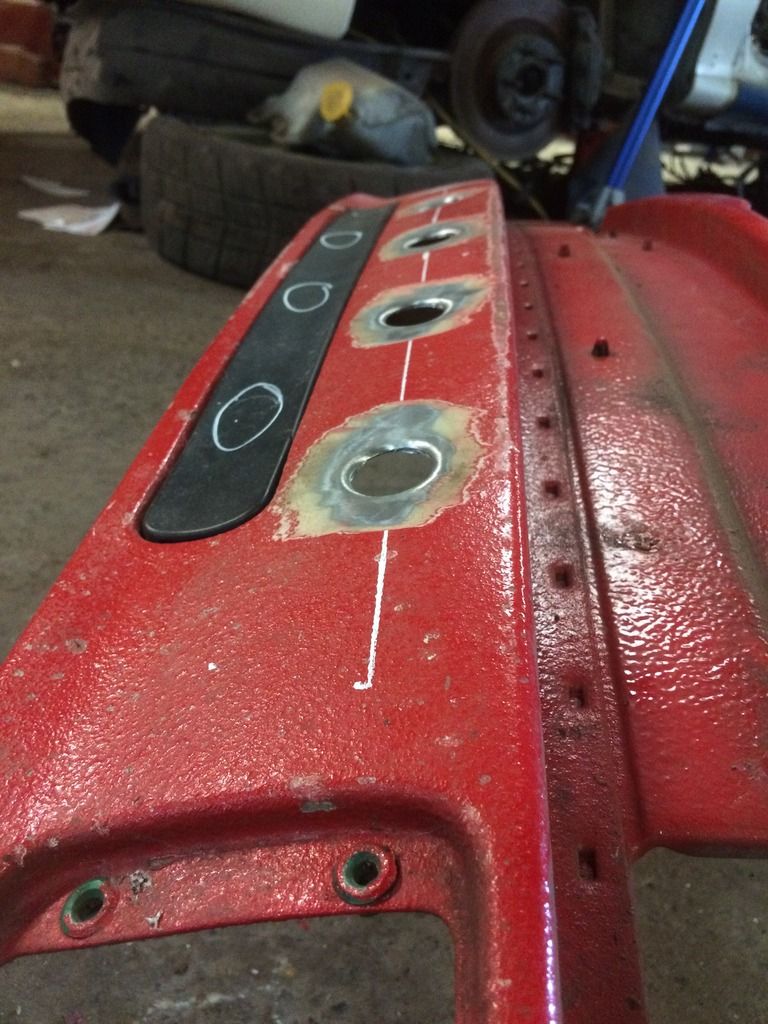
Very nice repair panel
Posted: Sat Feb 13, 2016 10:40 am
by jasp
Re:
Posted: Sat Feb 13, 2016 10:46 am
by jasp
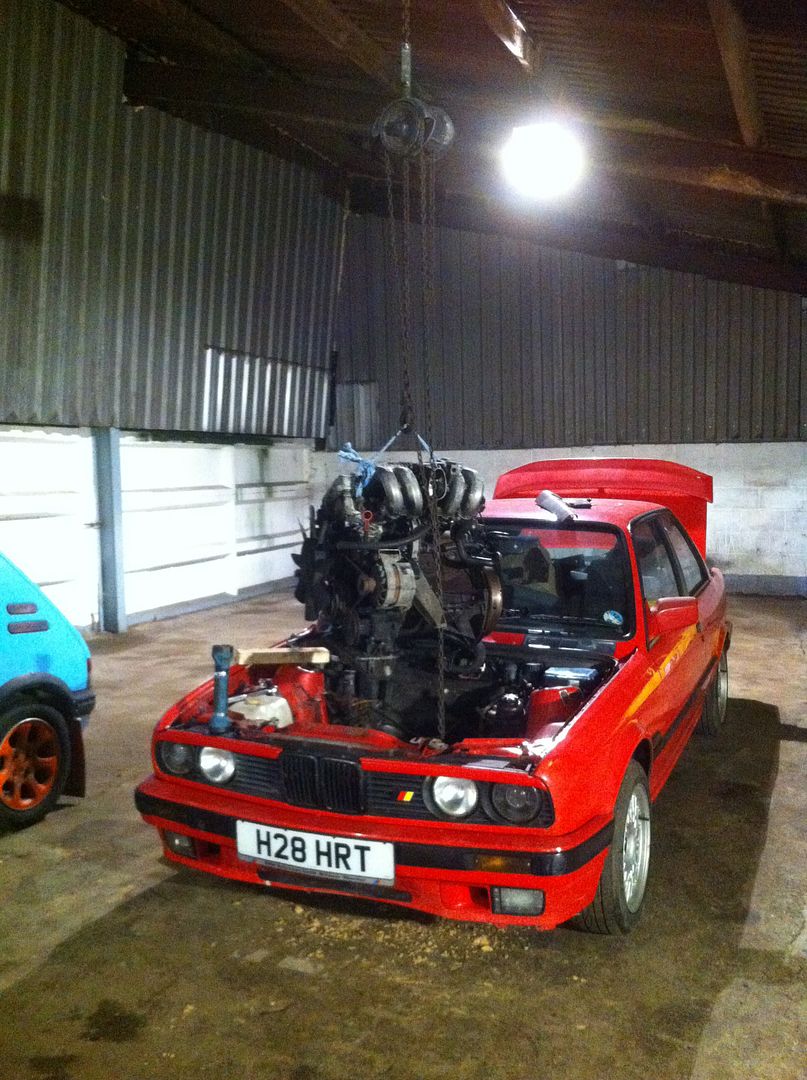
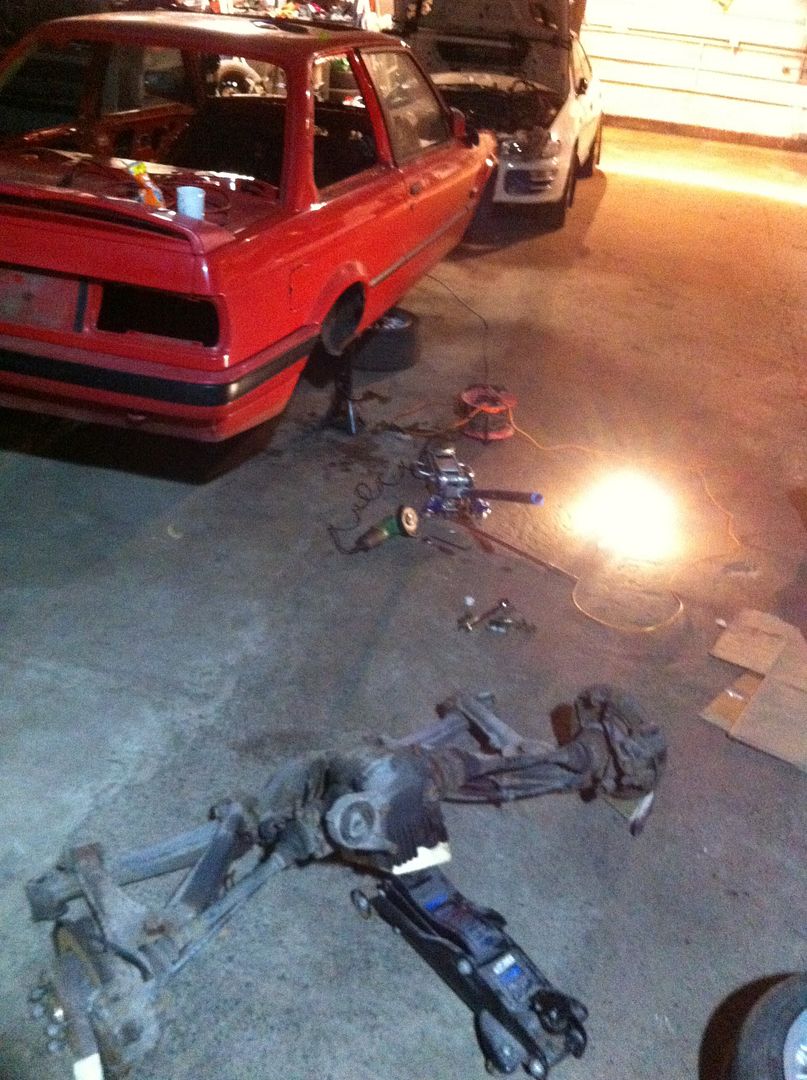
i also have an engine, it is an m52 but i got the whole car for £300 so it will do

So i am on the hunt for a e34 sump etc if anyone has one kicking around
Re:
Posted: Tue Feb 16, 2016 8:19 am
by P_VIDDY
Oh the battle of rust. The war all e30 owners fight.

good luck with the project
Re:
Posted: Tue Feb 16, 2016 5:55 pm
by jasp
P_VIDDY wrote:Oh the battle of rust. The war all e30 owners fight.
good luck with the project
It seems to be the common enemy

Thanks, i just can't wait to drive it
Re:
Posted: Tue Feb 16, 2016 7:16 pm
by pauljsc
How did you get the car for £300? Bargain! I just got my second e30 320i just like your grey 325. It's had all the body rust sorted and re sprayed and everything's stock so far. First mission is to lower it. What suspension did that 325 have?
Re:
Posted: Tue Feb 16, 2016 7:19 pm
by pauljsc
How did you get the car for £300? Bargain! I just got my second e30 320i just like your grey 325. It's had all the body rust sorted and re sprayed and everything's stock so far. First mission is to lower it. What suspension did that 325 have?
Re:
Posted: Tue Feb 16, 2016 7:41 pm
by hillbilly30
http://s914.photobucket.com/user/jasp90 ... 8.jpg.html
Another HRT plate. My "IS" is H5** HRT. Same dealer I guess
Re:
Posted: Wed Feb 17, 2016 10:30 pm
by jasp
Re:
Posted: Wed Feb 17, 2016 10:32 pm
by jasp
That's cool, don't think I've ever seen another one on HRT, would be interesting to find out which dealer it was
Re:
Posted: Sat Feb 20, 2016 8:34 pm
by _Dan_
Nice repairs

Posted: Wed Mar 16, 2016 10:12 pm
by jasp
Re:
Posted: Sun Apr 17, 2016 7:28 pm
by jasp
Re:
Posted: Sun Apr 17, 2016 8:30 pm
by DanThe
Well done, plenty on here would have scrapped that

Re:
Posted: Sun Apr 17, 2016 9:15 pm
by jasp
DanThe wrote:Well done, plenty on here would have scrapped that
thanks, out of all the cars ive owned this one has been my favourit. wouldnt dream of sending it to be bean cans
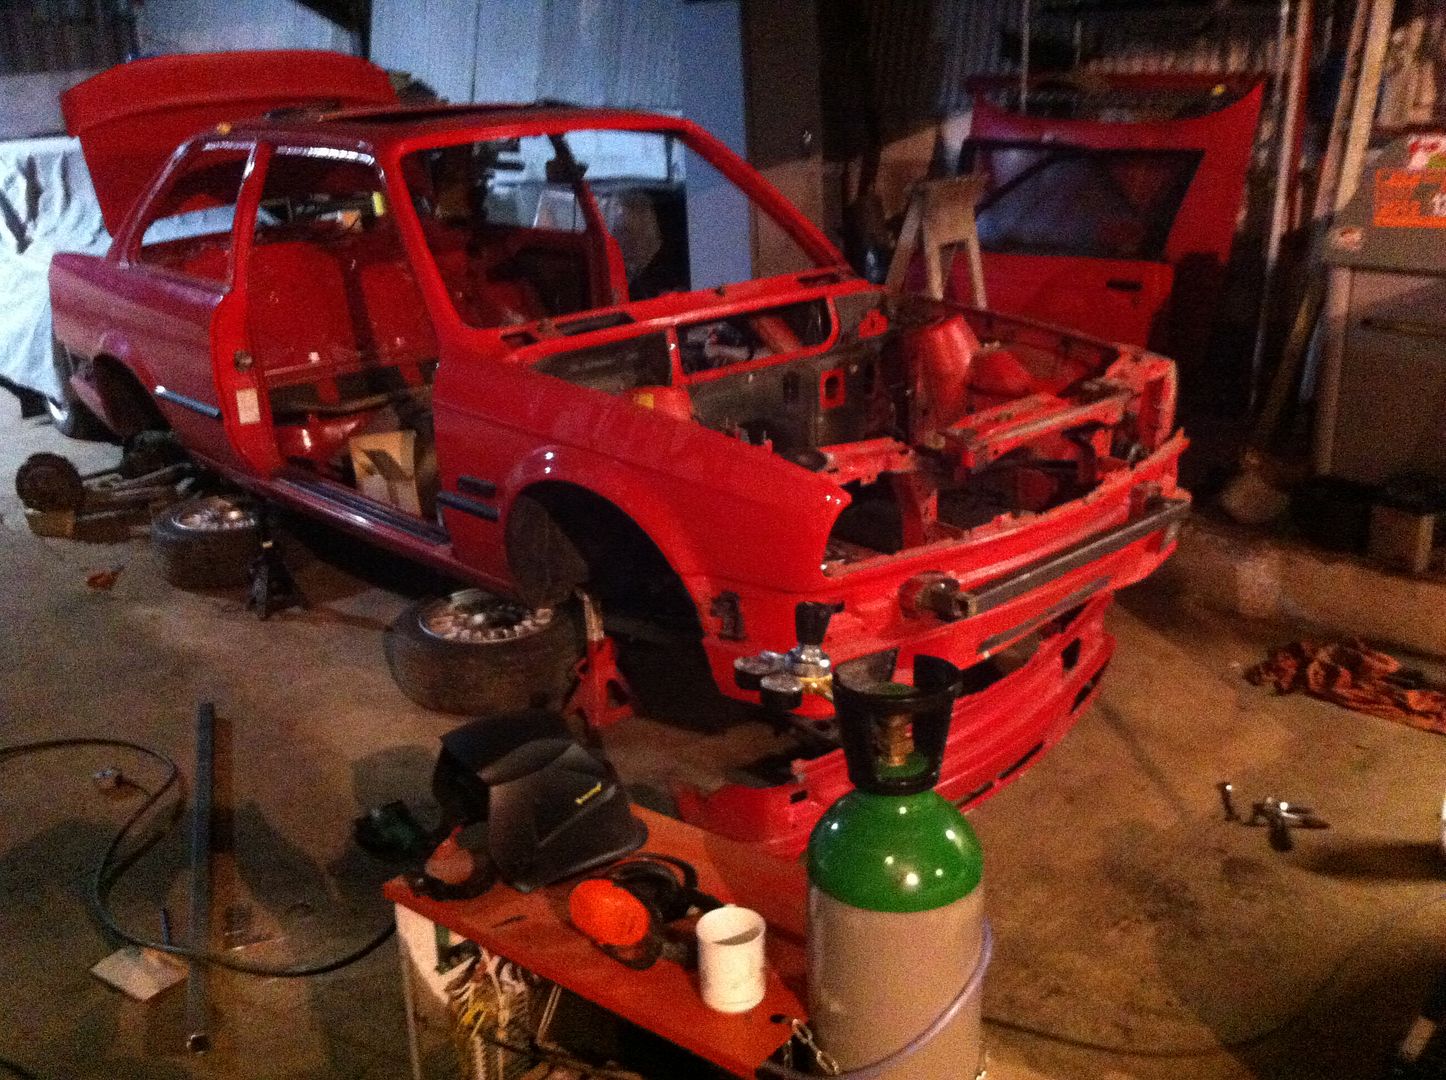
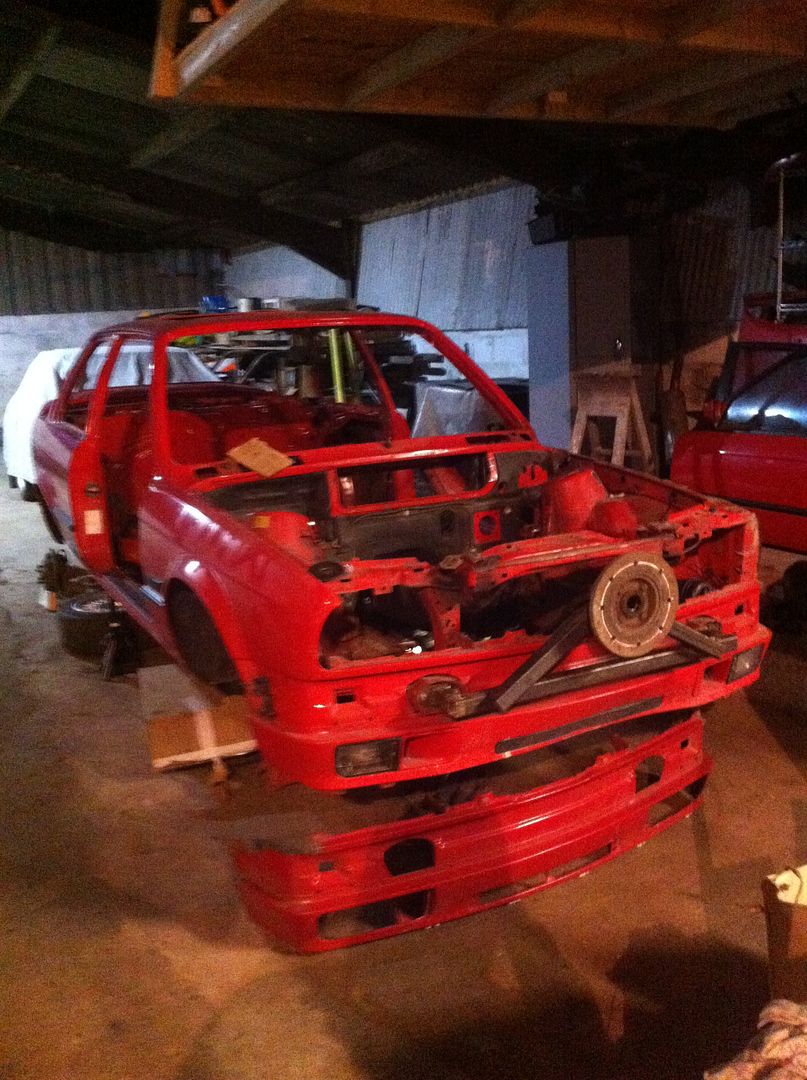
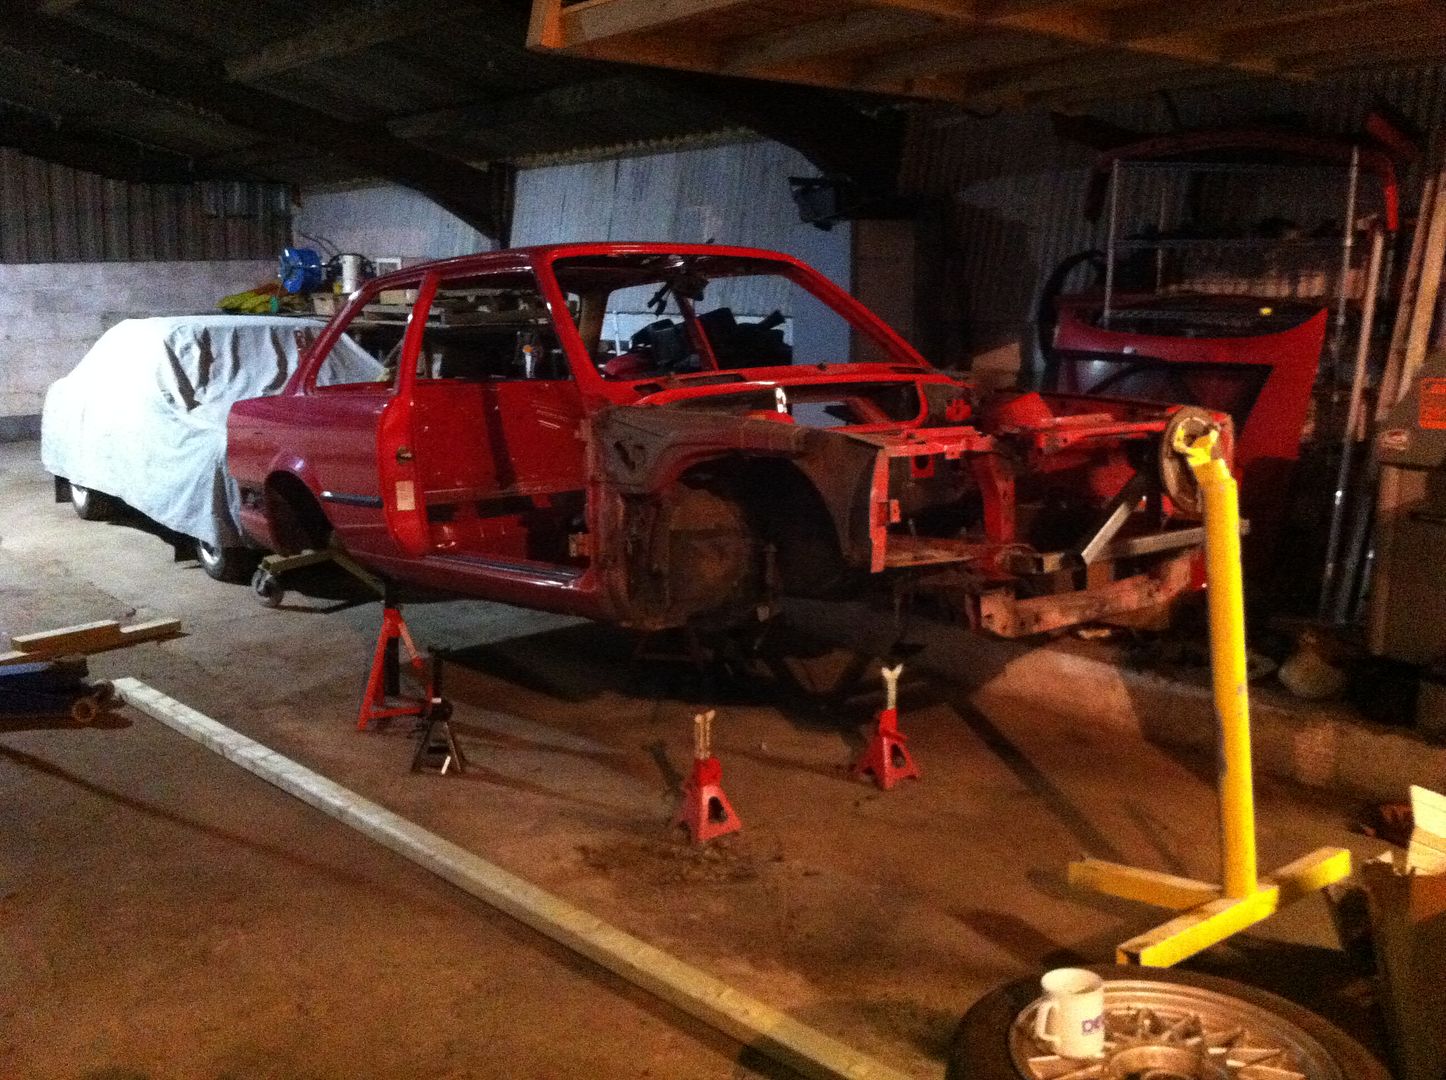
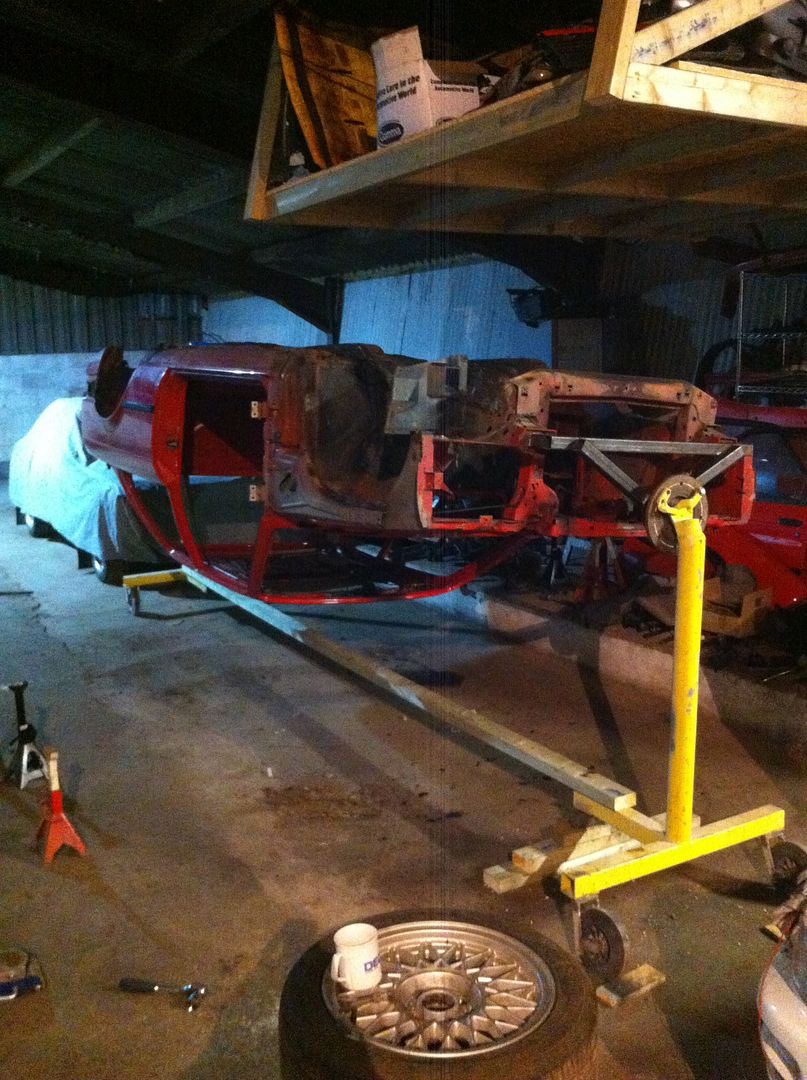
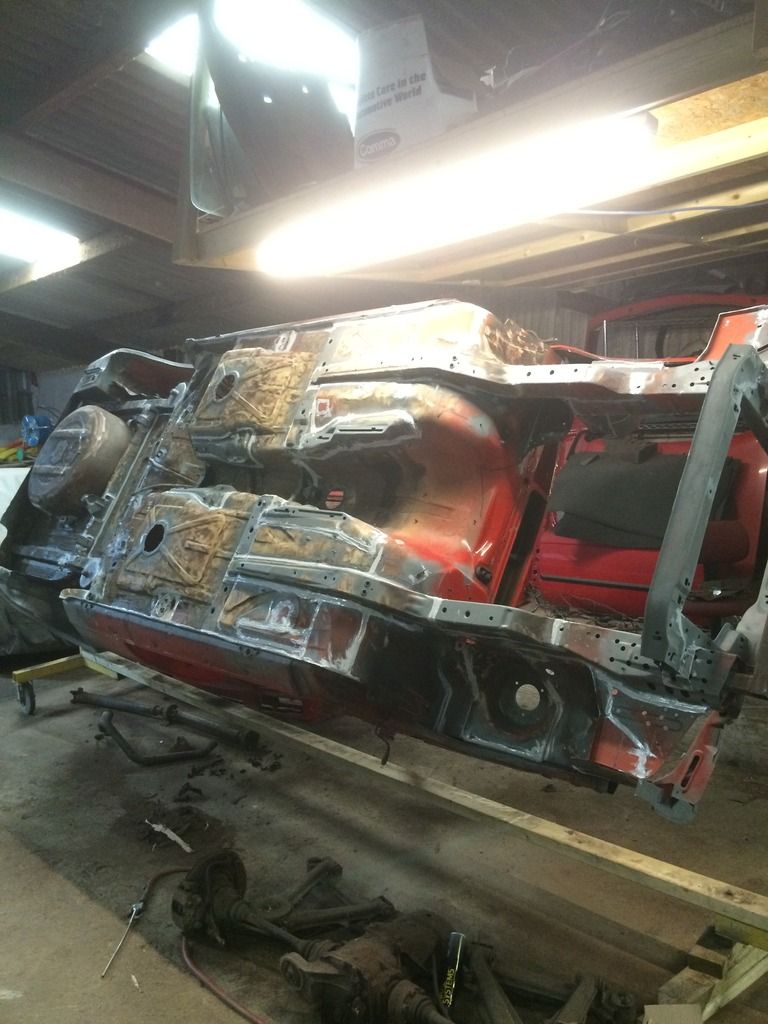
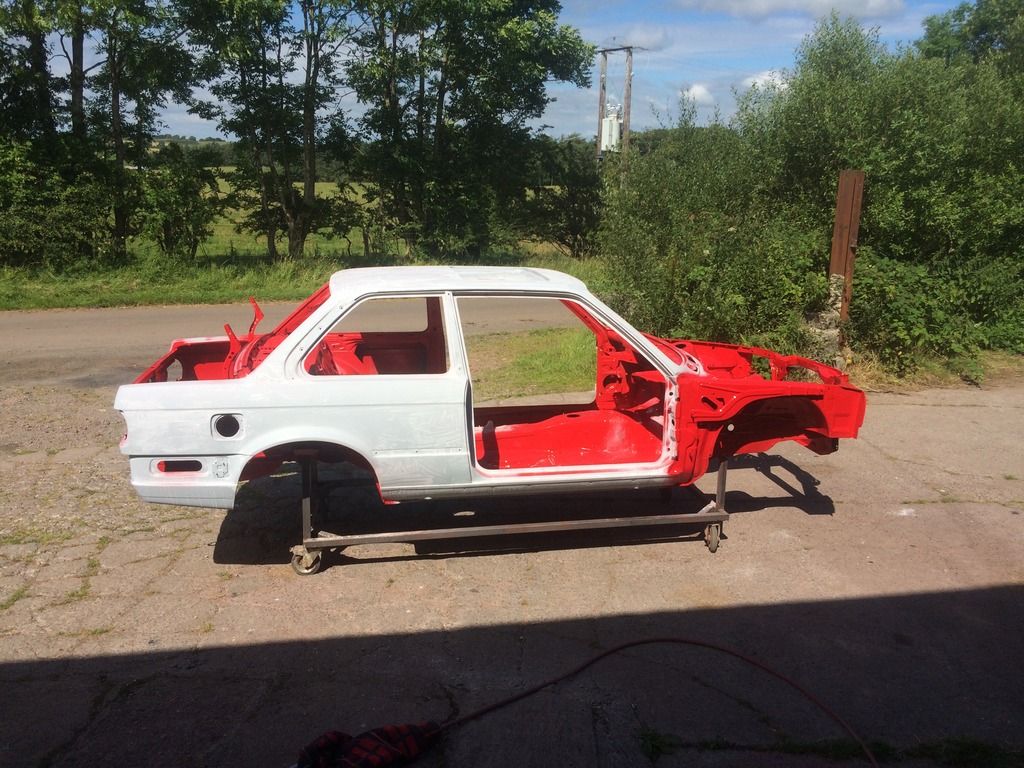
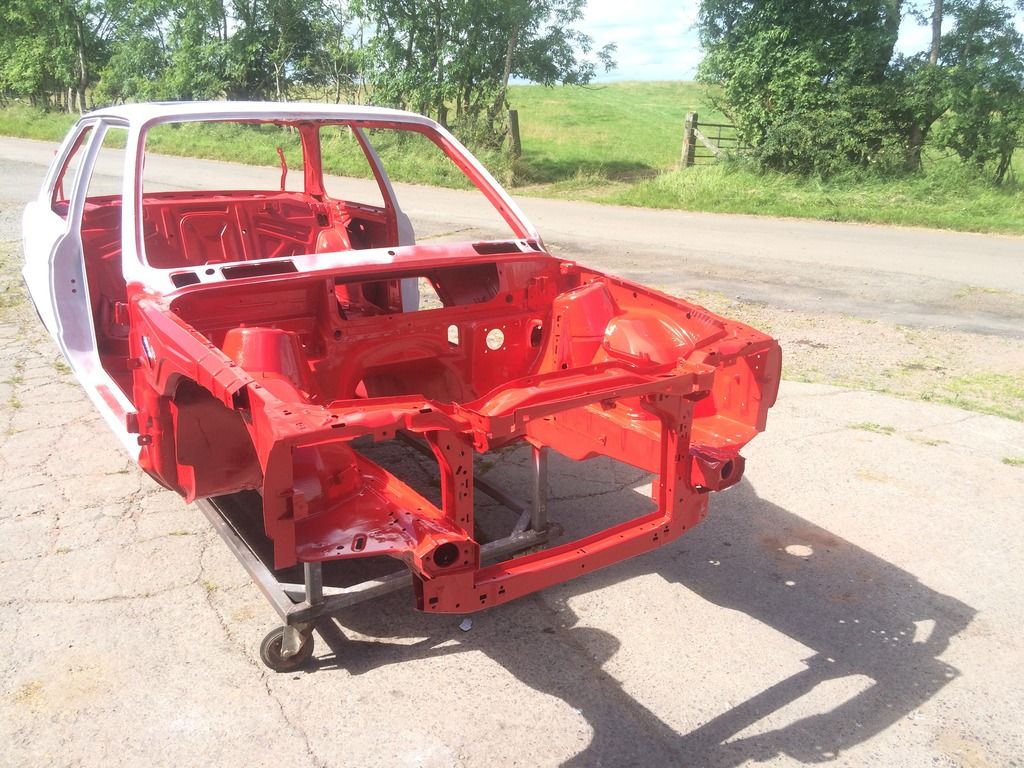
Posted: Sun May 15, 2016 9:17 pm
by jasp
few spots on the rear panel
rear valance
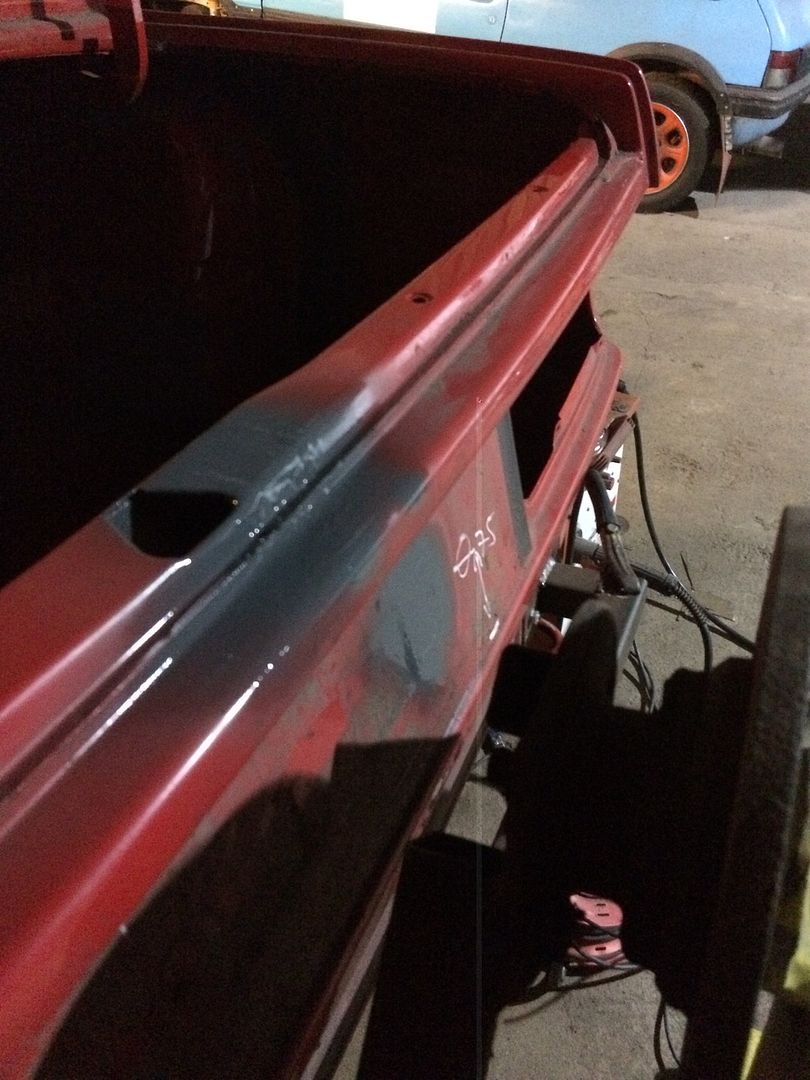
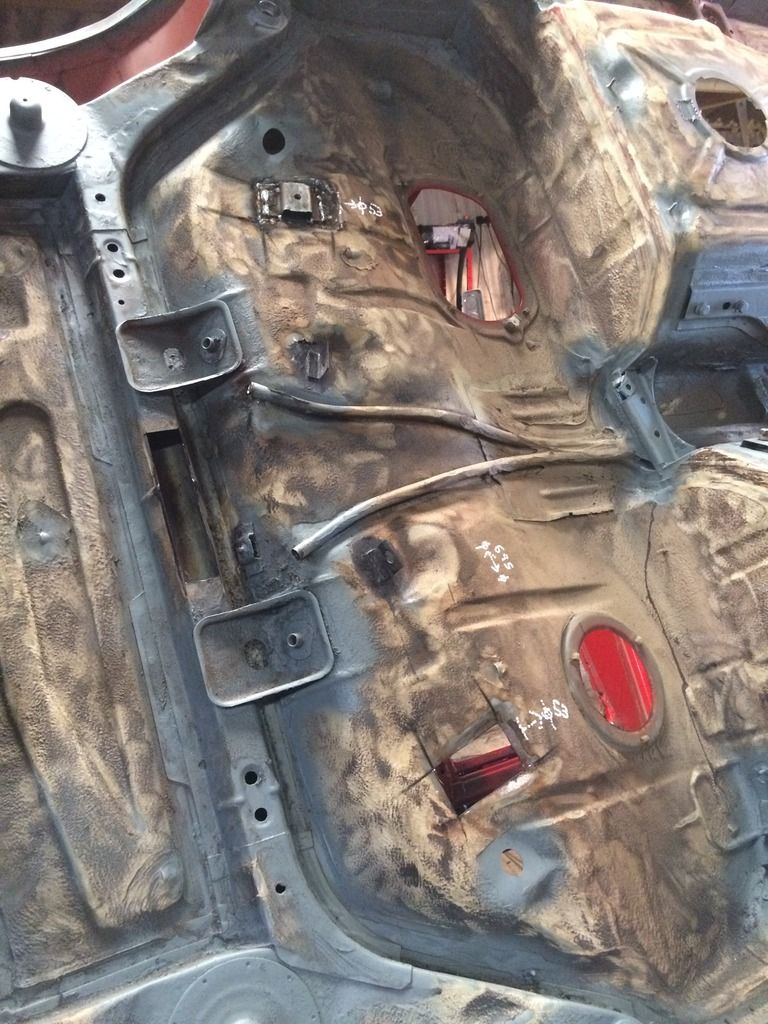
wire brushed all of the loose stonechip and all the seams, then rust cured all seams
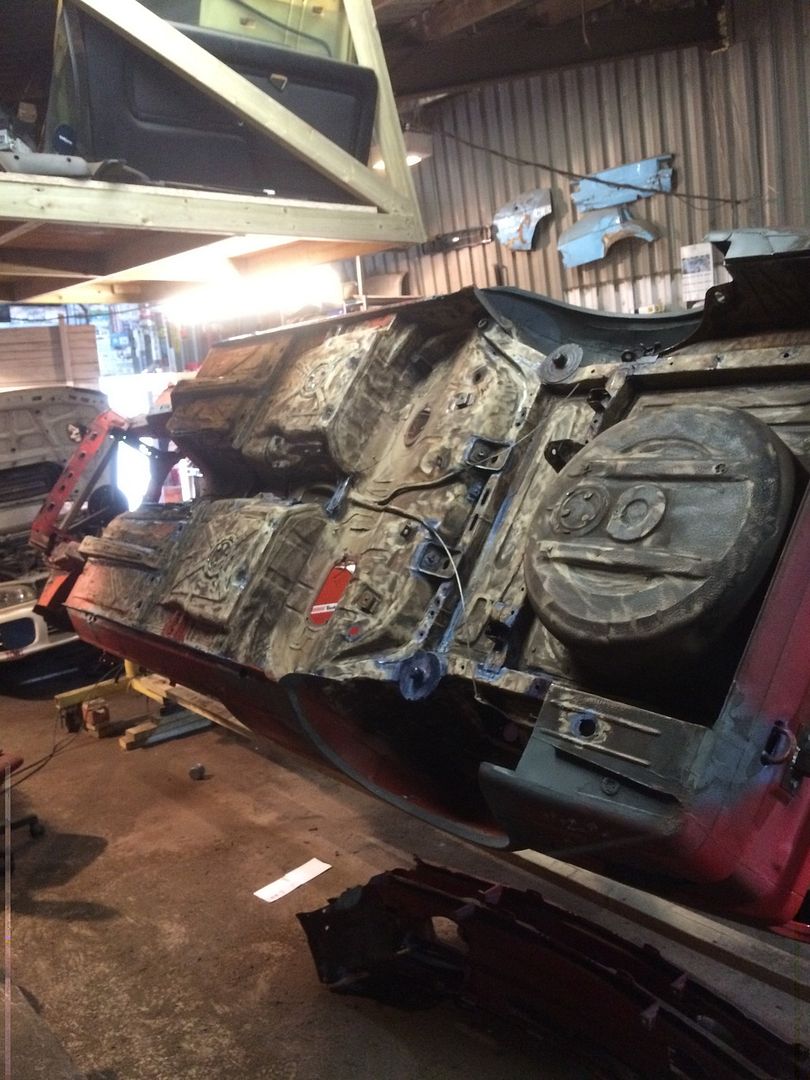
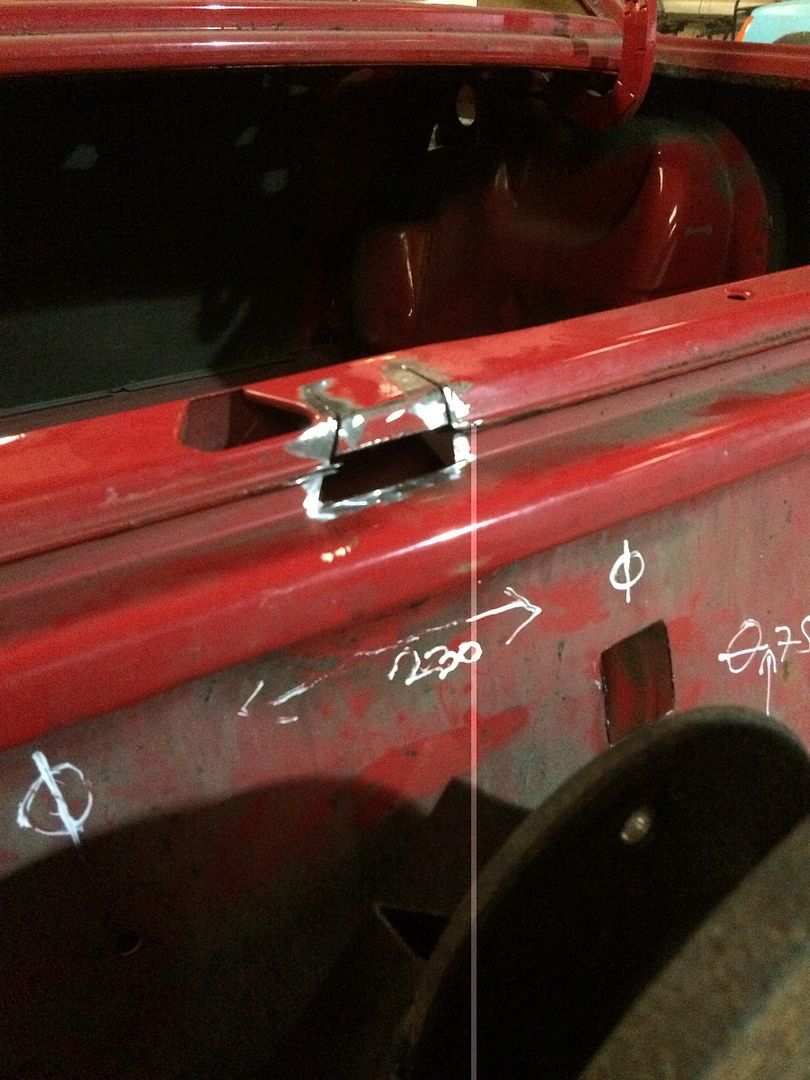
found a few more bits of rot which needed cutting out. it never ends

wire brushed\rust cured engine bay seams and front panel then given a quick blast with zinc primer
just need to weld up the fuel tank mounts and the shell is finally rust free

Re:
Posted: Mon May 16, 2016 6:46 am
by appletree
Great work, seams like a mission at the time but when you start to see the light at the end of the tunnel or rather when you can't see the light shining through the rust holes you get a sence of achievement knowing you can finally say it is "rust free"
Re:
Posted: Tue May 24, 2016 3:55 pm
by Ashley1995
Wow some seriously good work there, look forward to updates
Re:
Posted: Sat May 28, 2016 9:32 am
by jasp
cheers guys its getting there slowly
Re:
Posted: Sat May 28, 2016 9:54 am
by jasp
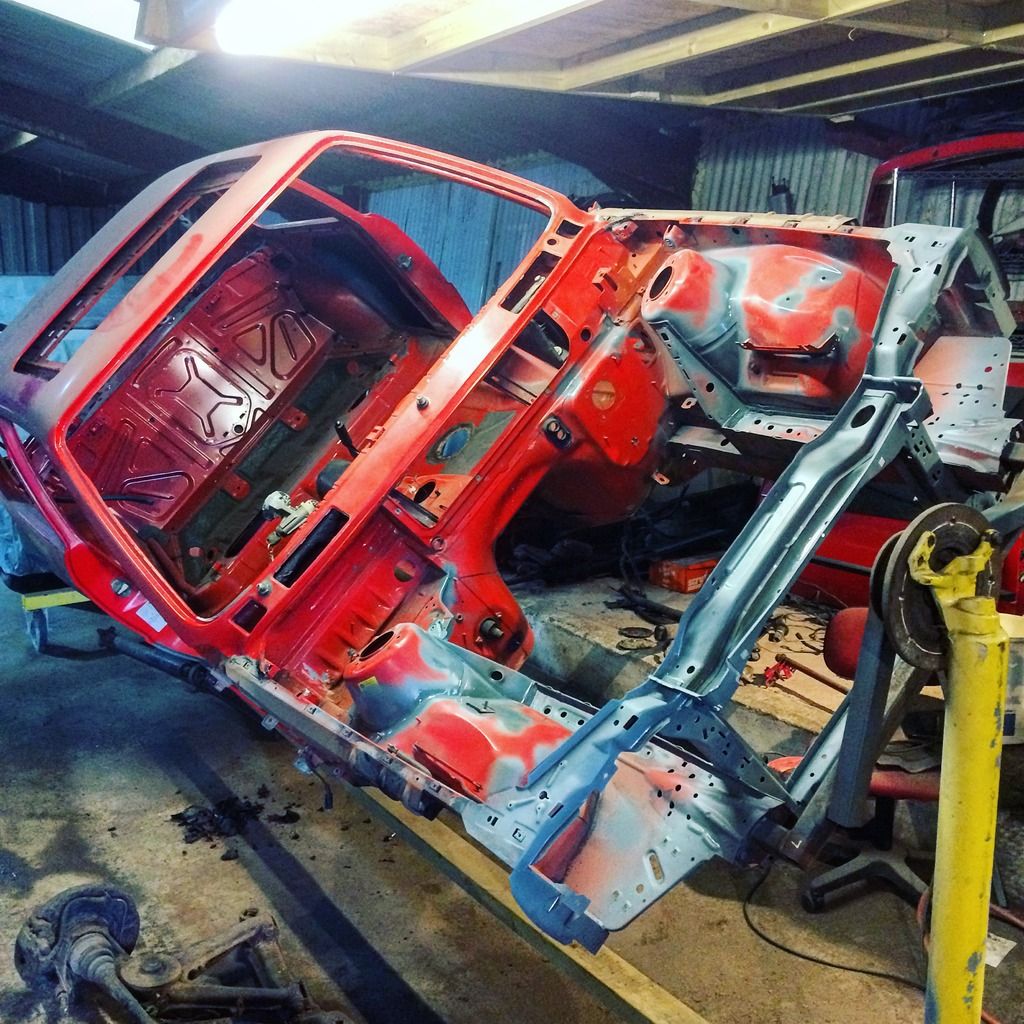
sorted tank mounts
seam sealered alll underneath and in the engine bay
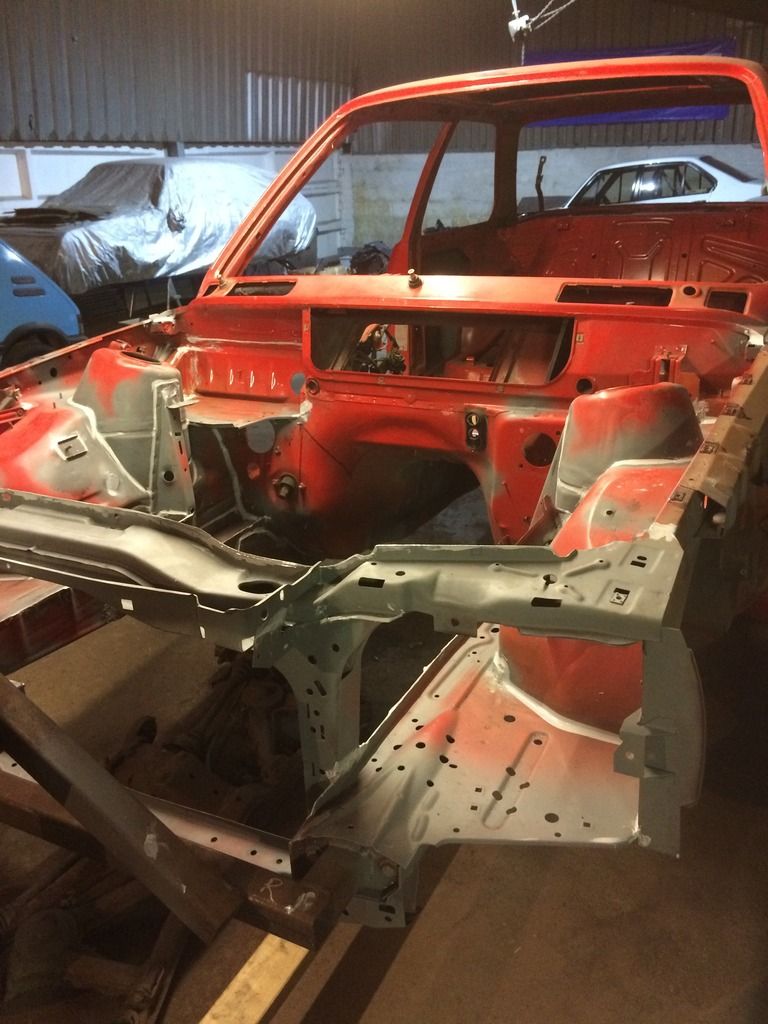
outside for the first time in months and given a coat of upol gravitex
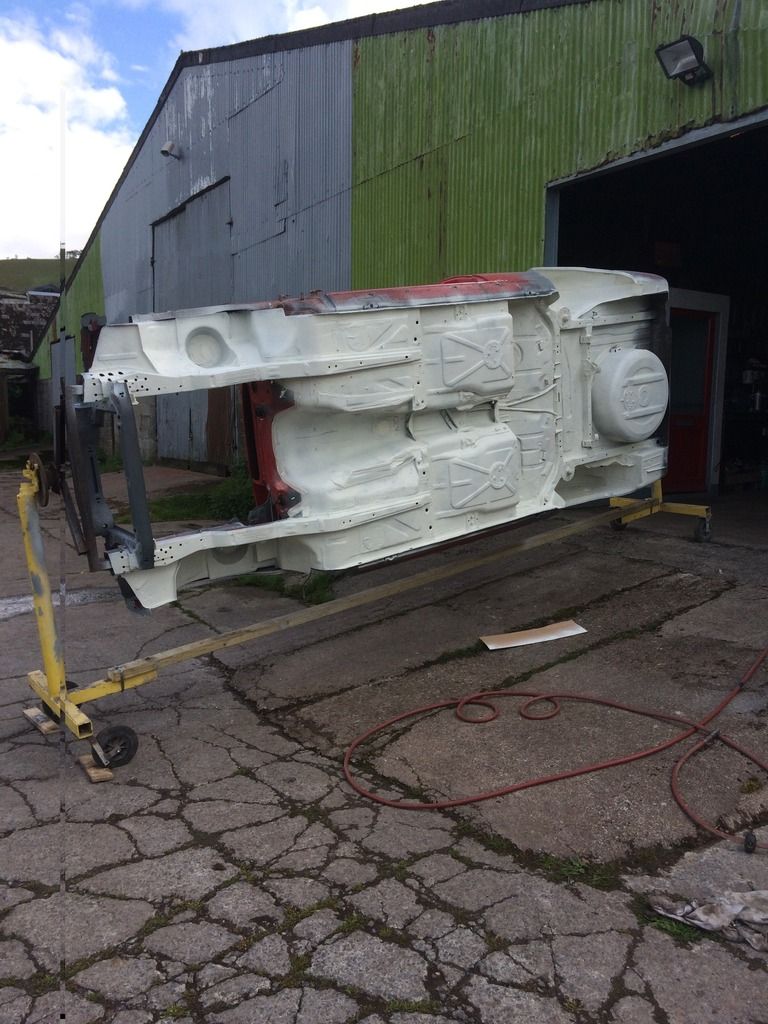
got my paws on some super thick industrial paint so gave the arches a quick brush
straightened up my old valance as it had a run in with a hare and did some modification to get a bit more airflow
think im going to either leave the plastic blank out or weld a plate in and drill some more holes

next job is to give underneath a coat of red and take it off the spit ready for primer
Posted: Wed Jun 15, 2016 6:19 pm
by jasp
Re:
Posted: Wed Jun 15, 2016 6:55 pm
by _Dan_
Nice work
Re:
Posted: Sun Jul 17, 2016 10:41 am
by jasp
_Dan_ wrote:Nice work
thanks mate.
I was planning on using vems ecu to run my turbo. What are the emerald ecu setups like? would you be able to do the mangment and mapping on my engine? would be quite handy seeing as your only down the road
Posted: Sun Jul 17, 2016 11:12 am
by jasp
Re:
Posted: Sun Jul 17, 2016 8:08 pm
by magpie
nice project

Re:
Posted: Sun Jul 17, 2016 10:45 pm
by jasp
magpie wrote:nice project
thanks, its coming along slowly
Re:
Posted: Tue Jul 19, 2016 12:31 pm
by mattmk1
Good stuff, i can appreciate the work going into this!
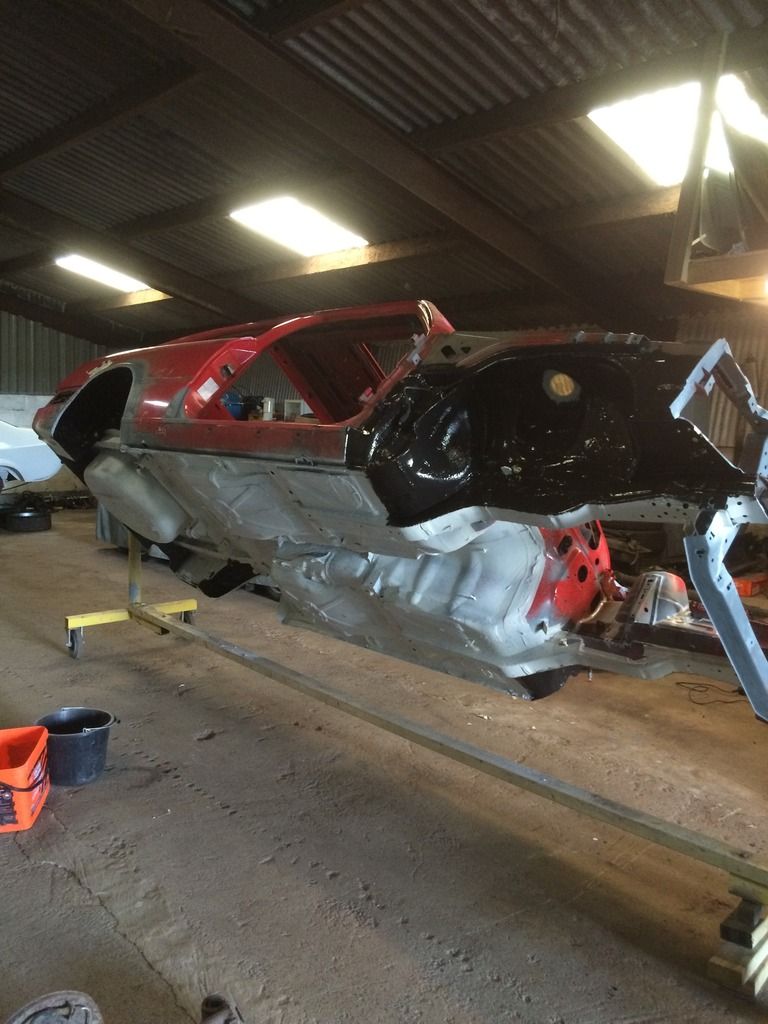
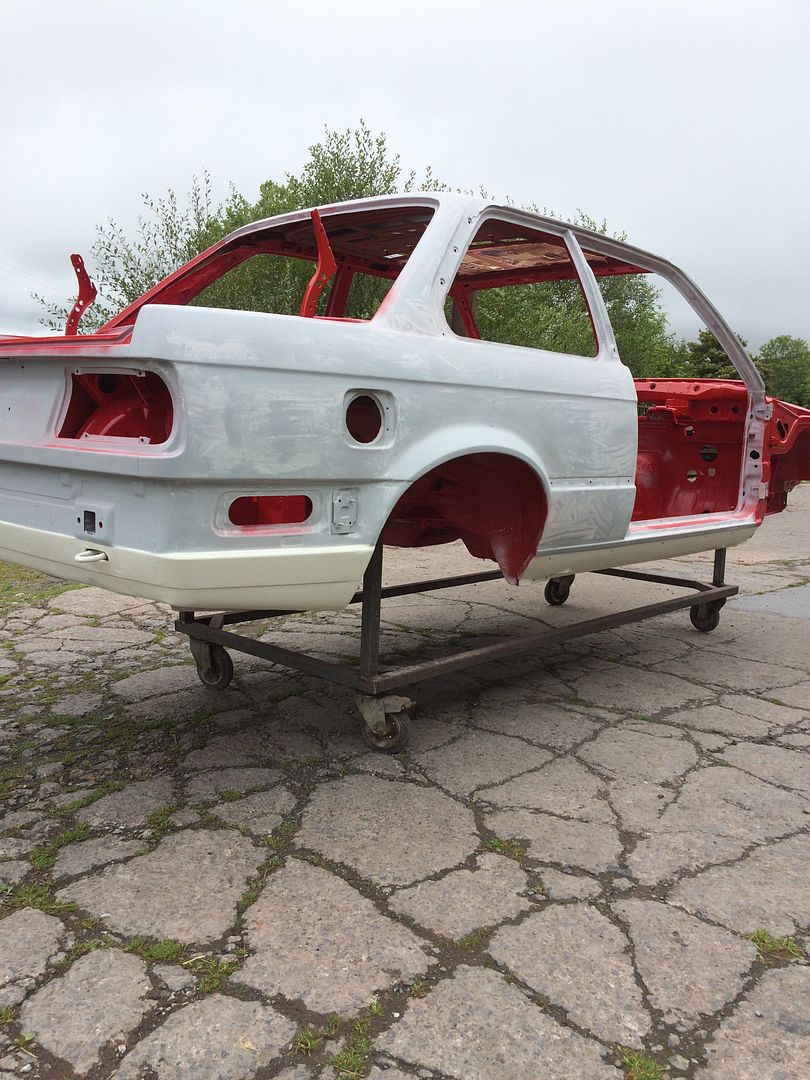
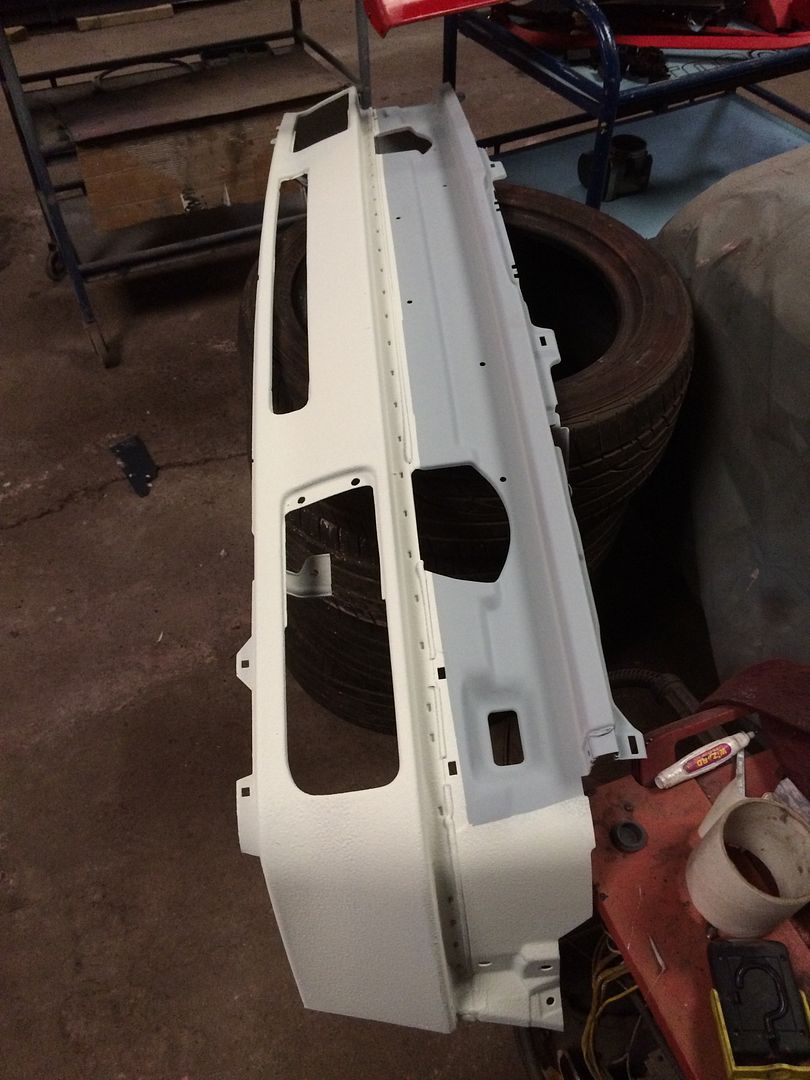
Posted: Sat Jul 23, 2016 8:40 pm
by jasp
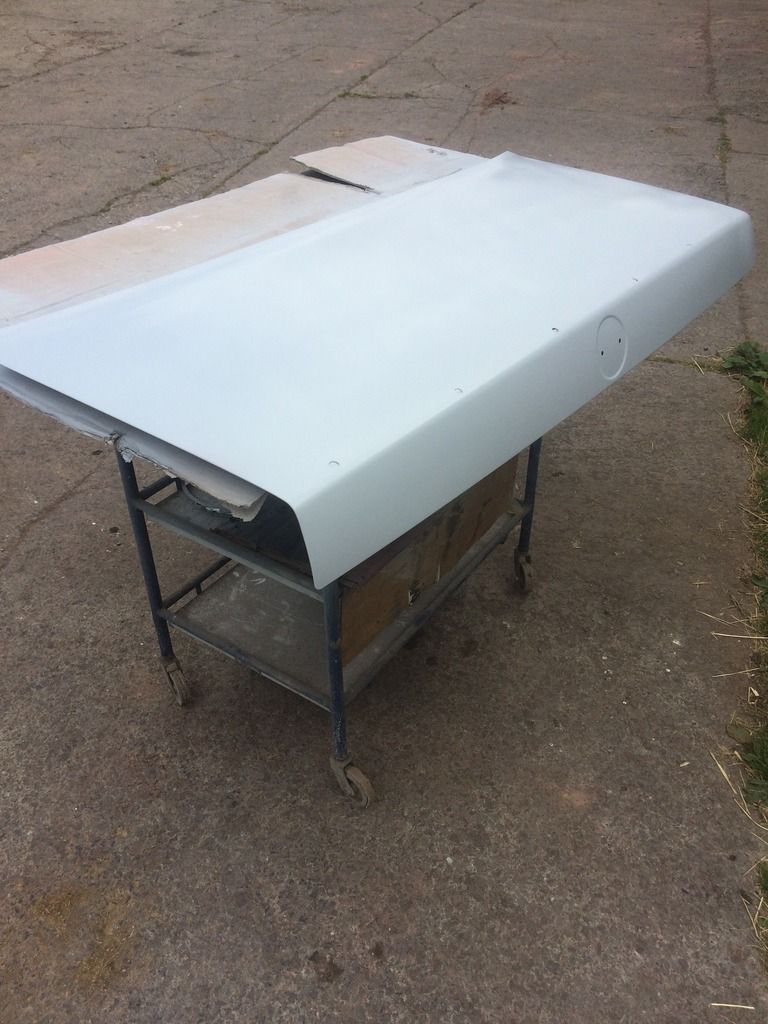
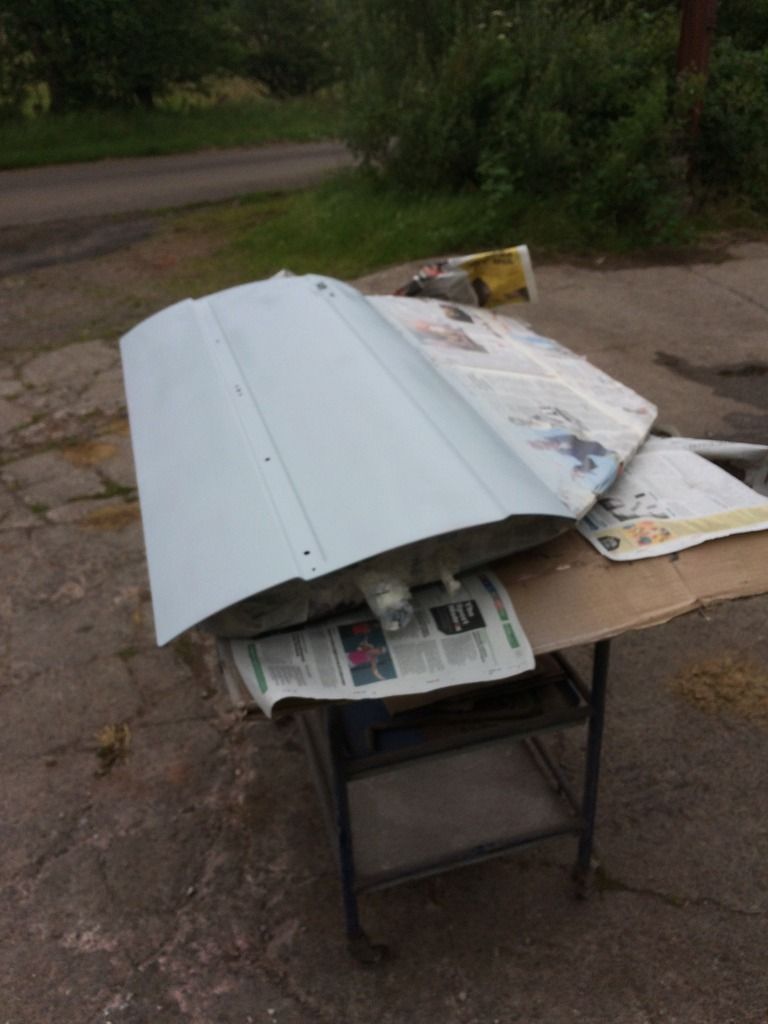
splashed a bit of red at it
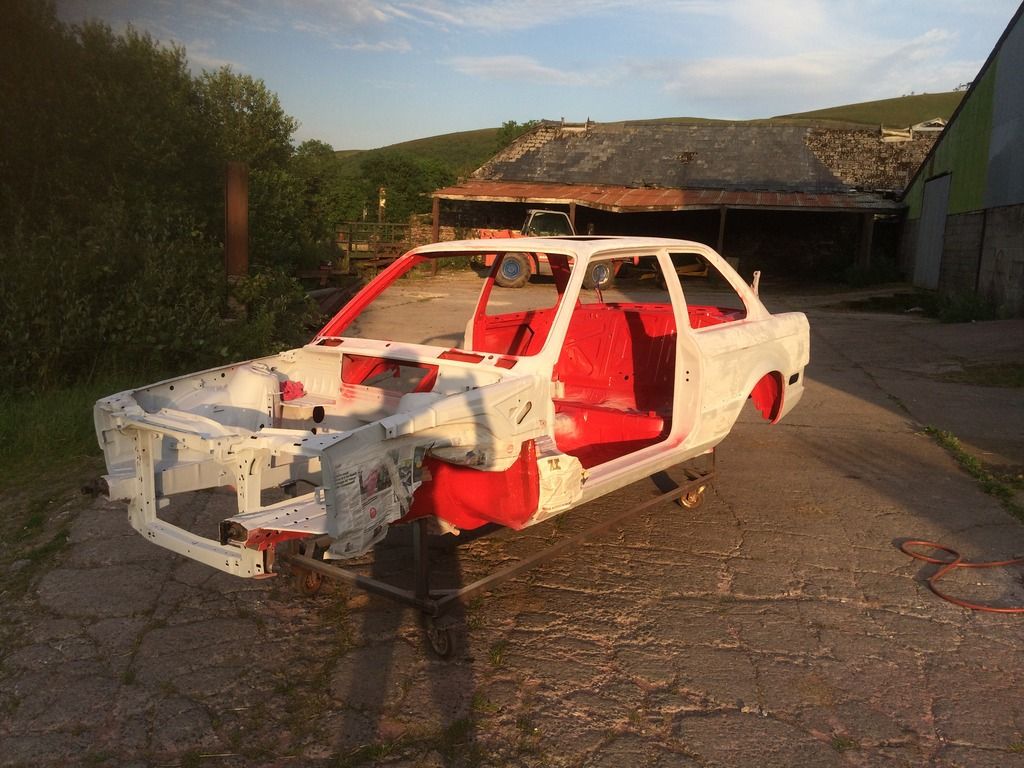
primered the doors, bootlid, valance, and bonnet
and finally today i sprayed the engine bay and boot
happy with the finish ive managed to get as im doing it outside and ive never really sprayed a car before
hopefully my front wings and sunroof panel will turn up soon and then its off to the paint shop for a full spray
Re:
Posted: Mon Sep 19, 2016 4:26 pm
by jasp
progress has been slow lately
took my mirrors apart ready for painting
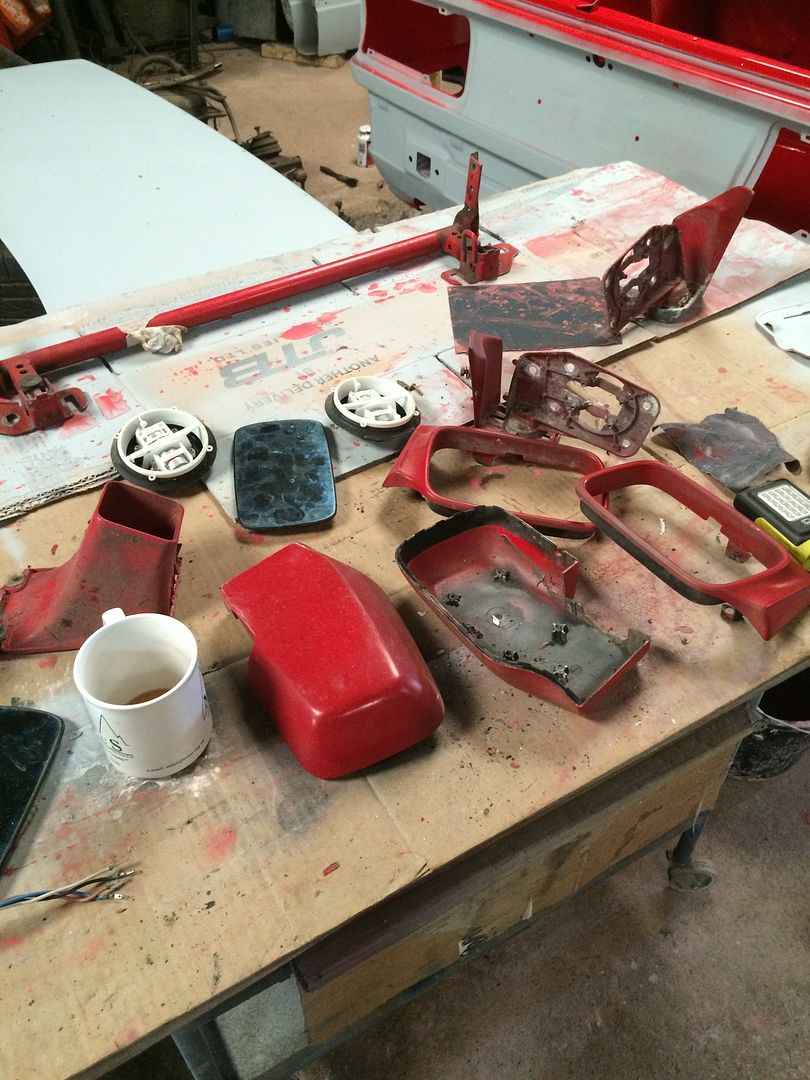
stonechipped around the sill's front and rear valance
rubbed down my bumpers and se sideskirts
dismantled my rear subframe, pressed out the wheel bearings and run the wire wheel over it all.
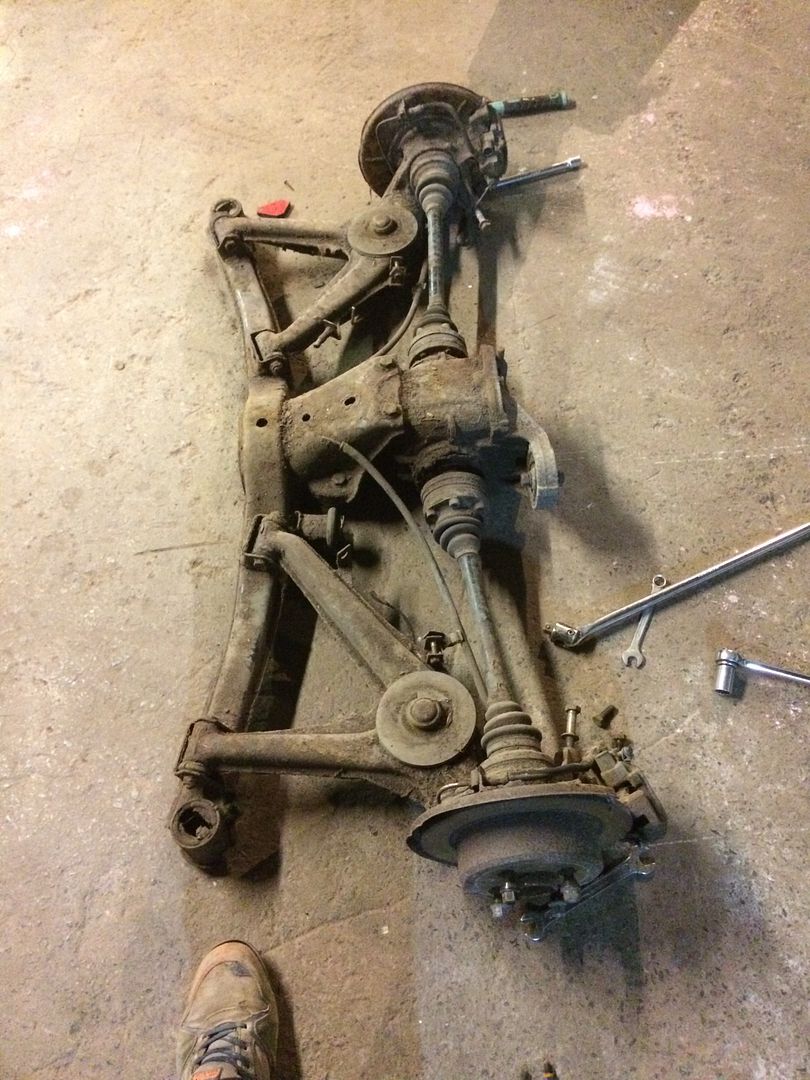
still no sign of my wings or sunroof panel 6weeks on

starting to wonder if they will ever turn up. Anyone used 'bavarian retro' in scotland? keep getting told he "will post them this week" for the last 3 weeks
Re:
Posted: Mon Sep 19, 2016 4:36 pm
by magpie
don't say he's called Boyed ?
Re:
Posted: Sat Sep 24, 2016 10:17 am
by jasp
magpie wrote:don't say he's called Boyed ?
thats the one. Have you had problems getting parts from him too?


