Idol's 325i Sport Restoration
Posted: Mon Jun 09, 2014 11:31 pm
So after owning this E30 for about 12 years and driving it through my 20's the time has come to restore the old beaut!
It came off the road about 3-4 years ago with a blown head gasket and because I had another car the poor old E30 got forgotten about and has since been in the garage, (which I actually fell through an Azzy roof onto the car ) and more lately she takes position on the drive under a cover. I started work on her in May this year.
I have been buying bits for her for a little while now, when I see good deals come up on the zone I have to get them. So I have been collecting 2nd hand bits, fogs, mirrors, sunroof panel etc for a little while now. I seem to have lots of bits to go on the car but never enough time to work on it due to work commitments.
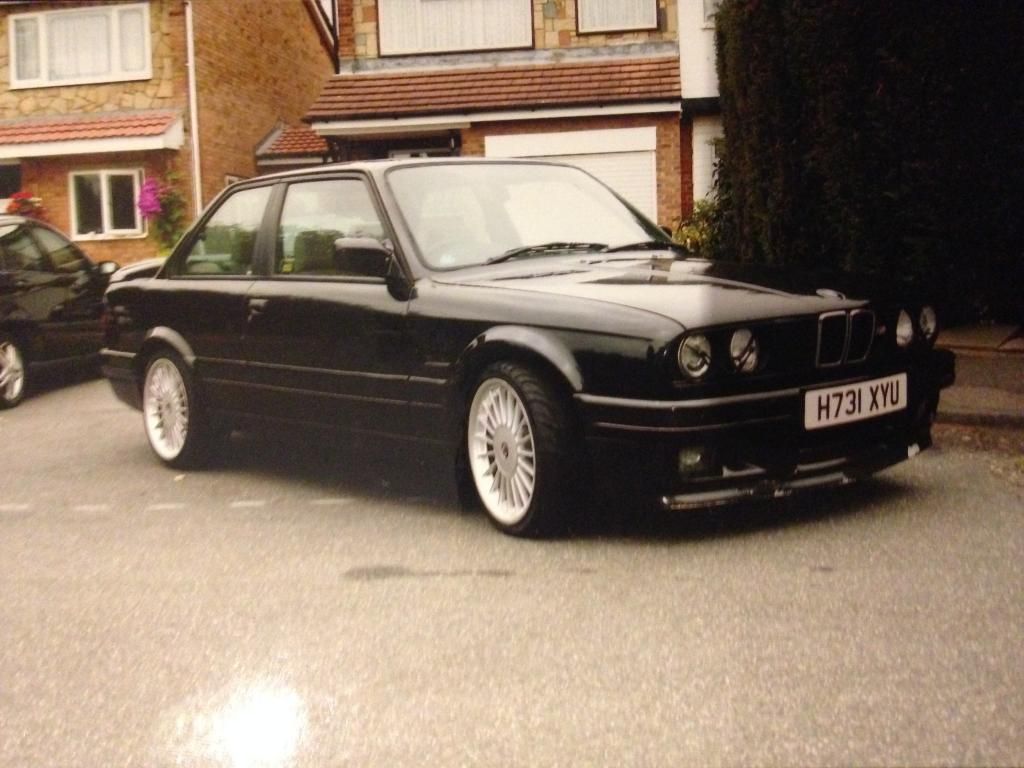
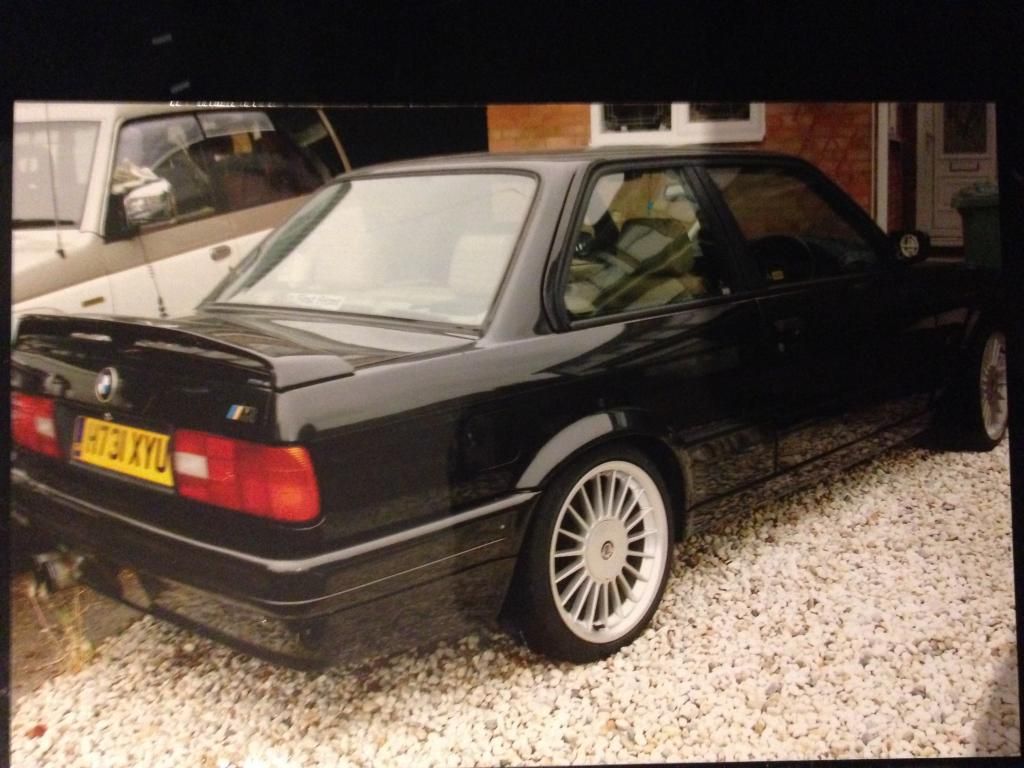
So enough of the waffle, here are some pics of her 8+ years ago. These were taken on my phone from old prints when I first lowered it.
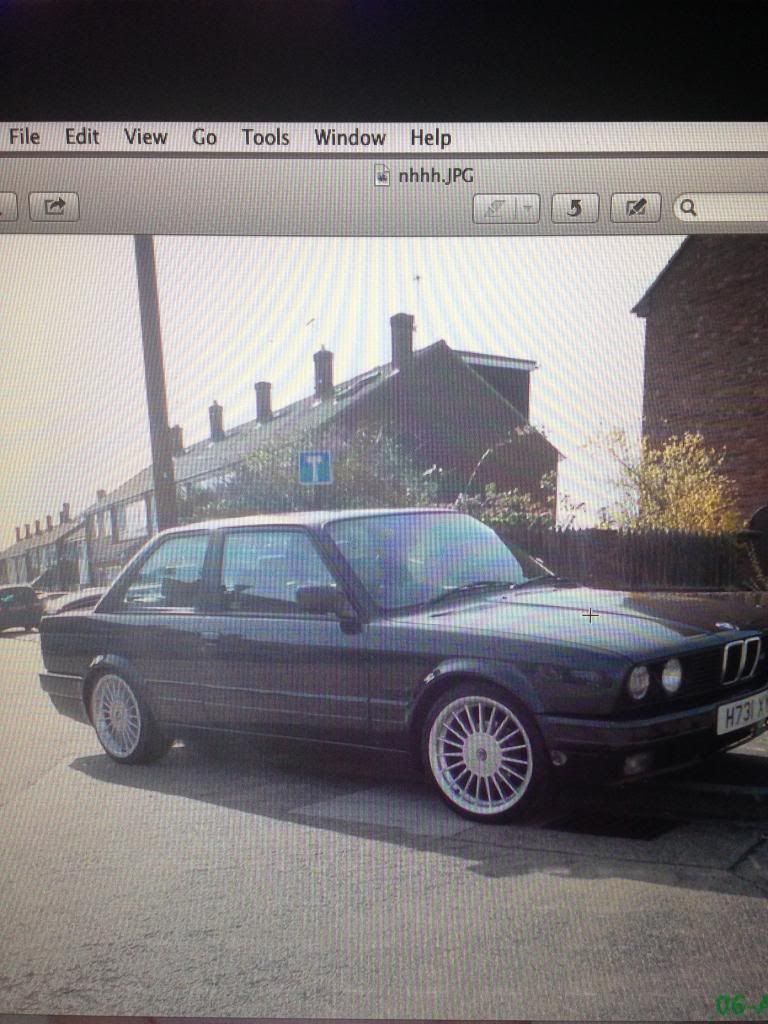
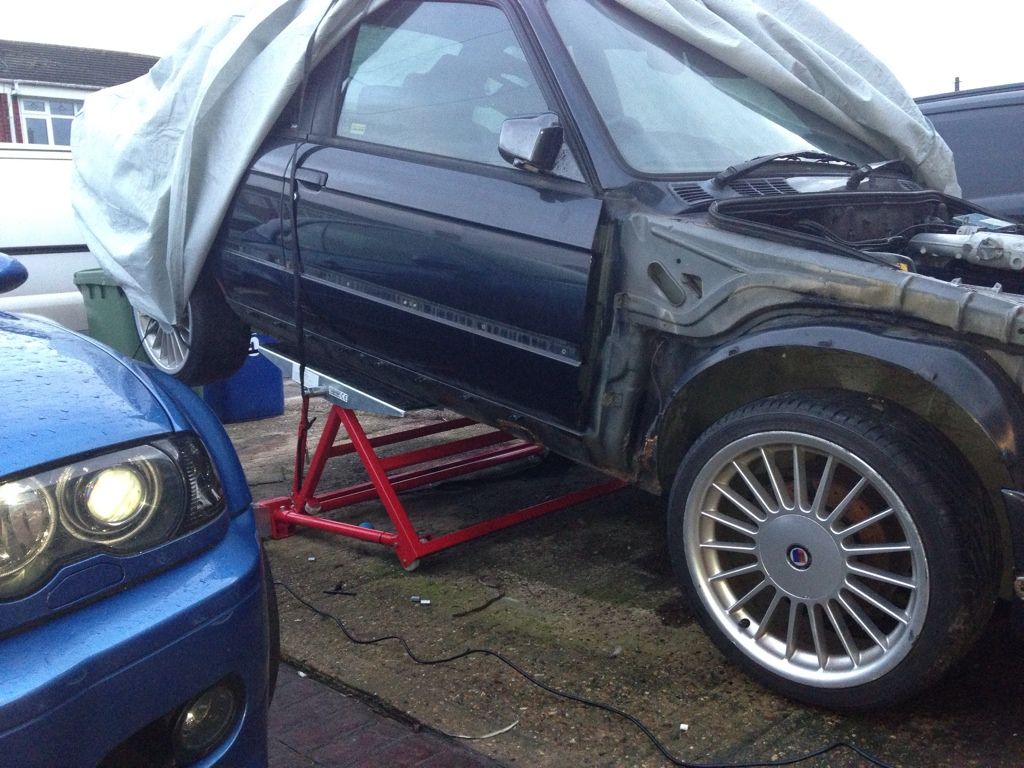
And this is how she resides now
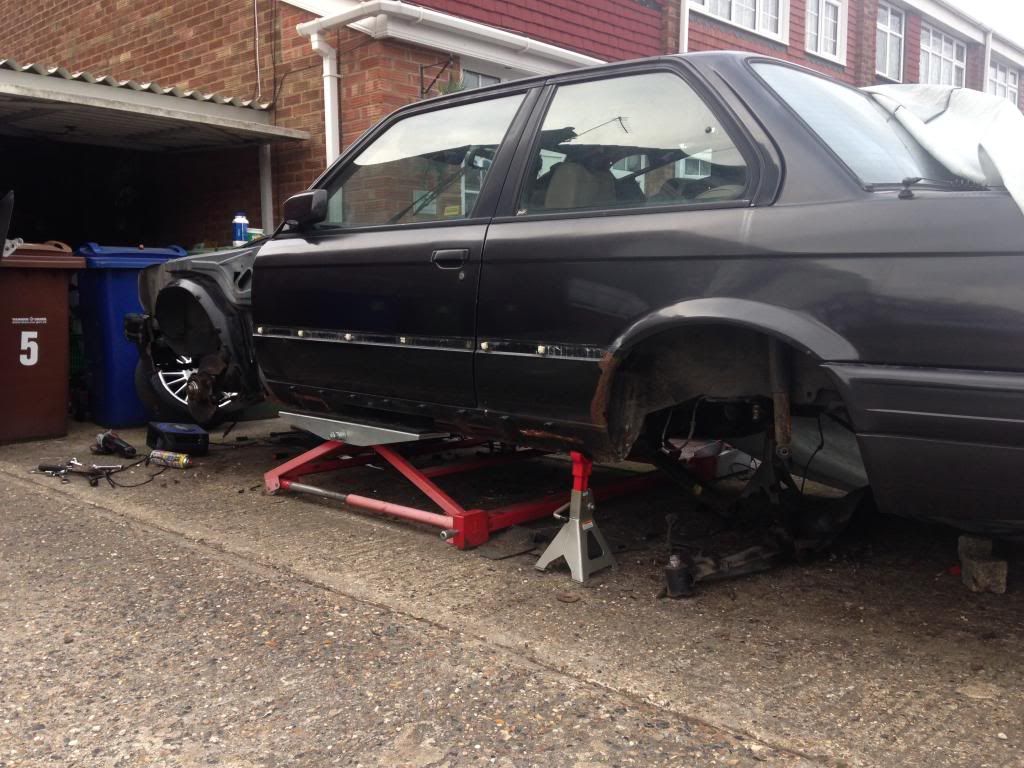
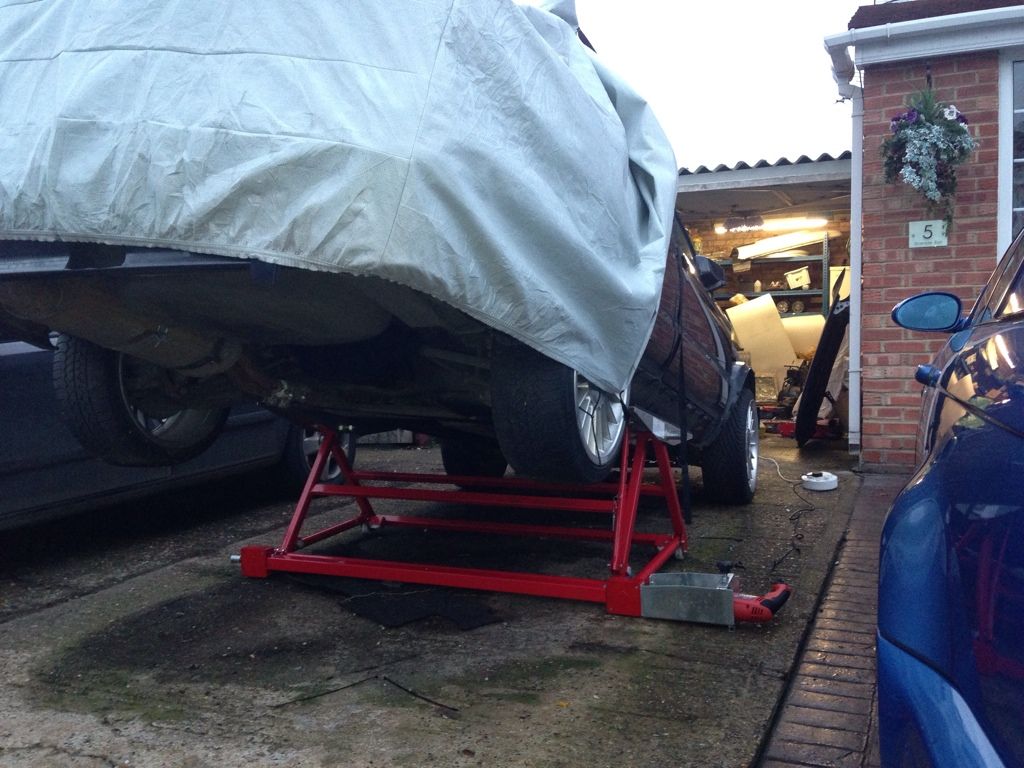
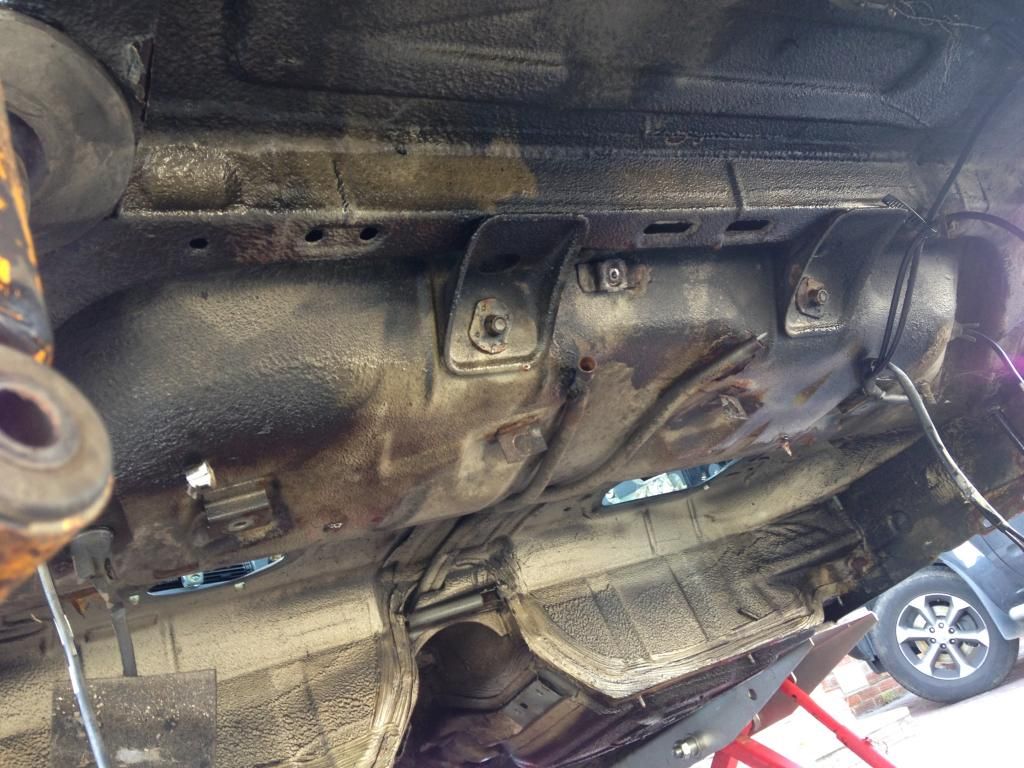
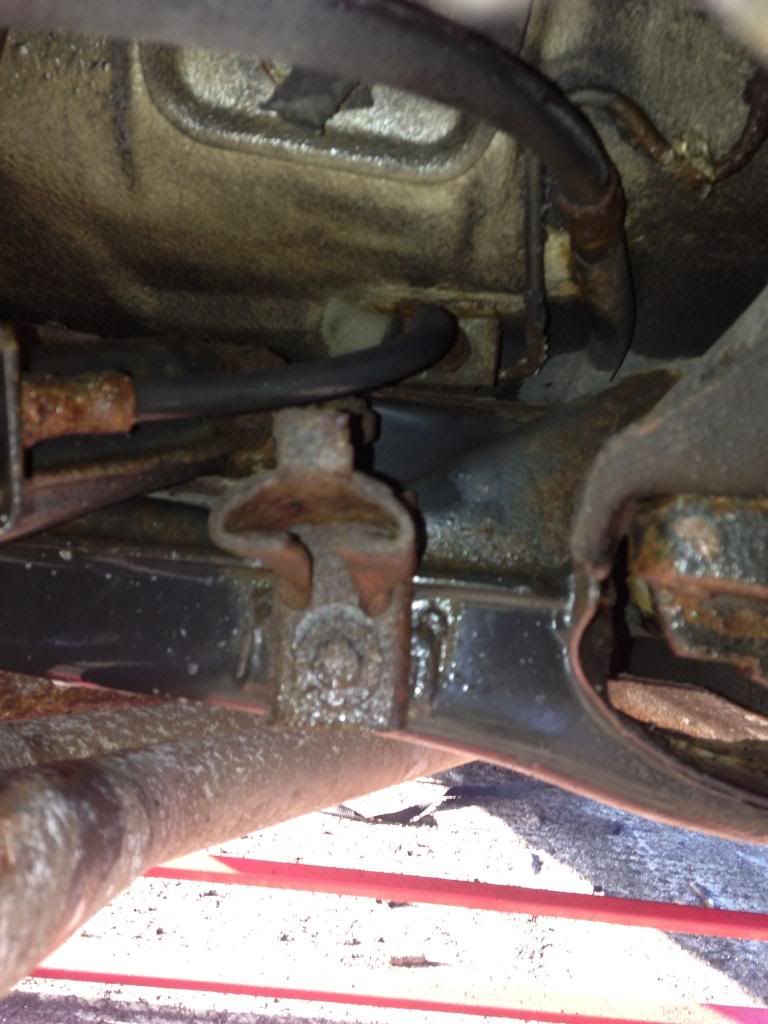
And started to play with her under carriage

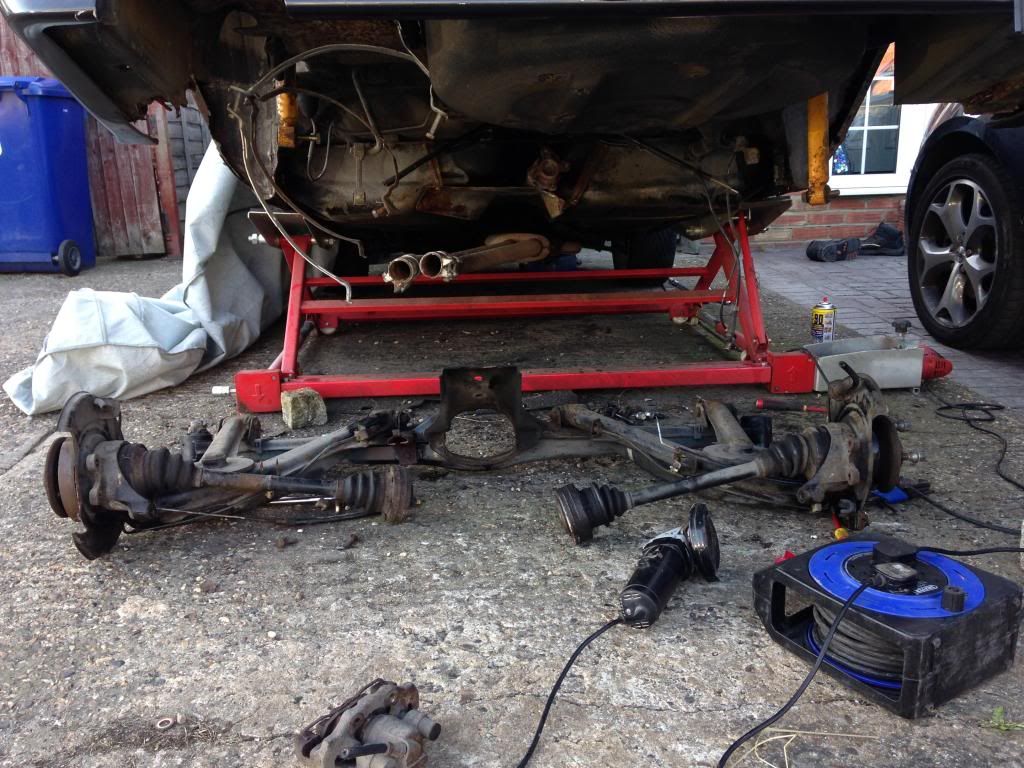
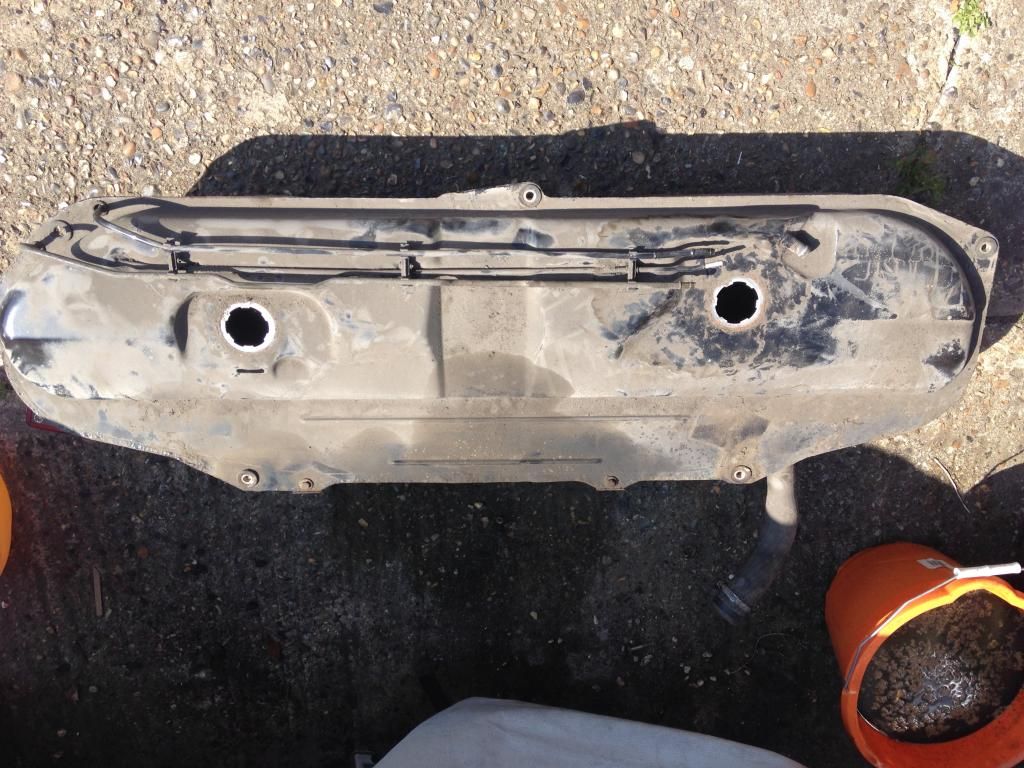
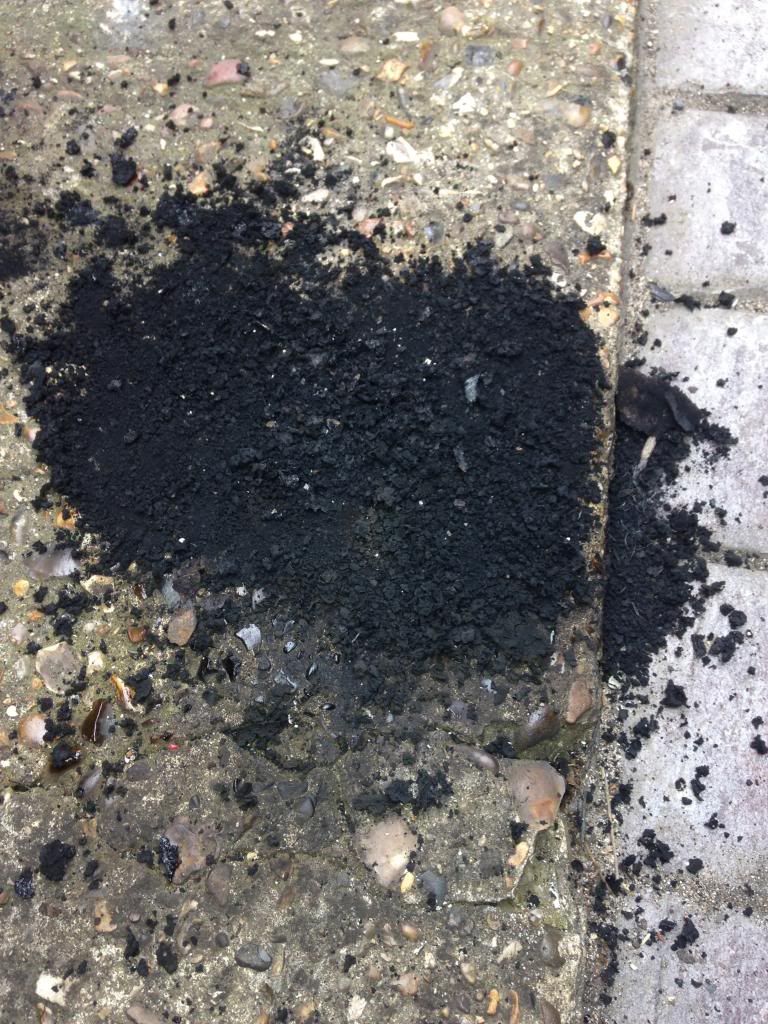
Tank Out
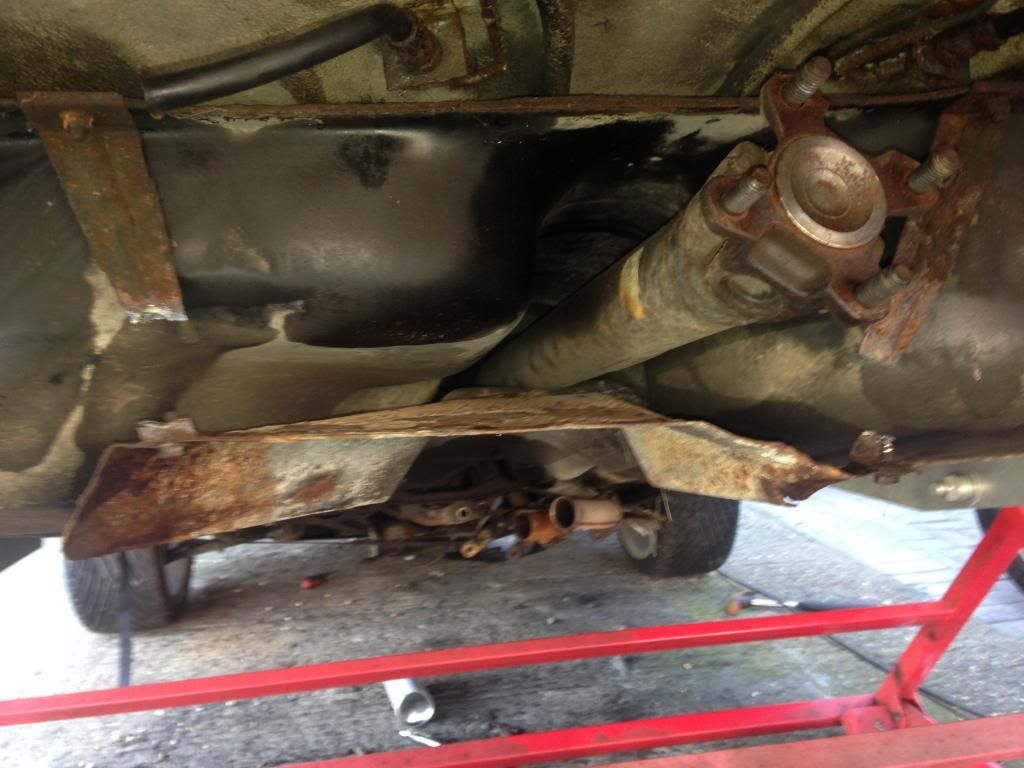
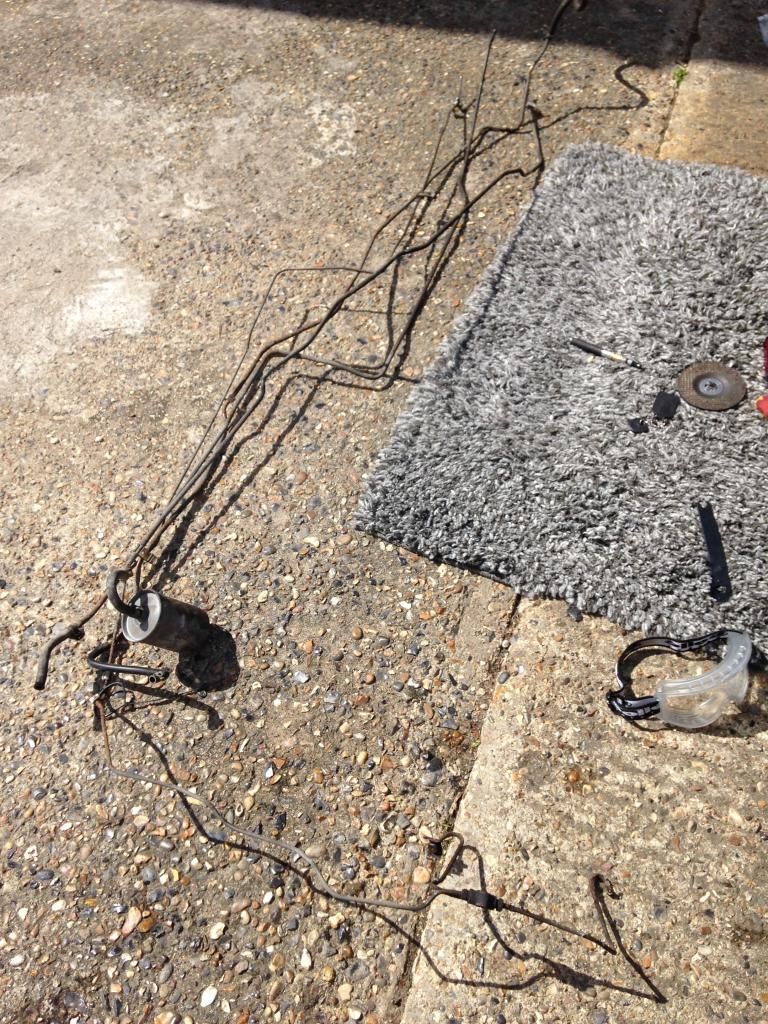
No messing about with these rusty bits - Out comes the grinder
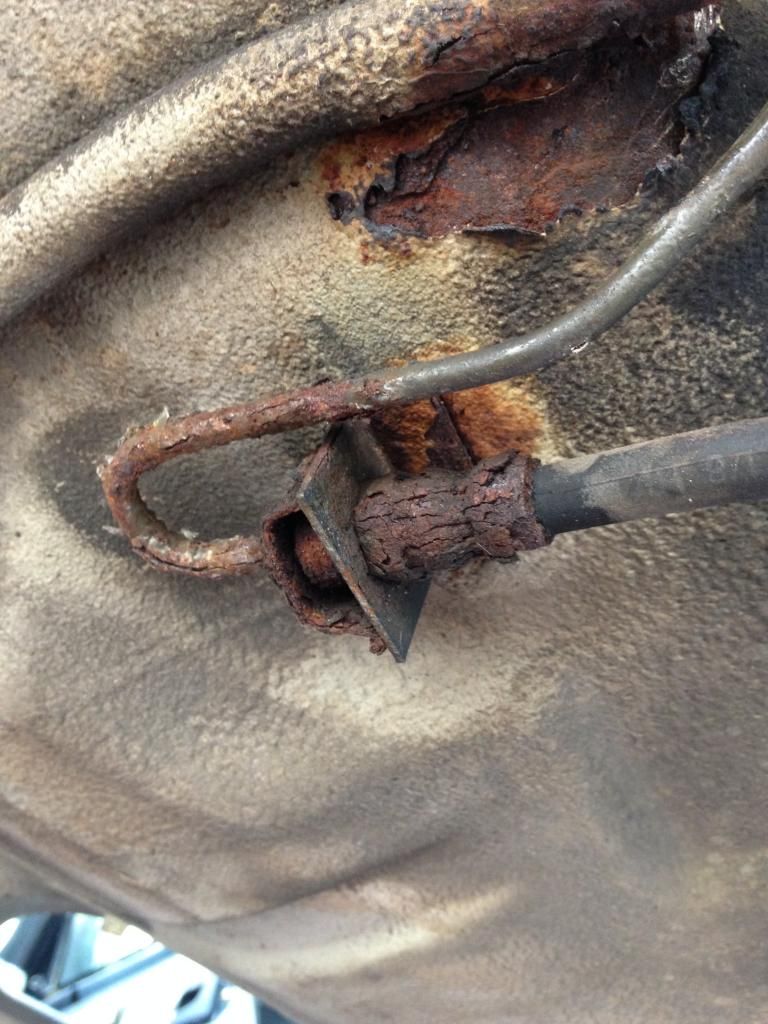
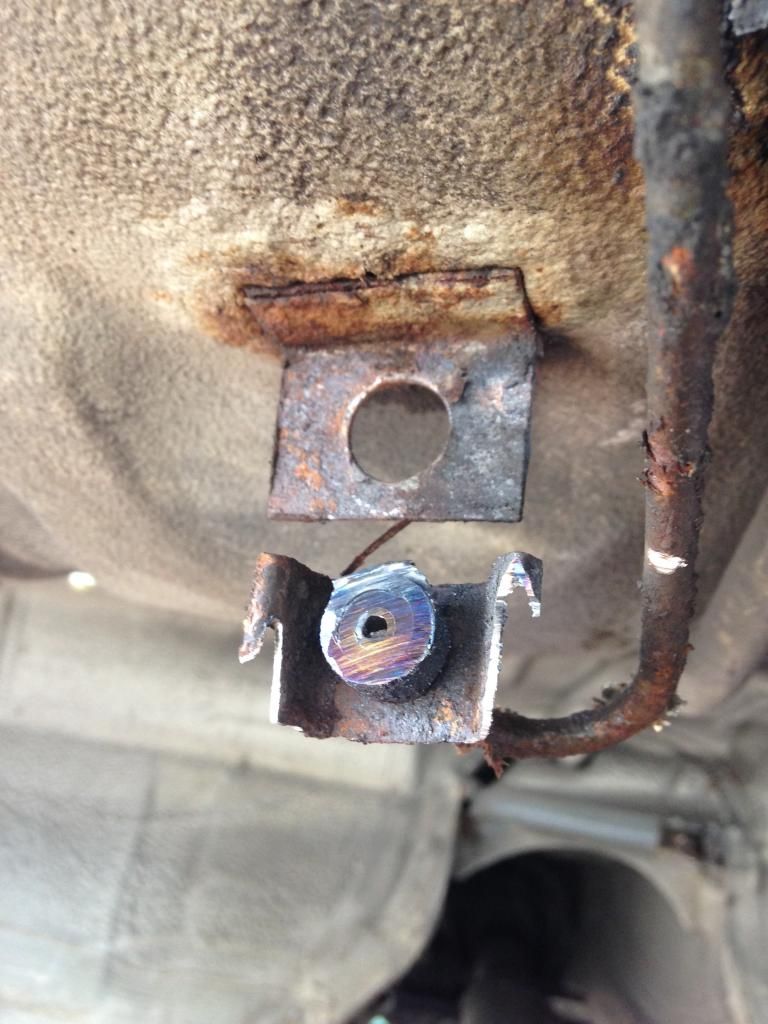
Brake and fuel lines out
Diiirrrtyyyy
Clean after a De-grease in a squirty bottle and jet wash

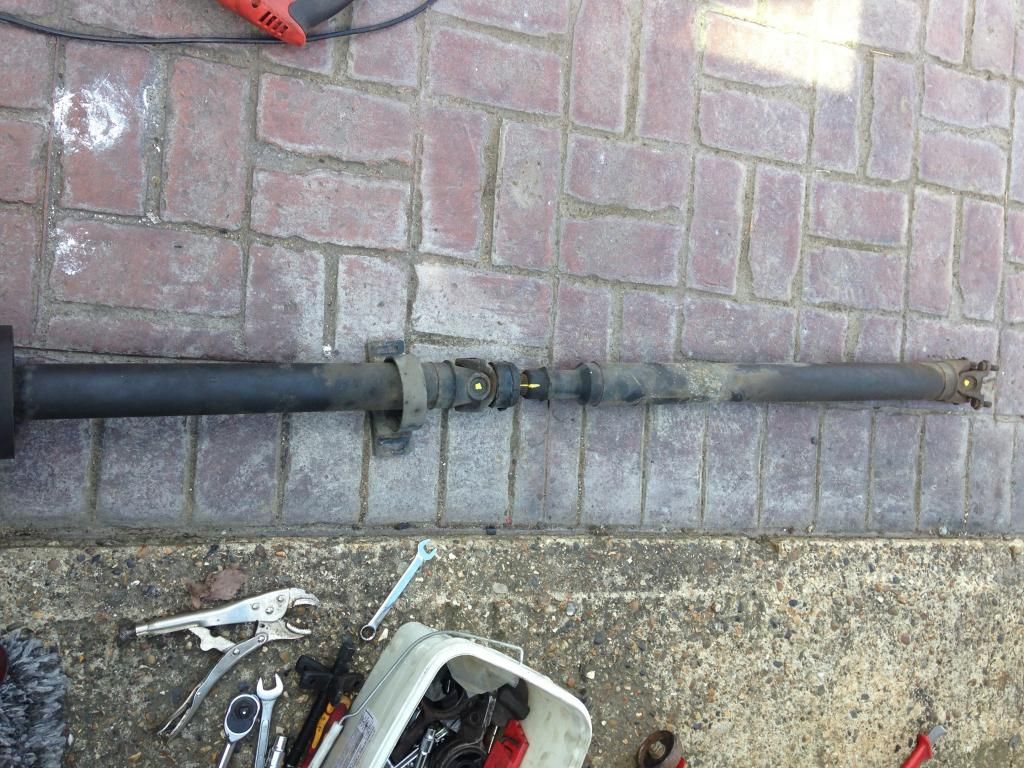
Prop shaft out
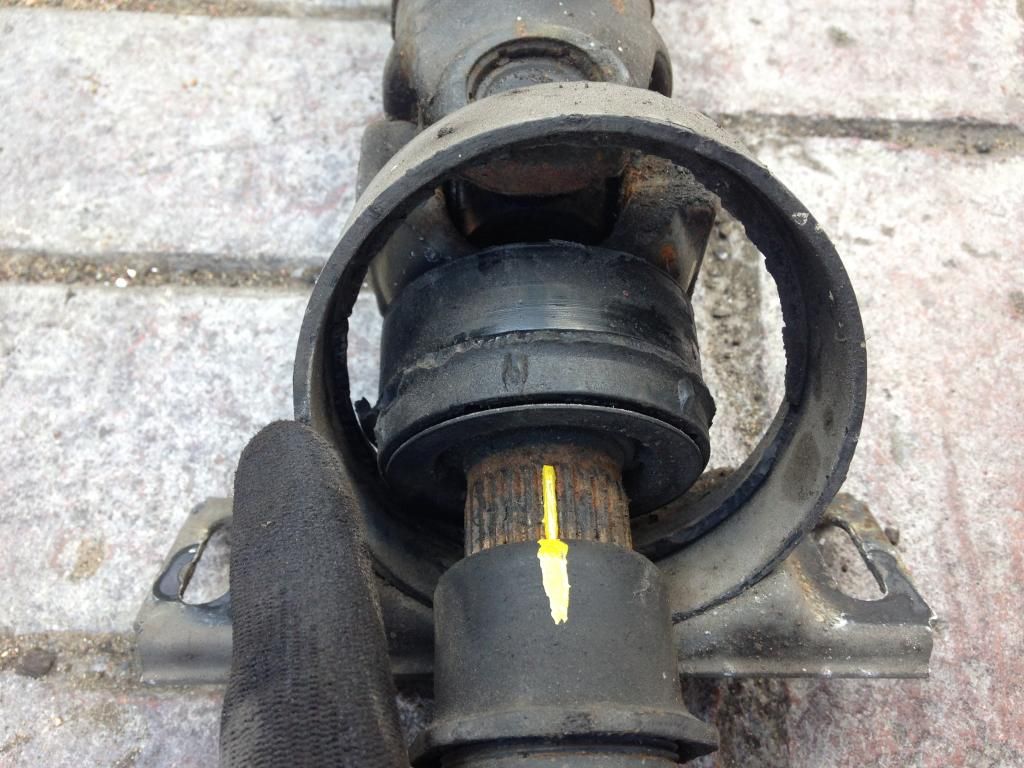
There was nothing left of the rubber mount!
I realise its marked up wrong here, but the previous pic I think I got right.
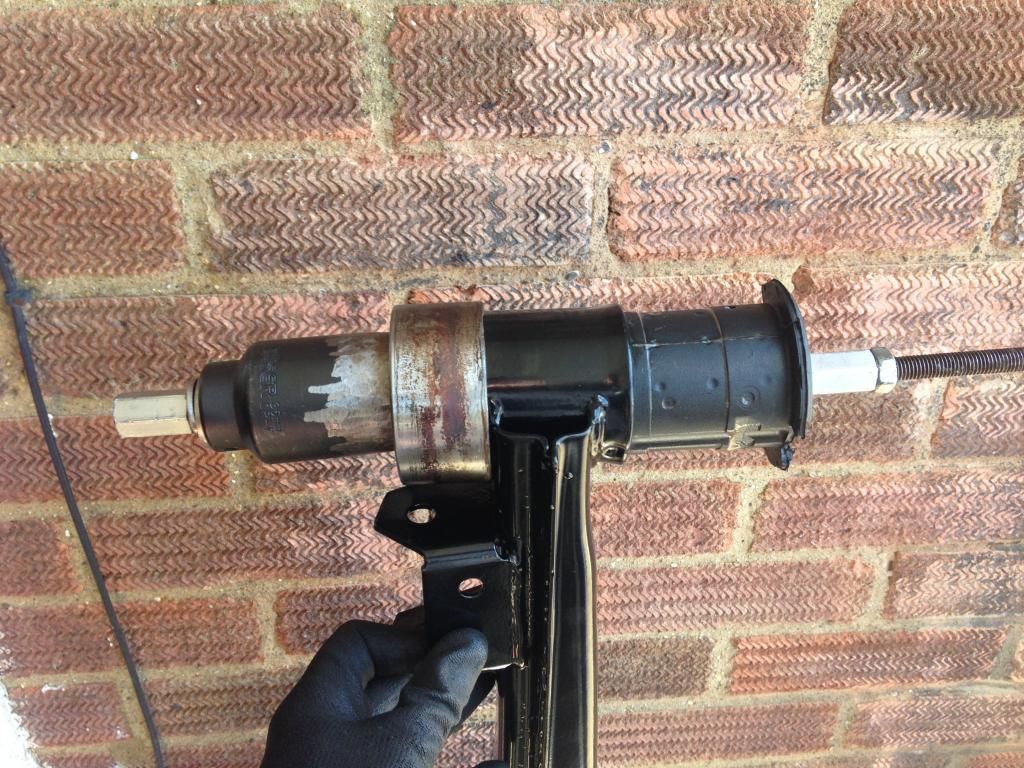
Removed the prop bearing

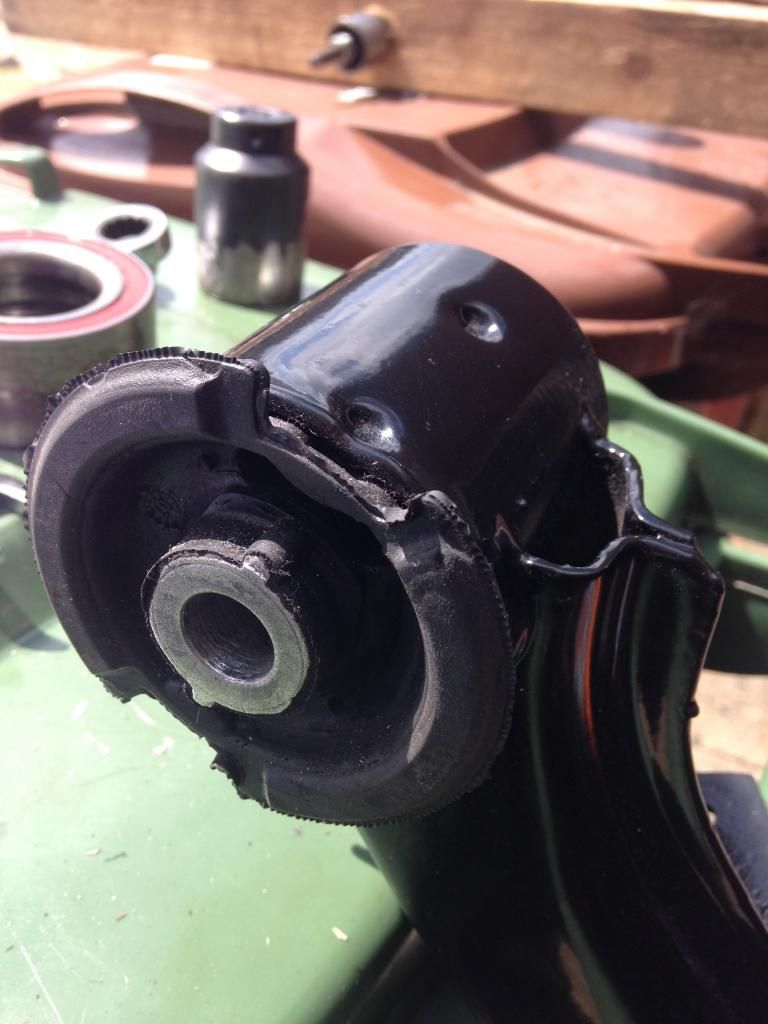
Removed the beam bushes the proper way!
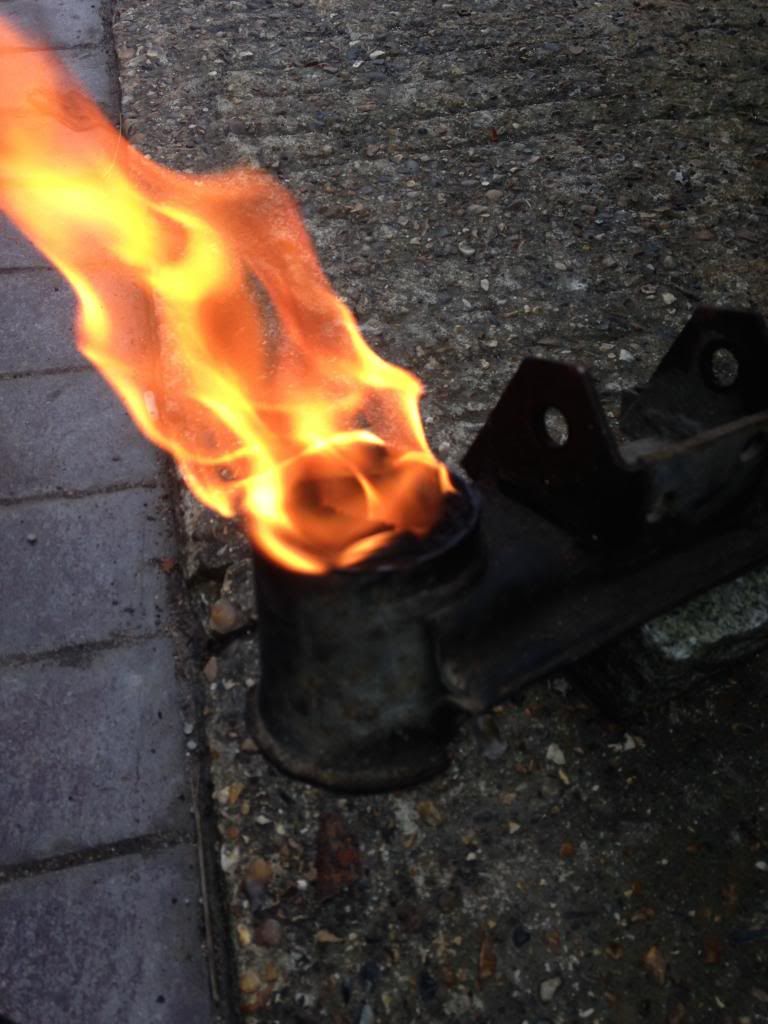
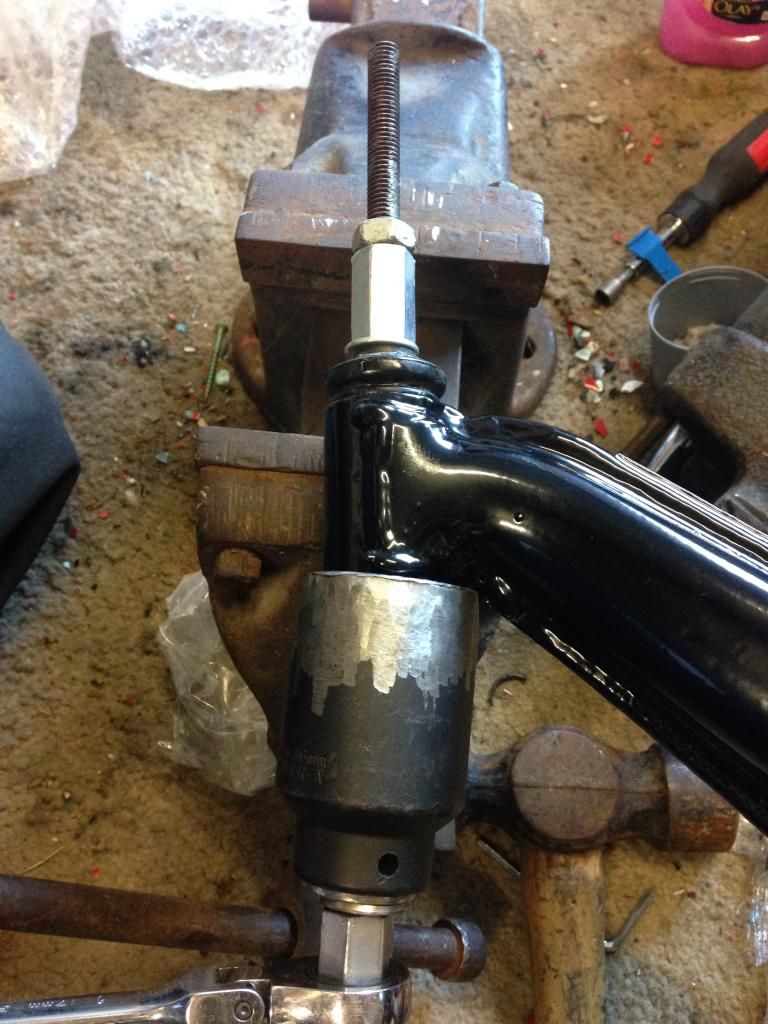
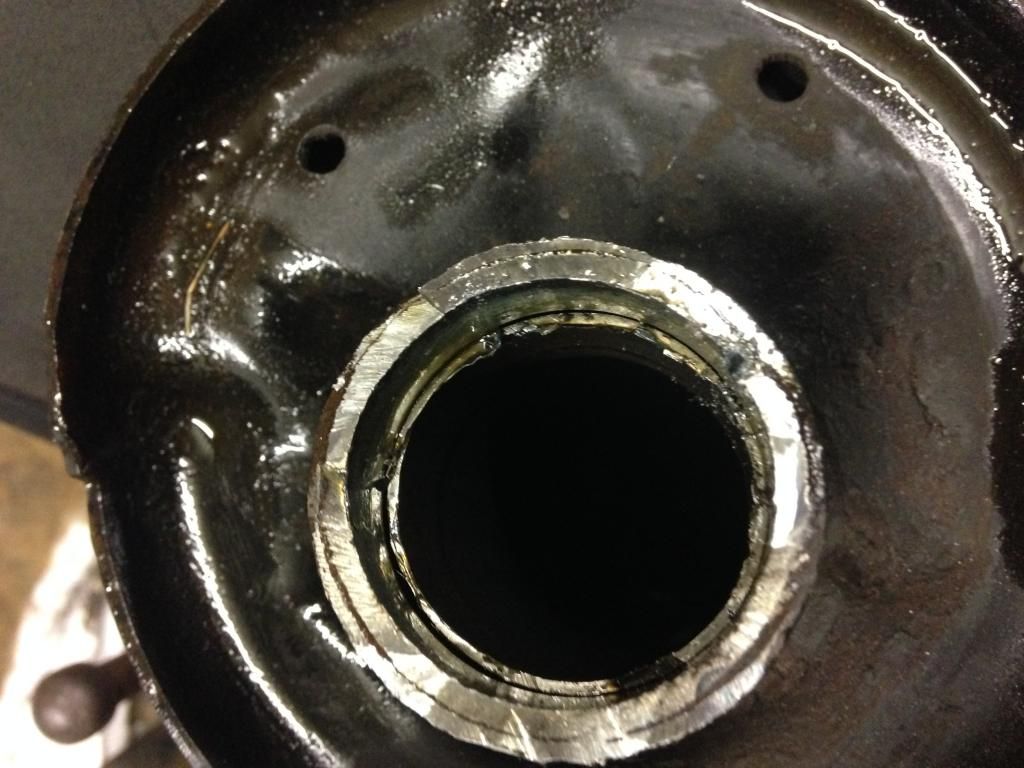
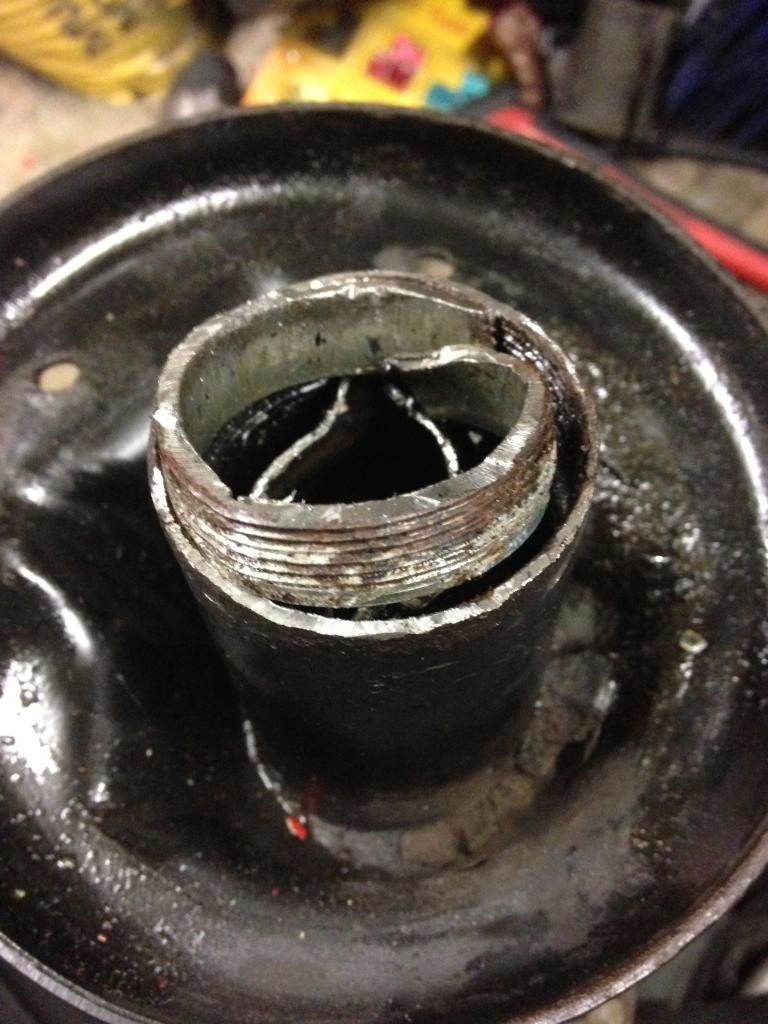
And cut the remaining metal collar with a hacksaw blade
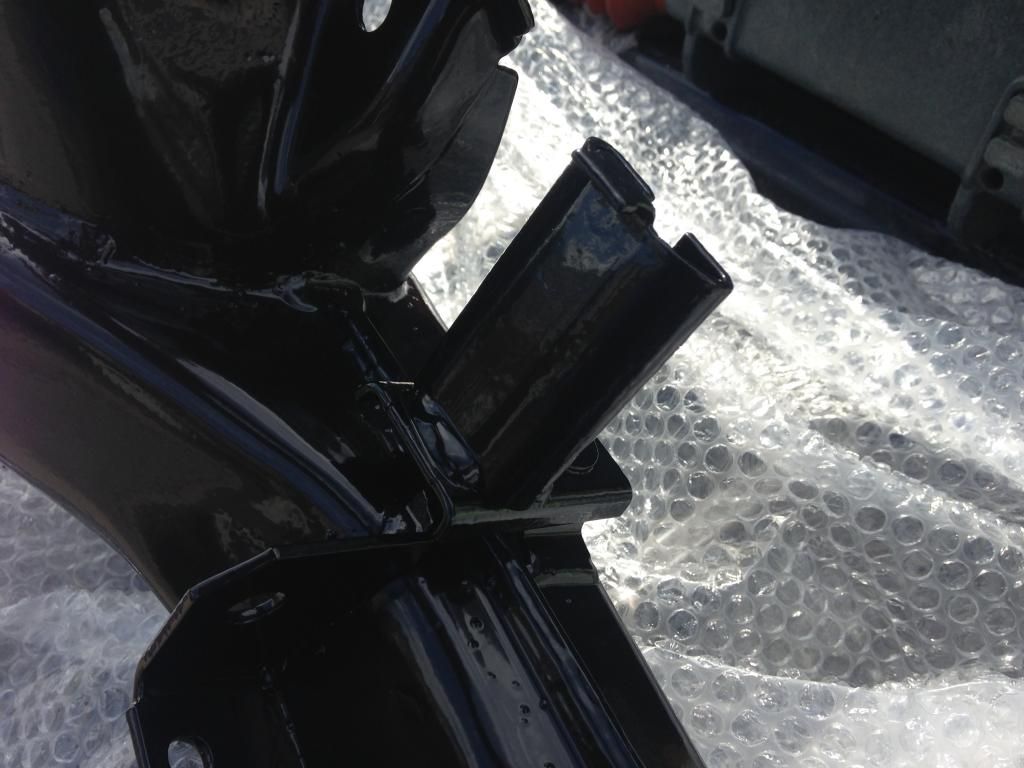
I sent the rear beam and trailing arms away for shot blast and powder coat. Decided on gloss black, not OEM but I like it.
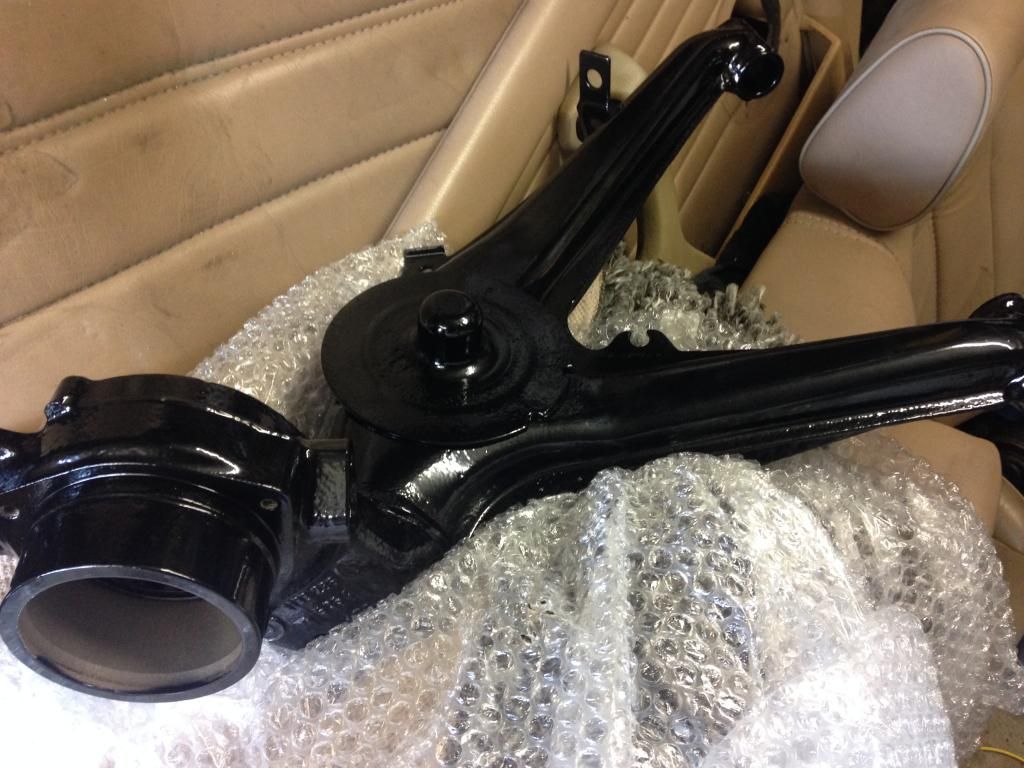
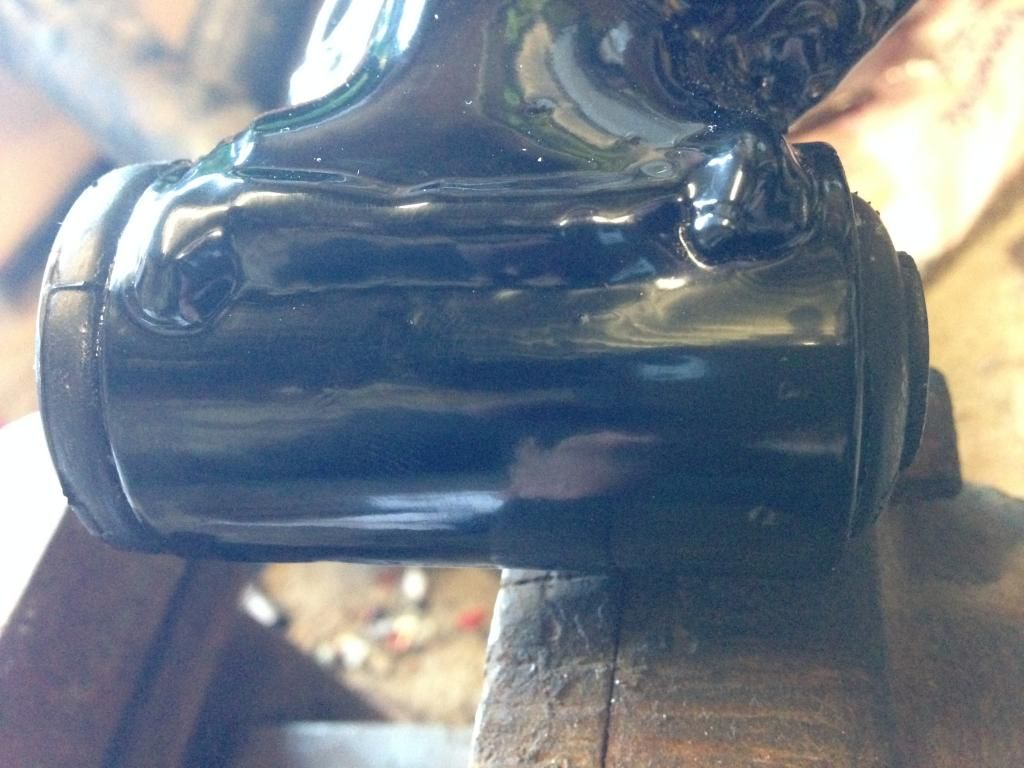
There like brand new! Replaced the beam bushes using threaded bar, an old wheel bearing and a impact socket.
New trailing arm bushes put in with a vice and threaded bar.

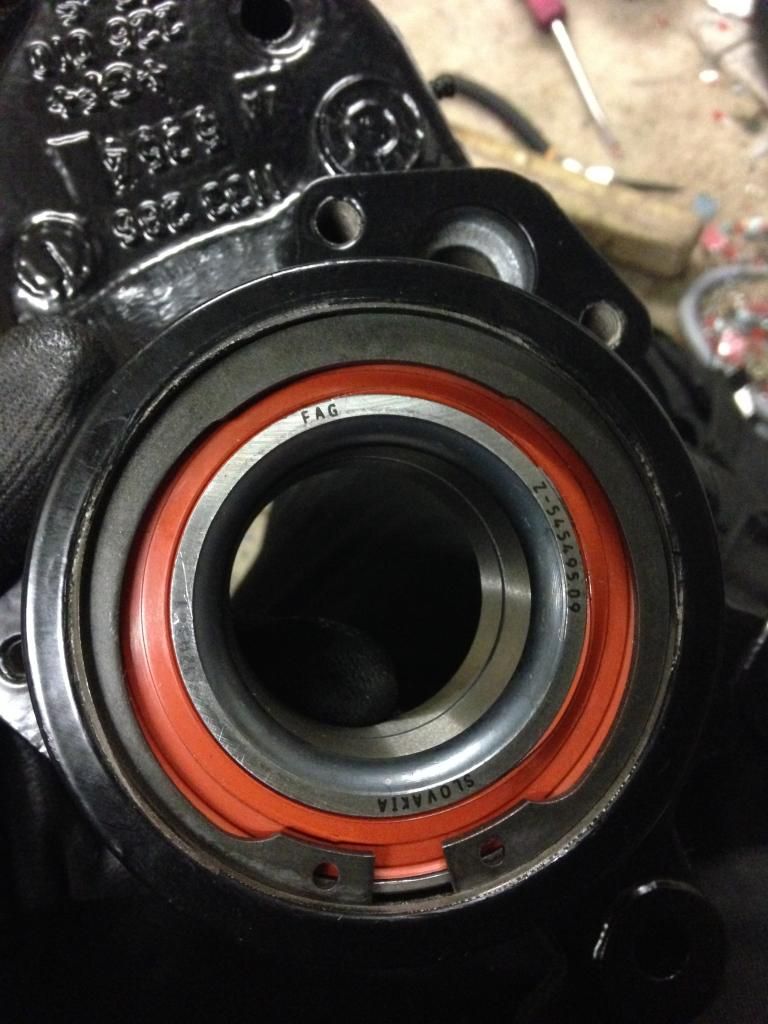
New wheel bearing put in. I used the freeze the bearings in the freezer and warm the hubs with a blow torch method.
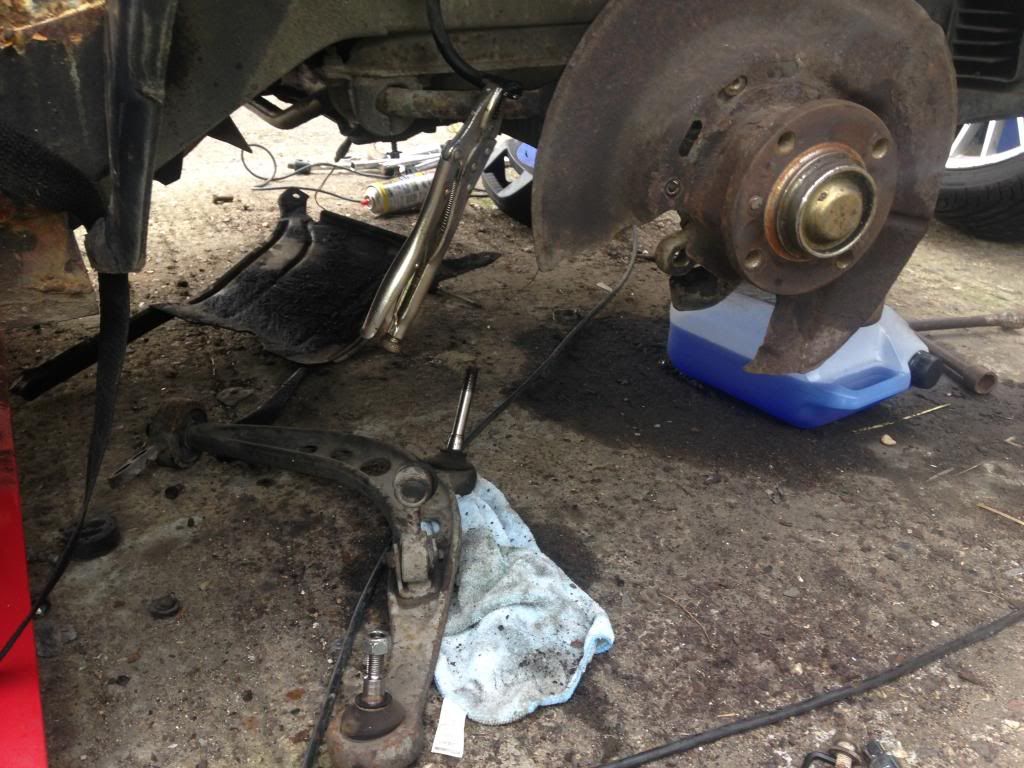
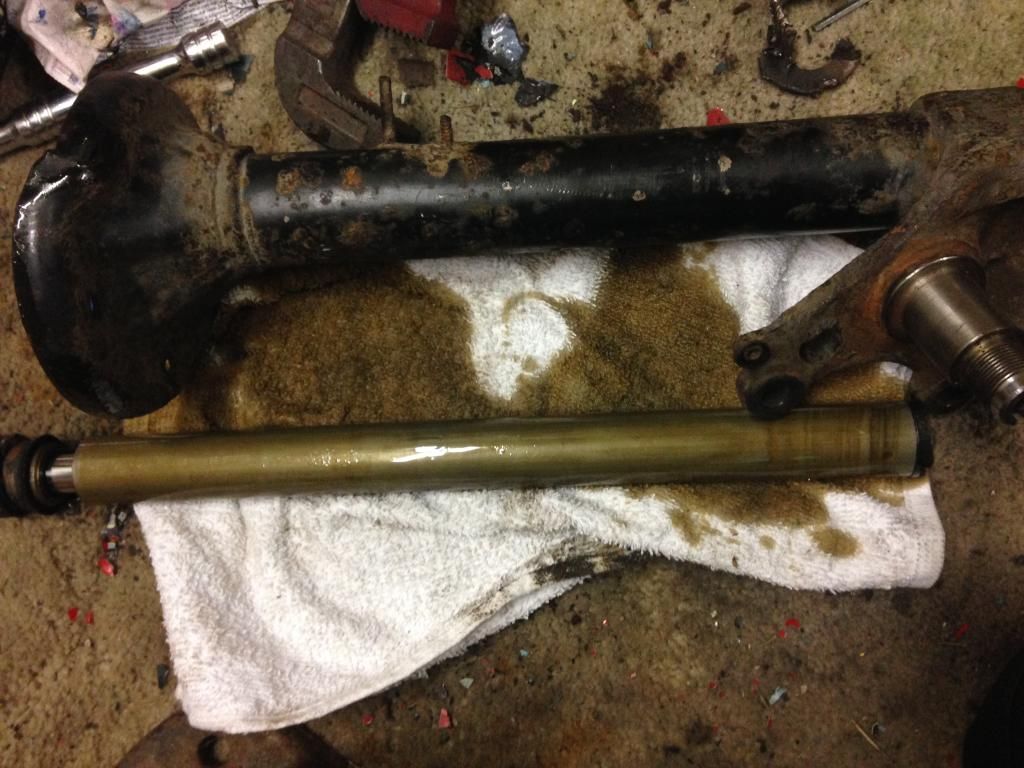
Next it was time to dismantle the front legs
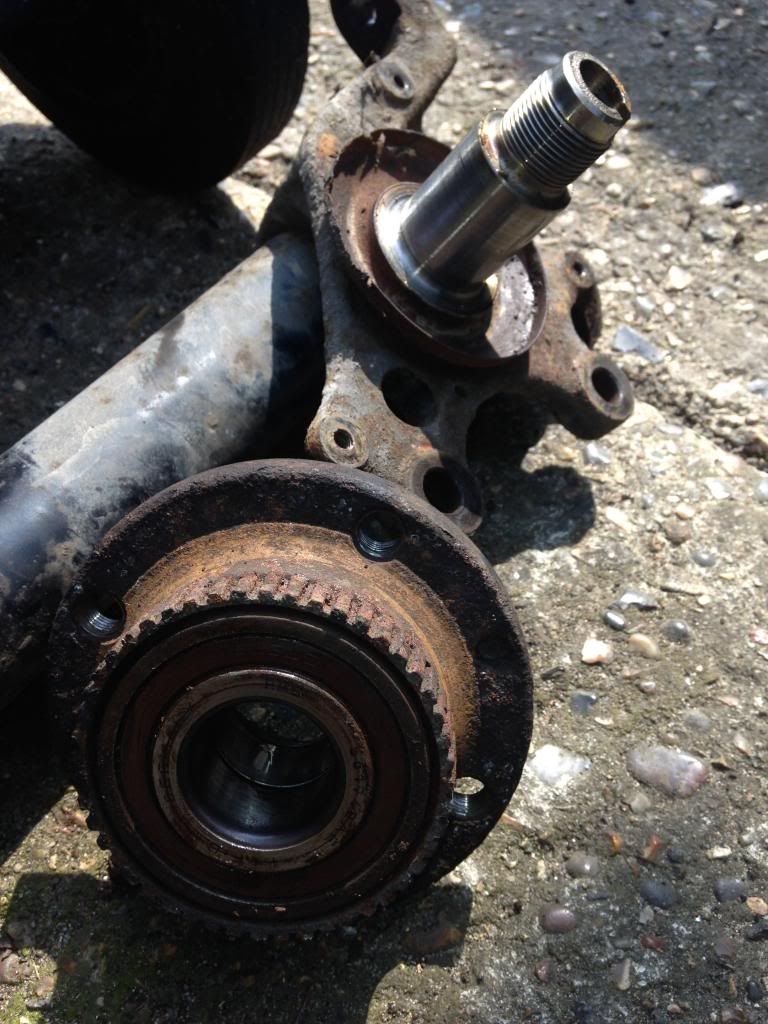
Remove the bearings
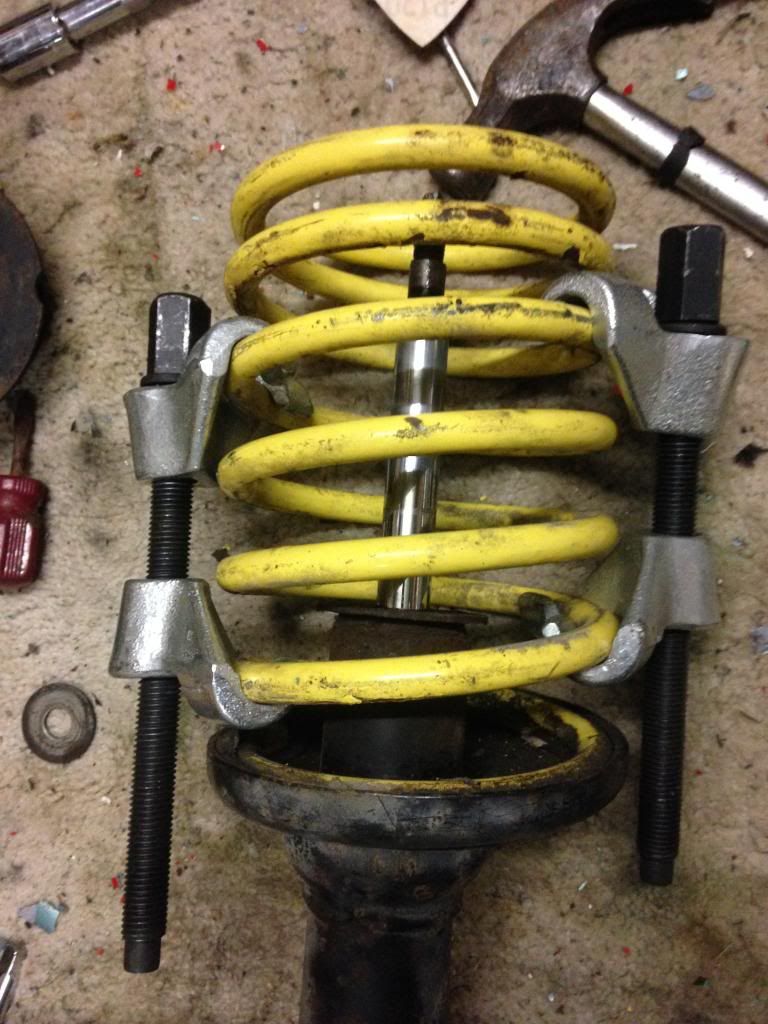
Remove the springs
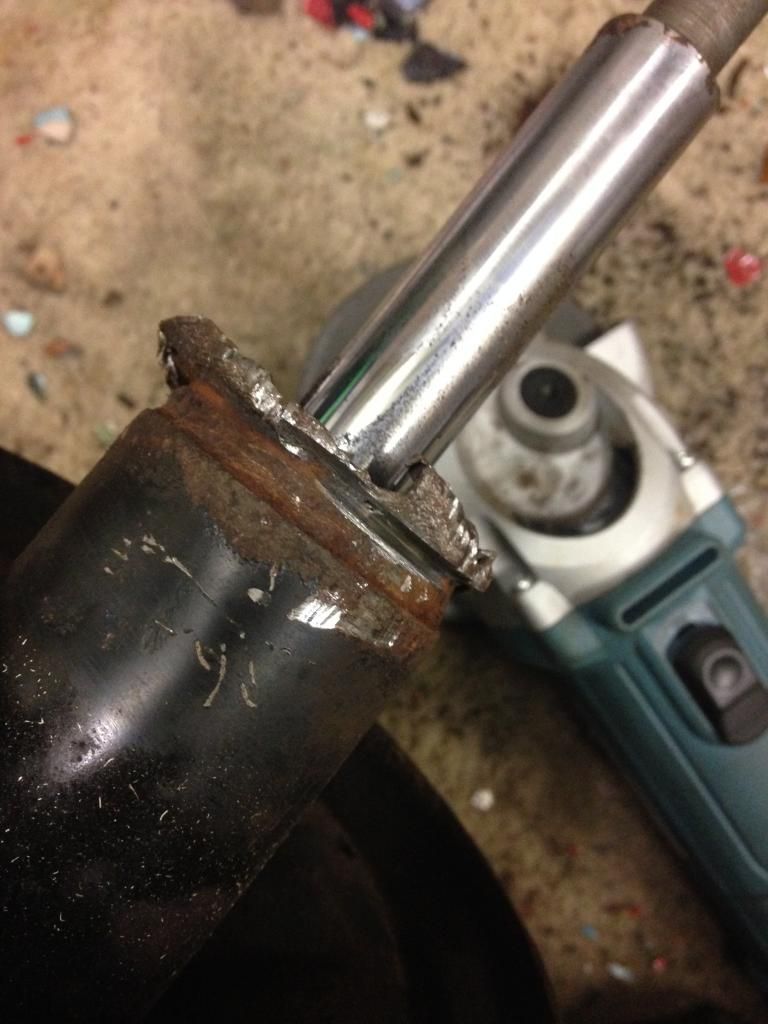
one of the front shocks had had it, the top spring plate had corroded and crud had got in the seal and it was leaking. The strut collars were a ba**ard to get off. One I managed to get off with a little bit of heat from he blow torch and a large pair of Stilsons, but the other I wasn't so lucky. The collar was badly corroded and just crumbled on the stilsons. The grinder had to come out! I had to cut across the top of the collar, remove the shock inner.
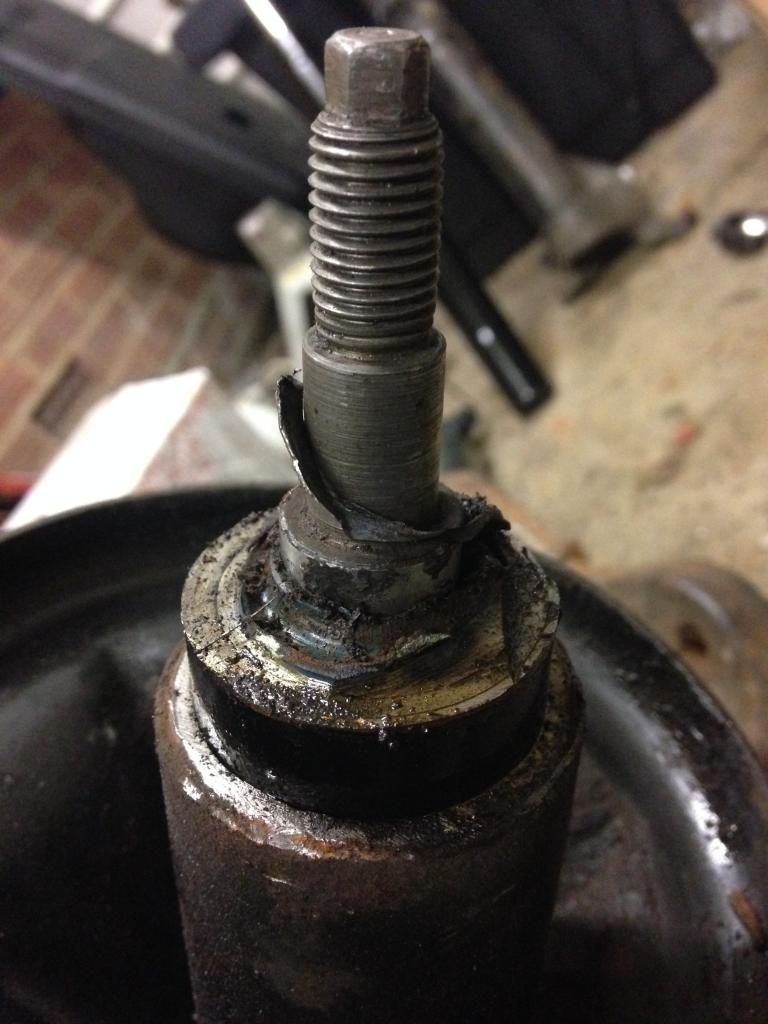
Then I had to cut the threaded collar out with a hacksaw
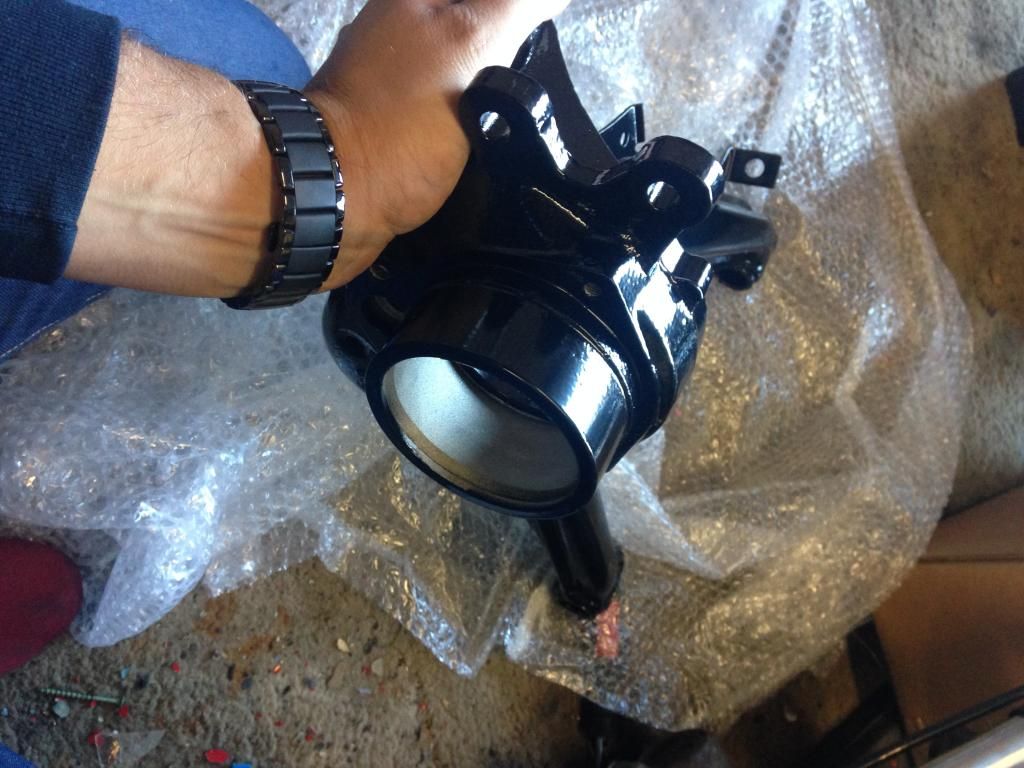
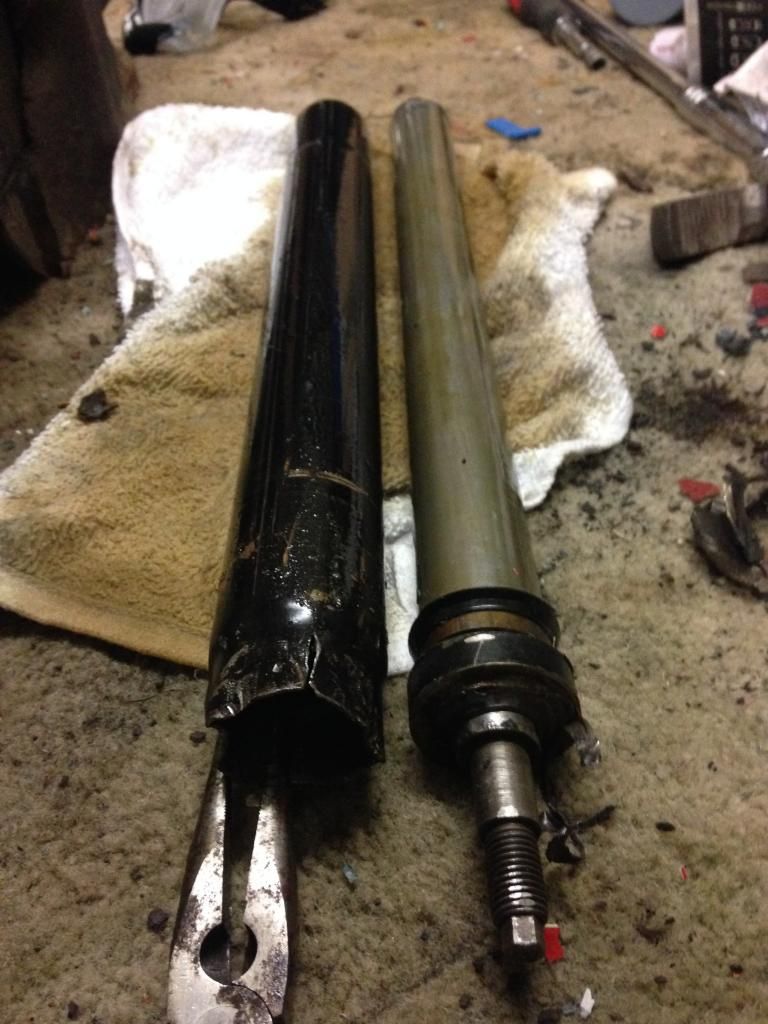
The front struts are currently at the shot blasters getting powder coated in gloss black.
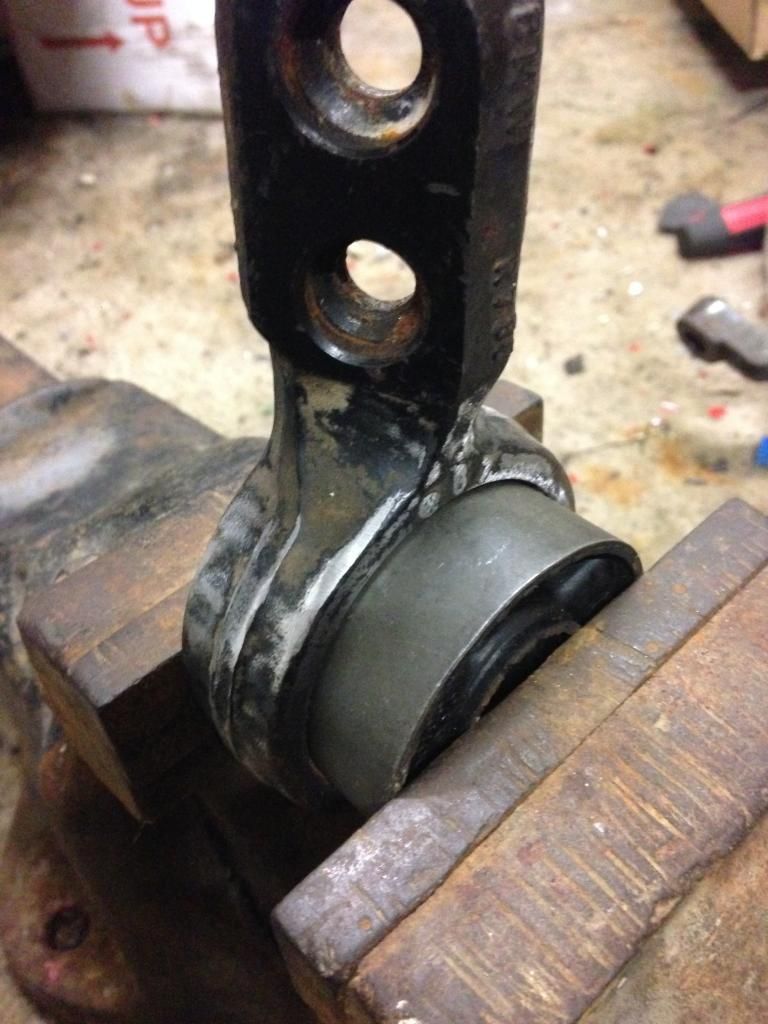
I accidentally chucked the lollipop bushes away with the old control arms, so bought a 2nd hand pair of Magpie. Cheers Mick Pressed new bushes in with the trusty old portable vice. I pressed it in so far, then mounted it on top of the vice and tapped the last little bit in.

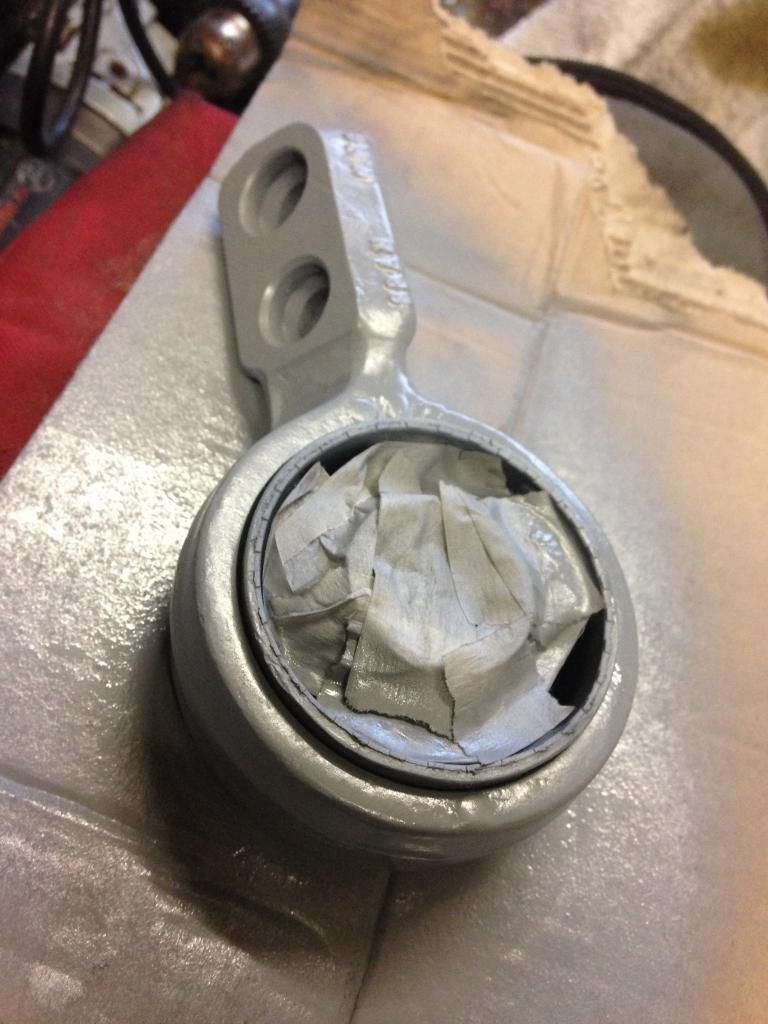
I gave them a clean up and paint, nut only have a picture of them in zinc primer, but there good as new.
Next I decided to clean the diff up and give it a lick of paint. I'll probably be sending the diff plate away for vapour blasting. I can't really remember if the diff had any whines, so I'm gonna chance not getting it rebuilt. I know that it'll most probably need one being 20+ years old, but Im shedding out loads of wonga at the mo as it is.
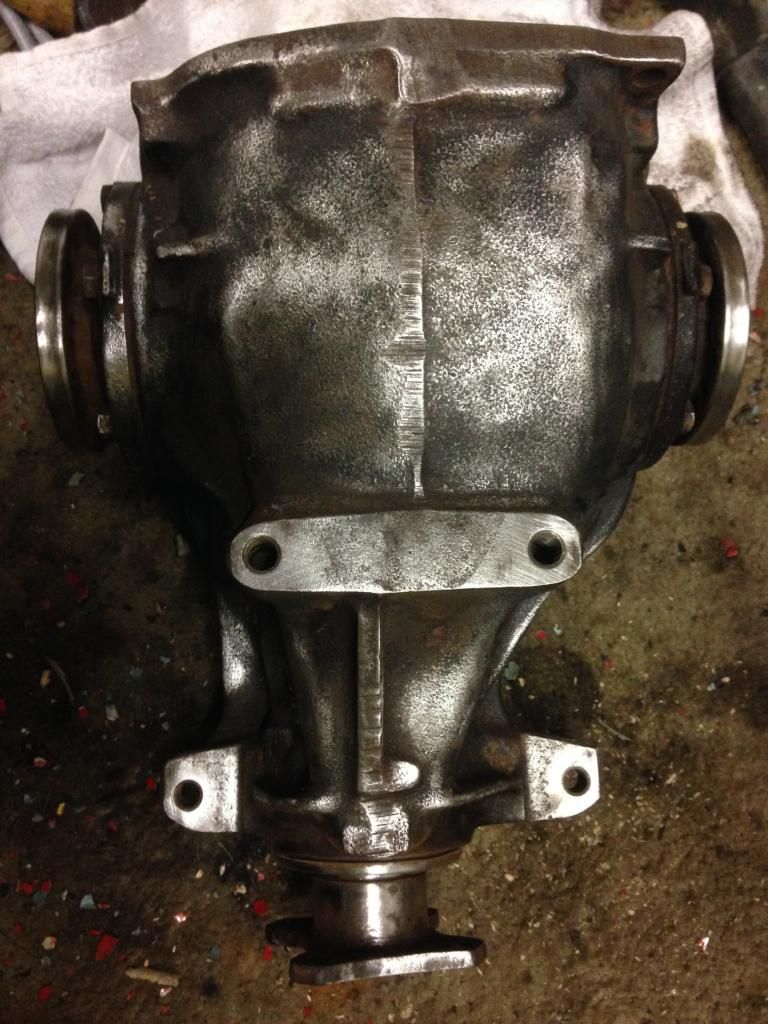
I done this with engine paint

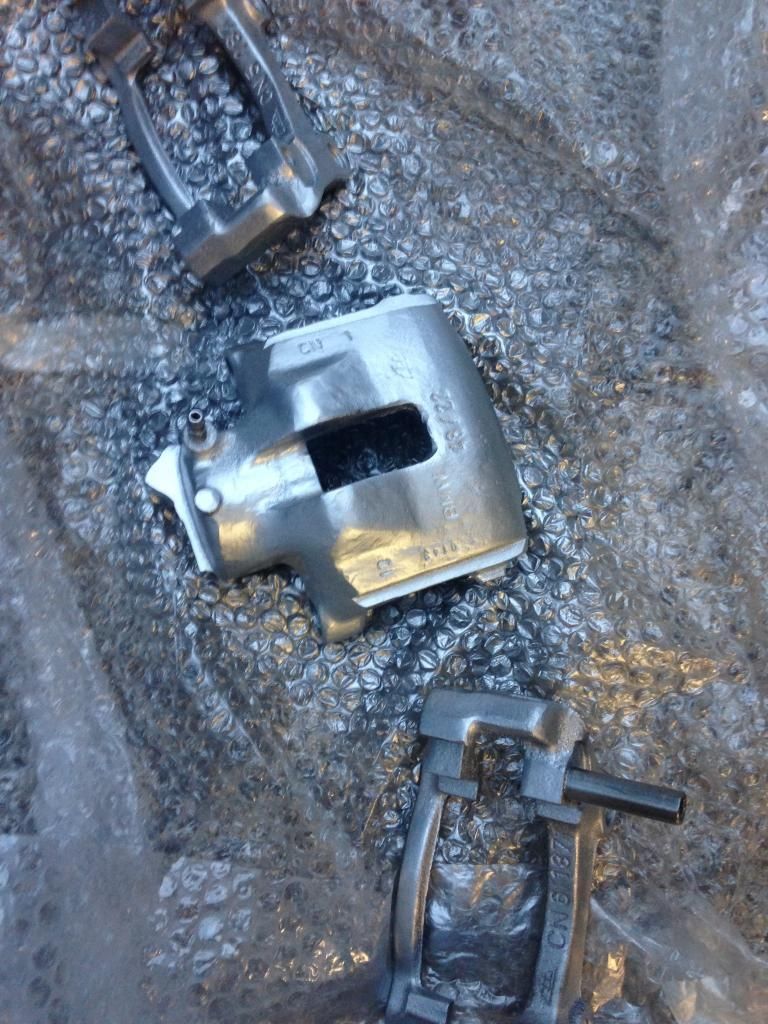
Take some crusty callipers
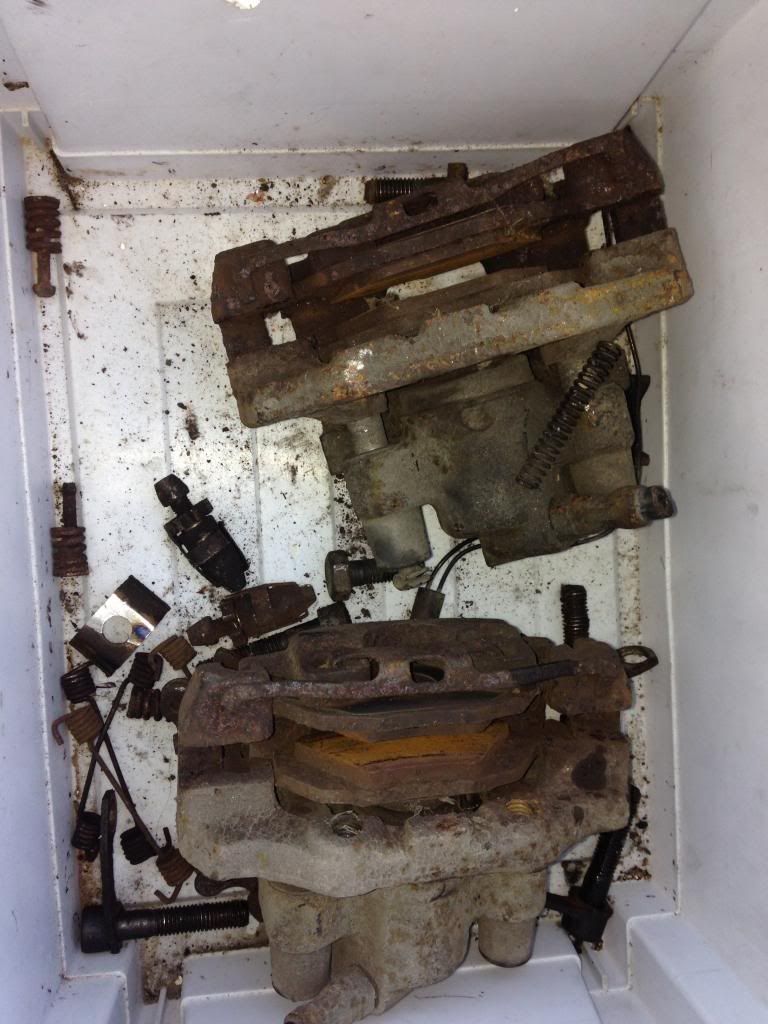
A flappy disk and clean them up

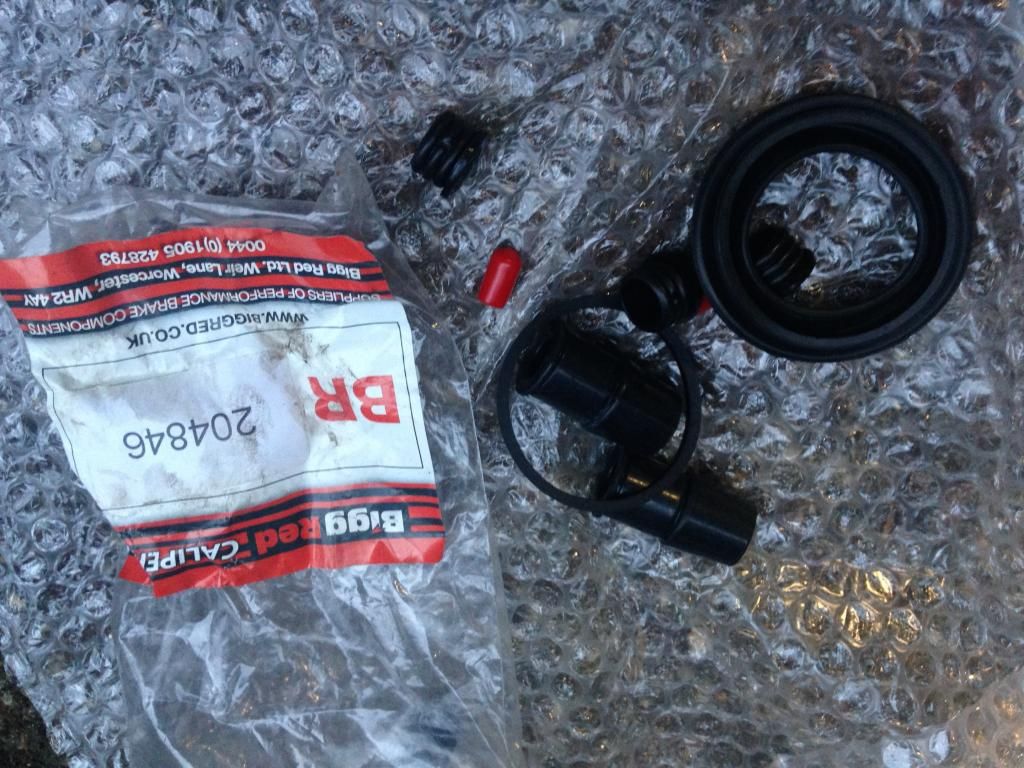
Rebuild kits
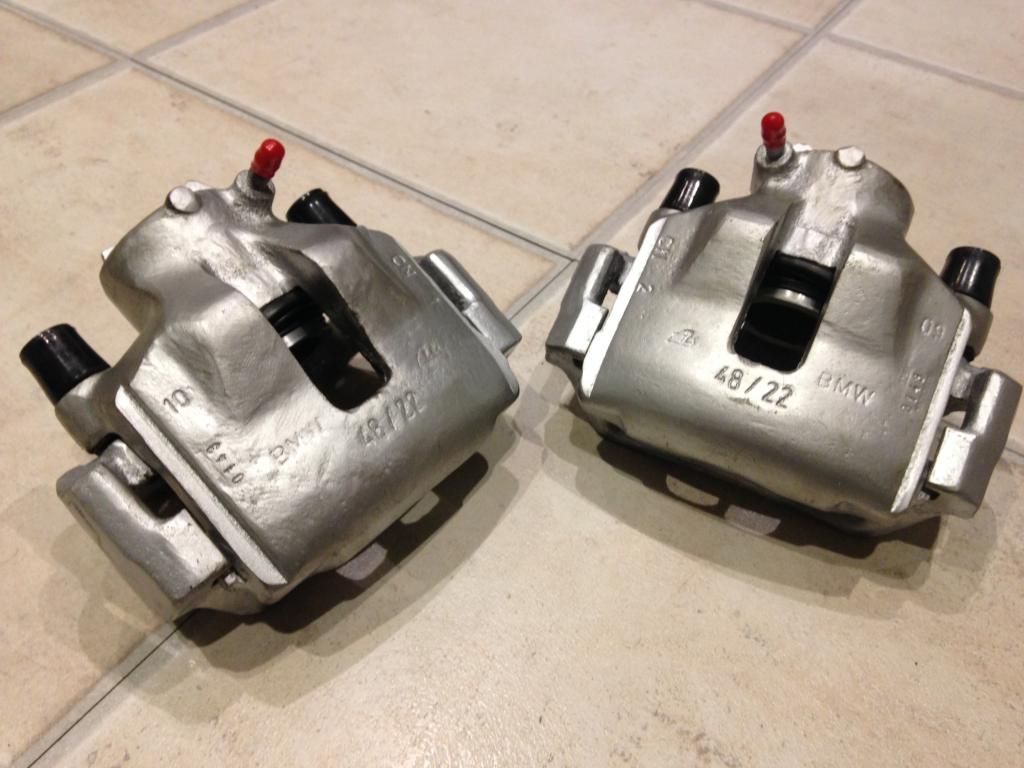
Paint them
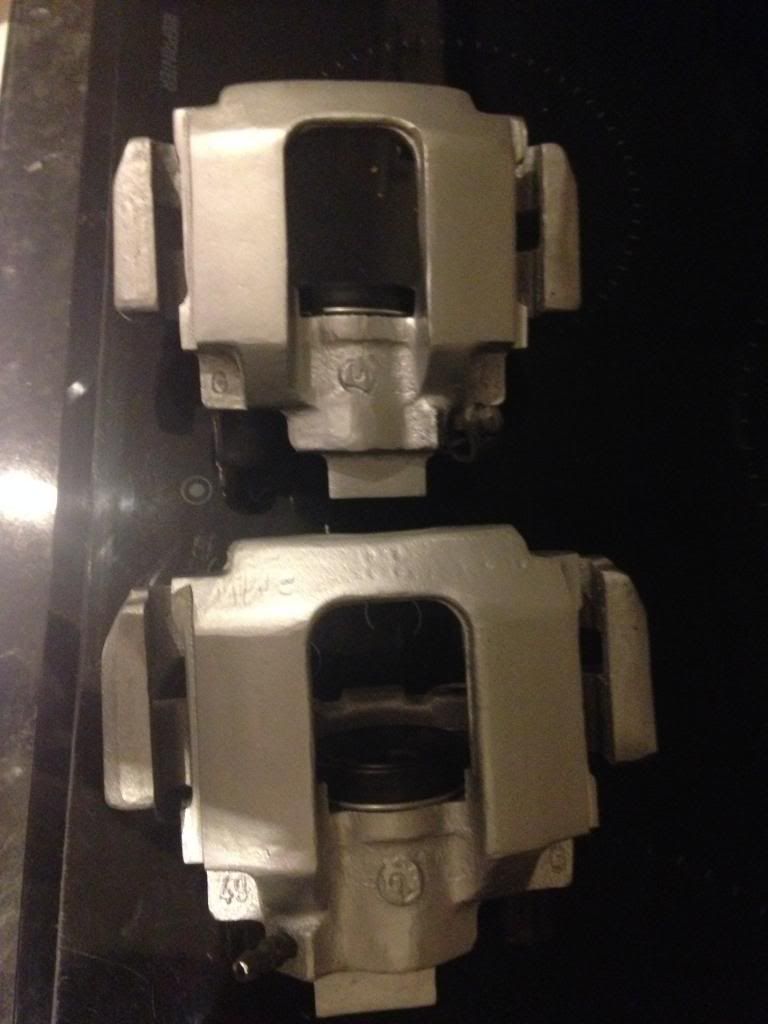
and get yourself some fresh looking ones
Thats all fro tonight, got plenty more to update. Enjoy....
It came off the road about 3-4 years ago with a blown head gasket and because I had another car the poor old E30 got forgotten about and has since been in the garage, (which I actually fell through an Azzy roof onto the car
I have been buying bits for her for a little while now, when I see good deals come up on the zone I have to get them. So I have been collecting 2nd hand bits, fogs, mirrors, sunroof panel etc for a little while now. I seem to have lots of bits to go on the car but never enough time to work on it due to work commitments.
So enough of the waffle, here are some pics of her 8+ years ago. These were taken on my phone from old prints when I first lowered it.


And this is how she resides now


And started to play with her under carriage


Tank Out

No messing about with these rusty bits - Out comes the grinder


Brake and fuel lines out

Diiirrrtyyyy

Clean after a De-grease in a squirty bottle and jet wash

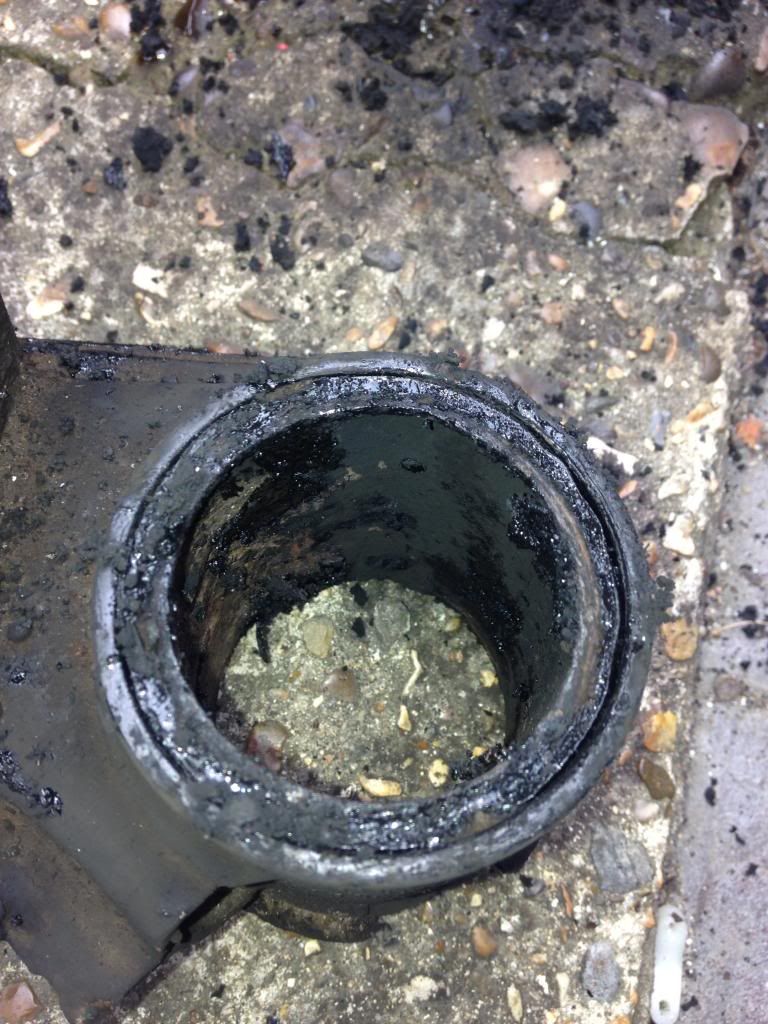
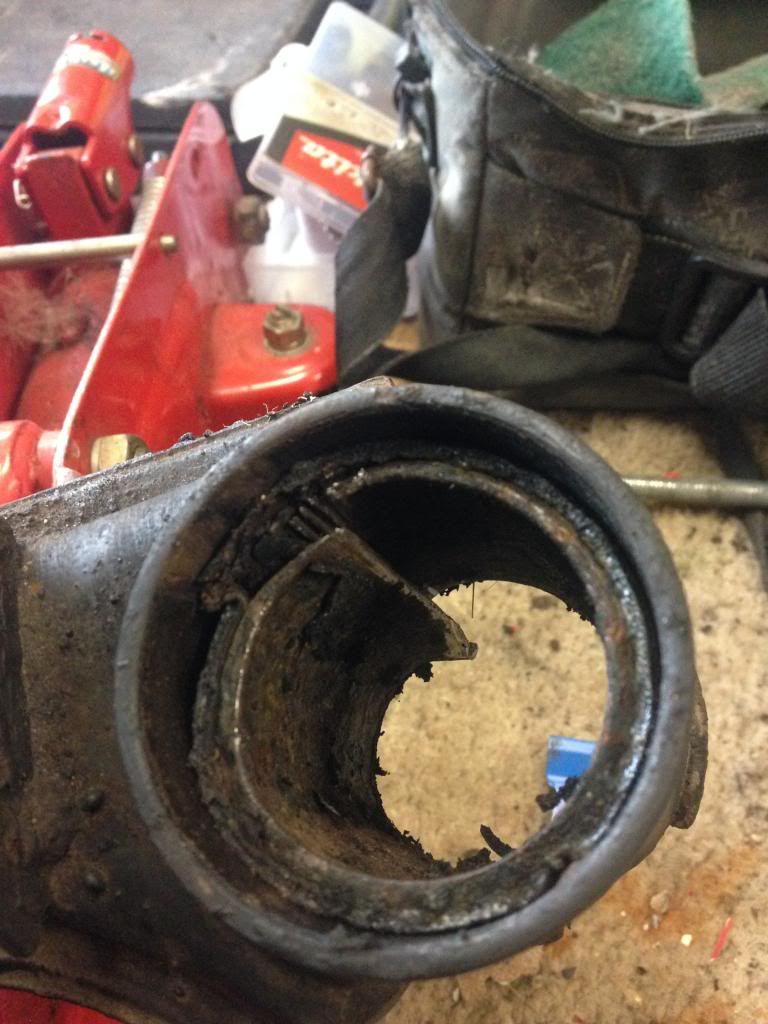
Prop shaft out

There was nothing left of the rubber mount!

I realise its marked up wrong here, but the previous pic I think I got right.
Removed the prop bearing

Removed the beam bushes the proper way!


And cut the remaining metal collar with a hacksaw blade


I sent the rear beam and trailing arms away for shot blast and powder coat. Decided on gloss black, not OEM but I like it.


There like brand new! Replaced the beam bushes using threaded bar, an old wheel bearing and a impact socket.


New trailing arm bushes put in with a vice and threaded bar.


New wheel bearing put in. I used the freeze the bearings in the freezer and warm the hubs with a blow torch method.

Next it was time to dismantle the front legs

Remove the bearings

Remove the springs

one of the front shocks had had it, the top spring plate had corroded and crud had got in the seal and it was leaking. The strut collars were a ba**ard to get off. One I managed to get off with a little bit of heat from he blow torch and a large pair of Stilsons, but the other I wasn't so lucky. The collar was badly corroded and just crumbled on the stilsons. The grinder had to come out! I had to cut across the top of the collar, remove the shock inner.


Then I had to cut the threaded collar out with a hacksaw


The front struts are currently at the shot blasters getting powder coated in gloss black.
I accidentally chucked the lollipop bushes away with the old control arms, so bought a 2nd hand pair of Magpie. Cheers Mick


I gave them a clean up and paint, nut only have a picture of them in zinc primer, but there good as new.

Next I decided to clean the diff up and give it a lick of paint. I'll probably be sending the diff plate away for vapour blasting. I can't really remember if the diff had any whines, so I'm gonna chance not getting it rebuilt. I know that it'll most probably need one being 20+ years old, but Im shedding out loads of wonga at the mo as it is.

I done this with engine paint

Take some crusty callipers

A flappy disk and clean them up

Rebuild kits

Paint them


and get yourself some fresh looking ones

Thats all fro tonight, got plenty more to update. Enjoy....


