E21 316 M52 sleeper project
Posted: Fri Jan 04, 2013 1:01 am
A few people have asked ne to put this on here so here is a bit of a catch up with where im up to. sorry there is so much and ive copied and pasted a lot of it for ease.
En joy
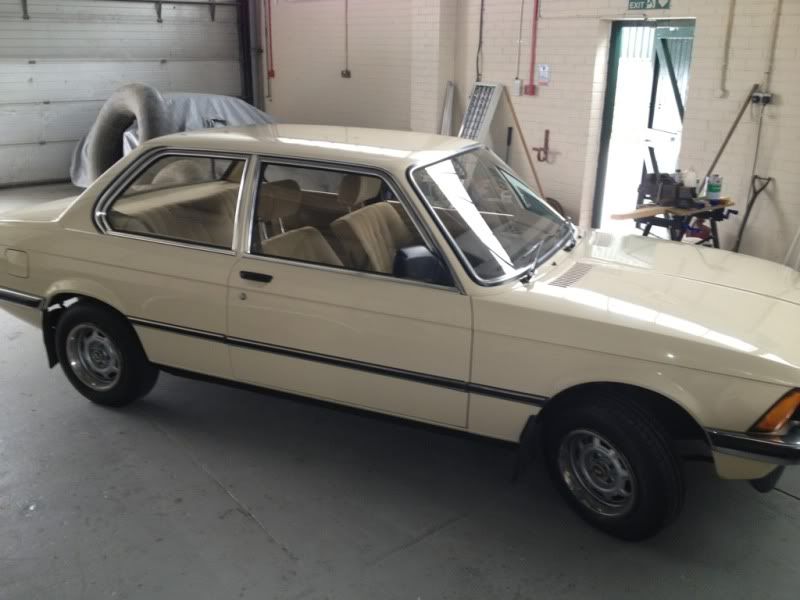
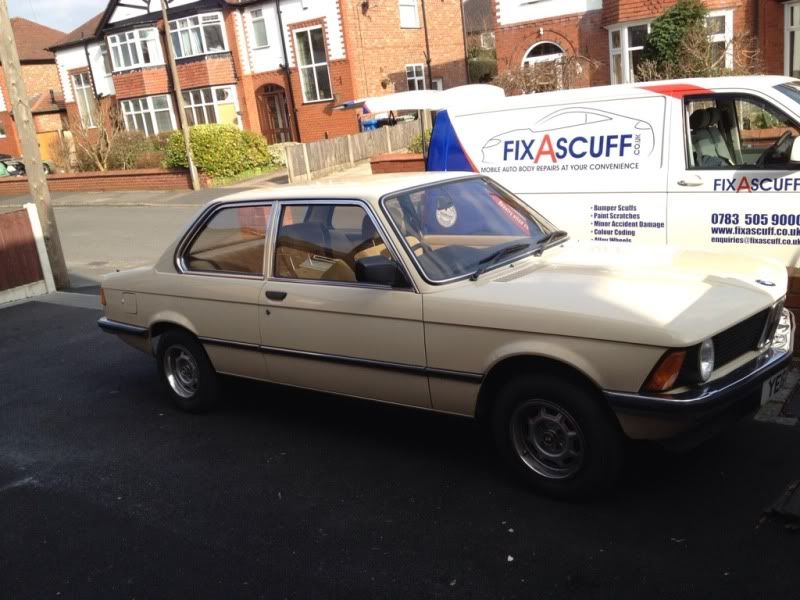
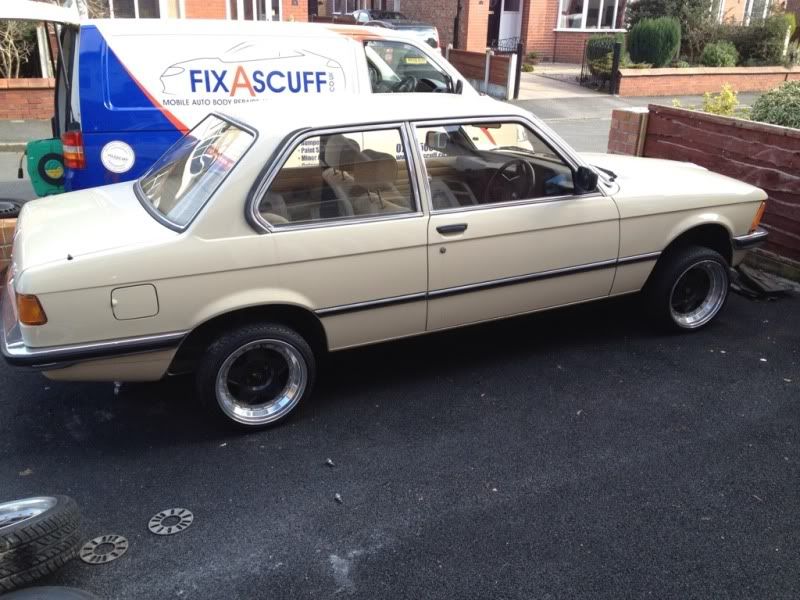
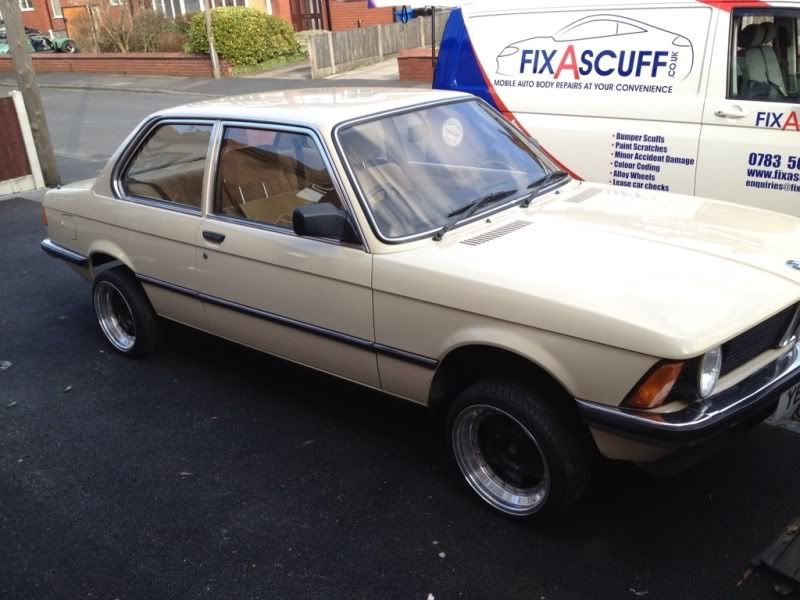
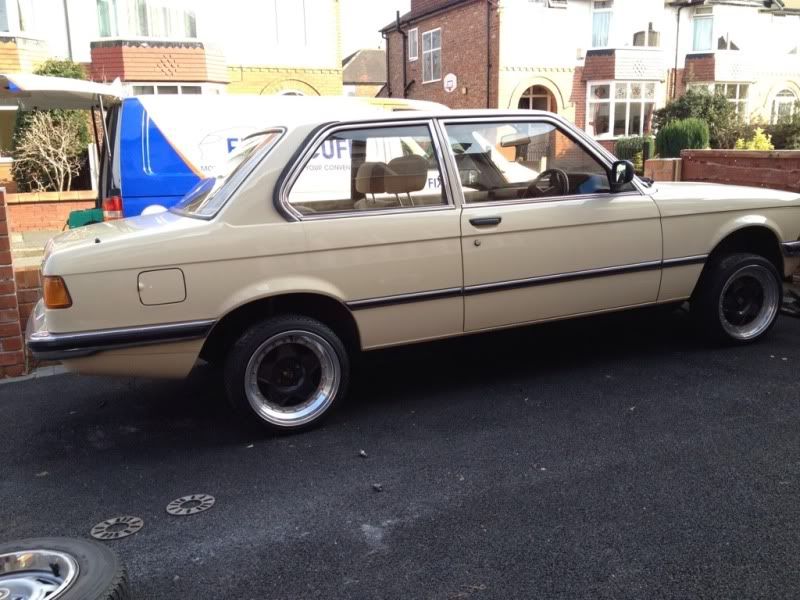
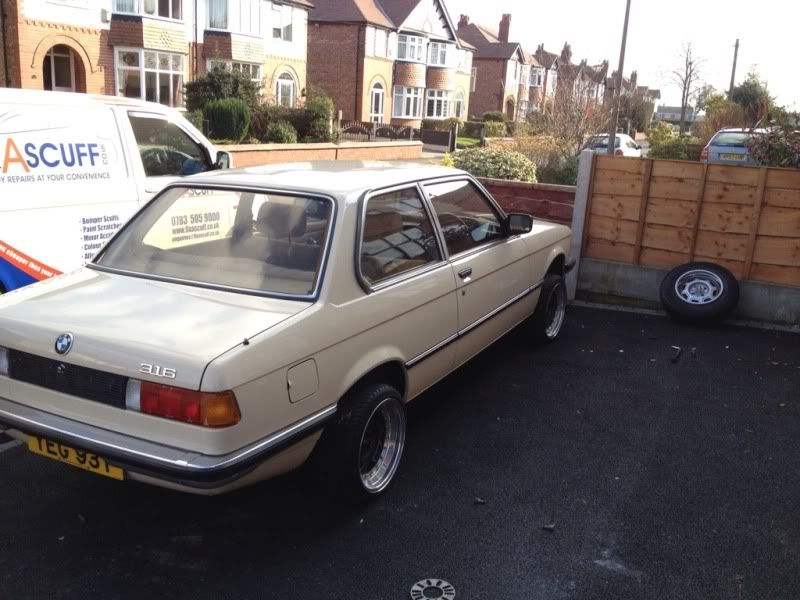
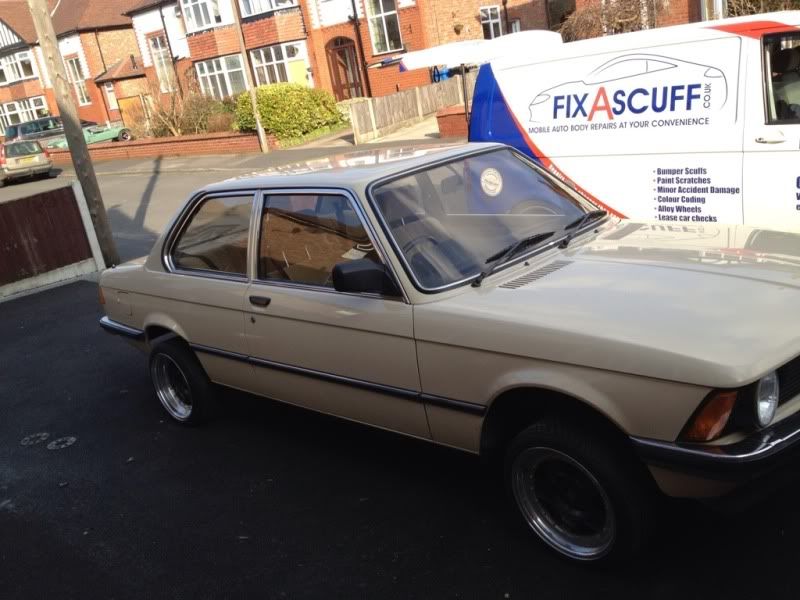
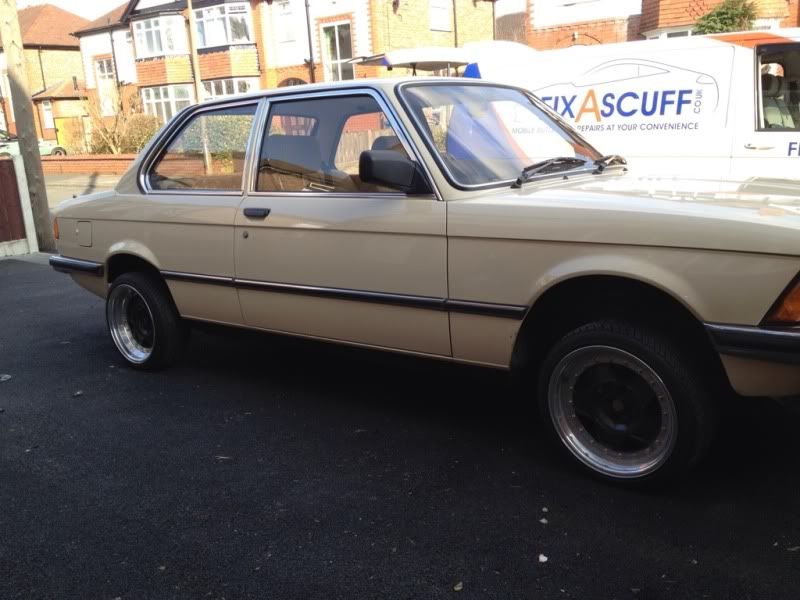
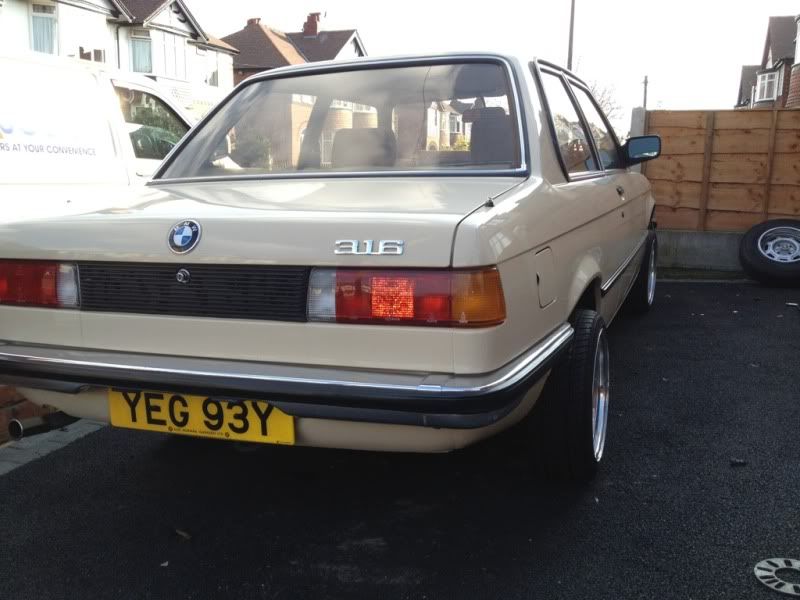
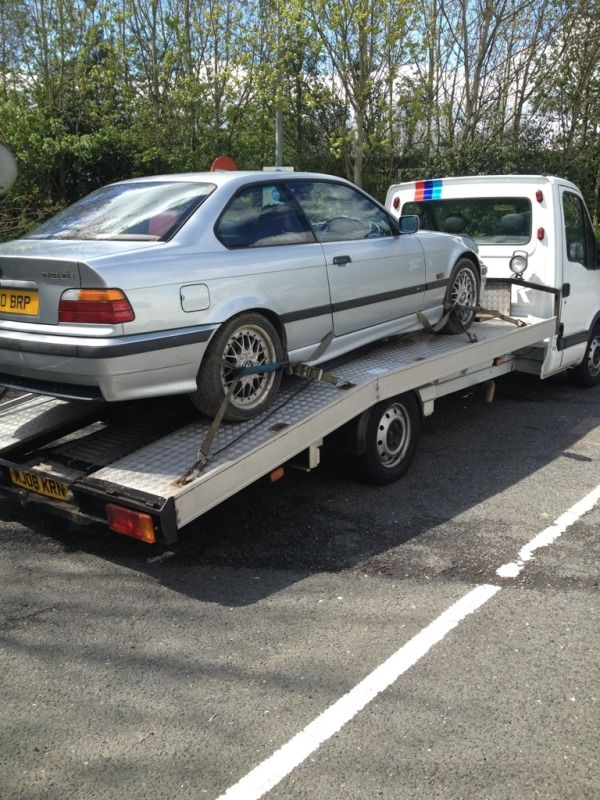
As it was when I picked it up prior to the trip back last feb. one owner 29000 miles etc etc
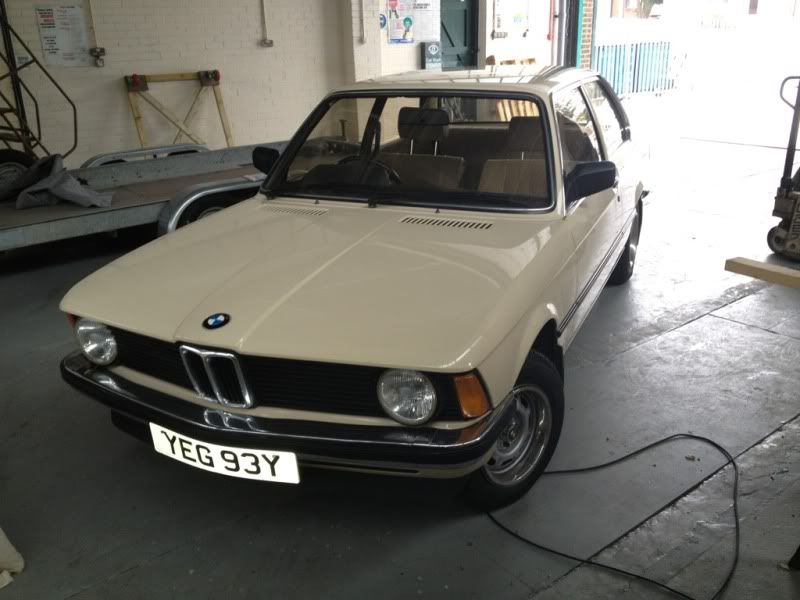
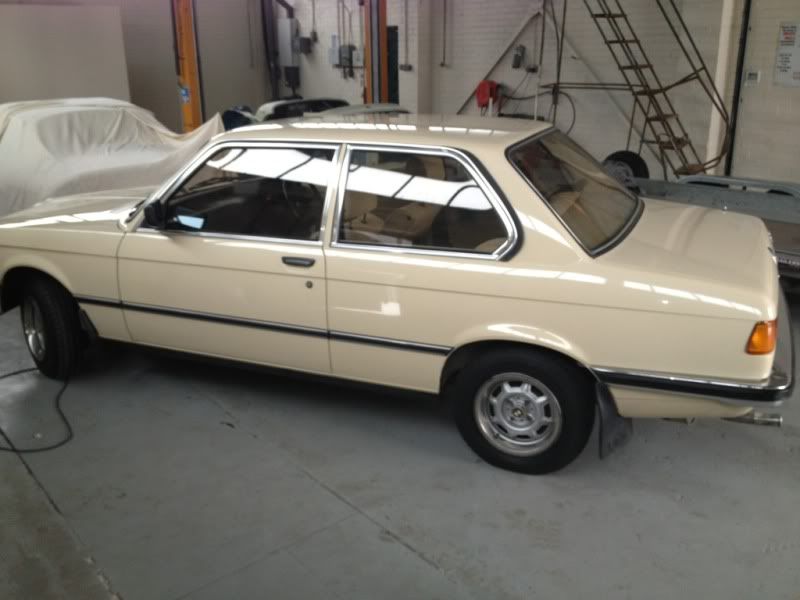
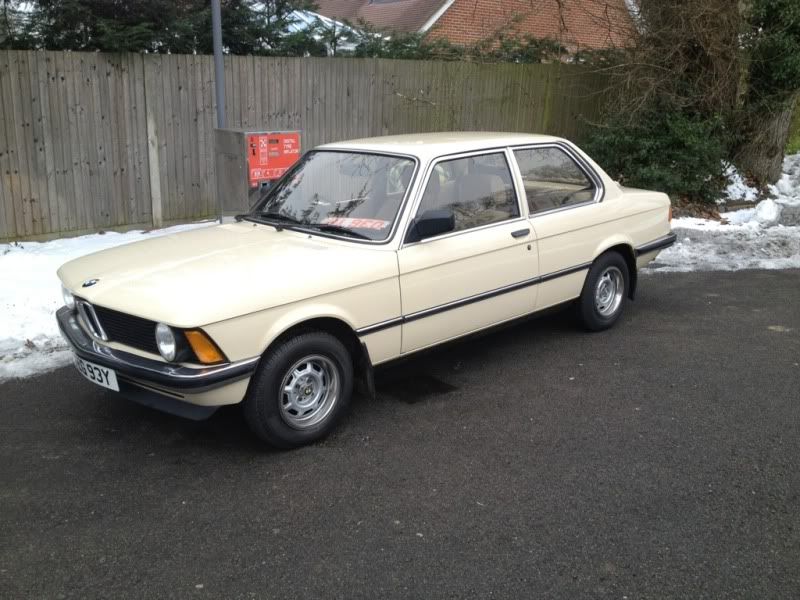
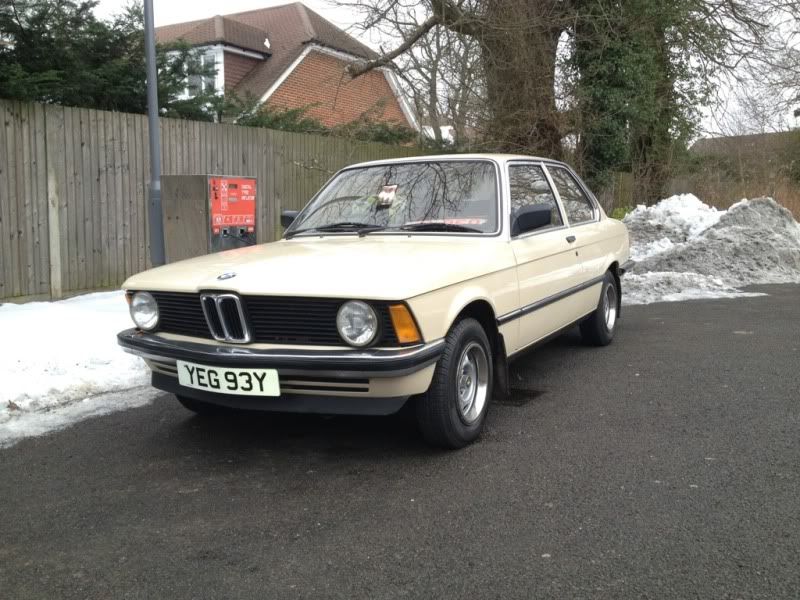
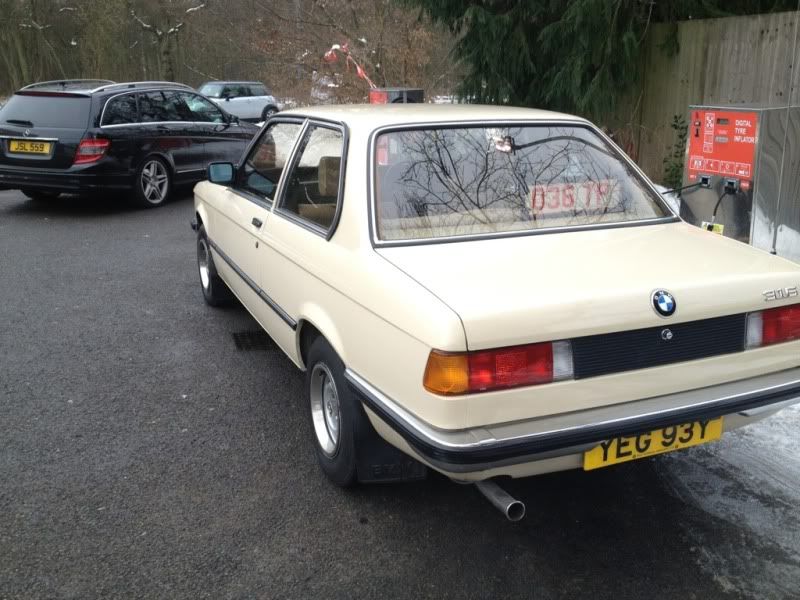
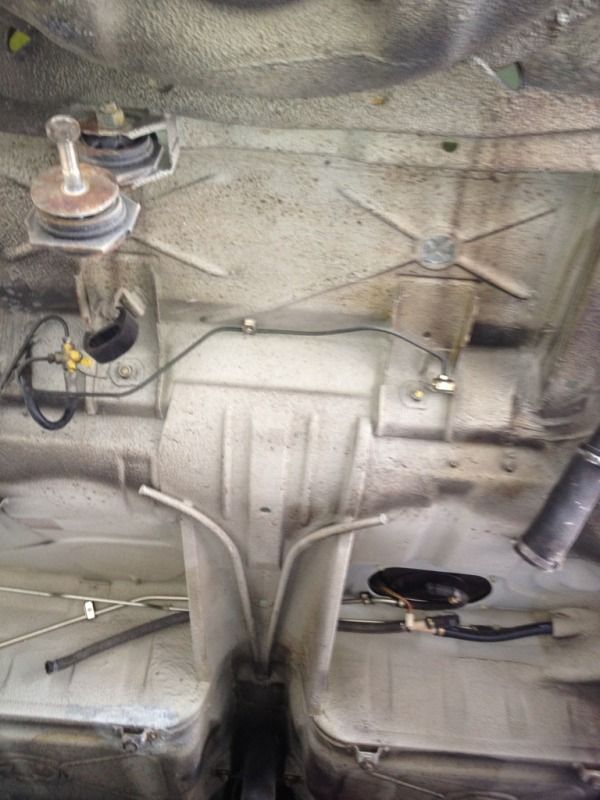
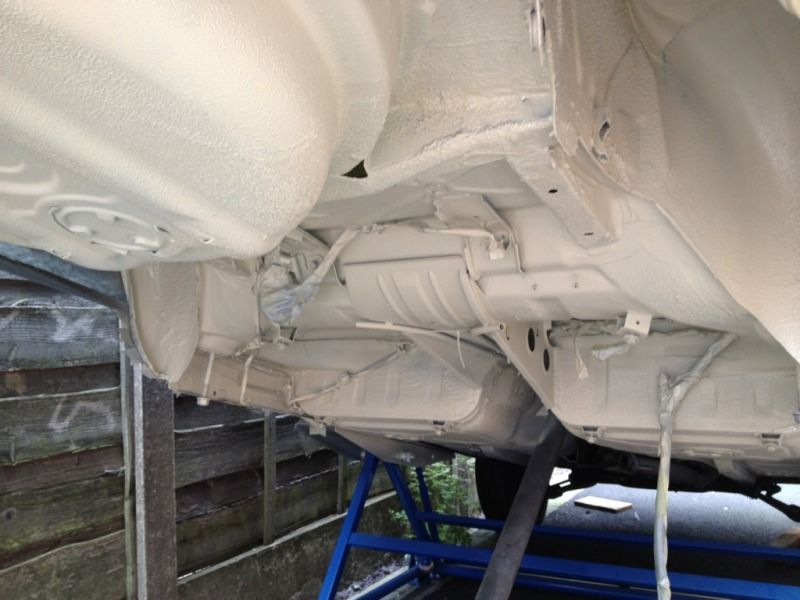
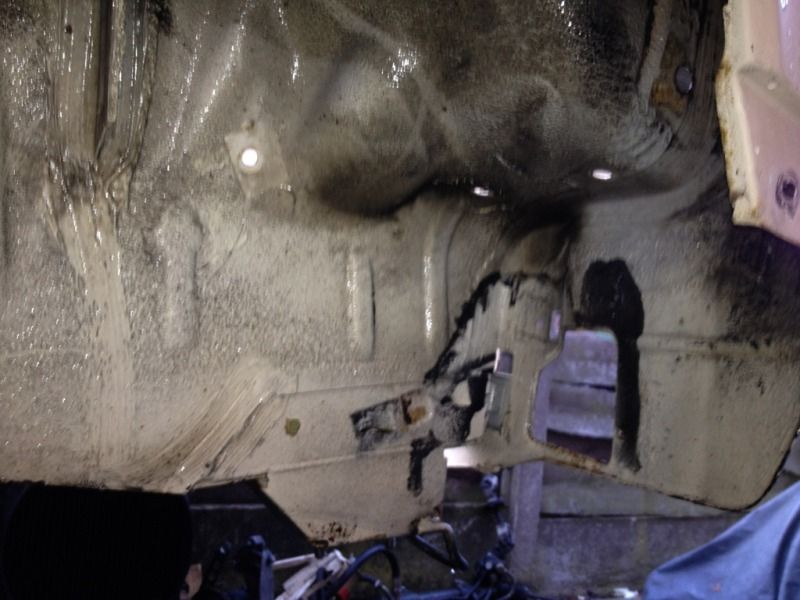
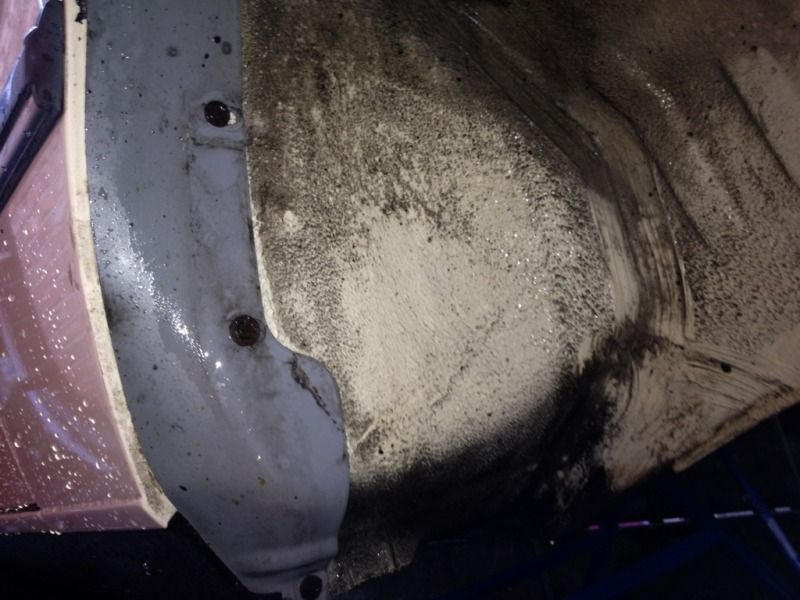
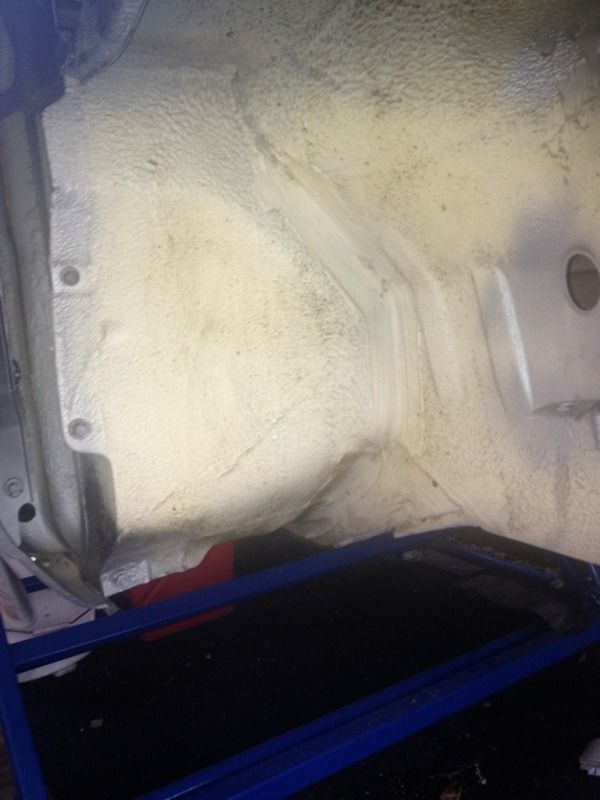
Its had 1 owner and done 29000 miles. the exhaust has been bodged and needs fixing the brakes are binding and the bodywork needs the slightest of attention but other than that its honest and solid and drives very very well. I got it up on the ramps when I got back and its leaking a little oil but absolutely solid and rot free underneath. Im was a happy bunny
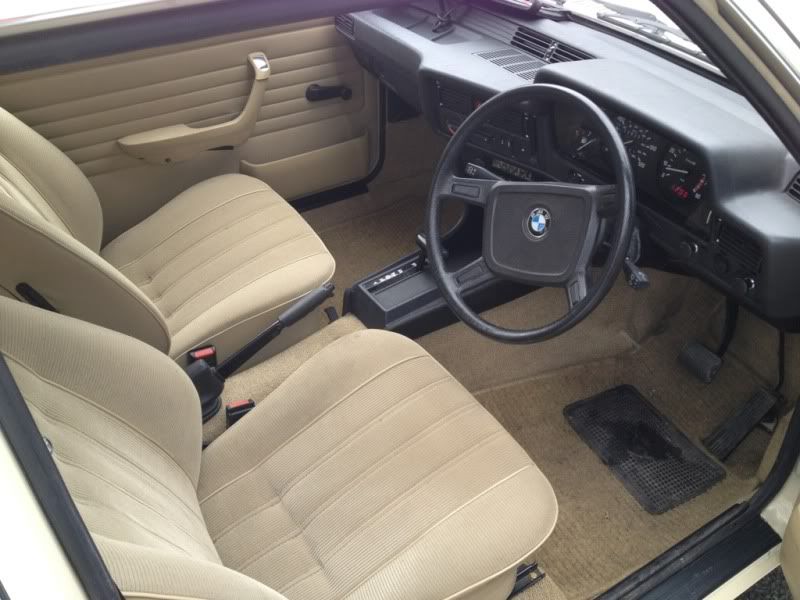
i wasnt exactly sure why I was buying the car and wasnt sure if I was going to mod it or not. after seeing and buying it I was kind of glad itswas not completly mint and original as it has made my mind up to mod it.
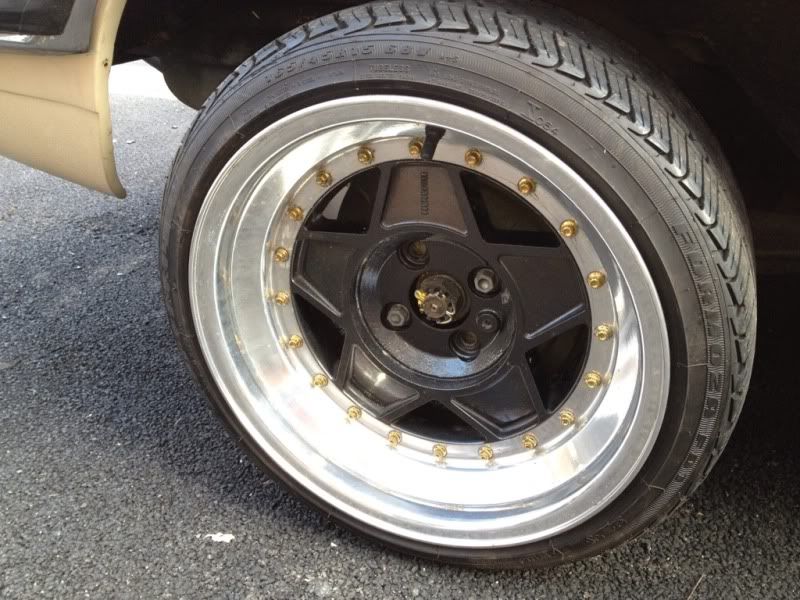
1st set of wheels I bought I test fitted whilst on std suspension but went off them so they were the 1st set for the axe.
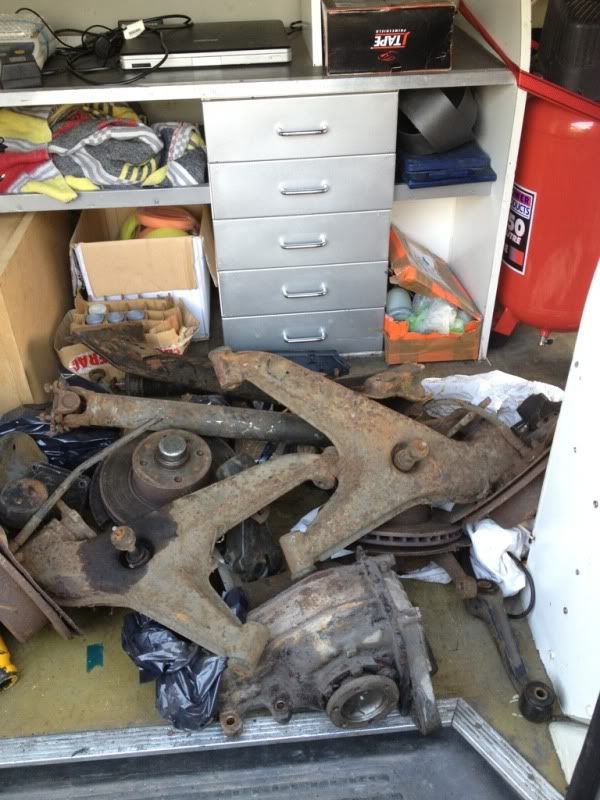
next up was a van load of expensive scrap (e21 stuff is foookin expensive)
bought a New jack to make life a lot easier. Love i!.
2 hrs later and not one seized bolt
collecteda donor car and The mrswent absolutely ape shit
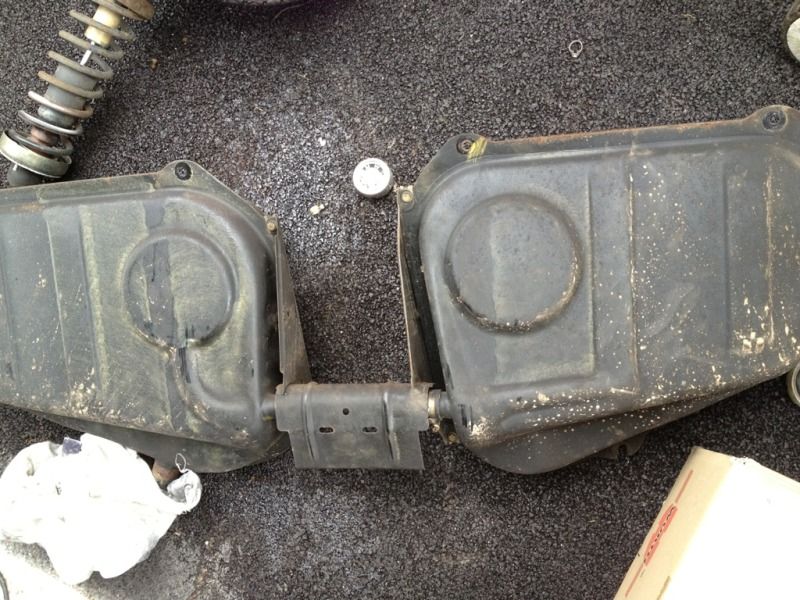
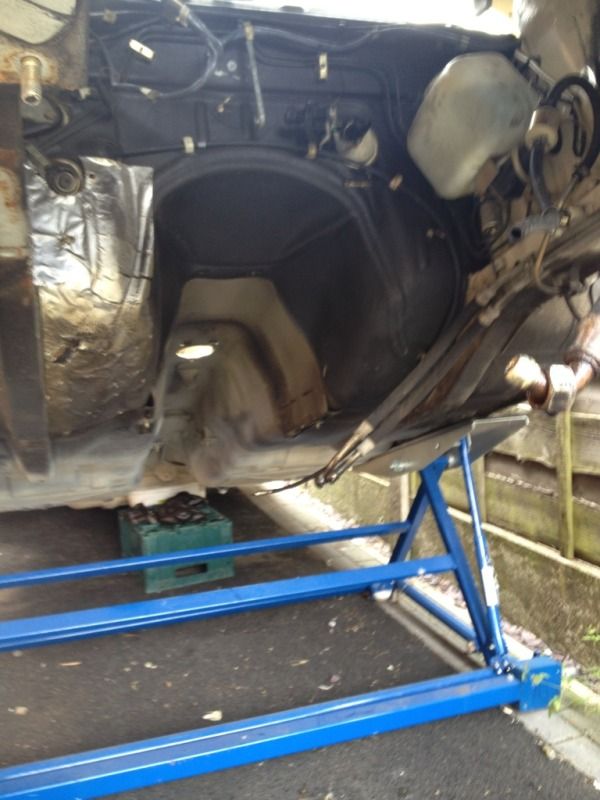
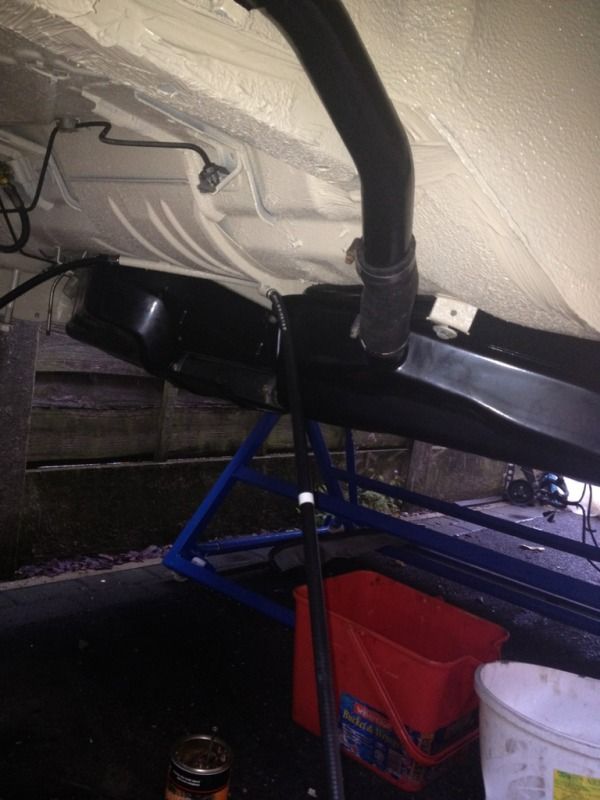
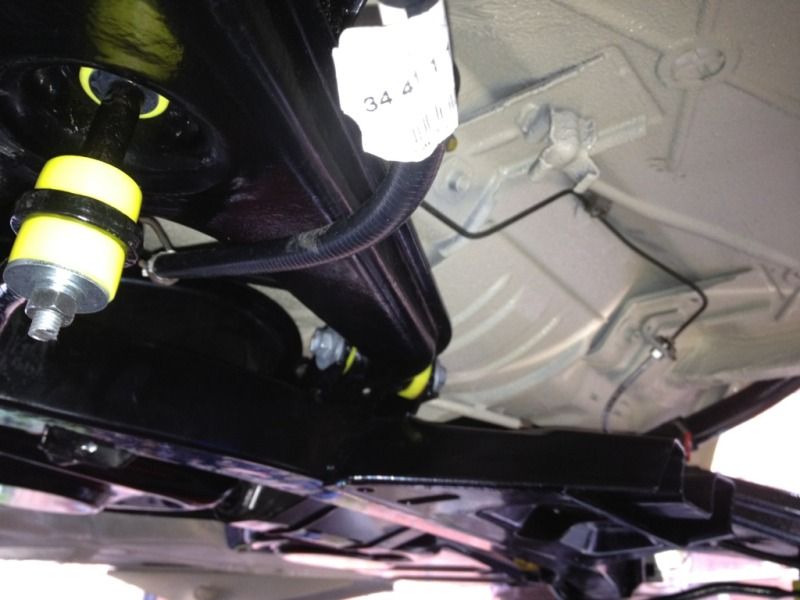
Tanks off next it was bloody mint underneath, jet wash and underseal next while all the other bits are being powder coated. Than add the return fuel line.
Factory fresh e_surprised
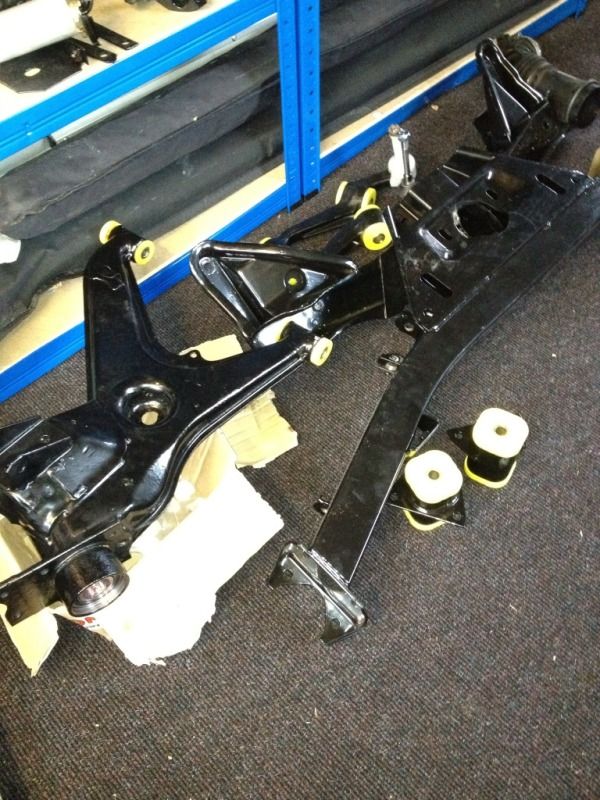
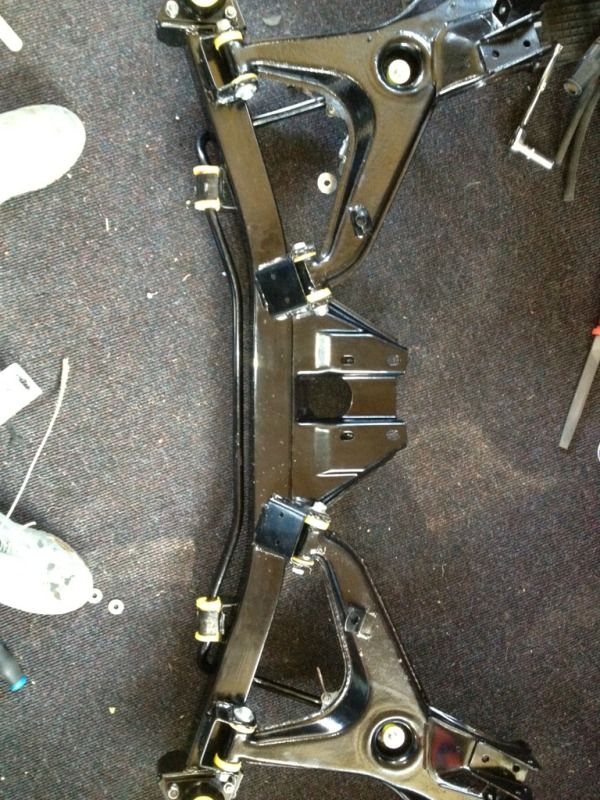
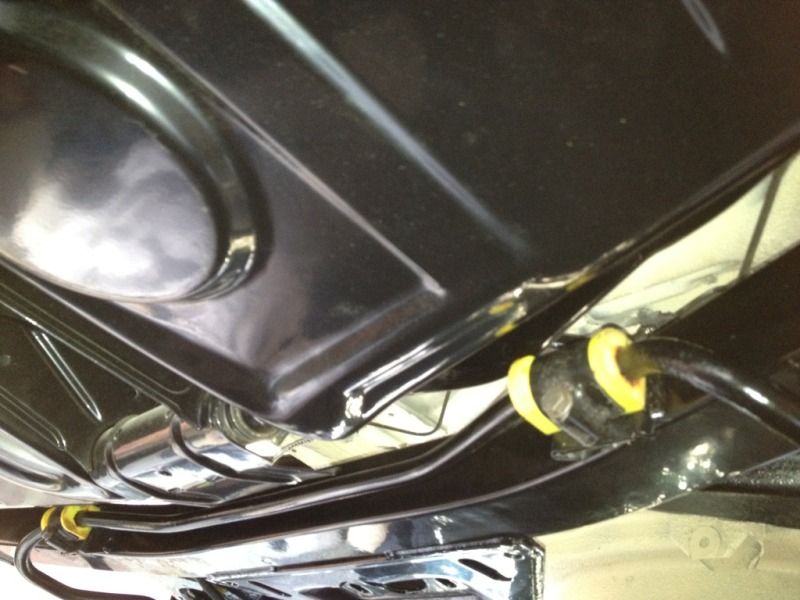
all rear suspension parts and tanks powder coated and poly bushed (strongflex)
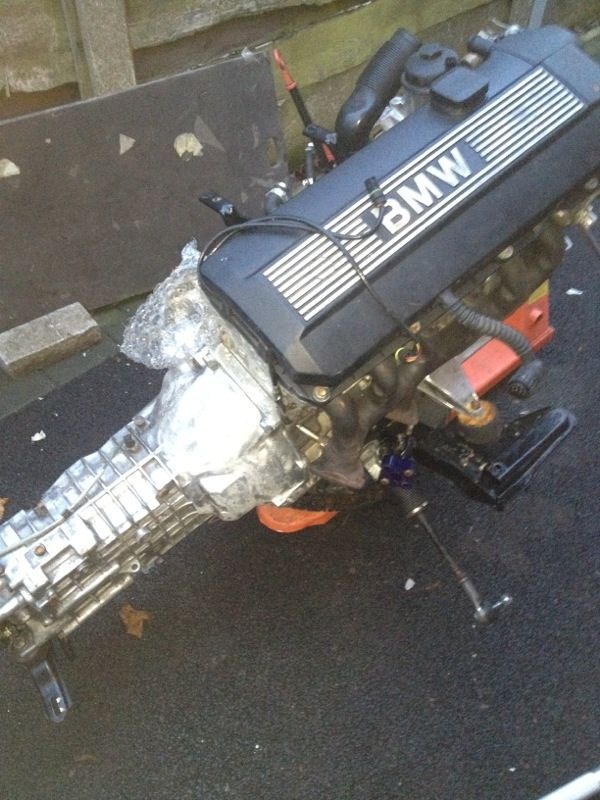
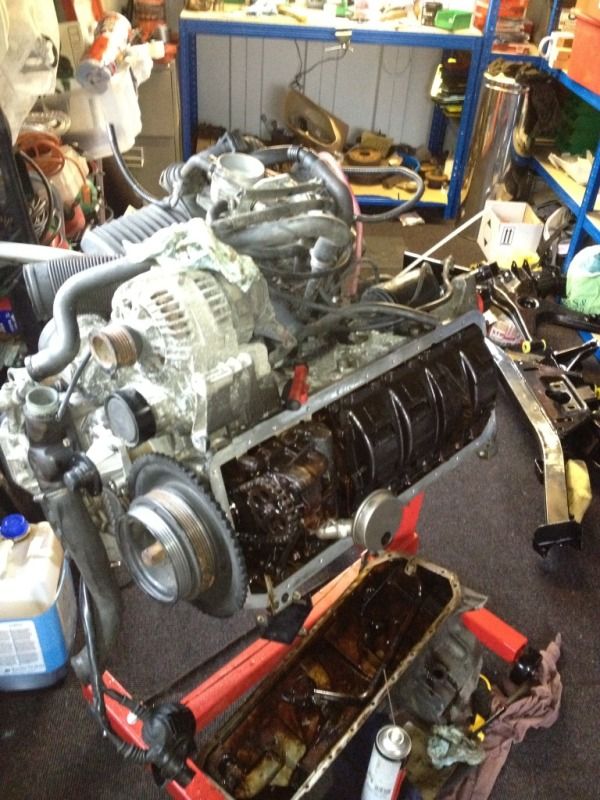
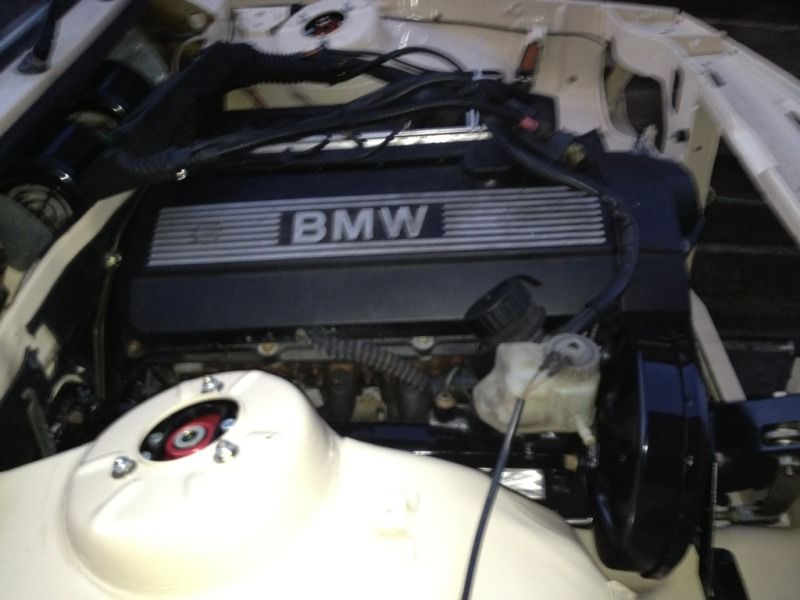
then stripped the m52 downof all the unnecessary parts, replaced all the gaskets and seal, fitted a M50 inlet and a lowered sumpand pick up
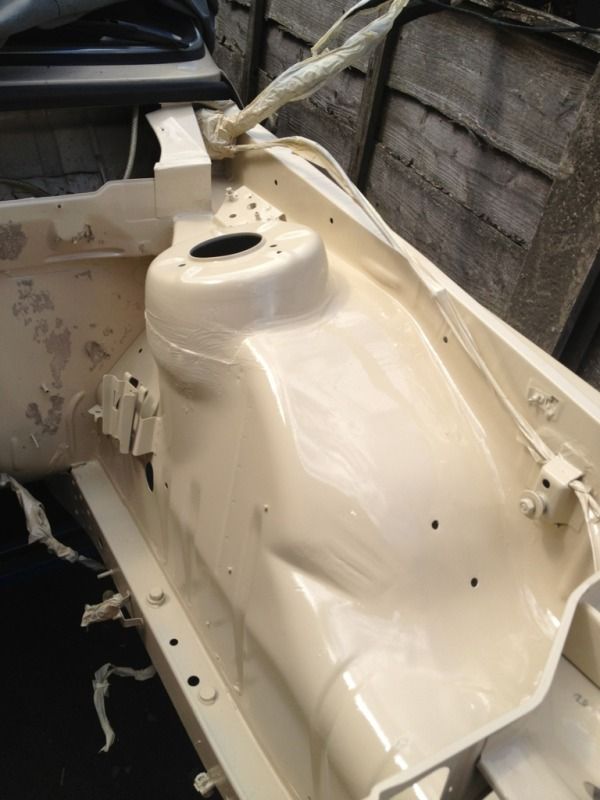
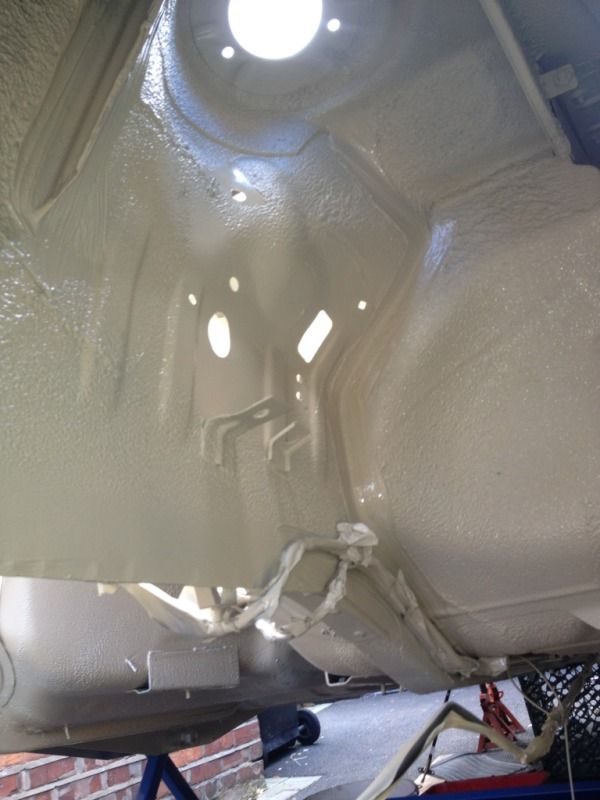
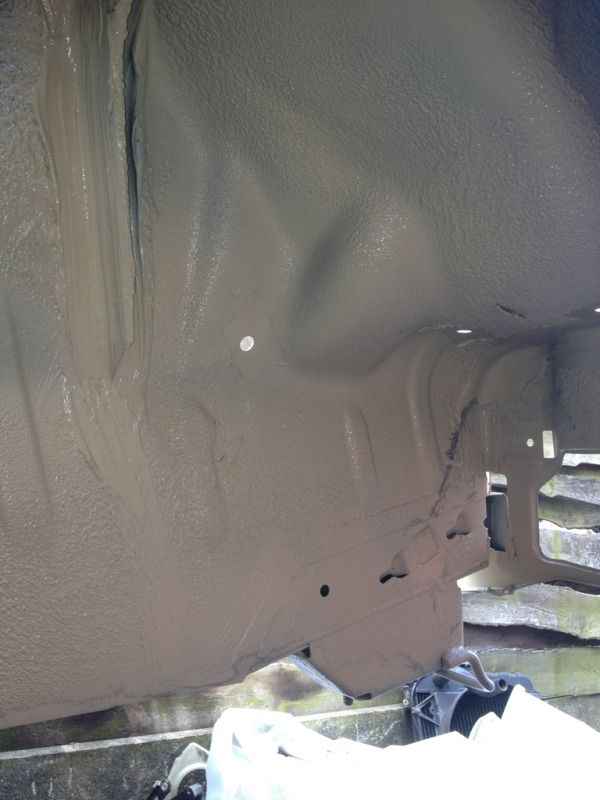
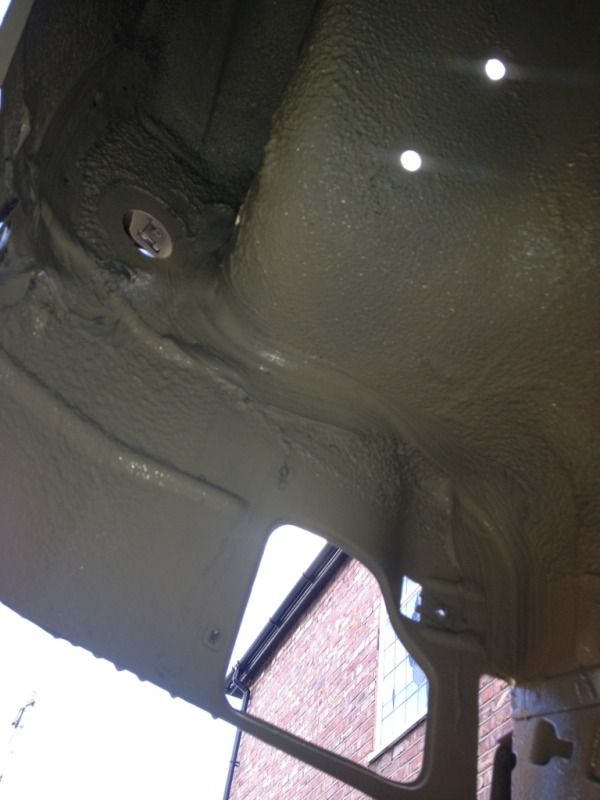
then gave the underside a couple of coats of rust bullet
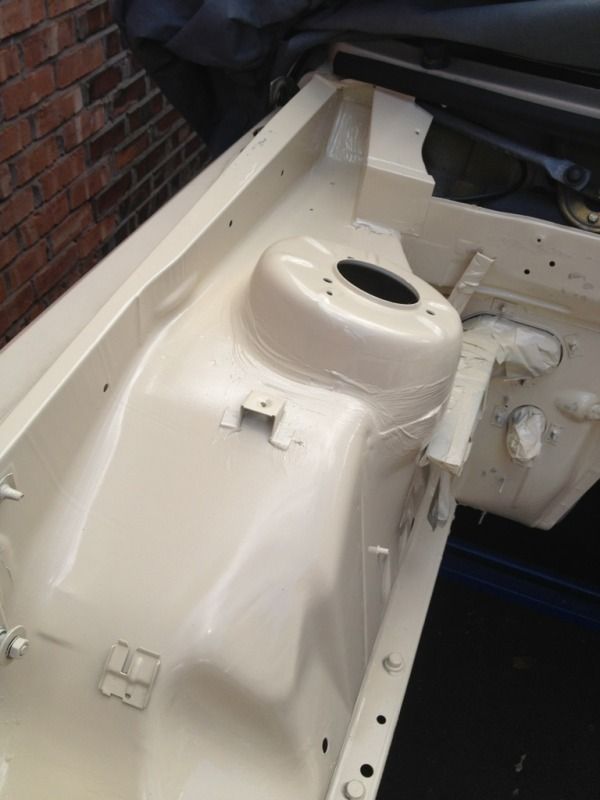
then a coat of colour all ready to start re assembly
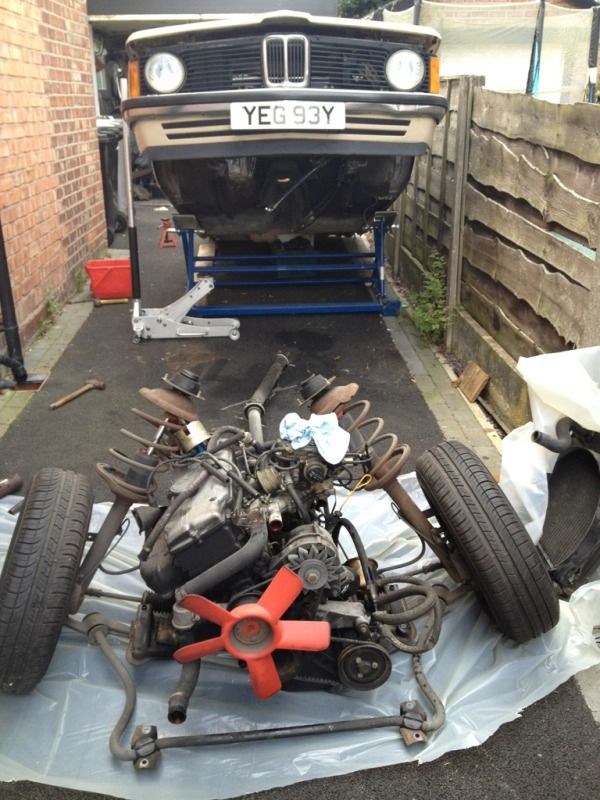
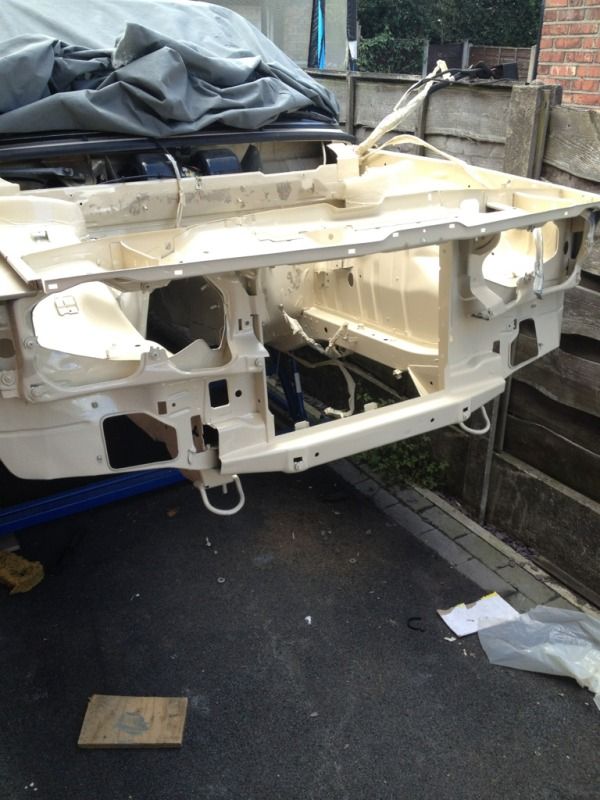
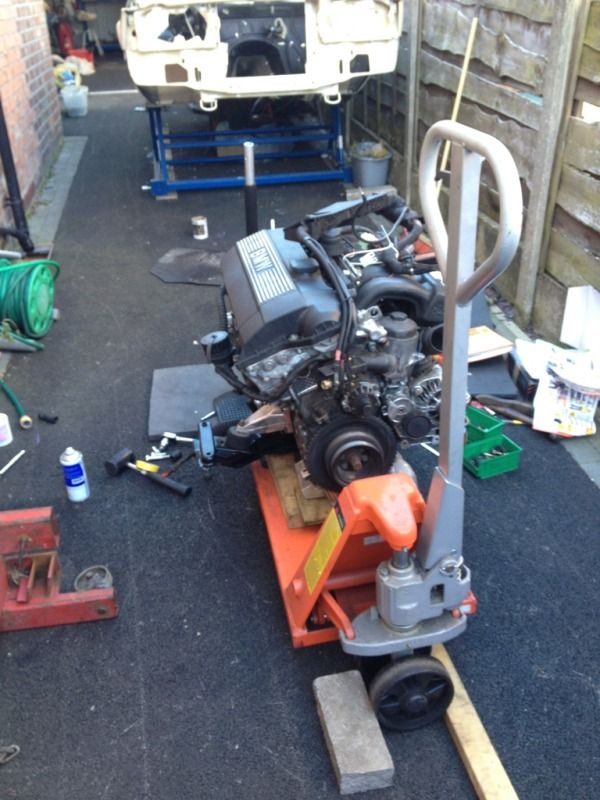
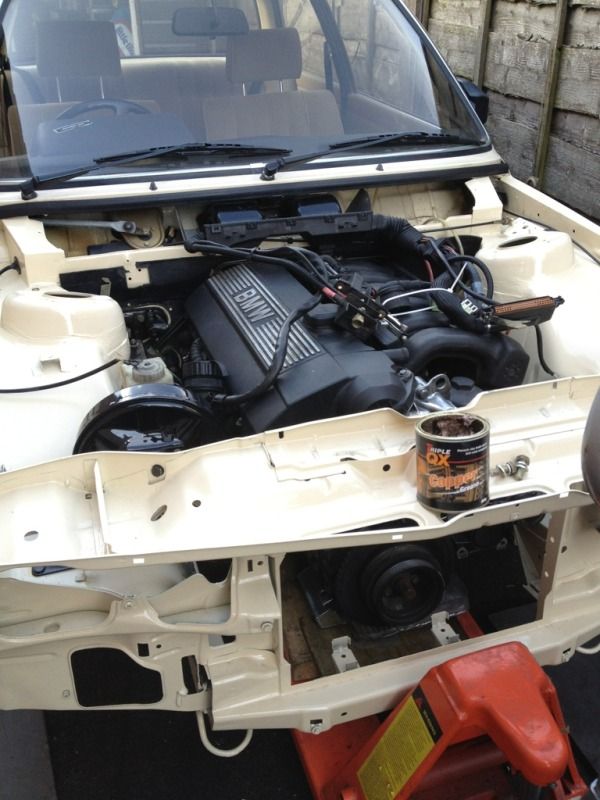
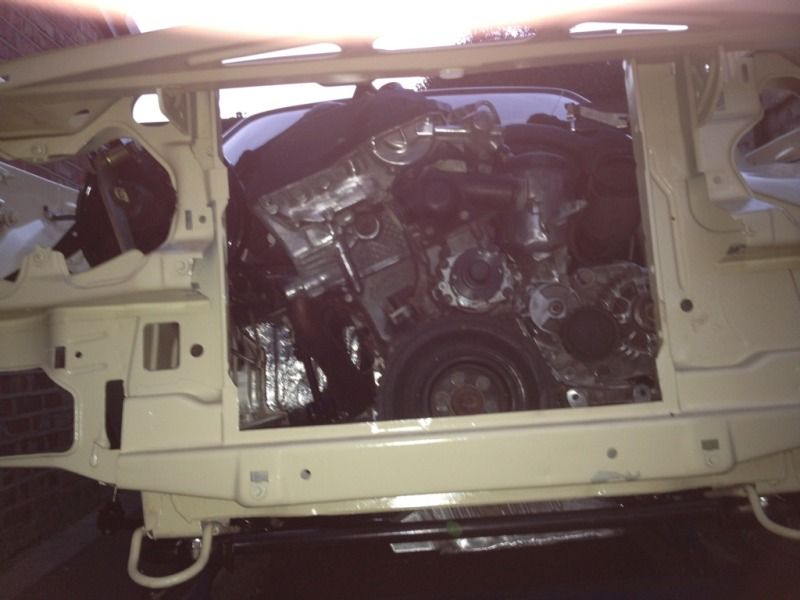
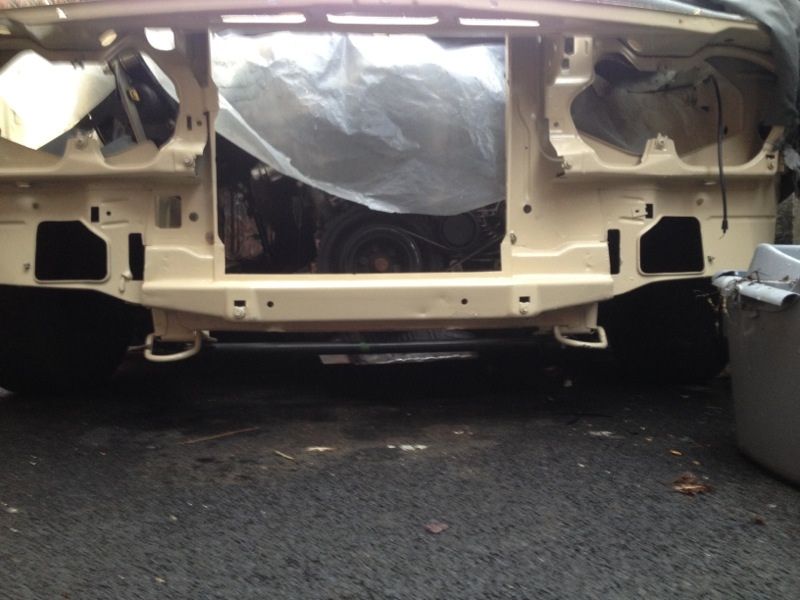
pulled the heart out next. No going back now
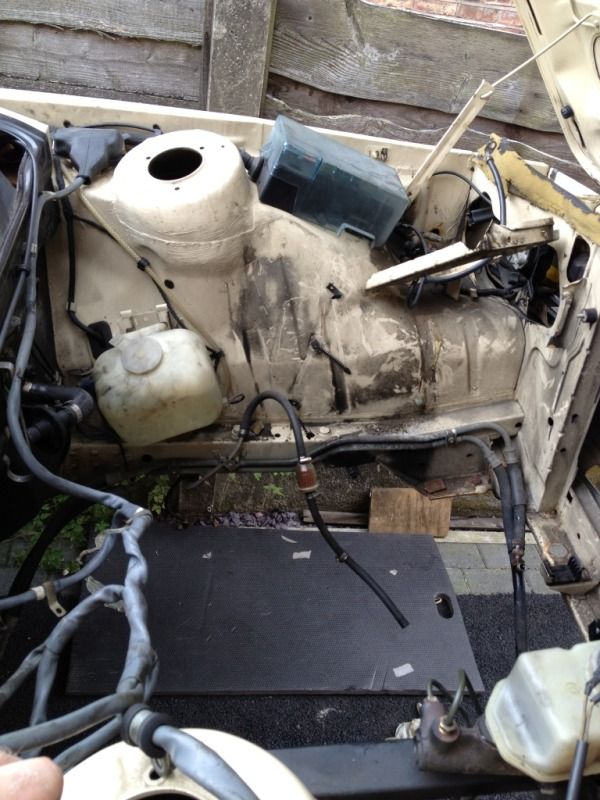
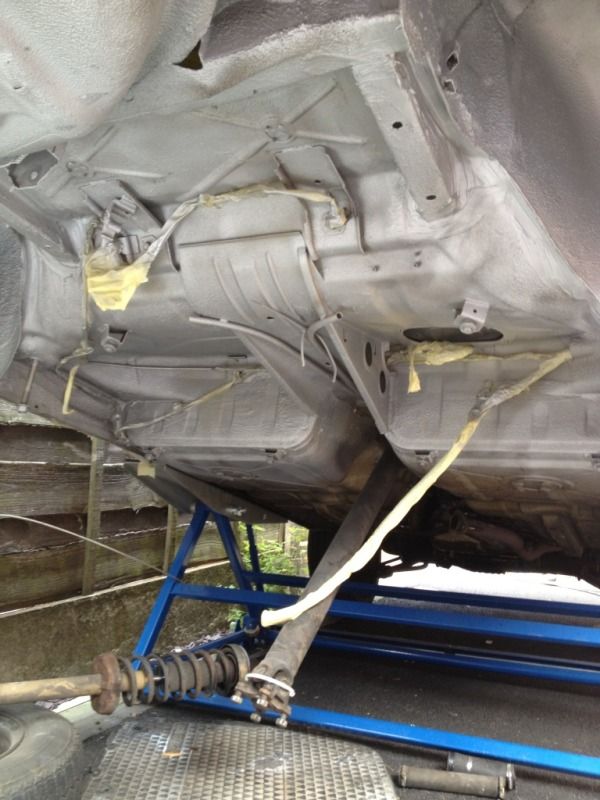
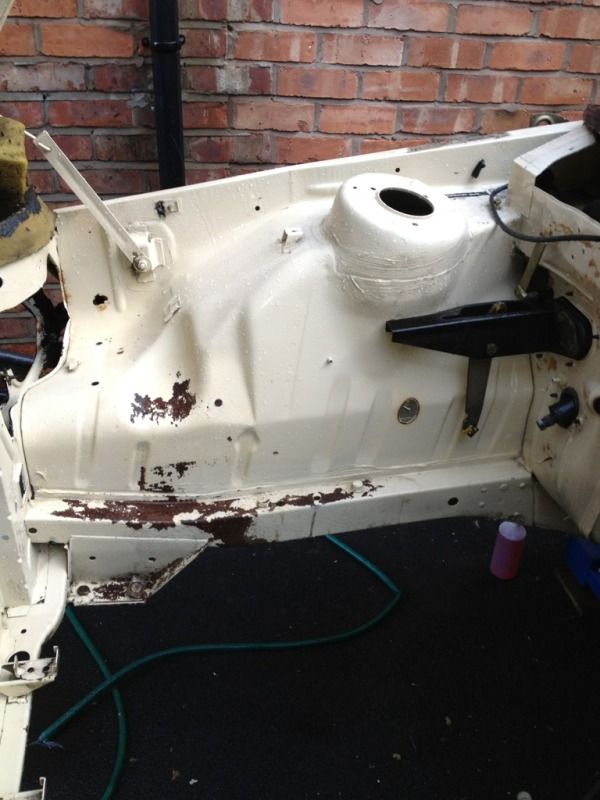
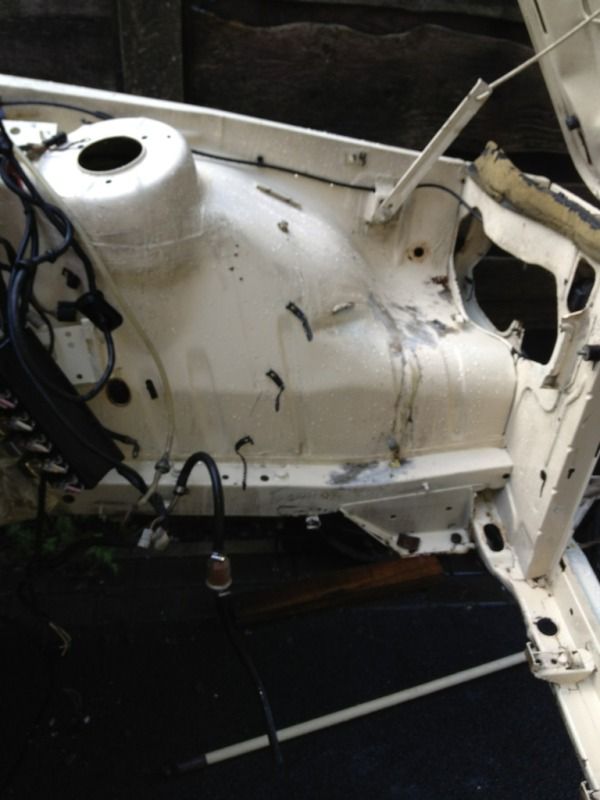
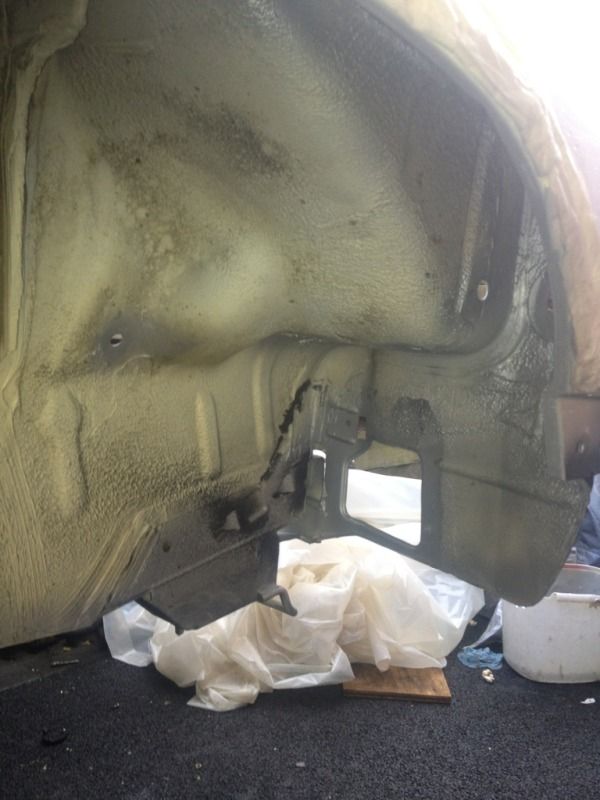
pulled out the servo,pipes, wires and sound proofing then gave it a quick jetwash. i was tempted to leave the engine bay and get the lump in but I knew I would always be kicking myself if I did, Ill give it a propper clean next prep it all and give it some fresh paint before re build. not much corrosion considering its age and what is there is only surface rust.
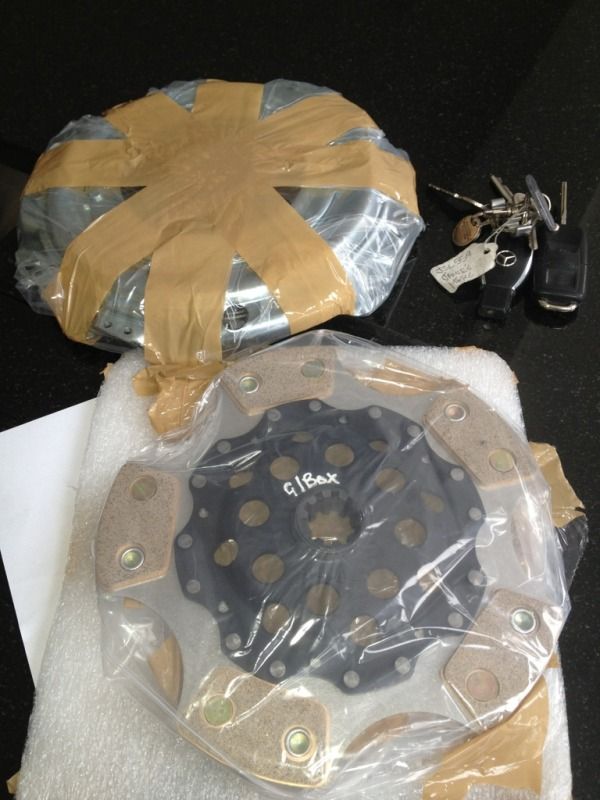
New back plate and paddle clutch not very road friendly
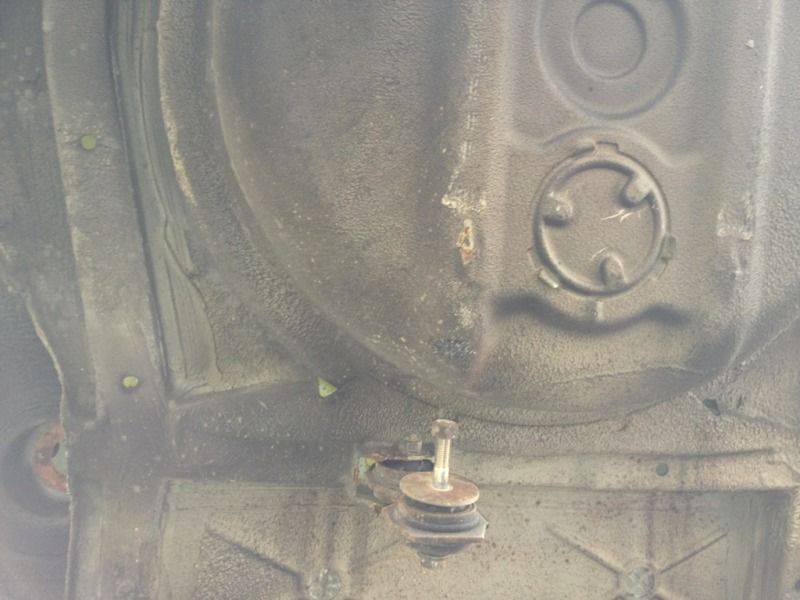
cut off a few bits out of bay and atacked the service rust with wire wheel, rust treatmeant then rust bullet. then I fitted the return fuel tank, re fitted the rear tanks and started re assembling the rear beam.
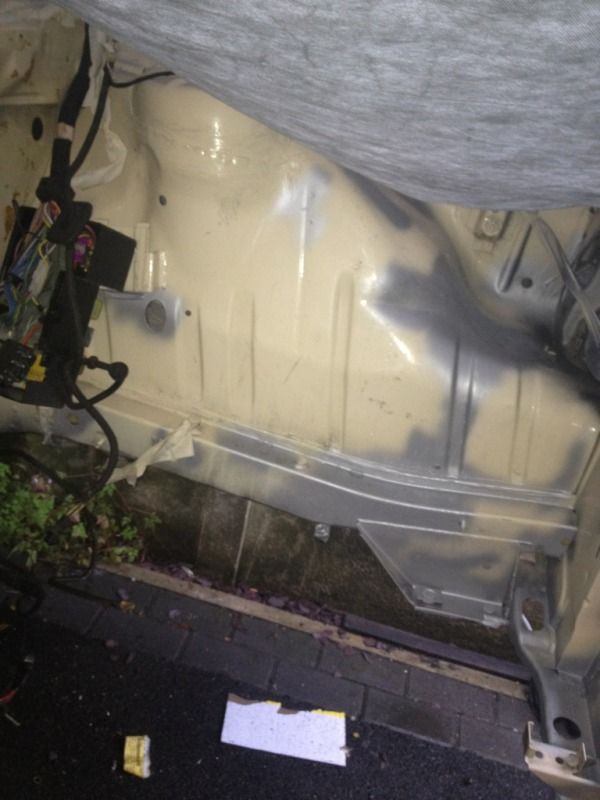
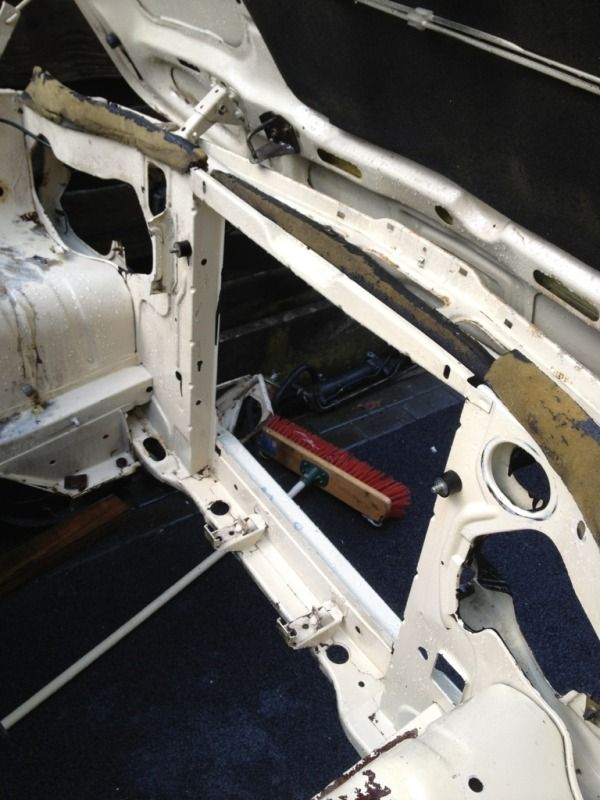
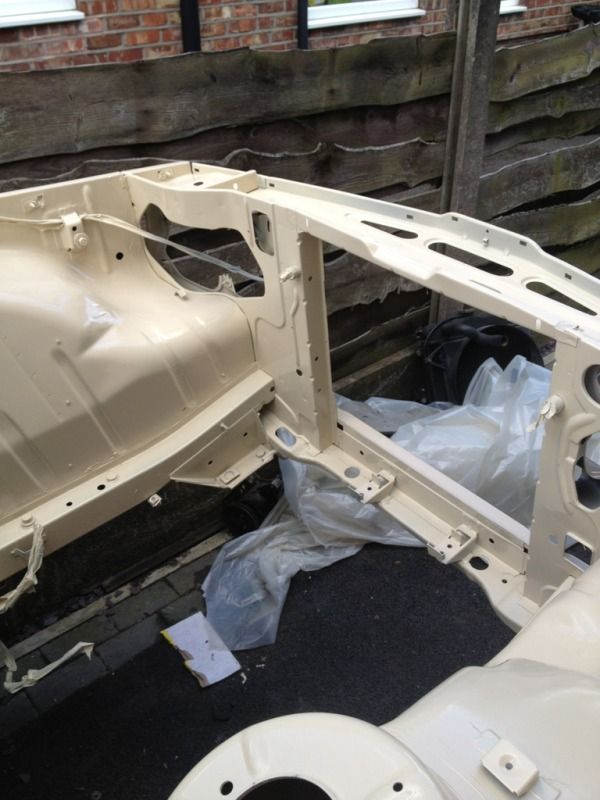
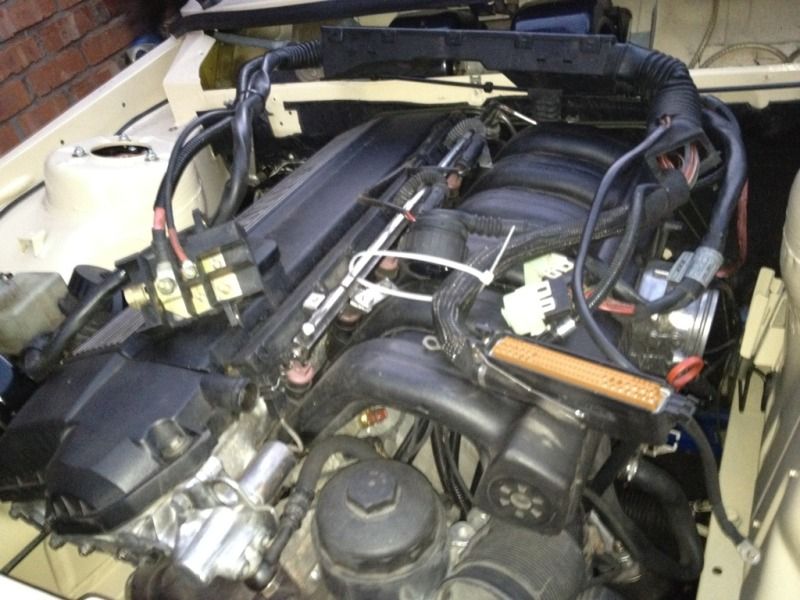
finnished paintig today the underside and engine bay at least. and ordered new sound deadening from bmw for the bulkhead.
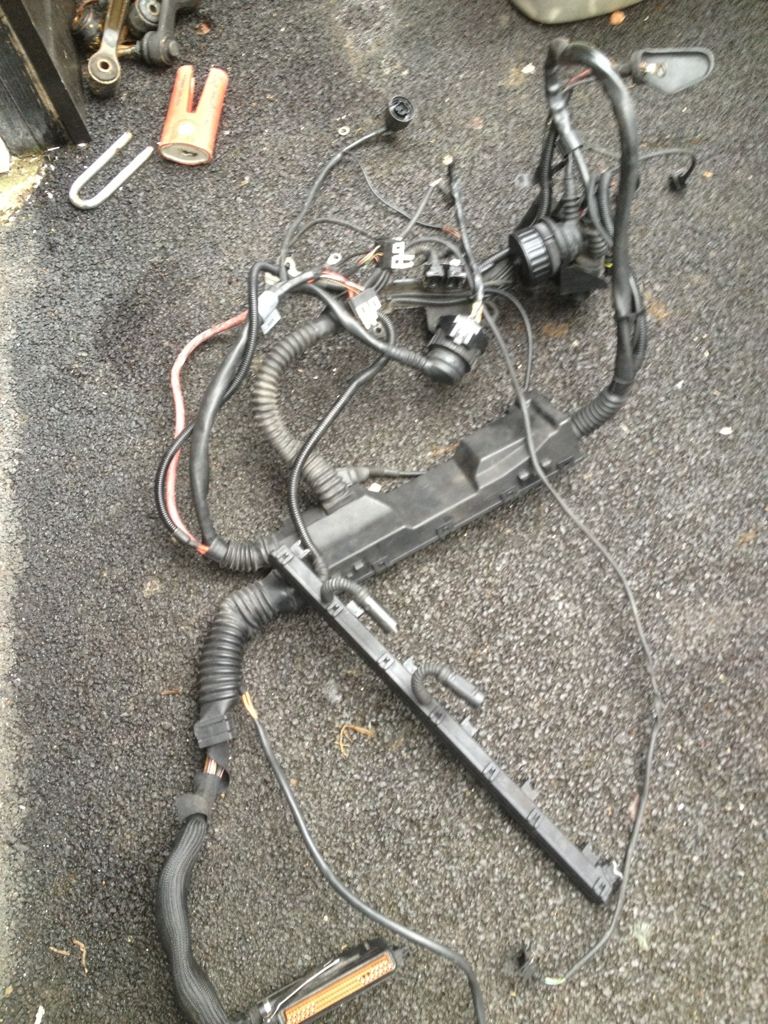
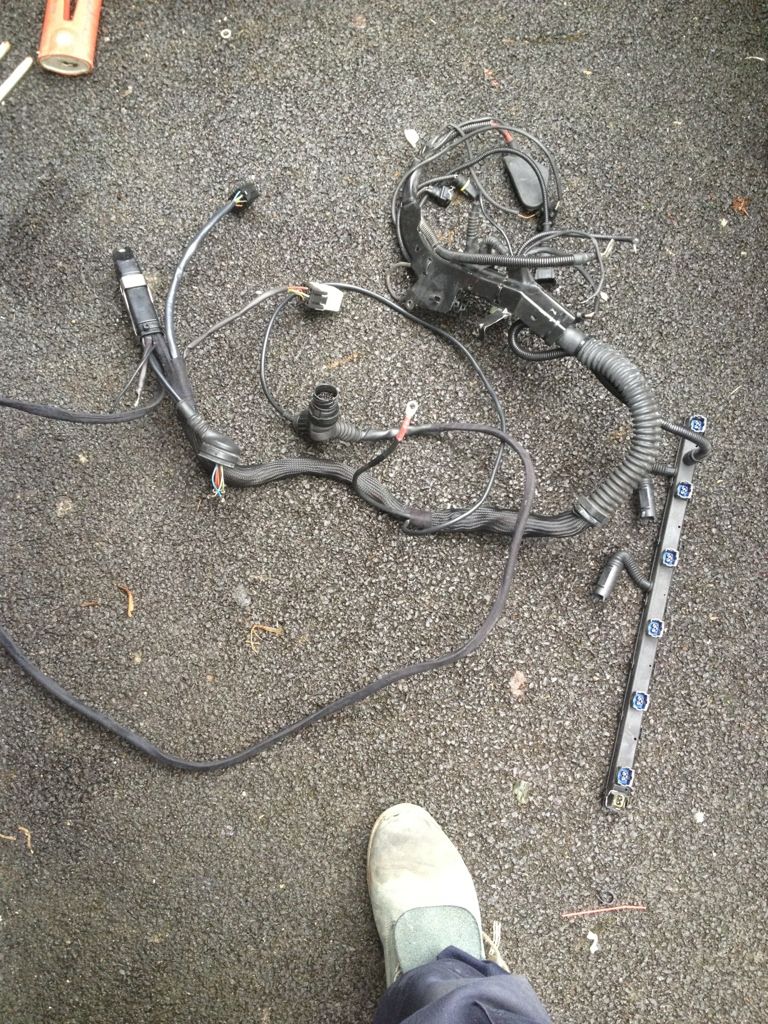
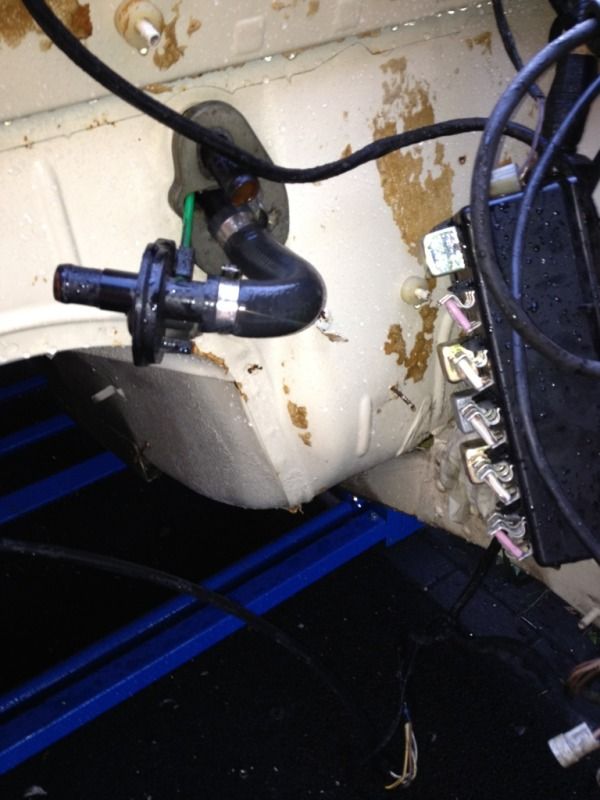
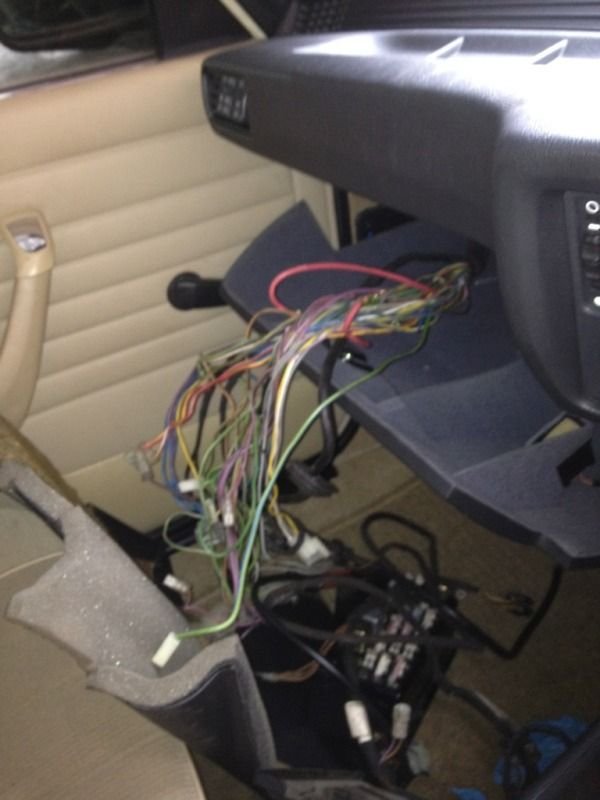
Pulled all the engine bay wiring back through into the glovebox so I can mount it in the cabin. I was to look into having a more modern fuse set up. in the end I decided agains but more on that later.
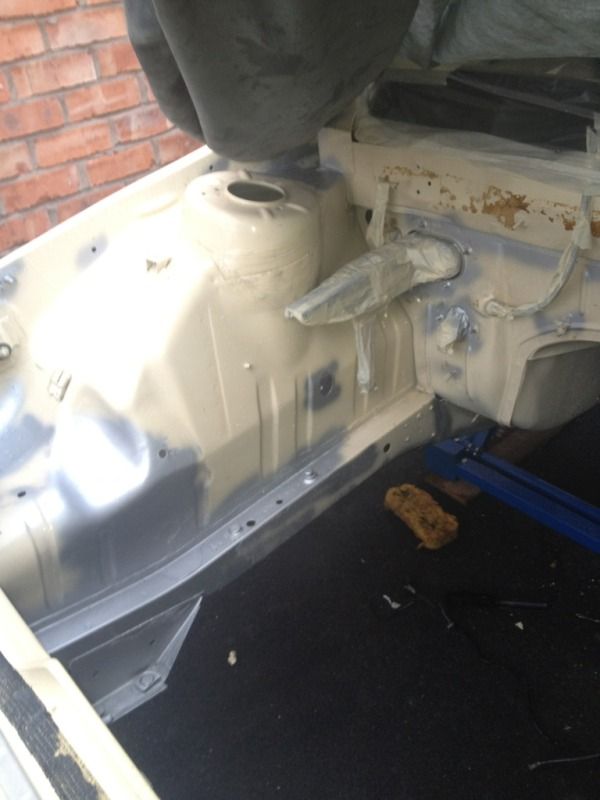
Also put the new sound deadening in the bay and started putting everything back.
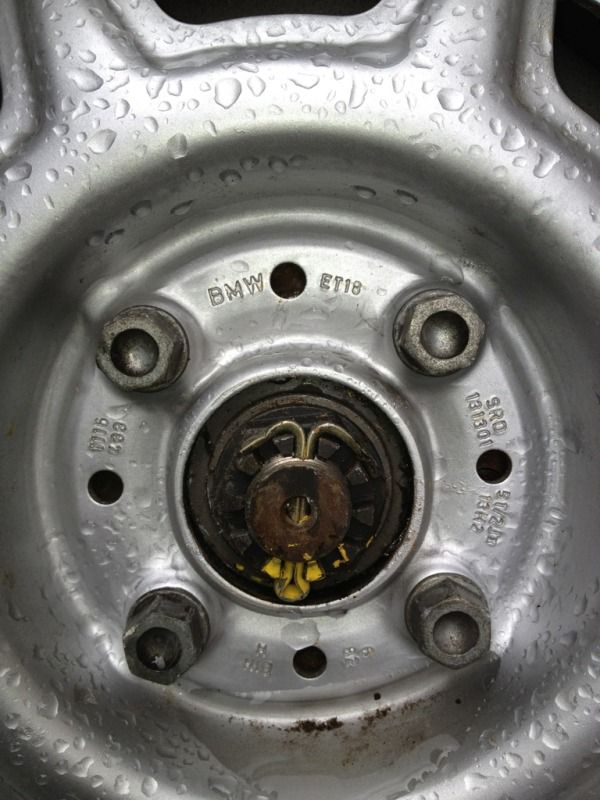
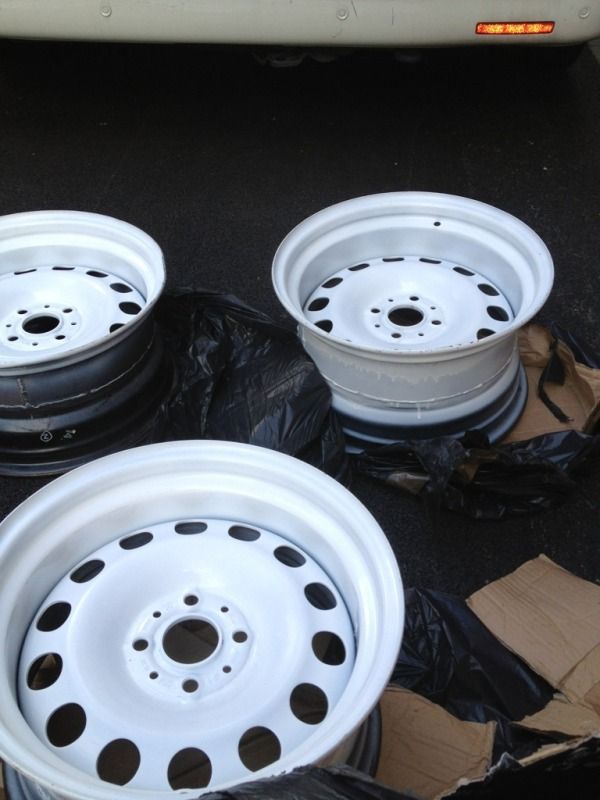
picked up some banded steels cheap 8 and 8.5 x 15 needed some more subtle paint and some sort of bmw centre/hub caps. I had high hopes for them but it turned out they were made by a clown and they wouldnt hold air or balance
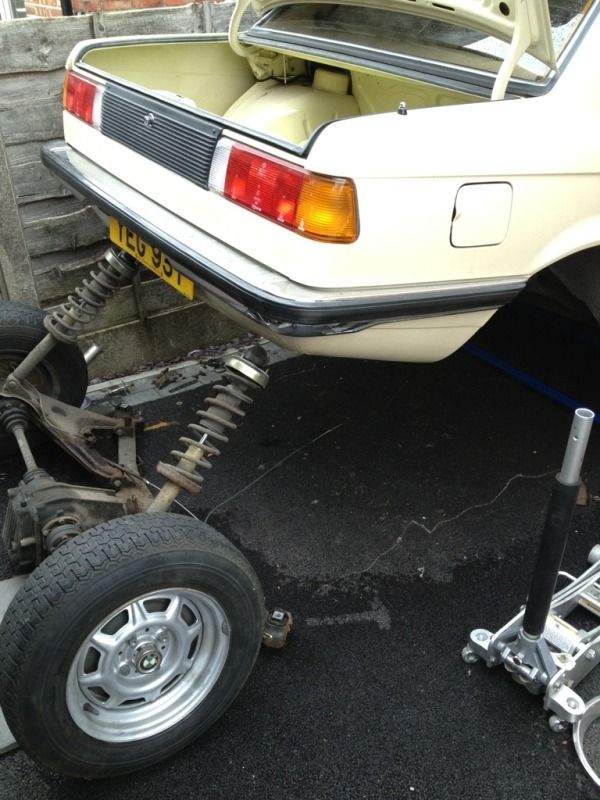
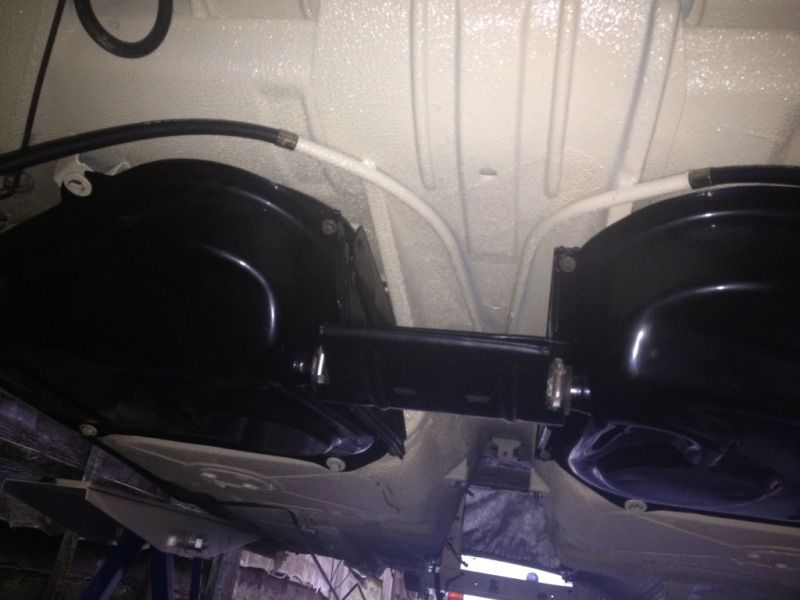
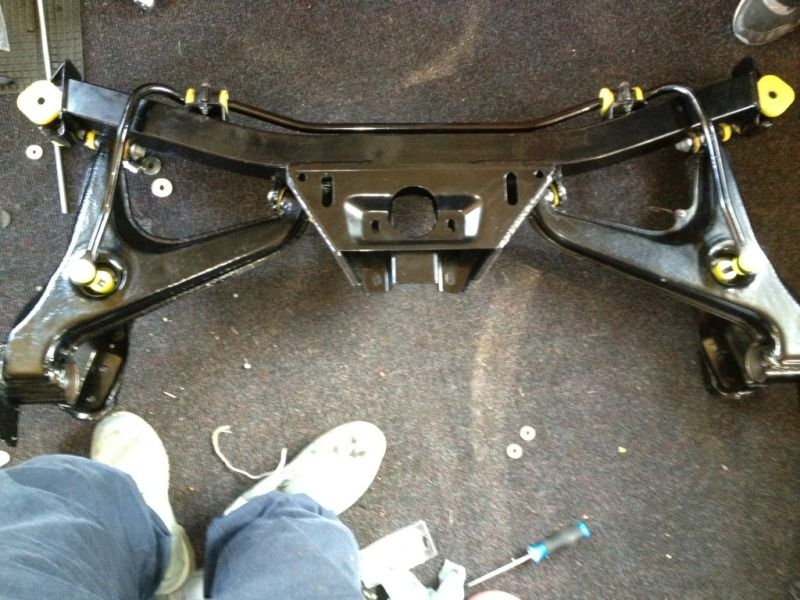
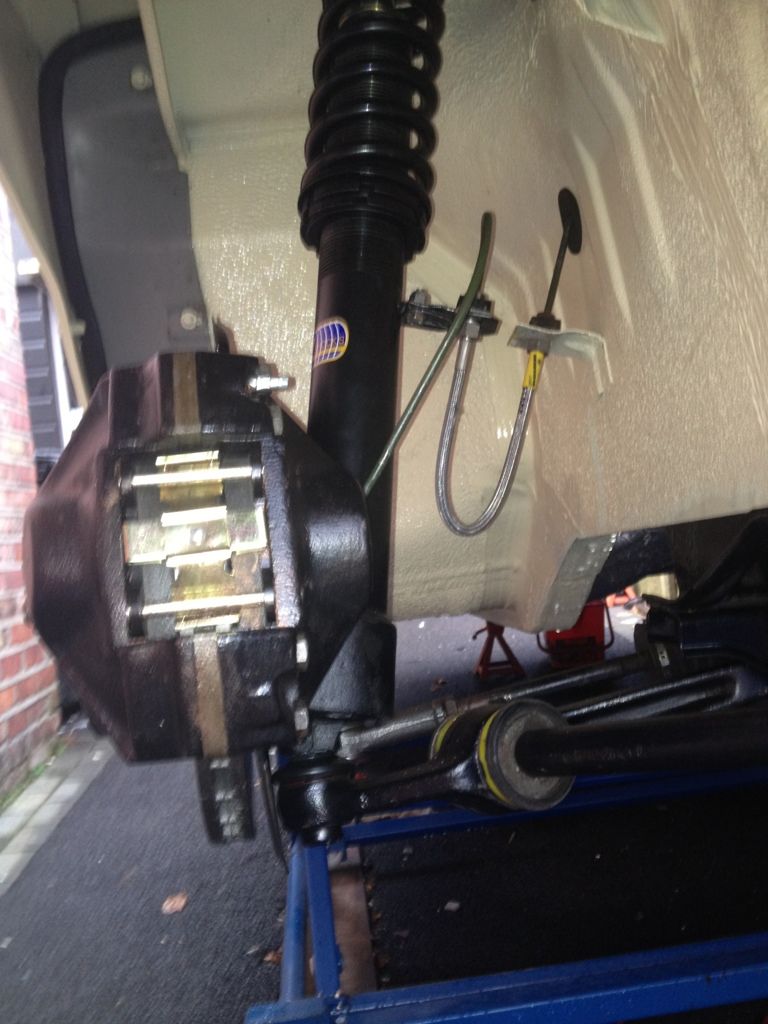
builing up rear end
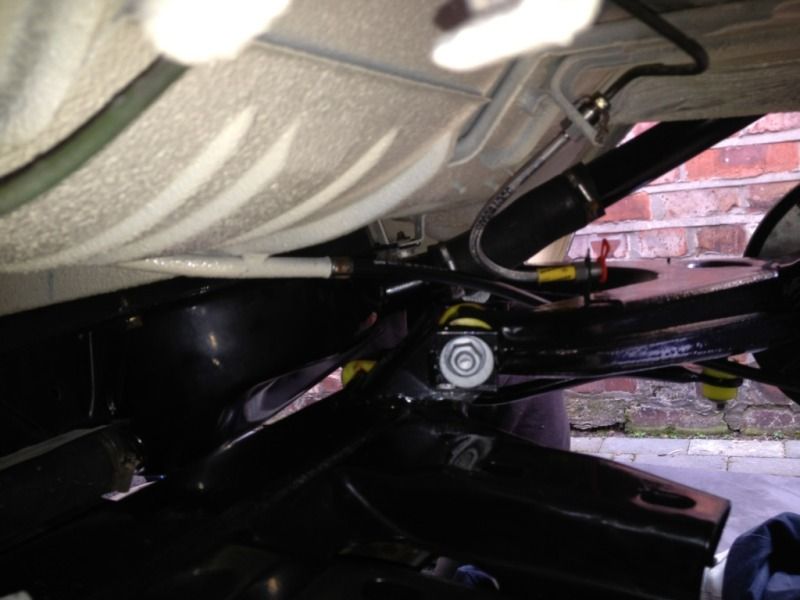
then fitted it to the car
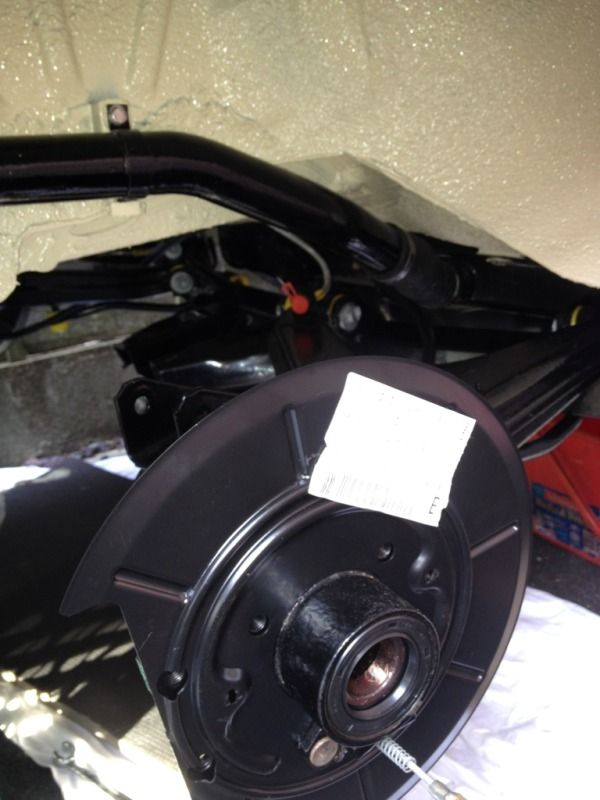
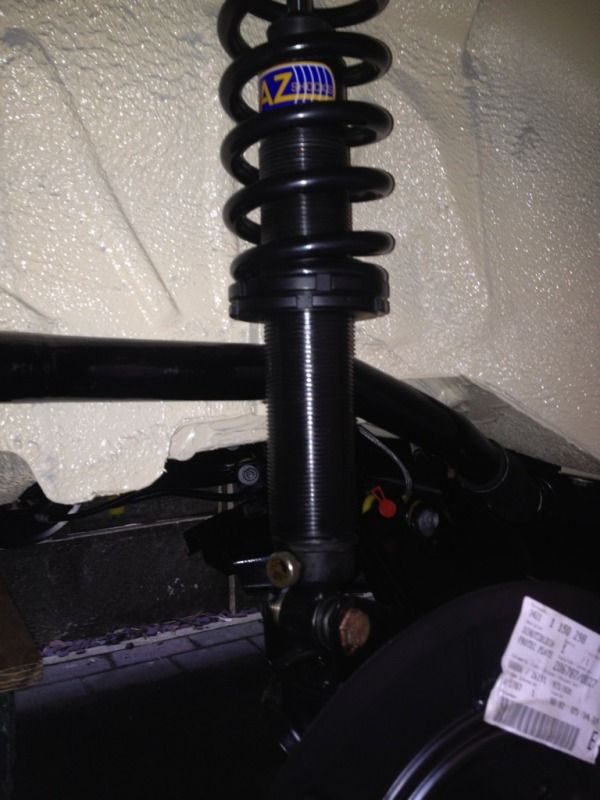
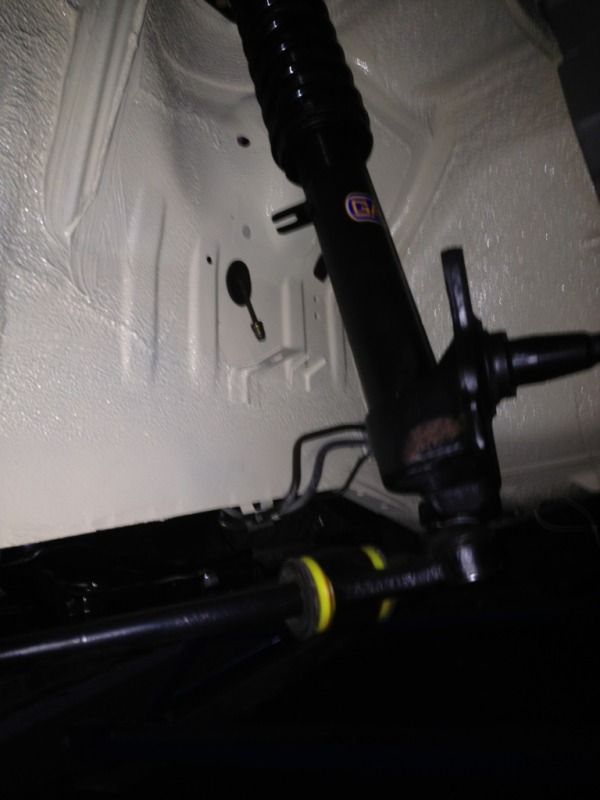
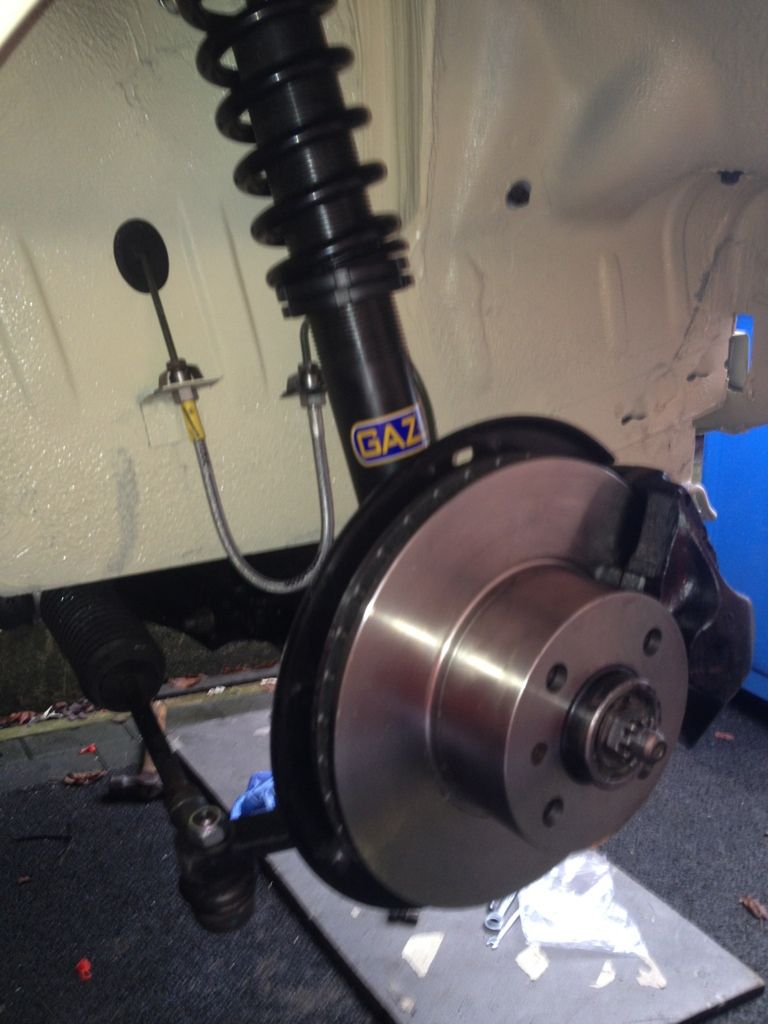
then fitted the new rear coilovers
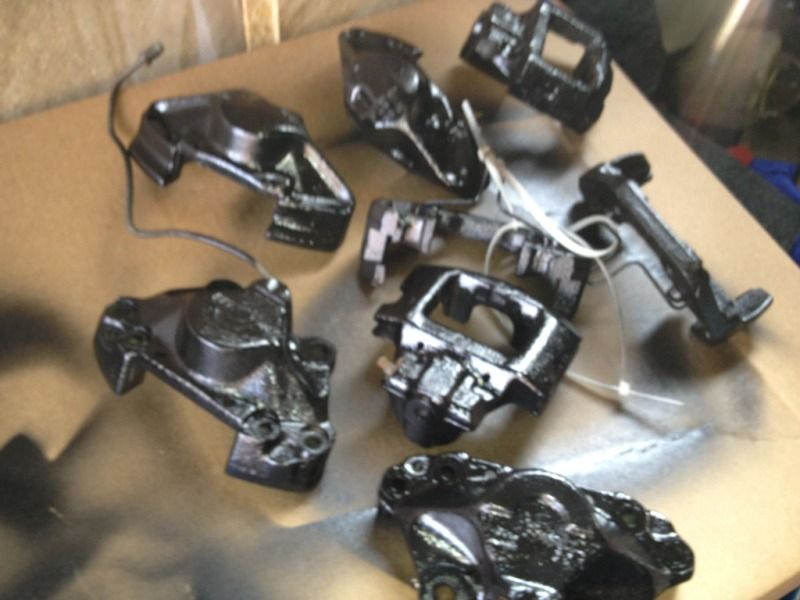
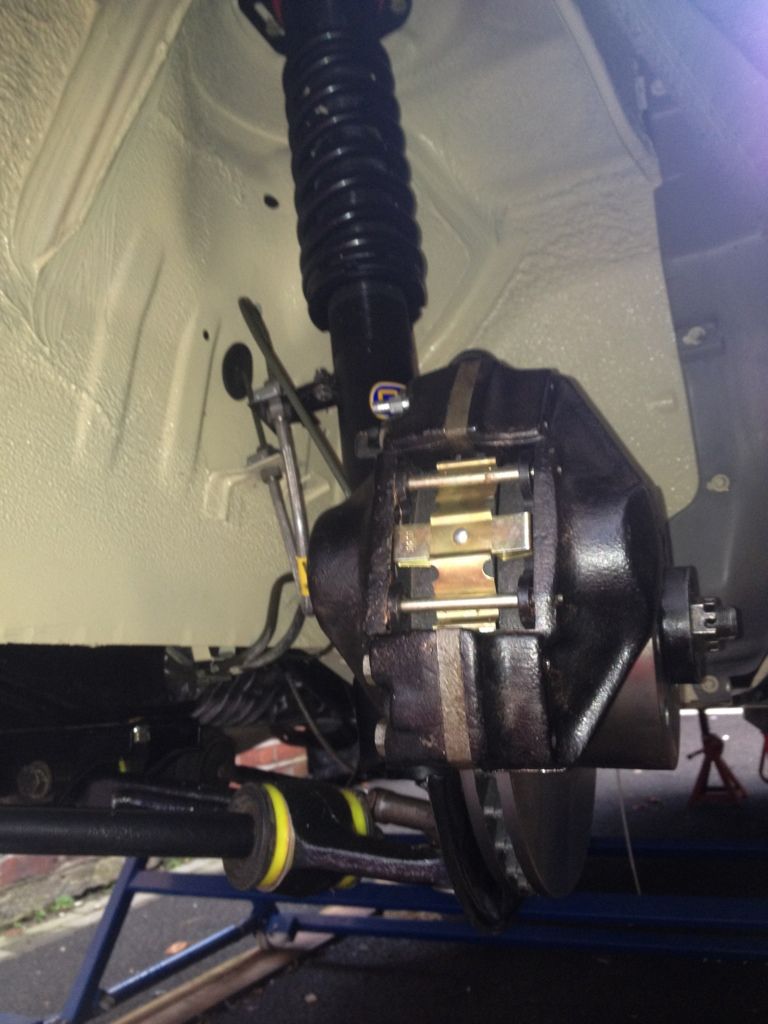
lastly painted the callipers ready for rebuiling with new pistons, seals and fittings.
I was pleased with the way it was going but by this point almost everything gerts some sort of painting or polishing before it goes on the car.... so so gay
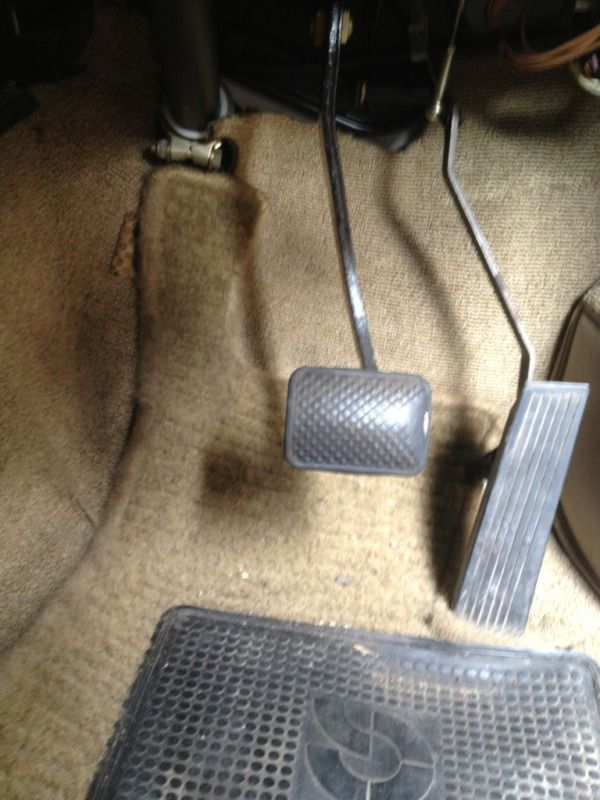
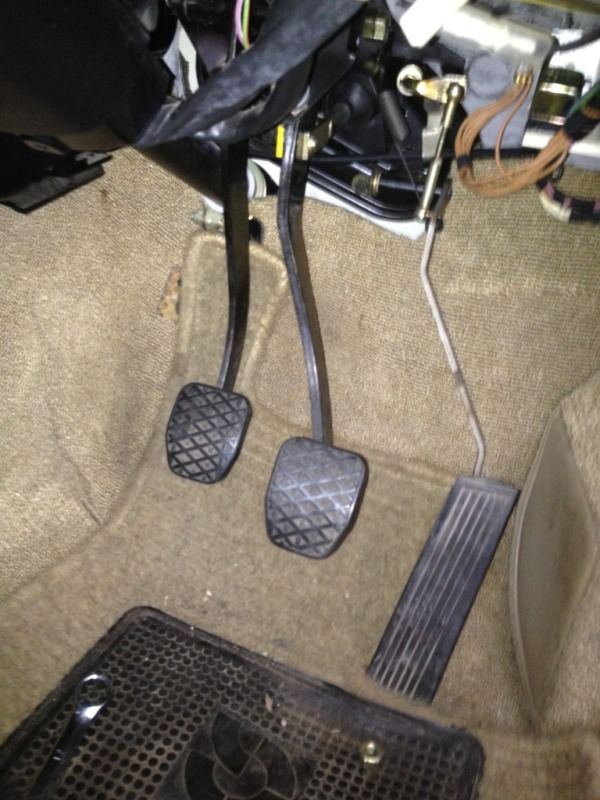
spot the difference
Engines in day and progress is being made but still lots to do Rear end all back together and all I sandblasted , rebuilt, replaced pistons and seals then painted all the calipers please don't do it by the time you've got the bits you could have got some willwoods lol. Any way more pics.

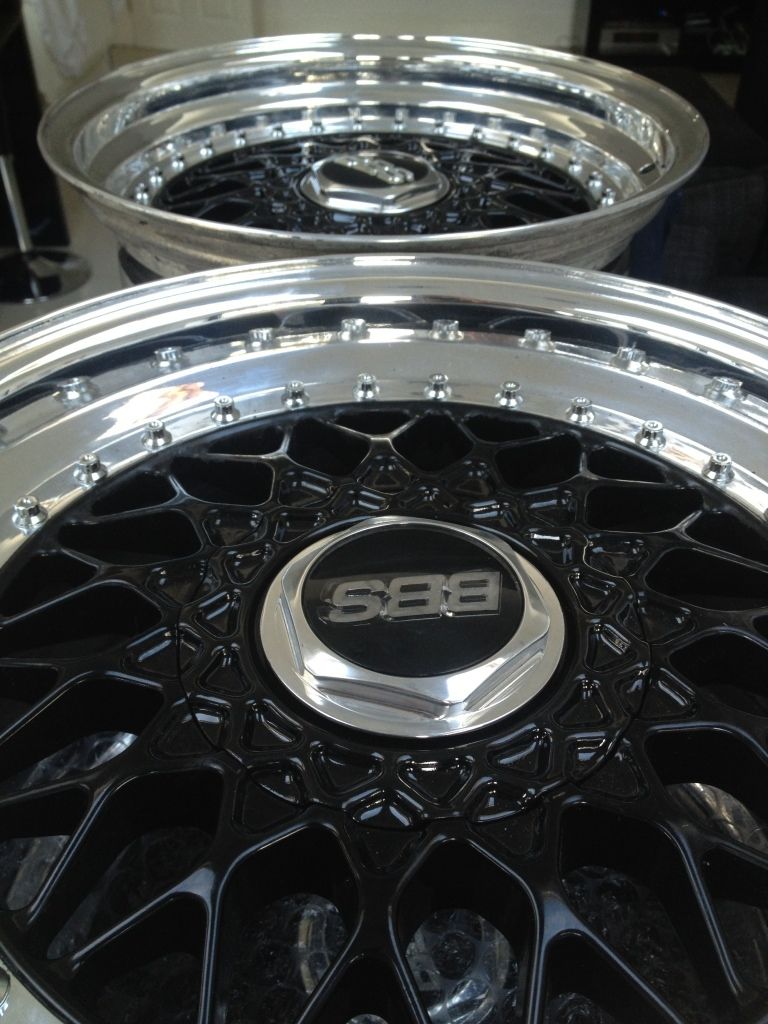
latest aquasition still not sure but they are pretty sexy
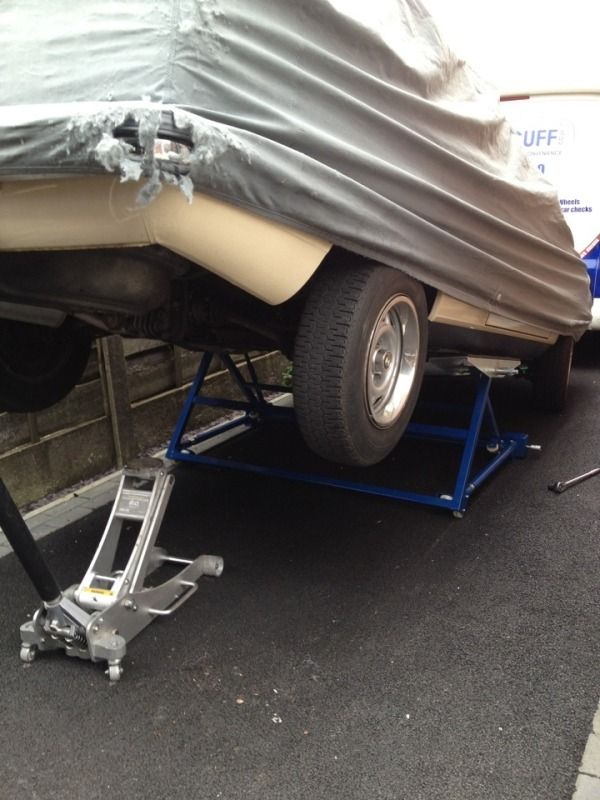
I got all the brakes and clutch done and bled up. I was going to move it to my unit over the festive period and give it a final push and finnish it (never happened
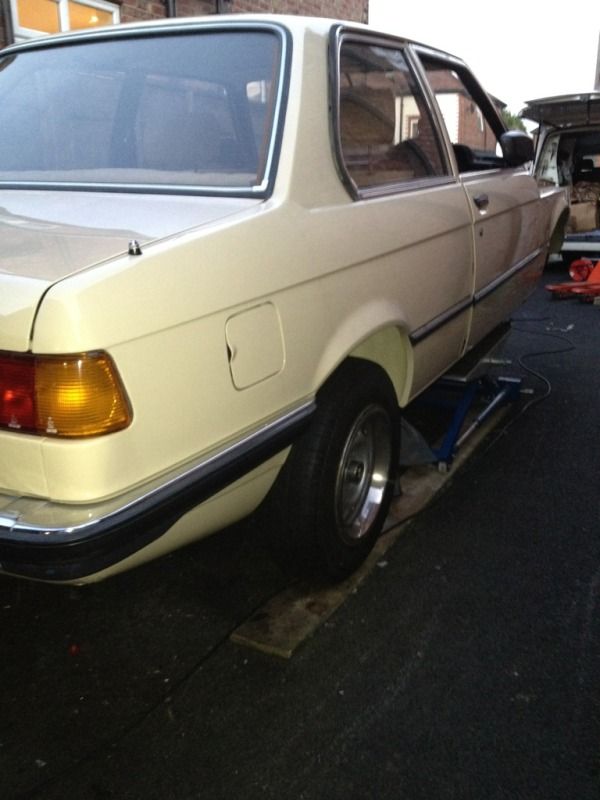
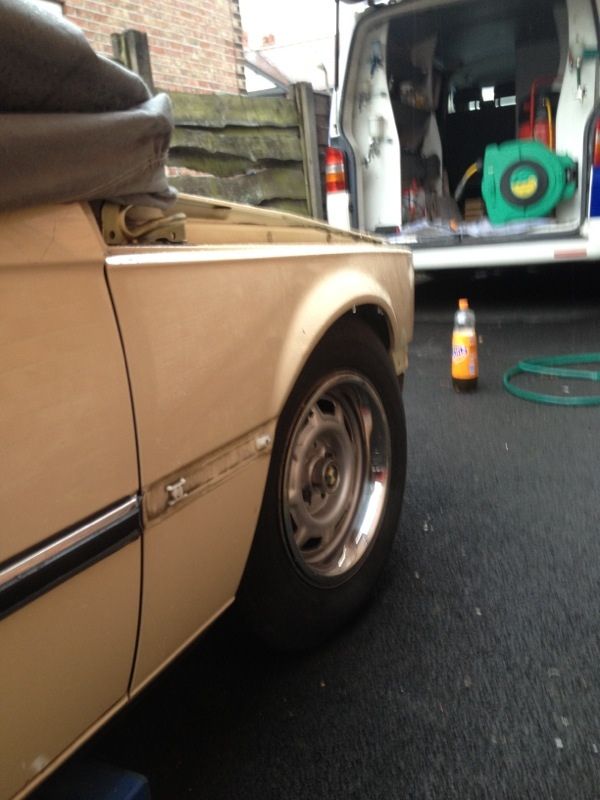
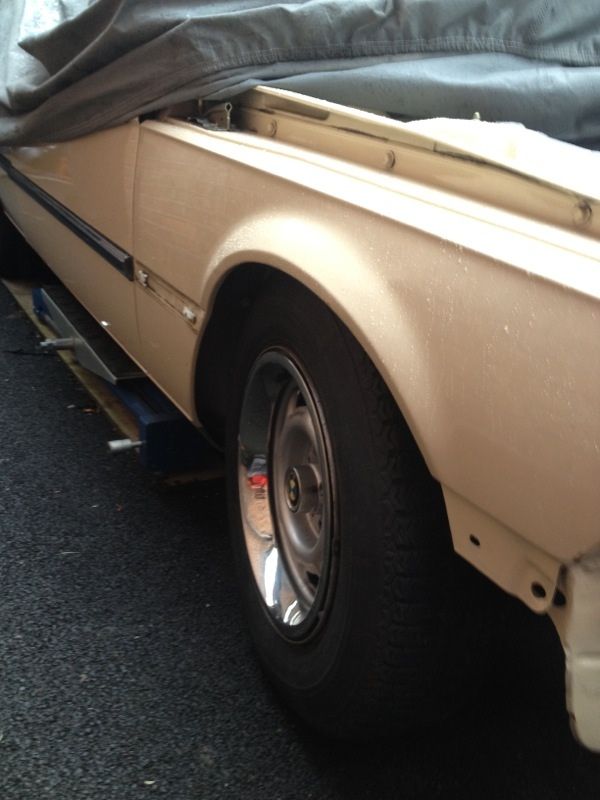
Back on all fours for first time in nine months. It's low probably be coming up a bit
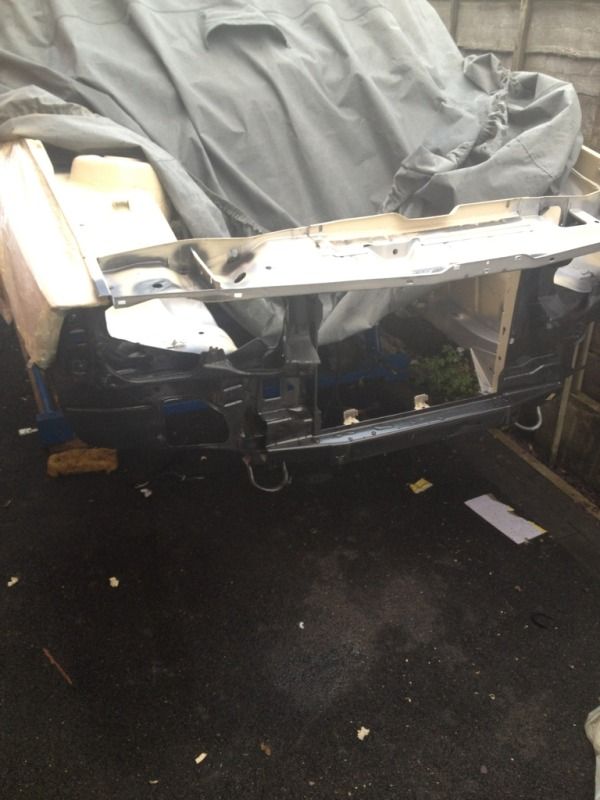
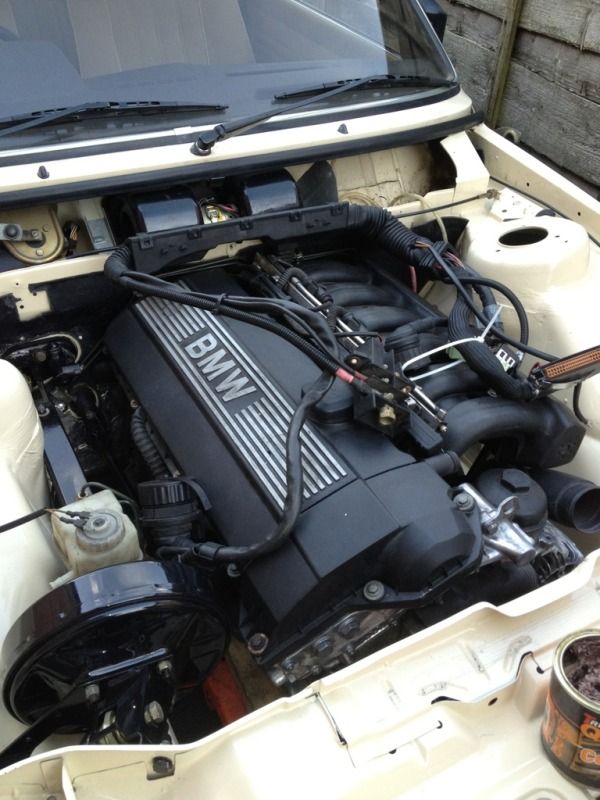
AND BREATH! this is as it stands today but over the coming days ill be fitting a new sexy (well I think so) that Danthe has made for me that will enable me to hide a lot of the wiring and hopefully get the fecker started
En joy
As it was when I picked it up prior to the trip back last feb. one owner 29000 miles etc etc
Its had 1 owner and done 29000 miles. the exhaust has been bodged and needs fixing the brakes are binding and the bodywork needs the slightest of attention but other than that its honest and solid and drives very very well. I got it up on the ramps when I got back and its leaking a little oil but absolutely solid and rot free underneath. Im was a happy bunny
i wasnt exactly sure why I was buying the car and wasnt sure if I was going to mod it or not. after seeing and buying it I was kind of glad itswas not completly mint and original as it has made my mind up to mod it.
1st set of wheels I bought I test fitted whilst on std suspension but went off them so they were the 1st set for the axe.
next up was a van load of expensive scrap (e21 stuff is foookin expensive)
bought a New jack to make life a lot easier. Love i!.
2 hrs later and not one seized bolt
collecteda donor car and The mrswent absolutely ape shit
Tanks off next it was bloody mint underneath, jet wash and underseal next while all the other bits are being powder coated. Than add the return fuel line.
Factory fresh e_surprised
all rear suspension parts and tanks powder coated and poly bushed (strongflex)
then stripped the m52 downof all the unnecessary parts, replaced all the gaskets and seal, fitted a M50 inlet and a lowered sumpand pick up
then gave the underside a couple of coats of rust bullet
then a coat of colour all ready to start re assembly
pulled the heart out next. No going back now
pulled out the servo,pipes, wires and sound proofing then gave it a quick jetwash. i was tempted to leave the engine bay and get the lump in but I knew I would always be kicking myself if I did, Ill give it a propper clean next prep it all and give it some fresh paint before re build. not much corrosion considering its age and what is there is only surface rust.
New back plate and paddle clutch not very road friendly
cut off a few bits out of bay and atacked the service rust with wire wheel, rust treatmeant then rust bullet. then I fitted the return fuel tank, re fitted the rear tanks and started re assembling the rear beam.
finnished paintig today the underside and engine bay at least. and ordered new sound deadening from bmw for the bulkhead.
Pulled all the engine bay wiring back through into the glovebox so I can mount it in the cabin. I was to look into having a more modern fuse set up. in the end I decided agains but more on that later.
Also put the new sound deadening in the bay and started putting everything back.
picked up some banded steels cheap 8 and 8.5 x 15 needed some more subtle paint and some sort of bmw centre/hub caps. I had high hopes for them but it turned out they were made by a clown and they wouldnt hold air or balance
builing up rear end
then fitted it to the car
then fitted the new rear coilovers
lastly painted the callipers ready for rebuiling with new pistons, seals and fittings.
I was pleased with the way it was going but by this point almost everything gerts some sort of painting or polishing before it goes on the car.... so so gay
spot the difference
Engines in day and progress is being made but still lots to do Rear end all back together and all I sandblasted , rebuilt, replaced pistons and seals then painted all the calipers please don't do it by the time you've got the bits you could have got some willwoods lol. Any way more pics.
latest aquasition still not sure but they are pretty sexy
I got all the brakes and clutch done and bled up. I was going to move it to my unit over the festive period and give it a final push and finnish it (never happened
Back on all fours for first time in nine months. It's low
AND BREATH! this is as it stands today but over the coming days ill be fitting a new sexy (well I think so) that Danthe has made for me that will enable me to hide a lot of the wiring and hopefully get the fecker started