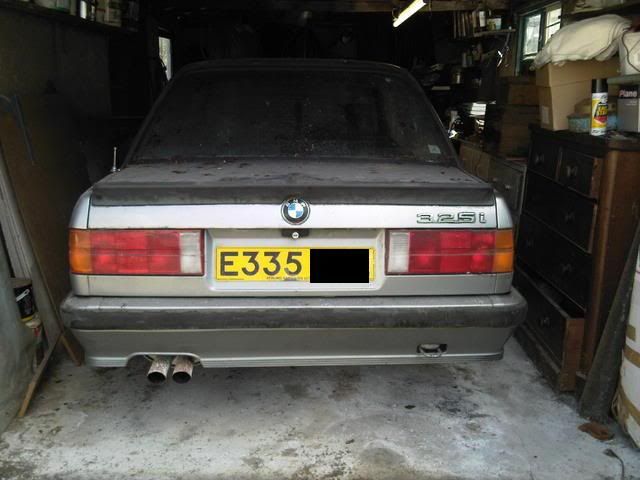
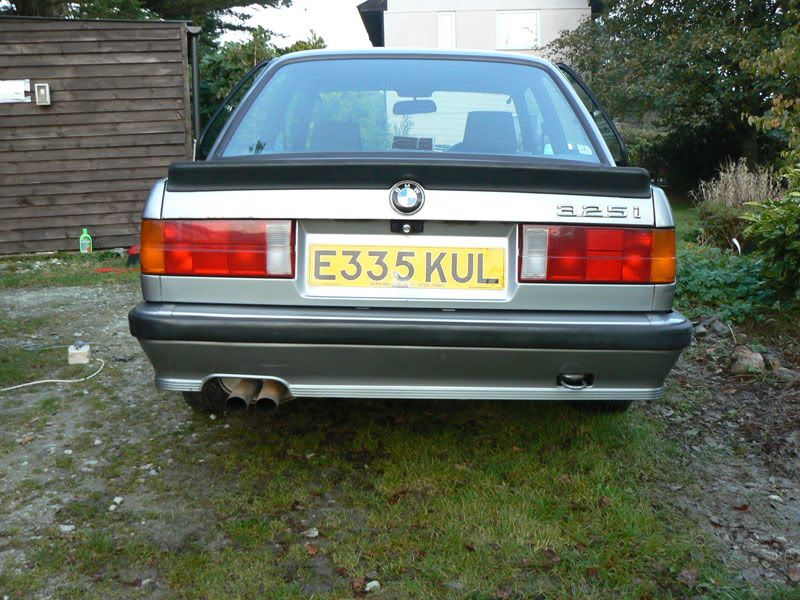
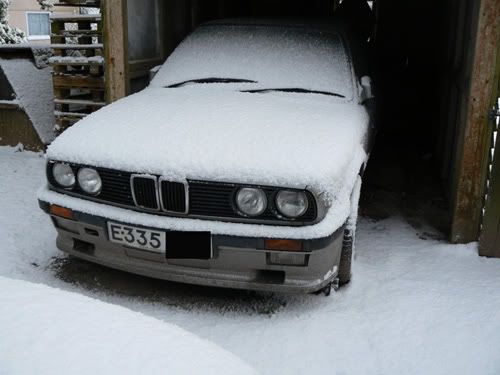
I picked this up in August 2008. It's an E30 1987 325i Tech 1 in lach silver. It has 114k, FSH and some relatively new parts on it. In fact it was put into hiding for 6 years with a years MOT and tax. Prior to this it hadn't really done many miles in the leadup to its storage, mostly cruising around in it's early days from Hexagon BMW.
To keep a long story short I was offered it for free after helping out a person with some issues.
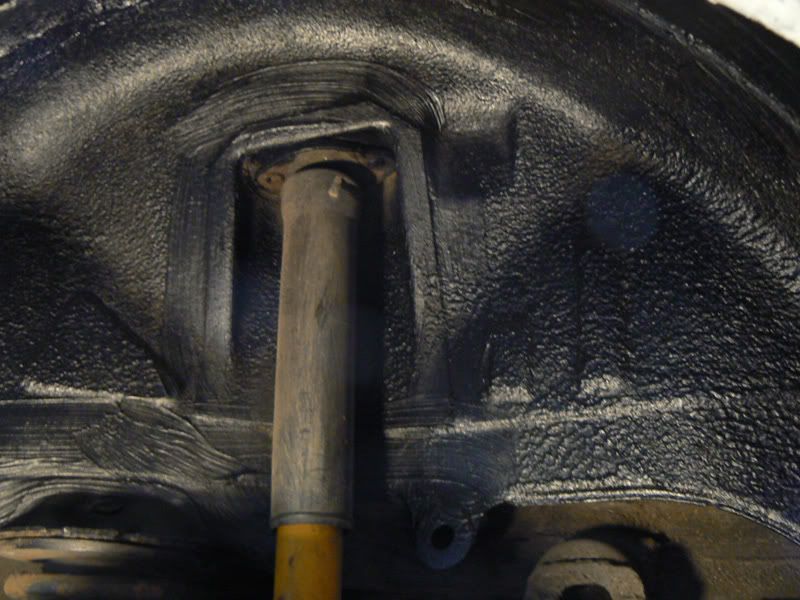
After an hour trying to get into an old garage plus half an hour or so of work on the engine I managed to get it started and moving. Shortly after this all the perished fuel lines blew and it was another month before I would manage to get a trailer down to Cornwall.
Here's a photo a short time after we finally got the doors open!
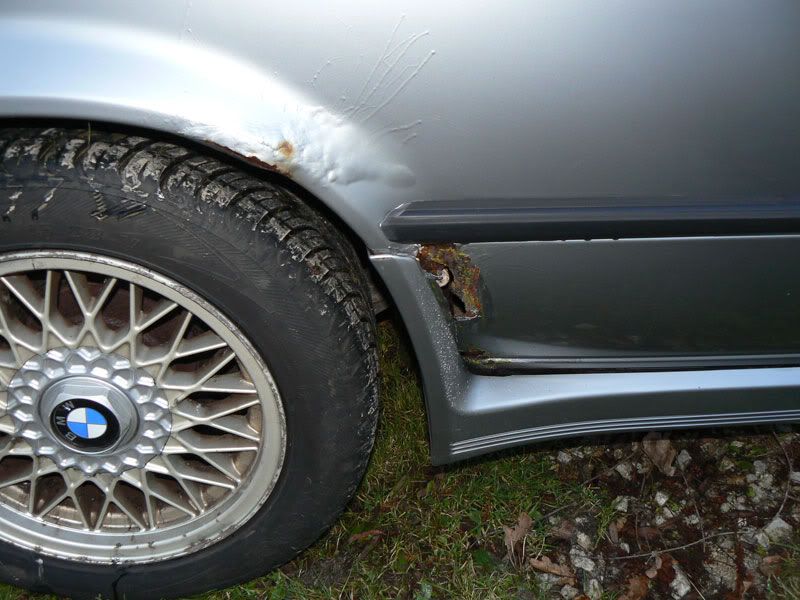
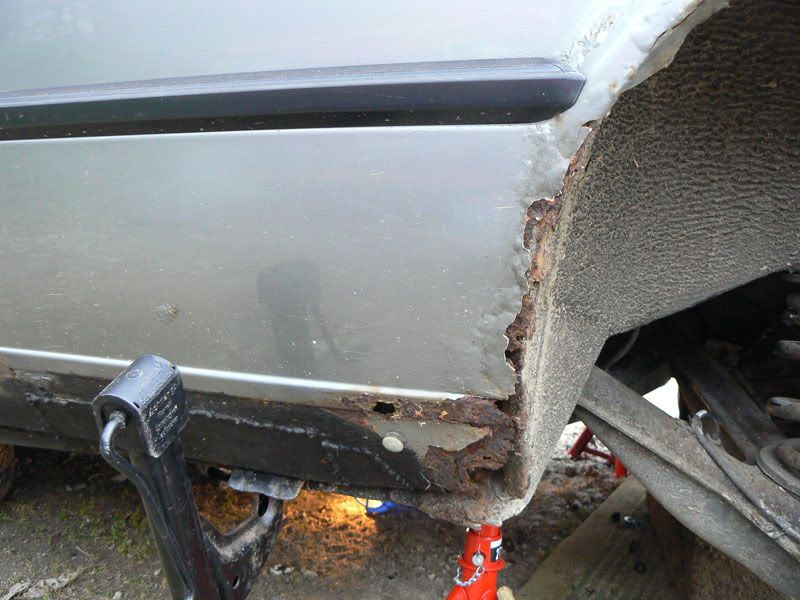
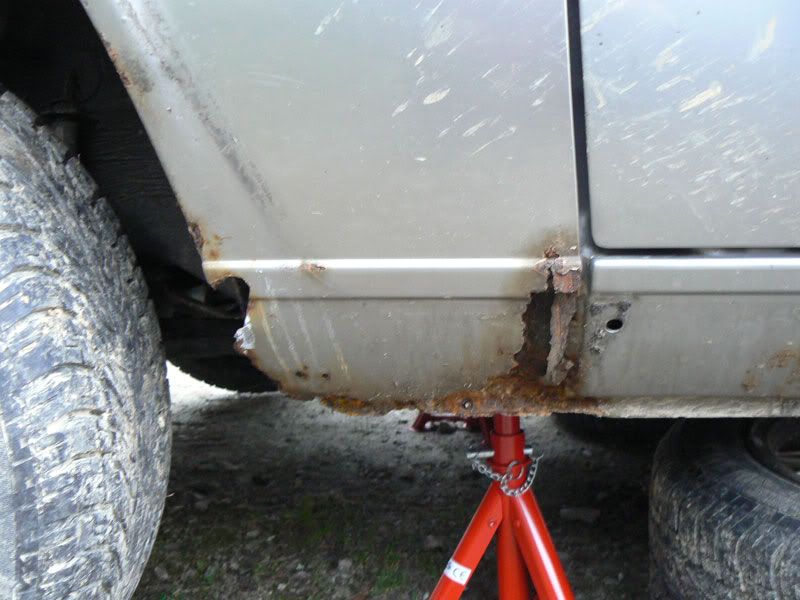
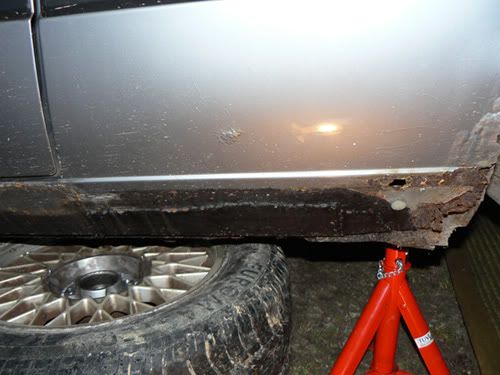
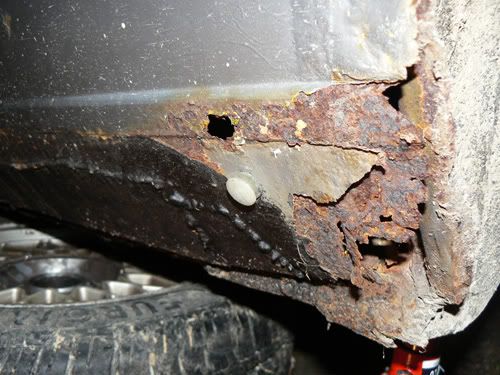
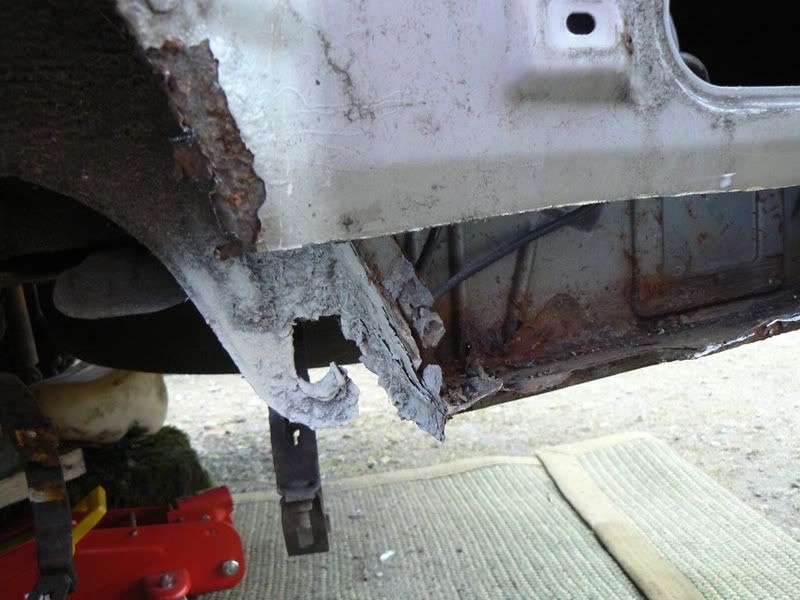
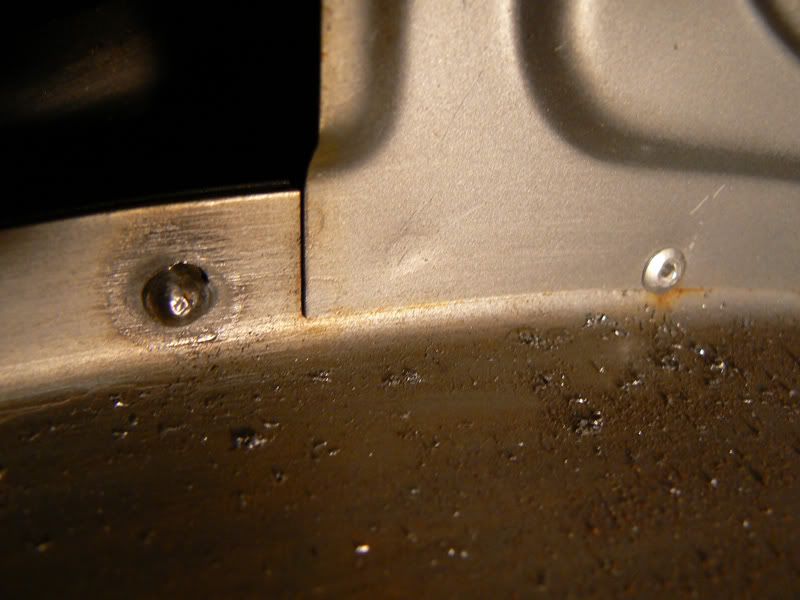
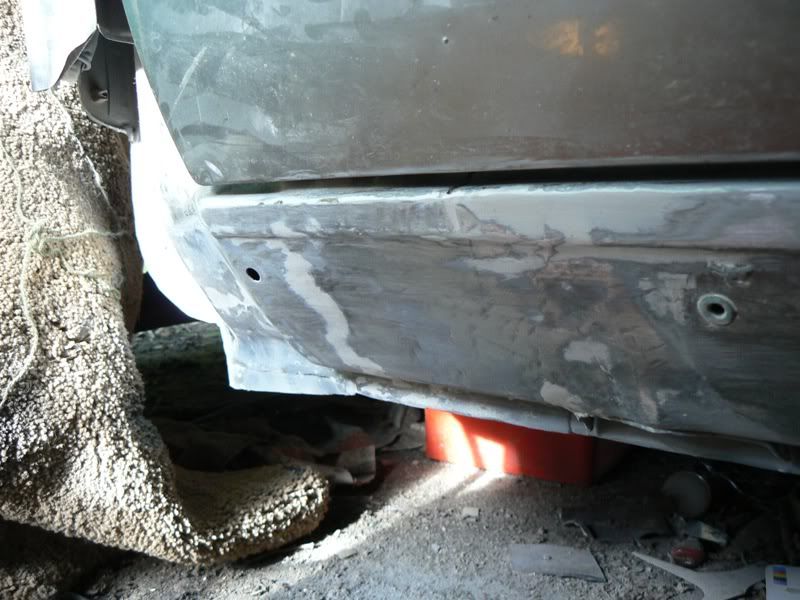
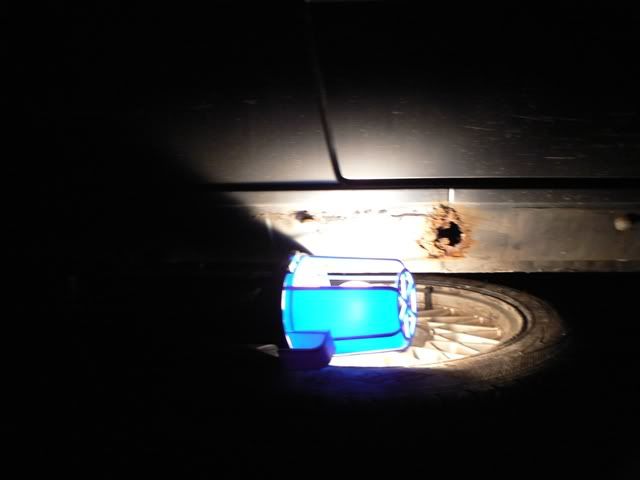
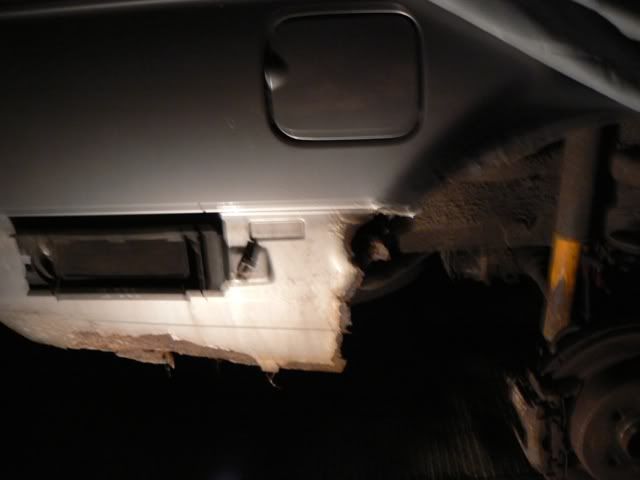
That said, I then sent it off to an MOT station. The result was a failure on a headlight alignment plus severe corrosion to two cills. From the MOT centre it was taken to a local welder who, much like a trademan scratched his head and umm'd and arrr'd. He said if it wasn't in his book of pattern parts he'd have to make something up at cost of £400 - I think per side!
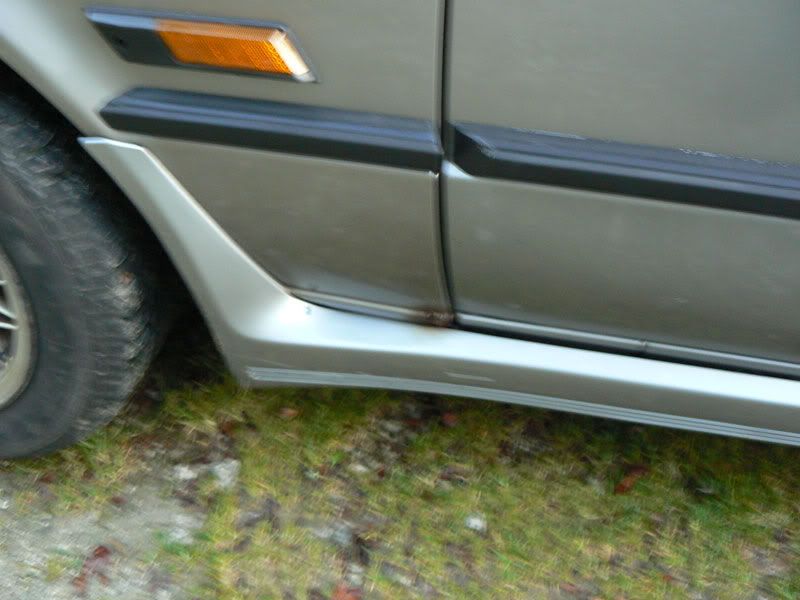
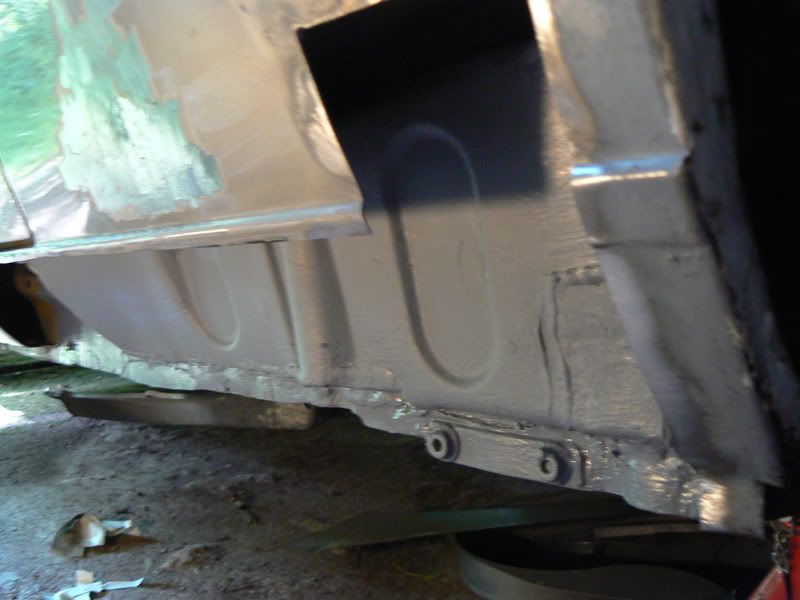
More photos, this time the cleaned a bit. Nice and original.
Re: just borrowing our quarantine for thread update
Posted: Fri Aug 27, 2010 3:18 pm
by skipunda
So after a bit of time thinking about it the decision was made to purchase all the bits I needed, buy in all the tools required and do some research on this forum. I'd never touched anything on a car before, always owned scrap and at first couldn't care less. However, a challenge is a challenge and after a lot of feedback from zoners a bit of rust removal commenced!
From here I'll try to write in the present tense but with a bit of past - it's easier for me! {Edit - actually i'll just try to write something that makes sense}
Another very good reason is that the last thread was a good reference tool, like a little user guide for me. I'm not aiming this to guide anyone but it might be an insight and a step in the right direction for anyone thinking of weighing their E30 (or any aspiring classic) in.
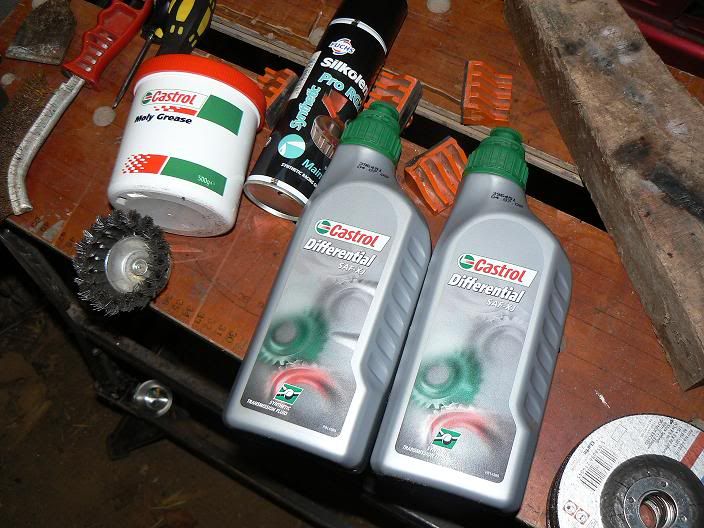
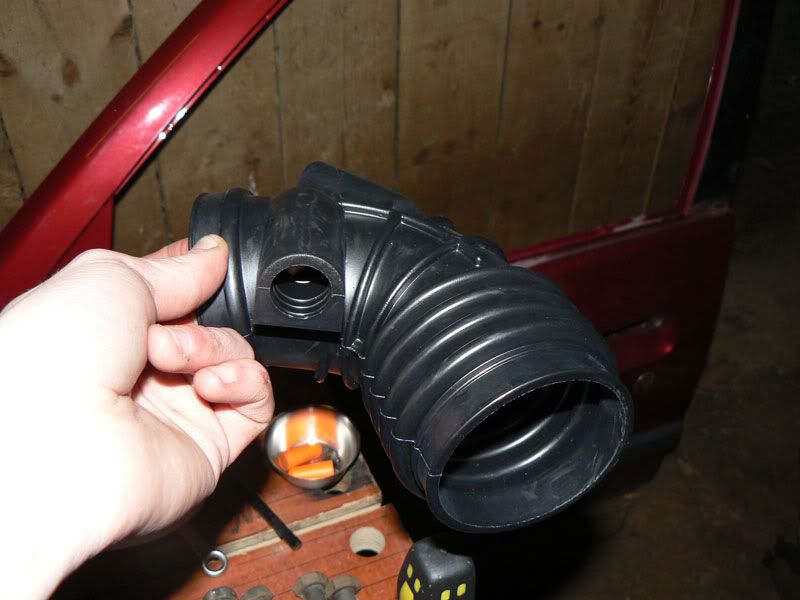
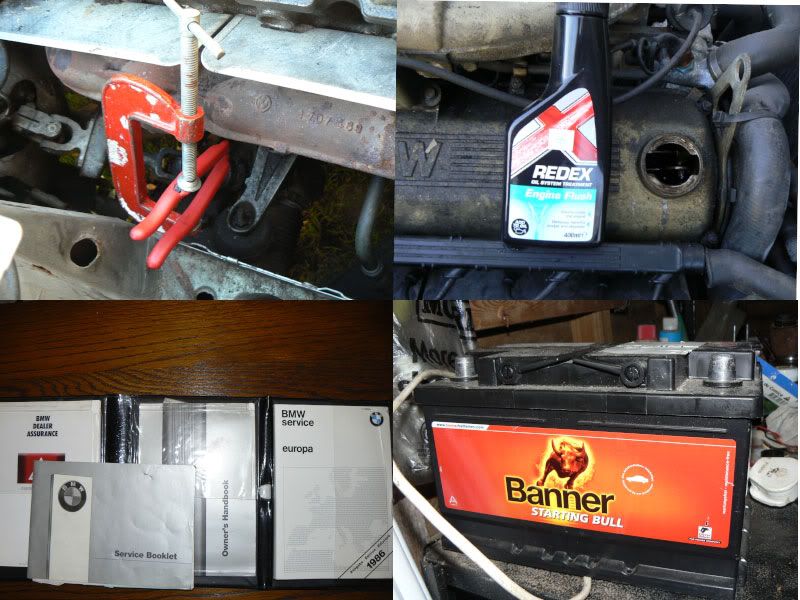
First up was to look at the drivetrain. It had passed emissions tests well but I gave the engine a quick going over, replacing the bodged fuel lines and anything else that could potentially leak. Quite a few things were looked at but in hindsight the cambelt should have been the first thing to do.
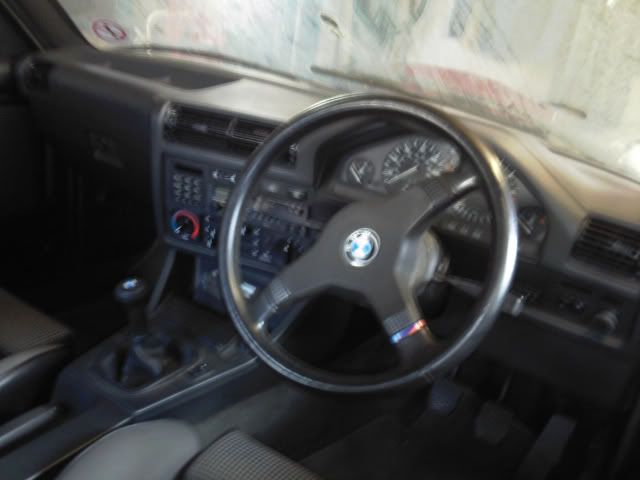
I gave it three runs while cleaning the TPS, ICV, AFM, new battery, sensors, ABS, wiring, piping, oils, belts, plugs, brakes, rubber boots, radiator, check compression, thermostat and a new accelerator cable. All done by my own fair hands with only a few tech threads on here.
A few reeeally self explanatory photos
All that aside, the exhaust had a hole in it but I still thought it sounded OK. Bar the naff driver here's a short video of run 3 before the car was pulled apart
[youtube][/youtube]
Now to begin the work...
Re: just borrowing our quarantine for thread update
Posted: Fri Aug 27, 2010 3:19 pm
by skipunda
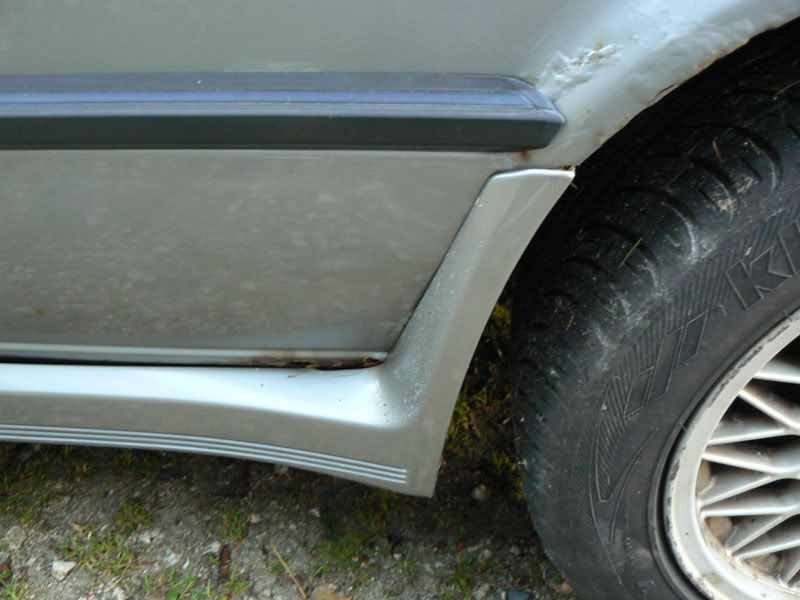
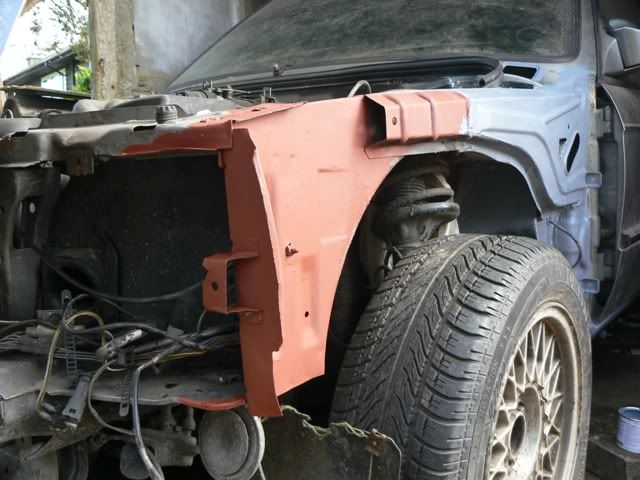
Bodykit comes off...
Bit of previous work I see!
Well, the MOT centre would have mentioned if there was any other serious rust, no?
Wrong, MOT centres are concerned with safety. The rear arch/sill corrosion was close to the seat belt mounts, which is why it's been 'pulled up'.
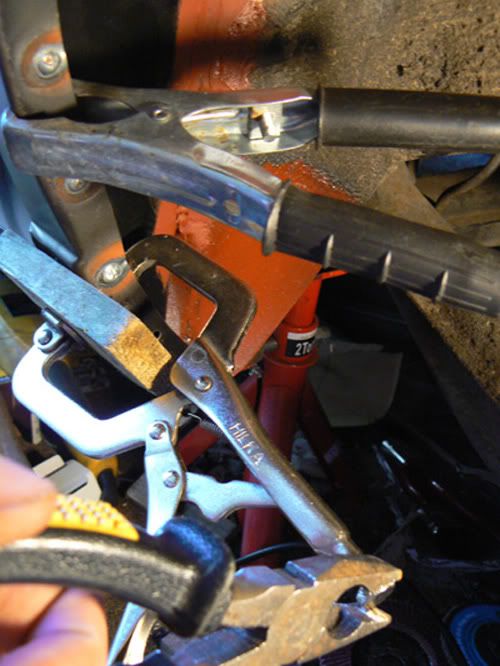
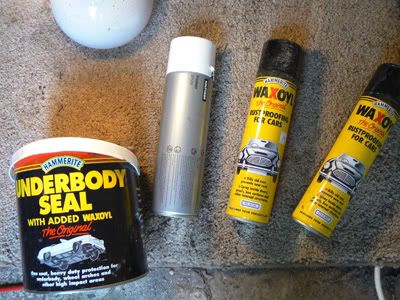
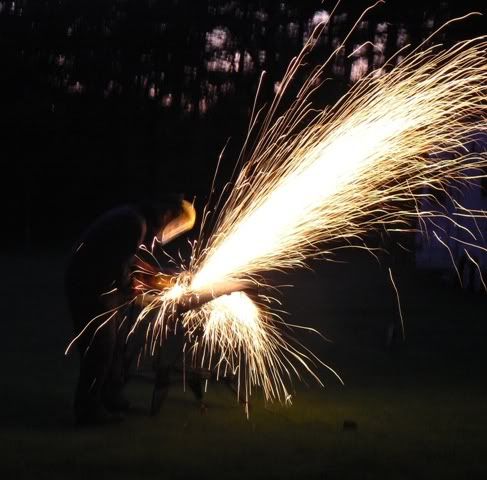
I should mention at this point I bought a hobby mig gas welder, full safety gear and plenty of wire. Google the mig welding website for tips for welding and get stuck in.
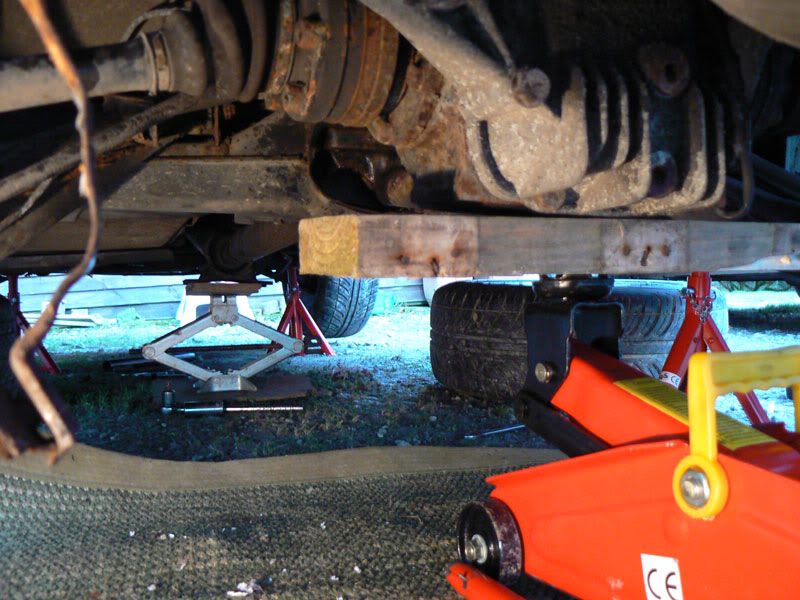
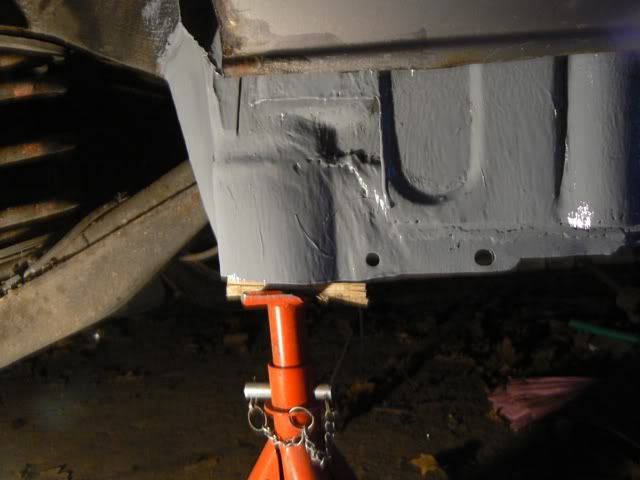
The most important things are safety and comfort. They don't always go hand in hand so compromises need to be made. Here we'll drop the fuel tank using a couple of jacks so we can weld around it:
1) unbolt both ends of prop shaft and remove the two bolts for center bearing + gently ease the prop down
2) unbolt Diff and pull back a few inches
3) remove prop
4) remove part of fuel hose
5) drop tank
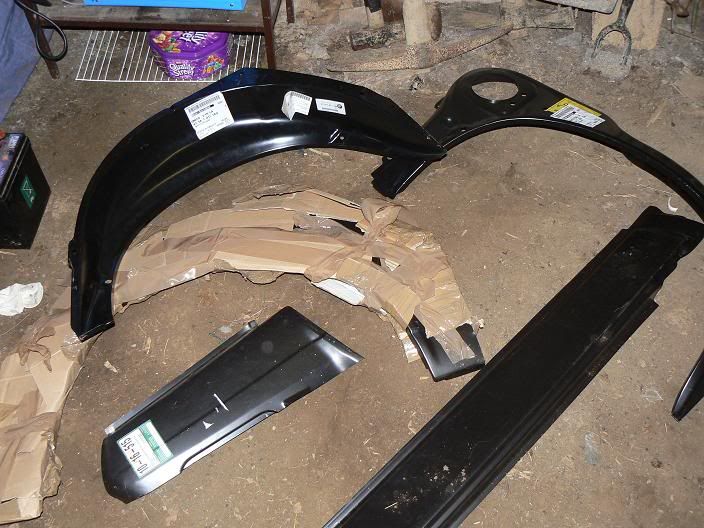
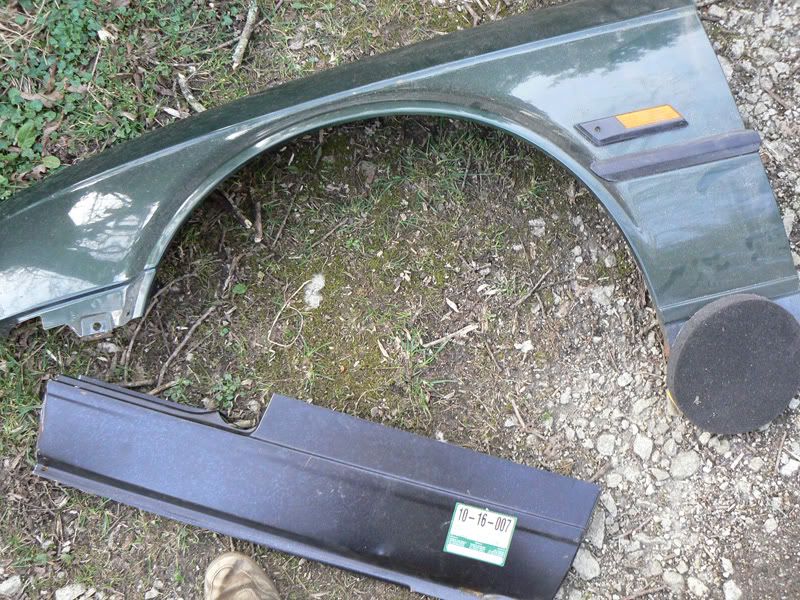
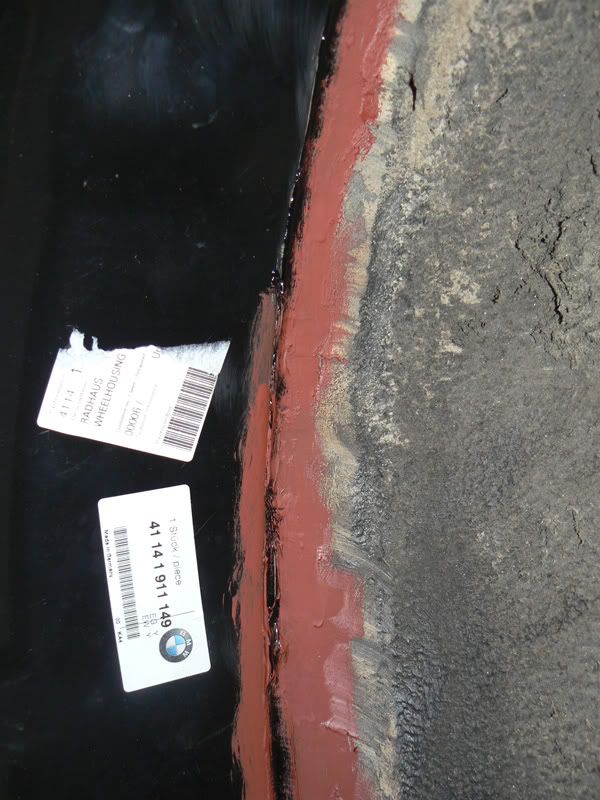
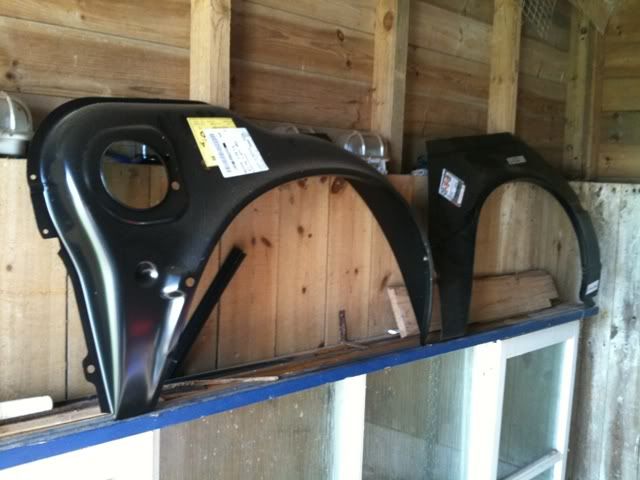
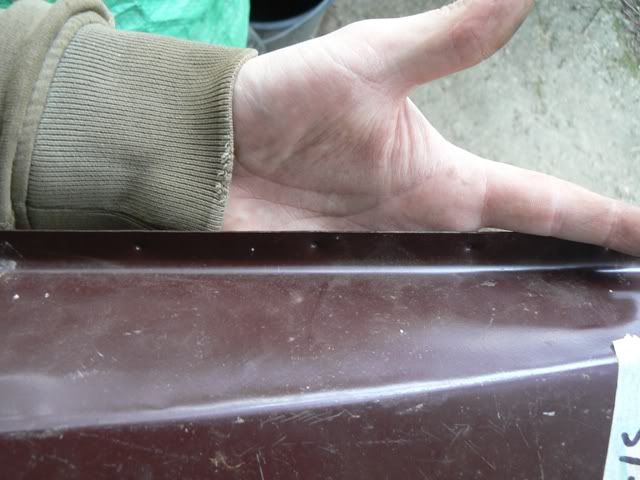
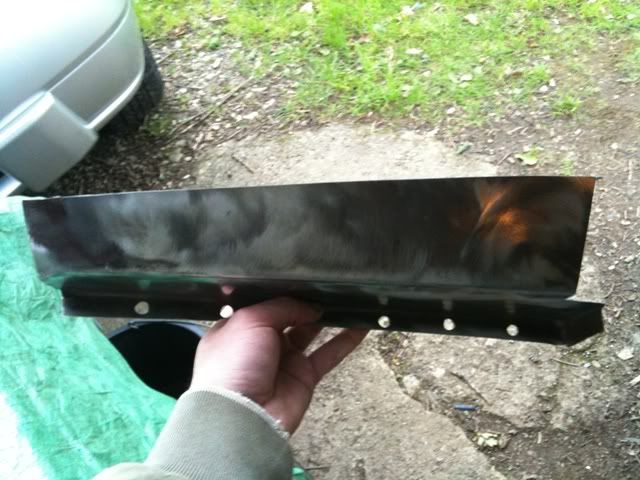
A few panels begin to arrive. Others turn up in dribs and drabs
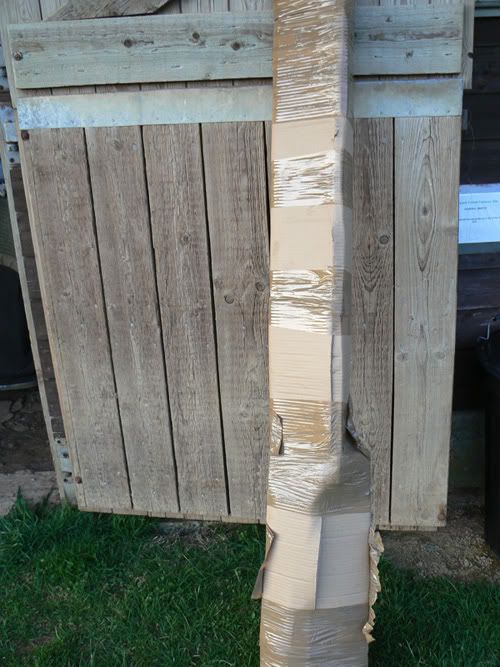
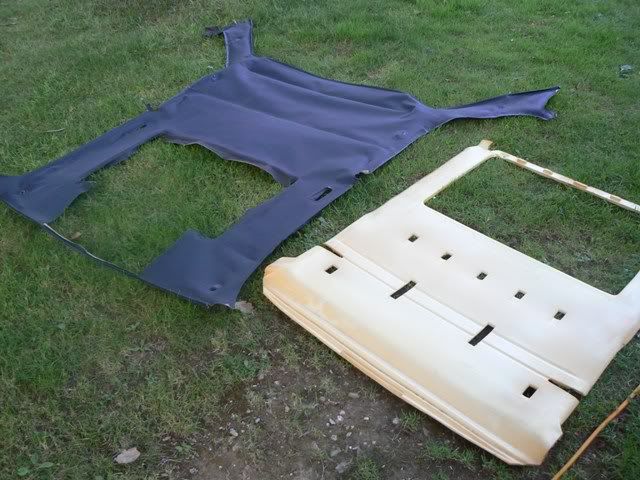
Next create a wooden template of the door cards and hold in place. Haven't decided to remove the headlining at this point.
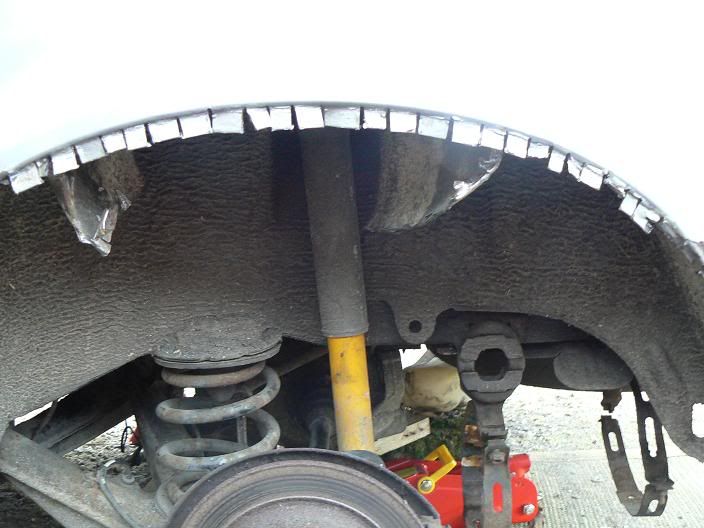
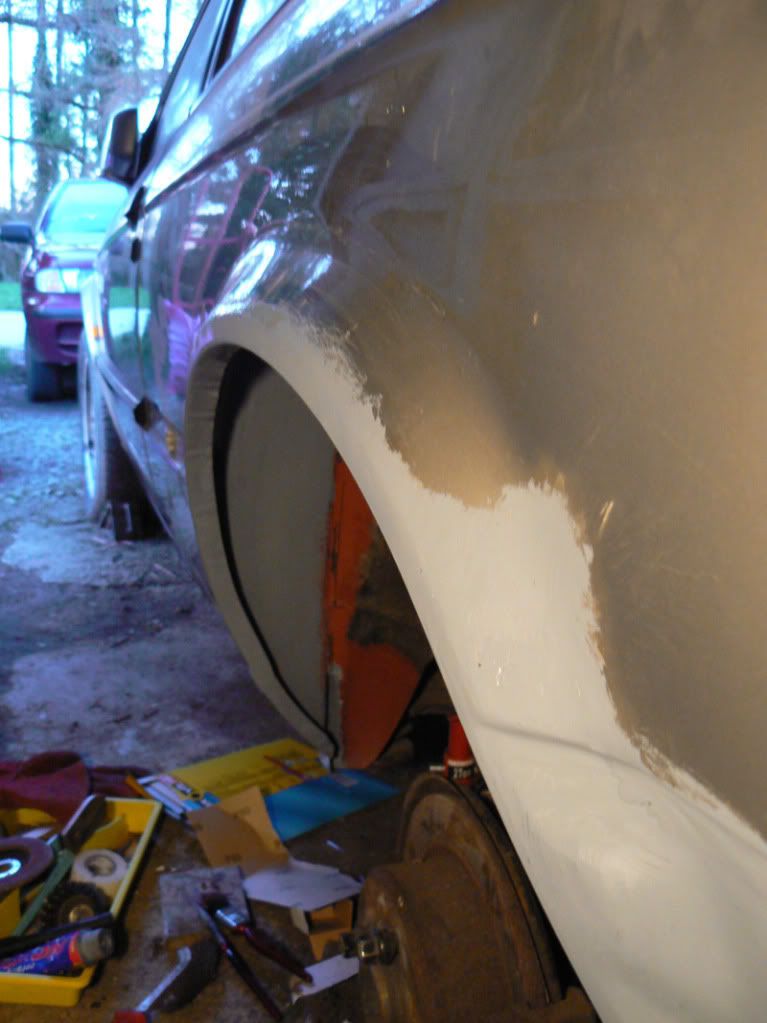
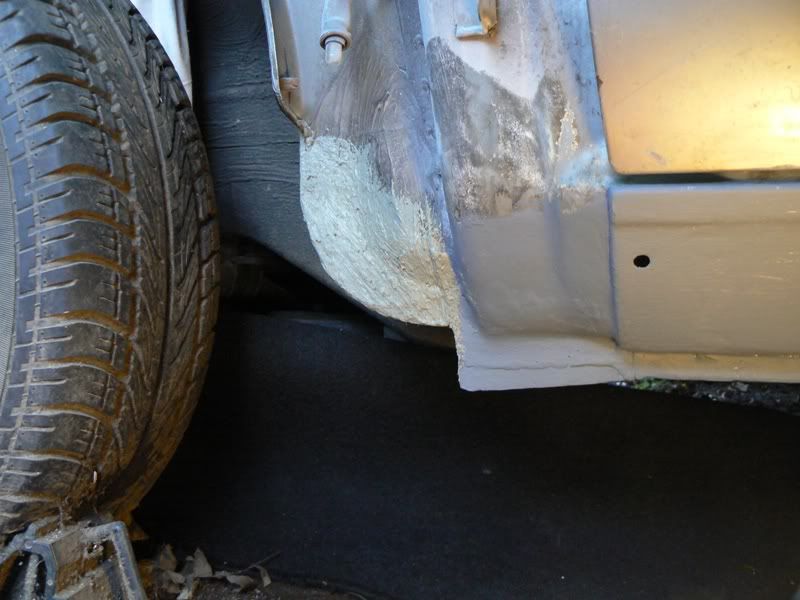
Now to remove the near-side rear inner arch and tackle the outer arch. At the time this seemed the right way to go about it as the rust hadn't protruded too far up the arch, meaning the lip could stay. You can make out the inner arch being pulled out towards the back.
Inner arch out
Just to humour myself, test fitting the replacement inner arch. A certain amount of tidying up will be required first.
For each rear arch I find it best to tackle it as such:
Replace inner arch
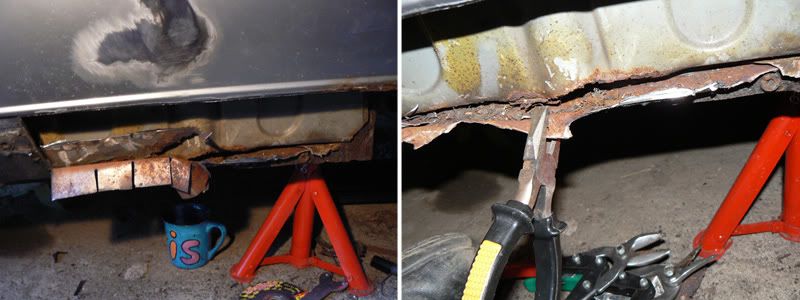
Cut out sill
Cut out lower rear
Replace outer arch
Replace lower rear
Replace sill
This is because the arch is the most important thing to get right. The sill is important too but is hidden by the kit, so if something doesn't look quite right the problem will be here to fix.
Re: just borrowing our quarantine for thread update
Posted: Fri Aug 27, 2010 3:20 pm
by skipunda
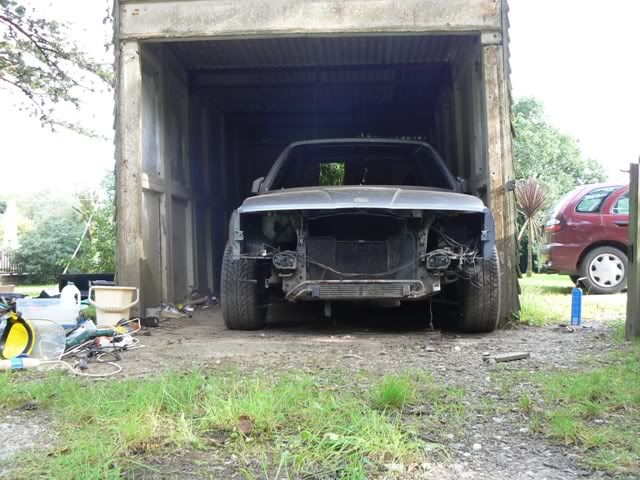
Winter sets in and the car moves all of 10 feet to a garage to carry on.
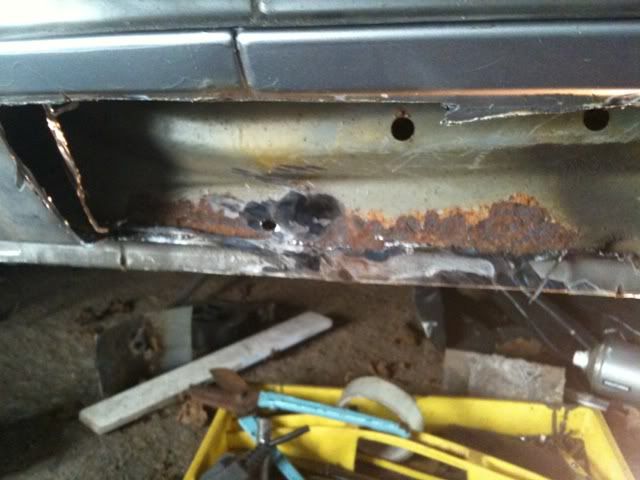
So work begins on the inner sill, near-side rear.
Inner sill done, next is to tidy up the lower rear and prepare for fitting of the inner arch.
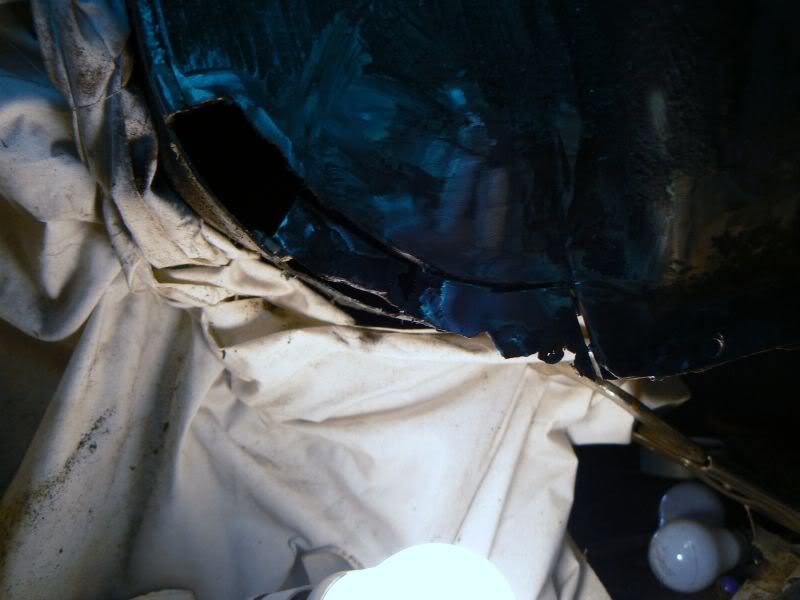
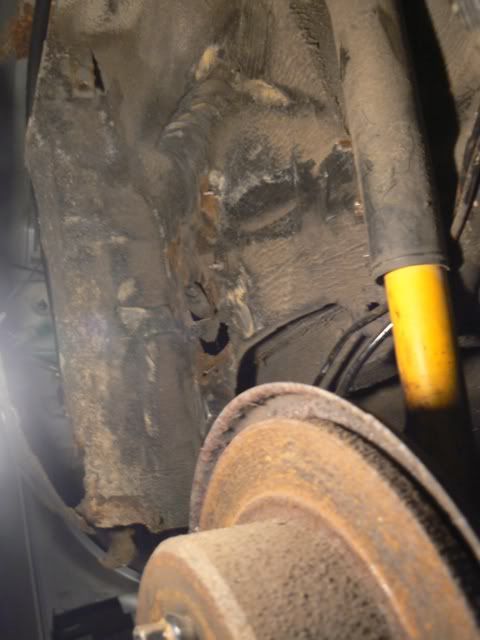
Completely shot as you can see. This is at least in part due to moisture in the boot and a moisture getting in between the inner and outer arch. We solve that problem later.
Re: just borrowing our quarantine for thread update
Posted: Fri Aug 27, 2010 3:21 pm
by skipunda
Next, prepare and fit the inner arch
Re: just borrowing our quarantine for thread update
Posted: Fri Aug 27, 2010 3:21 pm
by skipunda
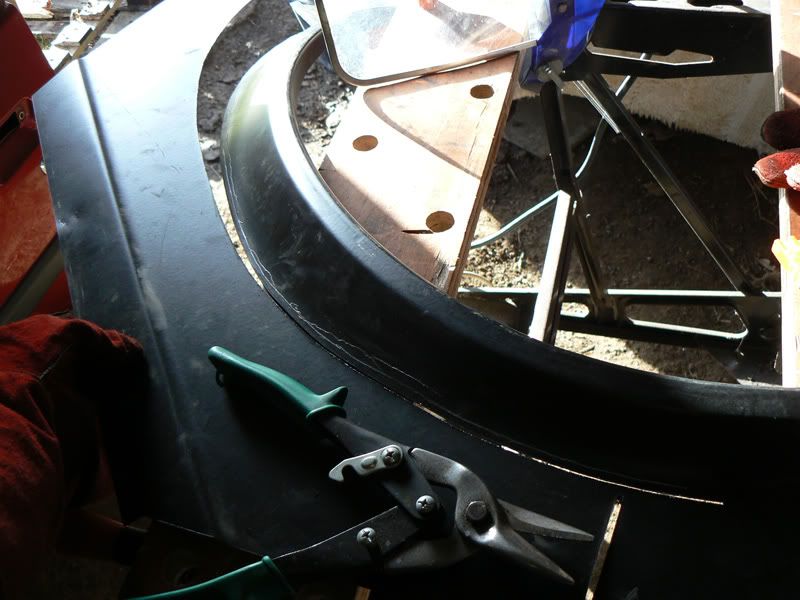
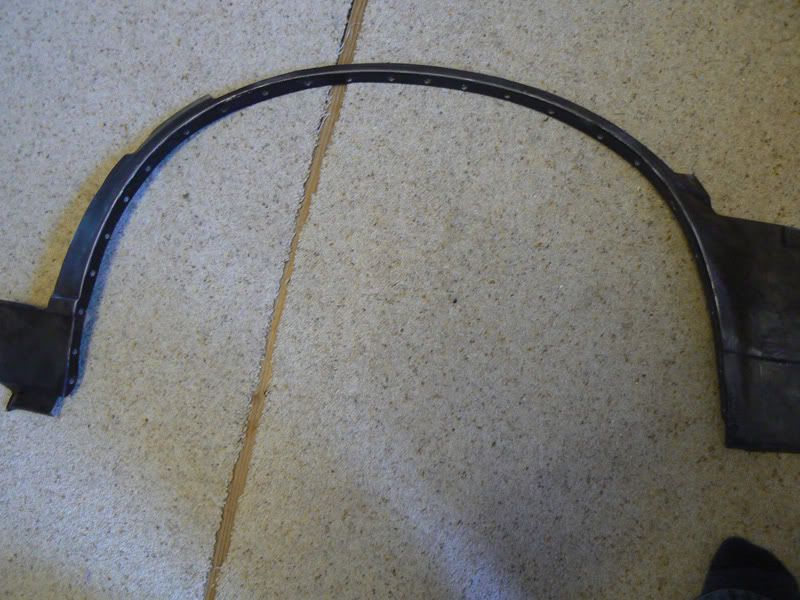
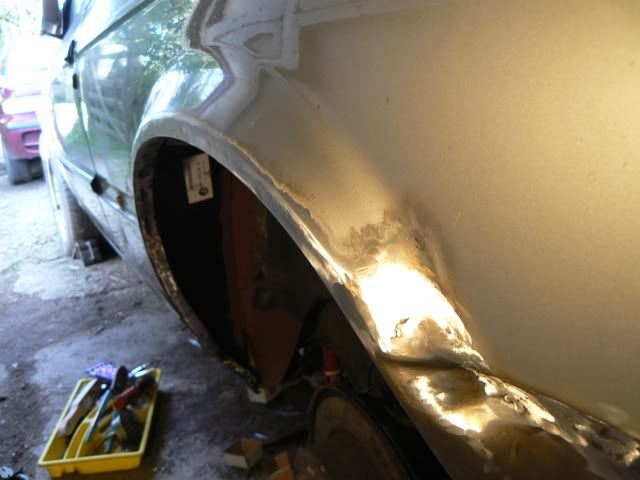
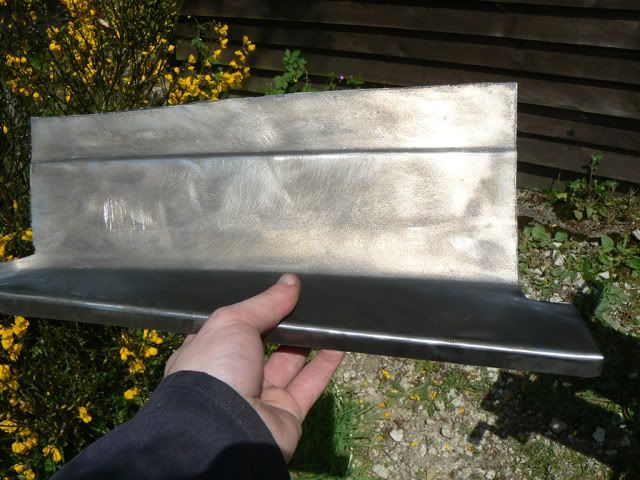
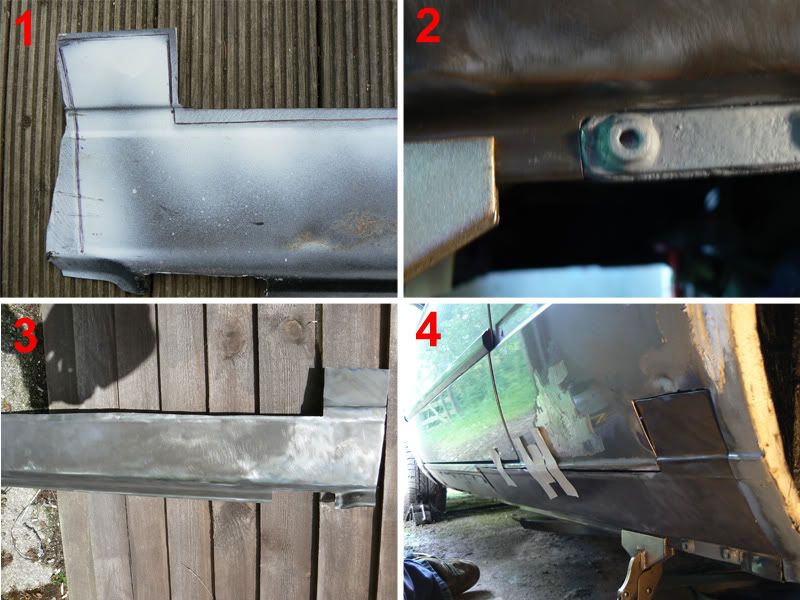
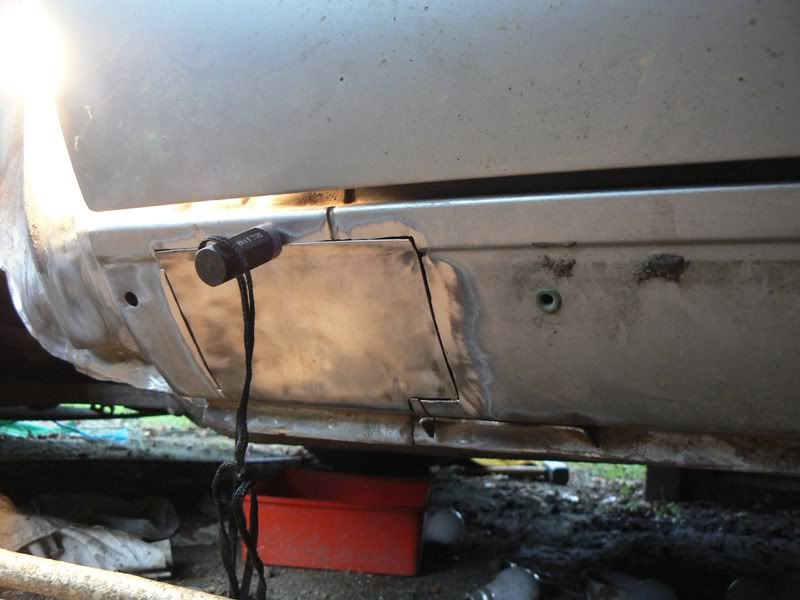
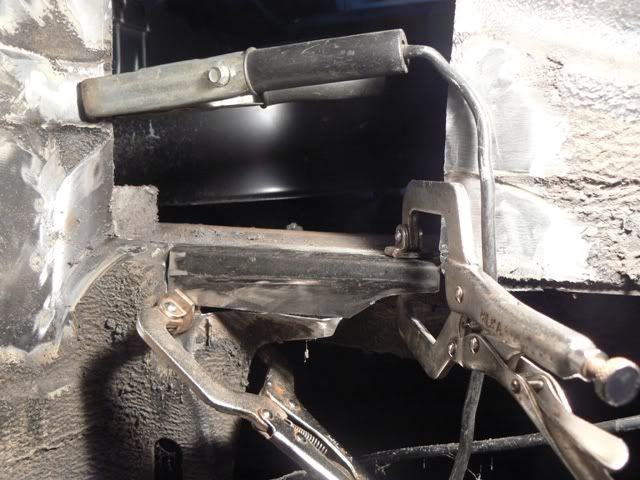
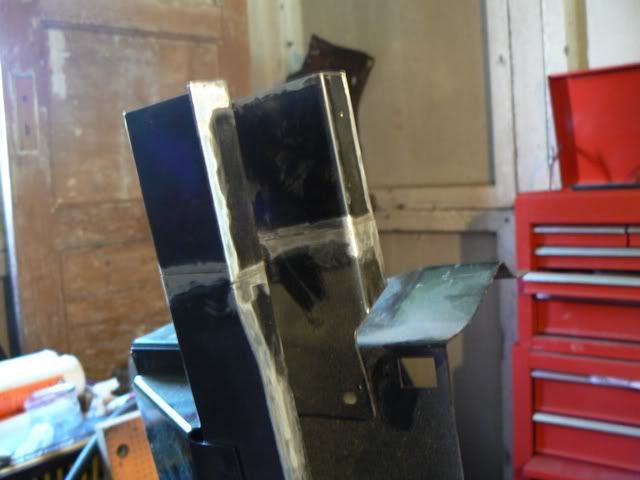
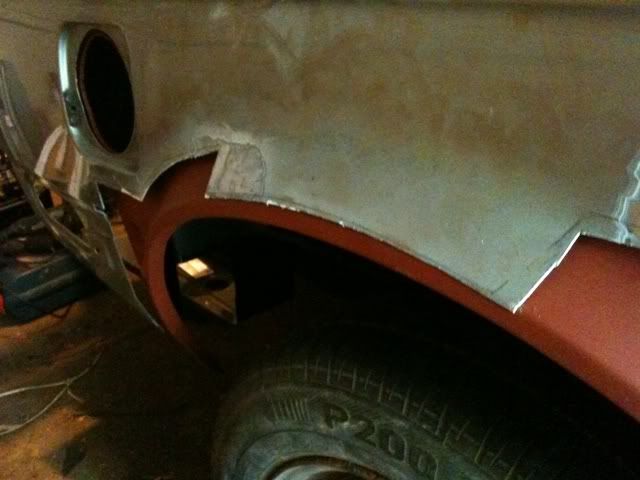
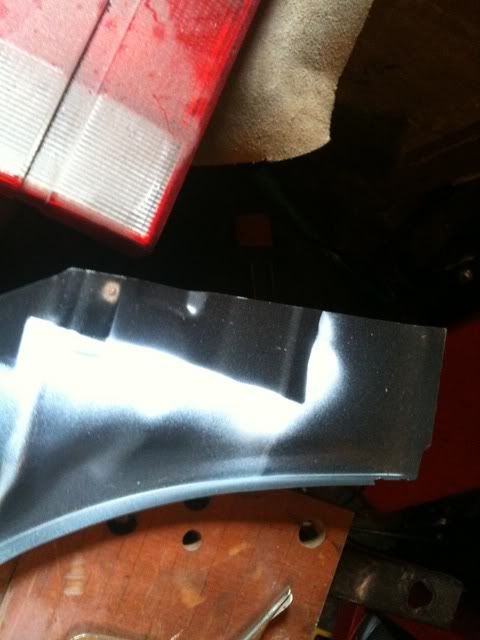
Following that, the next job was to cut down to size the pattern outer arch. Historically these don't fit very well so some extra care is needed in ensuring a good fit to the car body. I will only be needing a small but fiddly section here. Keeping the piece size down to a minimum is worth it in the end.
A normal jigsaw I'd modified was used here, not sure why the rubbish metal snips are in the shot. There is a better method than the one on this arch. The off-side arch is created in a much better way. The results are the same but one method takes longer.
And here it is.
Re: just borrowing our quarantine for thread update
Posted: Fri Aug 27, 2010 3:21 pm
by skipunda
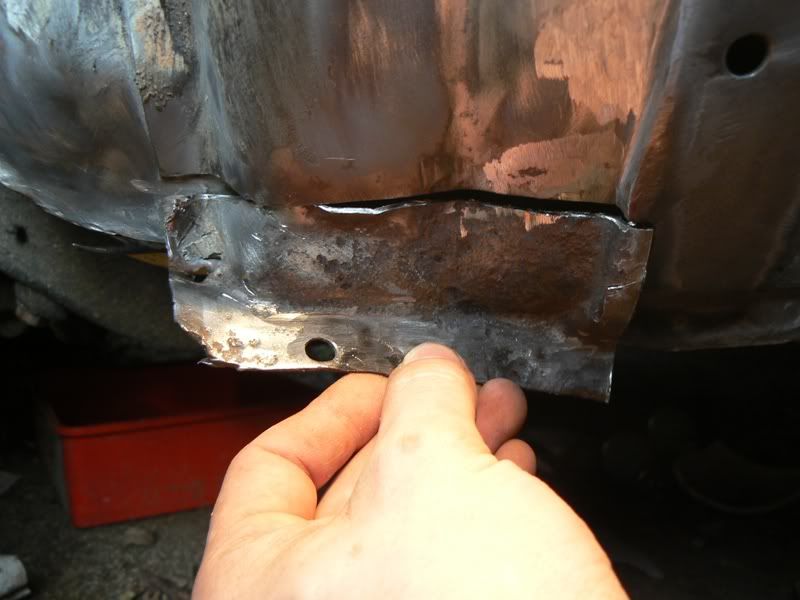
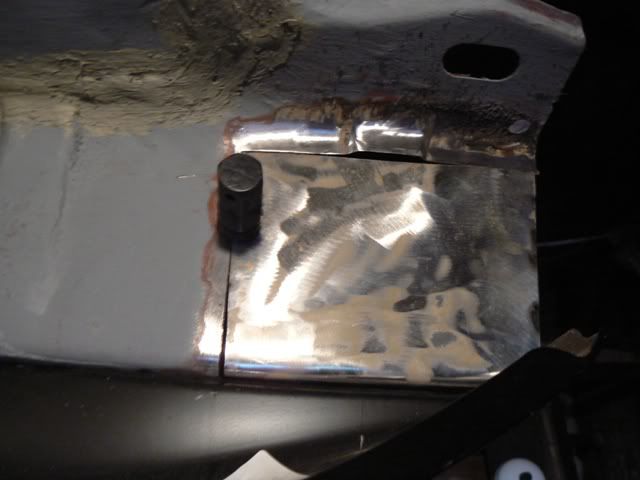
As said before, next we are looking at the lower rear. Again, pattern pieces will need to be cut down.
I should point out here that when you eventually take the shell to the paint shop they will likely want to grind off any filler back to bare metal. For this reason I'll have to lay off the filler so with exception of one section where I was getting used to it, it's all butt welding here. Burn holes are just not good enough though so wherever you see this I'll have to run around with the welder again before it hits the spray booth.
Re: just borrowing our quarantine for thread update
Posted: Fri Aug 27, 2010 3:22 pm
by skipunda
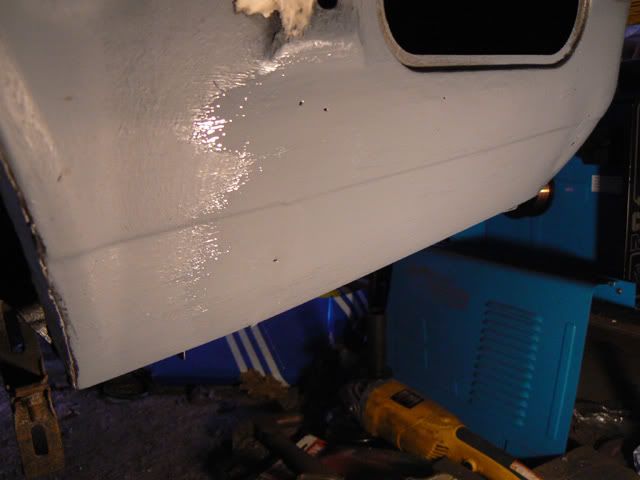
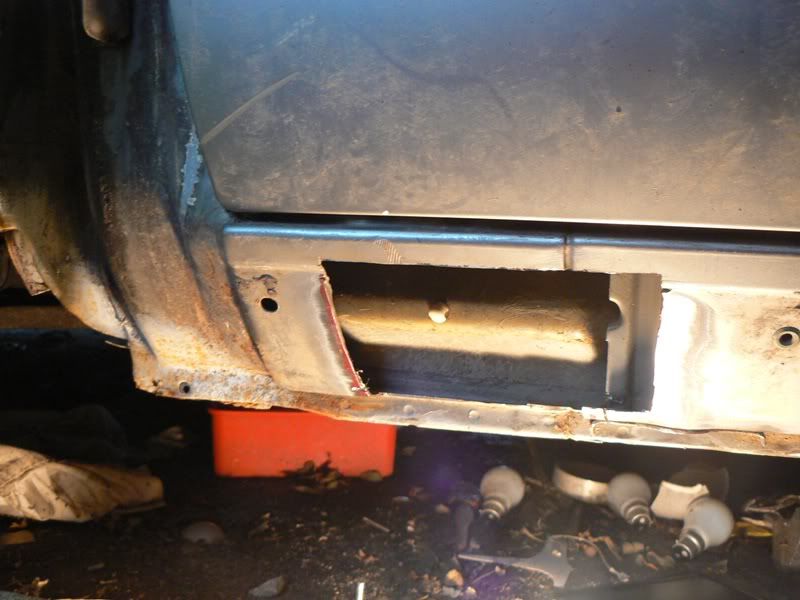
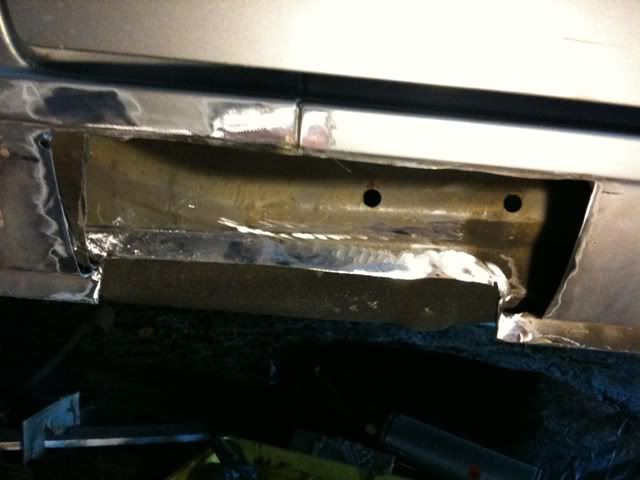
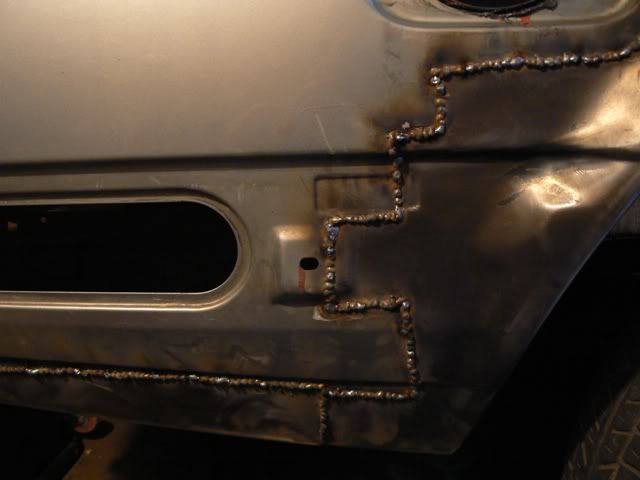
Anyway, next up is the outer sill!
Getting the hang of things now.
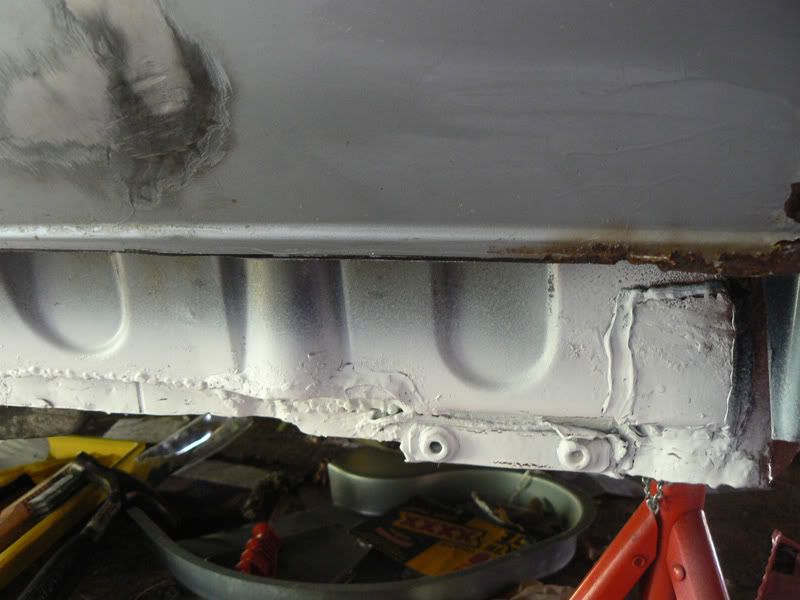
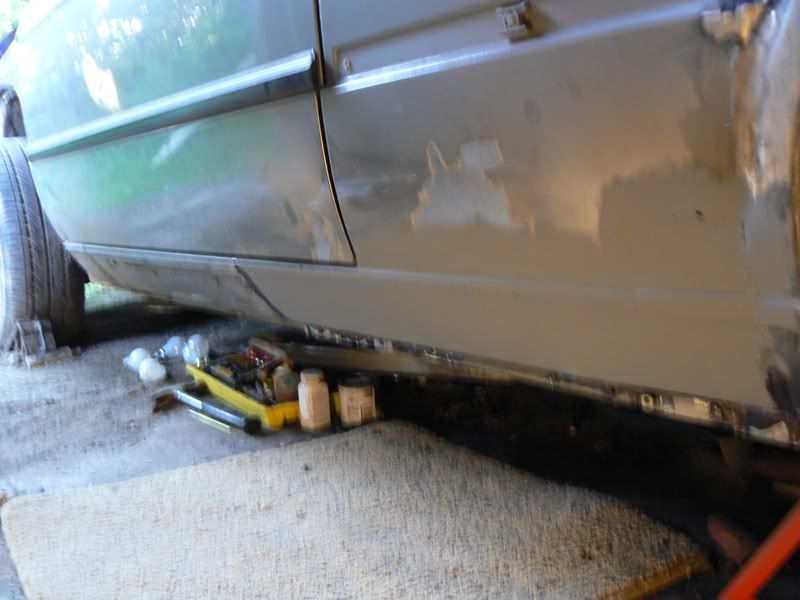
Back near-side rear of the shell now done, it's time for waxoil.
Re: just borrowing our quarantine for thread update
Posted: Fri Aug 27, 2010 3:22 pm
by skipunda
Some time passes, winter comes and goes and into spring and all it's sunshine
Re: just borrowing our quarantine for thread update
Posted: Fri Aug 27, 2010 3:22 pm
by skipunda
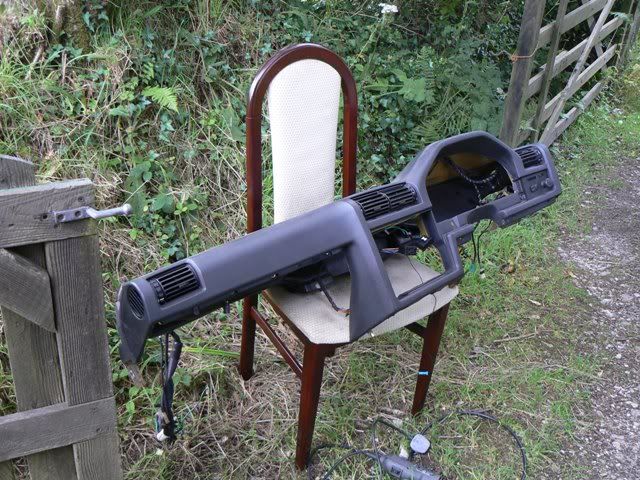
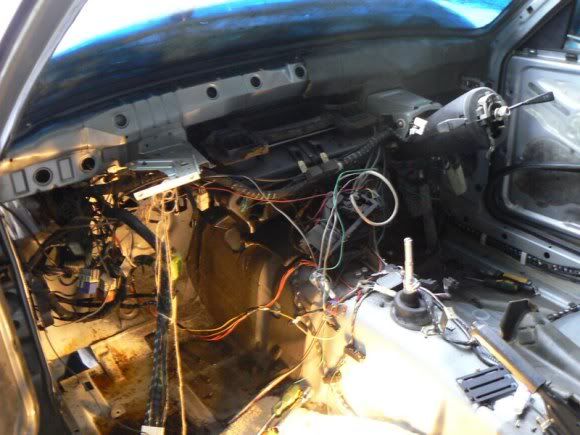
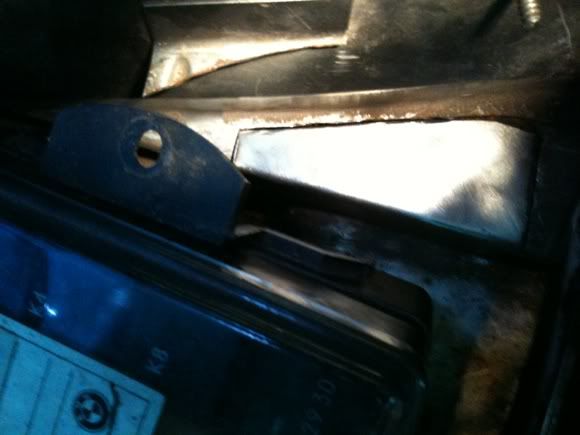
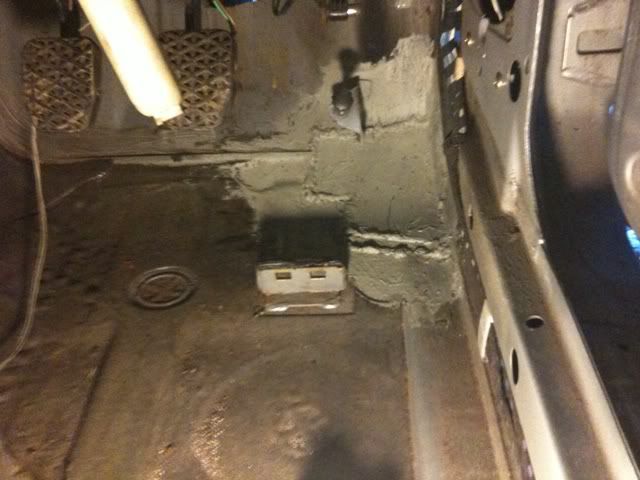
Next up is to strip the interior.
No messing about with wiring, I'll work around it to start with.
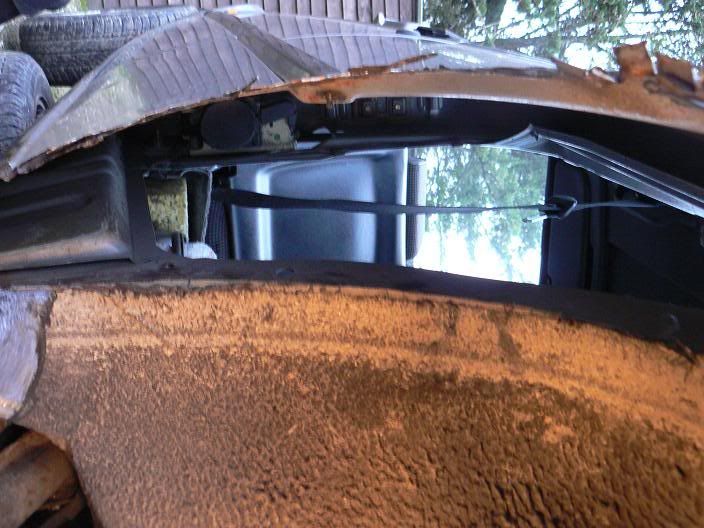
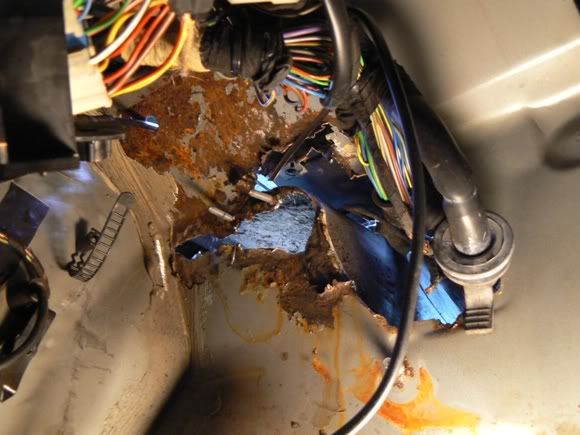
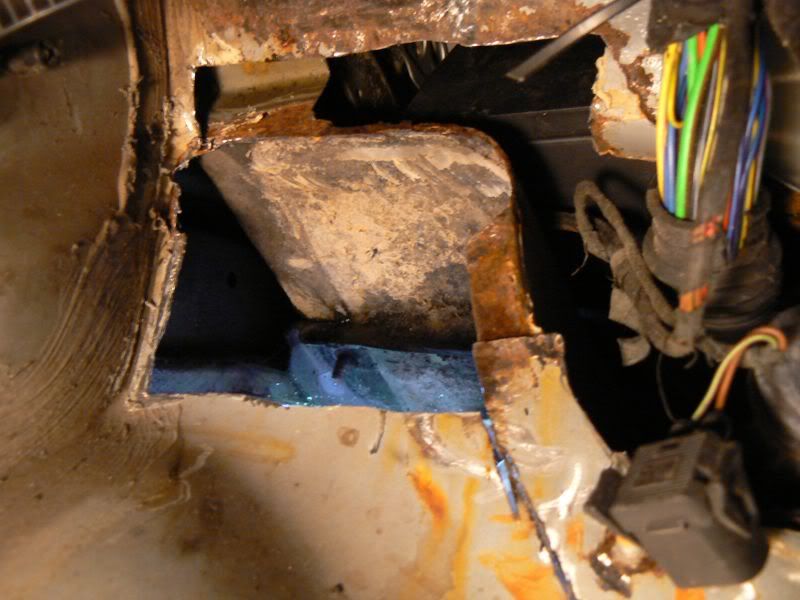
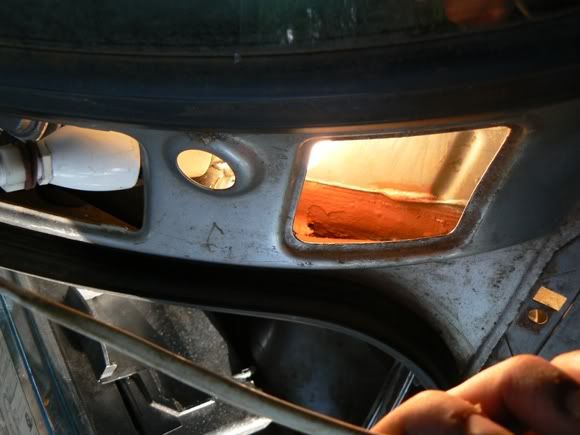
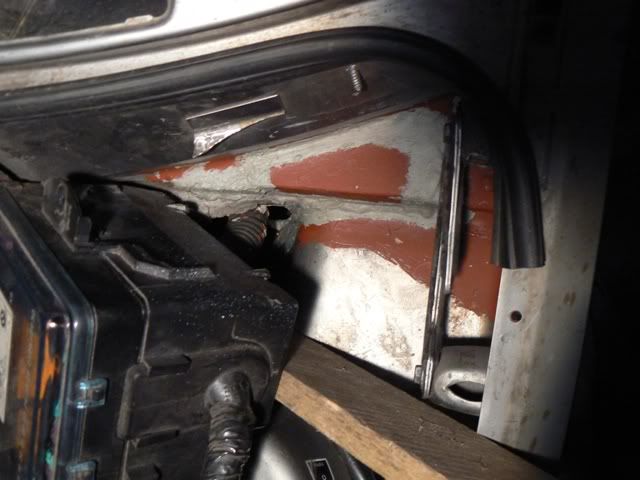
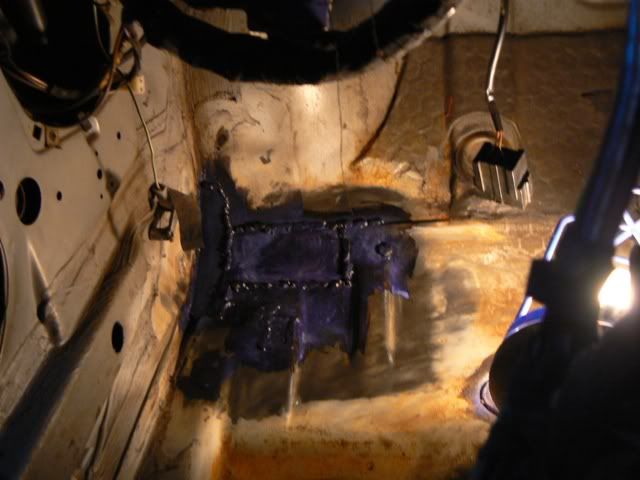
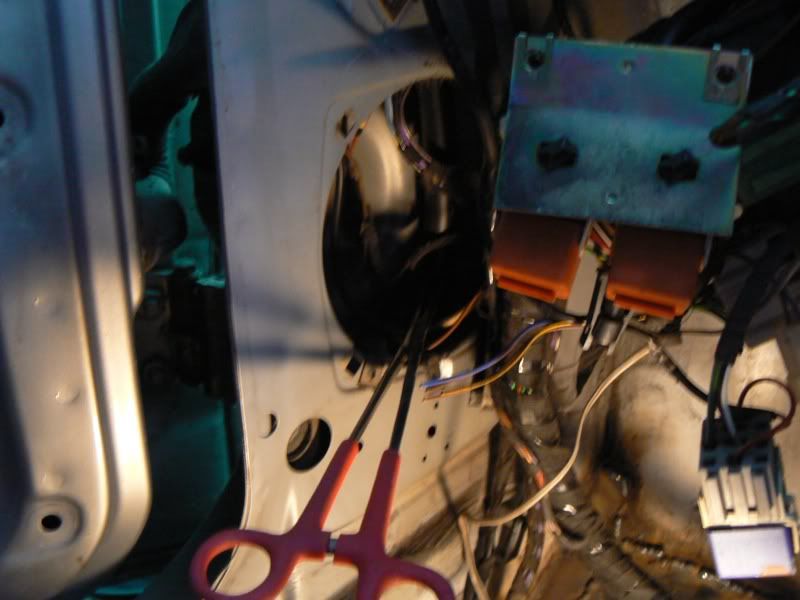
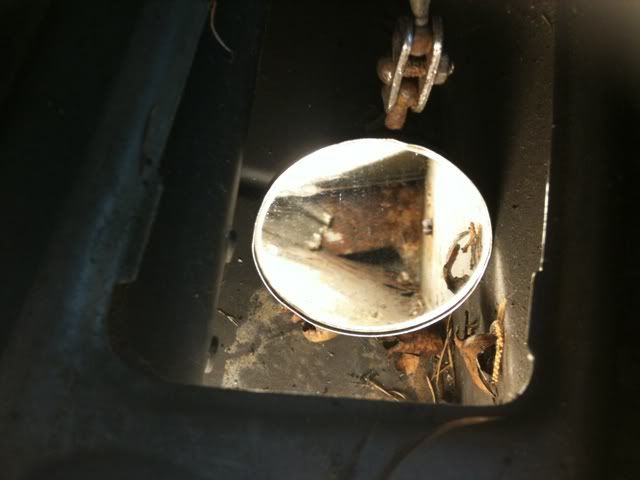
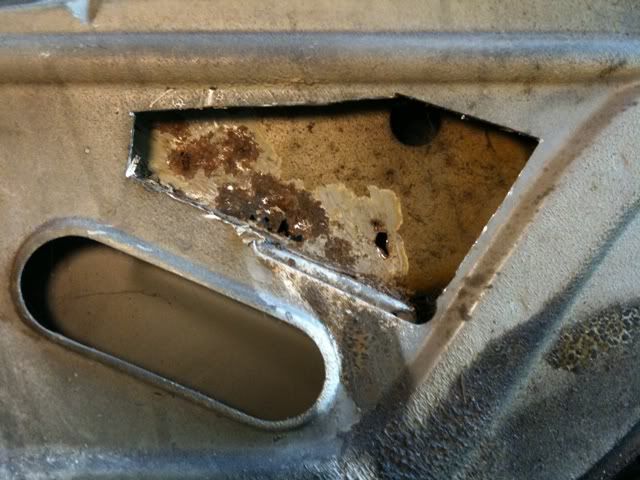
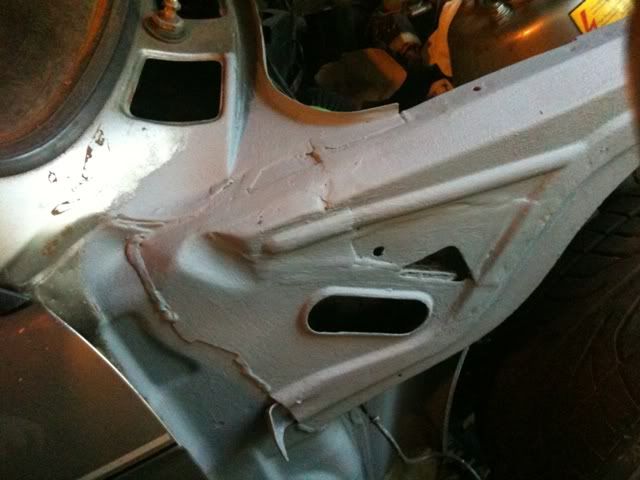
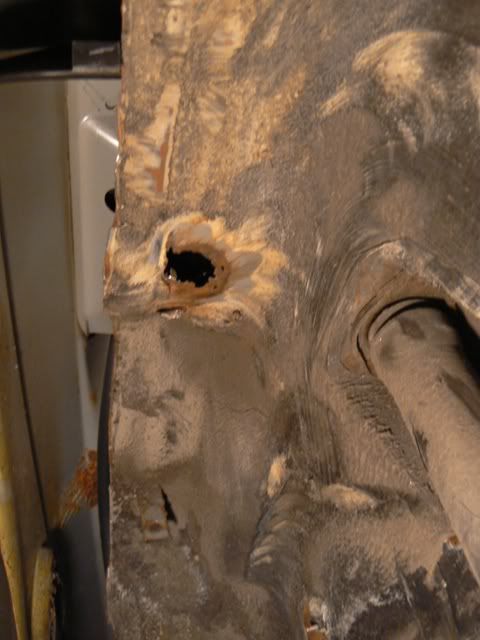
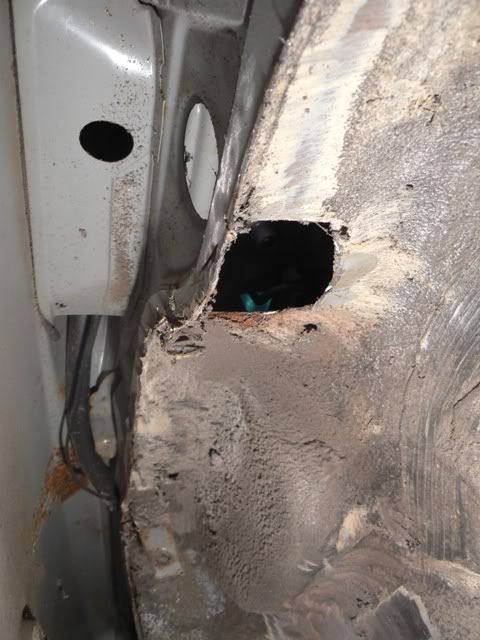
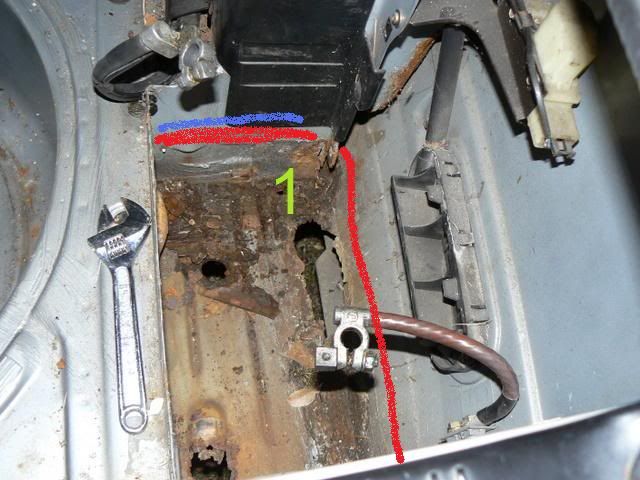
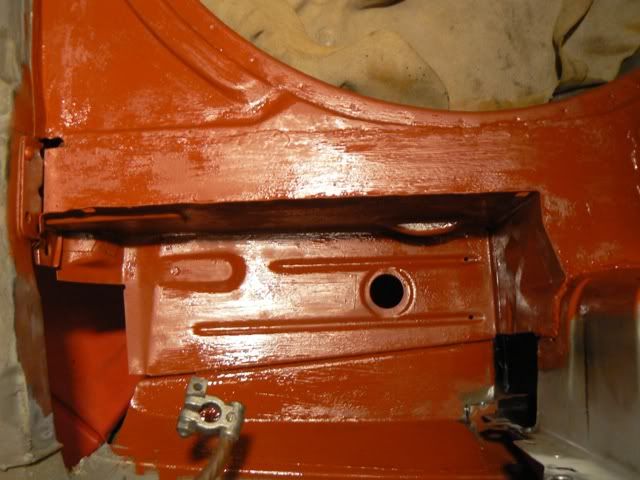
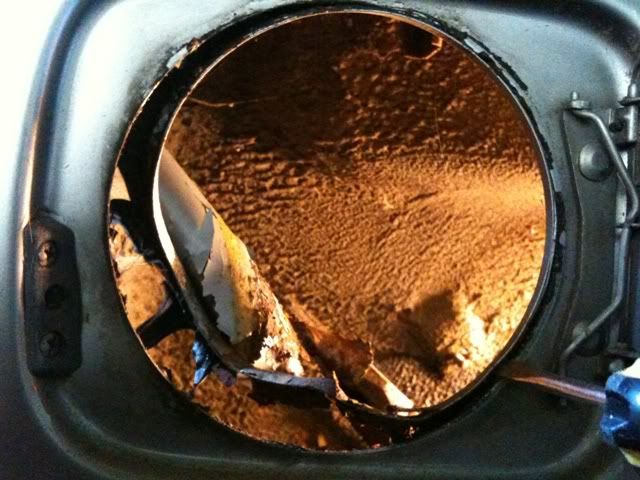
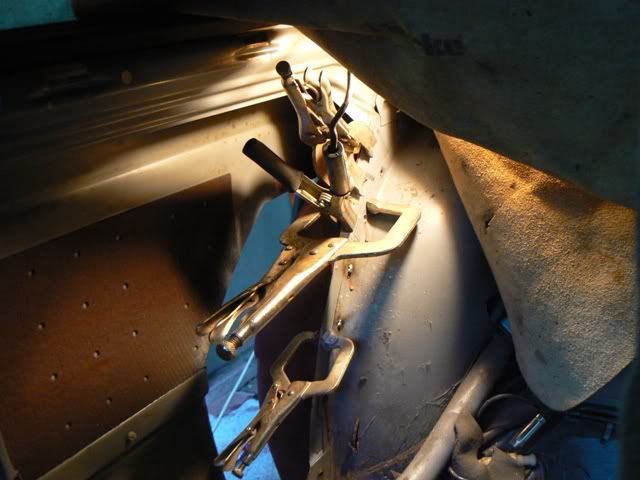
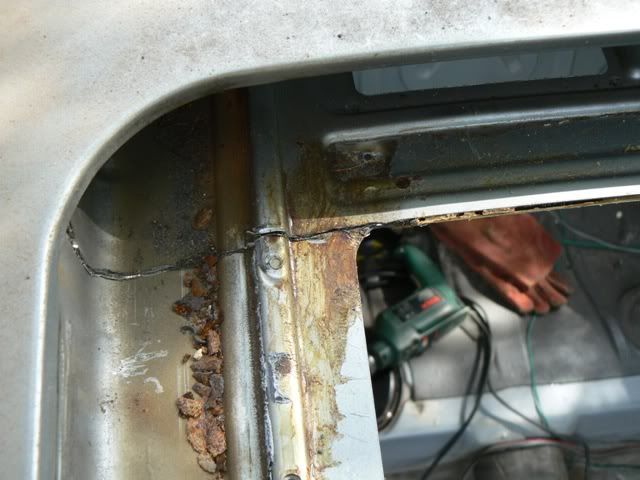
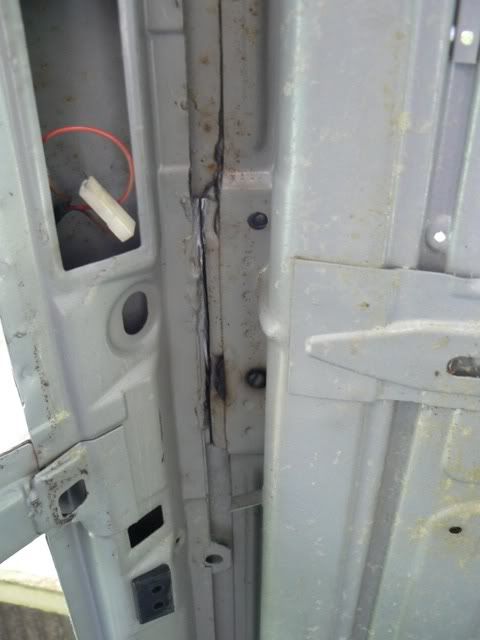
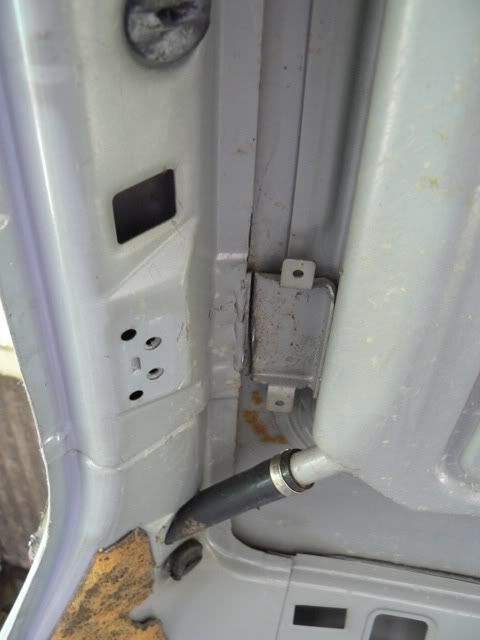
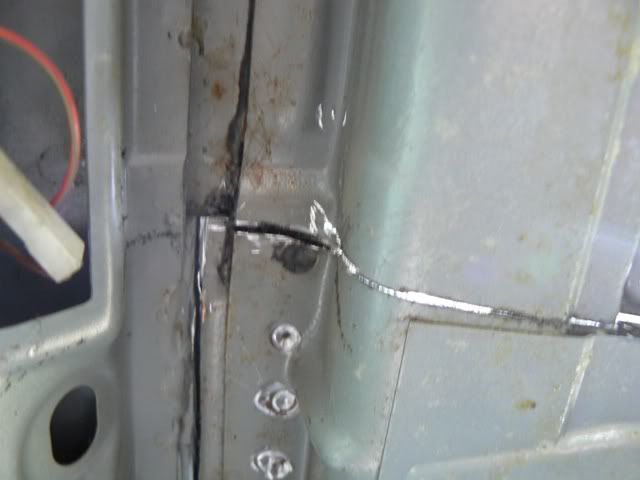
There are serious issues with the scuttle, the bulkhead and floor. All of them are linked by one problem in my opinion.
bulkhead where main loom comes into compartment near passenger footwell.
Re: just borrowing our quarantine for thread update
Posted: Fri Aug 27, 2010 3:23 pm
by skipunda
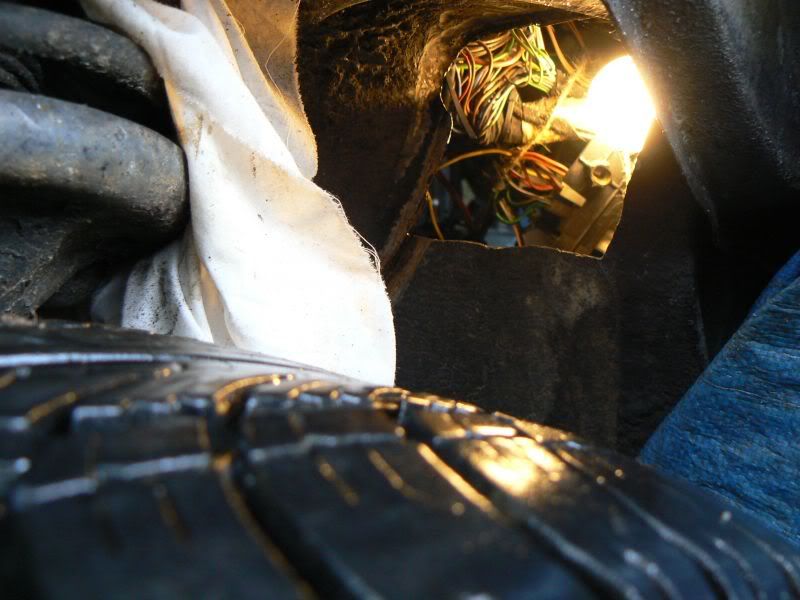
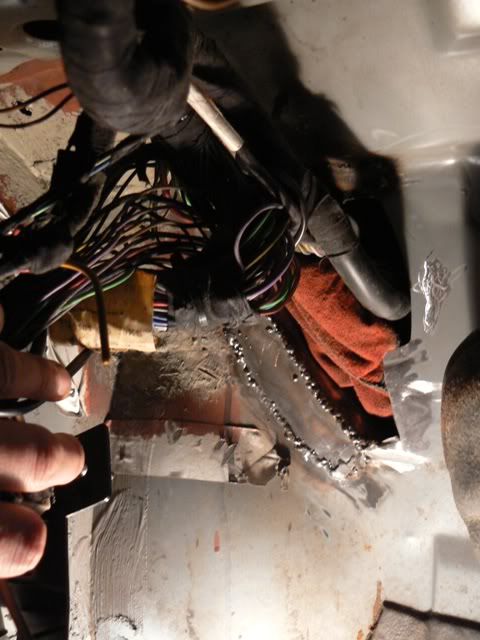
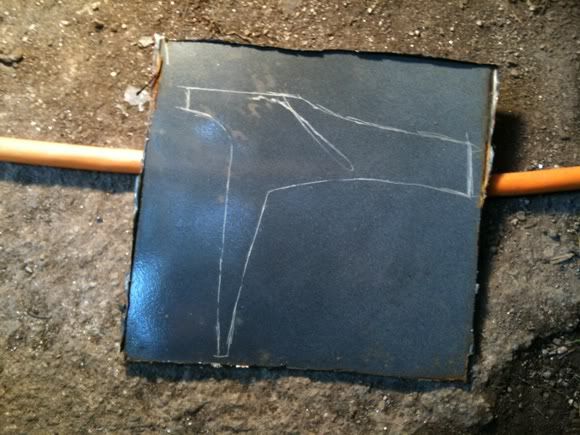
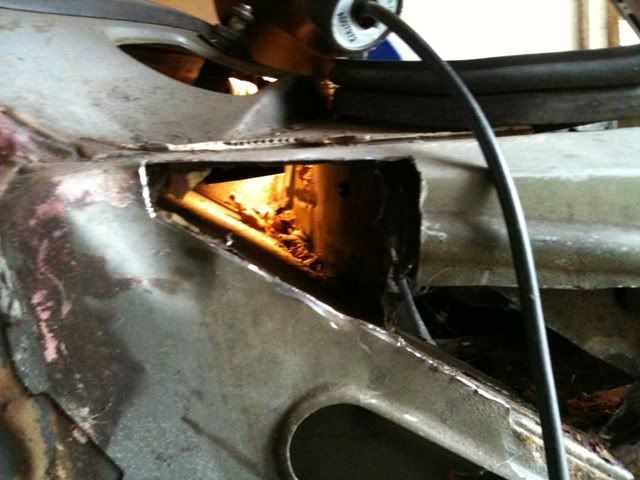
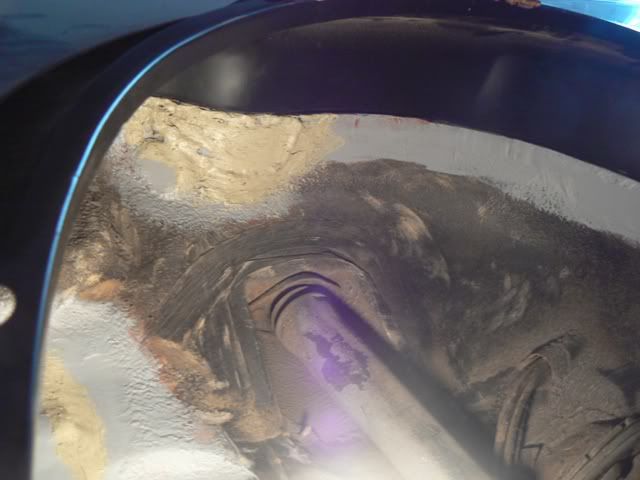
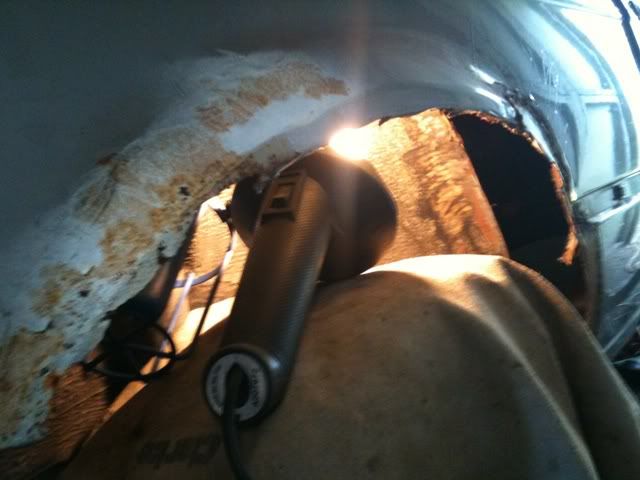
So, with no replacement parts nearby I decided to try my hand at fabricating up.
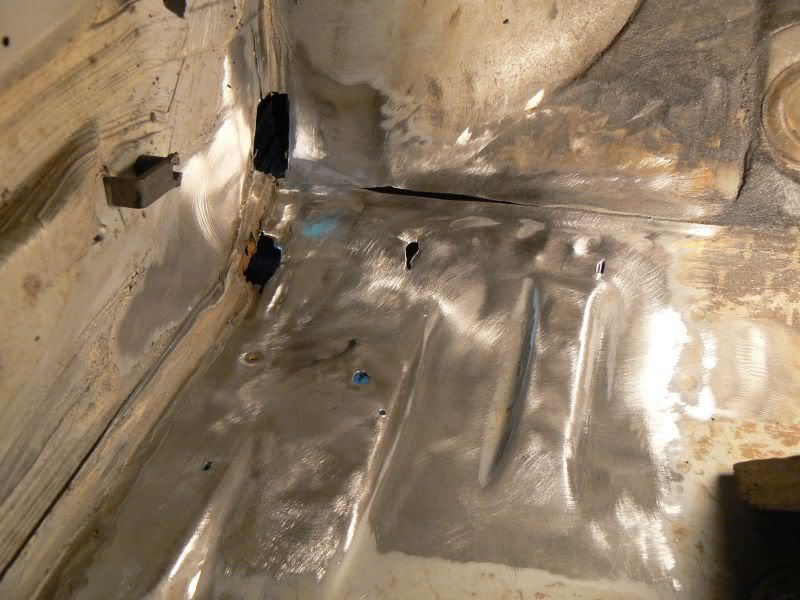
And piece by piece create the inside of the bulkhead. You can tackle parts of this from the engine bay, passenger footwell and by taking out the heater box, from inside the scuttle also.
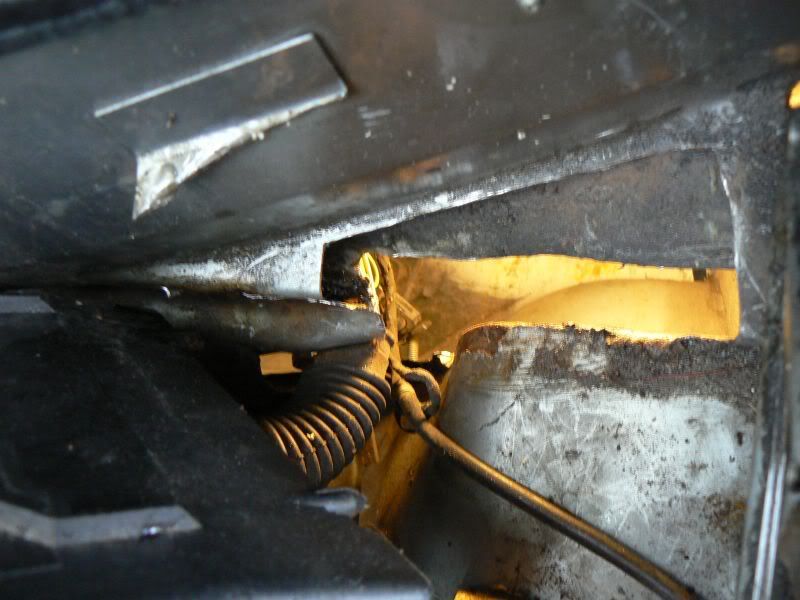
New templates made using the outline of the rubber gromit
And prior to seam sealer we're looking at something like this from inside the scuttle:
Re: just borrowing our quarantine for thread update
Posted: Fri Aug 27, 2010 3:23 pm
by skipunda
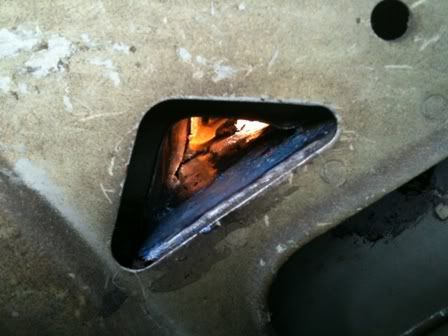
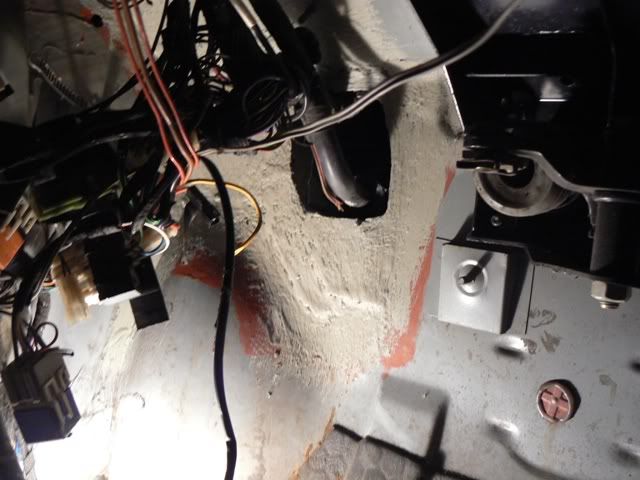
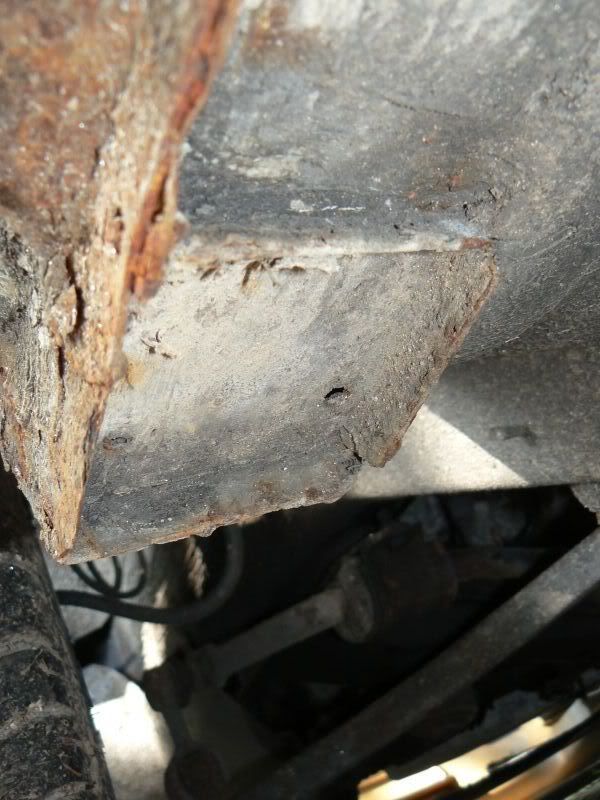
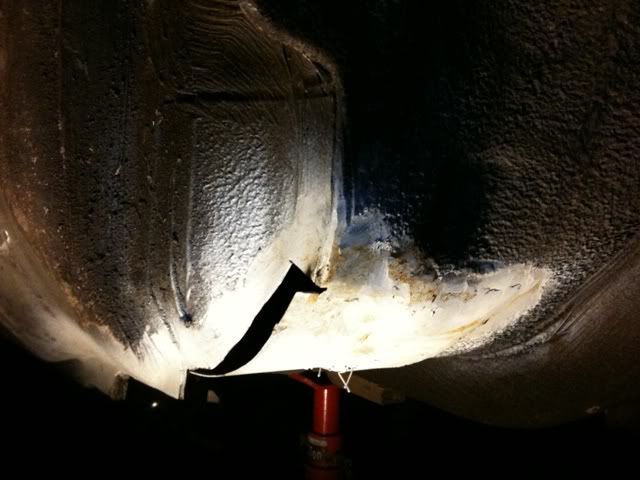
Now the floor
From the outside it's not too bad
But with substantial rust from the inside the 'jacking point' (which was used to move the car around during manufacture) is removed without haste.
From the outside working on the corner
Prior to grinding down
Re: just borrowing our quarantine for thread update
Posted: Fri Aug 27, 2010 3:24 pm
by skipunda
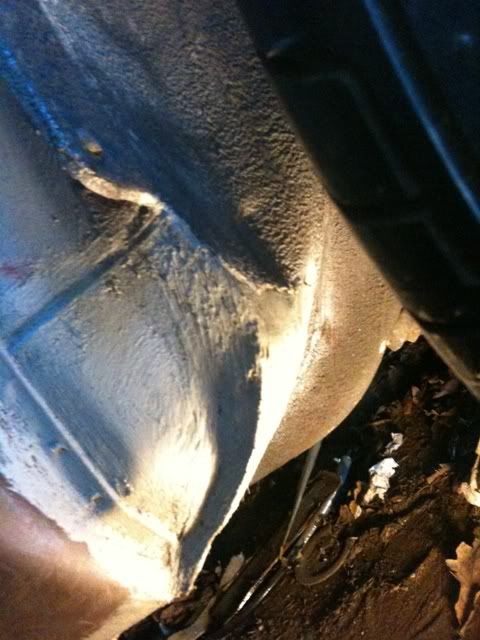
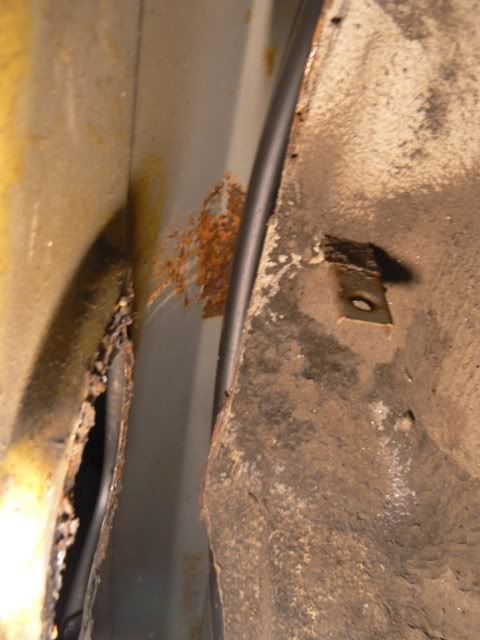
I'll also have to do some work on the sill nearby
A bit in the corner too:
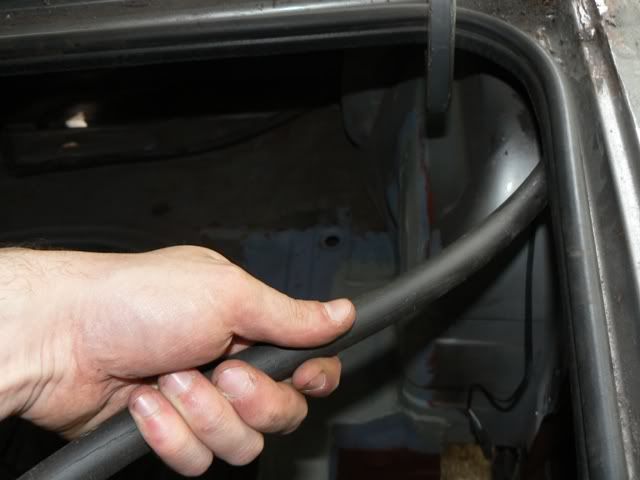
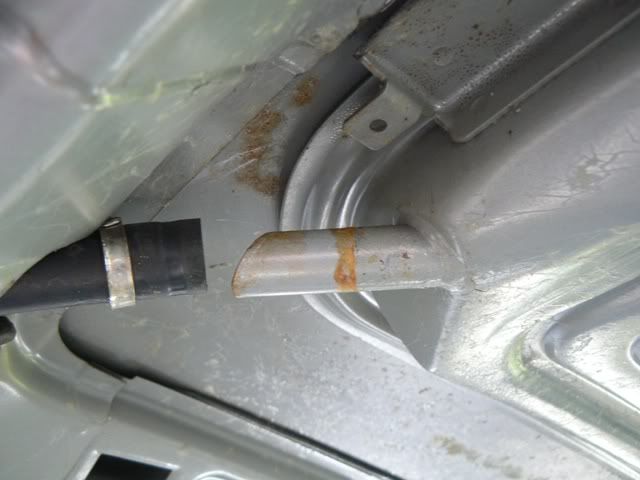
Pull up the sunroof drain pipe to avoid any nasty accidents during welding
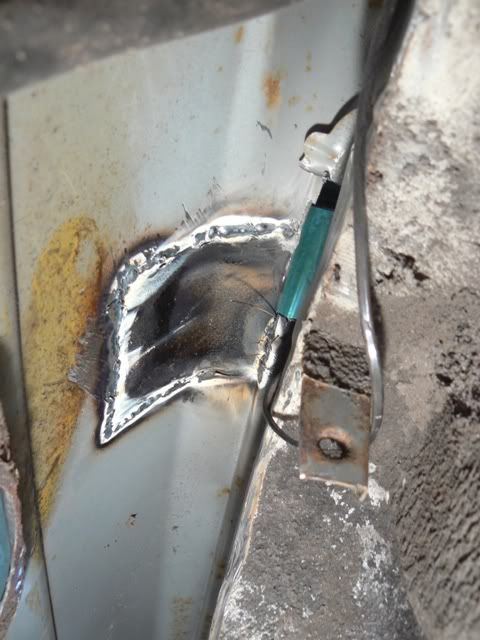
One of the only times I've used filler, I'll probably get away with it.
And finishing up:
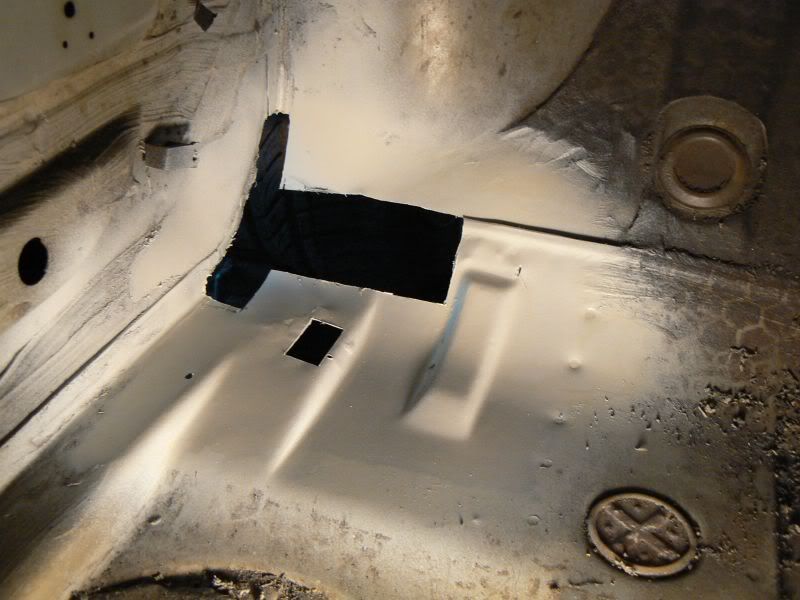
Floor done
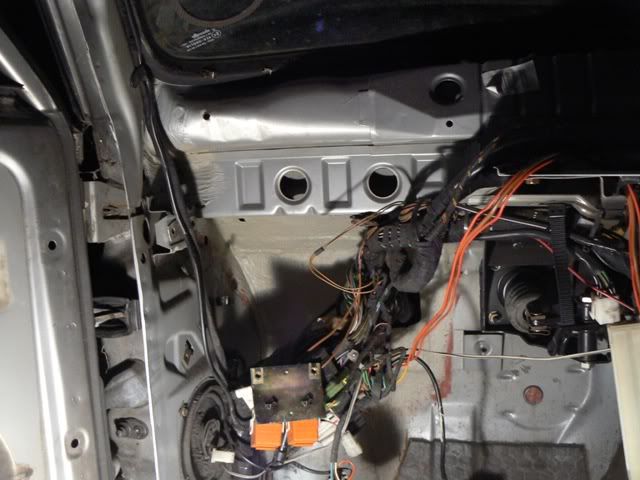
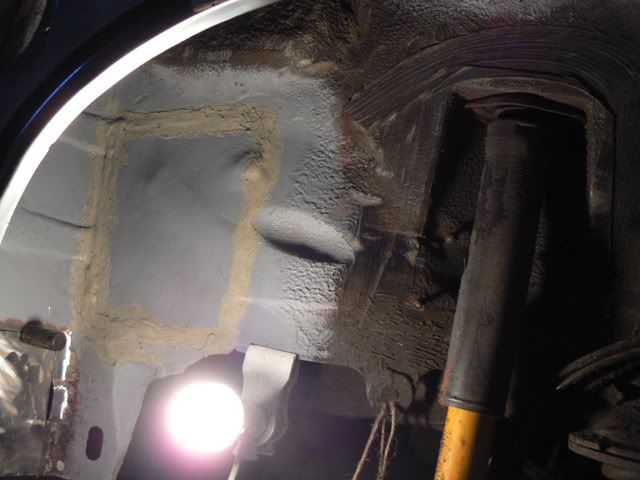
And ensure the wheel arch is sealed properly from the earlier scuttle and bulkhead work
And taking the time to clean up the entire front passenger side. The front will be a separate topic.
Re: just borrowing our quarantine for thread update
Posted: Fri Aug 27, 2010 3:35 pm
by skipunda
Now we're working on the other side the car, starting with the scuttle and floor. The bulkhead needs a small amount of attention too but that is on the pedal box and so I wish to sort this out while I'm playing with the loom.
Just like the other side, trouble looms
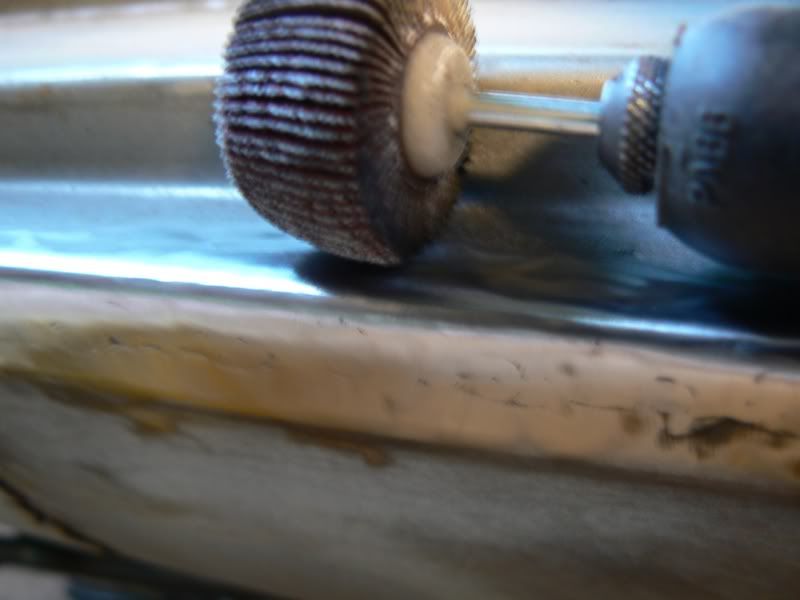
For the next parts i'll be using a Dremel with the speedclick cutting disc. Don't bother with the thin ones, they wear down too quickly.
Number each section to correspond to your (hopefully) half decent pieces to put back in. In my case I had to cut out and do it again a couple of times. It's really not something to rush as I'm sitting two foot behind that!
And done. Strong and durable thanks to more waxoil and assorted paints.
Re: just borrowing our quarantine for thread update
Posted: Fri Aug 27, 2010 4:03 pm
by skipunda
Next up is the floor
Different technique to the other side. This one overlaps and in my opinion quicker to do with the same results.
And from the underneath
And with not quite so much detail as the other side, all the same bits restored.
Re: just borrowing our quarantine for thread update
Posted: Fri Aug 27, 2010 4:08 pm
by skipunda
Now to tackle a piece about 1.5 feet away from the floor work, down the sill.
This part not finished yet, next will be the inner sill near the rear wheel arch...
Re: just borrowing our quarantine for thread update
Posted: Fri Aug 27, 2010 4:14 pm
by skipunda
Sill work begins
Discovered a better way to produce parts. Ha, could have kicked myself.
This part doesn't seem to have a photo of it in, so we'll just assume that it was welded and all was finished off nicely.
Sill done
Re: just borrowing our quarantine for thread update
Posted: Fri Aug 27, 2010 4:19 pm
by skipunda
Before starting on fitting a new inner arch some work will need doing on the inner inner arch.
Bit of seam sealer, just until I get time to grind it down properly. Waxoil over the top and you wouldn't notice it.
Next part...
Same as above, all solid but needs a bit of going over with a flippy or grinding disc.
Inner inner arch done
Re: just borrowing our quarantine for thread update
Posted: Fri Aug 27, 2010 4:26 pm
by skipunda
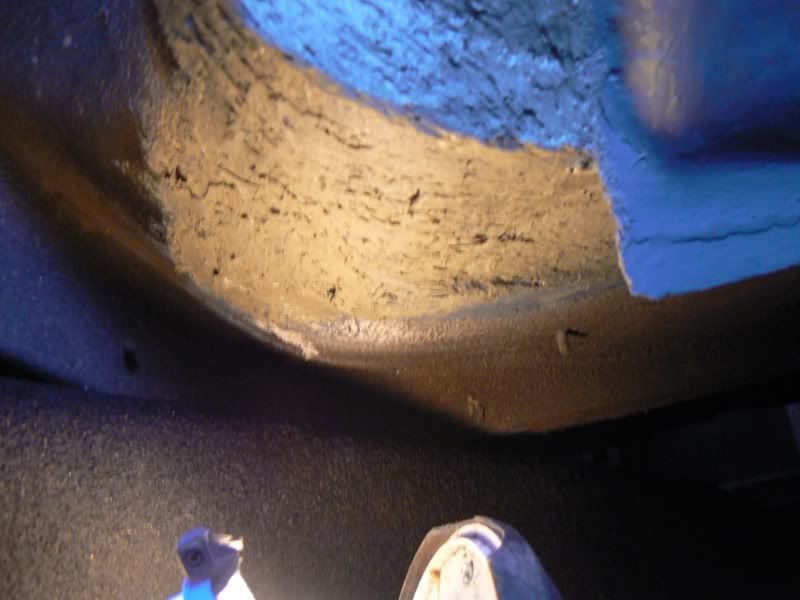
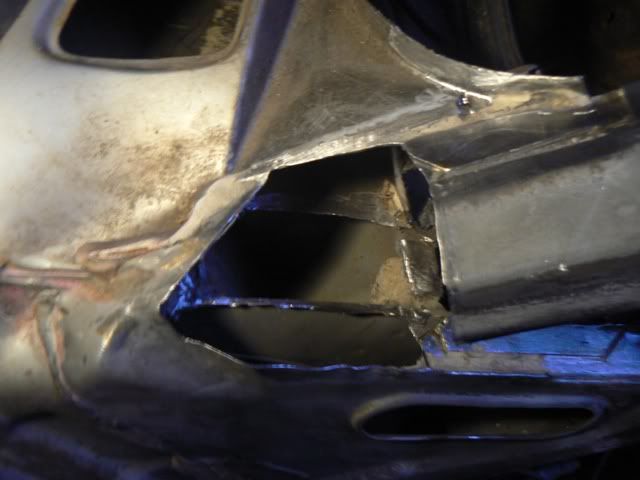
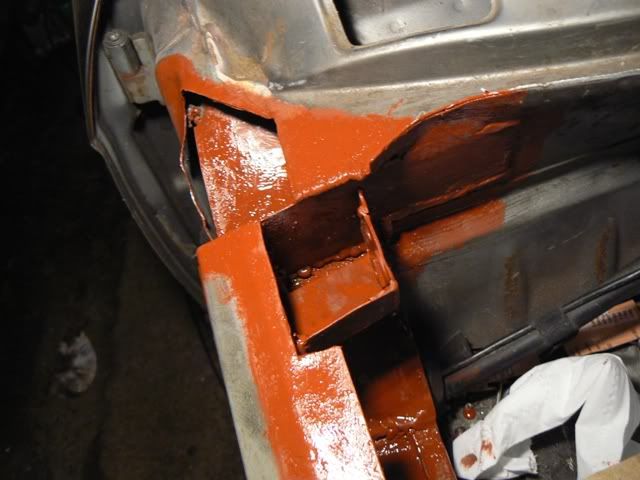
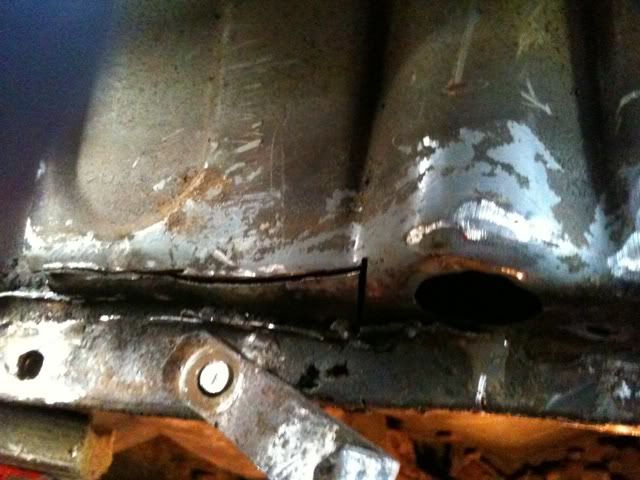
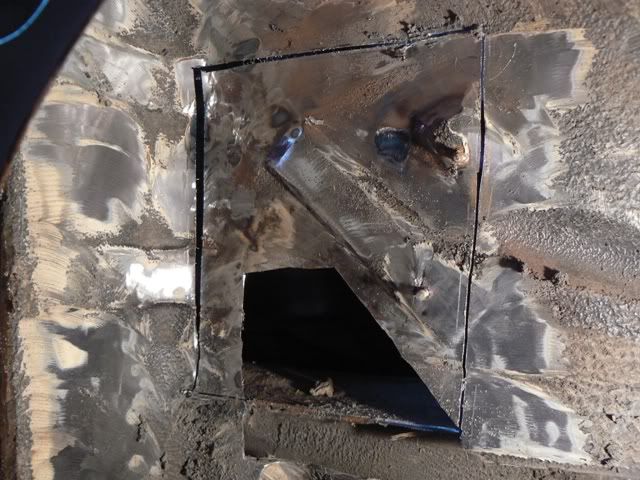
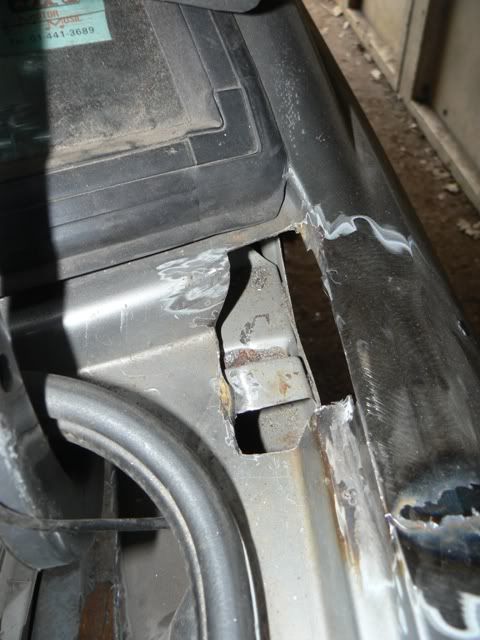
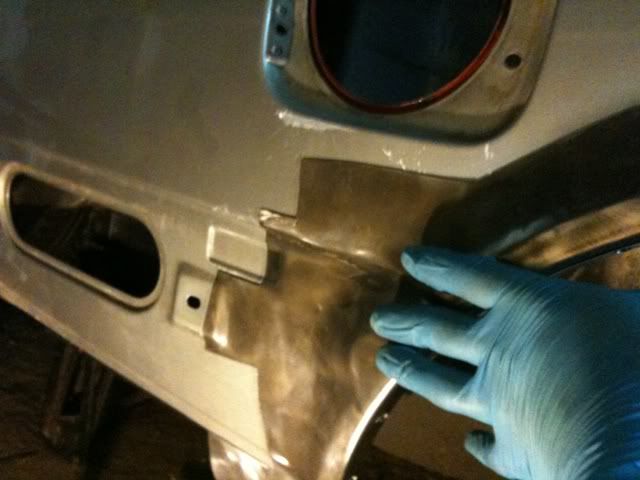
Near the top of the arch, where the rear quarter panel runs along the side towards the rear you'll have seen a decent amount of corrosion. We'll now have a go at removing this completely. I will be acquiring a replacement piece off another prefacelift car but for now a plate will do nicely and allow me to continue on the inner arch.
Half finished.
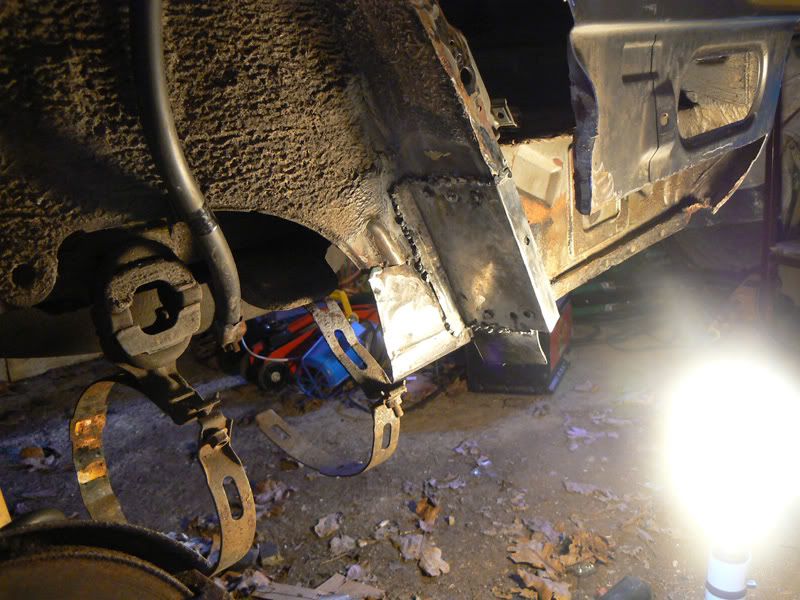
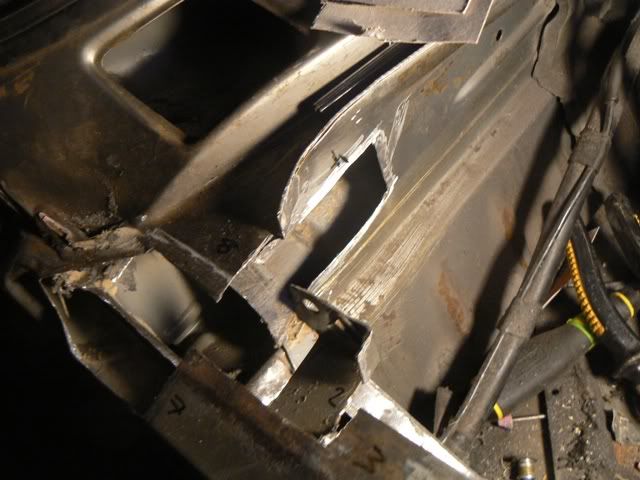
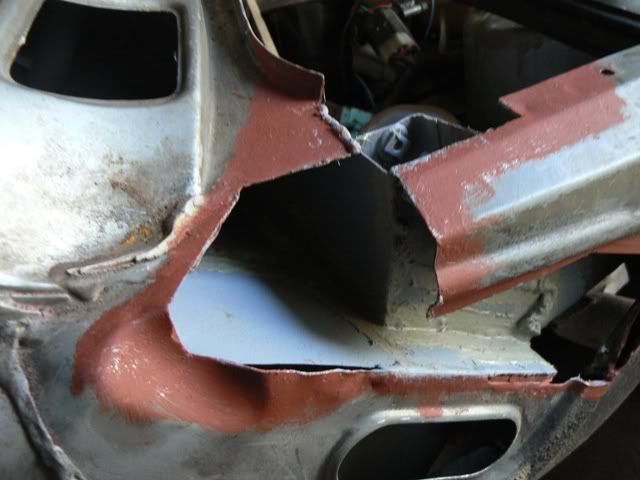
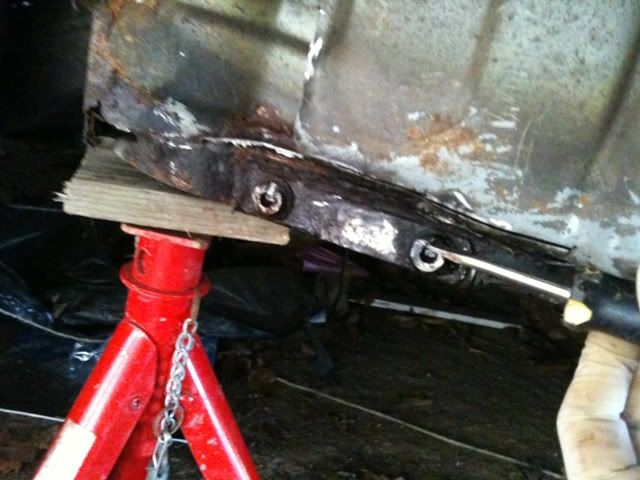
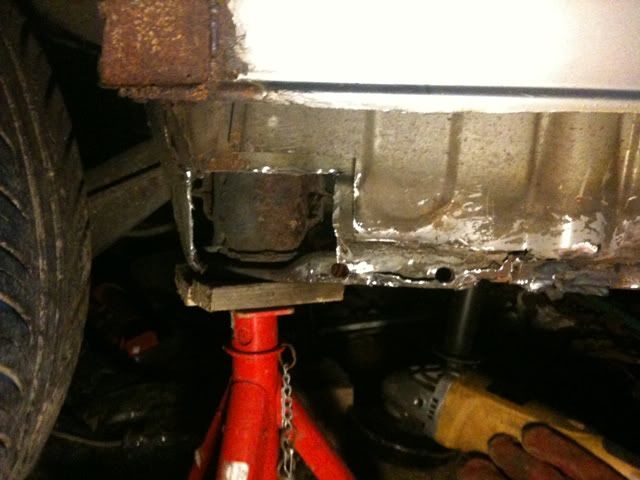
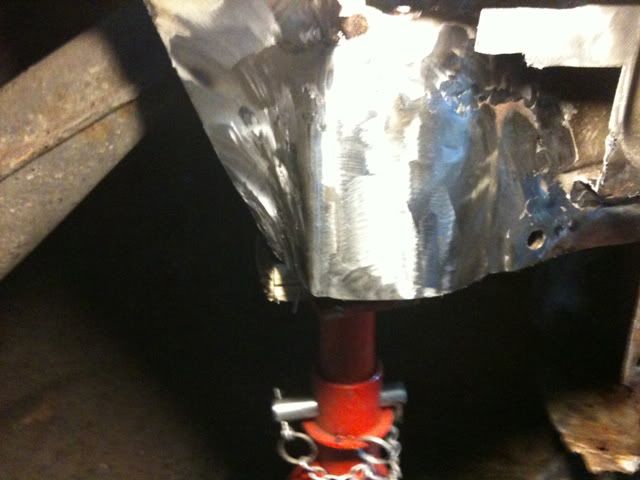
Now we have to look at the chassis. At the rear the car was largely rotten and this piece is no exception. Care taken...and some brute force...here we go...
Behind here is where all the action is!
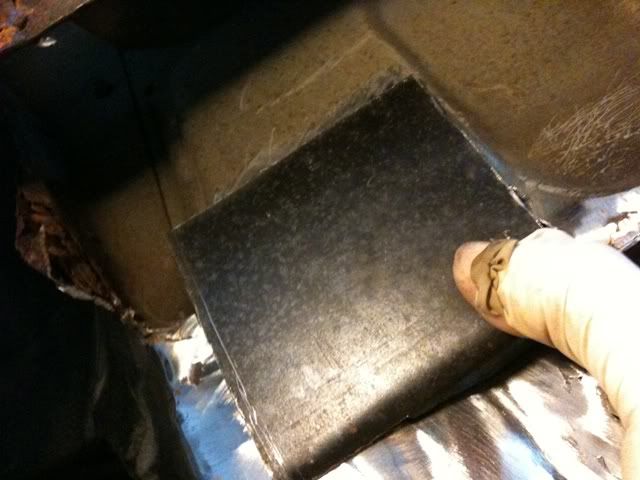
Inside the boot
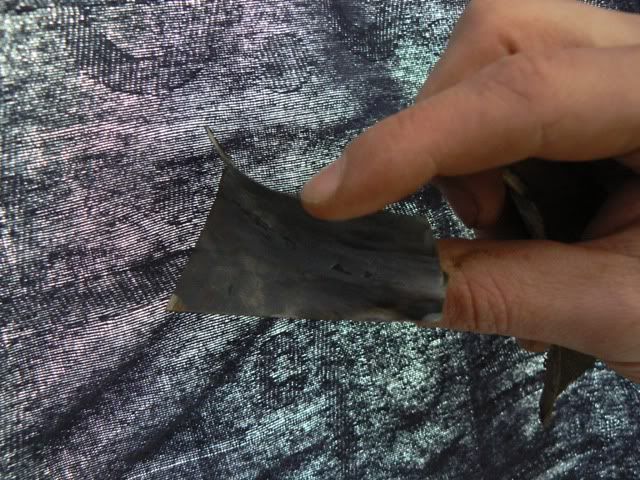
Made the replacement piece too short - or rather I found more rust having cut it!
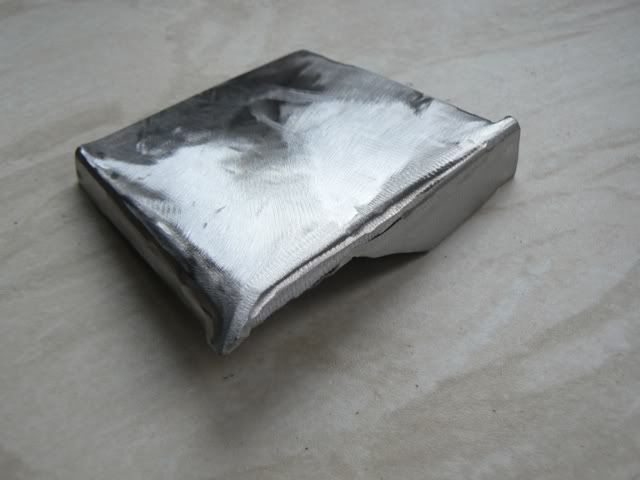
A simple lid made to fit
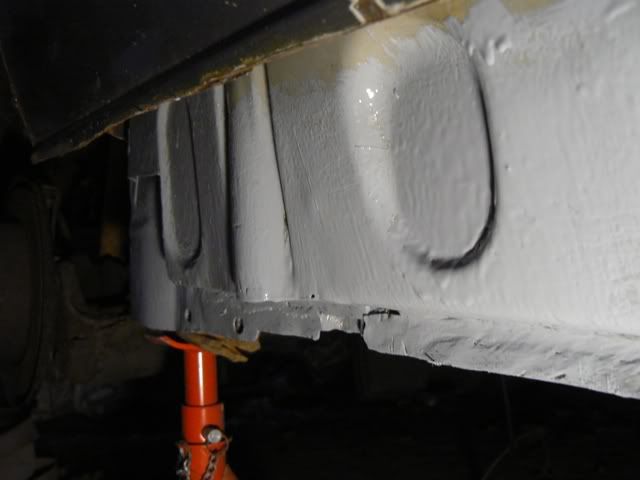
First coat, minus sealer.
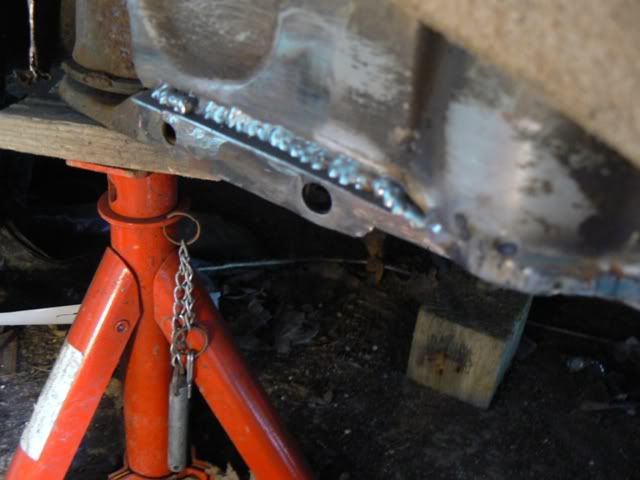
Chassis done
Re: just borrowing our quarantine for thread update
Posted: Fri Aug 27, 2010 4:27 pm
by skipunda
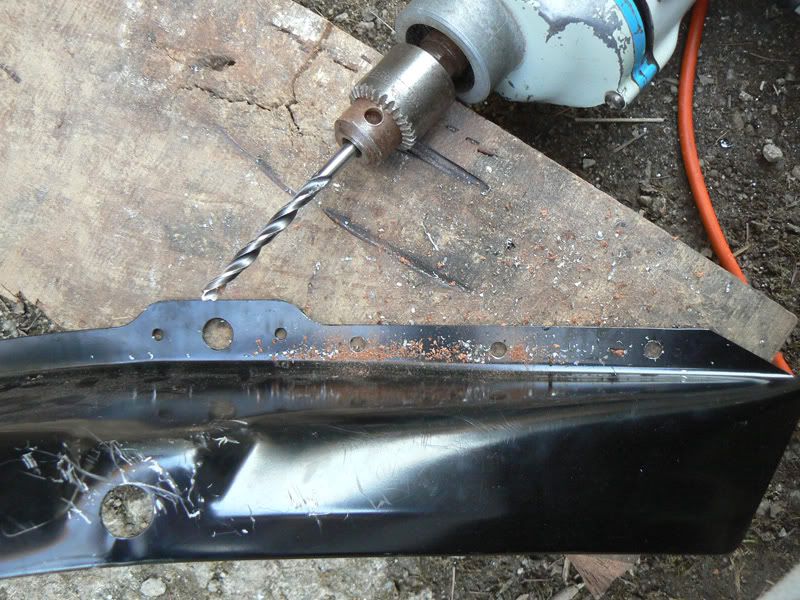
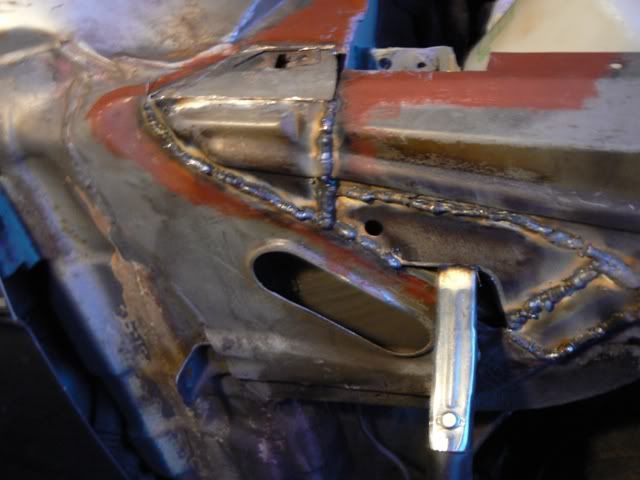
Next up is the inner arch.
Removing the old one
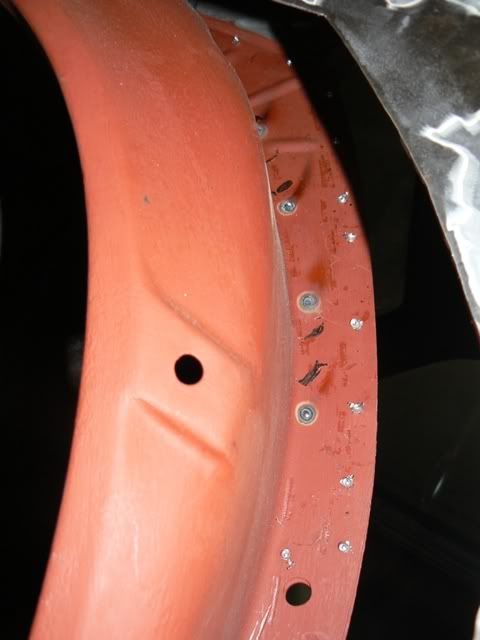
replacement parts
line it up having painted and drilled it as per the other side
And a little bit needed here also:
Inner arch done
Re: just borrowing our quarantine for thread update
Posted: Fri Aug 27, 2010 4:44 pm
by skipunda
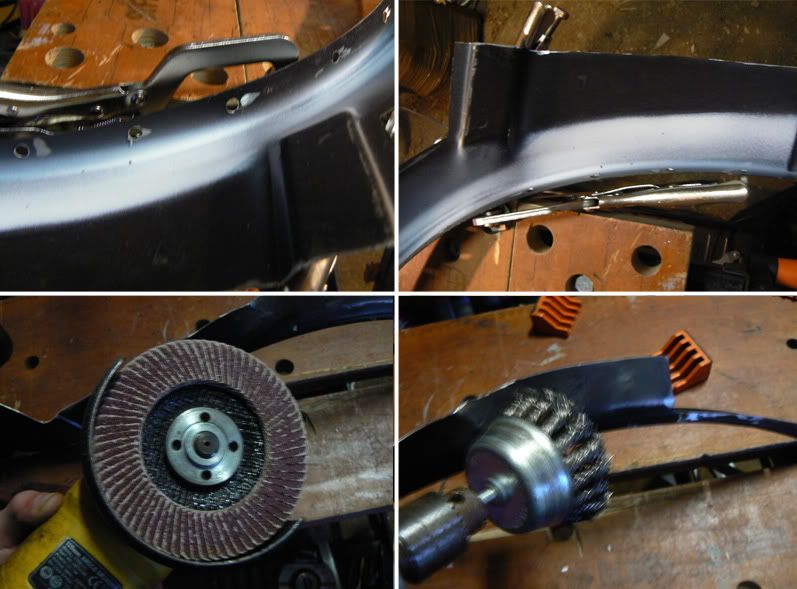
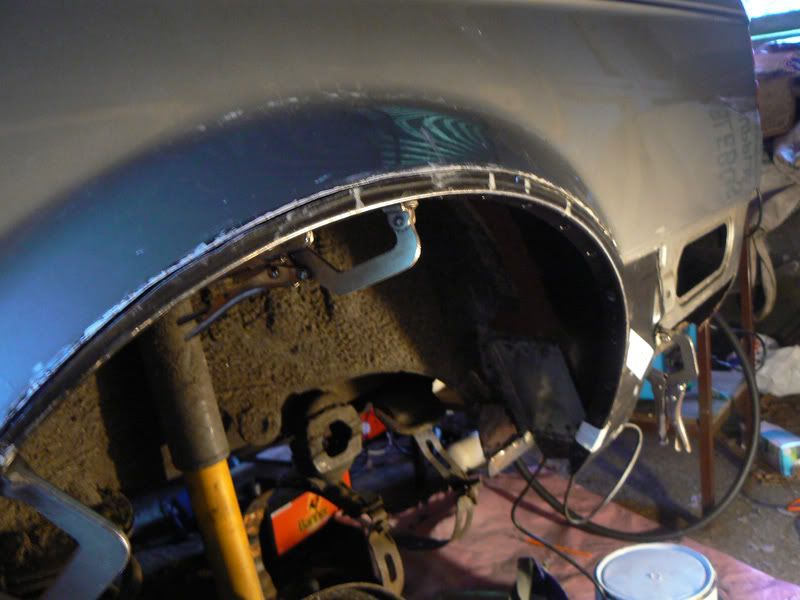
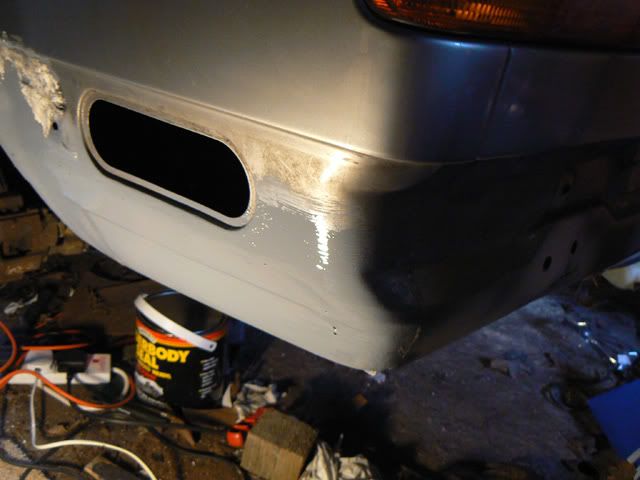
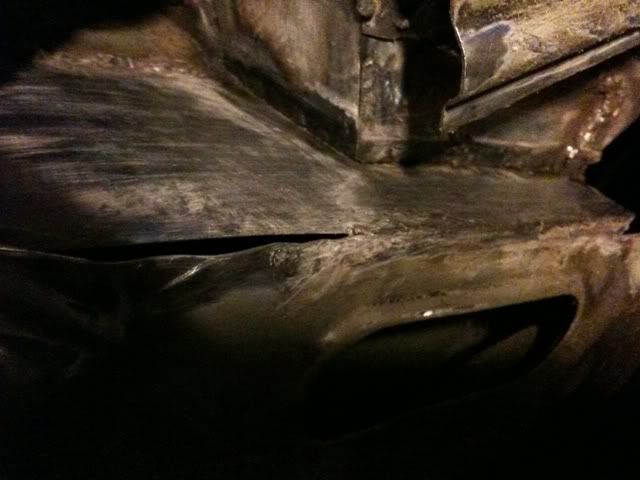
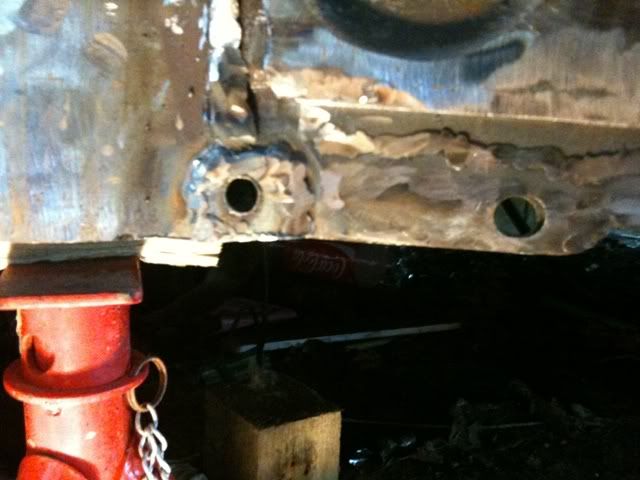
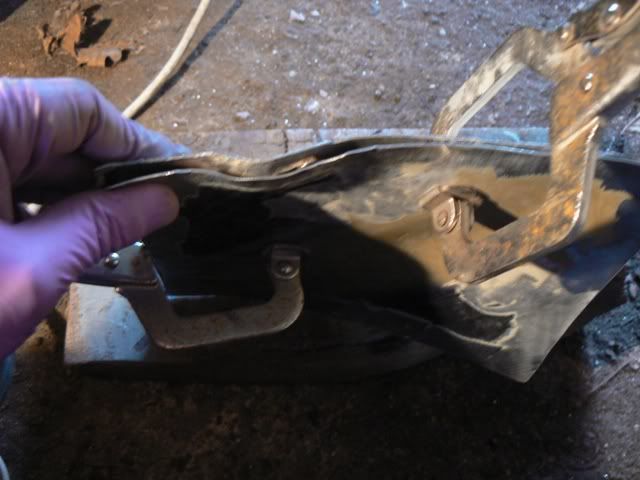
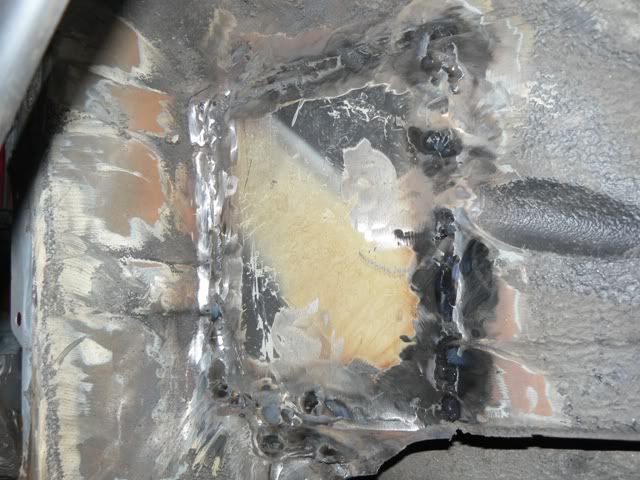
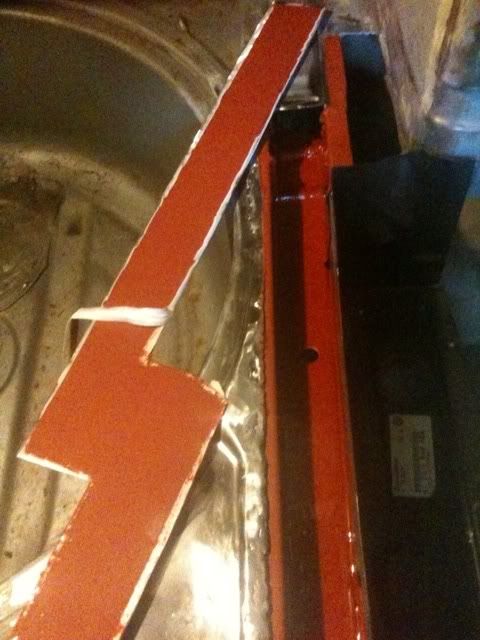
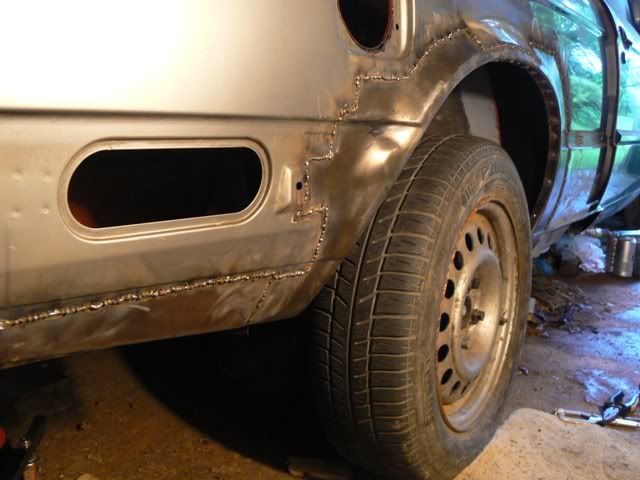
Now comes the outer arch. I'll do the lower rear panel at the same time for convenience.
First ensure that you have cut out all the rust. On mine there was a lot.
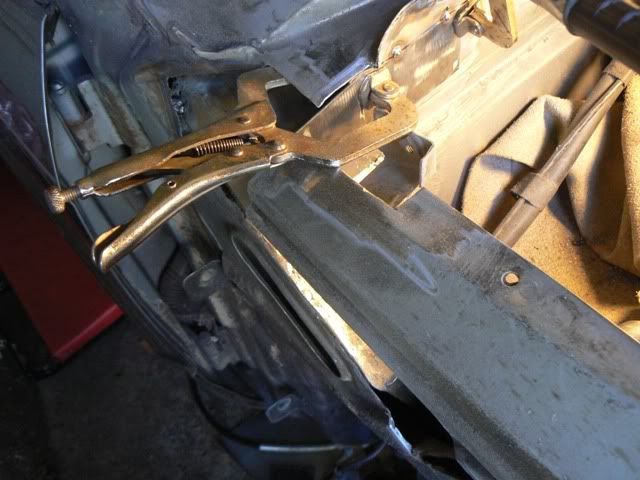
Then some spray paint whilst the outer arch is offered up. I secured mine with two small clamps which you can see in some of the spot welding photos.
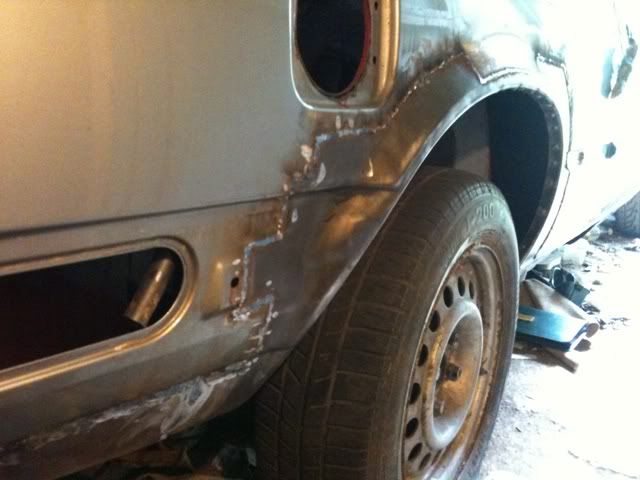
Cut out the outer arch using the spray paint as guide plus about 5mm padding (in a bit) from the line. Now scribe around the outer arch on the car. This will be the final line you'll need do.
Cut it off the car body
Use thumb to keep things lined up while tacking
Lower rear
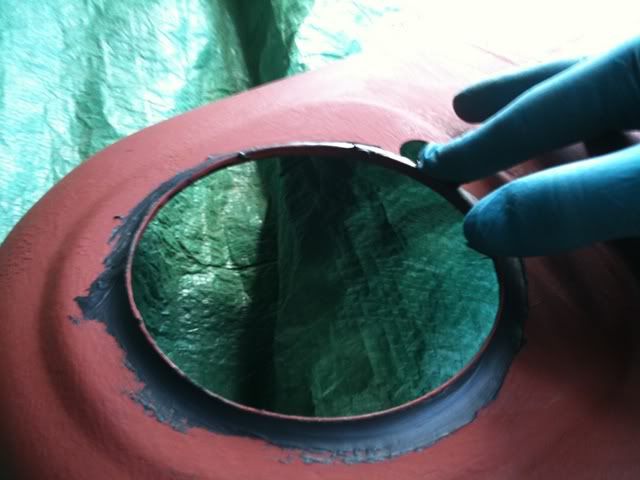
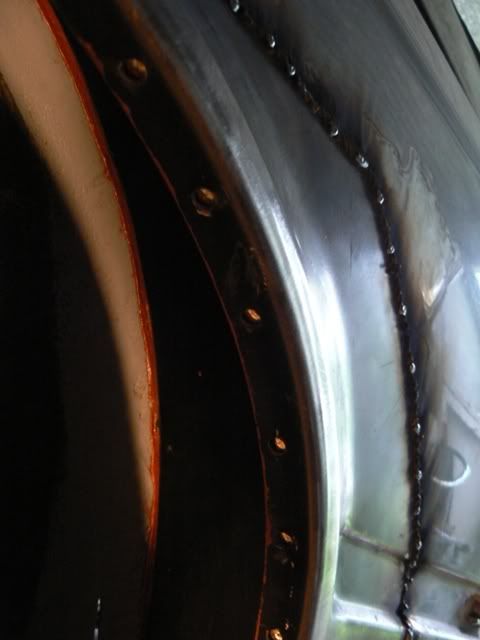
A photo of holes in the outer arch to plug weld into the inner arch. Use a hammer to make sure it's nice and tight like a seal.
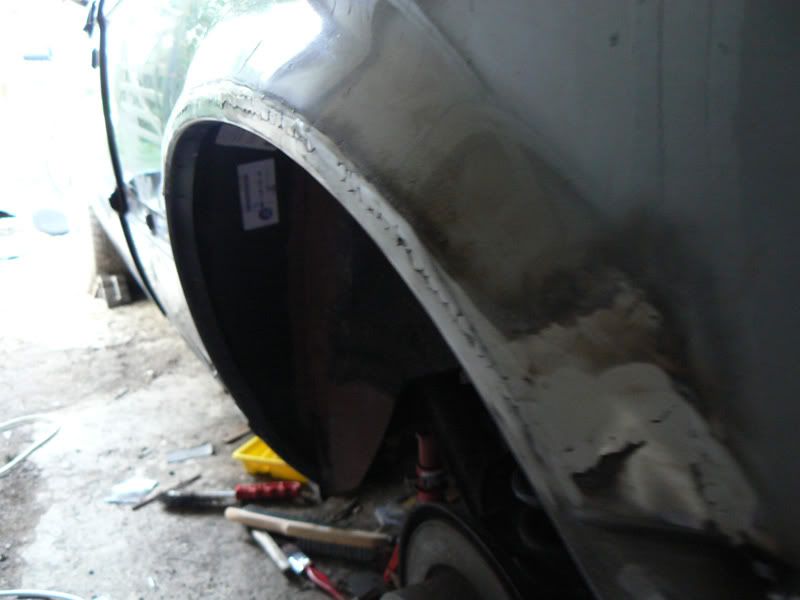
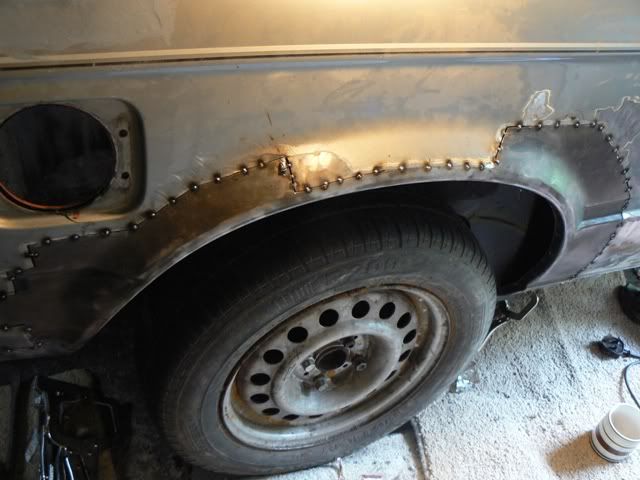
Arch done
Re: just borrowing our quarantine for thread update
Posted: Thu Sep 02, 2010 9:02 pm
by skipunda
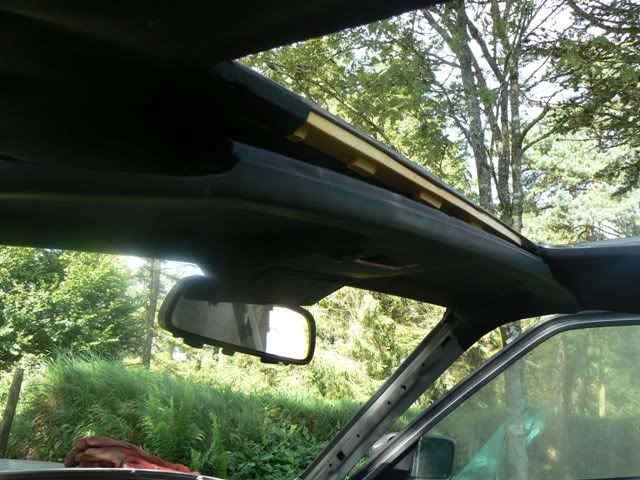
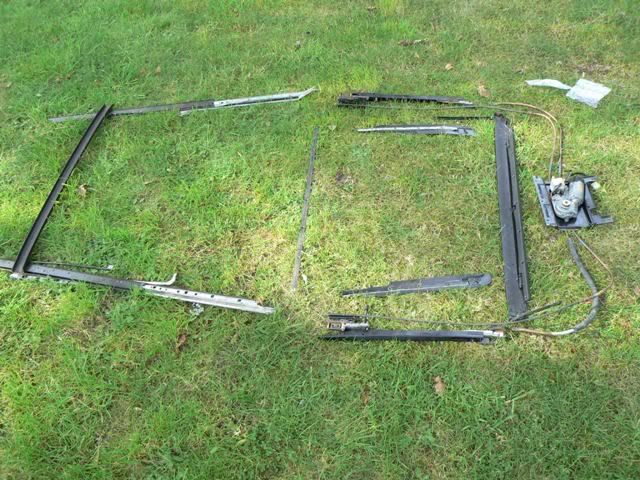
Next up is to remove the sunroof and windows
Use an allen key to retract sunroof
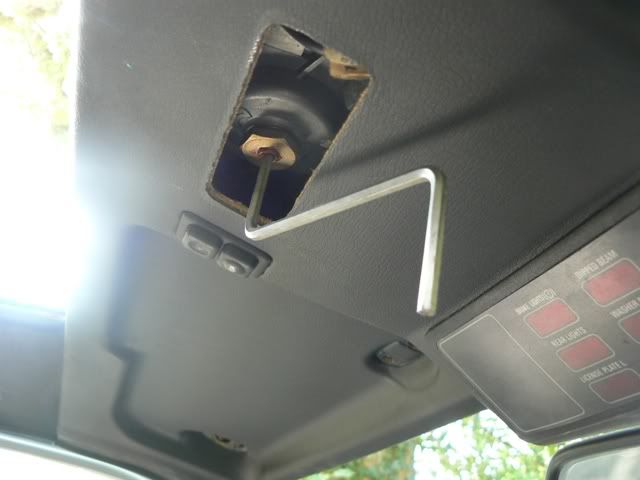
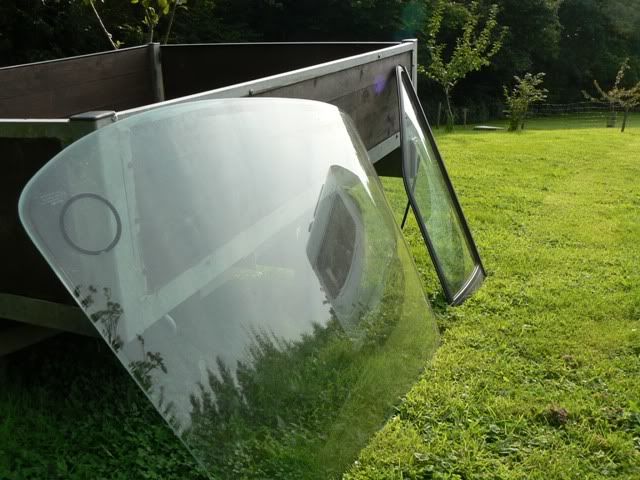
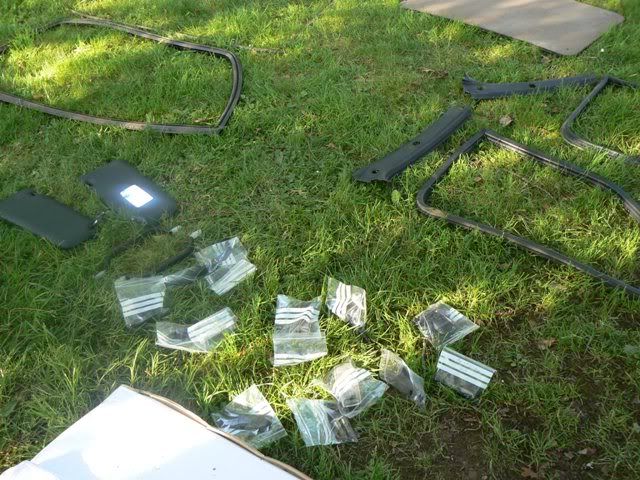
Short time later removing check panel, visors and surrounding trim
Windows out and cleaned up a bit. Might go for a blue top tint, which I think was on the original build sheet
All tagged and bagged. Done!
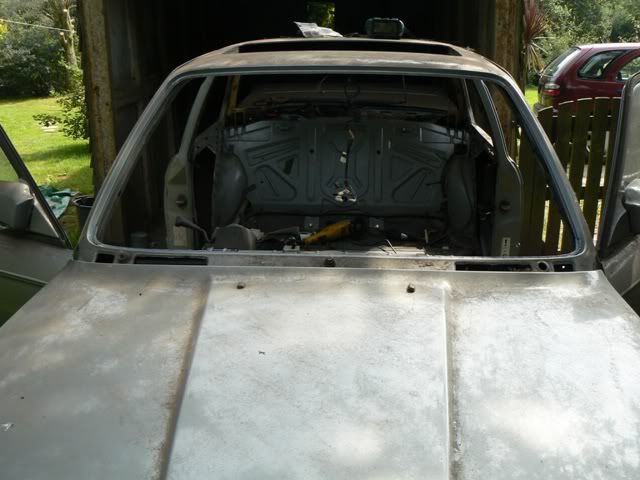
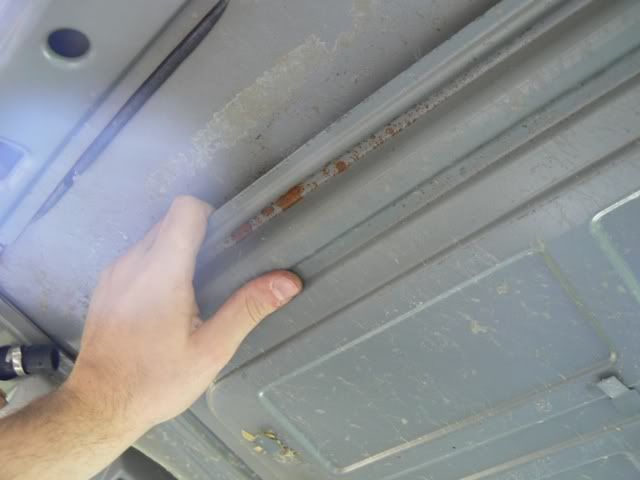
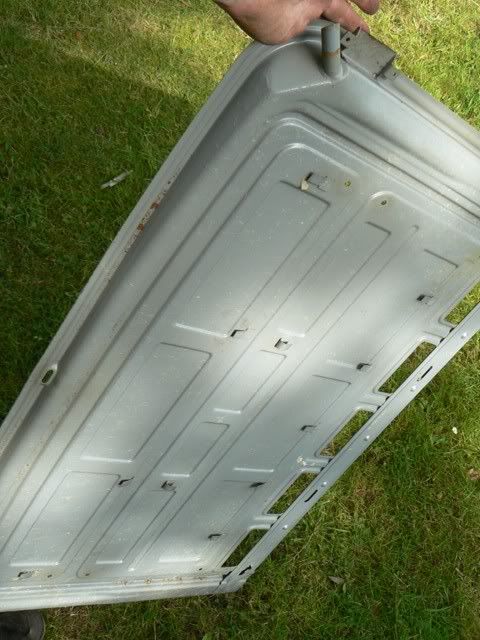
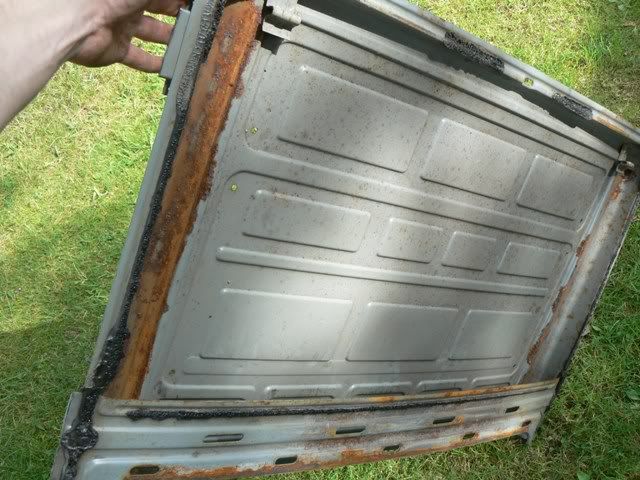
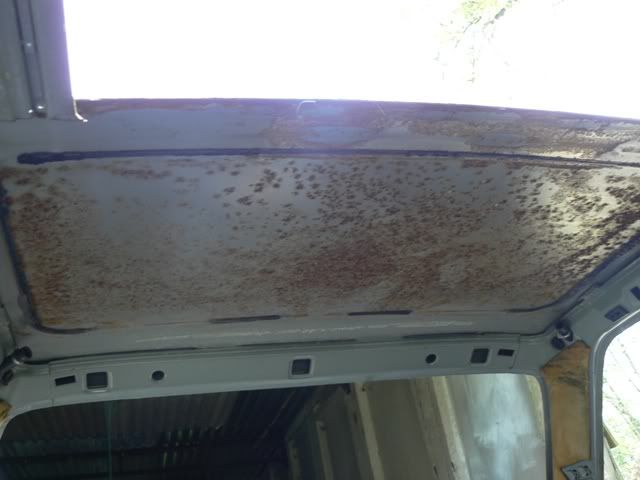
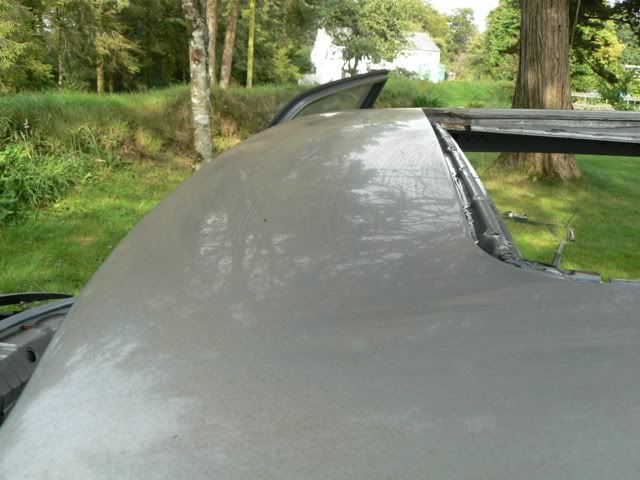
Next up is to tackle the headlining and get a look at the roof. A few years ago it was alright but we have a small spec of rust around the size of a 5p piece.
Headlining out
Now the biggie.........
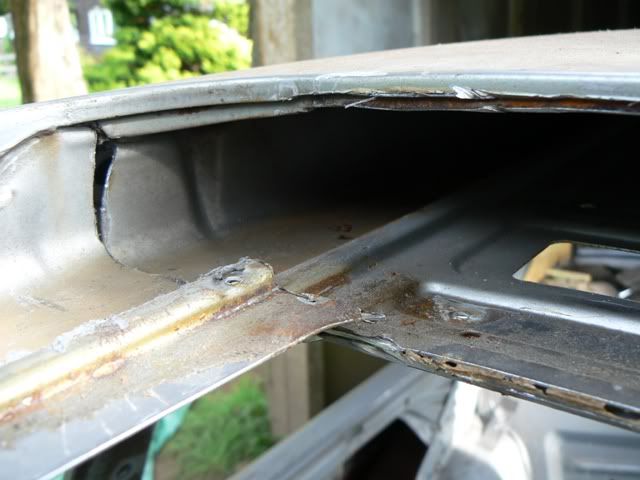
Having not yet looked for another roof (new or second hand or even carbon fibre) I felt it was wise to at least try to understand the problem and if it can be saved. The roof and sunroof tray are arranged in what I like to think as three pieces of metal; Roof skin, a small plate, sunroof tray. Only the rear of the roof needed attention.
Remove electric sunroof mechanism
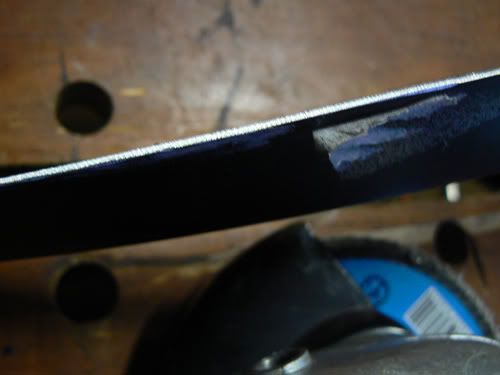
Angle grinder
Very careful cutting above door piller
Near rear sunroof drain
More work on the section near door piller
I needed to get rid of the drain tube for what I wanted to do.
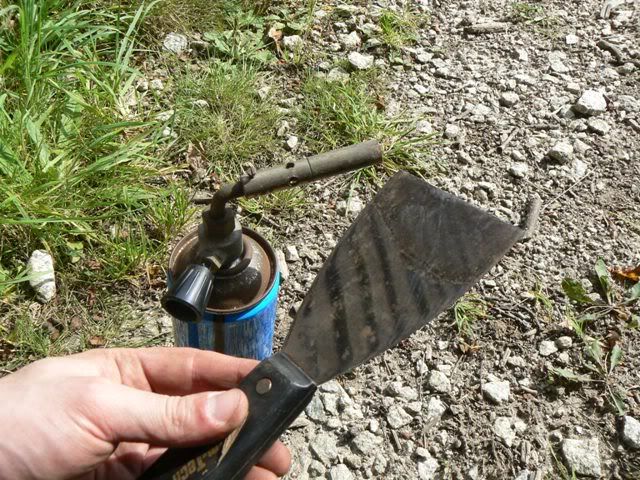
Next up a blow torch and decorators paint scraper
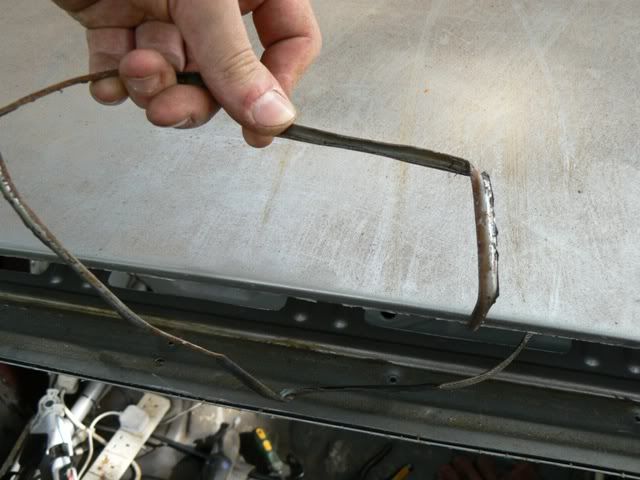
At the front where the sunroof normally is there is a lip that needs to be taken out
Now, without warping the roof even a mm to take out the s/roof tray
Hopefully the cutting was good enough
And bam, there we go
And the reason for wanting to remove it
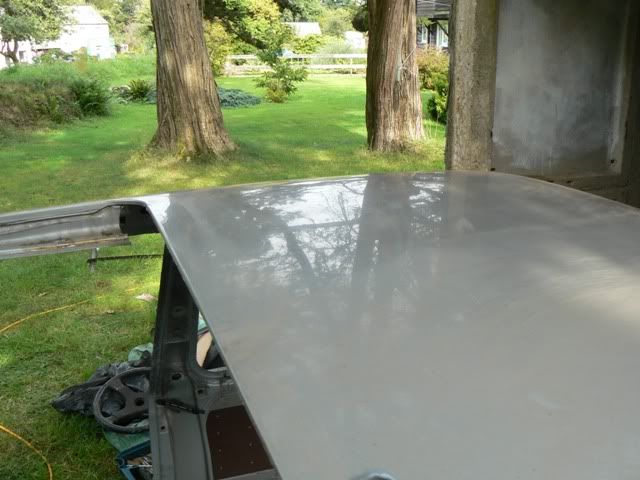
Now, say what you like but the proof will be in the pudding whether this is saveable. You can see that other areas are largely unaffected.
And the roof still looks pretty good under both natural and spotlamps
The state of play
Next up I'll be looking at the roof again
Re: just borrowing our quarantine for thread update
Posted: Thu Sep 02, 2010 9:13 pm
by Rav335uk
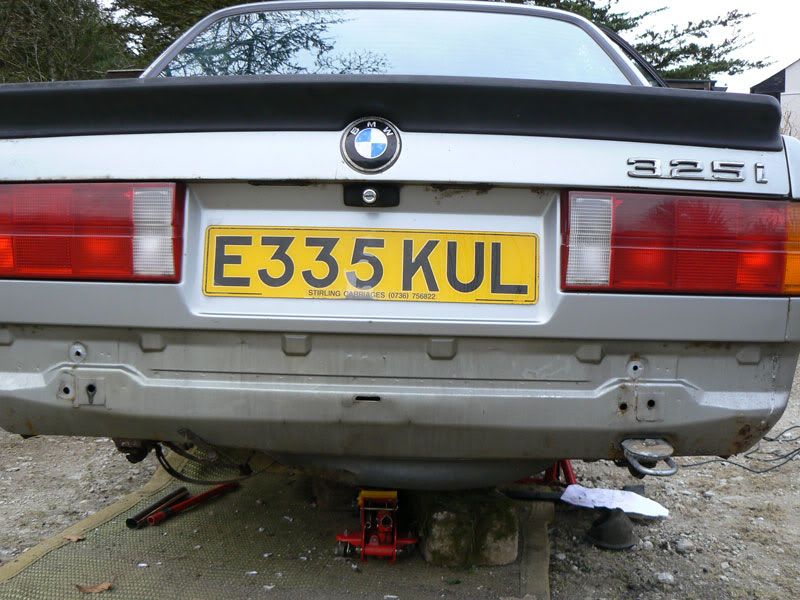
Busy Boy then Skip, nice number plate
Re: just borrowing our quarantine for thread update
Posted: Thu Sep 02, 2010 9:16 pm
by skipunda
Thank-you old man, needs a big six ay
Re: just borrowing our quarantine for thread update
Posted: Thu Sep 02, 2010 9:20 pm
by E30BeemerLad
Jesus Chris, you've got it bad mate, epic effort!
Re: just borrowing our quarantine for thread update
Posted: Thu Sep 02, 2010 9:20 pm
by Rav335uk
skipunda wrote:Thank-you old man, needs a big six ay
Less of the "Old" thankyou
Re: just borrowing our quarantine for thread update
Posted: Fri Sep 03, 2010 11:36 am
by ImysE30
Some serious hard work and dedication gone into that so far
Progressing well
Re: just borrowing our quarantine for thread update
Posted: Fri Sep 03, 2010 9:26 pm
by Nath325i
Epic amount of work, coming along nicely
Re: just borrowing our quarantine for thread update
Posted: Sat Sep 04, 2010 11:16 am
by daimlerman
What a star you are!
As always,the rust you can see is just the tip.....
Re: just borrowing our quarantine for thread update
Posted: Sun Sep 05, 2010 6:36 pm
by skipunda
Thanks for the comments
Roof is good but does have some pitting from the inside. Rust spot on top was a false alarm but all seems well.
Re: just borrowing our quarantine for thread update
Posted: Sun Sep 05, 2010 8:44 pm
by adit
bloody nora Chris , hats off to you mate. excellent work
oh this brings back memories (no sunroof for me to worry about though, thankk goodness):
Re: just borrowing our quarantine for thread update
Posted: Thu Sep 09, 2010 11:15 pm
by Frany
knw the timely process but with time all comes together. busy biulding a e30 with a modded 850csi lump. wil post pictures soon
Re: just borrowing our quarantine for thread update
Posted: Tue Oct 05, 2010 4:28 pm
by skipunda
Now heading into the third winter. A little bit here and there is all well and good put I really need to pull my finger out. Work commences again this Saturday!
Re: just borrowing our quarantine for thread update
Posted: Mon Oct 25, 2010 8:10 pm
by staley_turbo
I thought mine was bad! You have done alot so far, Much more to do? I got all the welding done on mine this week and its gone for the respray now. Good luck for the rest of it.
Re: just borrowing our quarantine for thread update
Posted: Mon Oct 25, 2010 10:22 pm
by Dezzy
That shell had no right being saved!
Faaaaaar tooooooo much work has gone into it. Hats off sir