Difference between revisions of "Debadging"
Grrrmachine (talk | contribs) |
|||
| (2 intermediate revisions by 2 users not shown) | |||
| Line 3: | Line 3: | ||
[[Image:Car Nov 08 037.jpg]] | [[Image:Car Nov 08 037.jpg]] | ||
| − | What you need is a piece of string or fishing wire, some rubbing compound, some polishing compound, some tar remover | + | What you need is a piece of string or fishing wire, some rubbing compound, some polishing compound, some tar remover, some polish, rags and a kettle. |
[[Image:Car Nov 08 041.jpg]] | [[Image:Car Nov 08 041.jpg]] | ||
| Line 11: | Line 11: | ||
[[Image:Car Nov 08 038.jpg]] | [[Image:Car Nov 08 038.jpg]] | ||
| − | + | Then using the string in a sawing motion get behind the badge and saw away the adhesive. | |
[[Image:Car Nov 08 039.jpg]] | [[Image:Car Nov 08 039.jpg]] | ||
| Line 17: | Line 17: | ||
[[Image:Car Nov 08 047.jpg]] | [[Image:Car Nov 08 047.jpg]] | ||
| − | + | Now you will be left with the partial remains of the adhesive. | |
[[Image:Car Nov 08 048.jpg]] | [[Image:Car Nov 08 048.jpg]] | ||
| − | + | Now using the tar remover and a damp rag begin rubbing away the adhesive, this is the hardest part of the job and I even resorted to picking away with my finger nails, but unless you are very very careful do not try to shortcut by using a stanley knife blade, keep working at it with the tar remover frequently adding more of the product and rubbing away. After 10-15 mins you should get rid of most of the adhesive. | |
5 mins | 5 mins | ||
| Line 31: | Line 31: | ||
[[Image:Car Nov 08 043.jpg]] | [[Image:Car Nov 08 043.jpg]] | ||
| − | + | Then once you reach this stage apply a little rubbing compound with a damp cloth and rub away the last remains of the adhesive. Then using the polishing compound and a damp cloth polish away the different colour paint under the badge so it matches the surrounding paint - this is becasue the area under the badge will not have weathered as much as the exposed paint work but a few minutes polishing will bring it back, and finally a couple of coats of normal polish and thats it. | |
[[Image:Car Nov 08 044.jpg]] | [[Image:Car Nov 08 044.jpg]] | ||
| Line 42: | Line 42: | ||
[[Image:Car Nov 08 045.jpg]] | [[Image:Car Nov 08 045.jpg]] | ||
| + | |||
| + | |||
| + | [[Category: Exterior]] | ||
| + | [[Category: Upgrades]] | ||
Latest revision as of 20:31, 28 September 2011
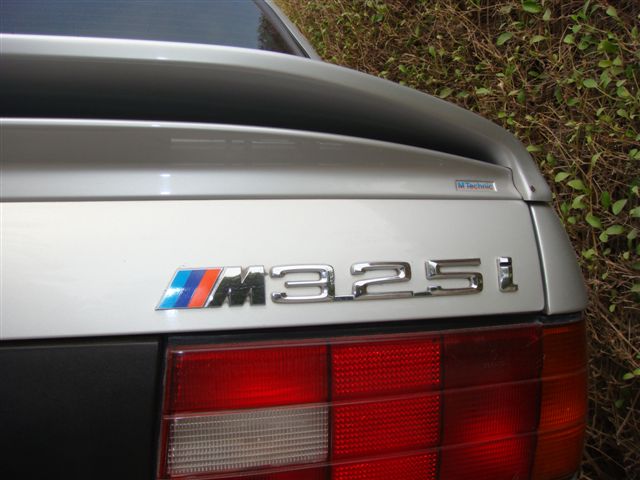
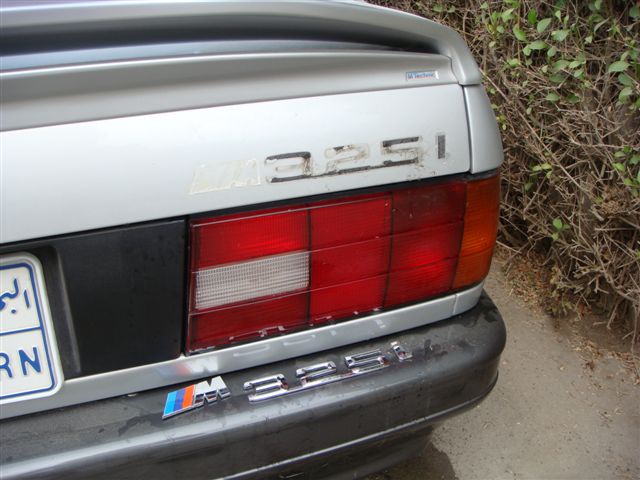
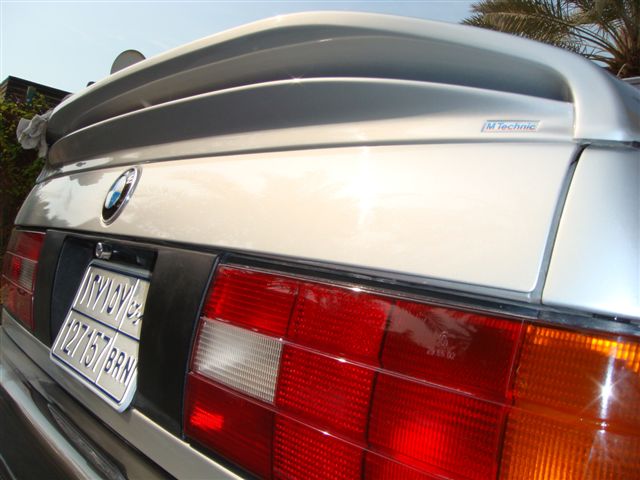
To remove the badges from an E30 is a 15 minute job and cleans up the back end of the car in my opinion.
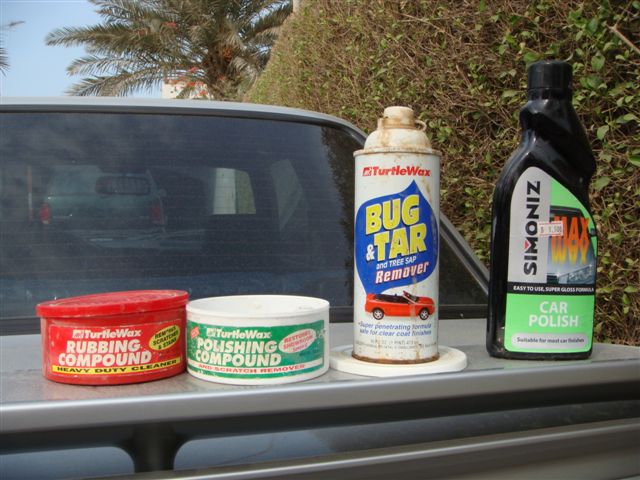
What you need is a piece of string or fishing wire, some rubbing compound, some polishing compound, some tar remover, some polish, rags and a kettle.
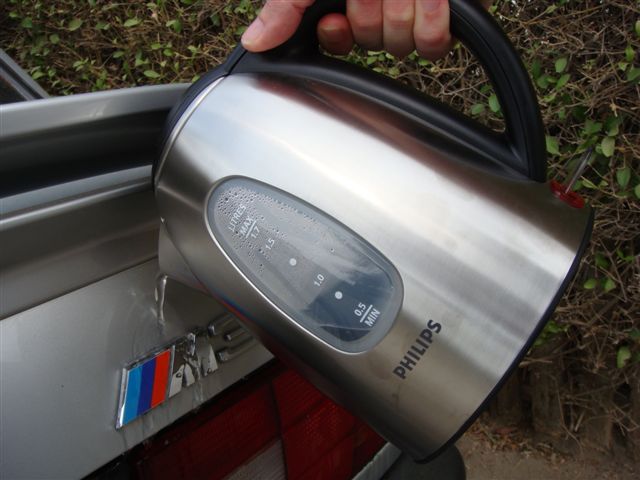
Boil the kettle and pour the hot water slowly over the badge, this softens the adhesive.
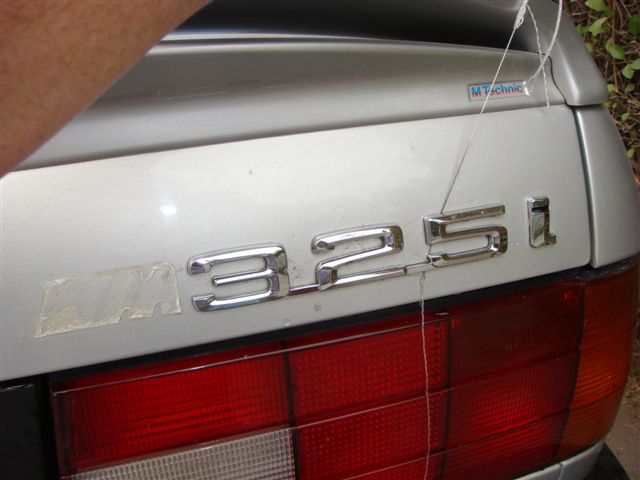
Then using the string in a sawing motion get behind the badge and saw away the adhesive.
Now you will be left with the partial remains of the adhesive.
Now using the tar remover and a damp rag begin rubbing away the adhesive, this is the hardest part of the job and I even resorted to picking away with my finger nails, but unless you are very very careful do not try to shortcut by using a stanley knife blade, keep working at it with the tar remover frequently adding more of the product and rubbing away. After 10-15 mins you should get rid of most of the adhesive.
5 mins
10 mins
Then once you reach this stage apply a little rubbing compound with a damp cloth and rub away the last remains of the adhesive. Then using the polishing compound and a damp cloth polish away the different colour paint under the badge so it matches the surrounding paint - this is becasue the area under the badge will not have weathered as much as the exposed paint work but a few minutes polishing will bring it back, and finally a couple of coats of normal polish and thats it.
before
after
