Difference between revisions of "Remove the Sunroof Tray"
Grrrmachine (talk | contribs) m |
Grrrmachine (talk | contribs) m |
||
| (2 intermediate revisions by the same user not shown) | |||
| Line 8: | Line 8: | ||
[[Image:IMG_6144.jpg|center|500px]] | [[Image:IMG_6144.jpg|center|500px]] | ||
| − | Before you begin, you need to [[ | + | Before you begin, you need to [[Remove_the_Sunroof|remove the sunroof panel]] and the [[Interior#Headlining|headlining]]. Once you've done that, you'll be able to see how the tray is bonded to the roof. In this image the edges of the tray are highlighted in red. As you can see, the tray extends from the windscreen all the way back to the buttress between the C-pillars. |
[[Image:IMG_6136.jpg|center|500px]] | [[Image:IMG_6136.jpg|center|500px]] | ||
| Line 24: | Line 24: | ||
[[Image:IMG_6154.jpg|center|500px]] | [[Image:IMG_6154.jpg|center|500px]] | ||
| − | When examined closely, these brackets sit on top of the roof "rail", and need to be separated using the thinnest cutting disc you can get on your angle grinder. The grinder must be held firmly and steadily, making sure to be careful not to let the grinder slip or cut to deep as that would result in cutting your roof skin. | + | When examined closely, these brackets sit on top of the roof "rail", and need to be separated using the thinnest cutting disc you can get on your angle grinder. The grinder must be held firmly and steadily, making sure to be careful not to let the grinder slip or cut to deep as that would result in cutting your roof skin. Make the cut on tight to the roof frame on both your own car and the car; this will leave a bit of material for trimming to get the position right when refitting. |
[[Image:IMG_6134.jpg|center|500px]] | [[Image:IMG_6134.jpg|center|500px]] | ||
Latest revision as of 11:09, 6 April 2012
Written by Jozi
The sunroof tray, or cassette, is a mass of metal that allows the sunroof to open and close. It is held to the roof skin by a mixture of bonds and welds which, if approached carefully, can be undone. This will allow you to replace your sunroof tray for repair or replacement, dealing with one of the most problematic Rust issues on the E30.
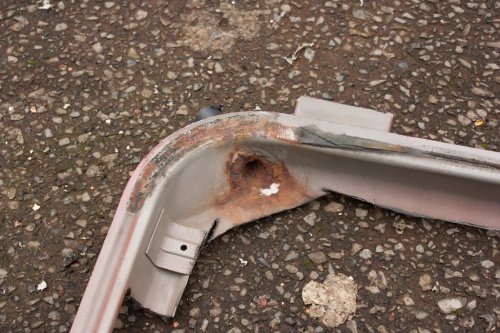
The most common cause of rust in the sunroof comes from the drain channels. Twenty years of exposure to the elements causes the paint to chip and crack until eventually the nozzles rot from the inside out. Because of their proximity to the roof skin, their cancer will spread out until it is festering between the sunroof tray and the roof itself. Not only is this ugly but also dangerous, and needs to be dealt with as soon as possible.
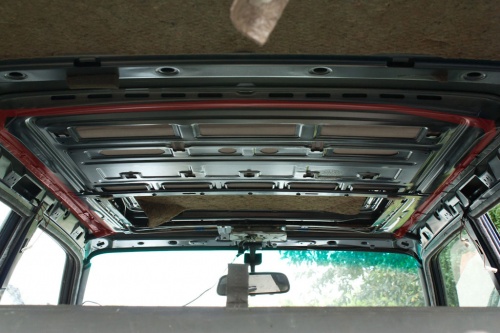
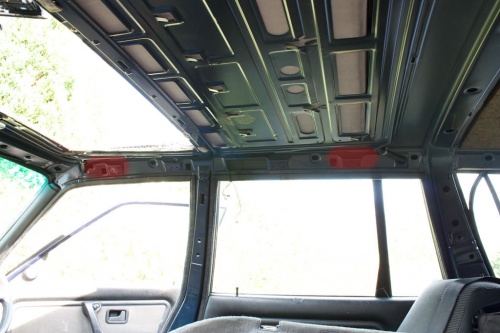
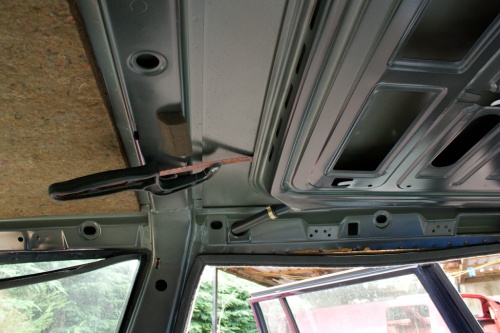
Before you begin, you need to remove the sunroof panel and the headlining. Once you've done that, you'll be able to see how the tray is bonded to the roof. In this image the edges of the tray are highlighted in red. As you can see, the tray extends from the windscreen all the way back to the buttress between the C-pillars.
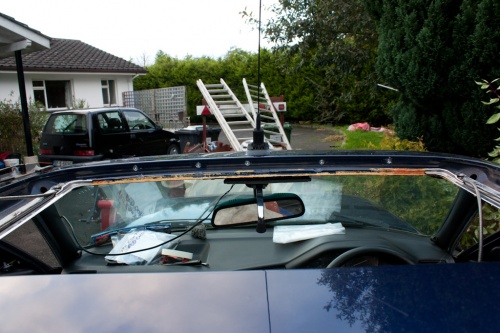
Along the front edge closest to the windscreen, the tray is held in place with 5 spot welds, which will need to be carefully drilled out. In this case we are removing the tray from a donor vehicle so drilling out the welds can be done aggressively, but on your own car it is essential not to penetrate through the tray into the car roof itself, as repairing this lip will be extremely fiddly. In this image the welds have already been drilled out with the appropriate drill bit.
There is also a spot weld on each side of the tray which needs to be located and drilled out. Spot welds can be found by rubbing a small patch of sandpaper or wire wool along the surface until you find the small indentation that marks a spot weld.
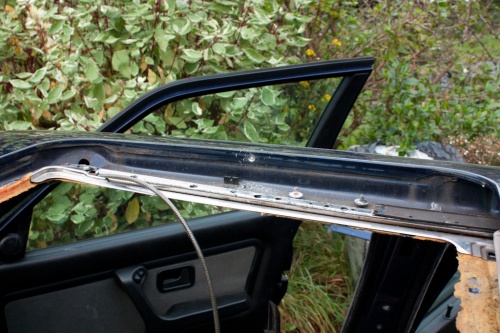
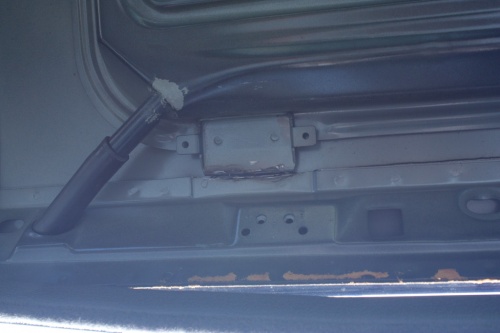
Next up there are four brackets welded to the frame and a seam under the roof skin, roughly in the areas highlighted red.
When examined closely, these brackets sit on top of the roof "rail", and need to be separated using the thinnest cutting disc you can get on your angle grinder. The grinder must be held firmly and steadily, making sure to be careful not to let the grinder slip or cut to deep as that would result in cutting your roof skin. Make the cut on tight to the roof frame on both your own car and the car; this will leave a bit of material for trimming to get the position right when refitting.
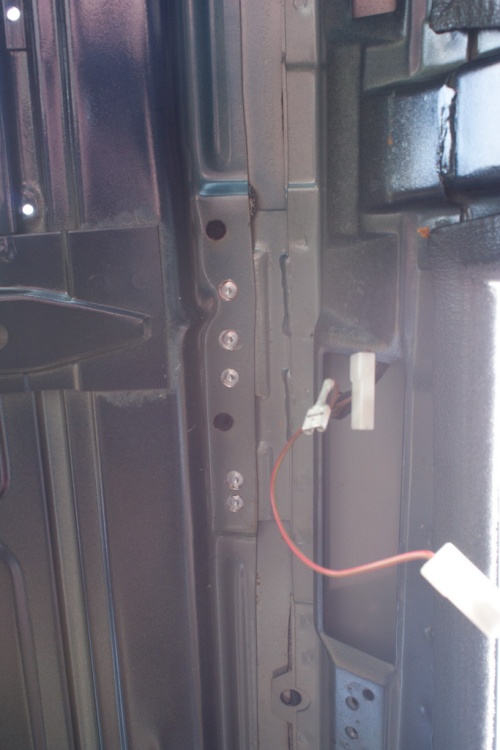
Finally there are five spot welds either side of the frame next to the B-pillar. These should be carefully drilled out.
The next step is to cut through the bond that seals the sunroof tray to the roof.
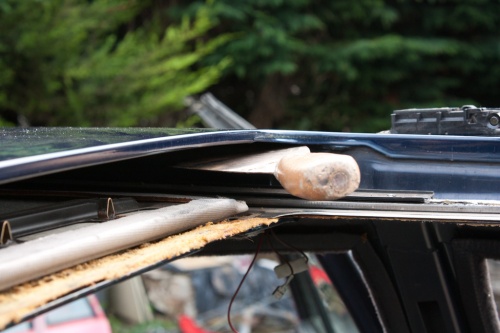
If you are removing the tray from your own vehicle, it is HIGHLY recommended to use a heat gun to soften the bonding glue as much as possible. It will then be possible to use a spatula or wallpaper stripper to prise apart the tray from the roof skin with the minimum amount of force. Heat the area where the roof skin and frame are bonded together, both from the sunroof opening side and from underneat where the frame is bonded to the roof skin. Take your time here to get it nice and hot! Then use a piece of timber, working from the B-pillar round the opening, and tap (not quite battered but close) the frame down until the panel starts coming loose, stopping occasionally to heat the area some more. Work your way round until the panel is completely loose.
Make sure at this point to wear gloves as the sunroof tracks are very sharp, unless you like chopping of knuckles pulling the spatula out like I did.
This bonding agent is very similar to that used to bond in windows, and therefore requires patience; hacking away with a stanley knife will only result in broken blades and blood loss. In this circumstance two main tools were used; a metal hacksaw blade and a steel wire, used like a garrotte. By working methodically from the back and around the sides, it is possible to slice through the bond. Do not be tempted to use a screwdriver to prise the tray away from the roof; you will only buckle both the tray and your roof, damaging them both and making the repair job even more complicated. DO NOT use this method on your own car; only on the vehicle donating its sunroof tray, as you are guaranteed to do damage to the roof skin.
In the even that you need to crack through the welds or the bonding, the spatula can be inserted to cut and slice through the remaining material. You want to try as much as you can to get the spatula to break the bond around the spot welds.
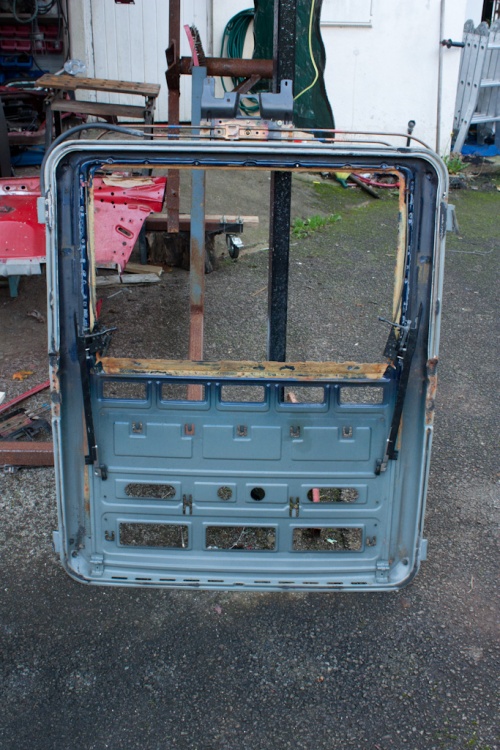
The only thing holding the frame in place now it the four drain pipes and the area around the sunroof opening. Because of this it is best to support the frame at the back to prevent it from falling down. You should be left with the bare tray, which can be inspected for any signs of local rust and repaired if necessary.
With the tray removed, you will be able to clean up any rust issues with it, check it for damage. Once you've removed two of them, fitting one back in will seem easy.
