Replacing Gear Linkage
(Photos and text by Capri Rob)
When it's time for some spirited driving, changing gear should be as satisfying as reloading a bolt-action rifle. When you're hunting for first and fumbling for fourth, it's time to replace your gear linkage.
To get at the linkage properly you first need to do a bit of prep "up top" - open the Bonnet, and remove the clips holding the viscous fan shrouding in place - that way when you drop the back of the gearbox down and the front of the engine lifts up it wont foul the fan.
Then underneath put the trolley jack under the back of the gearbox and remove the gearbox mountings. It might be handy to have new ones to fit, in case the ones on the car appear to be made of Cadbury's flake.
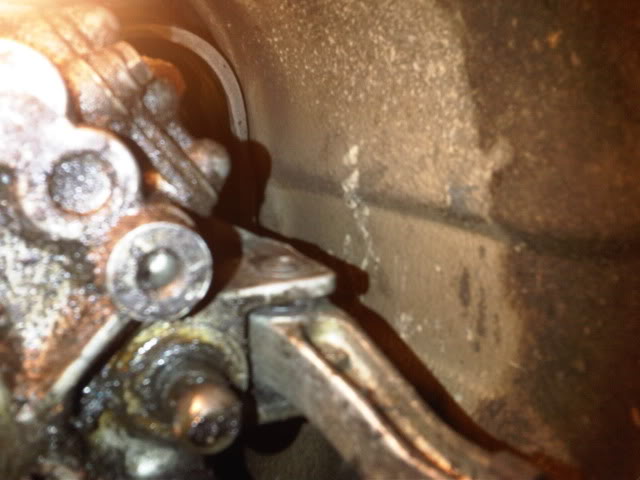
The puzzling part is how the bar which is fixed to the top of the gearbox casing is attached; when covered in muck it just looks like there is a thick pin which holds the bar in place, where you would expect to be a bolt. In fact it's a clip that needs to be flipped upwards through 90 degrees to remove it, and then the "pin" comes out - it's often described as "a right bastard".
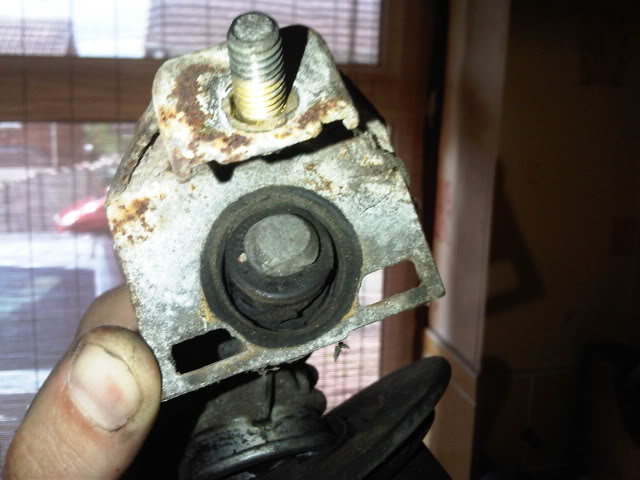
Not the best pic but this is what you're faced with
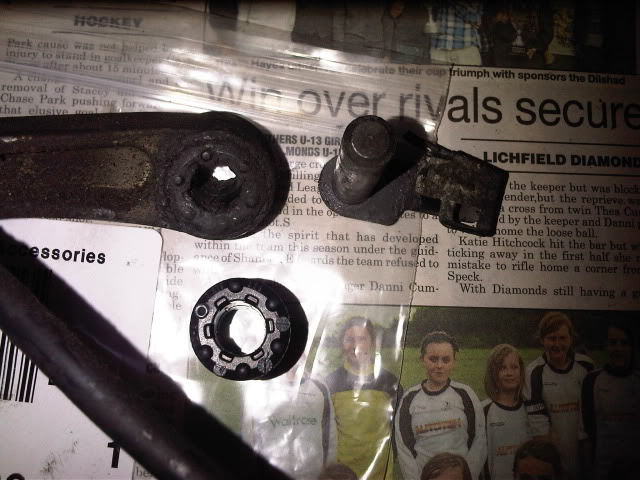
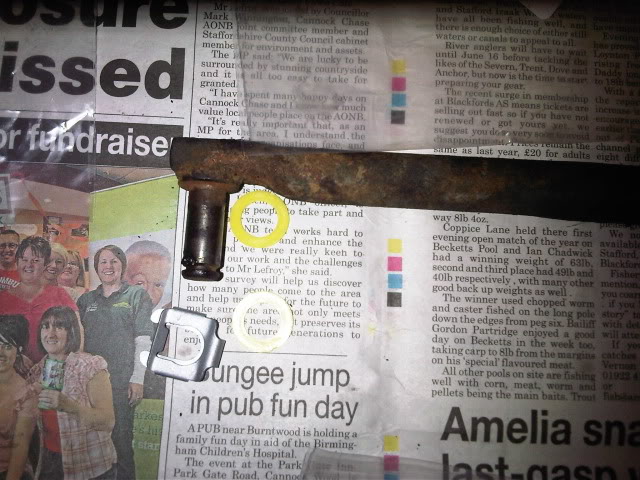
And this is the bar and the pin/clip with the new bush next to it - cut the end off the old bush with a stanley knife and it pushes out - new bush can be pressed in using nut/bolt/washers as a "puller" and plenty of washing up liquid as lube.
Before I stripped it all out it was blindingly obvious that it was fooked. Masses of play in all the bushes, which in some cases were pretty much nonexistent.
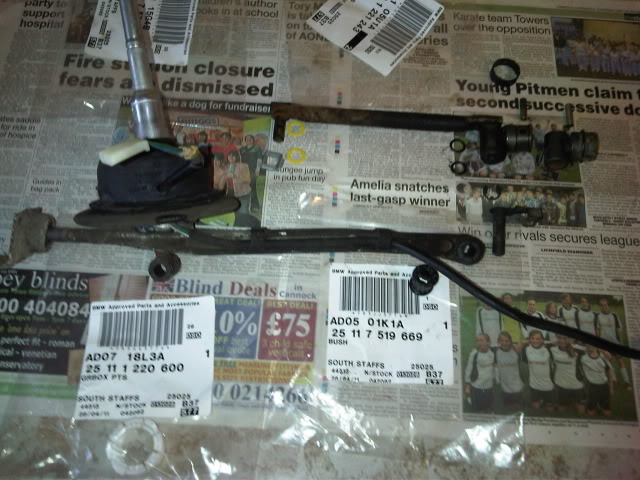
All the pieces laid out.
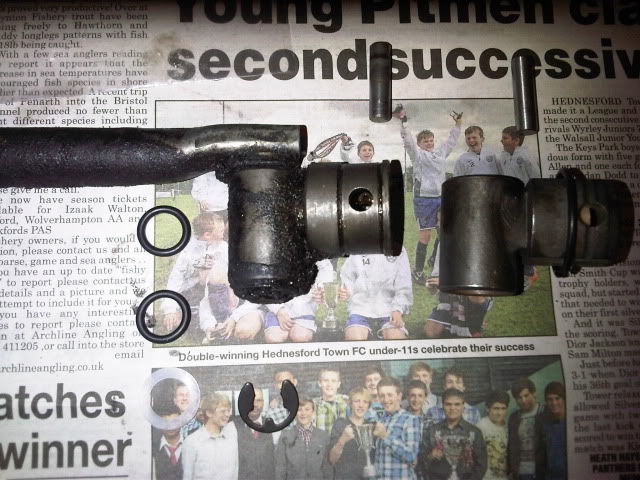
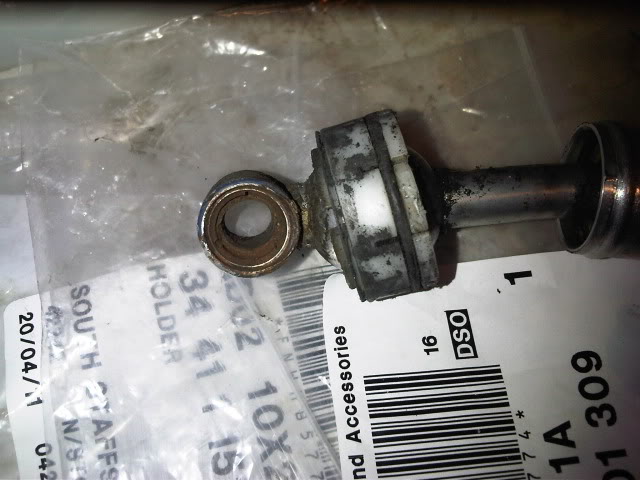
This is one of the main bits that is the cause of the sloppiness in the linkage; the old bit still on the selector rod, the new bit next to it. It goes back together with a rubber "O" ring on each side, then a plastic washer, then the circlip.
Other end of the selector rod that goes into the bottom of the gear lever. I bought new yellow plastic washers and clip, but the old ones can sometimes be re-used.
This fits at the back end of the bar and bolts to the body: Not that the bush is split and needs to be replaced.
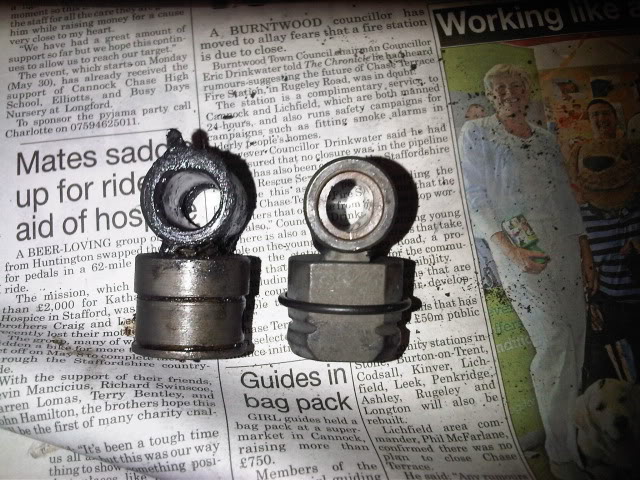
You can see the difference in the size of the bush between the new and old t-piece - no play at all now its all rebuilt & greased up with new washers. The design of this piece has changed slightly; you can see on the new piece it has a thin metal ring round it to keep the locking pin in place, while the old one had a wide metal clip round it. I had ordered a clip and new locking pin both of which could again have been re-used
The gear lever itself. Very little mention is made of these usually suffering much wear but you can see from the next pic that half the bush is actually gone. It will therefore need to be replaced, either with a standard unit or one of the Z3 short shifter options.
With fresh components to hand, refitting is the reversal of removal.
